Articles
How To Pull Fiber Optic Cable Through Conduit
Modified: August 26, 2024
Learn how to pull fiber optic cable through conduit with this informative article. Find step-by-step instructions and tips for a successful installation.
(Many of the links in this article redirect to a specific reviewed product. Your purchase of these products through affiliate links helps to generate commission for Storables.com, at no extra cost. Learn more)
Introduction
As the demand for high-speed data transmission continues to grow, fiber optic cables have become the go-to solution for reliable and efficient communication. These cables, made of thin strands of glass or plastic, are capable of transmitting large amounts of data over long distances at high speeds.
However, installing fiber optic cables can be a challenging task, especially when dealing with existing infrastructure. This is where conduit comes into play. Conduit, typically made of PVC or metal, provides a protective pathway for the fiber optic cable, ensuring its safe installation and long-term performance.
In this article, we will walk you through the process of pulling fiber optic cable through conduit. We will cover everything from understanding the components involved to troubleshooting common issues that may arise during the installation process. So, let’s dive in and learn how to tackle this important task.
Key Takeaways:
- Proper preparation, including assessing conduit size, cleaning, and lubricating the cable, is essential for a successful fiber optic cable installation through conduit. Attention to detail and meticulous planning ensure a smooth and efficient process.
- Thorough testing, inspection, and troubleshooting are crucial for ensuring the functionality and performance of the fiber optic system. Addressing common issues promptly and prioritizing safety throughout the installation process are key to creating a reliable and efficient network.
Read more: How To Pull Electrical Wire Through Conduit
Understanding Fiber Optic Cable and Conduit
Before diving into the process of pulling fiber optic cable through conduit, it’s crucial to understand the basic components involved.
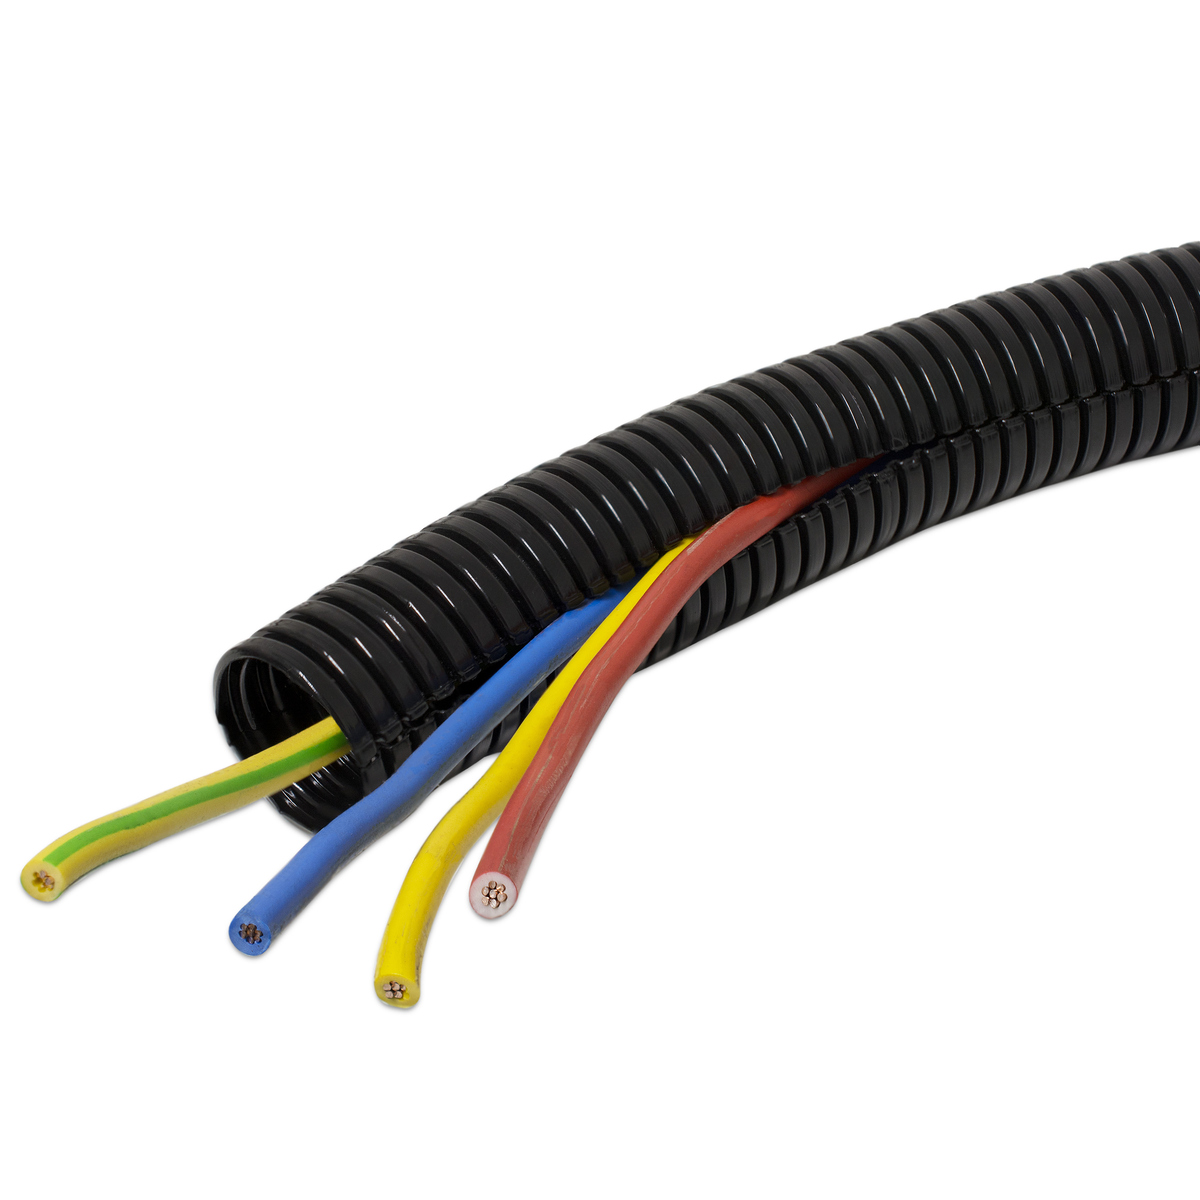
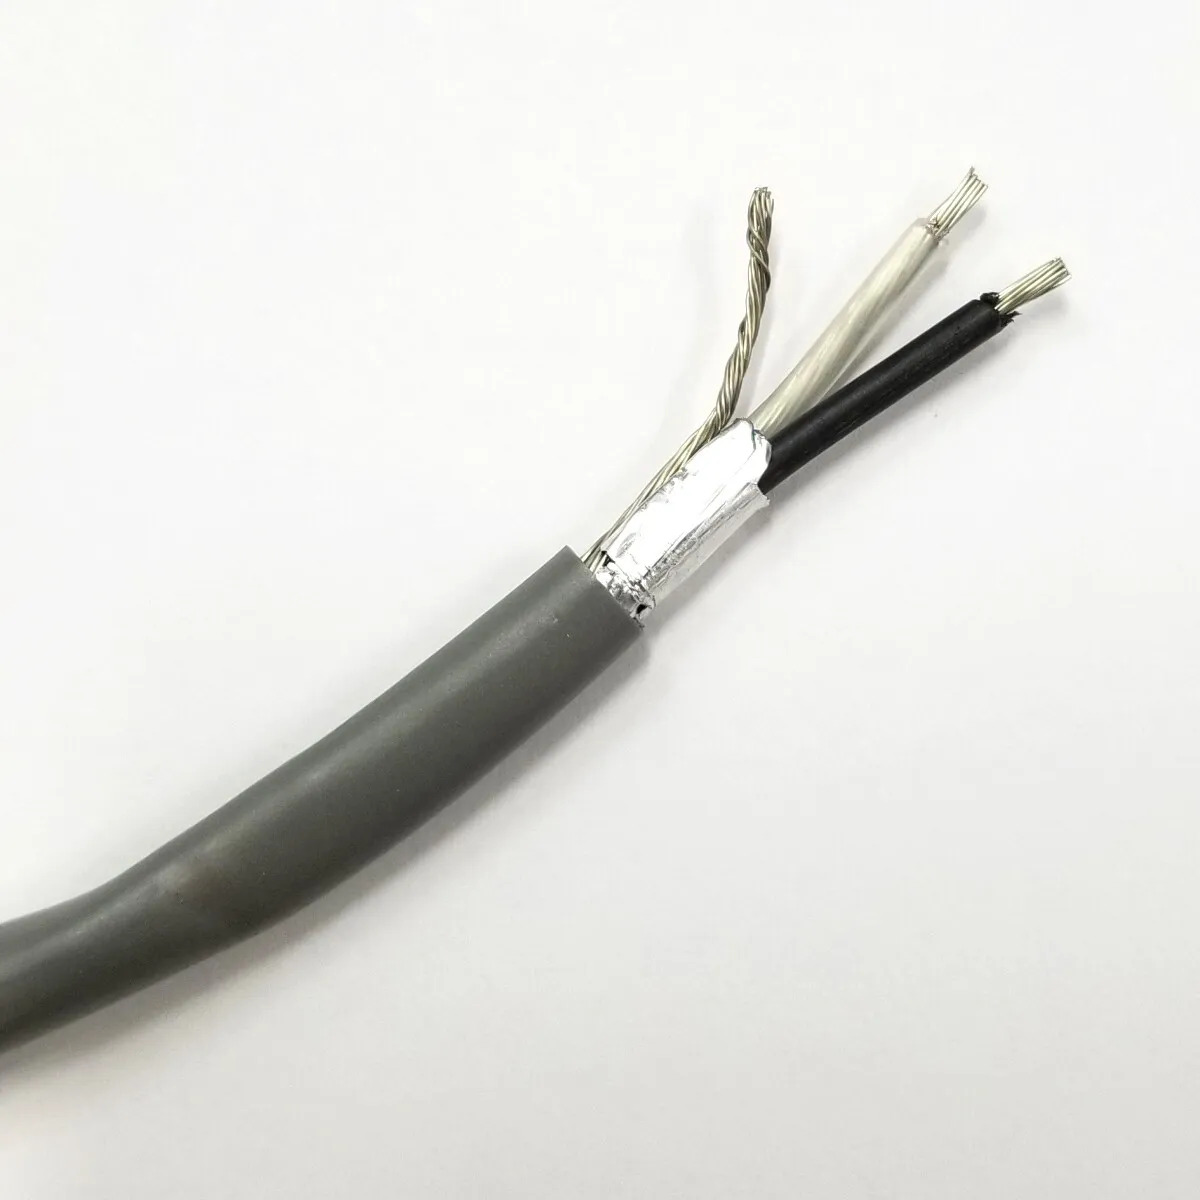
Fiber optic cables are composed of several layers. The core, which is typically made of glass or plastic, carries the light signals that transmit data. Surrounding the core is the cladding, which reflects the light signals back into the core, preventing signal loss. Finally, the outermost layer, called the jacket, protects the cable from physical damage and environmental factors.
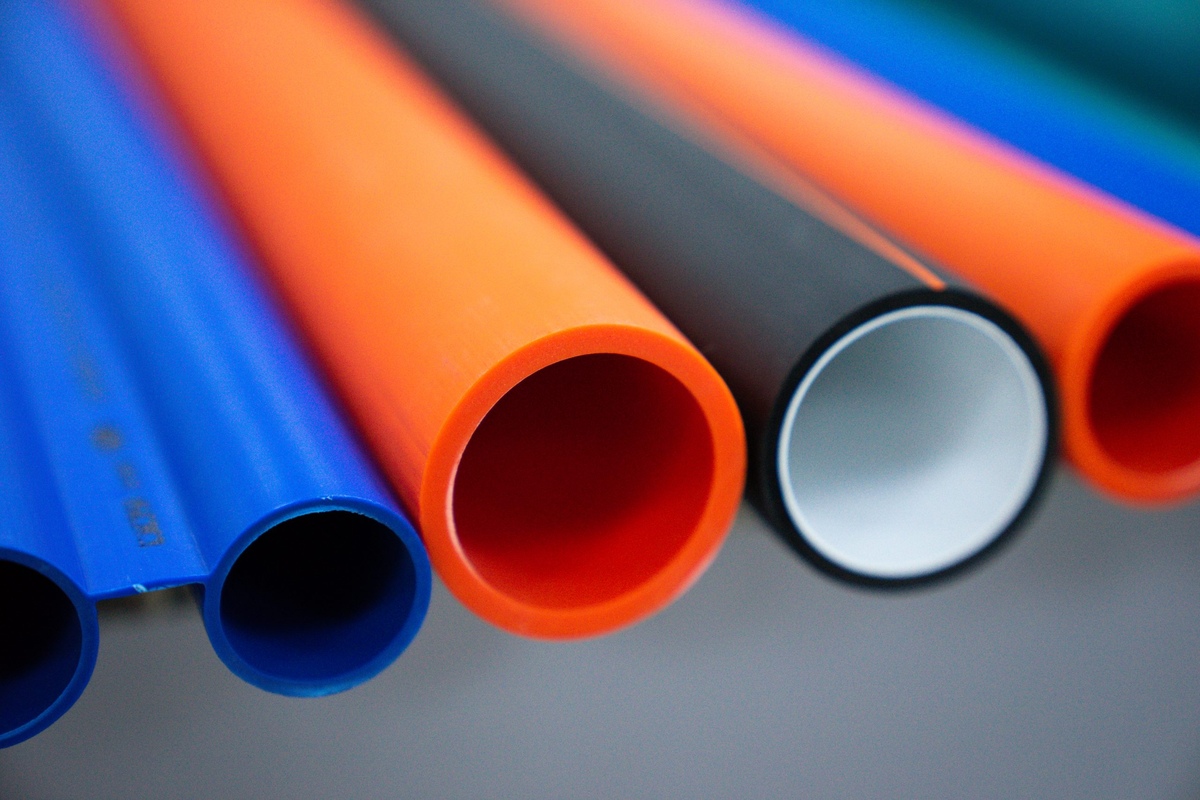
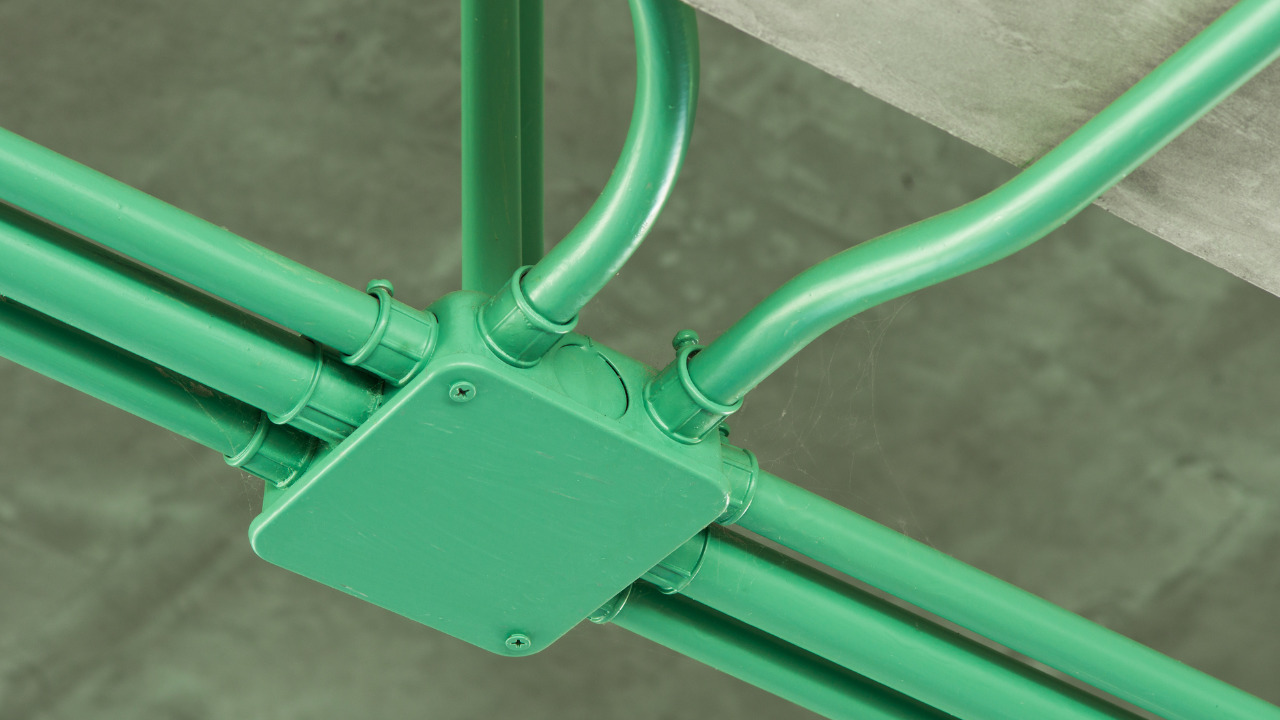
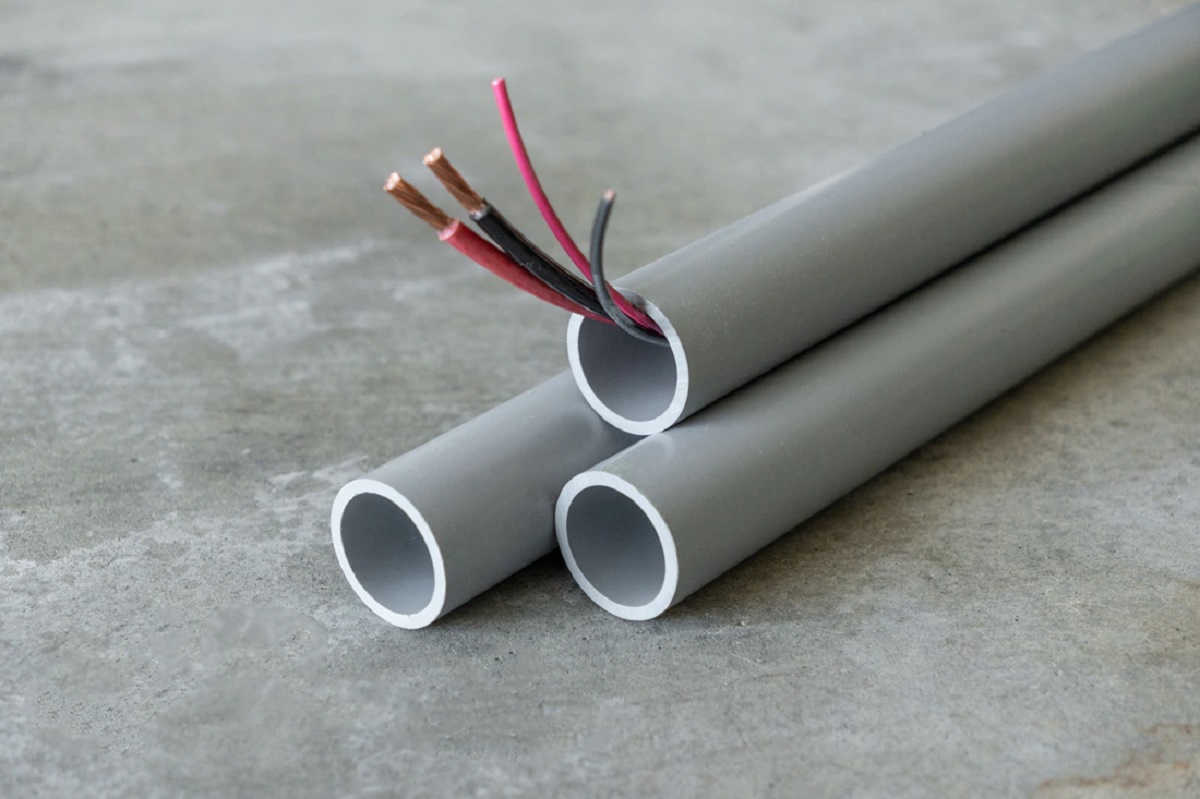
Conduit, on the other hand, serves as a protective pathway for the fiber optic cable. It helps shield the cable from moisture, chemicals, and other external threats that could potentially damage or interfere with the transmission of data. Conduit can be made of different materials, including PVC (polyvinyl chloride) and metal. The choice of conduit material depends on factors such as the installation environment and specific requirements.
Conduit also comes in various sizes, typically measured in terms of the diameter or internal dimensions. It’s important to select the appropriate conduit size to ensure that the fiber optic cable fits comfortably inside without any strain or risk of damage.
Understanding how fiber optic cable and conduit work together will allow you to plan and execute the installation process more effectively. It will also help you make informed decisions when selecting the right cable and conduit for your specific application.
Assessing Conduit Size and Condition
When preparing to pull fiber optic cable through conduit, it’s essential to assess the size and condition of the conduit beforehand. This step ensures that the cable will fit properly and that the conduit is in good condition for a successful installation.
The first thing to consider is the size of the conduit. Measure the inner diameter or cross-sectional area of the conduit to determine the appropriate cable size. It is crucial to choose a cable that will fit comfortably through the conduit without any excessive bending or stretching. If the conduit is too small, it may cause unnecessary strain on the cable and affect its performance. On the other hand, if the conduit is too large, it may lead to cable slippage or a loose fit, which can also impact the transmission quality.
Inspect the condition of the conduit to ensure there are no obstructions, such as debris, sharp edges, or breaks along the pathway. Any obstructions or rough surfaces can damage the cable during the installation process. If you encounter any issues, such as debris or sharp edges, it’s crucial to address them before proceeding with the cable pulling. Cleaning out the conduit and smoothing any rough edges will help facilitate a smooth and safe installation.
Additionally, check for any bends or curves in the conduit. Excessive bends can cause damage to the fiber optic cable or increase the pulling tension, compromising the integrity of the installation. It’s recommended to limit the number of bends and opt for gradual curves when possible.
By carefully assessing the size and condition of the conduit, you can ensure that the fiber optic cable will be able to fit properly and navigate through the pathway smoothly. This step minimizes the risk of cable damage and ensures a successful installation process.
Preparing the Conduit for Cable Installation
Once you have assessed the size and condition of the conduit, it’s time to prepare it for the fiber optic cable installation. Proper preparation helps ensure a smooth and efficient cable pulling process.
The first step in preparing the conduit is to clean it thoroughly. Use a conduit cleaning tool or brush to remove any dirt, debris, or moisture that may be present inside. This step is crucial as any contaminants can hinder the cable’s movement and potentially impact its performance in the long run. Be sure to clean not only the main conduit but also any smaller branches or junction boxes along the pathway.
After cleaning, inspect the conduit for any sharp edges or rough surfaces. These can cause damage to the cable during installation. Use a file or sandpaper to smooth out any edges or surfaces that could potentially snag or scrape the cable.
If the conduit has any junction boxes or access points, make sure they are properly sealed. This prevents moisture or other unwanted elements from entering the conduit and affecting the cable. Use appropriate sealing methods such as waterproof gaskets or sealant to ensure a tight and secure seal.
Consider the route of the conduit and plan for any necessary modifications or adjustments. If the conduit needs to pass through walls, floors, or other barriers, prepare suitable entry and exit points. This may involve drilling holes or using conduit connectors to create a smooth and continuous path for the cable.
Lastly, it’s important to ensure that the conduit is properly grounded. Grounding is essential for safety and can help protect the cable and other sensitive equipment from electrical surges. Follow electrical code requirements and consult with a qualified professional if needed to ensure proper grounding practices.
By taking the time to prepare the conduit thoroughly, you can ensure a clean and secure pathway for the fiber optic cable. This sets the stage for a successful installation process and helps maintain the integrity of the cable over time.
Selecting the Proper Cable for Conduit Pulling
Choosing the right fiber optic cable for conduit pulling is crucial for a successful installation. The cable you select should be compatible with the conduit size and meet the specific requirements of your application.
When selecting a cable, consider the following factors:
1. Cable Type: There are different types of fiber optic cables available, including single-mode and multi-mode. Single-mode cables are suitable for long-distance transmission, while multi-mode cables are used for shorter distances. Choose the cable type that aligns with your transmission needs.
2. Cable Diameter: Measure the internal diameter of your conduit and choose a cable that fits comfortably without excessive strain or risk of damage. Keep in mind that it’s recommended to leave some additional space to allow for lubrication during the pulling process.
3. Jacket Material: The jacket material of the cable should be suitable for the installation environment. For outdoor installations or areas with exposure to moisture or UV radiation, choose cables with jackets designed for outdoor use. Indoor installations may require different jacket properties based on fire safety regulations or specific building requirements.
4. Strength and Flexibility: Consider the strength and flexibility of the cable. Opt for cables with high tensile strength that can withstand the pulling process without damage. Flexibility is also important as it allows the cable to navigate through bends and curves in the conduit more easily.
5. Additional Features: Depending on your specific application, you may need additional features in your cable. This could include armored jackets for added protection against external threats, or cables with special coatings to resist harsh chemicals or extreme temperatures. Evaluate any specific requirements and choose a cable that meets them.
It’s essential to consult with a reputable supplier or manufacturer when selecting the cable. They can provide guidance based on your needs and ensure you choose a cable that is compatible with your conduit and meets industry standards.
Remember, selecting the proper cable ensures a seamless and efficient pulling process, minimizing the risk of damage and maximizing the performance of your fiber optic system.
Read more: How To Pull Wire Through Conduit
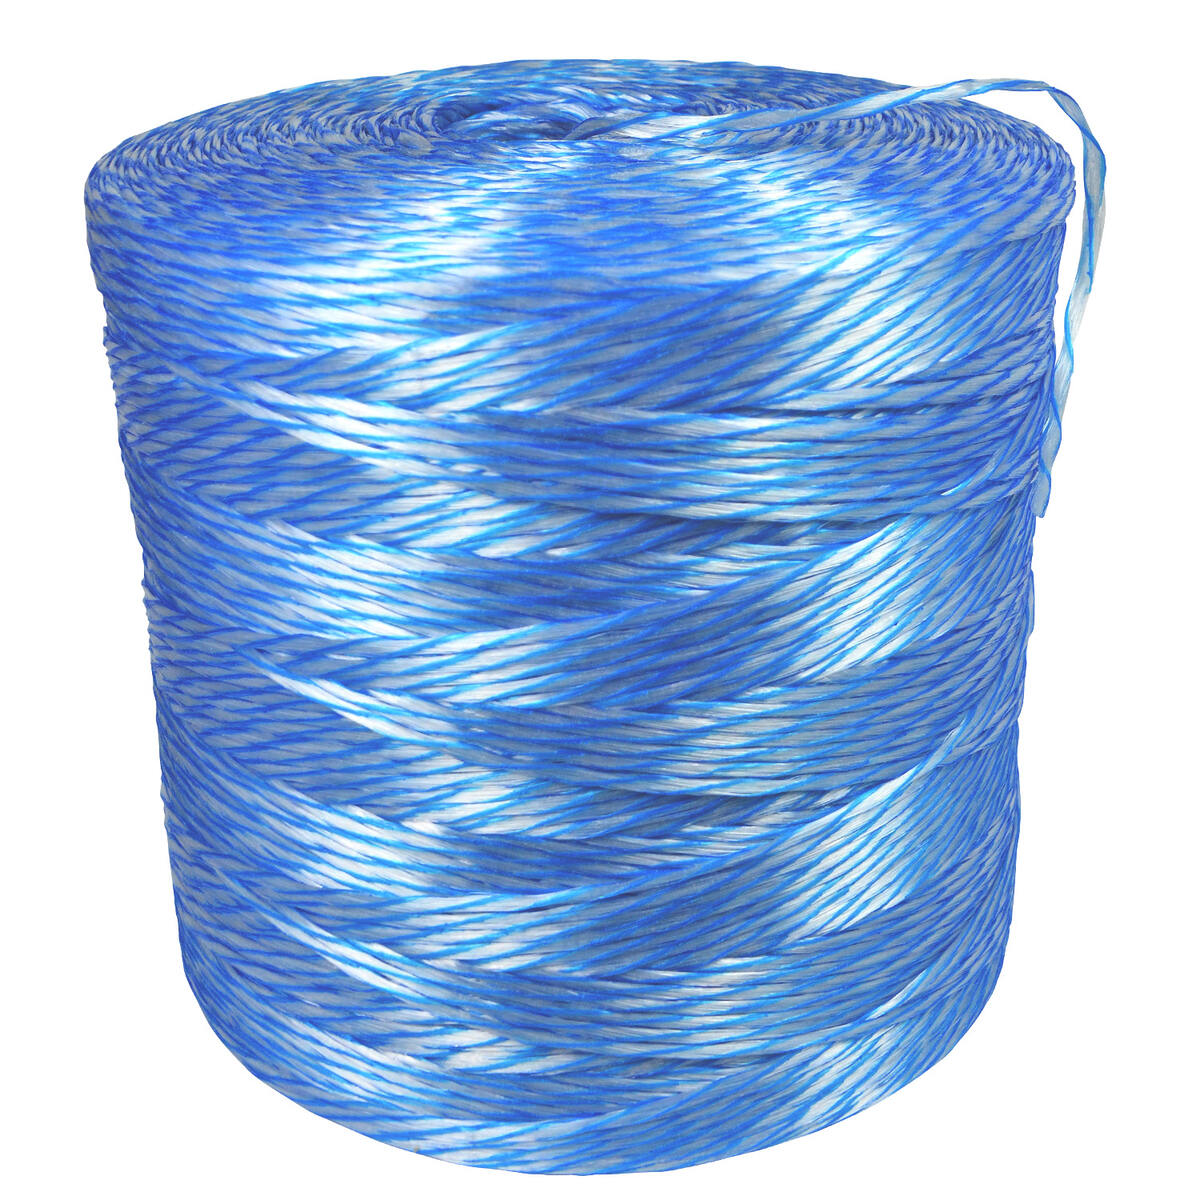
Lubricating the Cable for Smooth Installation
When pulling fiber optic cable through conduit, proper lubrication is essential to ensure a smooth and efficient installation process. Lubrication reduces friction between the cable and the conduit walls, making it easier to pull the cable and minimizing the risk of damage.
Here are some key steps to follow when lubricating the cable:
1. Select the Right Lubricant: Choose a lubricant that is specifically designed for fiber optic cable installation. Avoid using generic lubricants or substances that may degrade or damage the cable jacket. Silicone-based lubricants are commonly used and provide excellent lubrication properties.
2. Apply the Lubricant: Start by applying a thin layer of lubricant onto the entire length of the cable. Ensure that the lubricant is evenly distributed and covers all surfaces of the cable. Pay extra attention to areas where the cable may encounter more resistance, such as bends or tight corners.
3. Use the Correct Amount: Apply the lubricant in the appropriate amount. Too little lubricant may not provide adequate lubrication, resulting in increased friction and potential cable damage. Conversely, using excessive lubricant can create a messy and slippery environment. Follow the manufacturer’s guidelines to determine the recommended amount of lubricant to use.
4. Distribute the Lubricant: Once the lubricant is applied, distribute it evenly by gently spreading it along the surface of the cable. Avoid rubbing or wiping the cable vigorously, as this can cause unnecessary tension or strain.
5. Avoid Contamination: Take precautions to prevent the lubricant from coming into contact with connectors or any sensitive optical components. Contamination can degrade the performance of the cable and impact signal transmission.
6. Reapply as Needed: During the cable pulling process, periodically check the lubrication. If the cable starts to encounter resistance or the lubricant appears to be drying out, reapply the lubricant to ensure continuous smooth pulling.
Remember to follow safety guidelines and use personal protective equipment, such as gloves, when handling lubricants. Additionally, be aware of any specific regulations or guidelines related to lubrication in your application or installation environment.
Proper lubrication plays a vital role in minimizing friction and reducing the stress on the fiber optic cable during installation. By taking the time to lubricate the cable adequately, you can ensure a smooth and successful installation process, preserving the integrity of the cable and maximizing its performance.
When pulling fiber optic cable through conduit, use a cable lubricant to reduce friction and make the process smoother. This will help prevent damage to the cable and make installation easier.
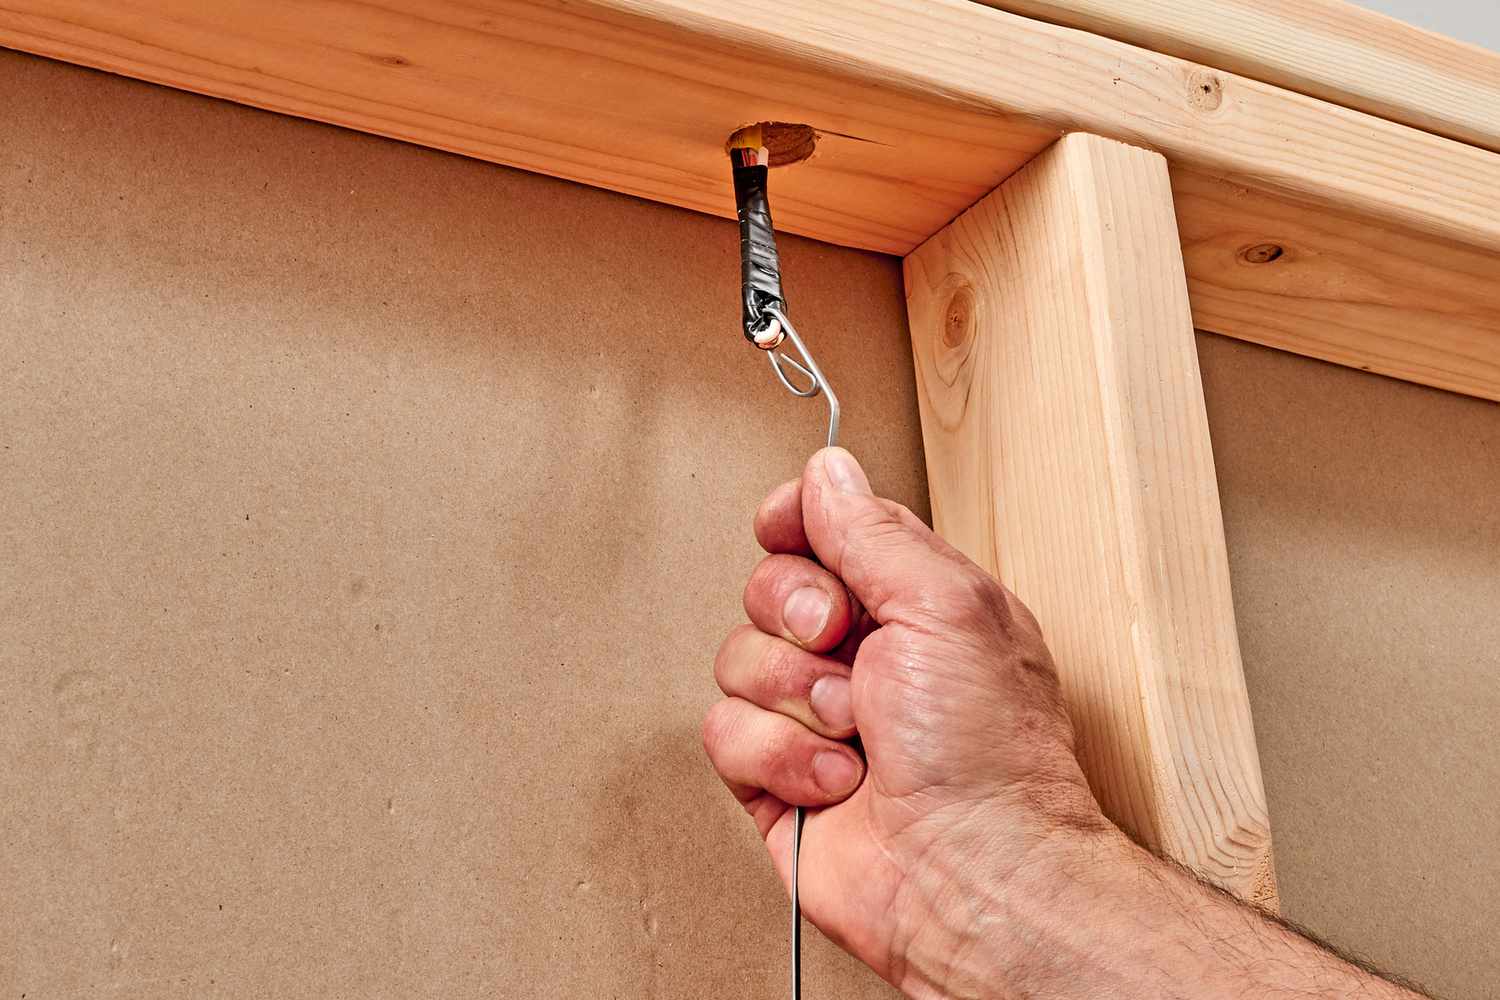
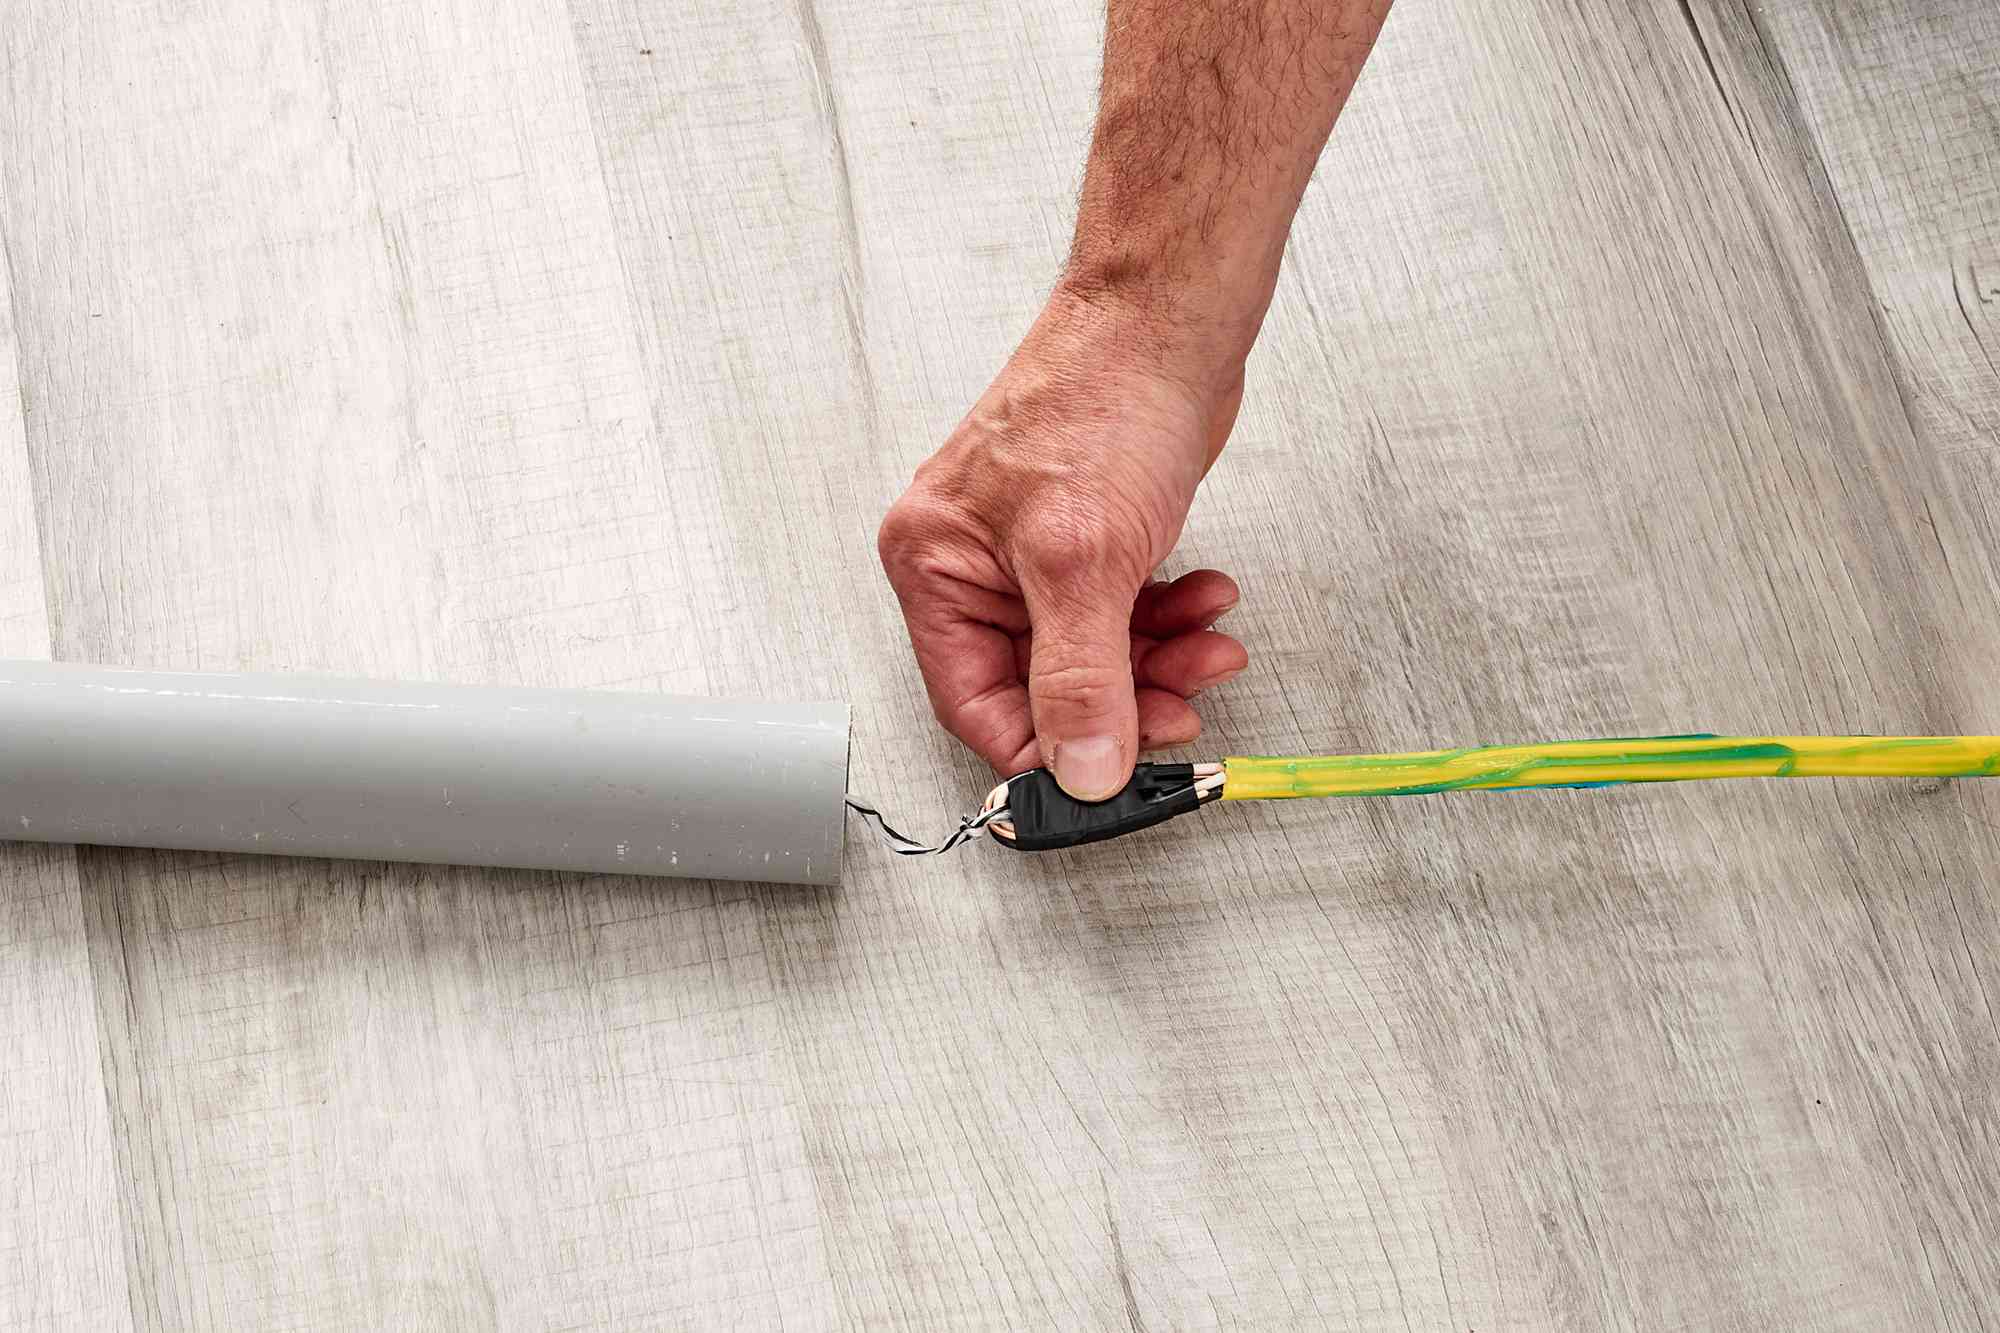
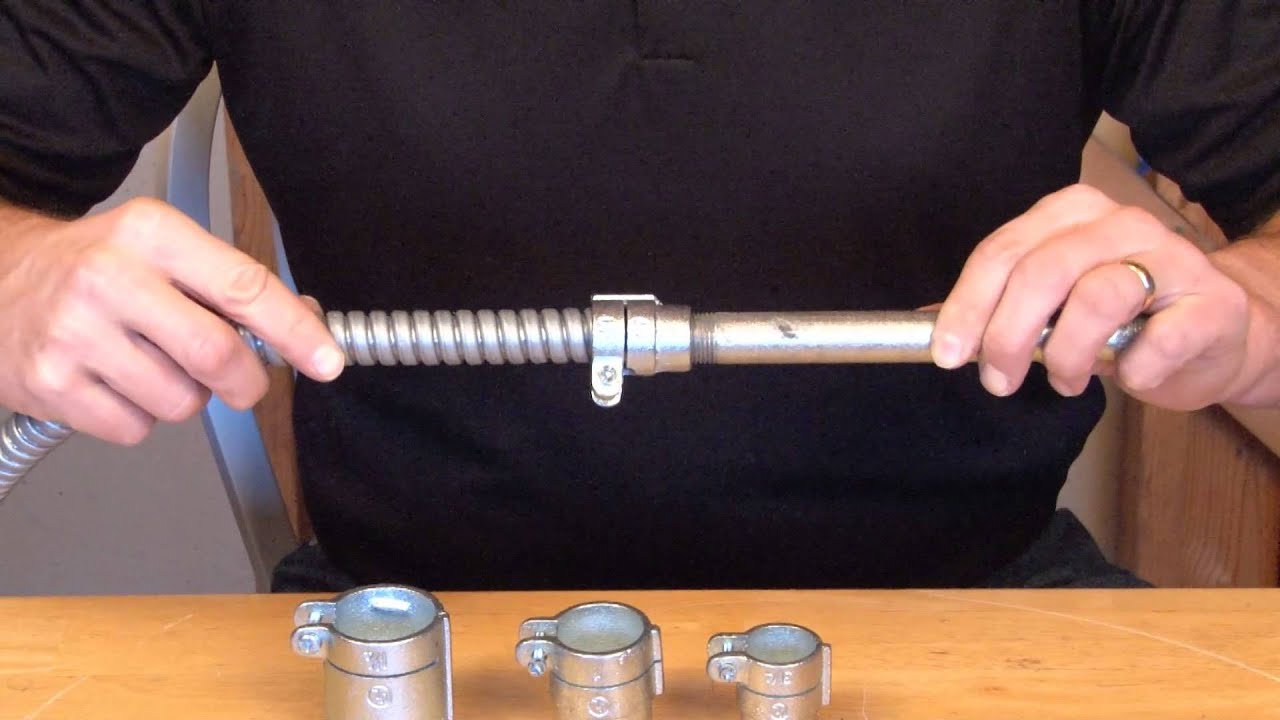
Attaching the Cable to Pulling Equipment
Before you can start pulling the fiber optic cable through the conduit, you need to securely attach the cable to the pulling equipment. This ensures that the cable will be properly guided and controlled during the installation process. Here are the key steps to follow when attaching the cable to the pulling equipment:
1. Inspect the Cable Ends: Before attaching the cable, inspect the ends to ensure that they are clean and free from any damage. Trim any frayed or damaged portions of the cable to create clean, straight ends. This will make it easier to attach the cable to the pulling equipment and reduce the risk of snagging during installation.
2. Choose the Proper Grip: Select an appropriate grip or pulling sock based on the size and type of cable you are working with. The grip should securely hold the cable without causing any damage. Refer to the manufacturer’s guidelines or consult with professionals to determine the most suitable grip for your specific cable.
3. Prepare the Cable: Slide the grip onto one end of the cable and position it securely near the cable end. Ensure that the grip is positioned correctly on the jacket and not on the bare fiber optic strands. Double-check for any kinks or twists in the cable before proceeding.
4. Secure the Grip: Once the grip is in the correct position, use cable ties or other suitable means to secure it tightly to the cable jacket. Make sure the grip is firmly attached and will not come loose during the pulling process.
5. Connect the Grip to the Pulling Equipment: Attach the grip to the pulling equipment such as a cable pulling winch or grip puller. Follow the manufacturer’s instructions for properly connecting the grip to the pulling equipment and ensure a secure attachment.
6. Test the Connection: Before initiating the pulling process, conduct a simple test to ensure that the cable is securely attached and the grip is properly connected to the pulling equipment. Apply light tension to verify the stability of the connection and make any necessary adjustments before proceeding.
Always follow safety guidelines and use appropriate personal protective equipment when working with pulling equipment and attaching the cable. Properly securing the cable to the pulling equipment is crucial for a successful installation, minimizing the risk of cable damage and ensuring smooth control during the pulling process.
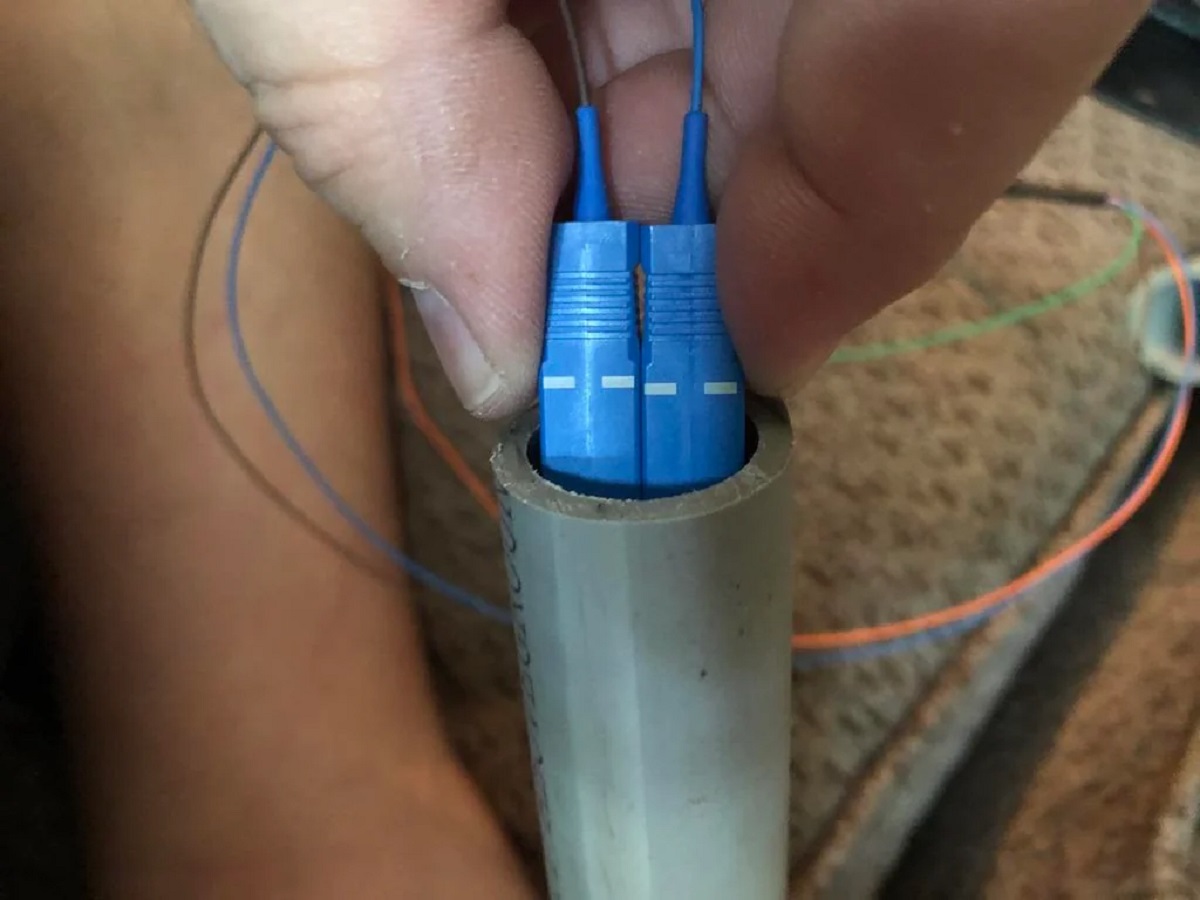
Pulling the Fiber Optic Cable through the Conduit
Now that you have prepared the conduit and attached the fiber optic cable to the pulling equipment, it’s time to start pulling the cable through the conduit. The following steps will guide you through the pulling process to ensure a successful installation:
1. Team Communication: Coordinate with your team members to establish clear communication throughout the pulling process. Assign roles and responsibilities to ensure a smooth and coordinated effort.
2. Start Slowly: Begin pulling the cable gradually and steadily. Applying excessive force or jerking the cable can cause damage to the cable or conduit. Maintain a controlled pulling motion to minimize tension and prevent any twists or kinks in the cable.
3. Monitor and Assist: As the cable progresses through the conduit, closely monitor the pulling process. If any issues arise, such as the cable getting stuck or encountering resistance, provide gentle assistance to guide it through. Avoid using excessive force, as this can lead to cable damage.
4. Maintain Proper Tension: Maintain consistent tension during the pulling process. Excessive tension can cause stress on the cable and negatively impact its performance. On the other hand, too little tension may result in the cable slowing down or getting caught within the conduit.
5. Keep the Path Clear: Clear any obstacles or potential obstructions along the conduit path. Monitor for any sharp edges, debris, or tight curves that may hinder the cable’s movement. Make adjustments or modifications as necessary to ensure a smooth path.
6. Control the Cable Slack: Ensure that there is appropriate cable slack during the pulling process. Excessive slack may cause the cable to tangle or bunch, while insufficient slack can place strain on the cable and its connectors.
7. Proper Cable Reeling: If necessary, use cable reels or spools to manage excess cable length during the pulling process. This helps prevent tangling and ensures that the cable remains organized and easily manageable.
8. Communicate Progress: Keep regular communication with your team members during the pulling process. Provide updates on progress and discuss any potential issues or challenges that may arise.
Throughout the process, emphasize safety and follow proper procedures to prevent any accidents or injuries. Ensure that all team members wear appropriate personal protective equipment and practice good safety practices.
By following these guidelines, you can successfully pull the fiber optic cable through the conduit, ensuring a smooth installation and reliable performance of the cable.
Testing and Inspecting the Cable Installation
Once the fiber optic cable has been pulled through the conduit, it’s crucial to thoroughly test and inspect the installation to ensure its proper functionality and performance. This step helps identify any issues or potential problems that may affect the transmission of data. Here are the key steps to follow for testing and inspecting the cable installation:
1. Visual Inspection: Begin by visually inspecting the cable for any obvious signs of damage or improper installation. Look for any bends, twists, or kinks in the cable. Check the connectors for proper alignment and ensure that they are securely attached to the cable.
2. Fiber Optic Testing Equipment: Utilize fiber optic testing equipment to perform tests and measurements on the cable. This equipment includes an optical power meter, an optical time-domain reflectometer (OTDR), and a visual fault locator (VFL).
3. Insertion Loss Testing: Measure the insertion loss or attenuation of the cable using an optical power meter. This test verifies the signal strength and ensures that the cable is transmitting data properly.
4. Return Loss Testing: Perform return loss testing to assess the quality of signal reflections within the cable. Return loss measures the amount of light that is reflected back into the cable, indicating potential signal degradation. Lower return loss values indicate better signal transmission quality.
5. OTDR Testing: Use an OTDR to analyze the length, integrity, and performance of the cable. An OTDR sends pulses of light through the cable and analyzes the reflections to detect any breaks, splices, or bends. This testing confirms the overall health of the fiber optic installation.
6. Visual Inspection Using VFL: Utilize a visual fault locator (VFL) to detect any faults or breaks in the cable. The VFL emits a powerful red light that allows you to visually identify any points of signal leakage or interruptions.
7. Documentation: Keep detailed records of all test results and inspections along with relevant notes and observations. This documentation is essential for future reference and troubleshooting, should any issues arise.
8. Repeating Tests when Necessary: If any irregularities or problems are identified during the initial testing phase, repeat the necessary tests after addressing and resolving the issues. This ensures that the cable installation meets the required standards and specifications.
By thoroughly testing and inspecting the cable installation, you can ensure that it is functioning properly and meets the necessary performance standards. Identifying any issues early on allows for timely repairs or adjustments, ultimately resulting in a reliable and efficient fiber optic system.
Read more: How To Pull HDMI Cable Through Conduit
Troubleshooting Common Issues
During the installation of fiber optic cable through conduit, various issues may arise that can impact the success and performance of the installation. Being prepared to troubleshoot these issues is essential for a smooth and efficient installation process. Here are some common issues that you may encounter and the steps you can take to address them:
1. Cable Snags or Hang-ups: If the cable gets caught or stuck inside the conduit, avoid pulling or forcing the cable. Instead, gently backtrack and carefully ease the cable out of the snagged area. This may require repositioning the cable or adjusting the pulling equipment. Be cautious to prevent any damage to the cable or the conduit.
2. Excessive Cable Friction: If the pulling process feels excessively difficult or the cable is not moving smoothly, consider increasing the amount of lubricant. Apply additional lubricant around the cable and along the conduit walls. This will reduce friction and make the installation process easier.
3. Connector Damage or Misalignment: If connectors become damaged or misaligned during the installation, replace or realign them carefully. Inspect the connectors for any visible damage or debris that may hinder proper connectivity. Clean or replace the connectors as needed, ensuring a secure and precise connection.
4. Signal Loss or Weakness: If there is a noticeable signal loss or weakness, check for any breaks or bends in the cable. Inspect connectors and splice points for any damage or loosening. Perform an insertion loss test to measure the signal strength and identify any potential issues. If necessary, consult with a professional to assess and rectify the problem.
5. Conduit Obstructions and Blockages: If you encounter obstructions or blockages within the conduit, clear them before continuing the cable pulling process. Remove any debris, sharp objects, or other materials that may impede the cable’s movement. Maintain a clean and unobstructed pathway to ensure a successful installation.
6. Unintentional Cable Tension: If you notice excessive tension on the cable during the pulling process, release and reposition the cable within the conduit. Avoid overstretching or straining the cable, as this can lead to breakage or signal loss. Adjust the pulling equipment as necessary to maintain proper tension throughout the installation.
7. Improper Cable Routes or Paths: If the cable is not following the desired or planned route, review the installation route and make adjustments as needed. Ensure that the cable is properly secured and guided along the intended path. Use cable tie-offs or other suitable methods to prevent cable deviation or movement.
It is essential to approach troubleshooting with caution and take the necessary steps to prevent further damage or complications. When faced with more complex or severe issues, seek assistance from an experienced professional if necessary. By addressing and resolving these common issues promptly, you can ensure a successful fiber optic cable installation through conduit.
Conclusion
Installing fiber optic cable through conduit is a complex but rewarding process that requires careful planning, preparation, and execution. By following the steps outlined in this article, you can ensure a successful installation that delivers reliable and efficient communication for your data transmission needs.
Understanding the fundamentals of fiber optic cable and conduit, assessing conduit size and condition, and properly preparing the conduit are crucial steps that set the foundation for a smooth installation. Selecting the right cable, lubricating it adequately, and securing it to the pulling equipment ensure proper control and minimize the risk of strain or damage during the pulling process.
Thorough testing and inspection of the cable installation, along with troubleshooting any common issues that may arise, help guarantee the functionality and performance of the fiber optic system. By addressing these issues promptly, you can identify and resolve any potential problems, ensuring a reliable and efficient installation.
Remember to prioritize safety throughout the entire process and adhere to industry best practices. Wear appropriate personal protective equipment, follow safety guidelines, and consult with professionals or experts as needed.
In conclusion, pulling fiber optic cable through conduit requires attention to detail, technical knowledge, and a methodical approach. By following the steps outlined in this article and maintaining a focus on quality and precision, you can successfully install fiber optic cable through conduit and create a robust and reliable network for high-speed data transmission.
Now that you've mastered pulling fiber optic cable through conduit, why stop there? Expand your DIY skills by learning about conduit installation within walls. This guide offers practical advice for embedding conduit seamlessly, ensuring your home's wiring remains tidy and secure. So, whether you're renovating or just enhancing your space, this next article is a must-read for anyone eager to tackle home improvement projects head-on.
Frequently Asked Questions about How To Pull Fiber Optic Cable Through Conduit
Was this page helpful?
At Storables.com, we guarantee accurate and reliable information. Our content, validated by Expert Board Contributors, is crafted following stringent Editorial Policies. We're committed to providing you with well-researched, expert-backed insights for all your informational needs.

0 thoughts on “How To Pull Fiber Optic Cable Through Conduit”