Articles
How To Pull Wire Through Conduit
Modified: October 20, 2024
Learn how to efficiently pull wire through conduit with our informative articles. Gain valuable tips and techniques for smooth wire installation.
(Many of the links in this article redirect to a specific reviewed product. Your purchase of these products through affiliate links helps to generate commission for Storables.com, at no extra cost. Learn more)
Introduction
When it comes to electrical installations, pulling wire through conduit is a common task that electricians and DIY enthusiasts encounter. Whether you are setting up a new electrical system or making repairs, knowing how to pull wire through conduit is essential for a successful installation. This process involves guiding and maneuvering wires through the narrow spaces inside conduit pipes, ensuring they are securely in place.
Wire pulling can be a challenging task, especially if you’re unfamiliar with the process or lack the necessary tools and techniques. However, with the right knowledge and equipment, you can accomplish this task efficiently and effectively. In this article, we will guide you through the step-by-step process of pulling wire through conduit and provide useful tips to make the job easier.
Before we dive into the details, let’s take a closer look at what wire pulling entails and why it’s an integral part of electrical installations.
Key Takeaways:
- Proper wire pulling through conduit is essential for organized, protected, and compliant electrical installations. With the right tools, materials, and techniques, you can create a safe pathway for electrical currents, ensuring efficient operation and longevity of the system.
- Patience, attention to detail, and troubleshooting skills are crucial for successful wire pulling. By following the step-by-step process, securing and testing the wire, and seeking professional help when needed, you can confidently tackle wire pulling projects and enjoy the benefits of a well-installed electrical system.
Read more: How To Pull Electrical Wire Through Conduit
What is Wire Pulling?
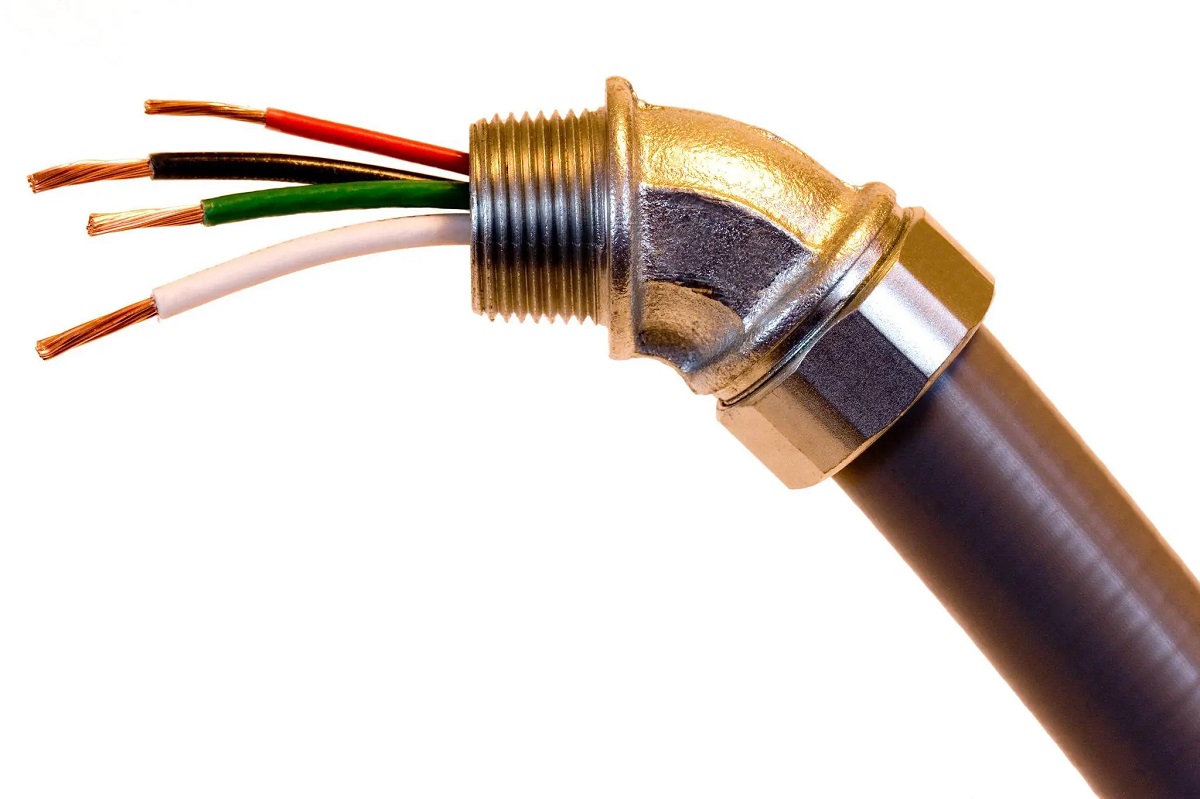
Wire pulling is the process of threading electrical wires through conduit pipes to create a safe and organized pathway for the electrical currents. Conduit, typically made of metal or plastic, protects the wires from damage and provides insulation, preventing them from being exposed to external elements or accidental contact.
Wire pulling is necessary for various types of electrical installations, including residential, commercial, and industrial projects. Whether you’re running new wires for lighting fixtures, outlets, switches, or other electrical components, or replacing damaged or outdated wiring, proper wire pulling is crucial for ensuring the safe and efficient operation of the electrical system.
There are several reasons why wire pulling is important:
- Organization: Pulling the wires through conduit helps keep them organized and neatly contained. This makes it easier to identify and troubleshoot any issues that may arise in the future. Additionally, organized wiring reduces the risk of tangling or intertwining, which can cause electrical problems or complicate future modifications.
- Protection: The conduit acts as a protective casing for the wires, shielding them from physical damage, moisture, heat, and other environmental factors. This helps to extend the lifespan of the wiring and minimizes the risk of accidents, such as electric shocks or short circuits.
- Compliance with Building Codes: Many building codes require electrical wiring to be enclosed in conduit for safety reasons. Following these codes is essential to ensure that your electrical installation meets the necessary standards and regulations.
- Flexibility and Accessibility: By pulling wires through conduit, you create a pathway that allows for easy access to the wiring. This makes it simpler to add or remove wires as needed and enables future upgrades or modifications without the need for extensive rewiring.
Now that we understand the importance of wire pulling, let’s move on to the tools and materials you will need for this task.
Tools and Materials Needed
Before you begin the wire pulling process, it’s important to gather all the necessary tools and materials to ensure a smooth and efficient operation. Here is a list of the essential items you will need:
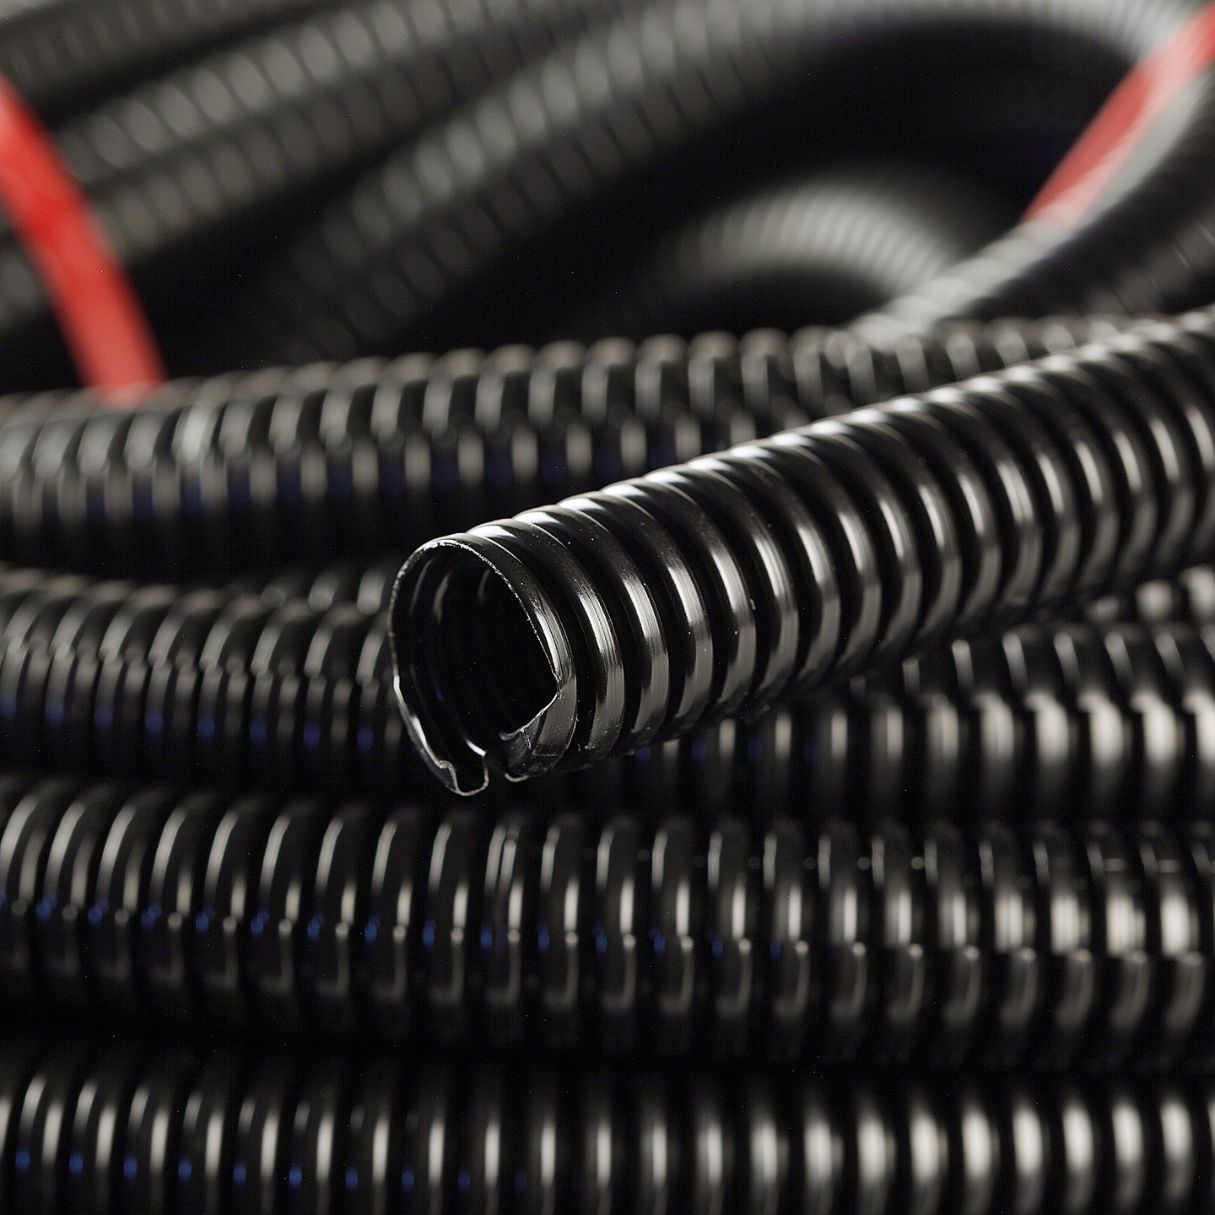
- Conduit: Depending on the specific application and local building codes, you may need metal or plastic conduit. Make sure to choose the appropriate type and size for your project.
- Wire: Select the appropriate gauge and type of wire for your electrical needs. The wire should be long enough to reach the intended destinations within the conduit.
- Conduit Bender: If you are working with metal conduit, a conduit bender is necessary to create bends or curves in the conduit to navigate through walls or other obstacles.
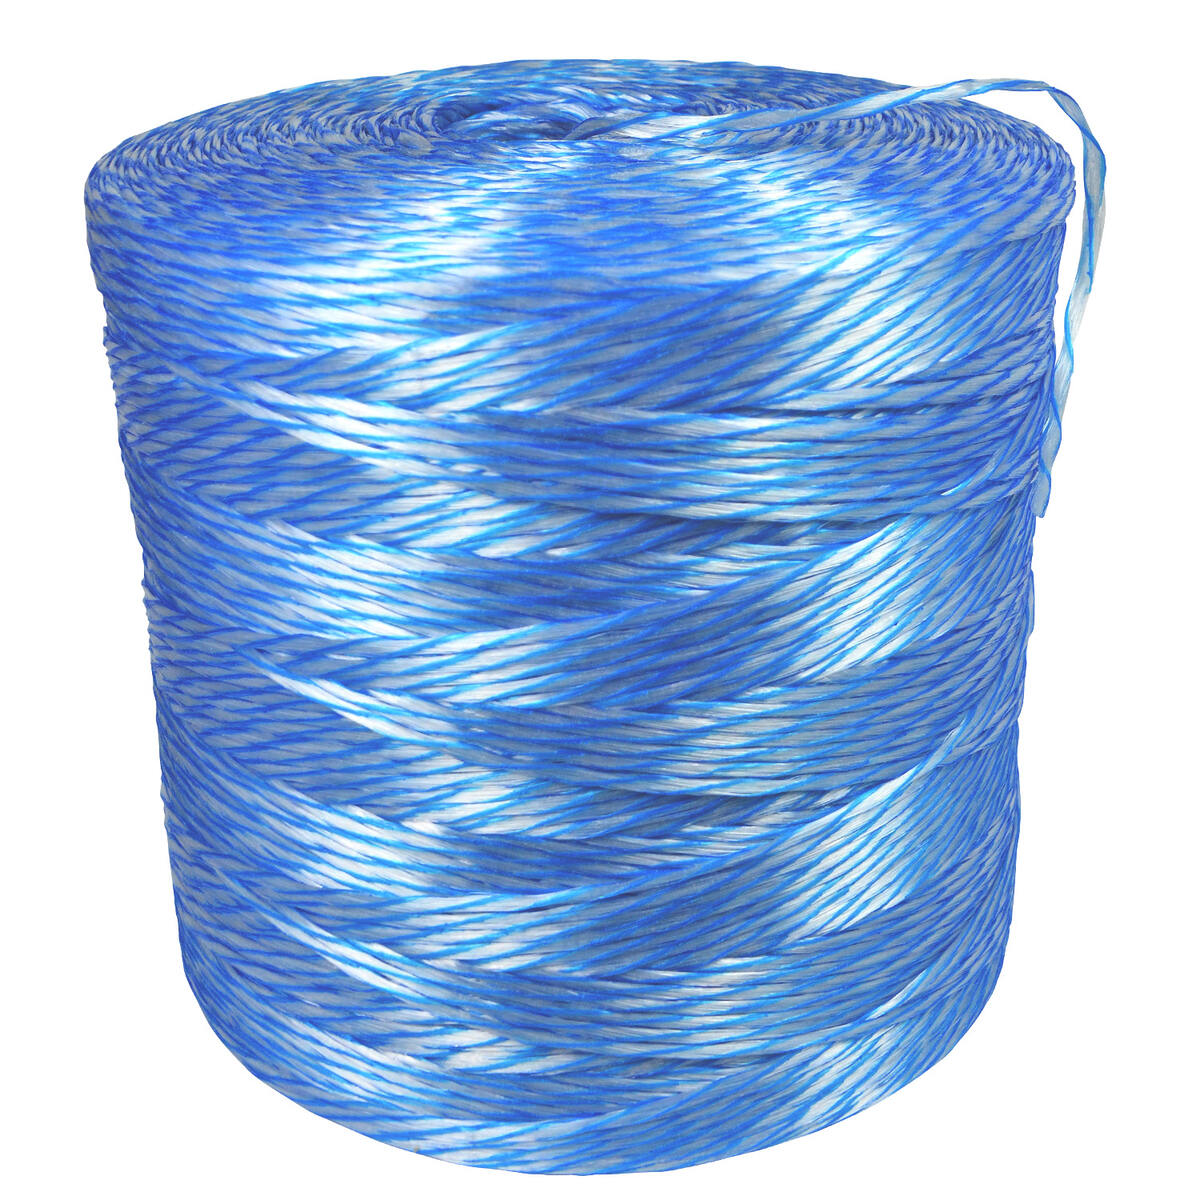
- Wire Pulling Rope or Fish Tape: This is used to attach to the wire and pull it through the conduit. A wire pulling rope is a strong and flexible synthetic rope, while a fish tape is a flat, thin metal tape that can be coiled or pushed through the conduit.
- Wire Lubricant: Lubricant helps to reduce friction and make the wire pulling process smoother. Choose a suitable lubricant that is compatible with the type of wire and conduit you are using.
- Tape Measure: This is essential for accurately measuring the length of conduit and wires, ensuring precise installations.
- Wire Cutters: Used to cut the wire to the desired length. Make sure to use wire cutters designed for electrical work to ensure clean and accurate cuts.
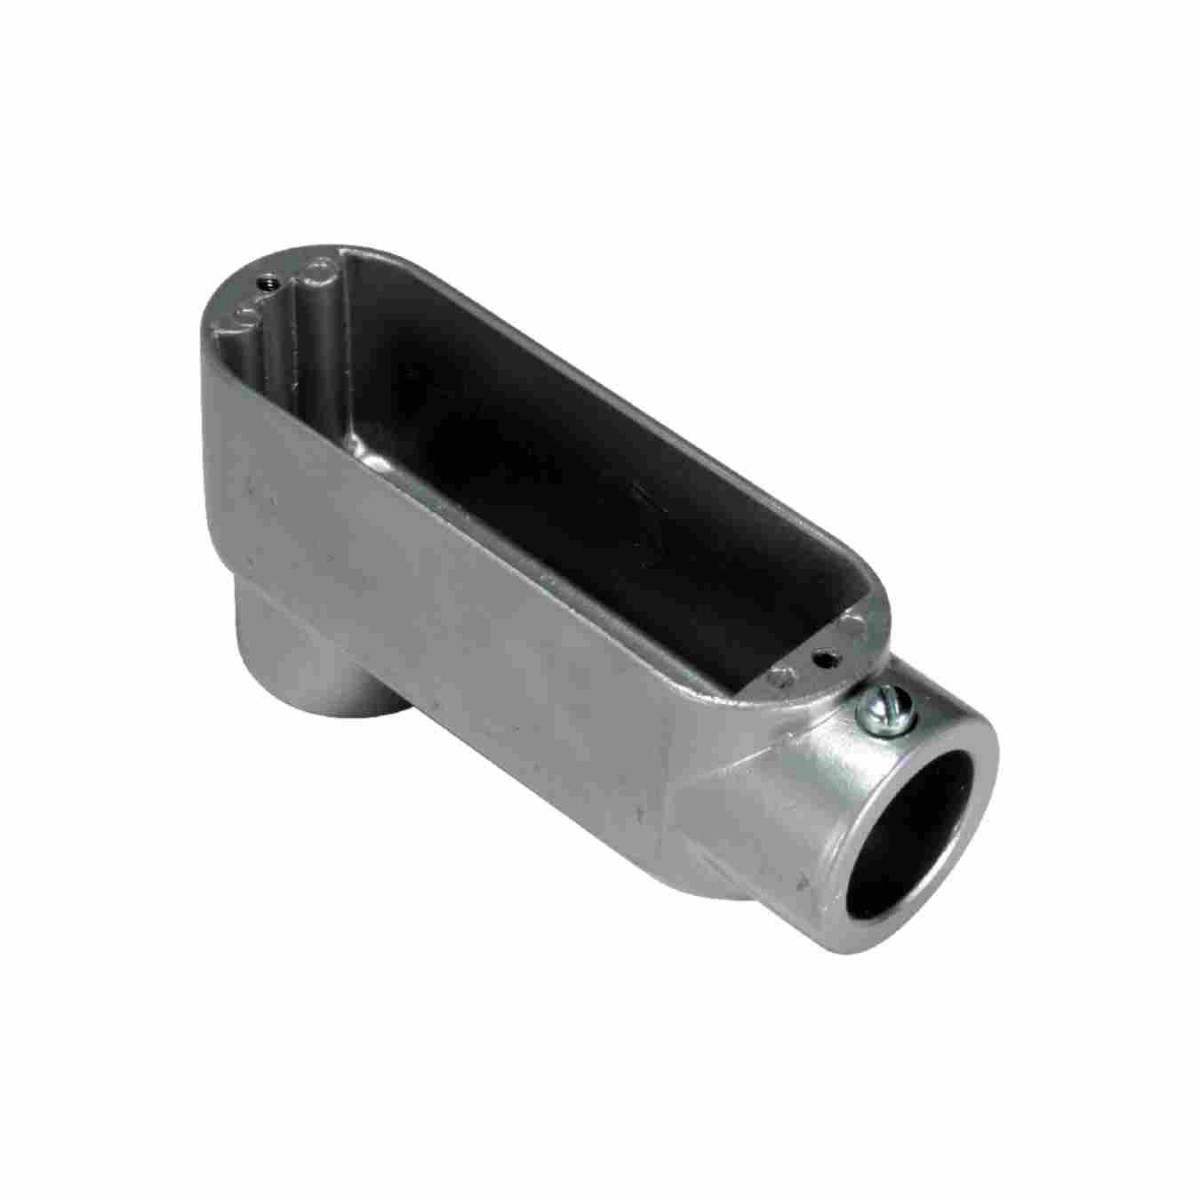
- Conduit Locknuts and Bushings: These fittings are used to secure the conduit connections and protect the wires from sharp edges within the conduit.
- Screwdrivers and Pliers: These basic hand tools are useful for loosening/tightening conduit fittings, securing locknuts, and making other adjustments as needed.
- Safety Equipment: Always prioritize safety when working with electrical installations. Wear safety glasses, gloves, and other personal protective equipment to protect yourself from potential hazards.
By having these tools and materials readily available, you will be well-prepared to tackle the wire pulling process effectively. Now, let’s move on to the step-by-step instructions on how to pull wire through conduit.
Step 1: Preparing the Conduit
Before you can start pulling the wire through the conduit, it’s essential to properly prepare the conduit for the installation. Follow these steps to ensure a smooth and successful wire pulling process:
- Measure and Cut the Conduit: With a tape measure, measure the length of the conduit you need for your installation. Use a conduit cutter or a hacksaw to make a clean, straight cut at the measured length. Ensure that the ends are free from burrs or sharp edges that could damage the wires.
- Clear the Conduit: Before inserting any wires, make sure the conduit is free from any obstacles or debris that may hinder the wire pulling process. Check and remove any dirt, dust, or obstructions to ensure a smooth pathway for the wires.
- Thread the Pulling Rope or Fish Tape: If you are using a wire pulling rope, tie one end securely to a sturdy anchor point or attach a swivel pulling eye. For fish tape, extend it through the entire length of the conduit. Ensure that the pulling rope or fish tape is running smoothly through the conduit without any kinks or tangles.
- Lubricate the Conduit: Apply a generous amount of wire lubricant to the inside of the conduit. This will reduce friction and help the wire slide smoothly through the conduit during the pulling process. Make sure to evenly coat the entire length of the conduit.
- Secure the Conduit: Use conduit locknuts and bushings to secure the conduit connections and ensure they are tightly fastened. This will prevent the conduit from coming apart while pulling the wires through and provide added durability to the installation.
By properly preparing the conduit, you set the foundation for a hassle-free wire pulling experience. Now, let’s move on to the next step of attaching the wire to the pulling rope.
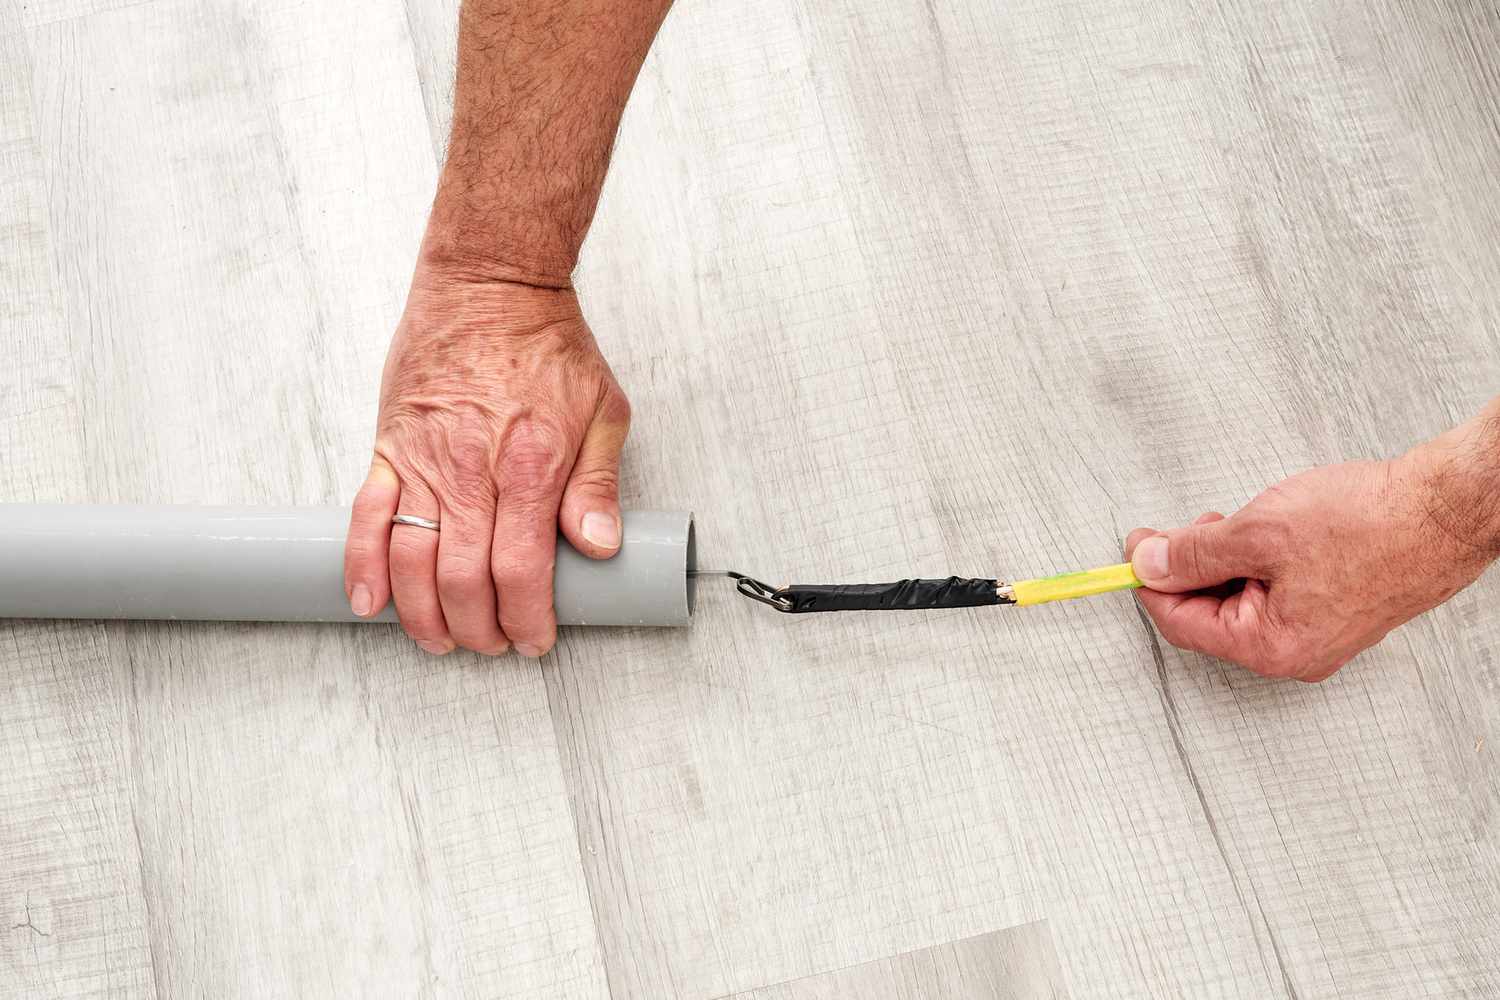
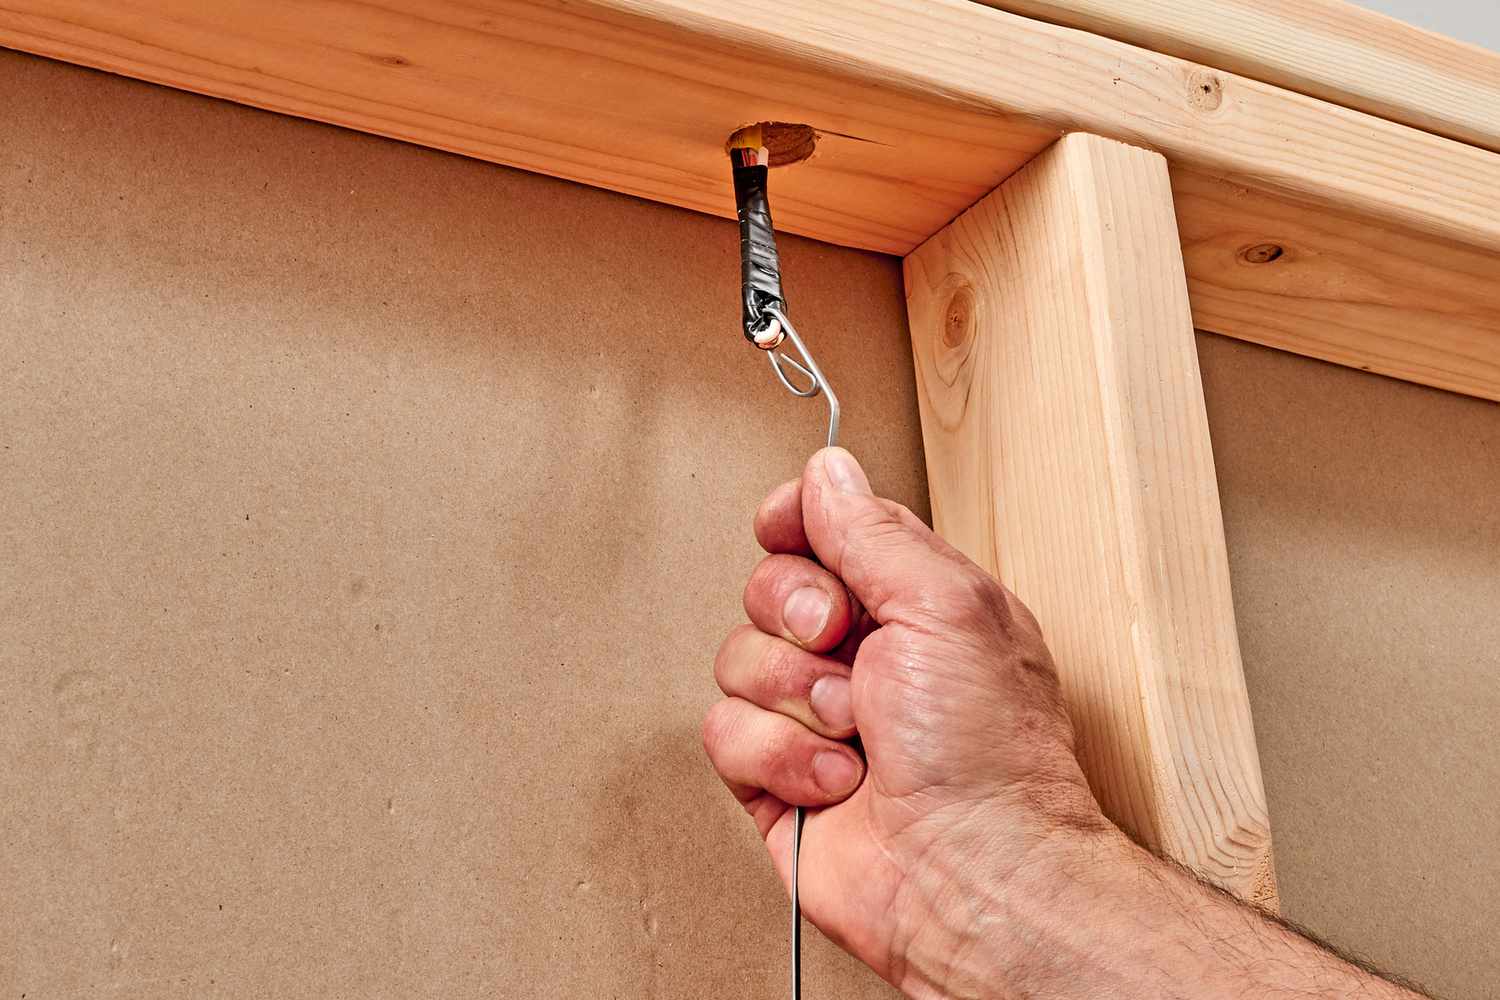
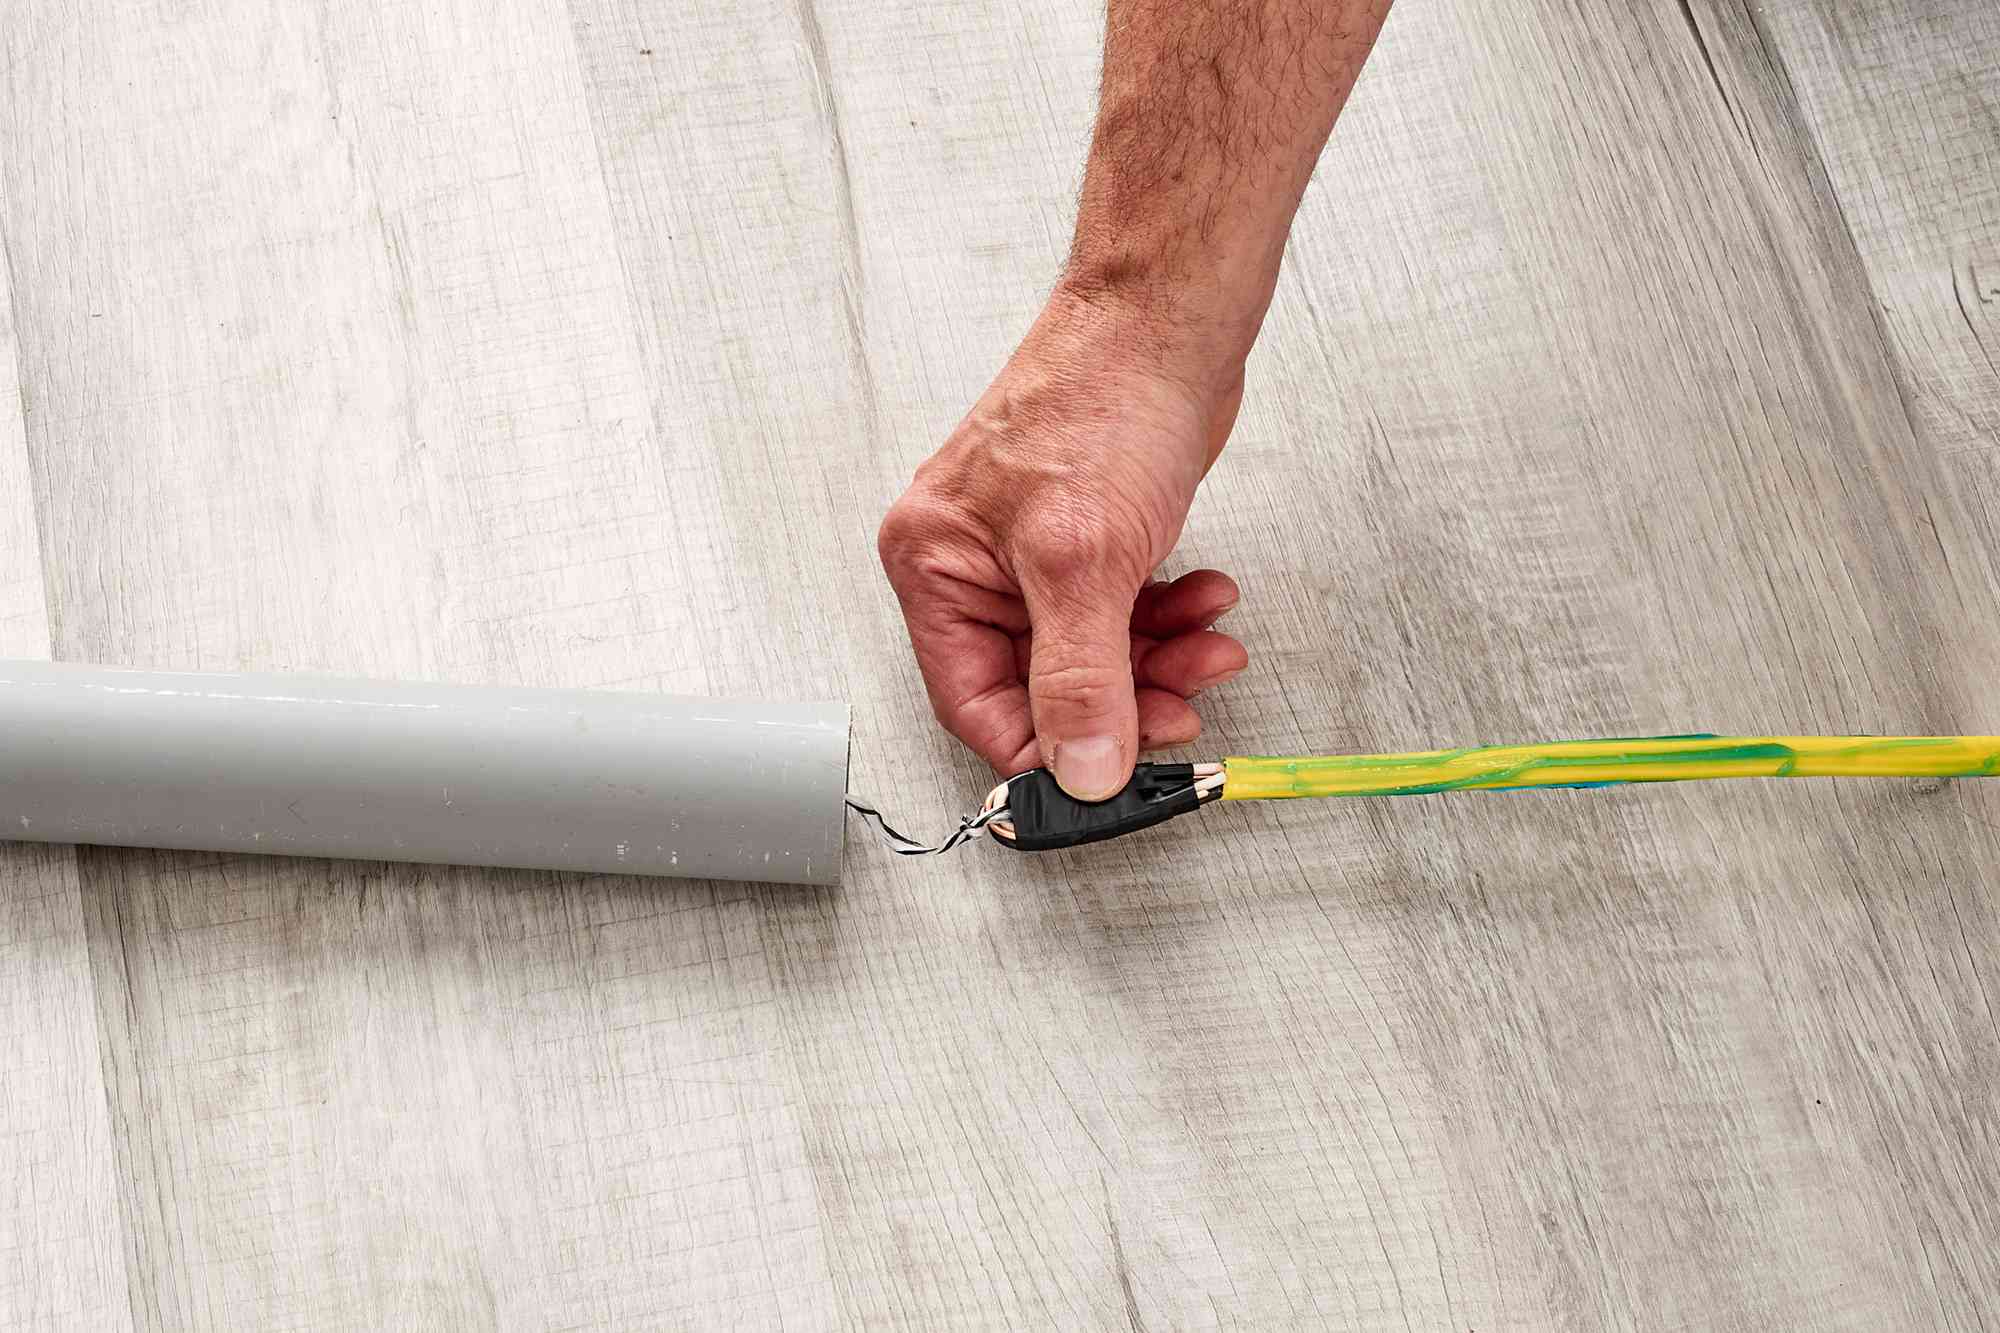
Step 2: Attaching the Wire to the Pulling Rope
Once you have prepared the conduit, it’s time to attach the wire to the pulling rope or fish tape. This step is crucial as it ensures the wire is securely connected and ready to be pulled through the conduit. Follow these steps to properly attach the wire:
- Measure and Cut the Wire: Measure the length of wire needed for your installation, leaving a little extra for flexibility. Use wire cutters to trim the wire to the appropriate length. Ensure that the wire is straight and free from any kinks or tangles.
- Strip the Wire: Using wire strippers, carefully remove the outer insulation of the wire at each end. This will expose the bare copper conductors, which will be connected to the pulling rope.
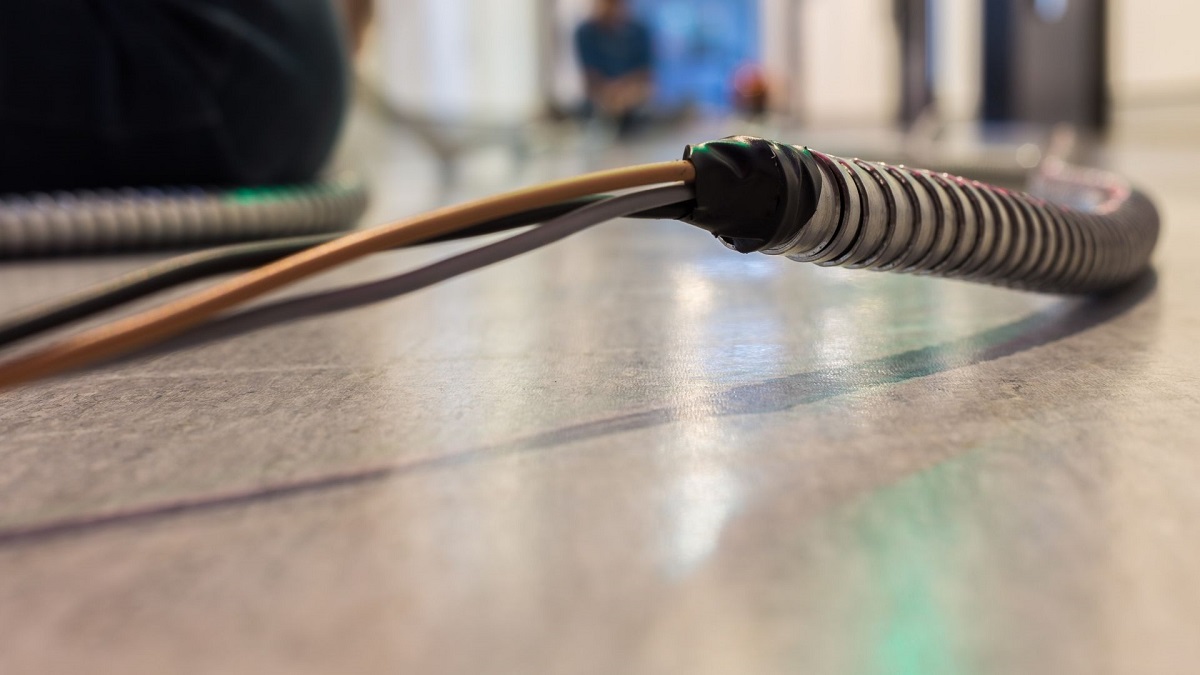
- Secure the Wire to the Pulling Rope: If you are using a wire pulling rope, tie a secure knot, such as a square knot or bowline, around the end of the wire. Make sure the knot is tight and reliable. If you are using a fish tape, attach the wire to the end by looping it through the small hole or slot at the tip of the fish tape and twisting it tightly around the metal tape. Use electrical tape to secure the connection and prevent it from coming loose during the pulling process.
- Secure the Connection: Once the wire is attached to the pulling rope or fish tape, use electrical tape to securely wrap the connection point. This will provide added strength and minimize the risk of the wire detaching from the pulling rope during the wire pulling process.
By properly attaching the wire to the pulling rope or fish tape, you ensure that the wire will remain securely connected throughout the wire pulling process. Now, let’s move on to the exciting part – pulling the wire through the conduit!
When pulling wire through conduit, make sure to use a lubricant to reduce friction and make the process easier. This will also help protect the wire from damage.
Read more: How To Pull HDMI Cable Through Conduit
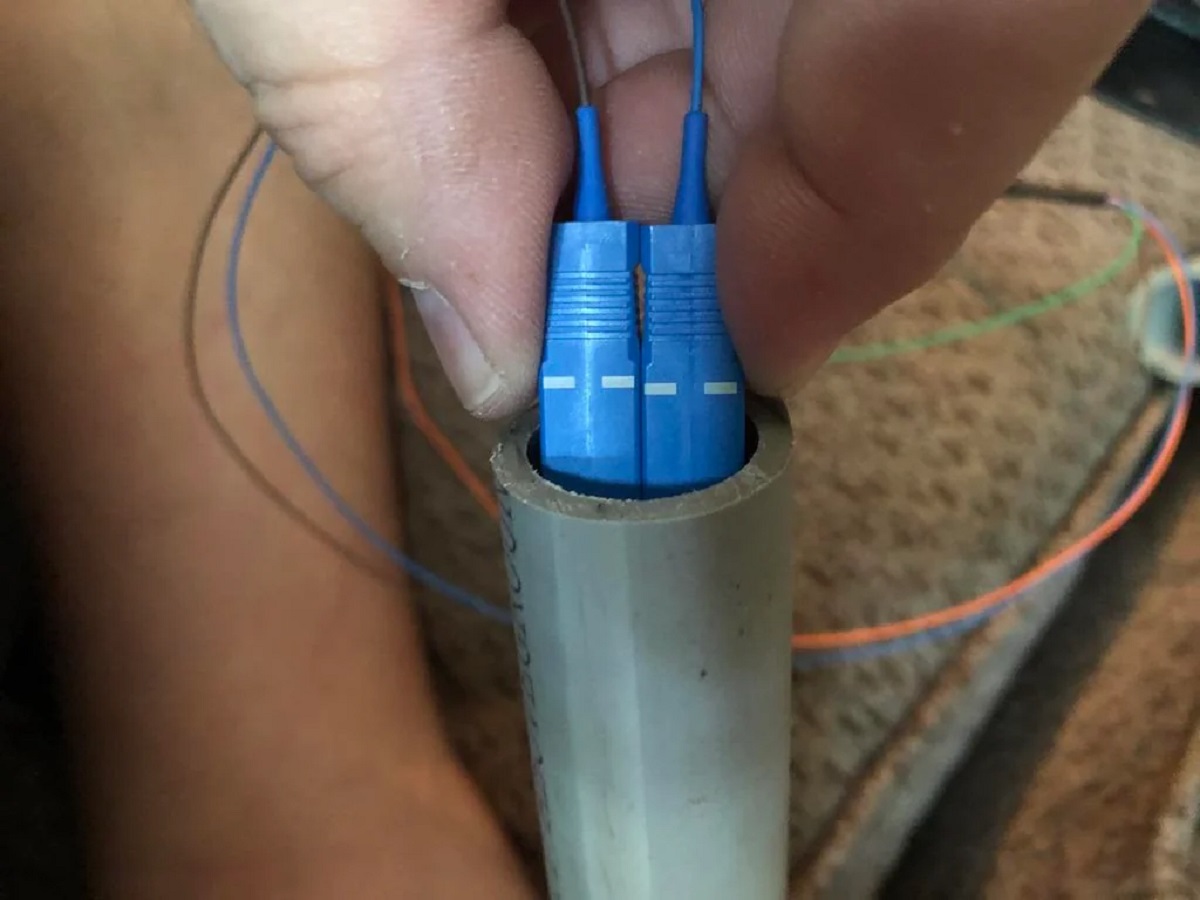
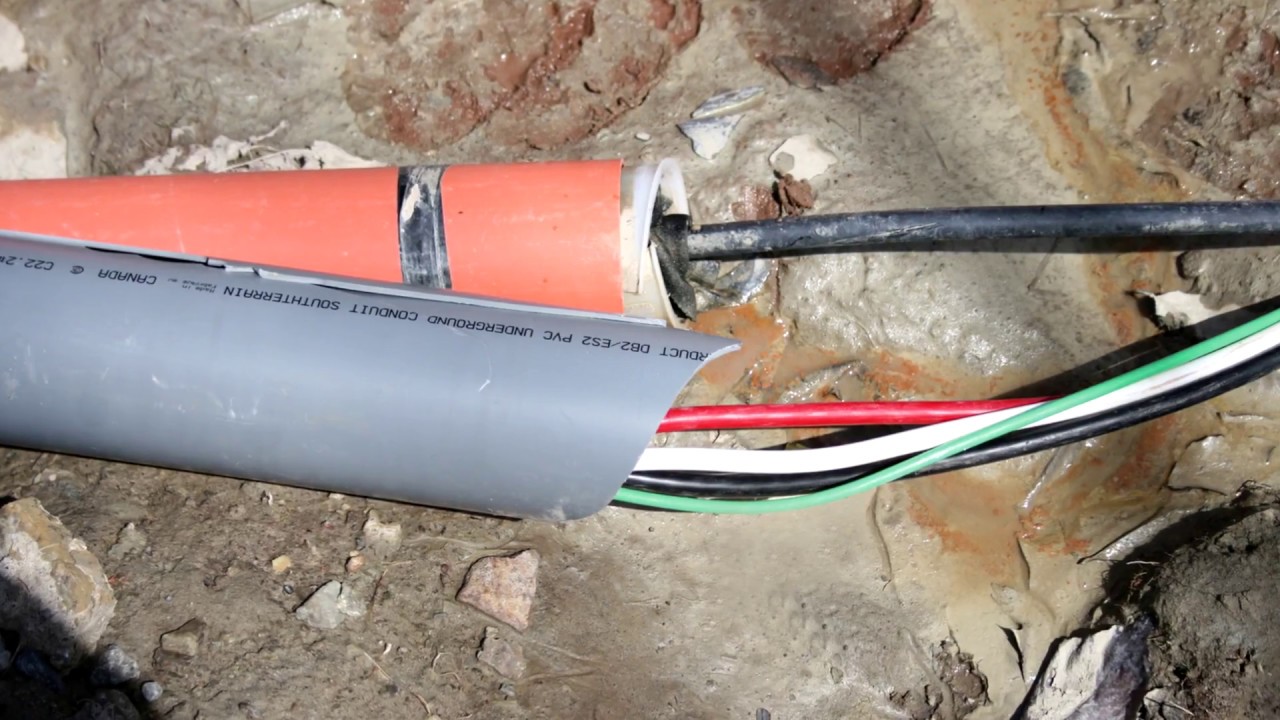
Step 3: Pulling the Wire Through the Conduit
Now that you have prepared the conduit and attached the wire to the pulling rope or fish tape, it’s time to start pulling the wire through the conduit. This step requires careful handling and coordination to ensure a successful wire pulling process. Follow these steps to effectively pull the wire through the conduit:
- Create Tension: Apply tension to the pulling rope or fish tape by pulling on the free end. Make sure there is enough tension to keep the wire properly aligned while pulling, but not so much that it causes strain or damage to the wire.
- Begin Pulling: Carefully guide the pulling rope or fish tape, along with the attached wire, into the conduit opening. Slowly and steadily pull the rope or tape, allowing the wire to thread through the conduit. Maintain consistent tension throughout the pulling process.
- Monitor Progress: As you continue pulling, periodically check the wire’s progress through the conduit. Ensure that it is moving smoothly and not catching on any obstructions. If you encounter any resistance, gently wiggle or rotate the wire to help it navigate through bends or tight spots.
- Assist the Wire: If the wire gets stuck or encounters difficulty moving through the conduit, use a wire lubricant or pull tape to facilitate its movement. Apply lubricant at the point of resistance or attach a pull tape to the wire and continue pulling to overcome the obstacle.
- Work as a Team: If possible, have a second person assist you during the wire pulling process. They can help ensure the wire is properly guided and provide additional tension or support if needed.
- Continue Pulling: Keep pulling the wire through the conduit until it reaches its intended destination or the end of the conduit. Maintain a steady, controlled pulling motion to prevent any damage to the wire or conduit.
By following these steps and maintaining patience and attention to detail, you will successfully pull the wire through the conduit. However, the process doesn’t end here. The next step involves securing and testing the wire, which we will cover in the following section.
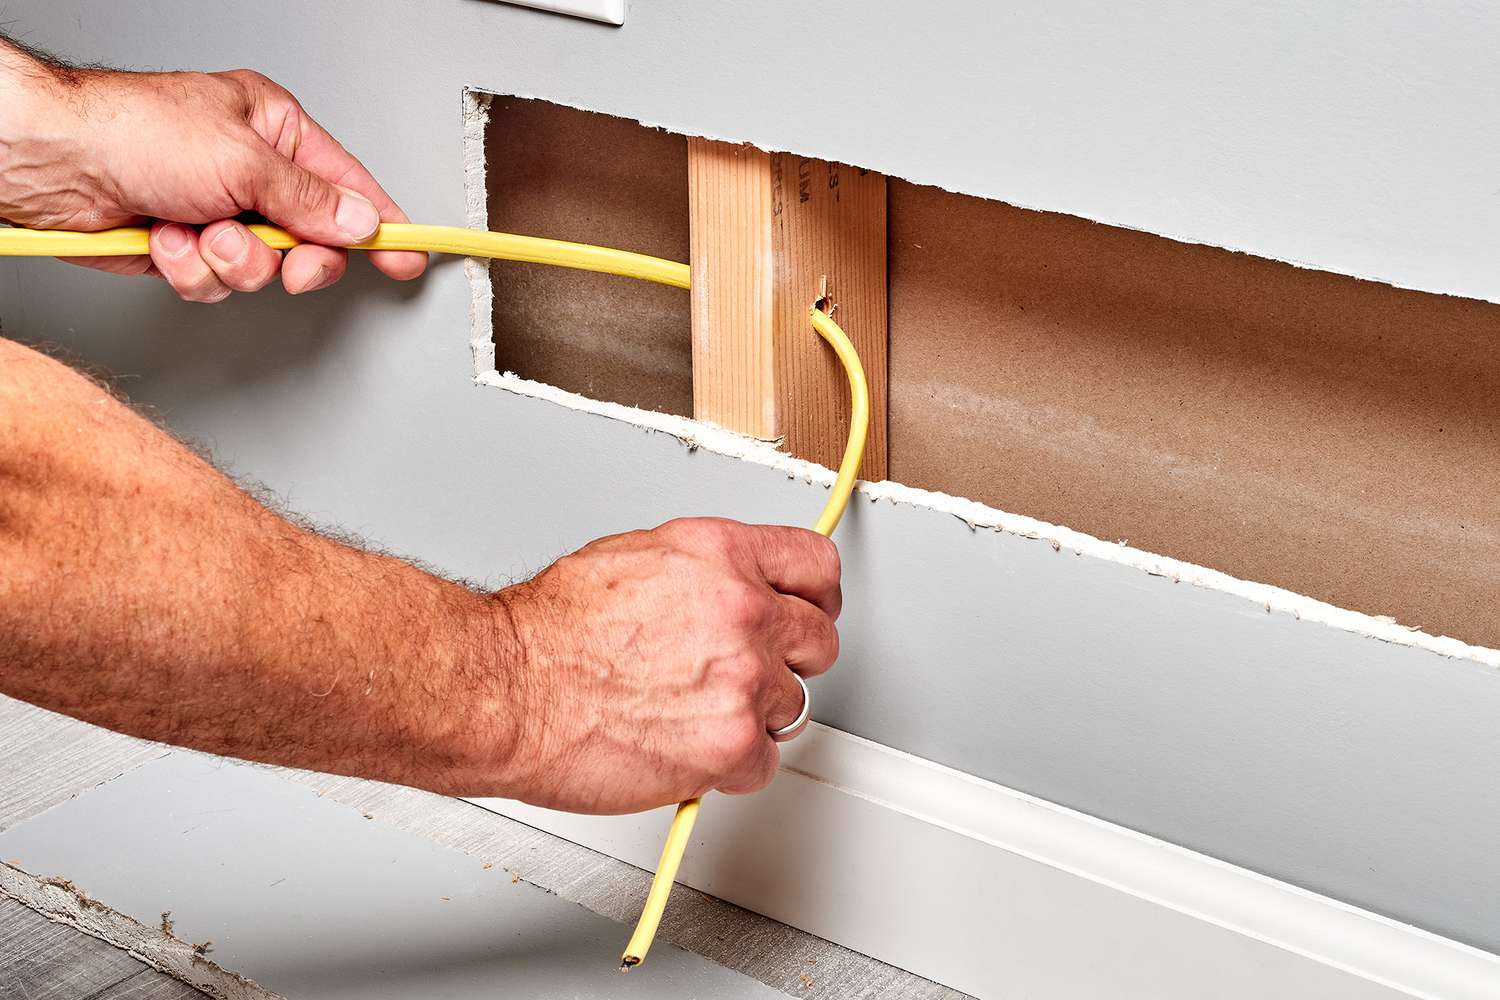
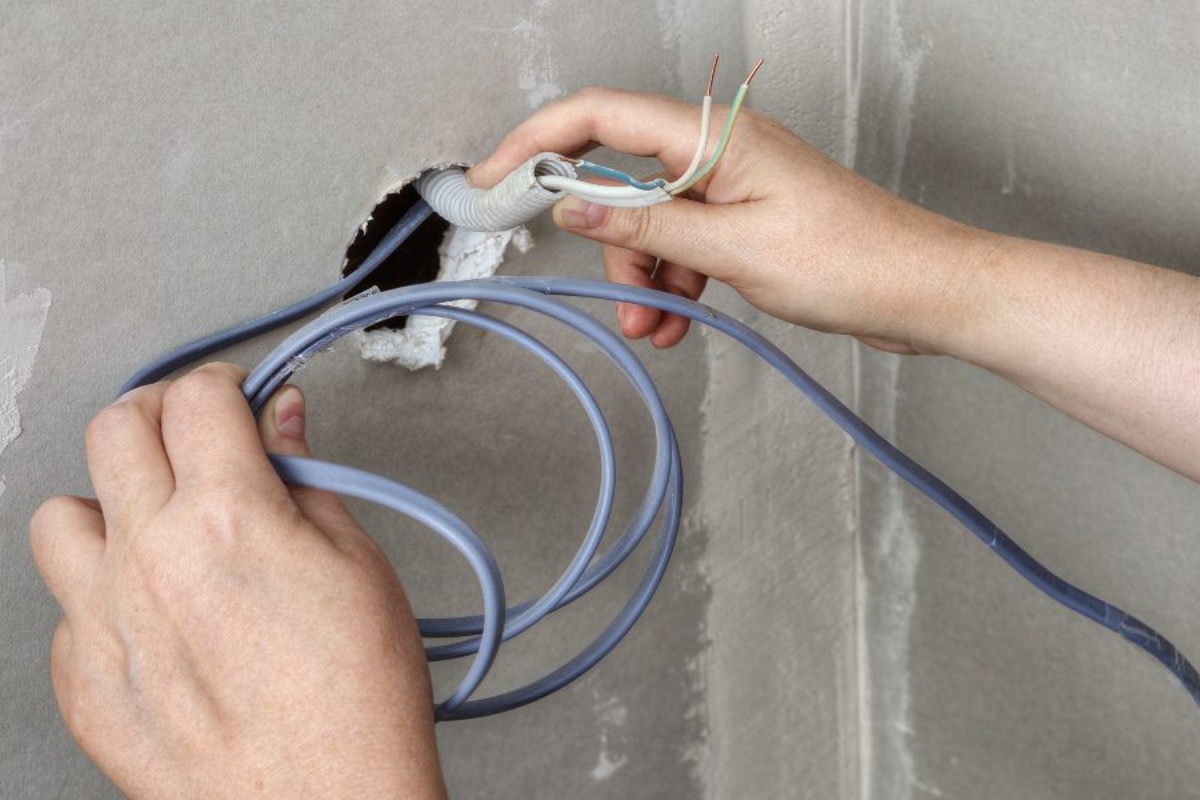
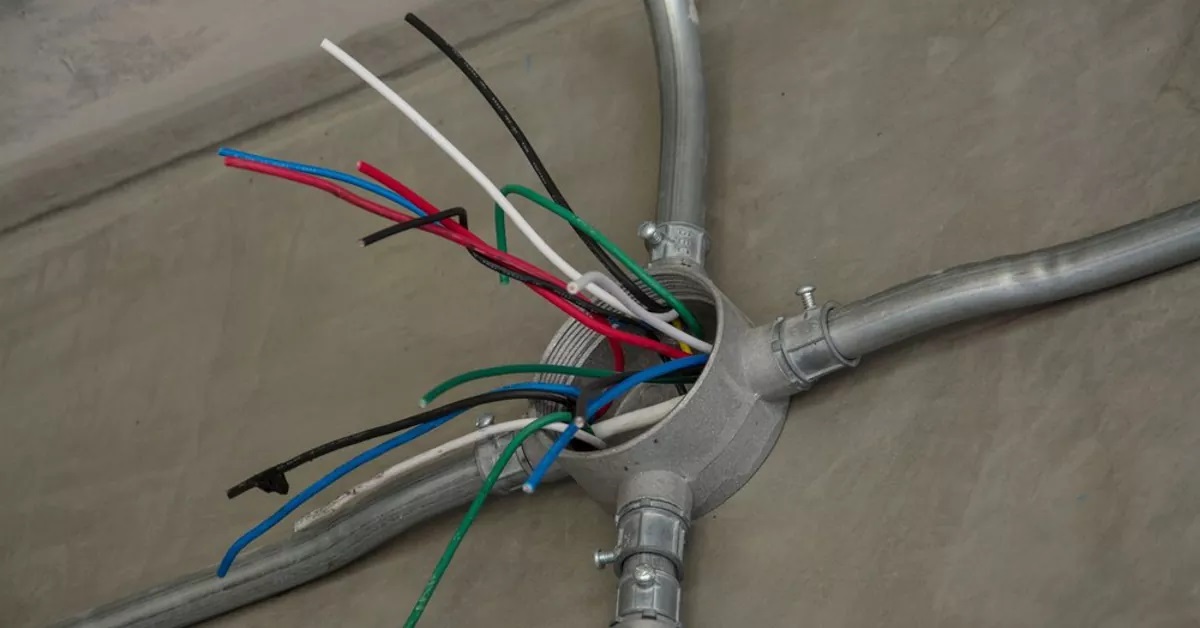
Step 4: Securing and Testing the Wire
After successfully pulling the wire through the conduit, the next step is to secure and test the wire to ensure its proper functioning. This step is essential for creating a safe and reliable electrical installation. Follow these steps to secure and test the wire:
- Secure the Wire: Once the wire is completely pulled through the conduit, ensure it is properly positioned and aligned within the conduit. Use plastic or metal cable clamps to secure the wire to the conduit and prevent it from moving or rubbing against the edges or other wires. Secure the clamps at regular intervals along the length of the conduit.
- Connect the Wire: Connect the wires to their respective electrical components, such as switches, outlets, or fixtures, following the appropriate wiring diagrams and instructions. Ensure that all connections are tight and secure, and use proper electrical connectors, such as wire nuts or terminal blocks.
- Test the Wire: Before energizing the circuit, it’s crucial to test the wire to ensure its proper functionality and integrity. Use a voltage tester or a multimeter to check for continuity, verify correct connections, and identify any potential issues, such as open circuits or shorts. Follow proper electrical safety procedures during testing.
- Make Adjustments if Needed: If any issues or discrepancies are found during testing, address them promptly. Check for loose connections, damaged wires, or any other problems that may affect the performance of the electrical system. Make any necessary adjustments or repairs to ensure a reliable and safe installation.
- Label and Document: Once the wire has been secured and tested, it’s a good practice to label the wires and create documentation of the installation. Label each wire based on its purpose or destination, using appropriate labeling materials. Document the wire connections, circuit layouts, and any other relevant information for future reference or troubleshooting purposes.
- Close and Secure the Conduit: Finally, ensure that the conduit is closed and securely fastened. Tighten conduit locknuts, install proper conduit covers or fittings, and secure any access points to protect the wiring from external elements or accidental damage.
By following these steps, you will ensure that the wire is secured and tested, ready for safe and efficient operation within your electrical system. With the wire securely in place, you can enjoy the benefits of a well-installed and properly functioning electrical system.
If you encounter any issues or difficulties during the wire pulling process, don’t hesitate to consult a professional electrician for assistance. They have the expertise and experience to help you overcome any challenges and ensure a successful wire pulling operation.
Next, we will provide some troubleshooting tips to help you address common problems that may arise during wire pulling.
Troubleshooting Tips
Wire pulling can sometimes present challenges or complications along the way. To help you overcome common problems during the wire pulling process, here are some troubleshooting tips:
- Obstructions in the Conduit: If you encounter resistance or difficulties pulling the wire through the conduit, there may be obstructions, sharp bends, or debris blocking the pathway. Use a wire lubricant and gently wiggle or rotate the wire to help it navigate through tight spots. If necessary, you may need to remove the obstruction or adjust the conduit route.
- Wire Gets Stuck: If the wire becomes stuck within the conduit, avoid excessive pulling force, as it can damage the wire or conduit. Instead, gently push or pull the wire back and forth to loosen it. Alternatively, use a wire lubricant or pull tape to facilitate movement. If the issue persists, consider re-evaluating the conduit route for any potential obstacles.
- Wire Breaks: If the wire breaks during the pulling process, assess the cause of the breakage, such as excessive force or a sharp edge. If possible, use wire splices or connectors to rejoin the wire. However, it’s generally best to replace the damaged section of wire to ensure a reliable and safe electrical connection.
- Conduit Size: If the wire is difficult to pull through the conduit, double-check that the conduit size is appropriate for the gauge and number of wires being pulled. Using a larger conduit can make wire pulling easier and minimize potential damage to the wires.
- Communication and Teamwork: If you have a second person assisting you, ensure effective communication and cooperation. Clear communication is crucial for coordinating the pulling process, adjusting tension, and troubleshooting any issues that may arise.
- Seek Professional Help: If you encounter persistent difficulties, complex electrical systems, or if you are unsure about the wire pulling process, it is advisable to consult a licensed electrician. They can provide expert guidance, resolve challenging situations, and ensure a safe and compliant installation.
Remember, patience, and attention to detail are key when troubleshooting wire pulling issues. Take the time to assess the situation, make necessary adjustments, and seek professional help if needed. With the proper troubleshooting techniques, you can overcome challenges and successfully complete your wire pulling project.
Now that we have covered troubleshooting tips, let’s conclude our article.
Conclusion
Wire pulling through conduit is a fundamental task in electrical installations, whether it’s for residential, commercial, or industrial projects. With the right tools, materials, and techniques, you can successfully pull wires through conduit, creating a safe and organized pathway for electrical currents.
In this article, we have provided a comprehensive guide to help you navigate the wire pulling process. We discussed the importance of wire pulling, the tools and materials needed, and the step-by-step procedure to prepare the conduit, attach the wire to the pulling rope, and pull the wire through the conduit. We also covered how to secure and test the wire, troubleshooting tips, and the importance of seeking professional help when needed.
Remember, wire pulling requires patience, attention to detail, and a steady hand. Take the time to properly prepare the conduit, secure the wire to the pulling rope, and ensure a smooth pulling process. Test the wire for proper operation and make any necessary adjustments or repairs.
By following the guidelines outlined in this article, you can successfully pull wire through conduit, creating a reliable and efficient electrical system. However, if you encounter any difficulties or are unsure about any step of the process, it is always best to seek the assistance of a professional electrician.
With the knowledge and techniques gained from this article, you are well-equipped to tackle future wire pulling projects with confidence. Whether you’re setting up a new electrical system or making repairs, proper wire pulling ensures the longevity and safety of your electrical installations.
So go ahead, gather your tools, prepare your conduit, and confidently pull your wires through. Enjoy the satisfaction of a job well done and the peace of mind that comes with a well-designed and properly installed electrical system.
Frequently Asked Questions about How To Pull Wire Through Conduit
Was this page helpful?
At Storables.com, we guarantee accurate and reliable information. Our content, validated by Expert Board Contributors, is crafted following stringent Editorial Policies. We're committed to providing you with well-researched, expert-backed insights for all your informational needs.
0 thoughts on “How To Pull Wire Through Conduit”