Articles
How To Pull Electrical Wire Through Conduit
Modified: August 27, 2024
Learn the best techniques and tools for pulling electrical wire through conduit with our informative and detailed articles. Ensure a smooth installation process and avoid common pitfalls.
(Many of the links in this article redirect to a specific reviewed product. Your purchase of these products through affiliate links helps to generate commission for Storables.com, at no extra cost. Learn more)
Introduction
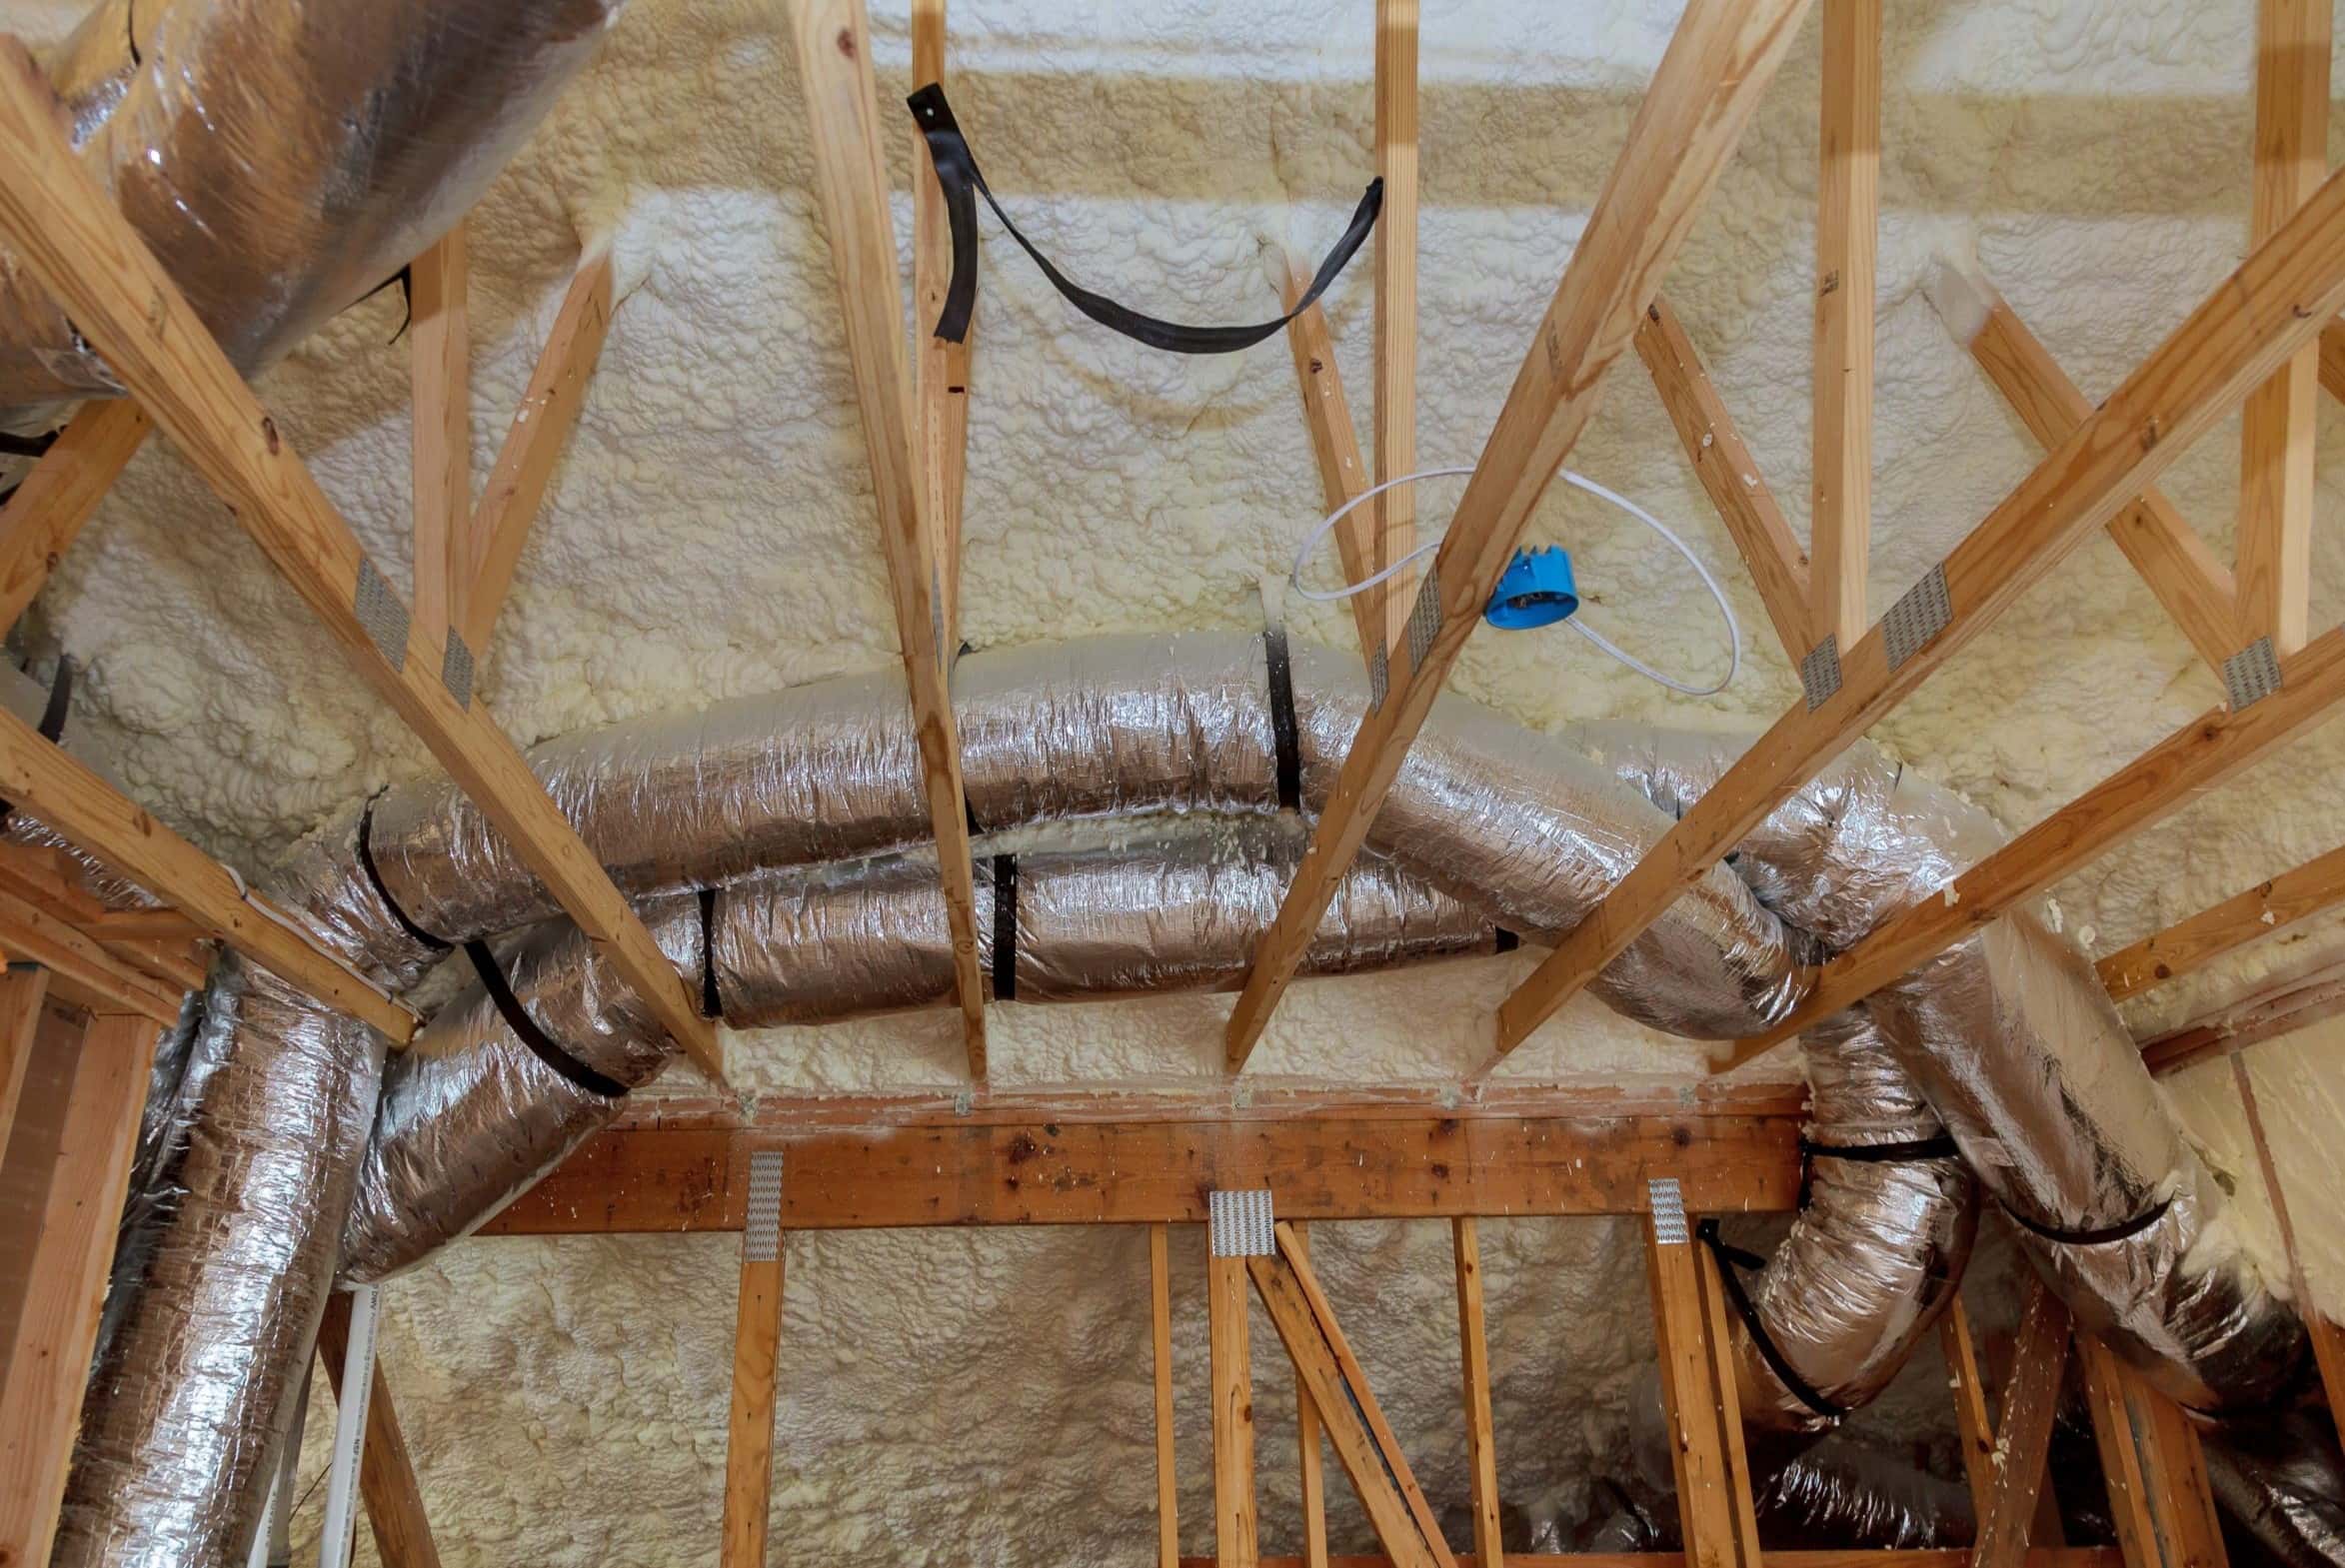
Welcome to our guide on how to pull electrical wire through conduit. Running wires through conduit is a crucial step in any electrical installation process, whether you’re working on a residential or commercial project. Conduit provides a protective pathway for the wires and helps to prevent damage or interference, ensuring the safety and reliability of the electrical system.
However, pulling electrical wire through conduit can be a challenging task, especially for those who are new to electrical work. It requires careful planning, the right tools, and a systematic approach to ensure a smooth and successful installation.
In this article, we will walk you through the step-by-step process of pulling electrical wire through conduit. We will cover everything from preparing the conduit to securing and testing the wire connection. By following these instructions, you will be able to confidently handle this task and ensure a professional-quality installation.
Before we dive into the details, let’s take a look at the tools and materials you will need for this project.
Key Takeaways:
- Properly preparing the conduit, securing the wire, and using lubricant are essential for a successful wire pulling process. Prioritize safety, double-check connections, and test the electrical circuit for a reliable installation.
- Having the right tools, such as conduit, wire, fish tape, and lubricant, is crucial for a smooth and efficient wire pulling process. Follow the step-by-step guide to confidently complete the task and ensure a safe electrical installation.
Read more: How To Pull Wire Through Conduit
Tools and Materials Needed
Before you begin pulling electrical wire through conduit, gather the following tools and materials:
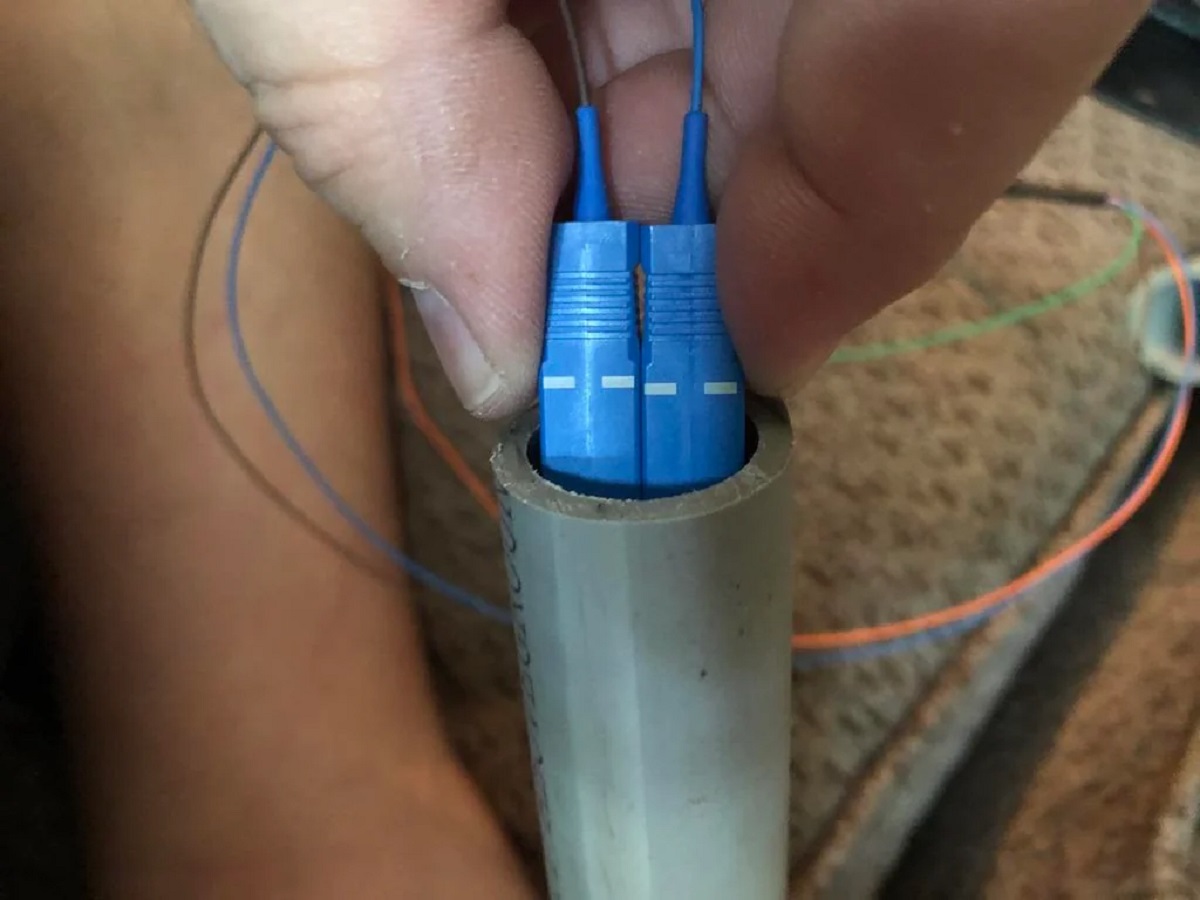
- Conduit: Select the appropriate type and size of conduit for your specific electrical installation. Common types include PVC, metal, and flexible conduit.
- Wire: Choose the correct gauge and type of wire for your electrical project. Make sure it is suitable for the voltage and amperage requirements.
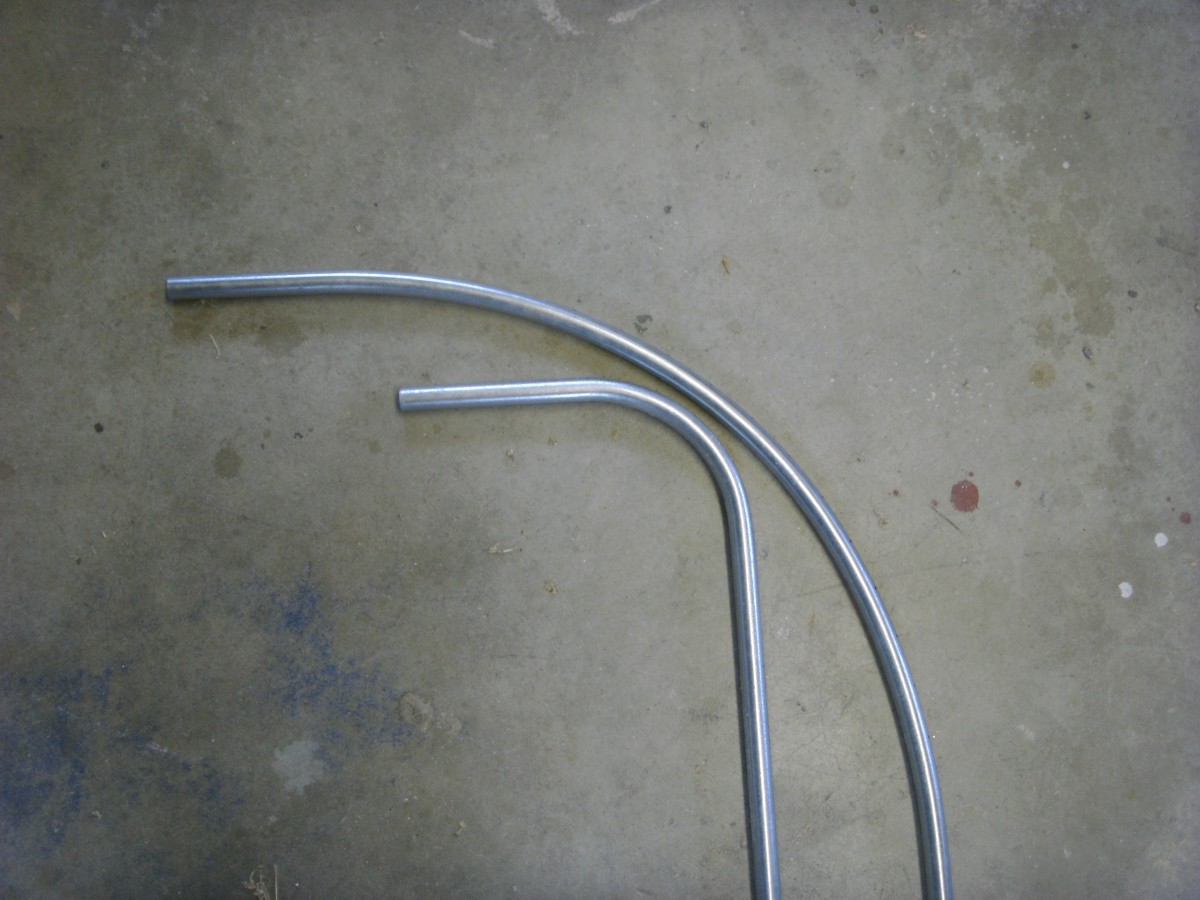
- Conduit Bender: If you need to bend the conduit, you will require a conduit bender. Ensure that the bender matches the size and type of conduit you are using.
- Fish Tape: A fish tape is a long, flexible, and flat steel tape that is used to guide wires through the conduit. Make sure it is long enough for your conduit length.
- Wire Lubricant: Lubricant makes it easier to pull the wire through the conduit by reducing friction. Choose a lubricant specifically designed for electrical installations.
- Conduit Cutter: A conduit cutter is necessary for cutting the conduit to the desired length. Make sure it matches the size and type of conduit you are using.
- Screwdriver: You may need a screwdriver to attach the wire to the conduit or secure any fittings along the way.
- Electrical Tape: Use electrical tape to secure the wire to the fish tape or to wrap the wire connections.
- Measuring Tape: A measuring tape will help you accurately determine the length of the conduit and the distance required for the wire.
- Safety Gear: Always prioritize safety while working with electrical systems. Wear safety glasses, gloves, and appropriate clothing to protect yourself from potential hazards.
Having these tools and materials ready before you start will ensure a smoother and more efficient installation process. Once you have everything prepared, you can proceed to the next steps of pulling the wire through the conduit.
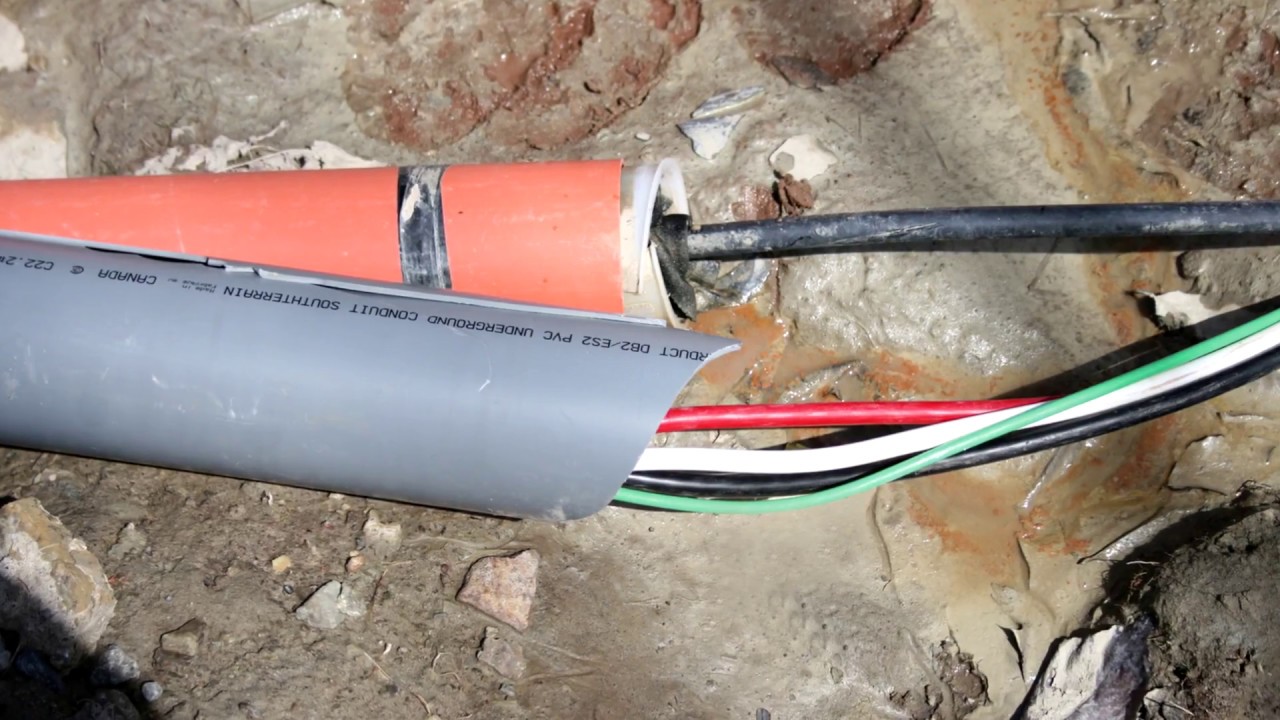
Step 1: Preparing the Conduit
Before you can begin pulling the electrical wire through the conduit, you need to properly prepare the conduit for installation. Follow these steps to ensure a well-prepared conduit:
- Measure and cut the conduit: Start by measuring the length of conduit needed for your installation project. Use a measuring tape to determine the exact length required. Once measured, use a conduit cutter to cut the conduit to the desired length.
- Debur the cut ends: After cutting the conduit, it’s important to remove any burrs or sharp edges from the cut ends. Use a deburring tool or a utility knife to carefully smooth out the edges. This will ensure that the wire can easily pass through the conduit without any obstructions.
- Secure the conduit: Depending on the installation requirements, you may need to secure the conduit to the mounting surface. Use suitable straps or clamps to hold the conduit in place, ensuring that it is secure and properly aligned. This step will prevent any unnecessary movement or damage to the conduit during the wire pulling process.
- Bend the conduit (if necessary): If your project requires bends in the conduit path, you will need to use a conduit bender. Follow the manufacturer’s instructions and guidelines to make accurate and precise bends in the conduit. It’s essential to avoid any kinks or deformities that can impede the wire’s smooth passage through the conduit.
By taking the time to properly prepare the conduit, you will ensure a more efficient wire pulling process. Once the conduit is measured, cut, deburred, and secured, you can move on to the next step of attaching the wire to the conduit.
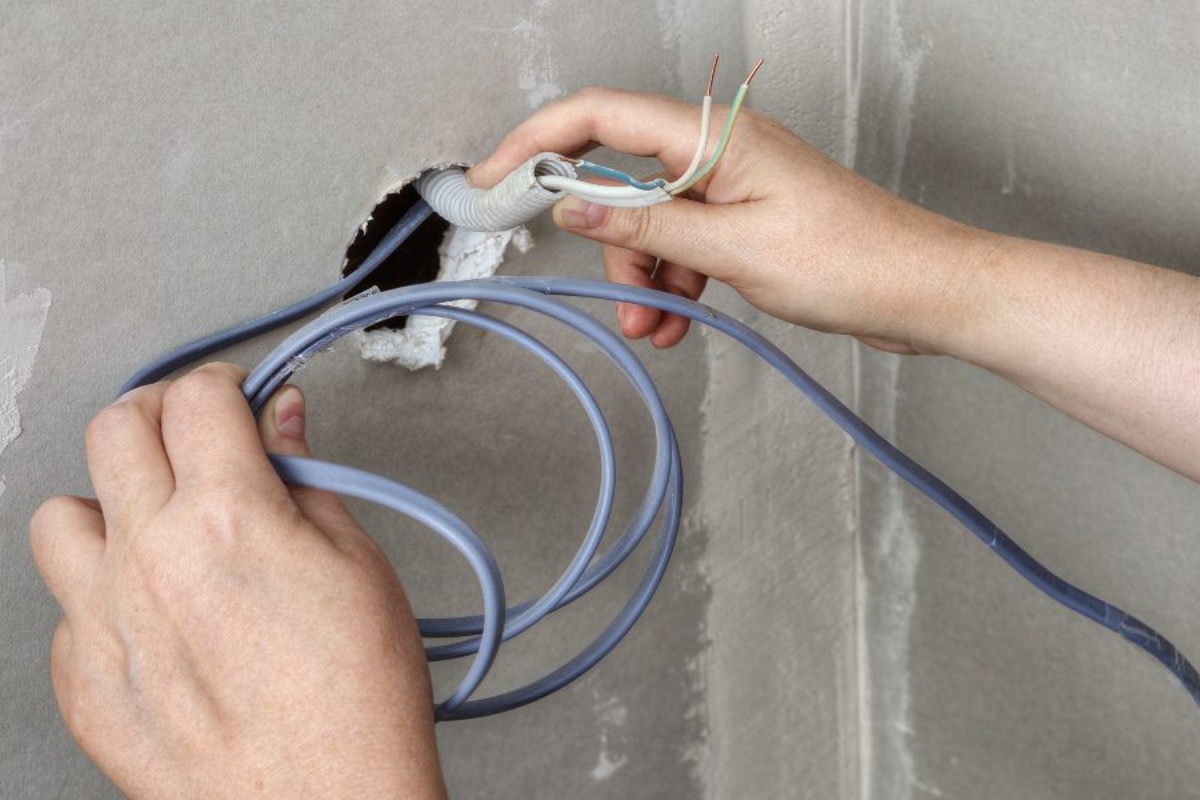
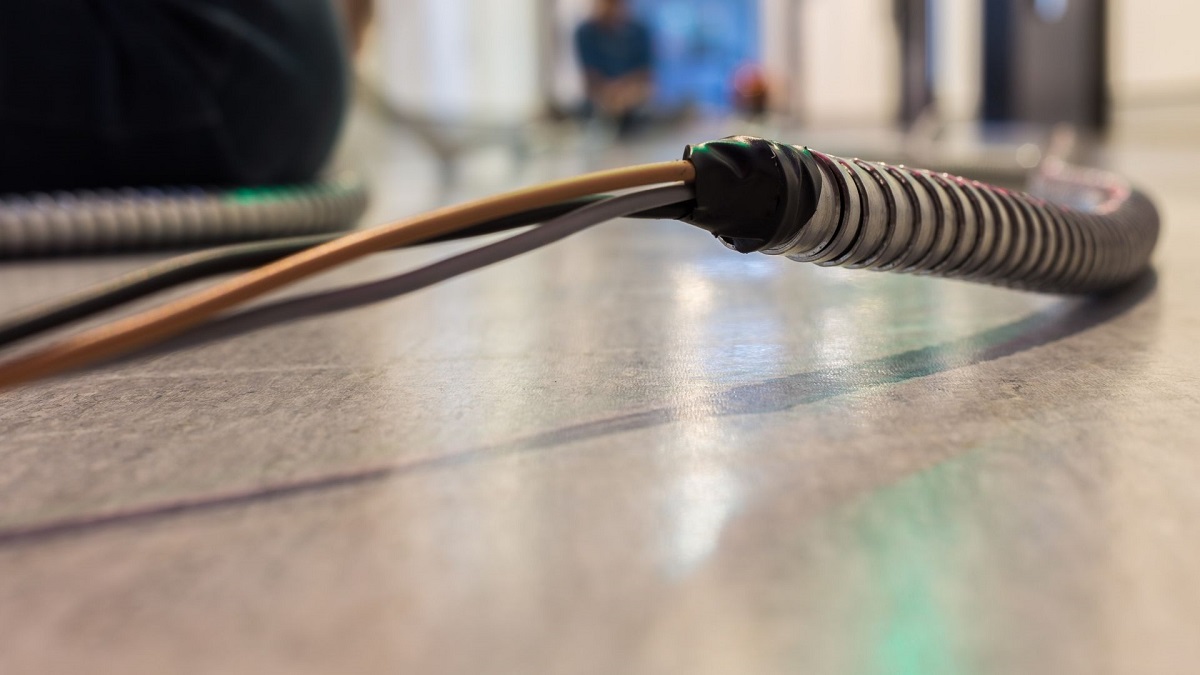
Step 2: Attaching the Wire to the Conduit
After preparing the conduit, the next step is to attach the electrical wire to the conduit. Follow these steps to properly secure the wire:
- Strip the wire: Start by stripping off the insulation from the end of the wire. Use wire strippers to carefully remove the insulation, exposing the bare copper or aluminum conductors. Make sure to strip off the appropriate length of insulation based on the connection requirements.
- Position the wire: Once the wire is stripped, position it parallel to the conduit. Make sure the wire is aligned with the opening of the conduit and runs along the length of the conduit. It’s important to leave some extra length of wire outside the conduit for easy handling during the pulling process.
- Secure the wire to the conduit: Use electrical tape to attach the wire to the conduit at regular intervals. Wrap the tape around the wire and conduit to create a secure connection. This will prevent the wire from getting tangled or coming loose during the pulling process.
- Use wire lubricant: Apply a generous amount of wire lubricant to the exposed wire and the opening of the conduit. This lubricant will reduce friction and make it easier to pull the wire through the conduit.
- Verify proper attachment: Before moving on to the next step, double-check that the wire is securely attached to the conduit and that the lubricant is evenly applied. This will ensure a smoother wire pulling process.
Attaching the wire to the conduit is an essential step to ensure a successful wire pulling process. By properly securing the wire and applying lubricant, you will minimize the risk of any snags or obstructions during the pulling process. Once the wire is attached, you can proceed to the next step of actually pulling the wire through the conduit.
When pulling electrical wire through conduit, use a wire lubricant to reduce friction and make the process easier. This will help prevent damage to the wire insulation and make the job go more smoothly.
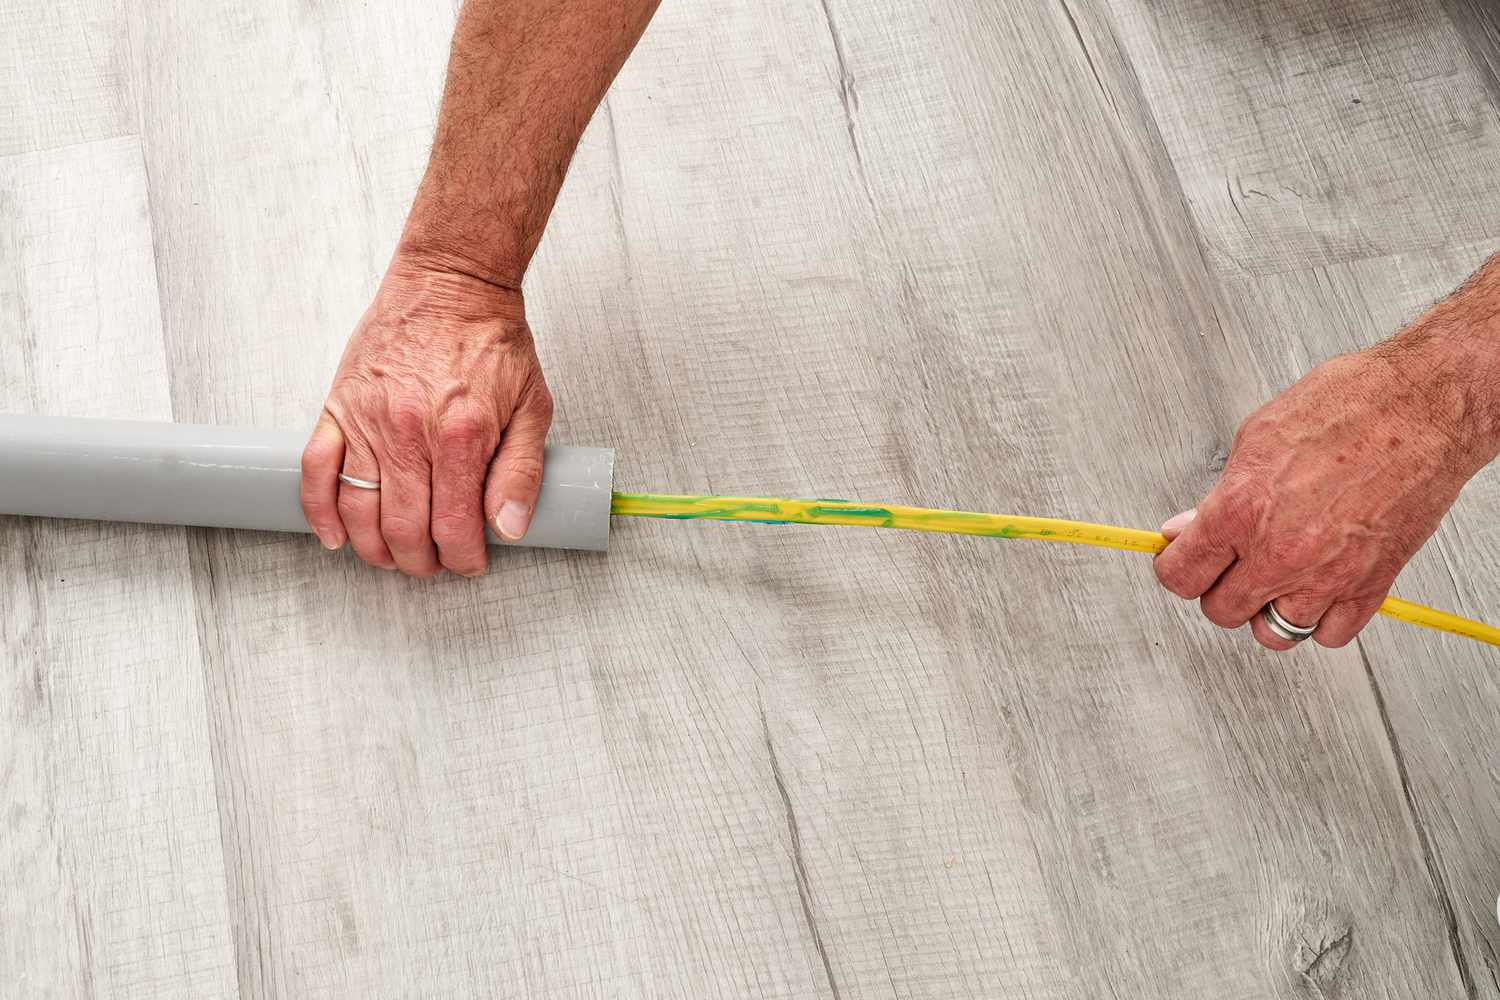
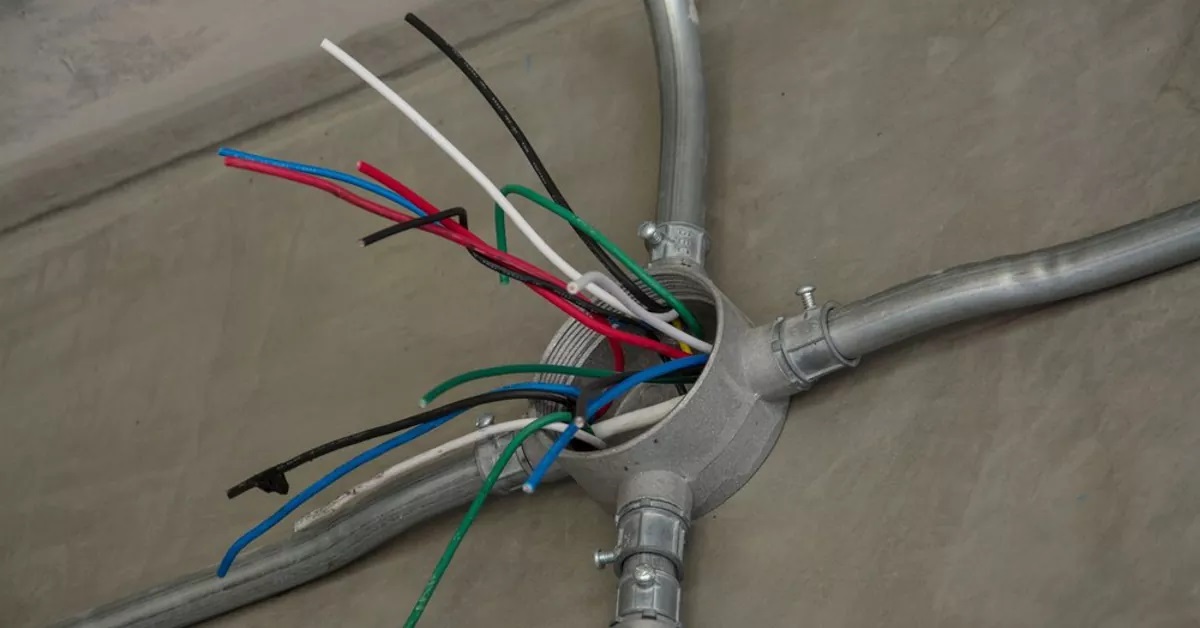
Step 3: Pulling the Wire Through the Conduit
Now that you have prepared the conduit and attached the wire, it’s time to pull the wire through the conduit. Follow these steps to ensure a successful pulling process:
- Start at one end: Begin by positioning yourself at one end of the conduit where the wire will be pulled from. Make sure you have a clear path and sufficient space to maneuver the wire and conduit.
- Push the wire: Using gentle, steady pressure, start pushing the wire into the conduit. As you push, make sure to maintain control of the wire and keep it aligned with the opening of the conduit. Pushing too hard may cause the wire to jam or get stuck, so apply consistent and controlled force.
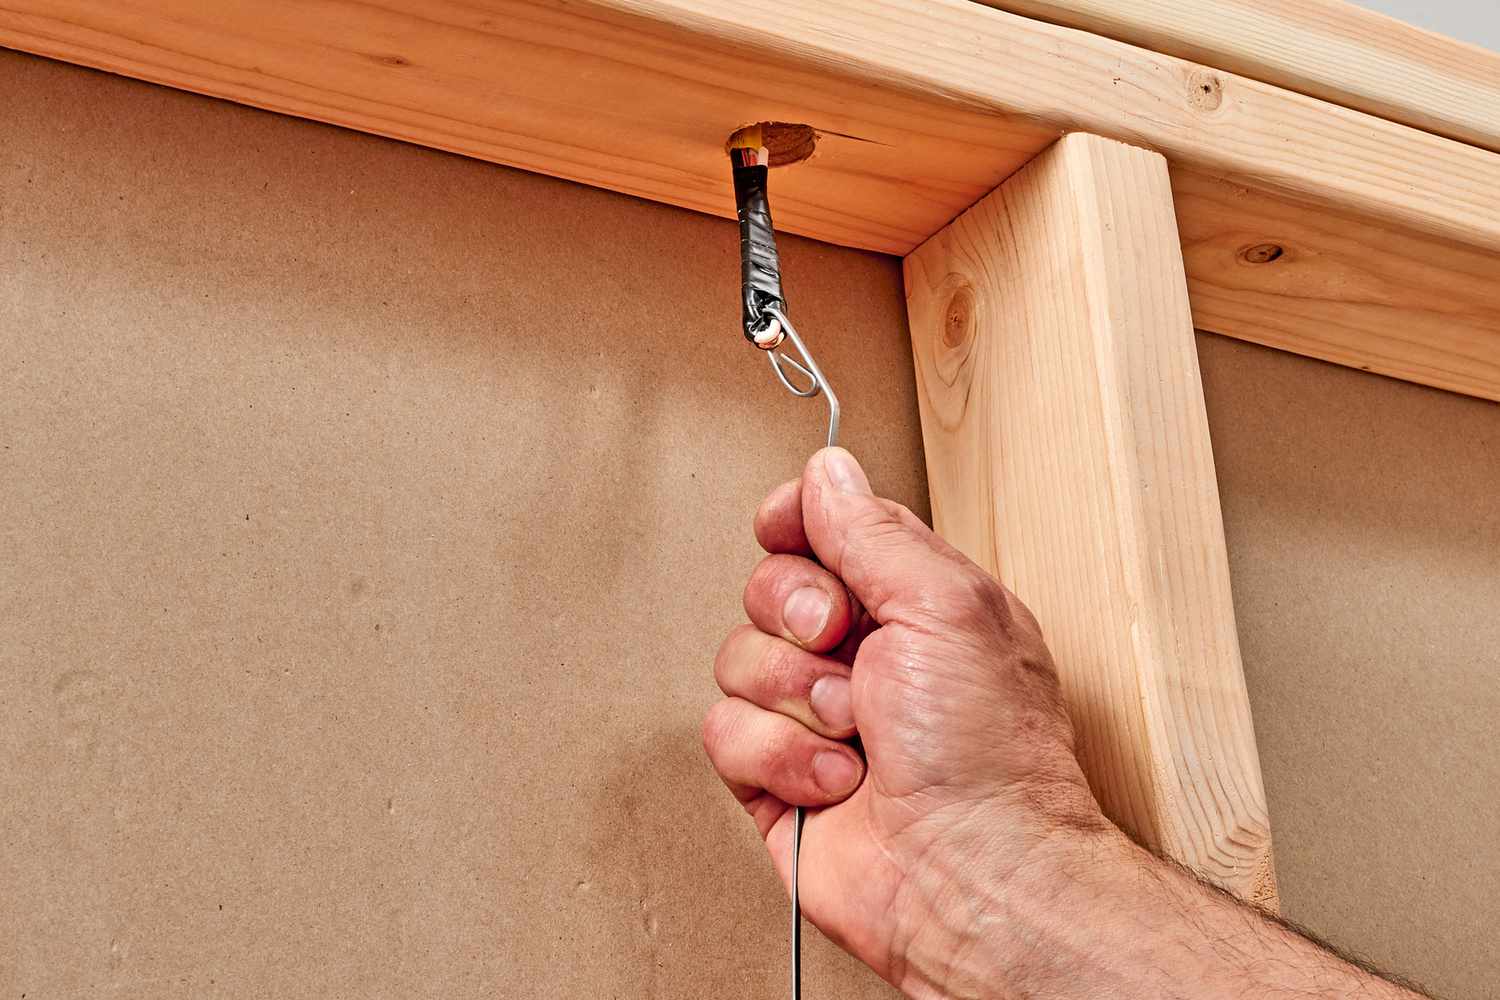
- Assist with fish tape: If the conduit is long or has multiple bends, it may be challenging to push the wire through by hand. In this case, you can use a fish tape to guide the wire. Attach the fish tape to the end of the wire and push or pull the tape to navigate the wire through the conduit. This will provide you with more control and help navigate any obstacles within the conduit.
- Apply additional lubricant if needed: If you encounter resistance or difficulty while pulling the wire through the conduit, apply more wire lubricant as needed. This will help reduce friction and smooth out the pulling process.
- Pull steadily: Continue pushing or pulling the wire through the conduit, maintaining steady and consistent force. Avoid jerking or pulling too forcefully, as this can cause the wire to become tangled or damaged. Keep a firm grip on the wire to ensure proper control throughout the pulling process.
Remember to take breaks if needed, especially if the pulling process is long or strenuous. It’s important to work at a comfortable pace to ensure the safety of both yourself and the electrical wire. Once you have successfully pulled the wire through the conduit, move on to the final step of securing and testing the wire connection.
Read more: How To Pull HDMI Cable Through Conduit
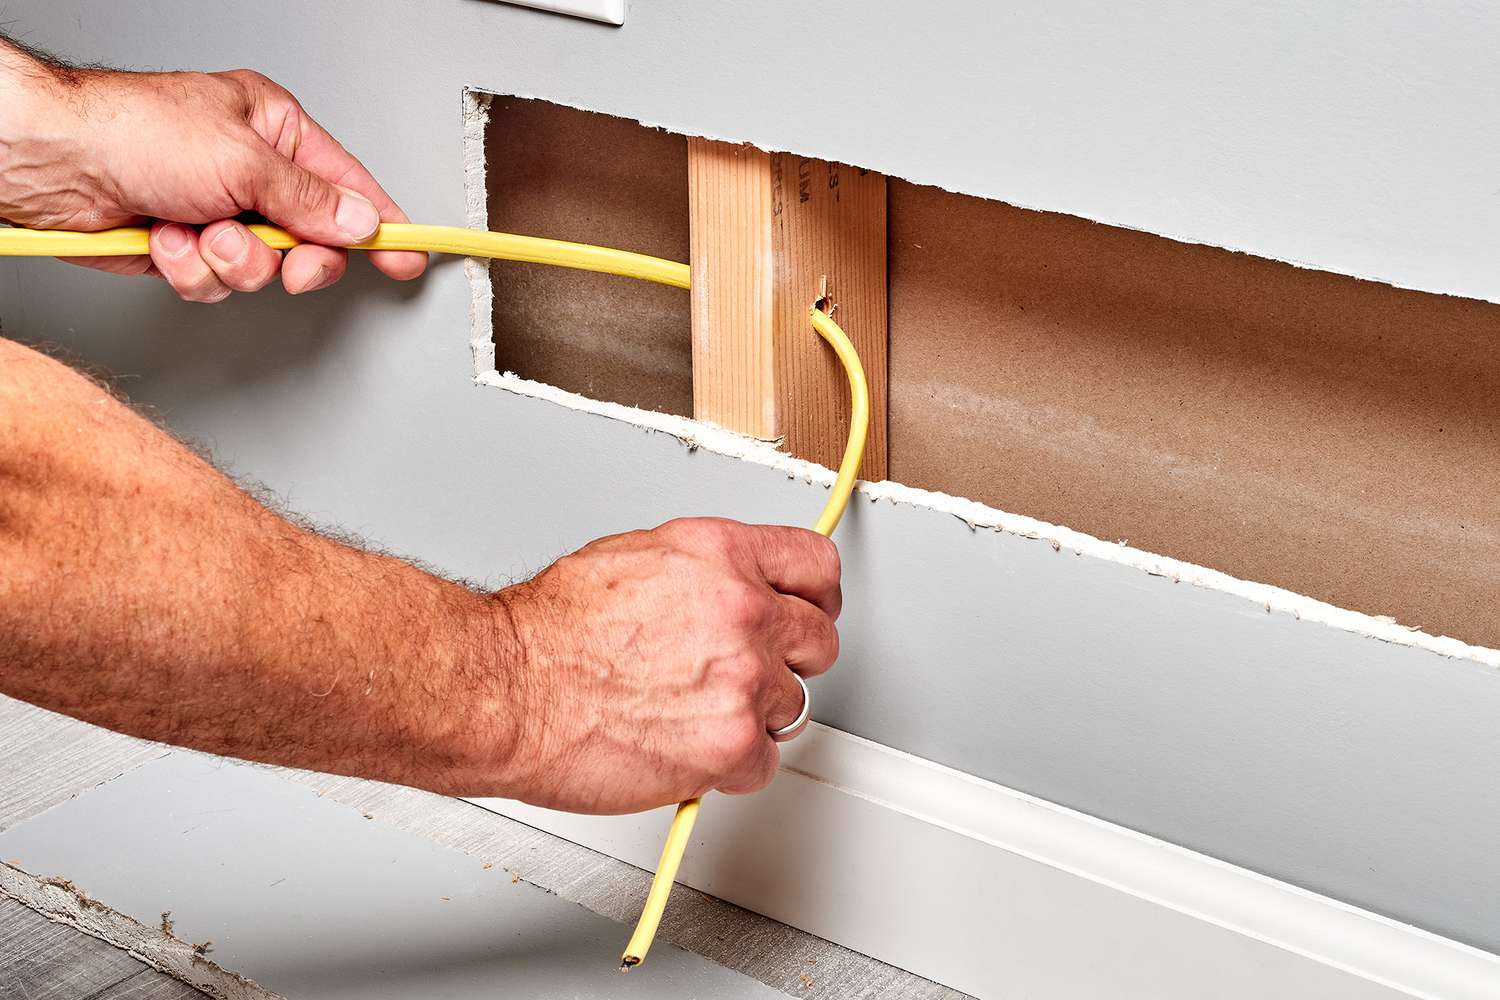
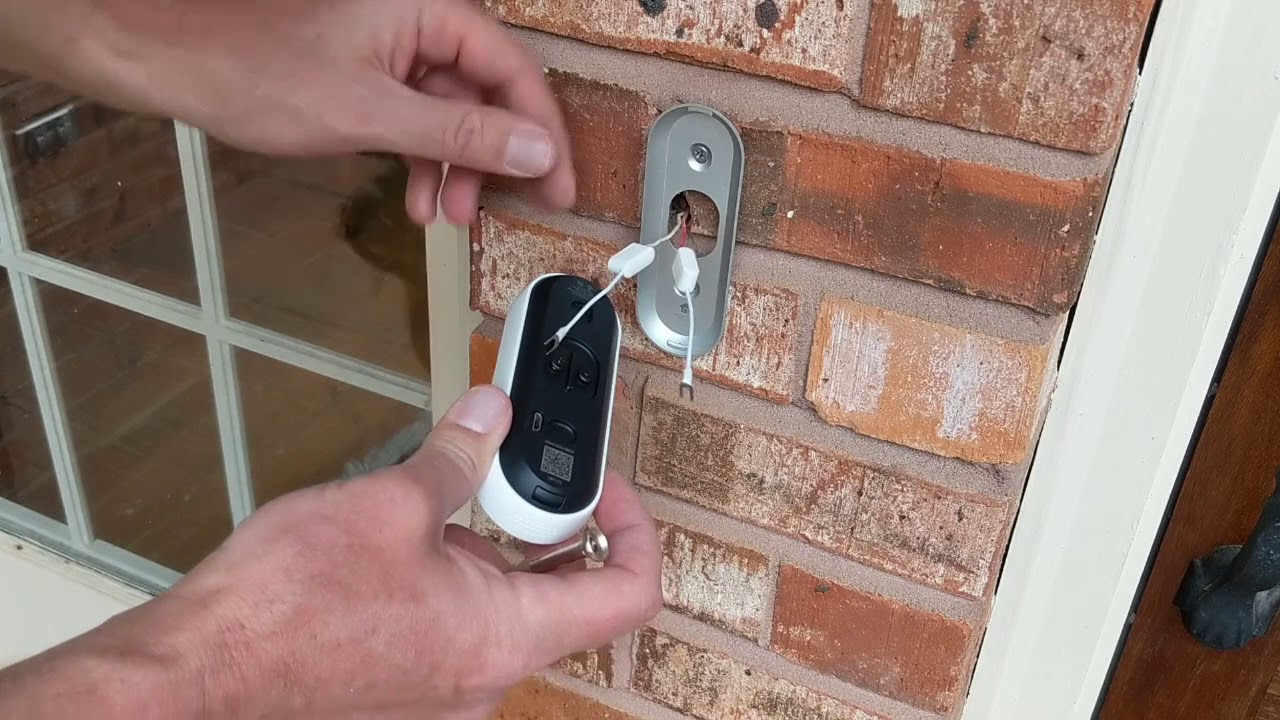
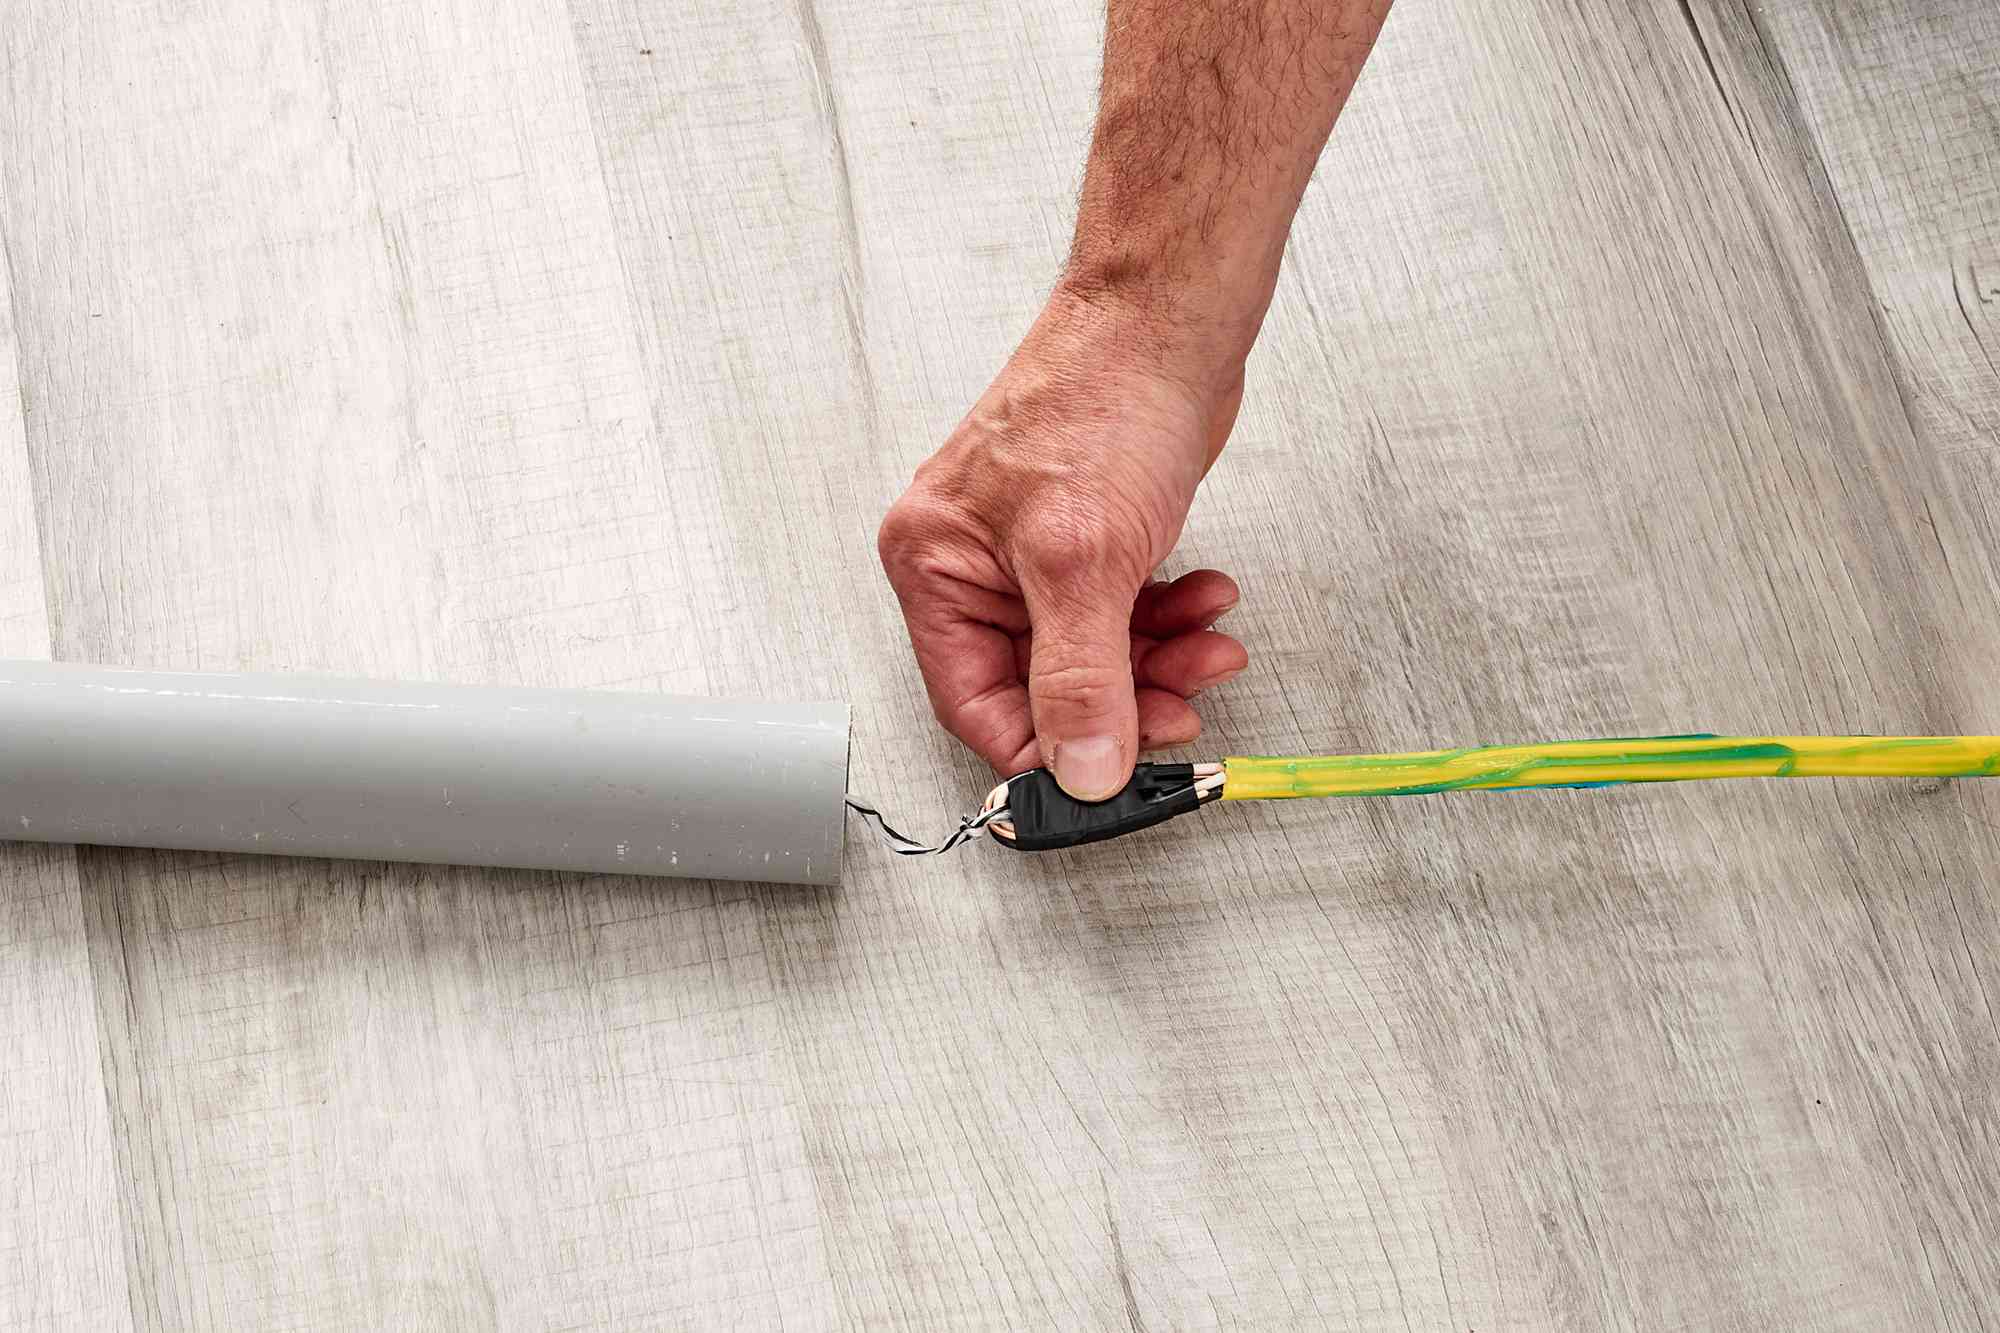
Step 4: Securing and Testing the Wire Connection
After successfully pulling the wire through the conduit, the final step is to secure and test the wire connection. Follow these steps to ensure a secure and functioning electrical connection:
- Trim excess wire: If there is any excess wire sticking out from the conduit, use wire cutters to trim it to a suitable length. Leave enough wire to work with, but avoid any excess that may cause problems during installation.
- Strip the wire ends: Once the wire is trimmed, strip off the insulation from the ends of the wire using wire strippers. Make sure to expose the appropriate length of bare conductor for making connections.
- Make wire connections: Depending on your specific electrical installation, you may need to make wire connections such as splicing, using wire nuts, or connecting to outlets or switches. Follow the proper wiring guidelines and techniques to make secure and reliable connections.
- Secure the connections: Once the wire connections are made, use electrical tape or wire connectors to secure the connections and protect them from any accidental electrical contact. Wrap the tape or fasten the connectors tightly around the wires for a secure fit.
- Test the electrical connection: After securing the connections, it’s crucial to test the electrical circuit to ensure it is functioning correctly. Use a voltage tester or multimeter to check for voltage and continuity. This will verify that the wire connection has been successfully established and that there are no issues or faults.
It’s important to double-check all your wire connections and ensure they are properly secured before energizing the electrical system. This will help prevent any electrical hazards and ensure the safety and functionality of the installed wires.
With the wire connection secured and tested, you have successfully completed the process of pulling electrical wire through conduit. Congratulations on a job well done! Your electrical installation is now ready for use, providing a reliable and safe power supply.
Conclusion
Pulling electrical wire through conduit is a critical step in any electrical installation project. By following the step-by-step guide outlined in this article, you can confidently and successfully complete this task. Properly preparing the conduit, attaching the wire, pulling the wire through the conduit, and securing the wire connection are all vital aspects of a professional-quality installation.
Throughout the process, it is essential to have the right tools and materials on hand, such as conduit, wire, fish tape, wire lubricant, and more. These tools will aid in achieving a smooth and efficient wire pulling process.
Remember to prioritize safety at all times by wearing appropriate gear and working carefully with electrical systems. Double-check your wire connections and test the electrical circuit to ensure everything is secure and functioning correctly before energizing the system.
By following these guidelines, you can ensure a reliable and safe electrical installation. Whether you are working on a residential or commercial project, pulling electrical wire through conduit will provide protection and support for your electrical system, ensuring its longevity and reliability for years to come.
So, roll up your sleeves, gather your tools, and start your electrical installation with confidence. With the knowledge and skills gained from this guide, you are well-equipped to successfully pull electrical wire through conduit and create a reliable electrical system.
Now that you've mastered pulling wires through conduit, why not expand your electrical DIY skills even further? Discover practical steps for routing electrical wiring overhead to your garage, ensuring safe and efficient power distribution. Or perhaps you're ready to tackle conduit installation inside walls to streamline your home’s electrical framework. If you’re looking to refine your technique, our detailed guide on wire pulling offers more expert tips. Each resource provides valuable insights to boost your confidence in handling these projects.
Frequently Asked Questions about How To Pull Electrical Wire Through Conduit
Was this page helpful?
At Storables.com, we guarantee accurate and reliable information. Our content, validated by Expert Board Contributors, is crafted following stringent Editorial Policies. We're committed to providing you with well-researched, expert-backed insights for all your informational needs.
0 thoughts on “How To Pull Electrical Wire Through Conduit”