Articles
How To Put Wood Flooring On Stairs
Modified: February 23, 2024
Learn how to install wood flooring on stairs with our helpful articles. Get step-by-step instructions and expert tips for a stunning staircase renovation.
(Many of the links in this article redirect to a specific reviewed product. Your purchase of these products through affiliate links helps to generate commission for Storables.com, at no extra cost. Learn more)
Introduction
Wood flooring on stairs adds a touch of elegance and warmth to any home. It not only enhances the aesthetic appeal but also provides durability and longevity. If you have been contemplating how to put wood flooring on stairs but don’t know where to begin, fret not! In this comprehensive guide, we will walk you through the step-by-step process, giving you the confidence to transform your stairs into a stunning focal point.
Before you get started, it’s important to gather all the necessary materials and tools. You will need wood flooring that complements the existing decor, stair nosing for a finished look, a measuring tape, a saw for cutting the wood, a nail gun, a pry bar, a hammer, a level to ensure accuracy, adhesive for attaching the flooring, and protective coatings for finishing touches.
Now that you have everything ready, let’s dive into the detailed steps to put wood flooring on stairs like a pro. Remember to take your time, measure accurately, and follow the manufacturer’s instructions for your specific flooring material.
Key Takeaways:
- Transform your staircase into a stunning focal point by following the step-by-step guide to installing wood flooring on stairs. Achieve a seamless and professional-looking result with precision and attention to detail.
- Enhance the aesthetic appeal and durability of your home by adding wood flooring to your stairs. From gathering materials to finishing touches, create a visually appealing and long-lasting staircase with confidence.
Read more: Why Is There Stairs In The Woods
Step 1: Gather Materials and Tools
Before you begin installing wood flooring on your stairs, it’s important to gather all the necessary materials and tools. Here’s a list of what you’ll need:
- Wood flooring: Choose a type of wood that matches or complements the flooring in the adjoining rooms. Consider the durability and hardness of the wood for high-traffic staircases.
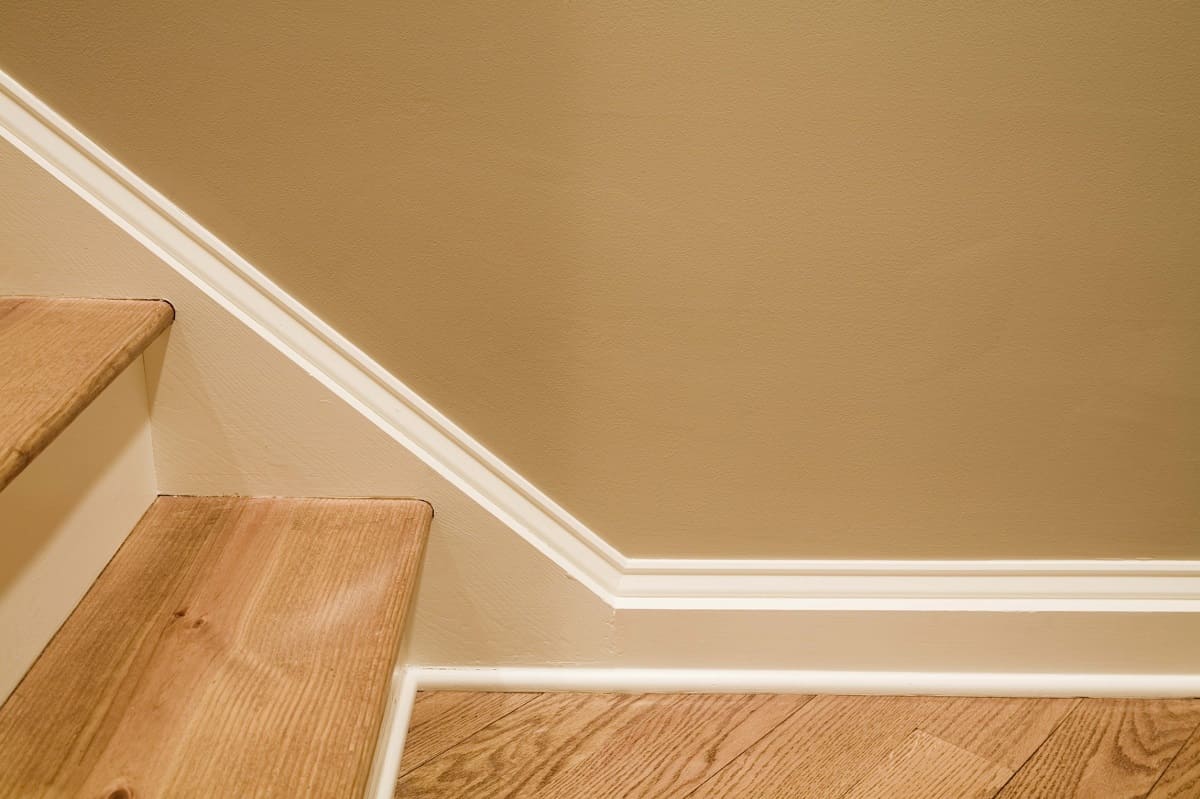
- Stair nosing: This is a molding that is installed on the edge of each stair tread to provide a finished look and to protect the edge of the wood flooring.
- Measuring tape: Accurate measurements are critical when cutting the wood flooring to fit each step and riser.
- Saw: A saw will be needed to cut the wood flooring to the appropriate dimensions. A miter saw or a circular saw with a fine-toothed blade works best for this task.
- Nail gun: A nail gun is used to secure the wood flooring to the stairs. Make sure to use the appropriate size and type of nails for your specific flooring material.
- Pry bar: A pry bar will come in handy for removing any existing carpet or flooring on the stairs.
- Hammer: A hammer is needed for tasks like removing staples or nails left behind after removing the old flooring.
- Level: A level is essential for ensuring that the stairs are properly aligned and leveled before installing the wood flooring.
- Adhesive: Depending on the type of wood flooring you’re using, you may need adhesive to attach the flooring to the stairs. Check the manufacturer’s instructions for the recommended adhesive.
Having all these materials and tools on hand will make the installation process smoother and more efficient. Make sure to double-check your measurements and familiarize yourself with the manufacturer’s guidelines for your specific wood flooring to achieve the best results.
Step 2: Measure and Cut Flooring
In this step, you will need to carefully measure each step and riser of your staircase. Accurate measurements are crucial for achieving a seamless and professional-looking installation. Here’s how to measure and cut the wood flooring:
- Measure each step and riser: Start by measuring the width and depth of each step and the height of each riser. Use a measuring tape to ensure precise measurements. Make sure to measure all steps individually, as they might vary slightly in size.
- Cut flooring to fit each tread and riser: Once you have the measurements, transfer them onto the wood flooring. Use a saw, such as a miter saw or a circular saw with a fine-toothed blade, to make accurate cuts. Remember to factor in the width of the stair nosing when cutting the flooring for the treads. It’s crucial to make precise cuts to ensure a snug fit.
When cutting the wood flooring, take your time and use a steady hand. Double-check your measurements before making any cuts to avoid errors. It’s always wise to measure twice and cut once to prevent any waste or mistakes.
Keep in mind that each step and riser may have slightly different measurements due to variations in the construction of the staircase. Therefore, it’s essential to measure and cut each piece of wood flooring individually to achieve the best fit.
By measuring accurately and cutting the flooring to fit each tread and riser, you’ll ensure a seamless and visually pleasing installation that enhances the overall appearance of your staircase.
Step 3: Prep the Stairs
Before installing the wood flooring, it’s crucial to properly prepare the stairs for the new installation. This step involves removing any existing carpet or other flooring, removing staples or nails, and ensuring that the stairs are clean and free from debris. Here’s how to prep the stairs:
- Remove existing carpet or any other flooring: If your stairs have carpet or any other type of flooring, start by pulling it up and removing it completely. Use a utility knife to cut the carpet into manageable sections for easier removal.
- Use a pry bar to remove any staples or nails: Once the carpet or flooring is removed, you may find staples or nails attached to the stairs. Use a pry bar to gently pry them out, being careful not to damage the wood underneath. It’s important to ensure a smooth and flat surface before installing the new wood flooring.
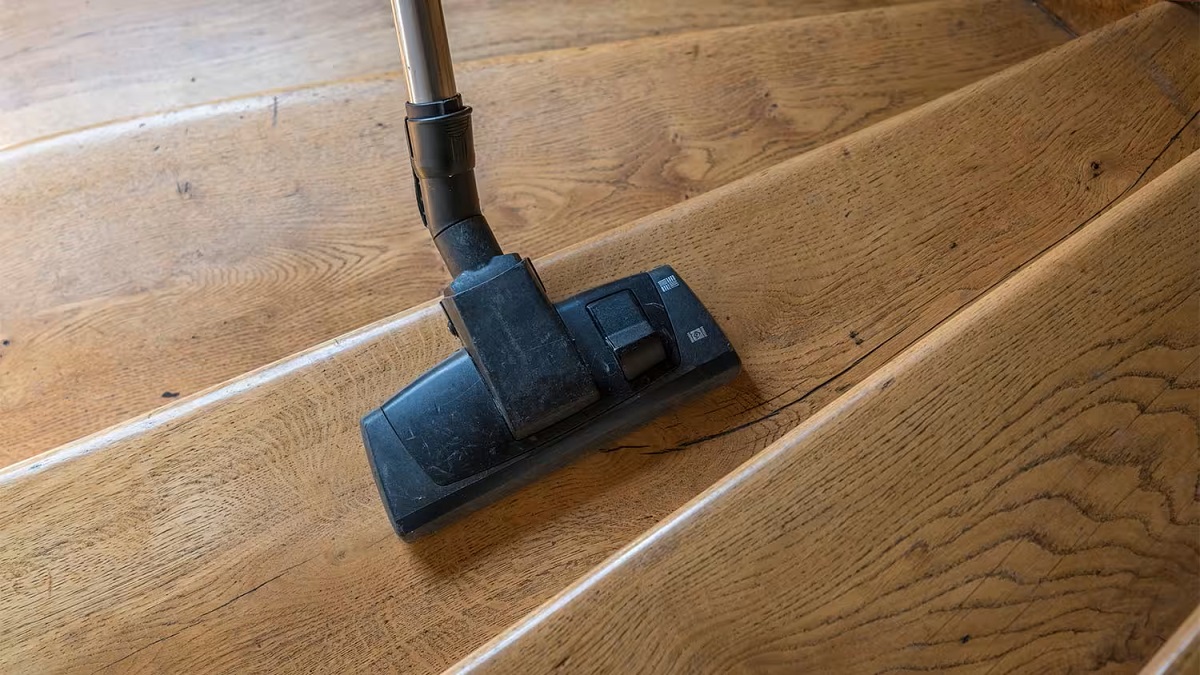
- Clean the stairs thoroughly: After removing any staples or nails, thoroughly clean the stairs to remove any dust, dirt, or debris. Use a broom, vacuum cleaner, or damp cloth to ensure a clean surface for the wood flooring installation. Keeping the stairs clean will help the adhesive bond better and ensure a secure installation.
Prepping the stairs properly is essential for the success of your wood flooring installation. By removing the existing flooring, removing any staples or nails, and cleaning the stairs thoroughly, you create a smooth, debris-free surface. This will allow the wood flooring to adhere better, resulting in a professional-looking and long-lasting installation.
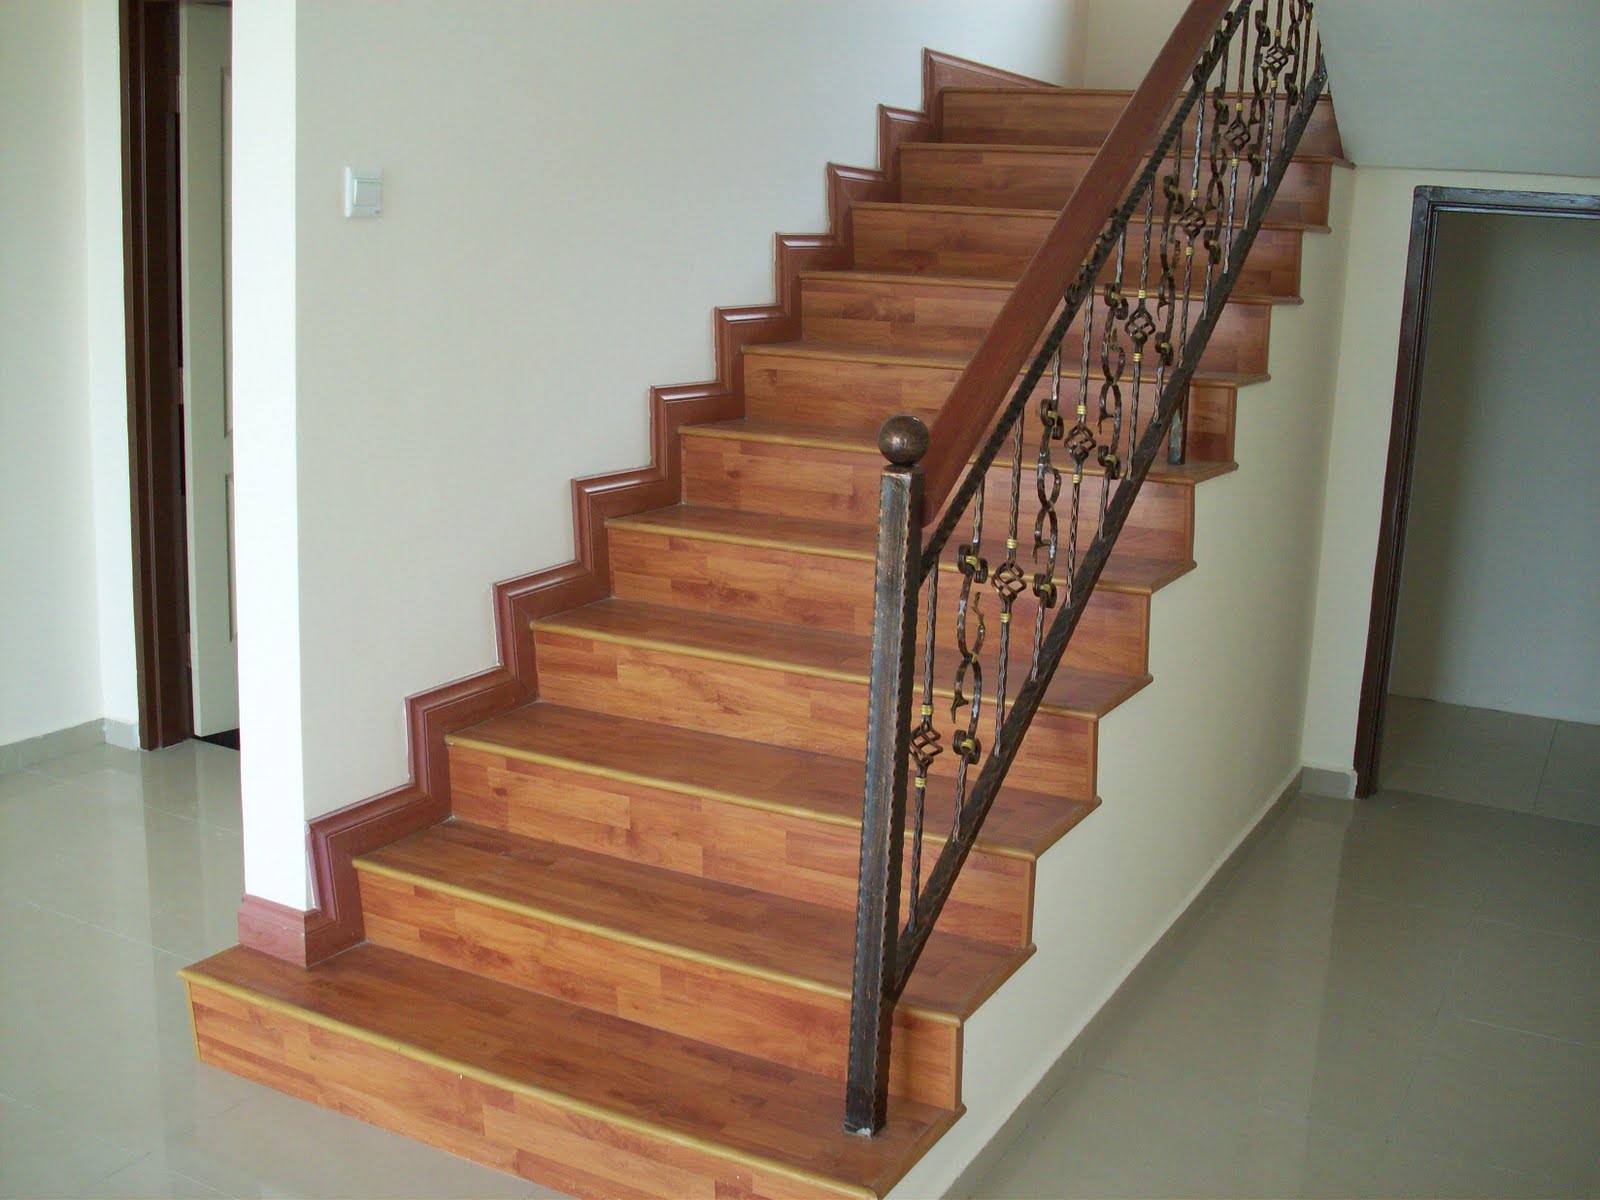
Step 4: Install Stair Nosing
The next step in putting wood flooring on stairs is to install stair nosing. Stair nosing not only provides a finished look but also adds a measure of safety by protecting the edges of the wood flooring. Here’s how to install stair nosing:
- Measure and cut stair nosing to fit each tread: Start by measuring the width of each tread. Cut the stair nosing to match the width of each tread, taking into account any overhang you desire. Use a saw to make precise cuts.
- Attach stair nosing with adhesive and nails: Apply adhesive to the underside of the stair nosing. Place the stair nosing in position on the front edge of the tread and press it firmly into place. Use a nail gun to secure the nosing in place with nails. Make sure to follow the manufacturer’s recommendations for adhesive and nails specific to your wood flooring and stair nosing.
Stair nosing not only adds aesthetic value but also provides a transition between flooring levels and protects the edges of the wood flooring. Make sure the stair nosing is securely fastened, as it will receive substantial foot traffic over time.
When measuring and cutting the stair nosing, take precise measurements to ensure a proper fit. Cutting the stair nosing accurately is essential for a seamless installation. Use adhesive and nails to secure the nosing in place, following the manufacturer’s instructions and recommendations.
By installing stair nosing, you not only enhance the appearance of your stairs but also provide a durable and safe finish to your wood flooring installation.
When installing wood flooring on stairs, make sure to measure and cut each piece accurately to ensure a snug and secure fit. Use a high-quality adhesive to firmly attach the wood to the stairs for a long-lasting finish.
Read more: How To Put Tile On Stairs
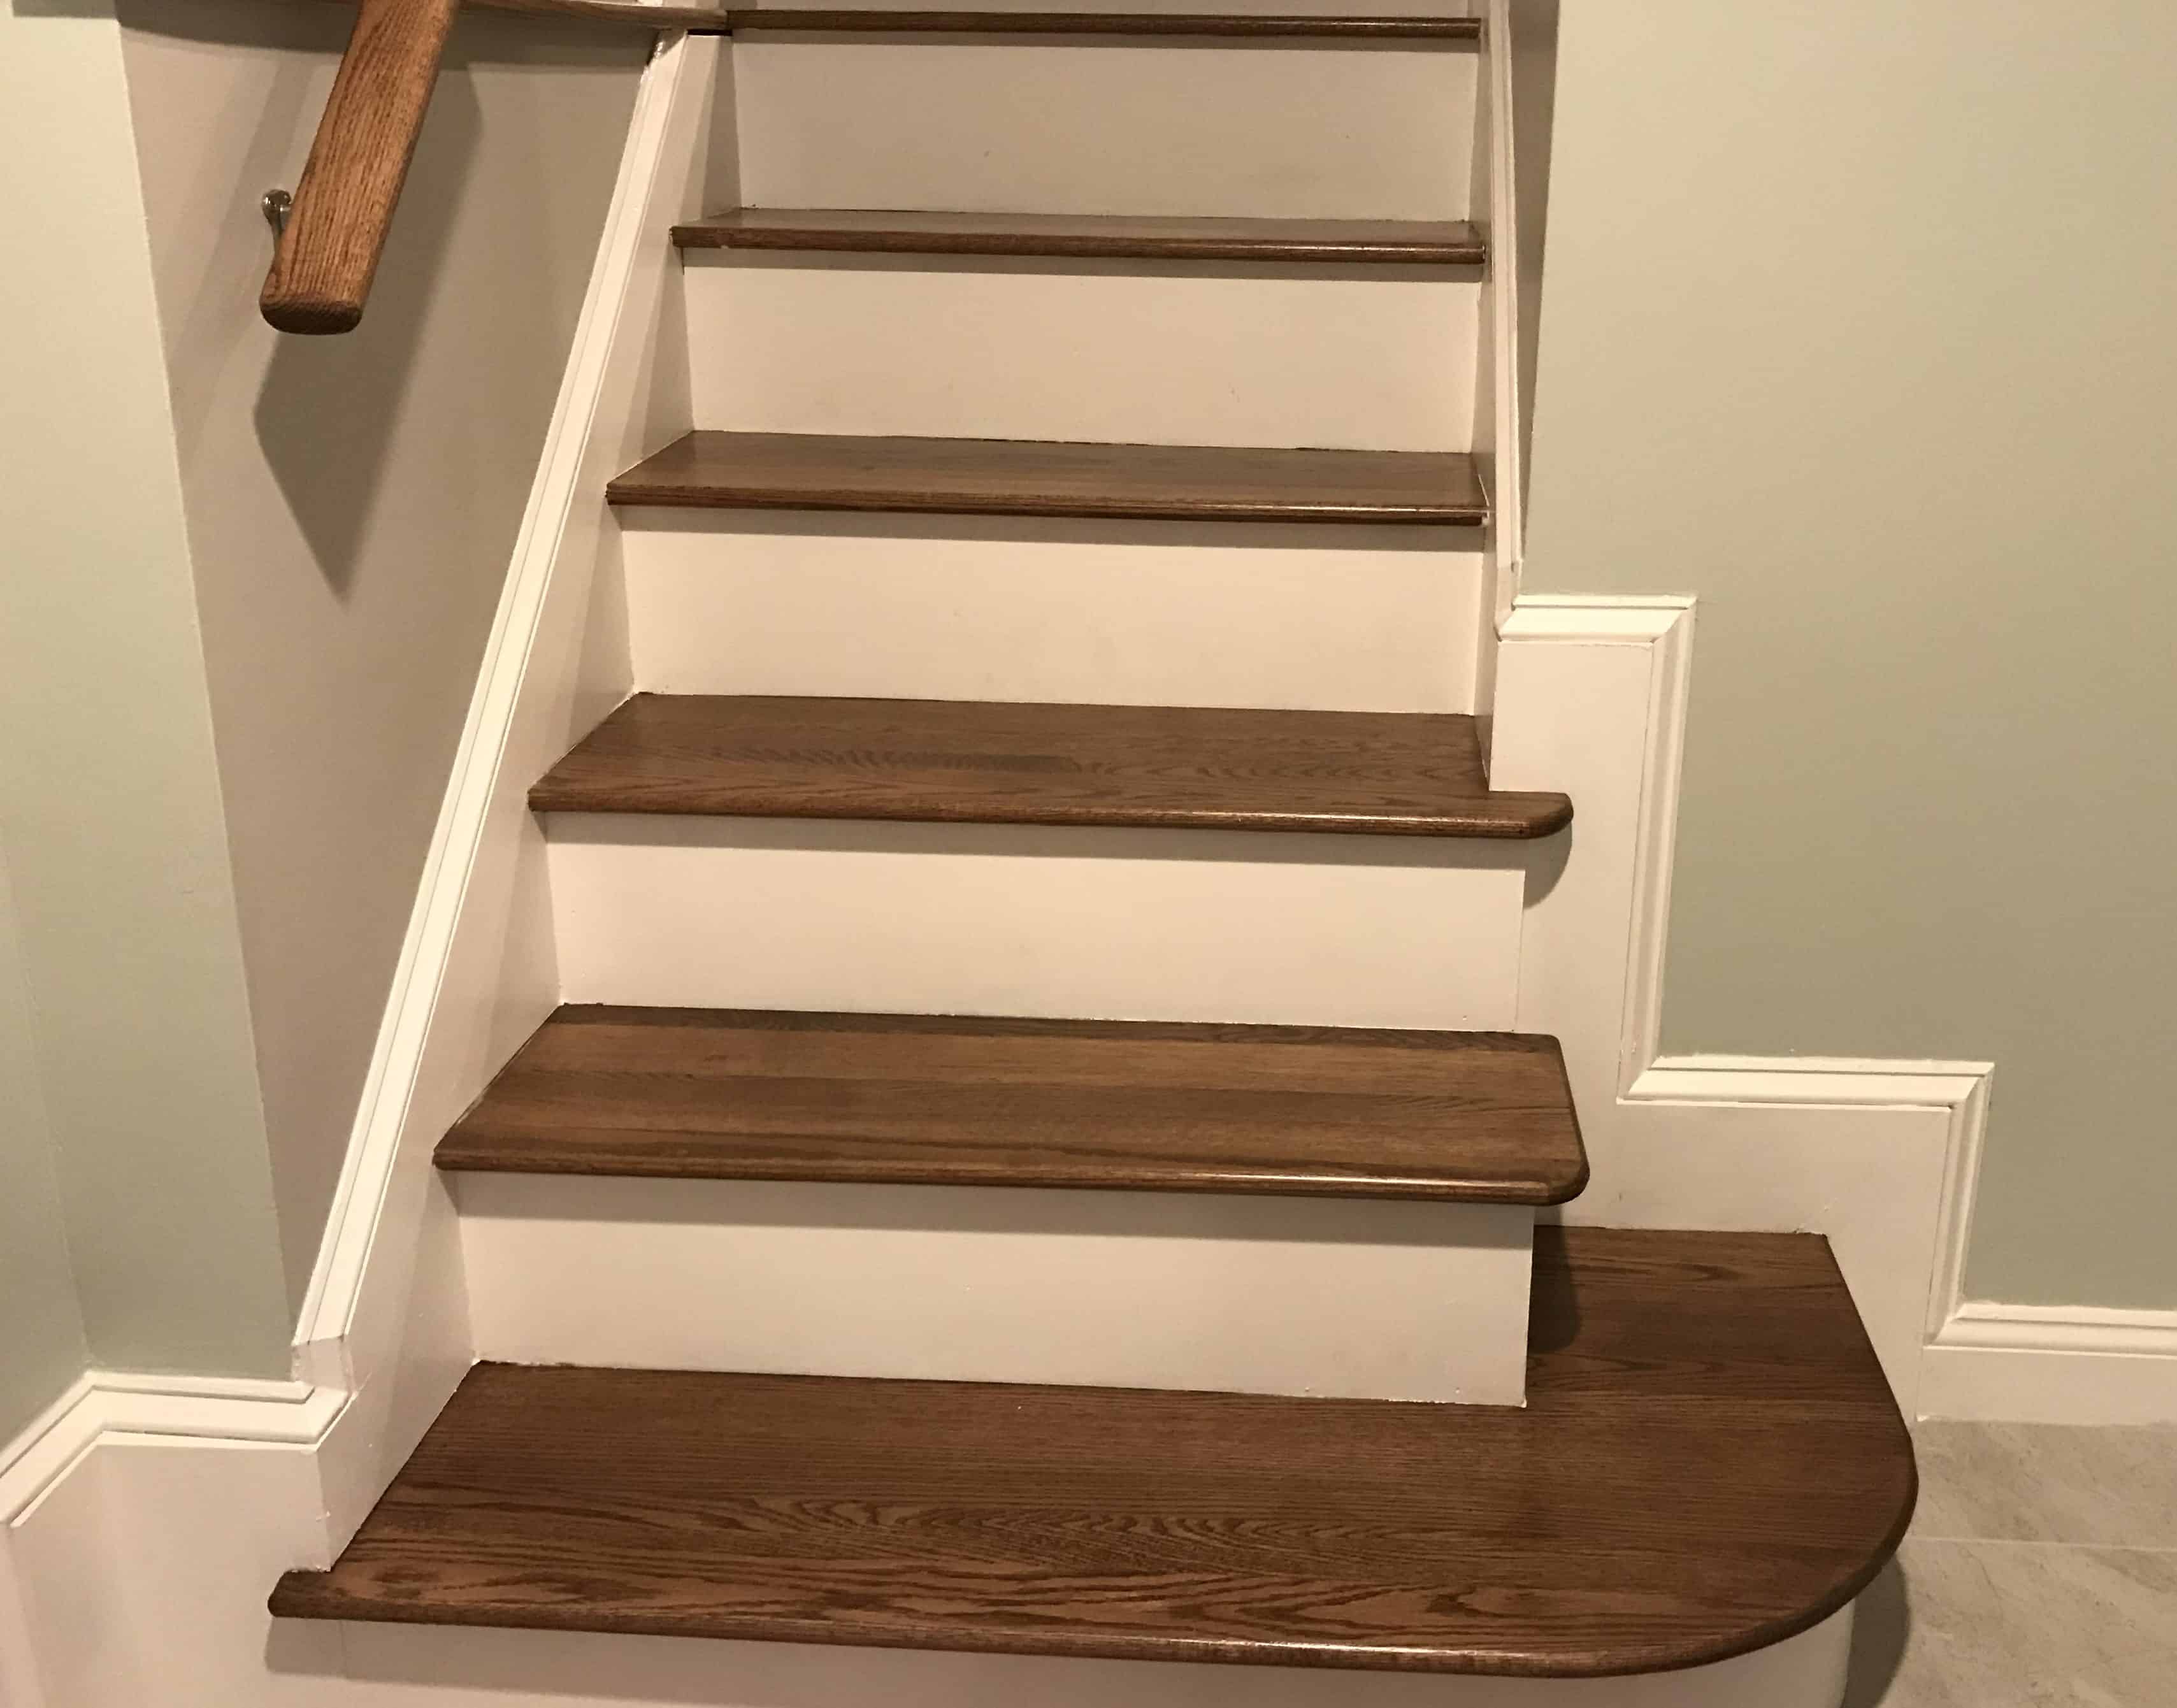
Step 5: Install Wood Flooring
Now that you have prepped the stairs and installed the stair nosing, it’s time to start installing the wood flooring. Here’s how to effectively install wood flooring on your stairs:
- Start from the bottom and work your way up: Begin the installation at the bottom of the staircase and work your way up step by step. This ensures a smooth and seamless installation.
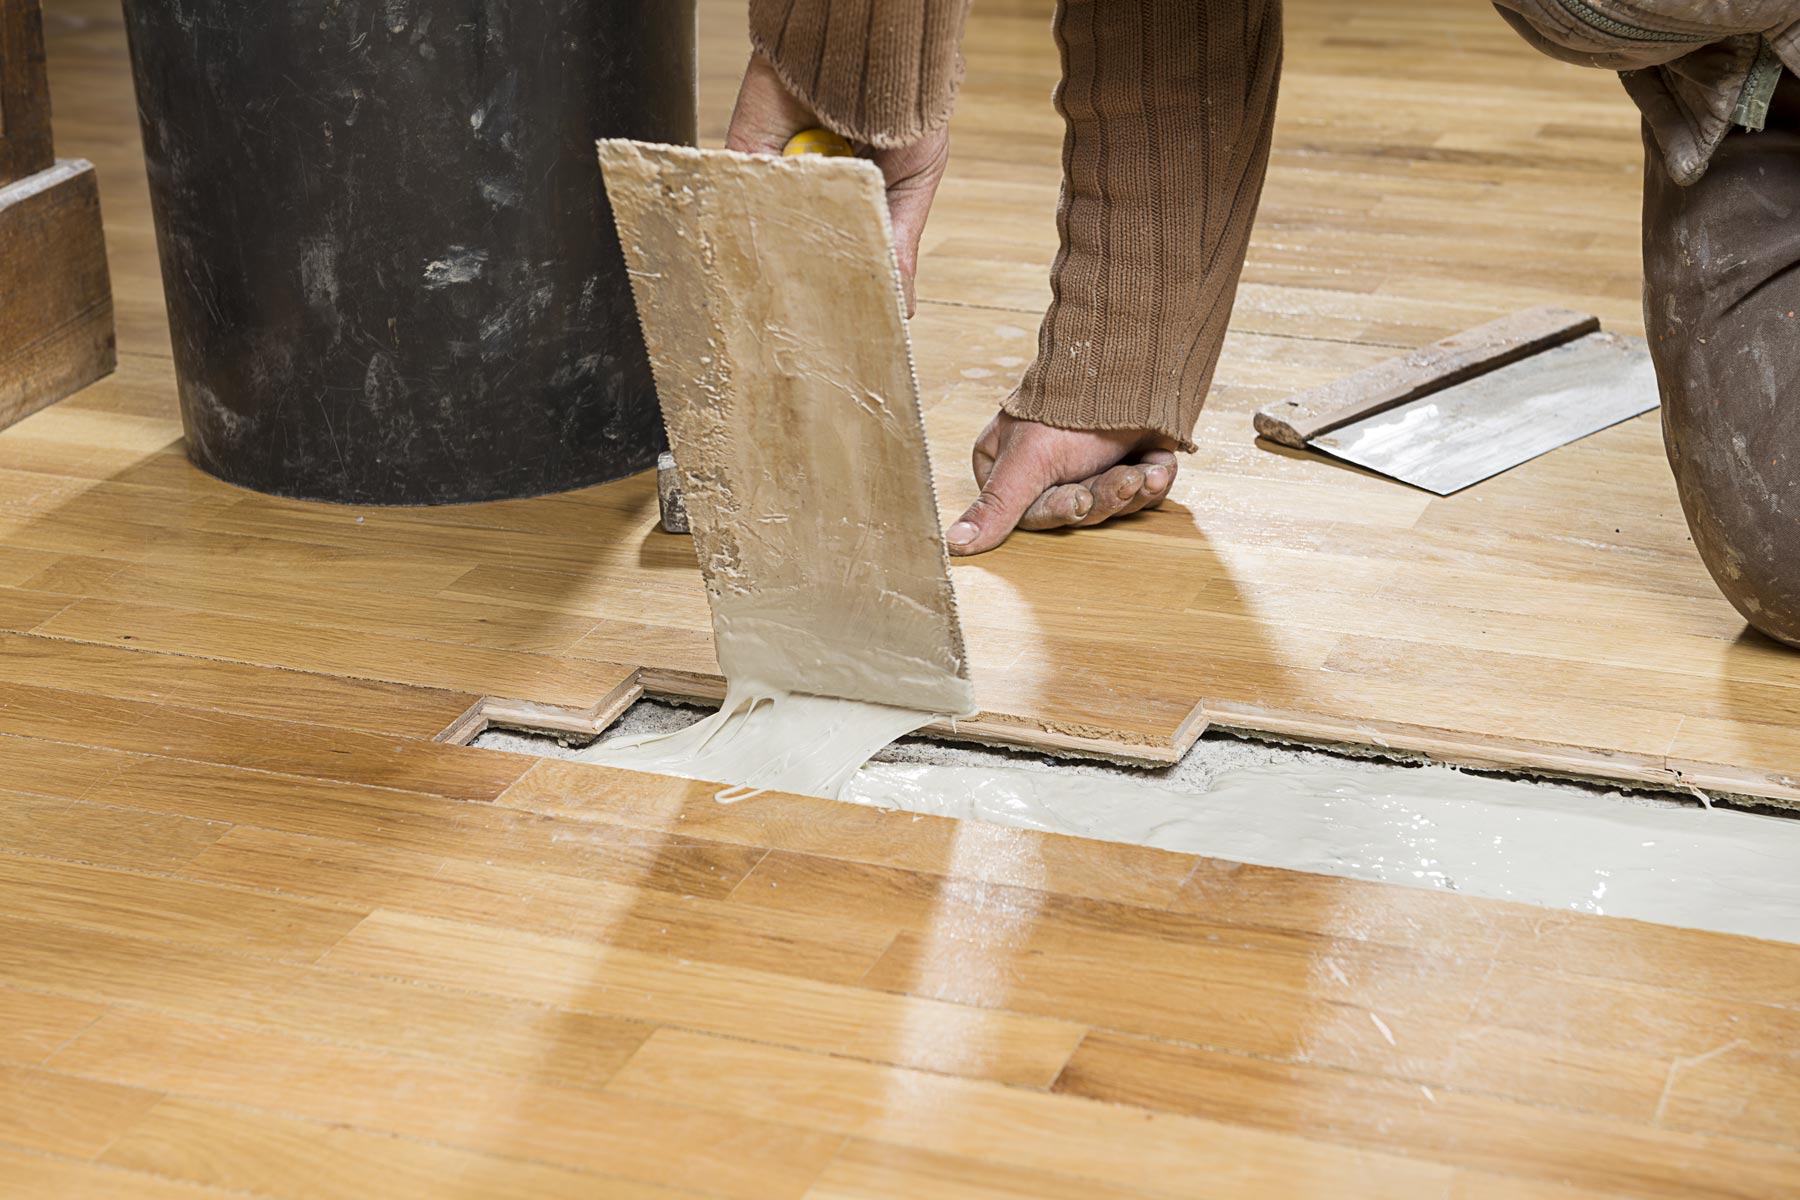
- Apply adhesive to each tread and riser: Apply a thin, even layer of adhesive to the surface of each tread and riser. Use a trowel or a putty knife to spread the adhesive evenly, ensuring full coverage.
- Place cut wood flooring onto the adhesive: Take the cut pieces of wood flooring and carefully place them onto the adhesive, starting with the treads. Press down firmly to ensure proper adhesion.
- Secure flooring with a nail gun: Once the wood flooring is in place, use a nail gun to secure it further. Drive nails at an angle through the wood flooring and into the stair tread to provide additional stability and support.
Make sure to work meticulously, paying attention to proper alignment and fit. Press down on the wood flooring firmly as you install it to ensure a strong bond with the adhesive. Take care to drive the nails at an angle to avoid splitting the wood. It’s also a good idea to periodically check the levelness of each step to ensure a uniform installation.
Continue repeating this process for each step until all the treads and risers are covered with the wood flooring.
By following these steps and taking your time during installation, you can create a beautiful and functional wood flooring installation on your stairs. Ensure that the flooring is securely fastened and that each step is level and aligned properly.
Step 6: Repeat for Remaining Steps
After successfully installing the wood flooring on the first step, it’s time to repeat the process for the remaining steps of your staircase. Here’s what you need to do:
- Follow the same process for each step: Once you have completed the installation of the wood flooring on the first step, repeat the exact same process for each subsequent step. Start from the bottom and work your way up, applying adhesive, placing the cut wood flooring, and securing it with a nail gun.
It’s crucial to maintain consistency throughout the installation process. Ensure that the adhesive is applied evenly, the wood flooring fits snugly, and the nails are driven at an angle for stability. Take the time to carefully align each piece of wood flooring with the previous step to achieve a seamless and visually appealing look.
Remember to measure each step individually and cut the wood flooring to fit precisely. Double-check your measurements for accuracy before making any cuts. This attention to detail will ensure that each step is properly covered with the wood flooring and that the overall installation is cohesive and professional-looking.
Continue repeating these steps for each remaining step until all your stairs are covered with wood flooring. Take your time and work diligently to ensure a high-quality and visually stunning result.
By following the same process for each step, you’ll be able to achieve a consistent and beautifully installed wood flooring throughout your entire staircase.
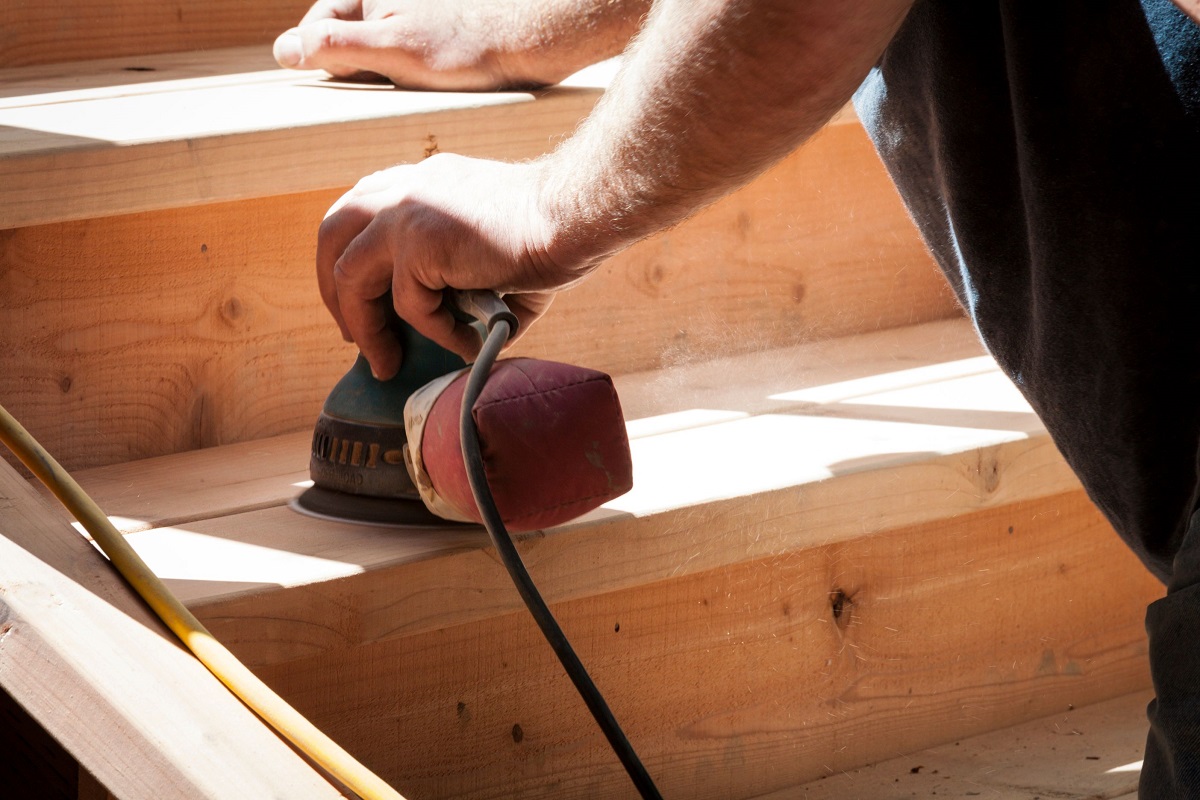
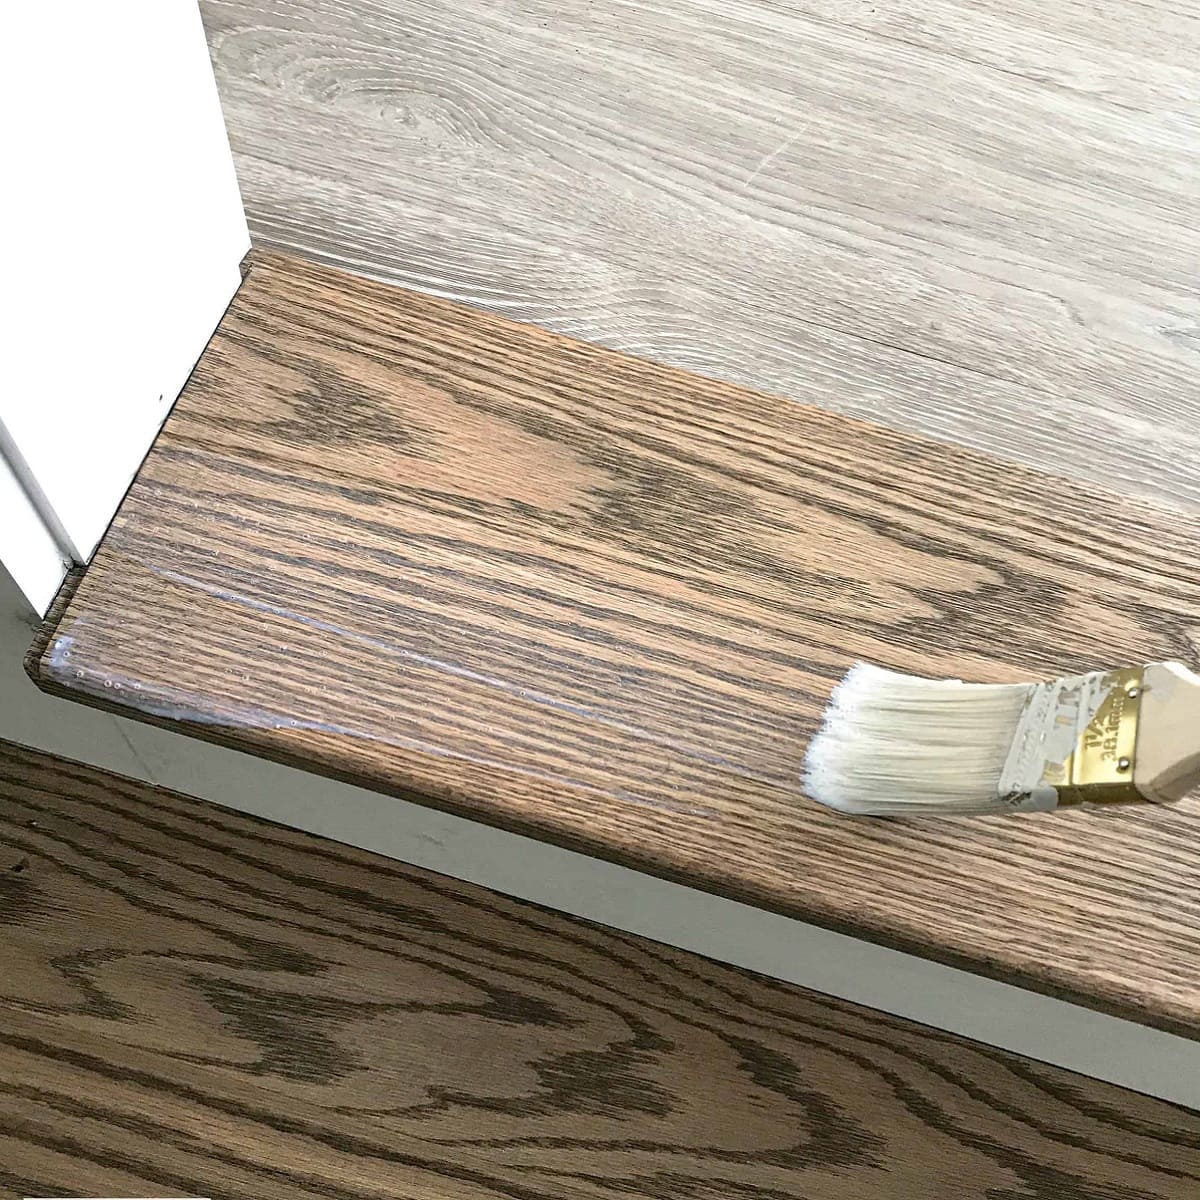
Step 7: Finish and Seal
Once you have completed the installation of the wood flooring on your stairs, the final step is to finish and seal the surface. This will enhance the appearance, protect the wood, and increase its durability. Follow these steps to finish and seal your wood flooring:
- Use a sander to smooth any rough edges: Before applying any finishes or sealants, use a sander or sandpaper to smooth any rough edges or imperfections on the wood flooring. This will ensure a seamless and polished finish.
- Apply wood stain or finish of your choice: If you desire a specific color or shade for your wood flooring, now is the time to apply a wood stain of your choice. Follow the manufacturer’s instructions and allow sufficient drying time before proceeding to the next step.
- Seal the flooring with a protective coating: To protect the wood flooring from wear and tear, apply a protective coating. This can be a sealer, polyurethane, or another suitable product. Apply the coating according to the manufacturer’s instructions, ensuring even coverage. Allow the coating to dry completely before using the stairs.
Finishing and sealing the wood flooring not only enhances its appearance but also provides a protective barrier against moisture, scratches, and everyday traffic. It ensures that your wood flooring will last for years to come, maintaining its beauty and functionality.
Keep in mind that the type of finish or sealant you choose will depend on the type of wood used for the flooring. Consult with your local hardware store or a flooring professional for advice on the best products for your specific wood type and finish preferences.
By following these steps and applying the appropriate finishing touches, you can enjoy your newly installed wood flooring on your stairs, enhancing the overall aesthetic and ensuring its longevity.
Conclusion
Congratulations! You have successfully learned how to put wood flooring on your stairs. By following the step-by-step process outlined in this guide, you have transformed your staircase into a stunning focal point in your home.
From gathering the necessary materials and tools to measuring, cutting, and installing the wood flooring, each step was essential in achieving a seamless and professional-looking result. The installation of stair nosing added a finished touch and enhanced safety, while the finishing and sealing process protected the wood and improved its overall appearance.
Remember, precision and attention to detail are key when installing wood flooring on stairs. Take your time to measure accurately, cut precisely, and align each piece with care. By doing so, you will create a visually appealing and durable staircase that will stand the test of time.
Now, sit back, admire your handiwork, and enjoy the beauty and warmth that wood flooring brings to your stairs. Be proud of your accomplishment, knowing that you have added value and charm to your home.
If you have any questions or need further assistance, don’t hesitate to consult with a flooring professional or refer back to this guide. Happy decorating!
Frequently Asked Questions about How To Put Wood Flooring On Stairs
Was this page helpful?
At Storables.com, we guarantee accurate and reliable information. Our content, validated by Expert Board Contributors, is crafted following stringent Editorial Policies. We're committed to providing you with well-researched, expert-backed insights for all your informational needs.


0 thoughts on “How To Put Wood Flooring On Stairs”