Articles
How To Put Laminate Flooring On Stairs
Modified: January 18, 2024
Discover step-by-step articles on how to effortlessly install laminate flooring on stairs. Expert guidance and handy tips make it a breeze.
(Many of the links in this article redirect to a specific reviewed product. Your purchase of these products through affiliate links helps to generate commission for Storables.com, at no extra cost. Learn more)
Introduction
When it comes to home improvement projects, installing laminate flooring on stairs can instantly elevate the aesthetic appeal of your space. Not only does it provide a sleek and modern look, but it also offers durability and easy maintenance. Whether you’re looking to update your staircase or simply want to add a touch of elegance, laminate flooring is a cost-effective and versatile option.
In this article, we will guide you through the step-by-step process of putting laminate flooring on stairs. From gathering the necessary materials to applying the finishing touches, we’ll cover everything you need to know to successfully complete this project. By the end, you’ll have a stunning set of stairs that will impress both family and guests.
Key Takeaways:
- Elevate your home’s aesthetic with sleek and durable laminate flooring on stairs. Follow our step-by-step guide for a professional and visually impressive installation.
- Transform your staircase with laminate flooring by gathering materials, precise measurements, and meticulous installation. Add finishing touches for a polished and captivating result.
Read more: How To Put Wood Flooring On Stairs
Step 1: Gather the Required Materials
Before you embark on your laminate flooring installation on stairs, it’s crucial to gather all the necessary materials. Having everything you need at hand will not only save you time but also ensure a smooth workflow. Here’s a list of essential materials:
- Laminate flooring: Choose a high-quality laminate that complements the style of your home and is suitable for stairs.
- Underlayment: This will provide extra cushioning, reduce noise, and prevent moisture from damaging the laminate.
- Tape measure: Accurate measurements are crucial to ensure the perfect fit of the laminate pieces.
- Saw: A saw will be needed to cut the laminate flooring to the appropriate lengths and angles.
- Glue or adhesive: Depending on your laminate flooring type, you may need adhesive to secure the pieces to the stairs.
- Sanding tool: If your stairs have any imperfections or rough edges, a sanding tool will help smooth them out.
- Level: To ensure that your stairs are even and level, you’ll need a level tool.
- Construction adhesive: This will be used to secure the laminate flooring to the stairs.
- Finishing nails: These nails will help secure the trim and molding.
- Hammer: You’ll need a hammer to drive in the finishing nails.
- Safety glasses and gloves: Protect yourself by wearing safety glasses and gloves during the installation process.
By having these materials ready, you’ll be well-equipped to begin your laminate flooring installation on stairs. Make sure to gather all the items on the list to avoid any unnecessary interruptions during the project.
Step 2: Measure and Prepare the Stairs
Before you start installing laminate flooring on your stairs, it’s important to measure and prepare the stairs appropriately. Proper preparation will ensure a precise and seamless installation process. Here are the steps to follow:
- Remove any existing flooring: Clear the stairs of any carpet, underlayment, or other flooring materials. Ensure that the surface is clean, smooth, and free of debris.
- Measure the width and depth of each stair: Use a tape measure to accurately measure the width and depth of each stair. It’s crucial to measure each stair individually, as they may vary in size.
- Calculate the number of laminate planks needed: Based on your measurements, calculate the number of laminate planks needed for your stairs. It’s a good idea to purchase extra planks to account for any mistakes or future replacements.
- Mark the planks for cutting: Using the measurements you’ve taken, mark the laminate planks accordingly. Take note of any angled cuts that may be required to fit the shape of the stairs.
- Sand and repair the stairs (if necessary): If your stairs have any rough edges or imperfections, use a sanding tool to smooth them out. Additionally, repair any loose or damaged stair treads before proceeding.
By measuring and preparing the stairs accurately, you’ll ensure that the laminate flooring fits properly and provides a sturdy foundation for your installation. Take your time with this step to avoid any potential issues later on in the process.
Step 3: Install the Underlayment
Installing an underlayment is an essential step before laying laminate flooring on stairs. The underlayment provides several benefits, including noise reduction, moisture protection, and added cushioning. Here’s how to install the underlayment:
- Start at the bottom of the stairs: Begin by placing the underlayment at the bottom step, ensuring it covers the entire surface.
- Cut the underlayment: Use a utility knife or scissors to cut the underlayment to the appropriate size. Make sure it aligns with the measurements of each stair.
- Secure the underlayment: Use a construction adhesive or double-sided tape to secure the underlayment to each step. Apply the adhesive or tape around the edges and in the center for maximum stability.
- Repeat for each stair: Continue installing the underlayment on each step, ensuring a tight fit and secure adhesion.
- Smooth out any wrinkles or bubbles: Once the underlayment is in place, carefully smooth out any wrinkles or bubbles that may have formed.
Installing the underlayment is crucial as it provides a barrier between the laminate flooring and the stairs, ensuring proper insulation and protection against moisture. Take your time to secure the underlayment correctly, creating a solid foundation for the laminate flooring installation.
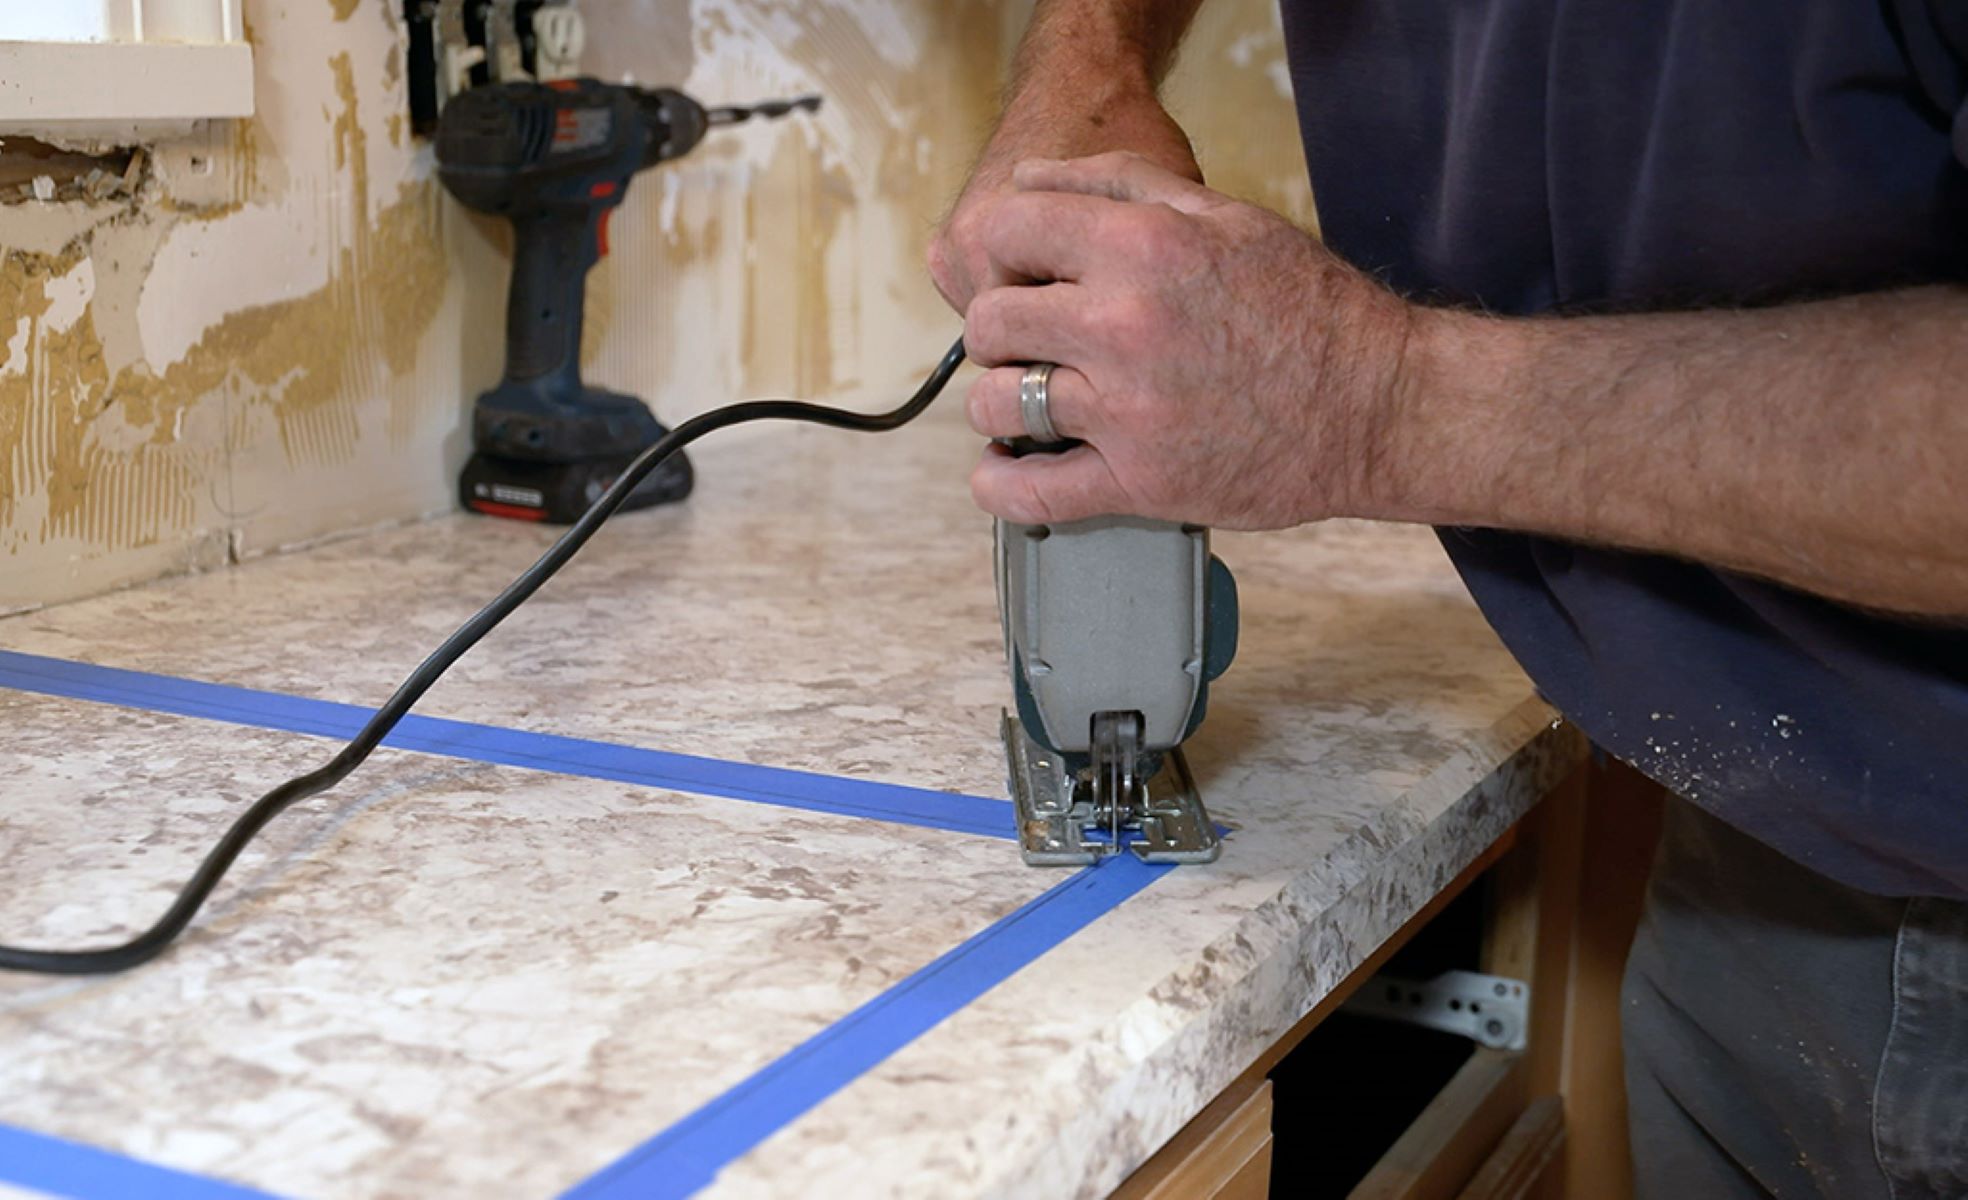
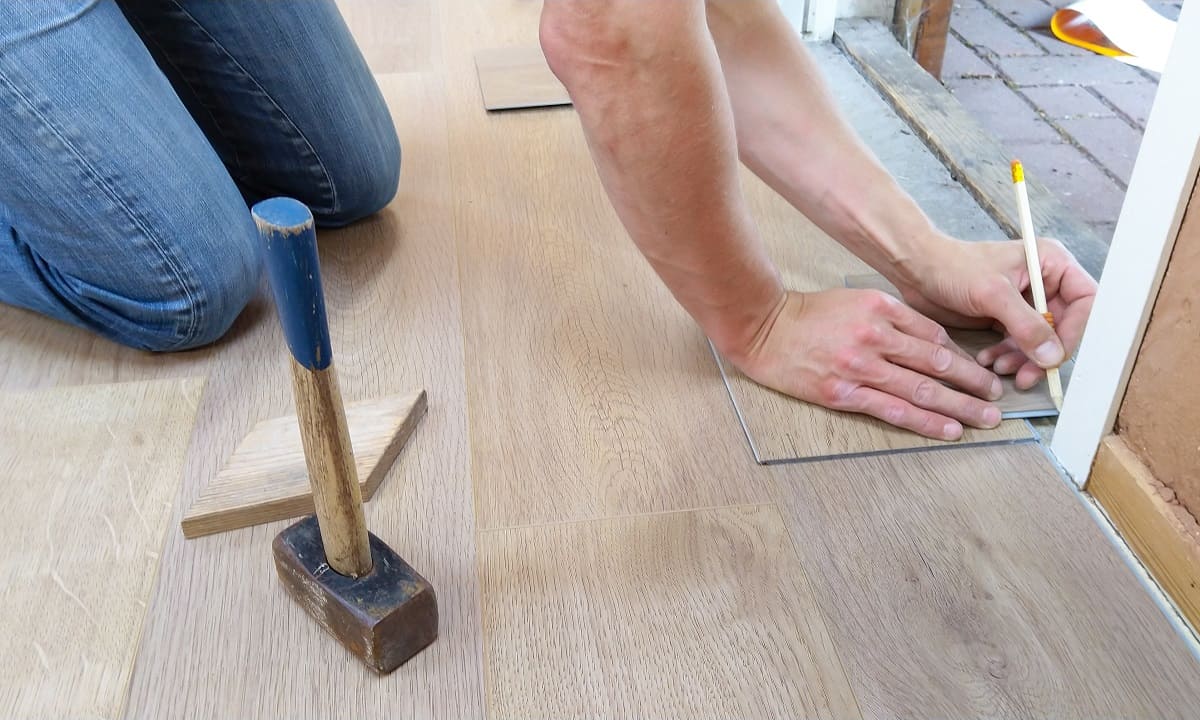
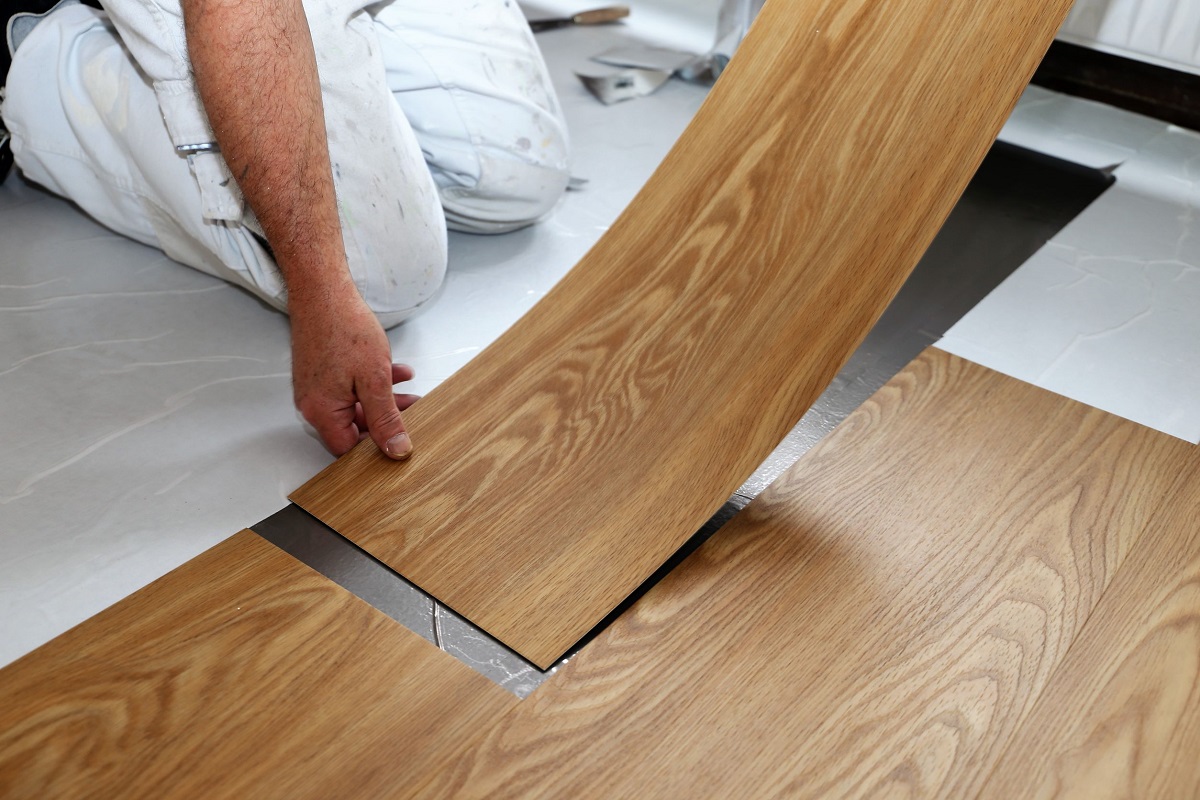
Step 4: Cut the Laminate Flooring Pieces
Now that the underlayment is installed, it’s time to cut the laminate flooring pieces to fit the shape and size of your stairs. Proper cutting is crucial to ensure a seamless and professional-looking installation. Follow these steps to cut the laminate flooring pieces:
- Measure and mark each laminate plank: Using your measurements from Step 2, measure and mark each laminate plank accordingly. Make sure to include any angled cuts if your stairs have a unique shape.
- Use a saw to cut the planks: With safety glasses and gloves on, carefully use a saw to cut the laminate planks along your marked lines. It’s important to maintain straight and clean cuts for a polished finished look.
- Double-check the size and fit: After cutting each plank, double-check its size and fit on the stairs. Make any necessary adjustments or recuts as needed to ensure a snug fit.
When cutting the laminate flooring pieces, take your time and work carefully to achieve precise cuts. Remember to measure twice and cut once to avoid wastage or errors. Having accurately cut planks will make the installation process much smoother and more efficient.
Read more: How To Level Floor For Laminate
Step 5: Install Laminate on the Landing
Before moving on to the stairs, it’s important to install laminate flooring on the landing area if you have one. This will create a seamless transition and ensure a cohesive look throughout your staircase. Here’s how to install laminate on the landing:
- Measure the landing area: Use a tape measure to measure the width and depth of the landing. This will help determine the size and quantity of laminate planks needed.
- Prepare the landing surface: Ensure the landing surface is clean, free of debris, and properly prepared. If necessary, sand down any rough edges or repair any imperfections.
- Apply adhesive or use the click-lock system: Depending on the type of laminate flooring you have, apply adhesive to the back of the planks or use the click-lock system to secure them in place.
- Start at one side and work your way across: Begin installing the laminate planks on one side of the landing and work your way across. Use spacers to maintain a consistent gap between the planks and the wall.
- Ensure a tight fit: As each plank is installed, press it firmly against the previous one to ensure a tight fit. This will create a seamless and visually appealing surface.
- Trim the last row if necessary: When you reach the final row of laminate planks on the landing, you may need to trim them to fit. Measure and cut accordingly, ensuring a snug and professional-looking fit.
Installing laminate on the landing is an important step in creating a cohesive look for your staircase. Take your time and follow the instructions carefully to ensure a smooth and visually appealing installation.
When installing laminate flooring on stairs, use stair nosing to create a finished edge and ensure a secure and professional-looking installation.
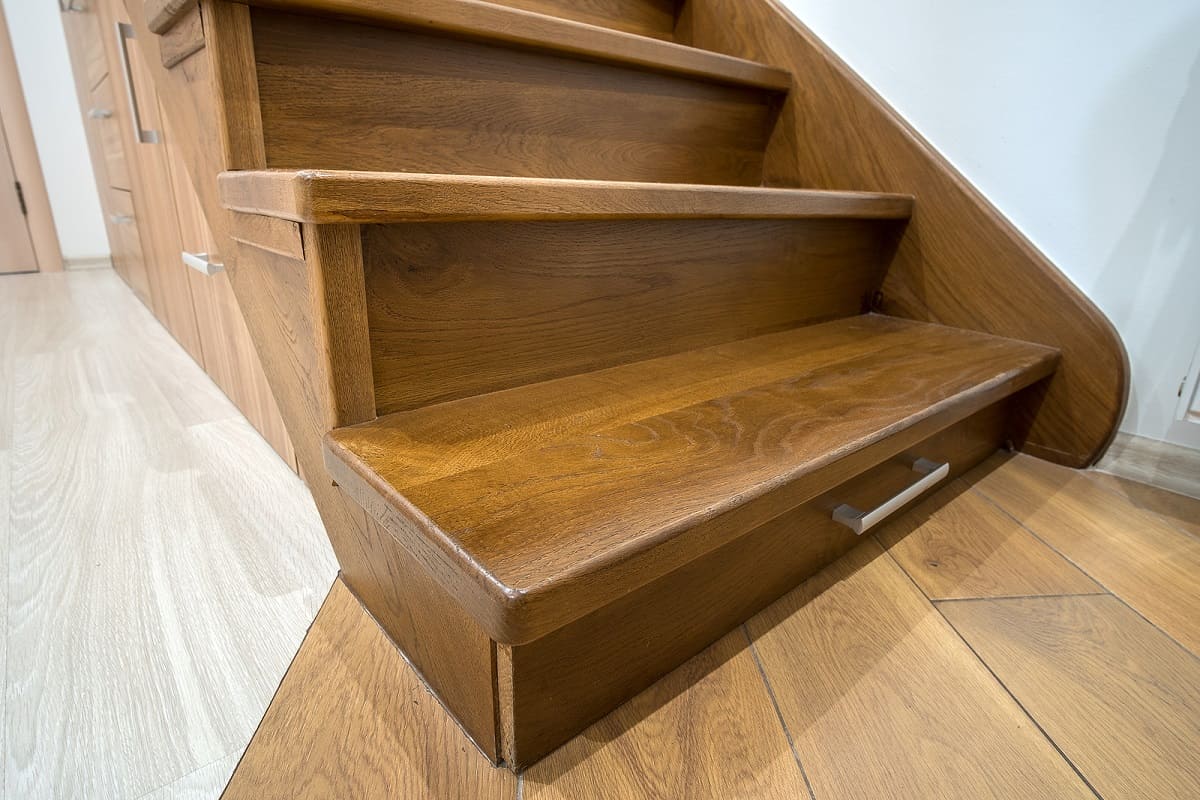
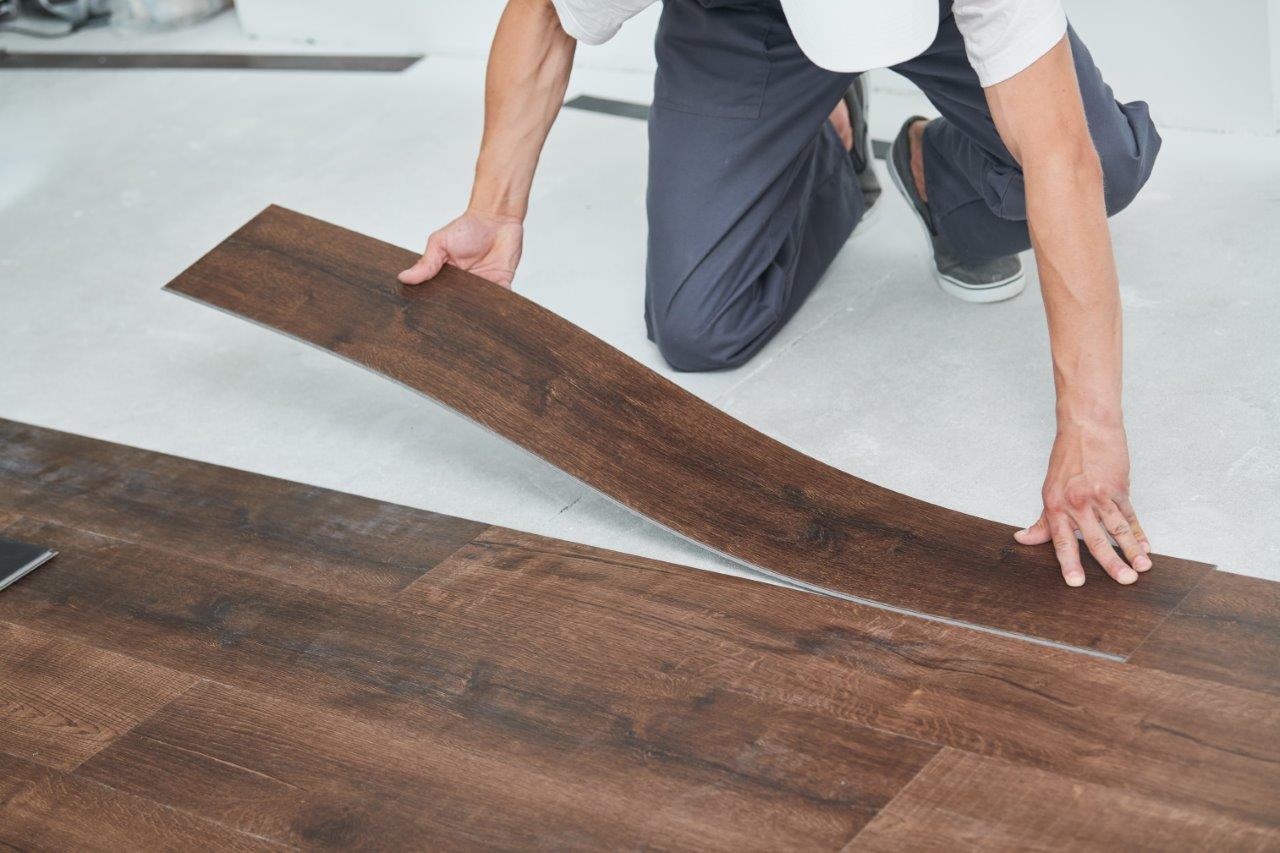
Step 6: Begin Installing Laminate on the Stairs
Now that the underlayment is in place and you’ve installed laminate on the landing, it’s time to start installing laminate on the stairs themselves. This step requires careful attention to detail and precision to achieve a seamless and professional result. Here’s how to begin installing laminate on the stairs:
- Start at the bottom of the stairs: Begin the installation process at the bottom of the stairs and work your way up.
- Apply adhesive to the back of the first laminate plank: Depending on the type of laminate flooring you have, apply adhesive to the back of the first plank or use the click-lock system to secure it in place.
- Align the first plank with the stair riser: Position the first plank at the bottom of the stair riser, ensuring it’s properly aligned and level.
- Press the plank firmly: Once the plank is in position, press it firmly against the riser to ensure a secure fit. Use a level to double-check that it’s perfectly straight.
- Move on to the next plank: Repeat the process by applying adhesive to the back of the second plank and aligning it with the first plank. Press it firmly against the riser.
- Continue installing planks on each stair: Repeat the above steps for each stair, making sure to properly align and secure each plank as you go.
- Trim planks for any angled or curved stairs: If your stairs have angled or curved sections, you may need to trim the planks to fit. Measure and cut accordingly to ensure a proper fit and seamless transition.
Take your time during the installation process, ensuring each plank is aligned and securely adhered to the stairs. It’s important to maintain consistency and precision for a professional-looking installation.
Step 7: Continue Installing Laminate on the Rest of the Stairs
With the initial steps of installing laminate flooring on the stairs completed, it’s time to continue the installation process for the rest of the stairs. Follow these steps to ensure a seamless and visually appealing result:
- Apply adhesive or use the click-lock system: Depending on the type of laminate flooring you have, apply adhesive to the back of each plank or use the click-lock system to secure them in place.
- Align each plank with the stair tread: As you work your way up the stairs, align each plank with the stair tread, ensuring it’s level and evenly positioned.
- Press the plank firmly: Once the plank is in position, press it firmly against the tread to ensure a secure fit. Use a level to double-check that it’s perfectly straight.
- Continue installing planks on each stair: Repeat the process for each stair, ensuring that the planks are consistently aligned and securely adhered.
- Trim planks for any angled or curved stairs: If your stairs have angled or curved sections, measure and cut the planks to fit accordingly. This will ensure a proper fit and a smooth transition.
- Double-check the installation: After all the planks are installed, take a step back and double-check the entire installation. Make any necessary adjustments to ensure all planks are securely in place.
Throughout the installation process, pay close attention to the alignment and secure adhesion of each plank. Taking the time to ensure a precise and consistent installation will result in a polished and visually appealing staircase.
Step 8: Install Trim and Molding
Installing trim and molding on the stairs is an important step that adds a finishing touch to your laminate flooring installation. It not only enhances the aesthetic appeal but also covers any gaps and provides a seamless transition between the stairs and the walls. Follow these steps to install trim and molding:
- Measure and cut the trim pieces: Using a tape measure, carefully measure the length of each trim piece required to cover the exposed edges of the laminate flooring on the stairs. Cut the pieces to the appropriate length using a saw.
- Apply adhesive to the back of the trim: Apply a construction adhesive to the back of each trim piece to ensure a secure bond.
- Position the trim on the stairs: Carefully position each trim piece on the exposed edge of the laminate flooring, pressing it firmly against the stairs. Align the trim so that it sits flush with the flooring.
- Secure the trim with finishing nails: To ensure a secure installation, use finishing nails to secure the trim in place. Hammer the nails into the trim and countersink them slightly to create a clean finish.
- Repeat the process for all trim pieces: Repeat the above steps for all necessary trim pieces until all exposed edges of the laminate flooring on the stairs are covered.
- Install stair nosing (if desired): If you prefer a more polished look or added safety, consider installing stair nosing on the front edge of each step. Measure and cut the stair nosing pieces to fit and secure them using adhesive or screws.
Installing trim and molding adds the final touch to your laminate flooring installation on the stairs, providing a clean and elegant finish. Take your time during this step to ensure precise measurements and a secure installation.
Read more: Laminate Wood Flooring
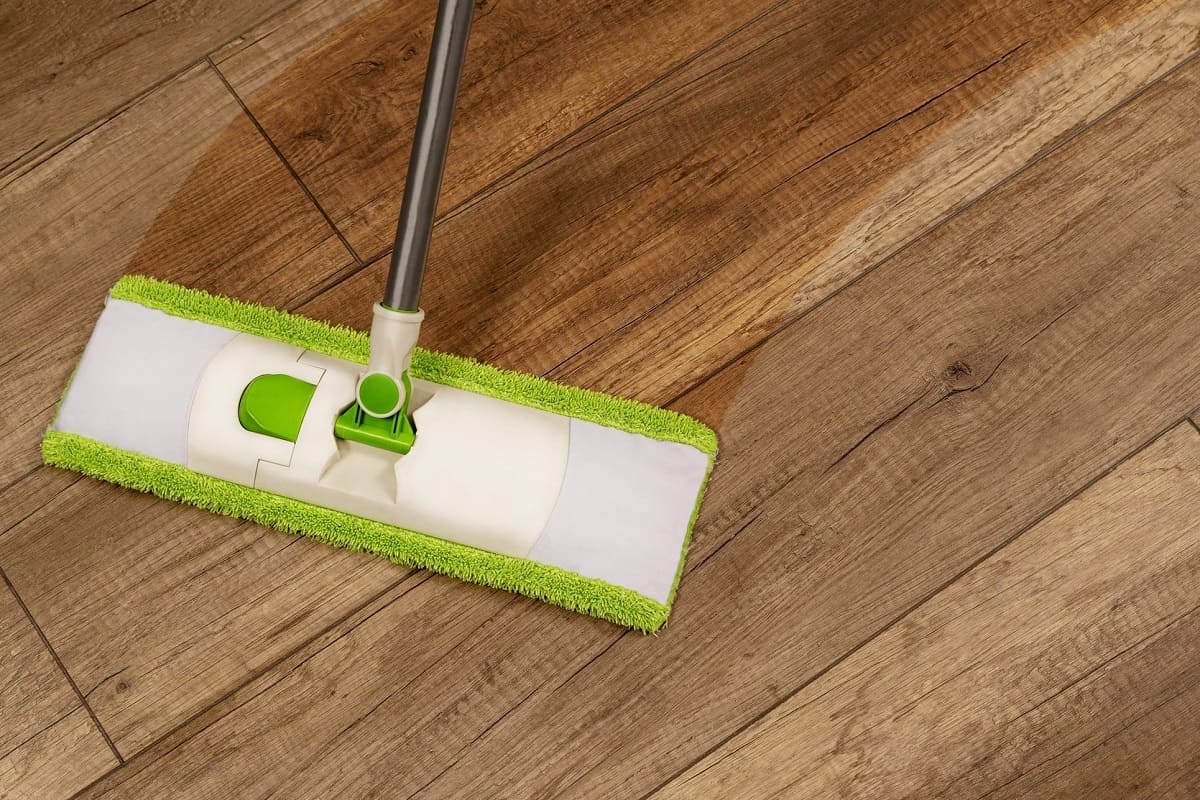
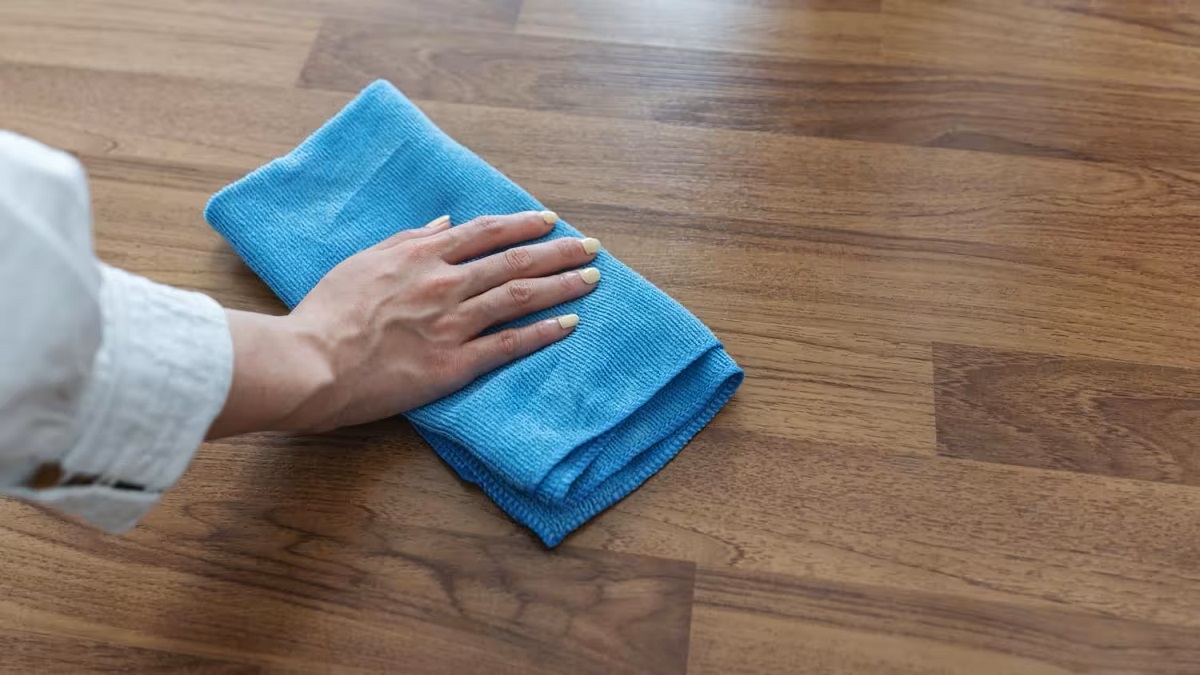
Step 9: Apply Finishing Touches
As you near the completion of your laminate flooring installation on the stairs, it’s time to apply the finishing touches. These final steps will ensure that your stairs look seamless, polished, and ready to be admired. Follow these steps to apply the finishing touches:
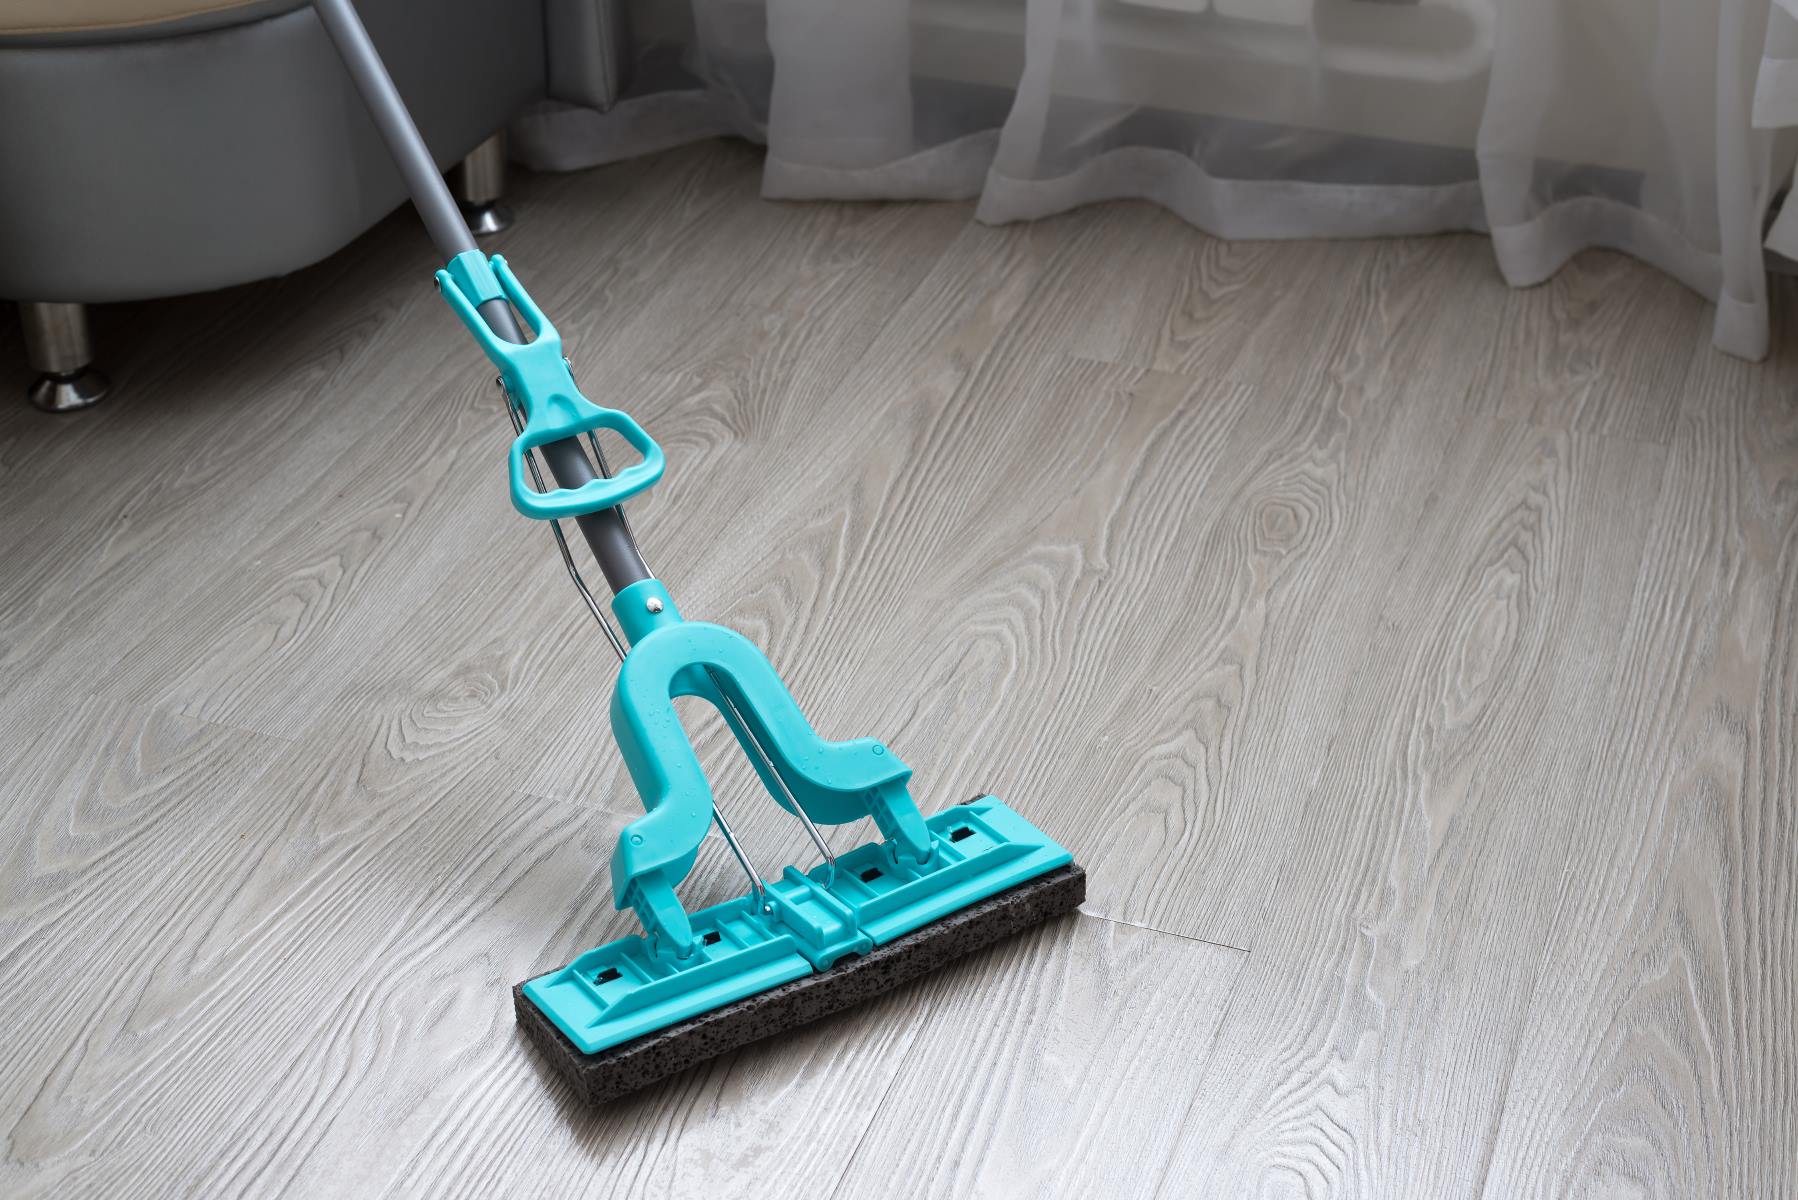
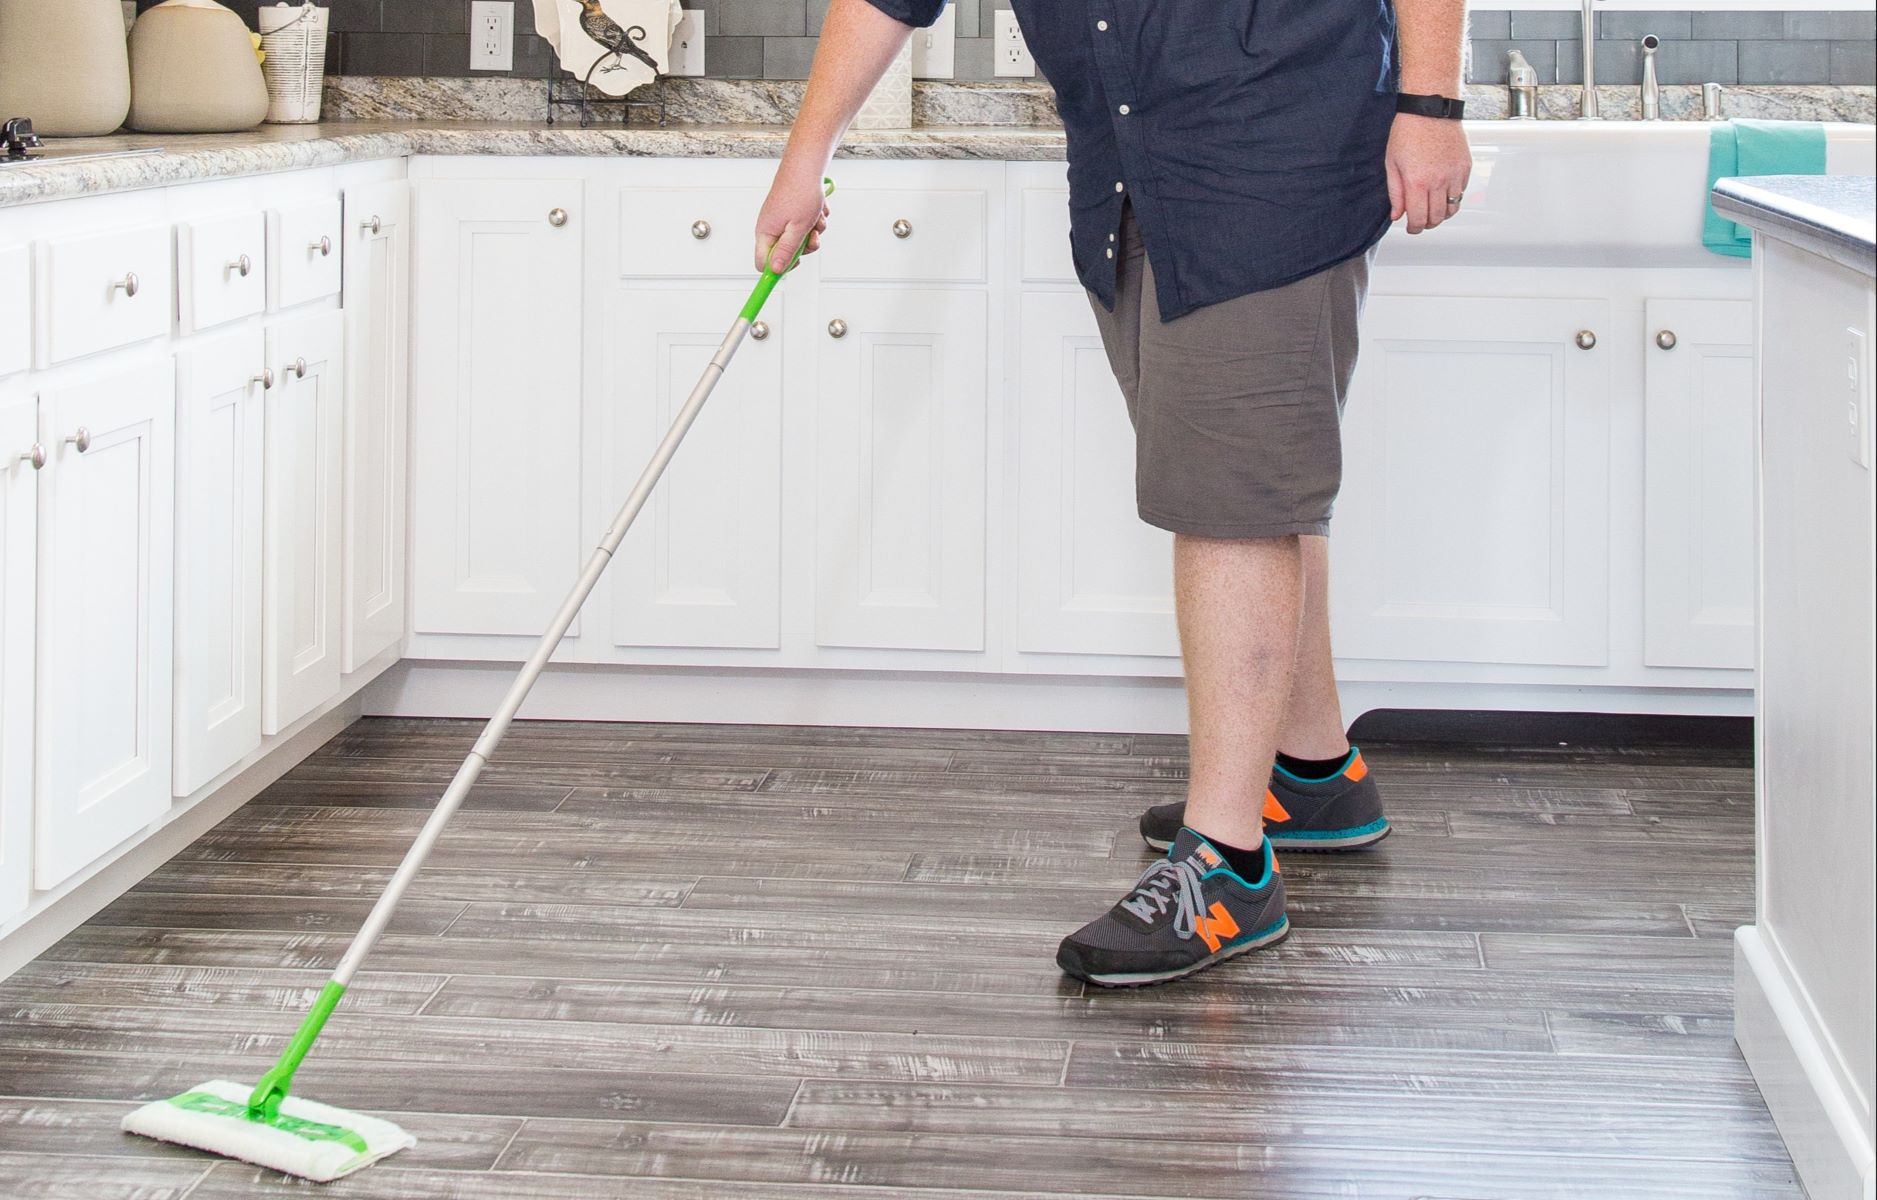
- Clean the laminate flooring: Before you can fully appreciate your newly installed laminate flooring, give it a thorough cleaning. Remove any dust, debris, or adhesive residue using a soft broom or vacuum cleaner followed by a damp mop.
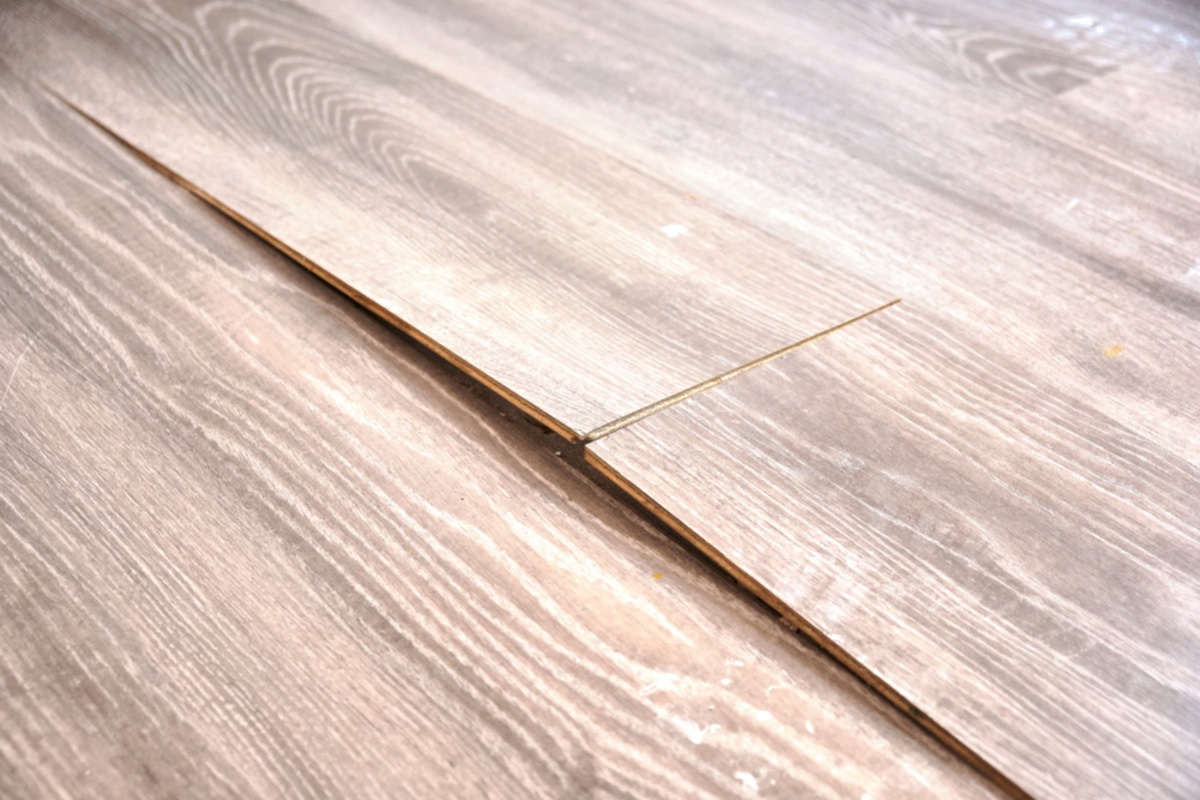
- Check for any loose or squeaking boards: Take a walk up and down the stairs, paying attention to any loose or squeaking boards. If you encounter any issues, address them by securing loose boards or applying a lubricant to eliminate squeaks.
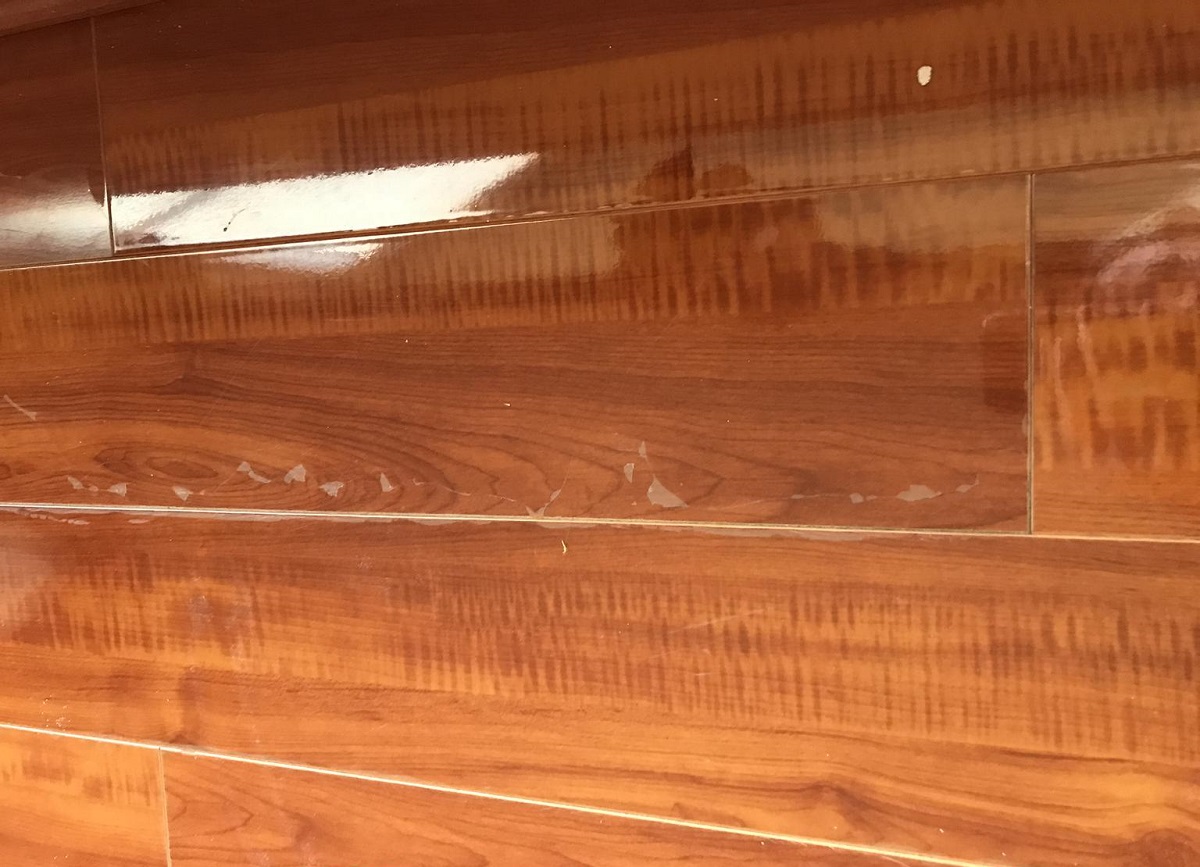
- Inspect the overall appearance: Step back and inspect the overall appearance of the stairs. Check for any visible gaps or imperfections that may need to be addressed. Fill in any gaps with appropriate filler and touch up the flooring as needed.
- Apply a protective finish (optional): To enhance the durability of your laminate flooring, consider applying a protective finish on top. This can help prevent scratches, scuffs, and wear over time. Follow the manufacturer’s instructions for the specific finish you choose.
- Add decorative touches (optional): If desired, you can add decorative elements to further enhance the aesthetics of your staircase. This could include adding stair runners, stair rugs, or decorative accents on the risers or walls surrounding the staircase.
By applying these finishing touches, you’ll ensure that your laminate flooring installation on the stairs is not only visually impressive but also functional and durable. Take your time and pay attention to detail to achieve the desired results.
Conclusion
Installing laminate flooring on stairs can transform the look and feel of your home, providing a sleek and modern aesthetic. With the step-by-step guide provided in this article, you now have the knowledge and tools to successfully complete this project. By gathering the necessary materials, measuring and preparing the stairs, installing the underlayment, cutting the laminate flooring pieces, and carefully installing them on both the stairs and landing, you’ll achieve a professional and seamless result.
Additionally, don’t forget the importance of installing trim and molding to give your stairs a finished and refined appearance. Applying the finishing touches such as cleaning the laminate flooring, checking for loose boards, and optionally adding a protective finish or decorative elements will further enhance the overall look and durability of the staircase.
Remember, taking the time to carefully plan and execute each step will ensure a successful and visually appealing laminate flooring installation on your stairs. Enjoy the process and take pride in the transformation you’ll achieve.
So go ahead, get ready to elevate the style of your stairs with laminate flooring and create a captivating focal point in your home.
Frequently Asked Questions about How To Put Laminate Flooring On Stairs
Was this page helpful?
At Storables.com, we guarantee accurate and reliable information. Our content, validated by Expert Board Contributors, is crafted following stringent Editorial Policies. We're committed to providing you with well-researched, expert-backed insights for all your informational needs.

0 thoughts on “How To Put Laminate Flooring On Stairs”