Articles
How To Install A New Showerhead
Modified: August 26, 2024
Learn how to easily install a new showerhead to include various articles. Follow our step-by-step guide for a quick and efficient DIY project.
(Many of the links in this article redirect to a specific reviewed product. Your purchase of these products through affiliate links helps to generate commission for Storables.com, at no extra cost. Learn more)
Introduction
When it comes to upgrading your bathroom, one of the easiest and most impactful changes you can make is installing a new showerhead. Not only can a new showerhead improve the functionality and efficiency of your shower, but it can also enhance your overall bathing experience. Whether you’re looking for a more powerful spray, a rainfall effect, or a handheld option, there are countless styles and options to choose from.
In this article, we will guide you through the process of installing a new showerhead. We will walk you through the necessary tools and materials, step-by-step instructions on removing the old showerhead, preparing the new showerhead for installation, attaching the new showerhead, and finally, testing the new showerhead to ensure it is working properly.
With a few simple steps, you’ll be able to transform your daily shower routine into a luxurious and enjoyable experience. So, let’s dive in and discover how to install a new showerhead!
Key Takeaways:
- Upgrade your shower experience by installing a new showerhead with our easy step-by-step guide. Choose from various styles and options to create a luxurious and personalized bathing experience.
- Ensure a successful and leak-free installation by gathering the necessary tools, preparing the new showerhead, and testing its functionality. Transform your daily shower routine into a spa-like experience with a few simple steps.
Gathering the necessary tools and materials
Before you begin the installation process, it’s important to gather all the necessary tools and materials. This will ensure a smooth and efficient installation. Here’s a list of items you will need:
- Adjustable wrench
- Teflon tape
- New showerhead
- Rag or towel
- Plumber’s tape (optional)
The adjustable wrench is essential for removing the old showerhead and tightening the new one. Ensure that the wrench is the right size to fit the connections on your showerhead. Teflon tape, also known as plumber’s tape, is used to create a tight seal between the showerhead and the shower arm. This helps prevent any leaks.
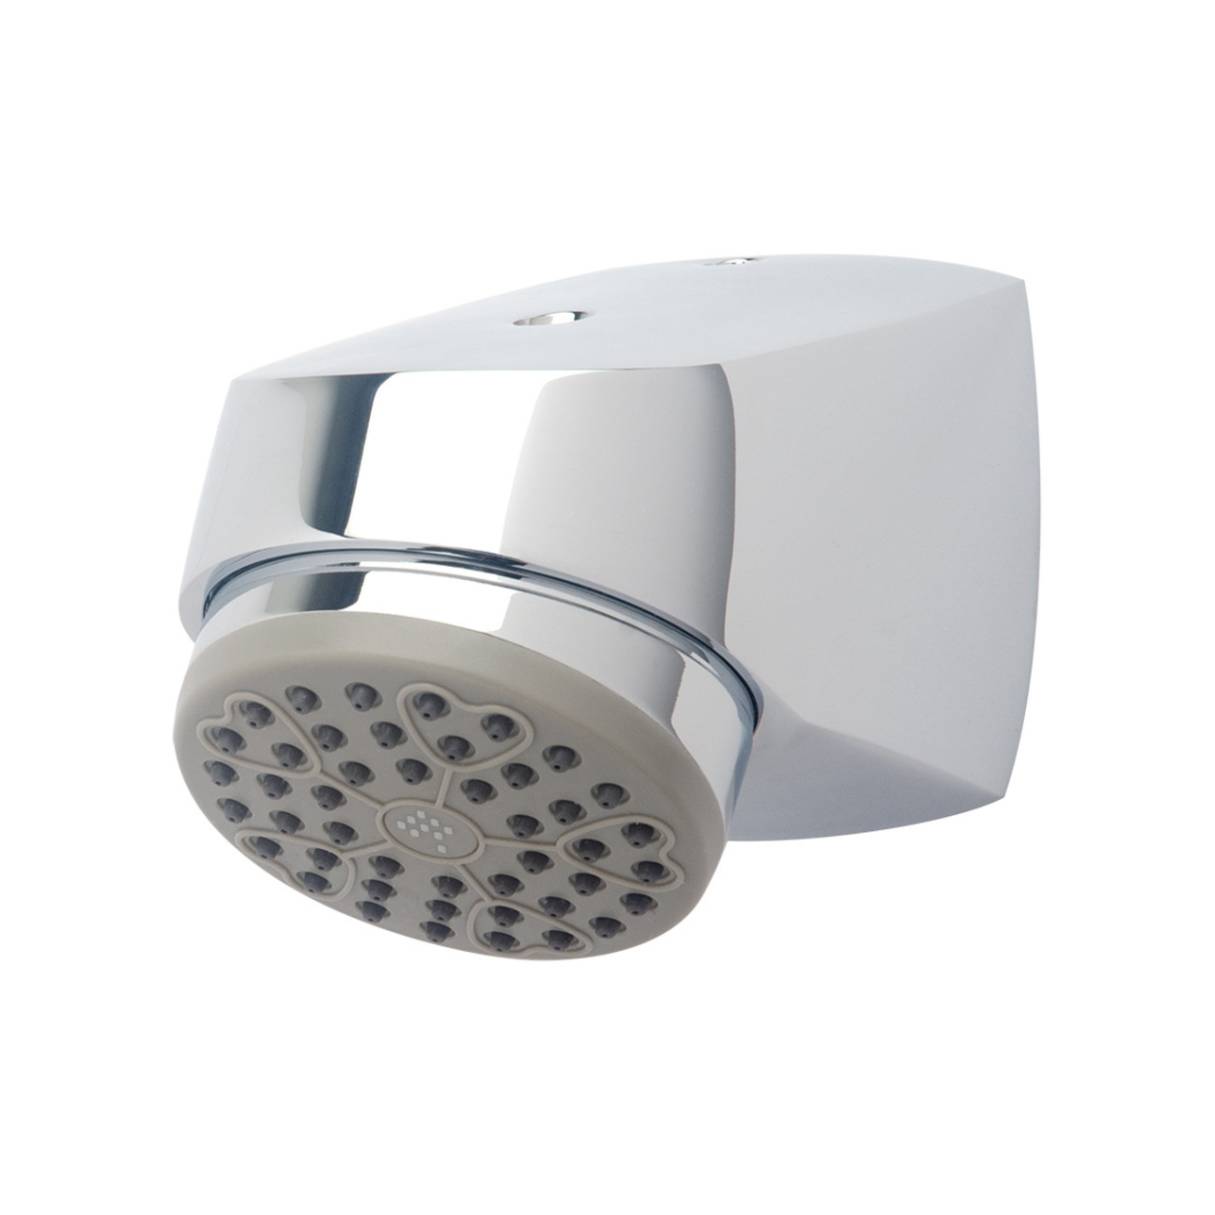
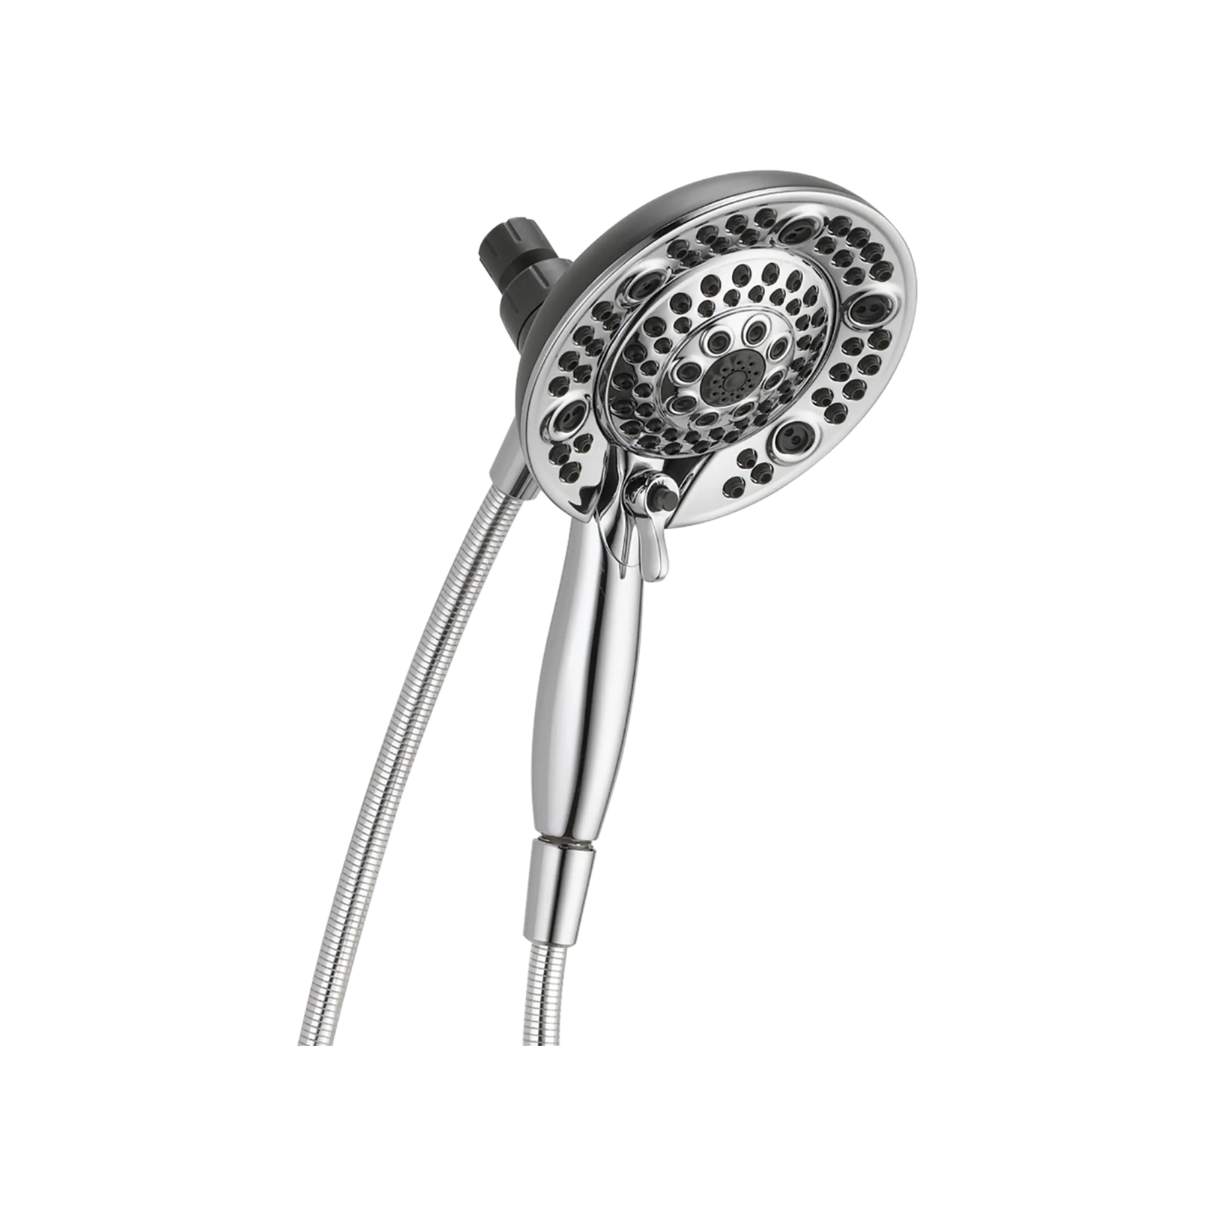
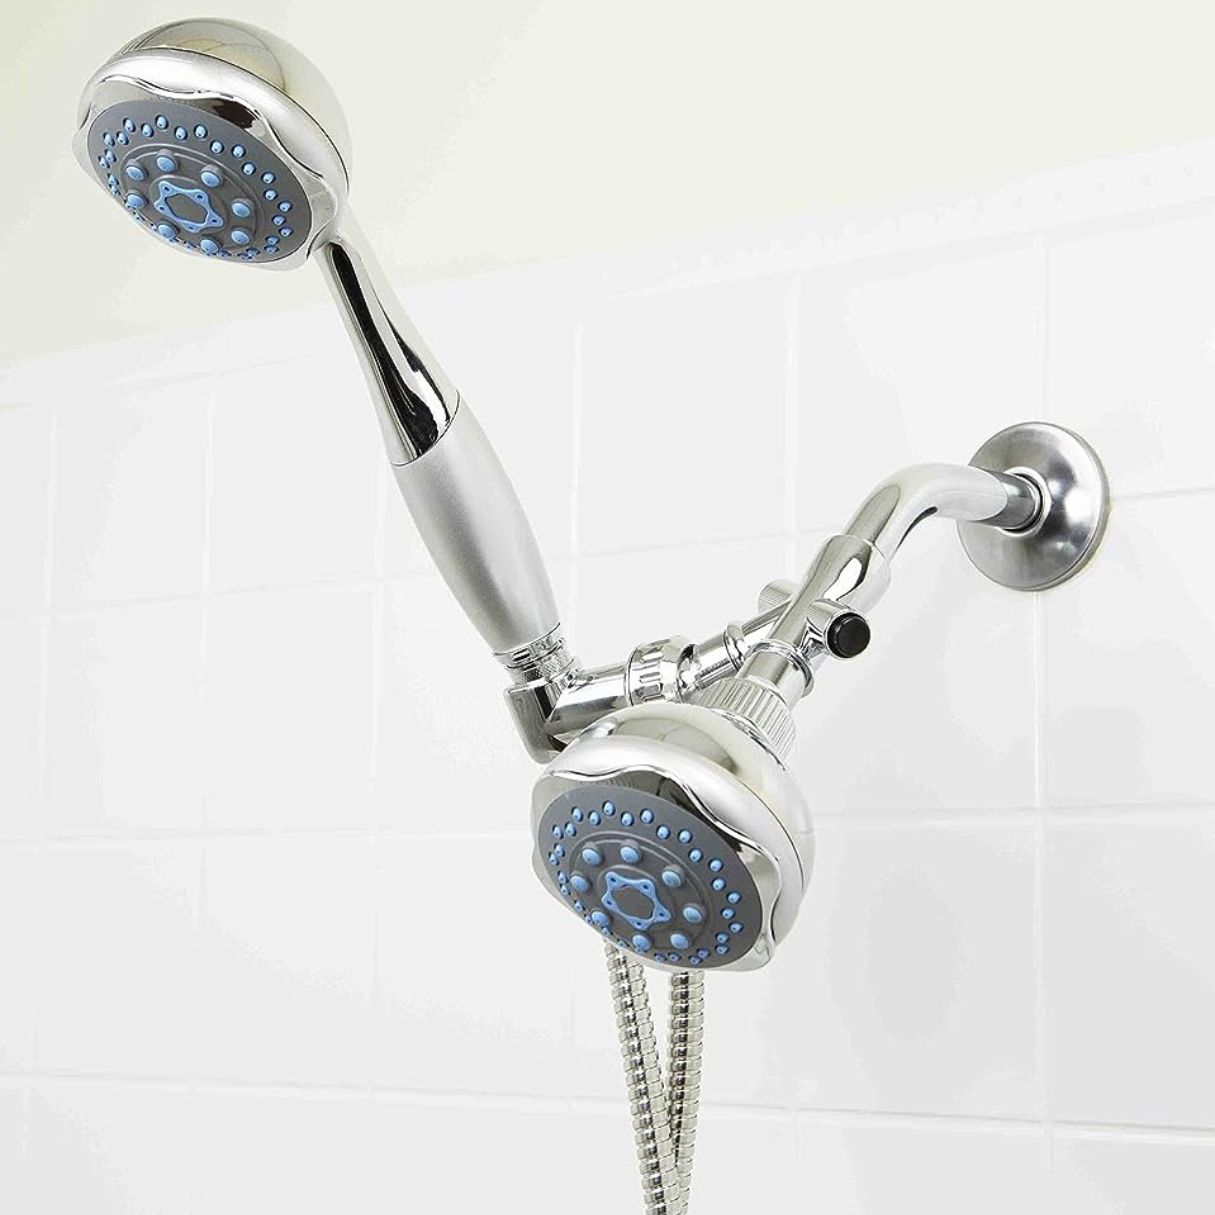
When choosing a new showerhead, consider your preferences and requirements. There are various types available, including fixed showerheads, handheld showerheads, and dual showerheads. Additionally, you can select from different spray patterns and water pressure options to suit your needs.
A rag or towel will come in handy to clean up any water that may drip during the installation process. It’s a good idea to have one nearby to keep your bathroom clean and dry.
Plumber’s tape is optional but can be useful if you have any concerns about leaks. It is a thin white tape that you can wrap around the shower arm threads before attaching the new showerhead. This can provide an extra layer of protection against leaks.
Now that you have gathered all the necessary tools and materials, you’re ready to move on to removing the old showerhead. Be sure to follow the next steps carefully to avoid any damage or unnecessary complications.
Removing the old showerhead
Before you can install your new showerhead, you’ll need to remove the old one. Follow these step-by-step instructions to safely and effectively remove the old showerhead:
- Start by turning off the water supply to the shower. Look for a valve or knob located either on the showerhead or near the shower controls. Turn it clockwise to shut off the water.
- Once the water is turned off, place a rag or towel over the shower arm to protect it from any potential scratches or damages.
- If your showerhead has a decorative cap or cover over the connection point, carefully remove it. This can usually be done by hand or with the help of a screwdriver.
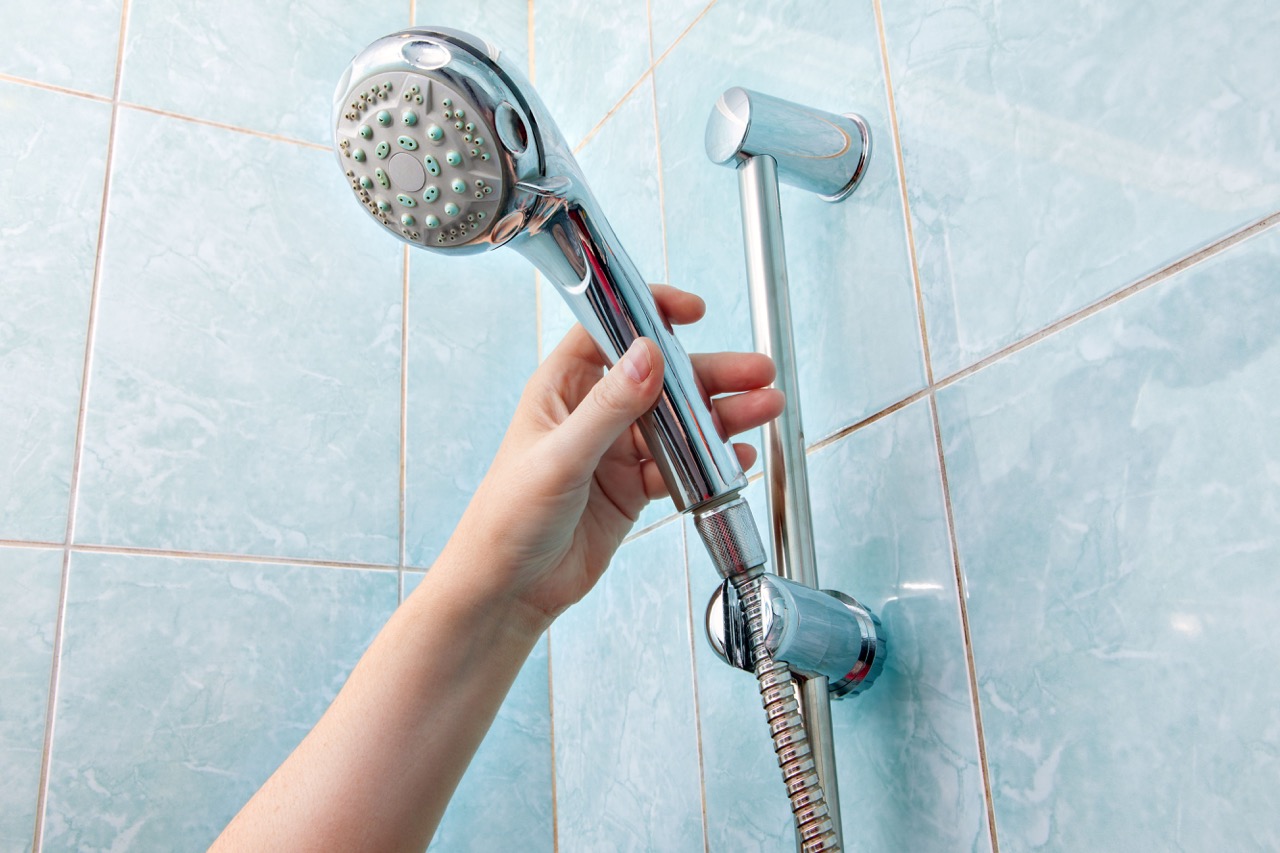
- Using an adjustable wrench, grip the showerhead firmly at the base where it connects to the shower arm.
- Turn the wrench counterclockwise to loosen the showerhead. Apply steady pressure while turning until the showerhead is completely detached from the shower arm.
- Once the showerhead is removed, inspect the shower arm for any residue or debris. Wipe it clean with a damp cloth if necessary.
That’s it! You’ve successfully removed the old showerhead. Now it’s time to prepare the new showerhead for installation. Follow the next steps to ensure a seamless transition from the old to the new.
Preparing the new showerhead for installation
Now that you have removed the old showerhead, it’s time to prepare the new one for installation. Follow these steps to ensure a smooth and successful installation:
- Inspect the threads of the shower arm to make sure they are clean and free from any debris or residue. If necessary, use a damp cloth to wipe them clean.
- If your new showerhead includes a rubber washer or gasket, make sure it is properly seated in the showerhead’s connection point. This will help create a watertight seal.
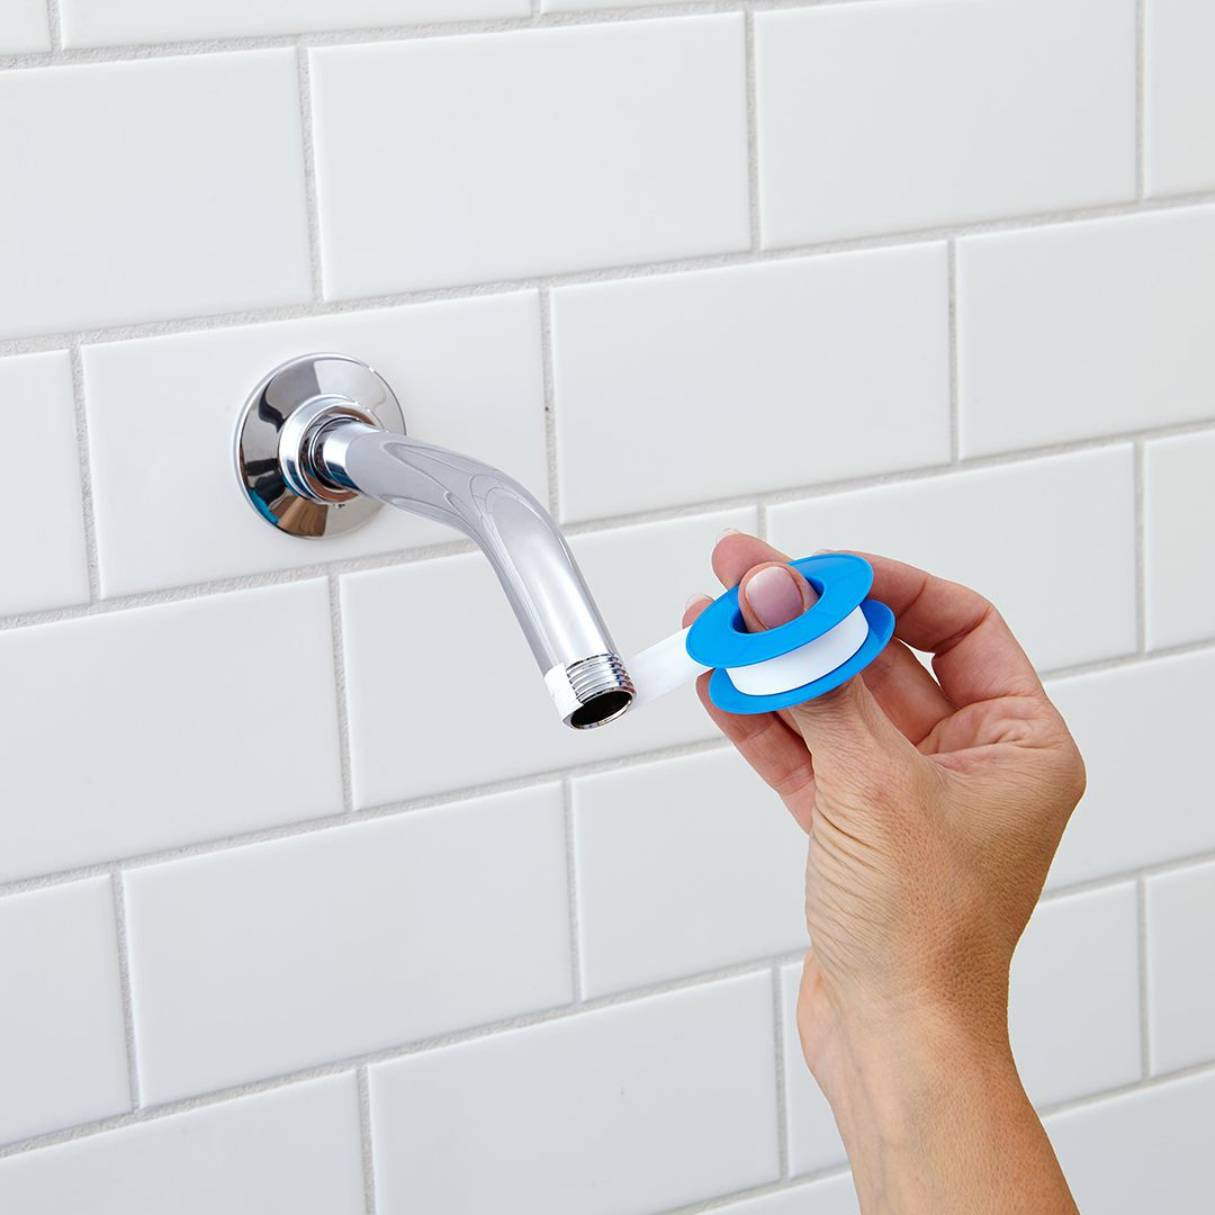
- If you prefer extra leak protection, you can apply a layer of plumber’s tape to the shower arm threads. To do this, start by holding the end of the tape against the shower arm threads and wrap it clockwise around the threads. Make sure to overlap the tape as you go, and apply enough pressure to form a secure seal.
- Double-check that the showerhead is compatible with your existing shower arm. Ensure that the connections are the same size and type to avoid any compatibility issues.
By following these preparation steps, you’ll ensure a smooth and leak-free installation of your new showerhead. Once you have completed these steps, you are ready to attach the new showerhead to the shower arm. Continue reading for the detailed instructions on how to do this.
When installing a new showerhead, use plumber’s tape to create a tight seal between the shower arm and the new showerhead. This will prevent any leaks and ensure a secure connection.
Attaching the new showerhead
With the old showerhead removed and the new showerhead prepared, it’s time to attach the new showerhead to the shower arm. Follow these step-by-step instructions for a successful installation:
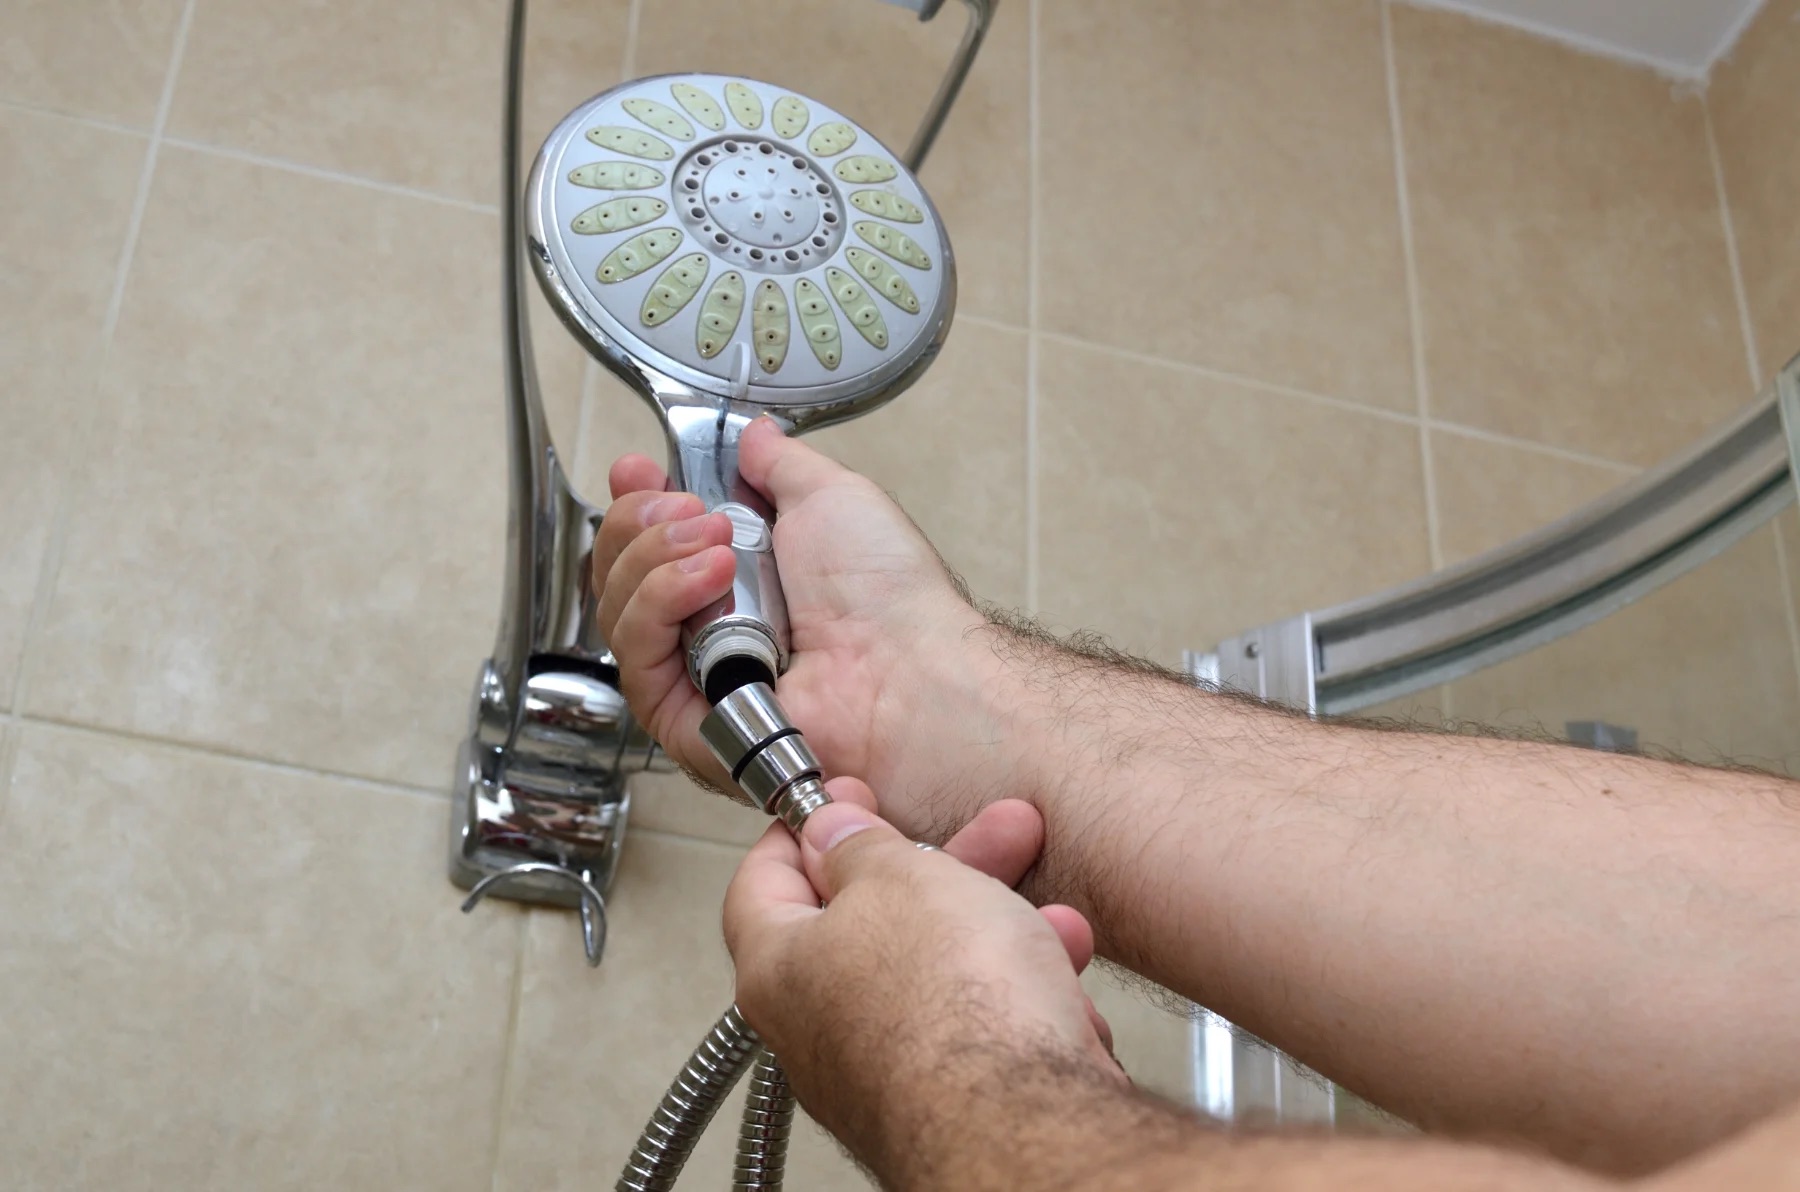
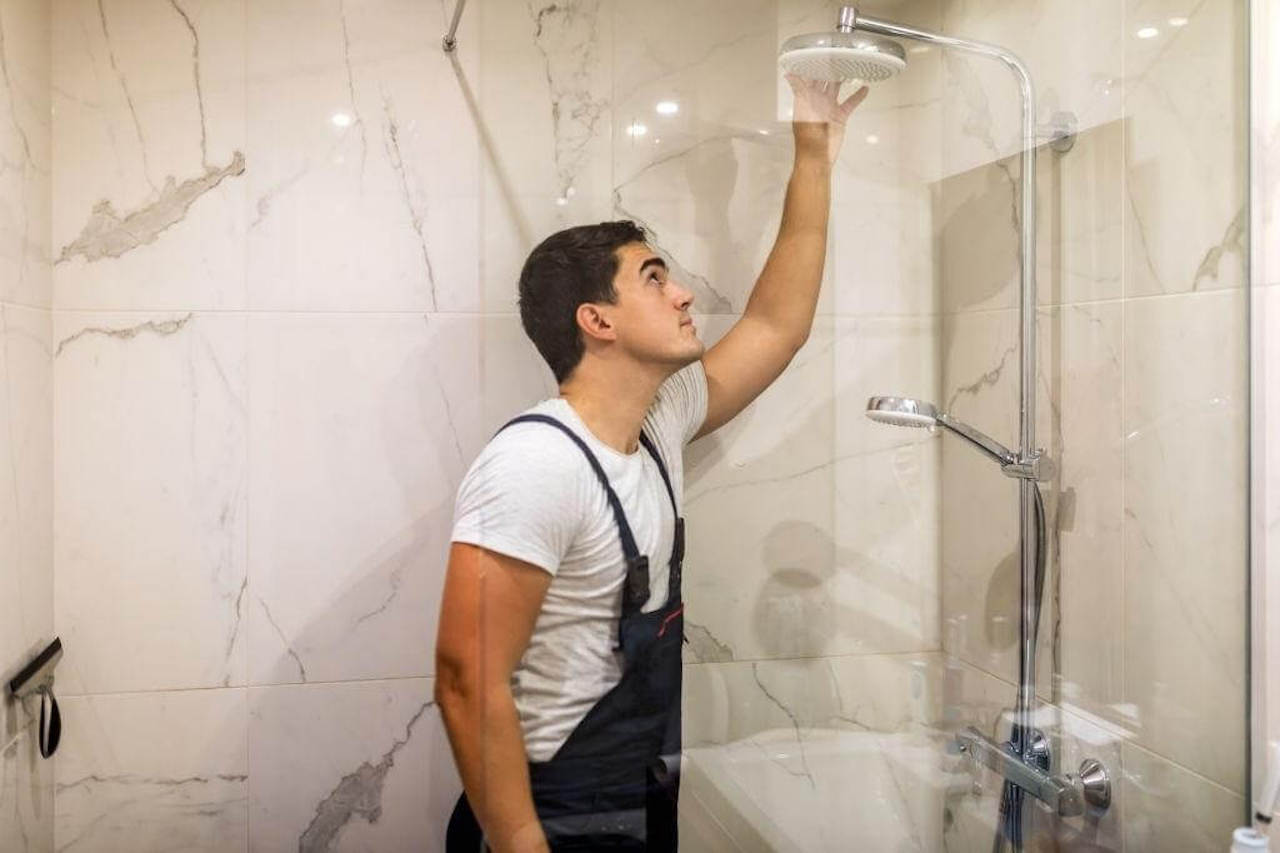
- Take your new showerhead and hold it firmly at the base where it connects to the shower arm.
- Align the threads on the showerhead with the threads on the shower arm.
- Slowly and carefully turn the showerhead clockwise onto the shower arm by hand. Make sure the showerhead is straight and aligned properly as you turn.
- Continue to tighten the showerhead until you feel it is securely fastened. You can use an adjustable wrench to give it an extra quarter turn if needed, but be cautious not to overtighten as it may cause damage.
- If your showerhead has any adjustable settings or spray patterns, adjust them now according to your preference.
Once you have attached the new showerhead, it’s time to test it to ensure everything is working properly.
Read more: How Much Does A New Showerhead Cost
Testing the new showerhead
After successfully attaching the new showerhead, it’s important to test it to ensure it’s functioning properly. Follow these steps to conduct a thorough test:
- Turn on the water supply to the shower by turning the valve or knob counterclockwise.
- Check for any leaks around the connection between the showerhead and the shower arm. If you notice any leaks, use an adjustable wrench to tighten the connection further.
- Step into the shower and turn on the showerhead. Pay attention to the water pressure and the spray pattern.
- Ensure that the water flows evenly from all nozzles or settings on the showerhead.
- Adjust the spray pattern and water pressure to your liking, if applicable.
- Move around in the shower to test the coverage and reach of the showerhead. Make sure the water is reaching all areas as intended.
If the new showerhead is functioning properly, congratulations! You have successfully installed a new showerhead. Enjoy your upgraded shower experience.
If you encounter any issues during the testing phase, such as low water pressure, uneven flow, or leaks, double-check the installation to ensure everything is securely fastened. If the problem persists, consult a professional plumber for assistance.
With the new showerhead installed and tested, you can now reap the benefits of a refreshing and rejuvenating shower experience. Remember to periodically clean your showerhead to ensure optimal performance and longevity.
Conclusion
Installing a new showerhead is a simple yet effective way to transform your daily shower routine. With a wide range of options available, you can customize your shower experience to meet your preferences and needs. By following the step-by-step guide we’ve provided, you can easily remove the old showerhead and install a new one in no time.
Gathering the necessary tools and materials, removing the old showerhead, preparing the new showerhead, attaching it securely to the shower arm, and testing its functionality are the key steps in the installation process. By carefully following these steps, you can ensure a successful and leak-free installation.
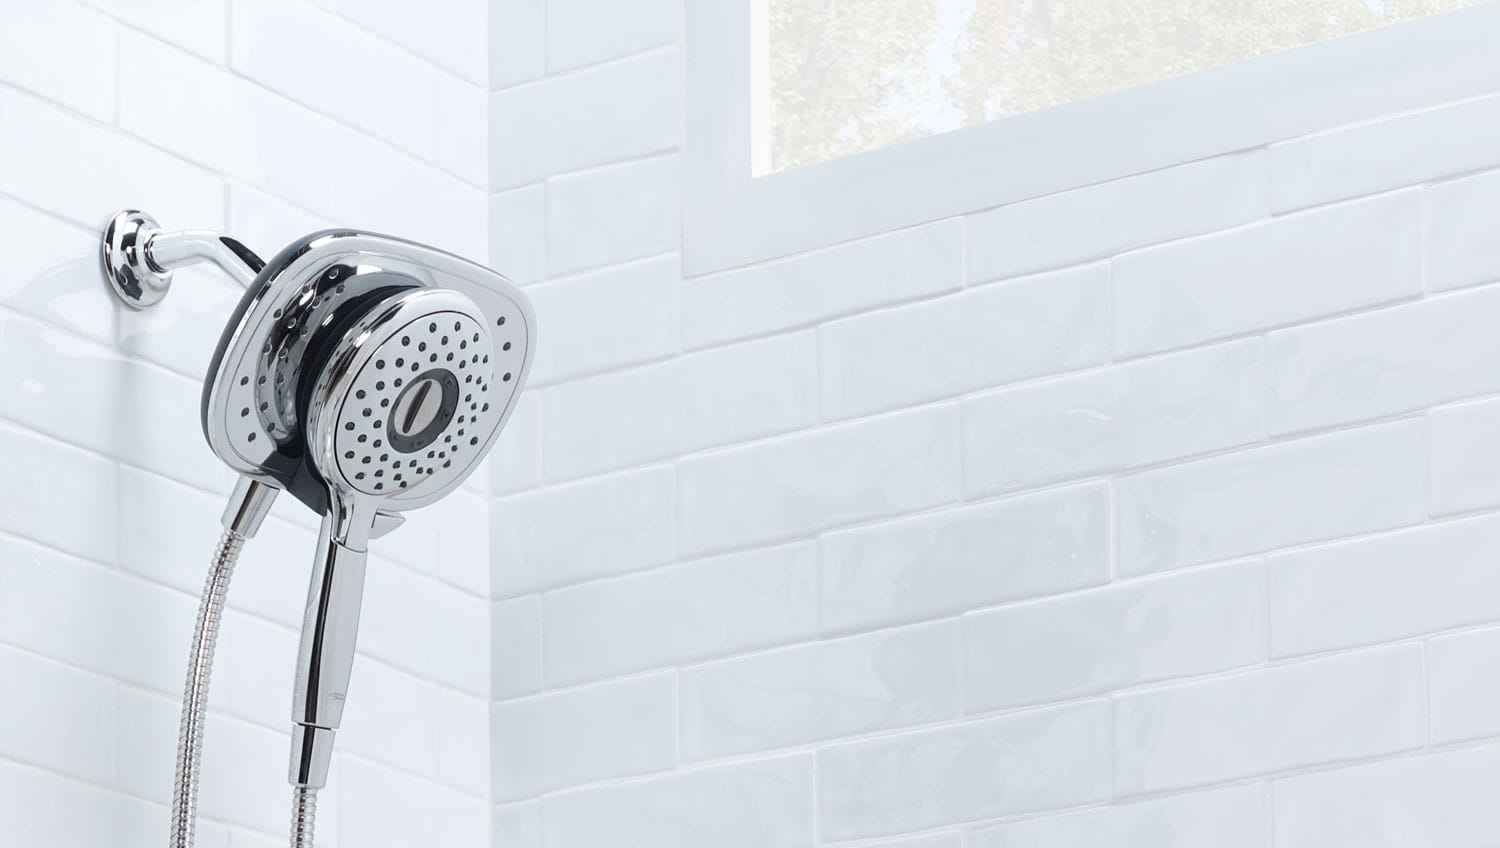
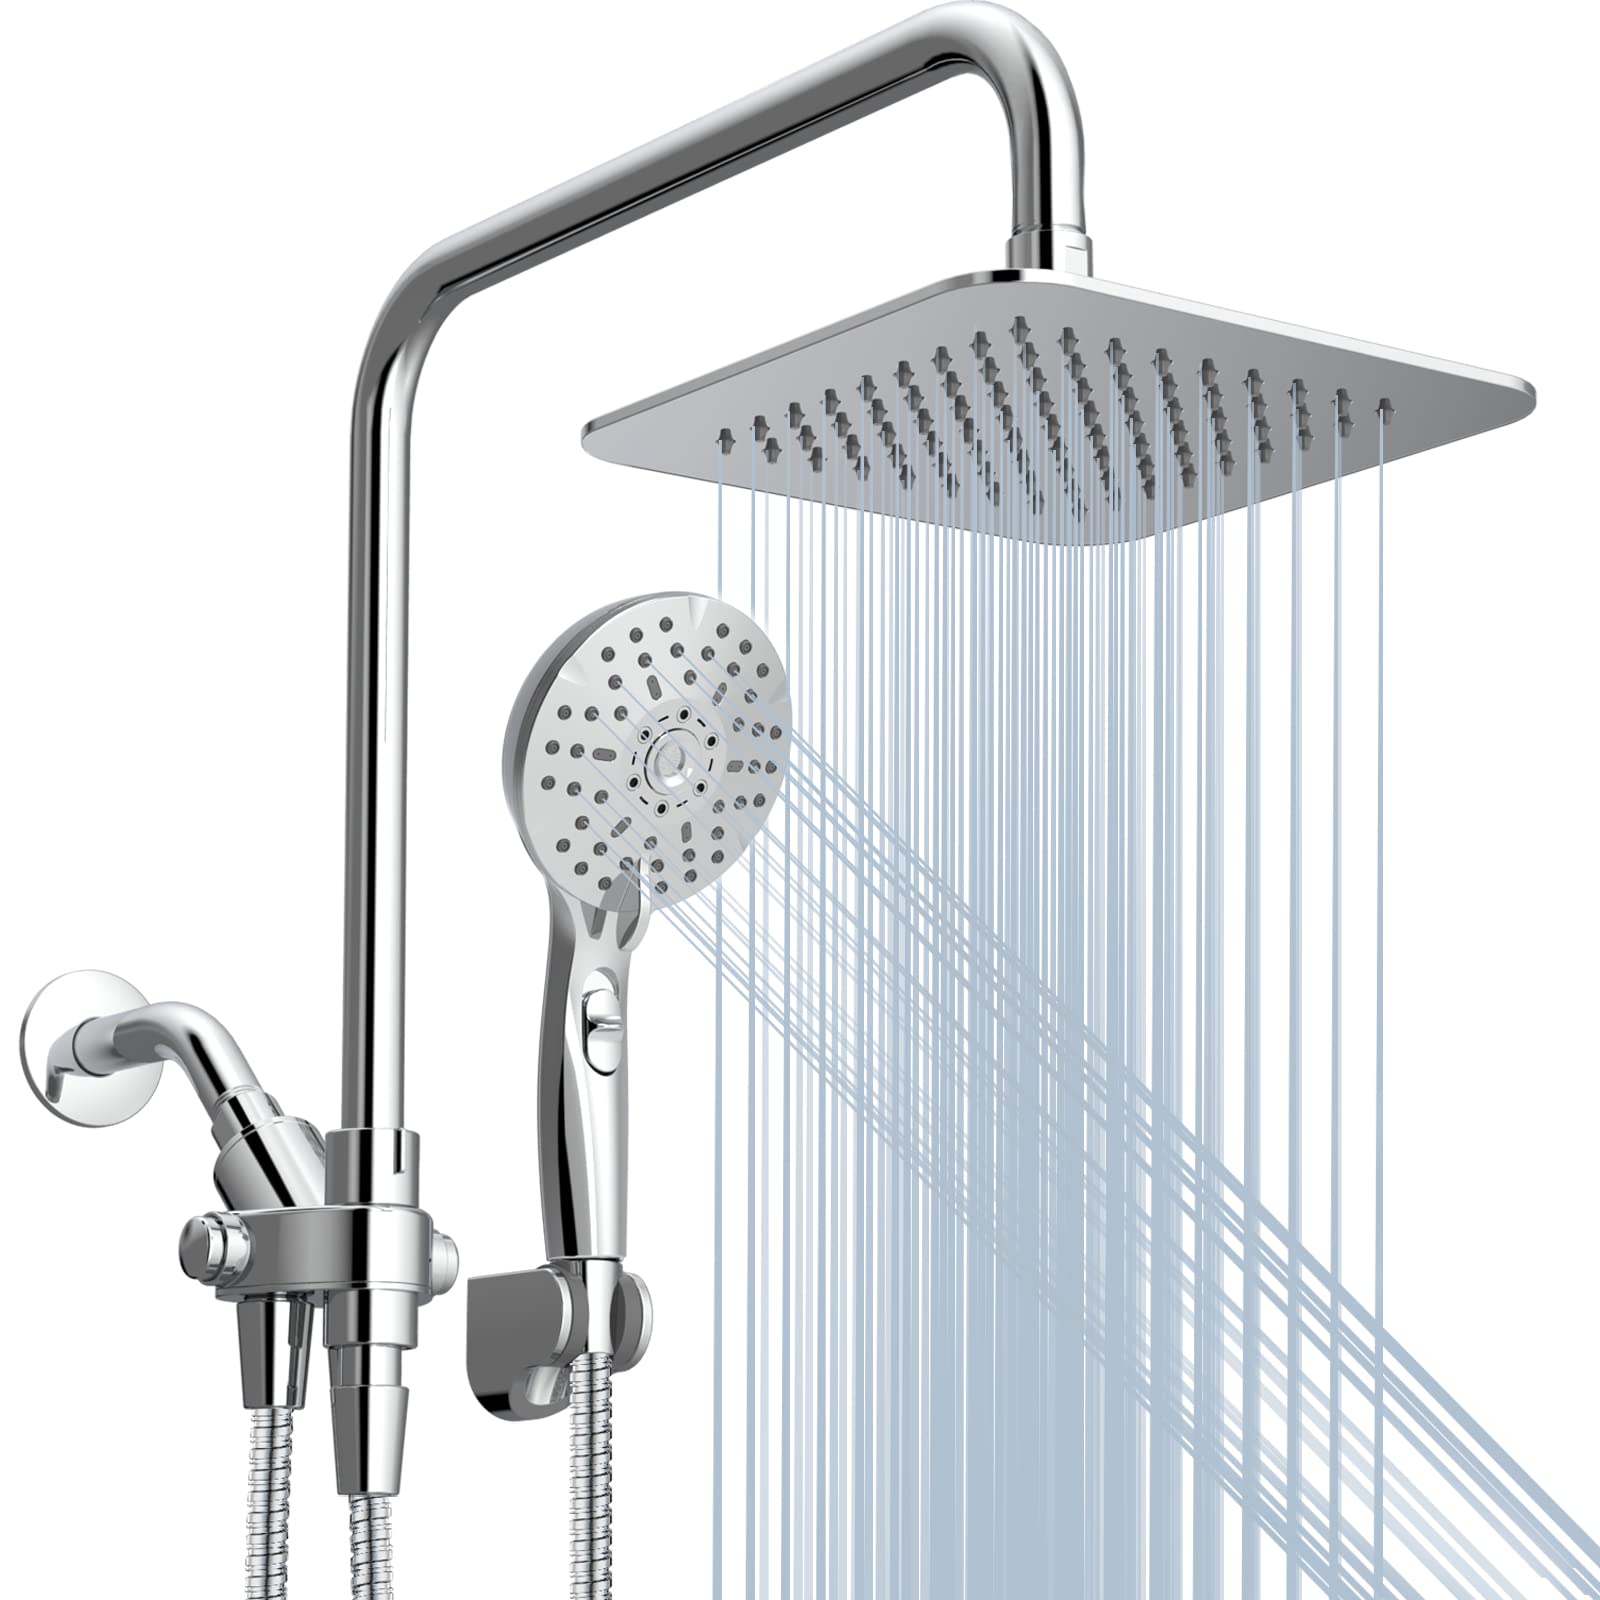
Remember, choosing the right showerhead for your needs is essential. Consider factors such as water pressure, spray patterns, and functionality to find the perfect fit for your bathroom. Whether you prefer a rain showerhead, a handheld showerhead, or a combination of both, there are plenty of options to suit your tastes.
A newly installed showerhead can enhance not only the functionality of your shower but also your overall bathing experience. From a luxurious rainfall effect to a powerful invigorating spray, you can create a spa-like atmosphere in the comfort of your own home.
So, what are you waiting for? Take the plunge and upgrade your showerhead today. Follow our guide, gather the necessary tools, and enjoy the benefits of a rejuvenating and satisfying shower experience.
Remember to regularly clean and maintain your showerhead to ensure its optimal performance. This will help prolong its lifespan and keep your showers enjoyable for years to come.
Happy showering!
Frequently Asked Questions about How To Install A New Showerhead
Was this page helpful?
At Storables.com, we guarantee accurate and reliable information. Our content, validated by Expert Board Contributors, is crafted following stringent Editorial Policies. We're committed to providing you with well-researched, expert-backed insights for all your informational needs.
0 thoughts on “How To Install A New Showerhead”