Articles
How To Make A Laser Level Target
Modified: December 7, 2023
Learn how to create a laser level target with this detailed article. Improve your accuracy and precision in any DIY project.
(Many of the links in this article redirect to a specific reviewed product. Your purchase of these products through affiliate links helps to generate commission for Storables.com, at no extra cost. Learn more)
Introduction
A laser level target is a useful tool for improving the accuracy and efficiency of your construction and home improvement projects. Whether you are installing shelves, framing walls, or aligning tiles, a laser level target can help you achieve precise measurements and ensure that everything is perfectly level.
In this article, we will guide you through the process of making your own laser level target. By following these steps, you can save money on expensive commercial targets and customize the target to suit your specific needs. So, let’s gather the materials and get started!
Key Takeaways:
- Save money and customize your laser level target by following simple DIY steps. Enjoy the precision and efficiency of a personalized tool for your construction and home improvement projects.
- Ensure accuracy and reliability by assembling, calibrating, and testing your homemade laser level target. Experience the benefits of a cost-effective and customizable solution for your projects.
Materials Needed
Before you begin making your laser level target, make sure you have the following materials:
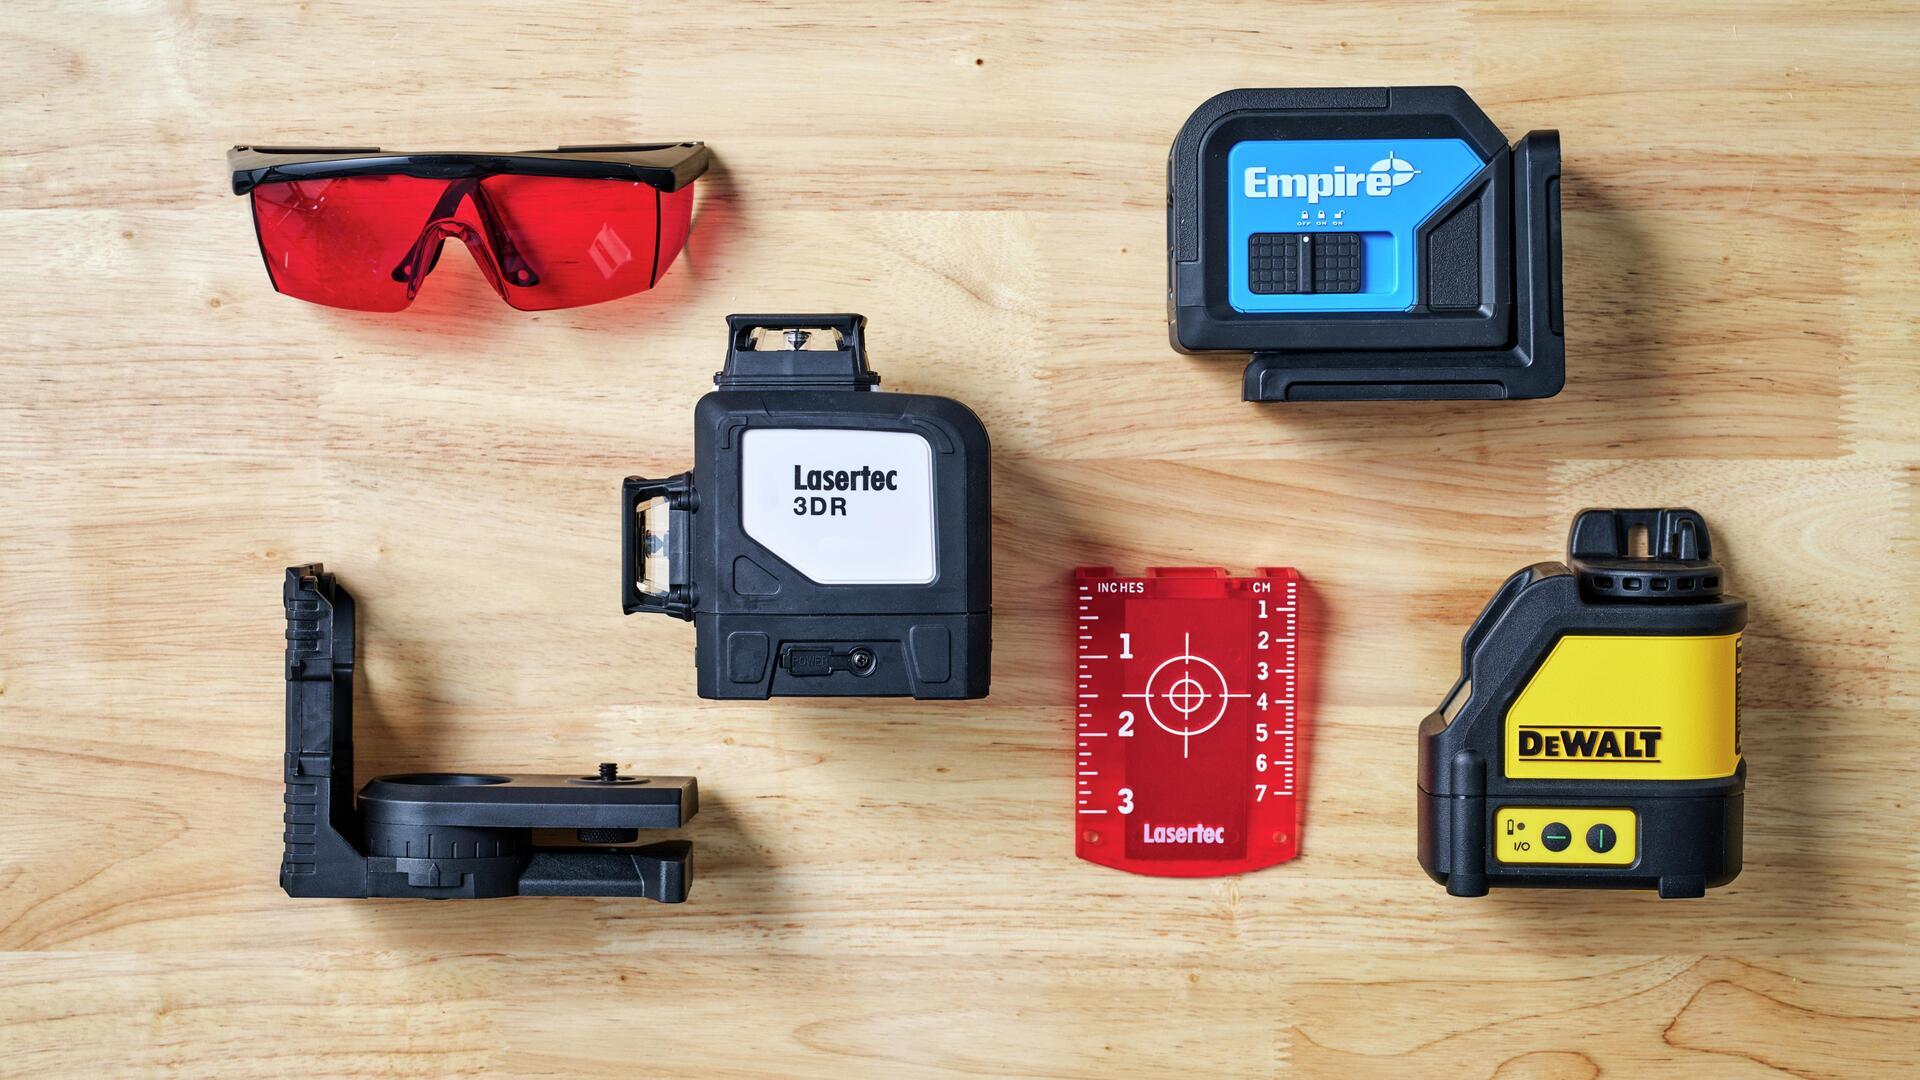
- Laser level
- Wooden board (preferably plywood) – large enough to accommodate the laser level and target
- An adhesive-backed reflective tape or reflective spray paint
- Masking tape
- Scissors or utility knife
- Ruler or measuring tape
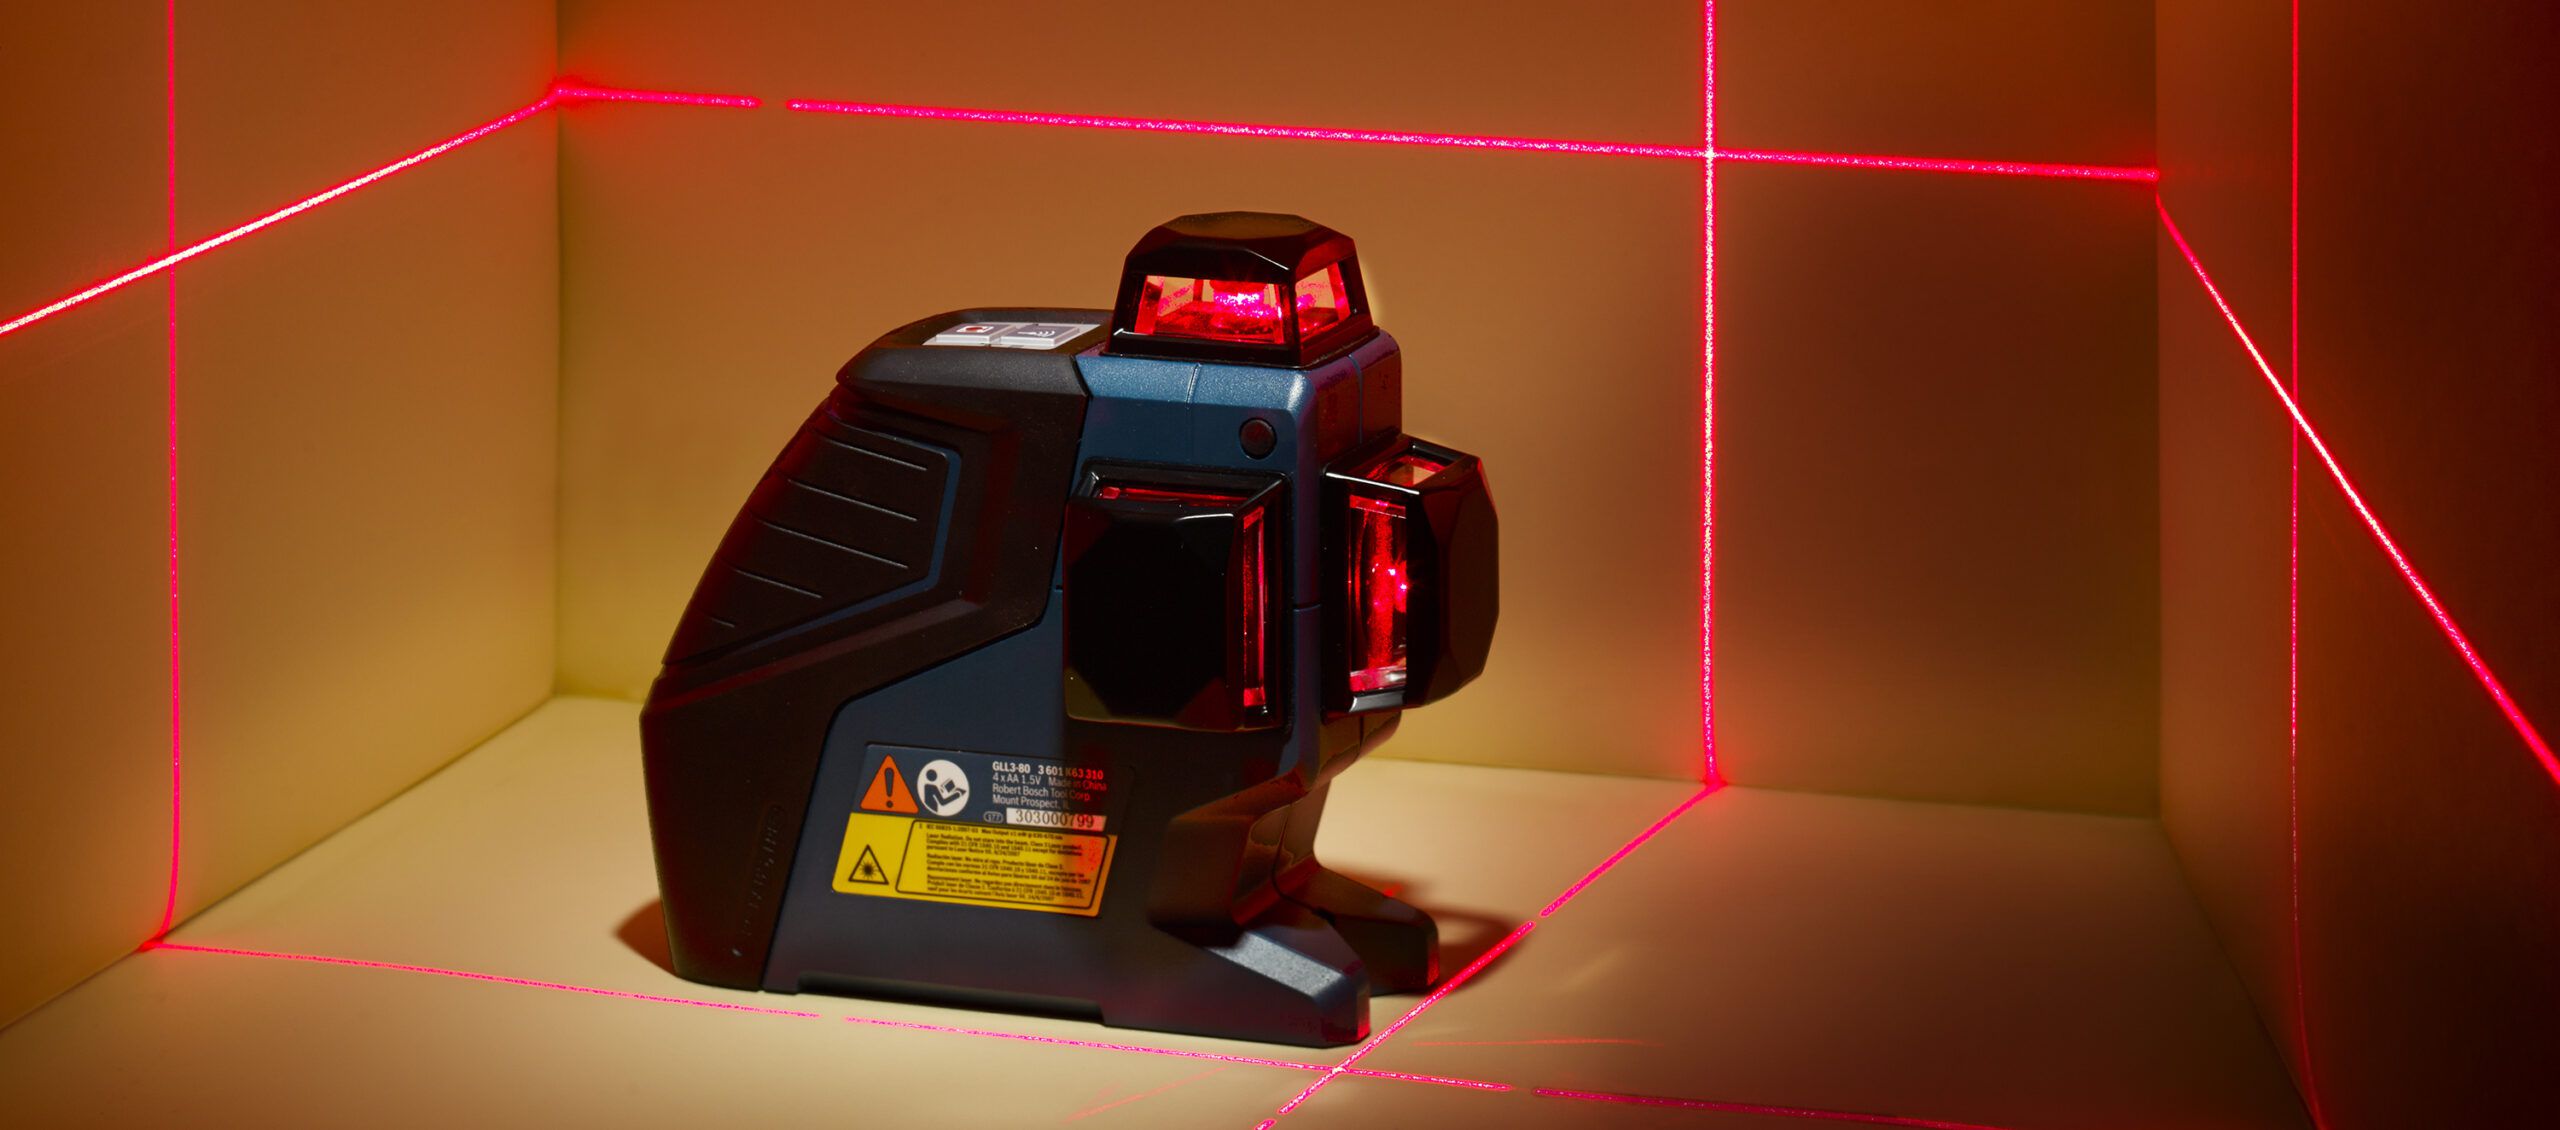
These materials are readily available and can be easily obtained from a local hardware store or online. The laser level is an essential component, as it emits a laser beam that will be used to align and level objects.
The wooden board will serve as the base for the laser level target. Plywood is ideal for this purpose as it is sturdy and easy to work with. The reflective tape or spray paint will be used to create a target that reflects the laser beam, making it visible and easier to work with.
Lastly, the masking tape, scissors or utility knife, and ruler or measuring tape will be used for precise measurements and to ensure that the target is aligned properly with the laser level.
Once you have gathered all the materials, you are ready to move on to the next step: assembling the laser level target.
Step 1: Gather the Components
Before you start assembling the laser level target, it is important to gather all the necessary components. This will ensure a smooth and efficient process. Here’s what you need to do:
- Ensure that you have all the materials listed in the previous section. Double-check that you have a laser level, wooden board, reflective tape or spray paint, masking tape, scissors or utility knife, and a ruler or measuring tape.
- Find a suitable workspace where you can assemble the laser level target. It should be a well-lit area with enough space to comfortably work with the materials.
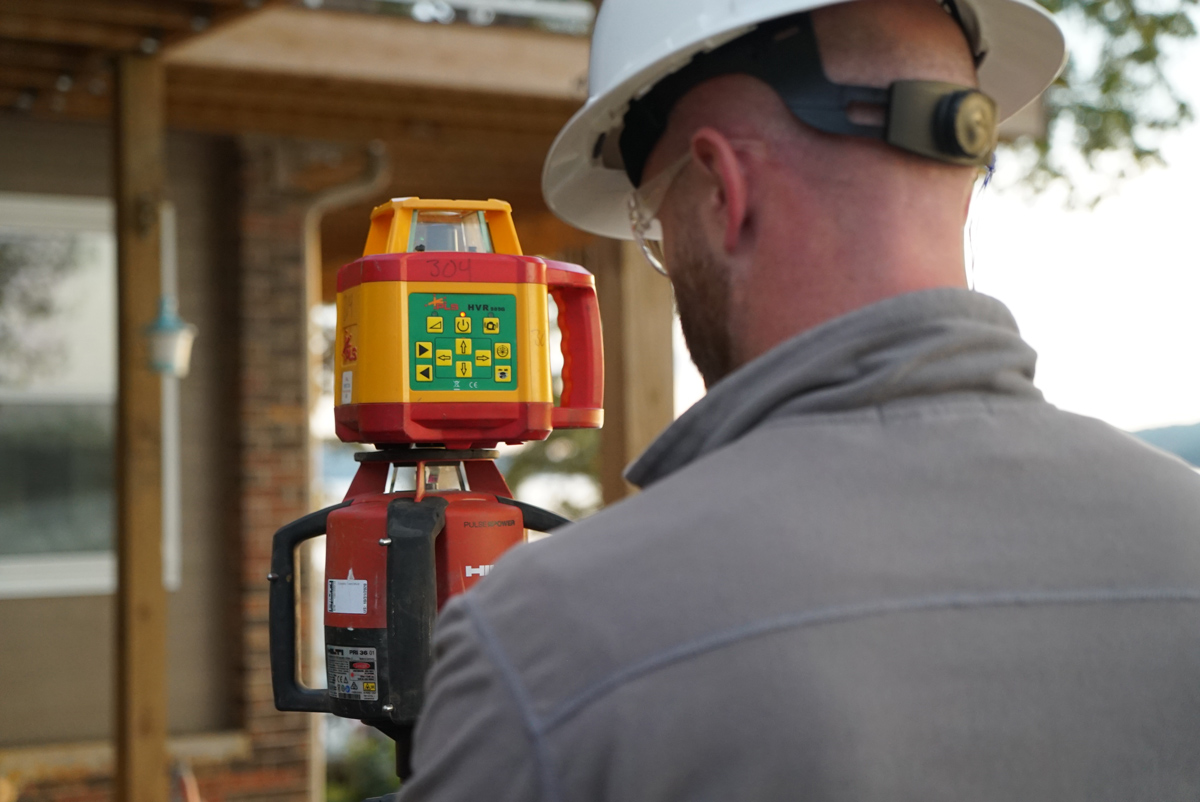
- Inspect the laser level to ensure that it is in proper working condition. Check the batteries and any other components to make sure everything is functioning as expected.
- Measure the dimensions of the laser level to determine the size of the wooden board needed for the base. Use a ruler or measuring tape to accurately measure the length and width of the laser level. Add a few extra inches to each side to allow for some margin.
- Once you have the measurements, mark them on the wooden board using a pencil or marker. Use a ruler or straight edge to create clean and straight lines.
- Using a saw or a utility knife, carefully cut the wooden board along the marked lines. Take your time and ensure that the cuts are precise and accurate.
- After cutting the wooden board, sand the edges to remove any rough or jagged edges. This will give the laser level target a polished and professional appearance.
By carefully following these steps, you will have successfully gathered all the necessary components for your laser level target. Now it’s time to move on to the next step: assembling the target itself.
Step 2: Assemble the Laser Level Target
Now that you have gathered all the components, it’s time to assemble your laser level target. Follow these steps to create a functional and efficient target:
- Place the wooden board on a flat and stable surface. Ensure that it is positioned securely so that it won’t move or wobble during the assembly process.
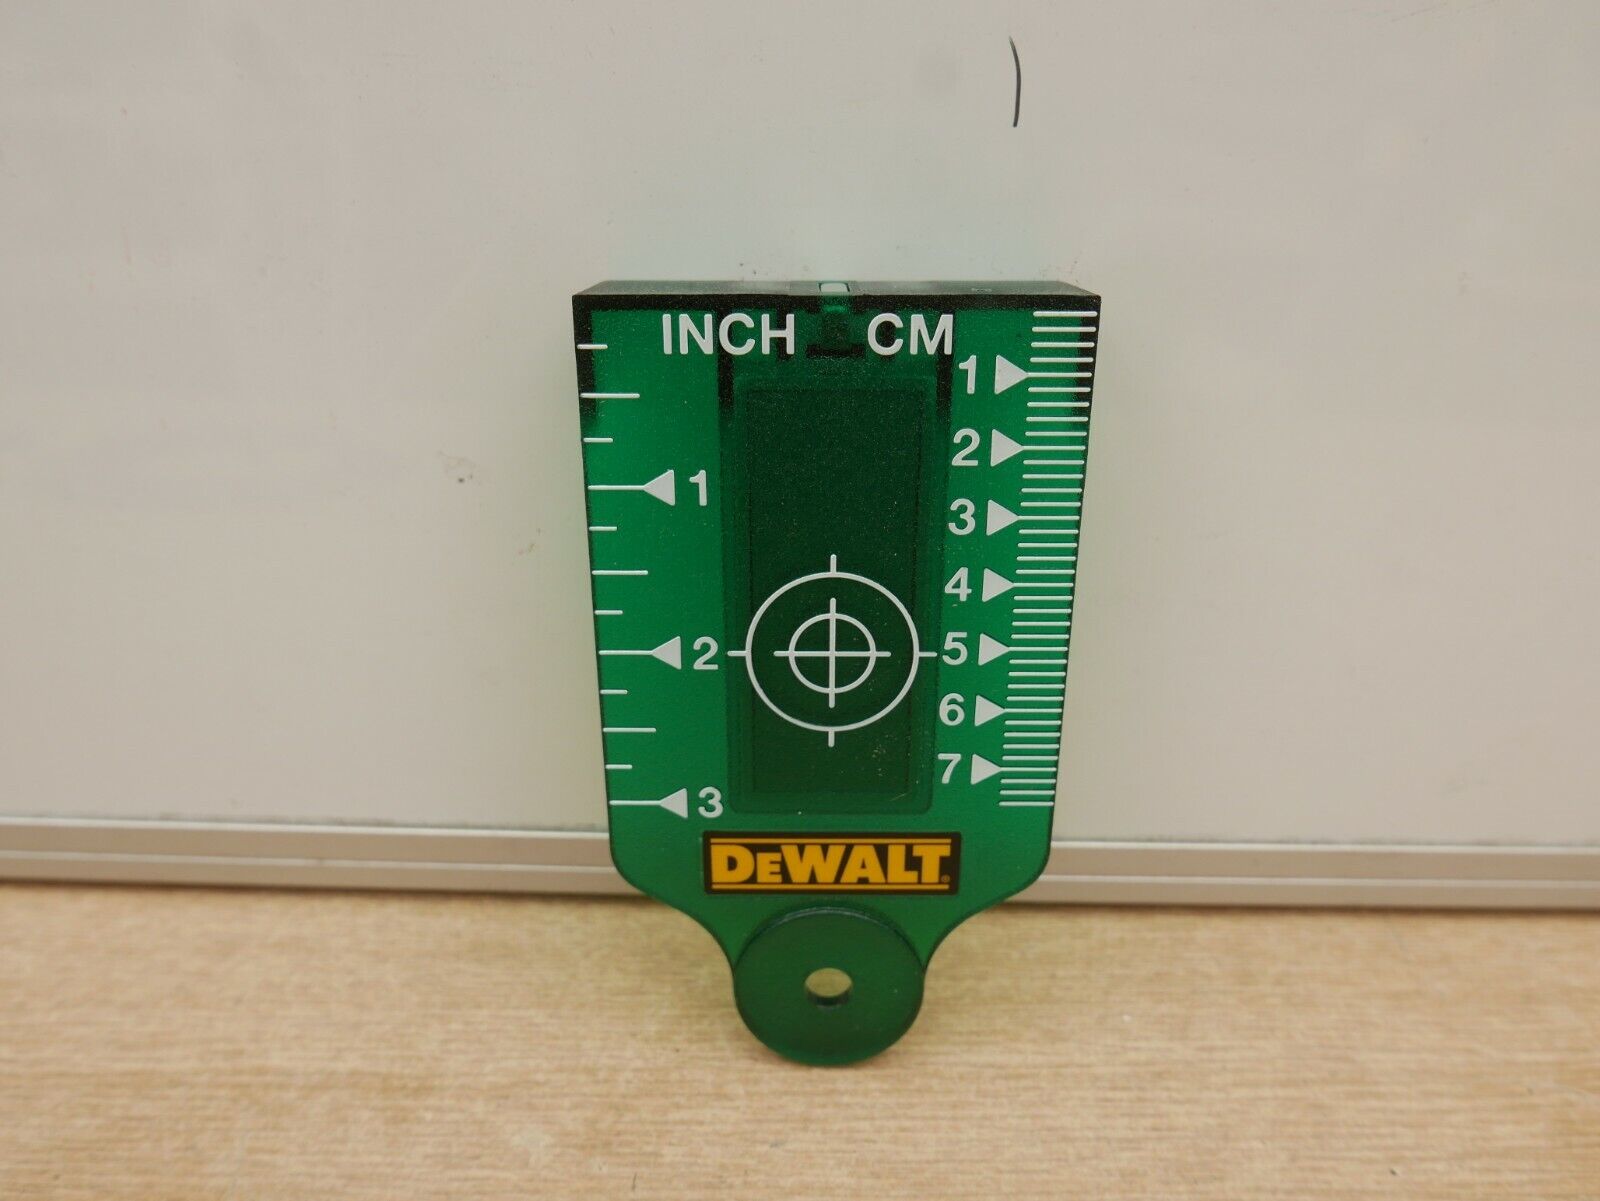
- Take the adhesive-backed reflective tape or reflective spray paint and apply it to the surface of the wooden board. If using tape, carefully cut it to the desired shape and size using scissors or a utility knife. If using spray paint, evenly coat the surface of the board with a reflective layer. This reflective surface will allow the laser beam to be easily detected.
- Once you have applied the reflective material, press it firmly onto the wooden board to ensure a strong and secure bond.
- If using adhesive-backed reflective tape, use the ruler or measuring tape to ensure that the tape is aligned straight and evenly across the surface of the board. This will help maintain the accuracy of the laser beam.
- Next, take the laser level and position it on the wooden board. Place it at a height and angle that suits your needs. You may need to use masking tape or other fastening methods to secure the laser level in place.
- Adjust the laser level so that the laser beam is directed towards the center of the target area. Use the built-in adjustments on the laser level to align the beam accurately.
- Double-check the alignment of the laser beam and make any necessary adjustments to ensure that it aligns perfectly with the target area.
Once you have completed these steps, you have successfully assembled your laser level target. Now it’s time to move on to the next step: calibrating the laser level.
When making a laser level target, ensure that the reflective surface is positioned at a 90-degree angle to the laser beam for accurate readings.
Step 3: Calibrate the Laser Level
Calibrating your laser level is an essential step to ensure accurate measurements and precise leveling. Follow these steps to calibrate your laser level:
- Find a flat and stable surface to place your laser level target. It should be free from any obstructions or unevenness.
- Turn on your laser level and position it on the target. Ensure that it is securely fastened and stable.
- Activate the laser beam and observe its projection onto the target area.
- Use the adjustment knobs or buttons on your laser level to align the laser beam with a reference point.
- Measure the distance from the reference point to the laser level target using a measuring tape or ruler.
- If the measured distance matches the intended distance, your laser level is already calibrated. If not, continue to the next step.
- Make small adjustments to the laser level using the adjustment knobs or buttons. Take note of the changes you make and their impact on the laser beam projection.
- Continue fine-tuning until the laser beam aligns accurately with the desired reference point.
- When you are satisfied with the calibration, lock the adjustments in place to prevent any accidental changes.
It’s important to periodically check and recalibrate your laser level to maintain its accuracy. Environmental factors, such as temperature changes and vibrations, can affect the calibration over time.
By following these steps, you have successfully calibrated your laser level. Now it’s time to move on to the final step: testing the laser level target.
Read more: How To Level A Laser Level Tripod
Step 4: Test the Laser Level Target
After assembling and calibrating your laser level target, it’s important to test its functionality and accuracy. Follow these steps to ensure that your target is working properly:
- Choose a suitable test area where you can accurately assess the performance of your laser level target. Ideally, it should be a flat surface with a clear line of sight.
- Position your laser level target at the desired location on the test area. Make sure it is securely fastened and aligned properly.
- Activate the laser beam on your laser level and observe its projection onto the target area.
- Ensure that the laser beam is straight, well-defined, and aligns with the reference points on the target.
- Use a measuring tape or ruler to confirm the alignment and levelness of objects in relation to the laser beam. This will help determine the accuracy of the laser level target.
- Make any necessary adjustments to the laser level or target if the measurements are not aligned correctly.
- Test the laser level target at different distances and angles to assess its versatility and performance in various scenarios.
- Measure the consistency and precision of the laser beam projection to ensure that it maintains accuracy over different distances.
- If the laser level target meets your expectations and provides accurate measurements, you can confidently proceed with your construction or home improvement projects.
Regularly testing and evaluating your laser level target will help you identify any potential issues and ensure that it continues to perform optimally. It’s always a good practice to recalibrate your laser level if you notice any inconsistencies or deviations.
By following these steps and conducting thorough testing, you can have confidence in the accuracy and reliability of your laser level target.
Conclusion
Creating your own laser level target can be a cost-effective and customizable solution for your construction and home improvement projects. By following the steps outlined in this article, you can assemble a functional and accurate laser level target that meets your specific needs.
Throughout the process, we discussed the materials needed, including a laser level, wooden board, reflective tape or spray paint, and basic tools such as scissors and a ruler. Gathering these components ensures you have everything necessary to assemble and calibrate your laser level target.
During assembly, it’s important to secure the reflective material evenly onto the wooden board to create a clear and visible target. Properly positioning the laser level and aligning the laser beam with the target area ensures accurate measurements and leveling.
Calibrating the laser level is essential to maintain accuracy and precision. Regularly checking and adjusting the calibration will ensure optimal performance during your projects.
Finally, testing the laser level target in various scenarios helps verify its functionality and accuracy. If the target consistently aligns with the laser beam and provides accurate measurements, you can confidently rely on it for your construction and home improvement needs.
By making your own laser level target, you not only save money but also have the freedom to customize it according to your preferences. This DIY approach allows for a more personalized experience in your projects.
In conclusion, creating a laser level target is a straightforward process that can greatly enhance the precision and efficiency of your construction and home improvement endeavors. So, gather your materials, follow the steps outlined in this article, and enjoy the benefits of your homemade laser level target.
Frequently Asked Questions about How To Make A Laser Level Target
Was this page helpful?
At Storables.com, we guarantee accurate and reliable information. Our content, validated by Expert Board Contributors, is crafted following stringent Editorial Policies. We're committed to providing you with well-researched, expert-backed insights for all your informational needs.


0 thoughts on “How To Make A Laser Level Target”