Home>Furniture>Living Room Furniture>How To Make A Bay Window Seat
Living Room Furniture
How To Make A Bay Window Seat
Modified: October 18, 2024
Learn how to create a cozy and functional bay window seat in your living room with our step-by-step guide. Transform your space with stylish living room furniture.
(Many of the links in this article redirect to a specific reviewed product. Your purchase of these products through affiliate links helps to generate commission for Storables.com, at no extra cost. Learn more)
Introduction
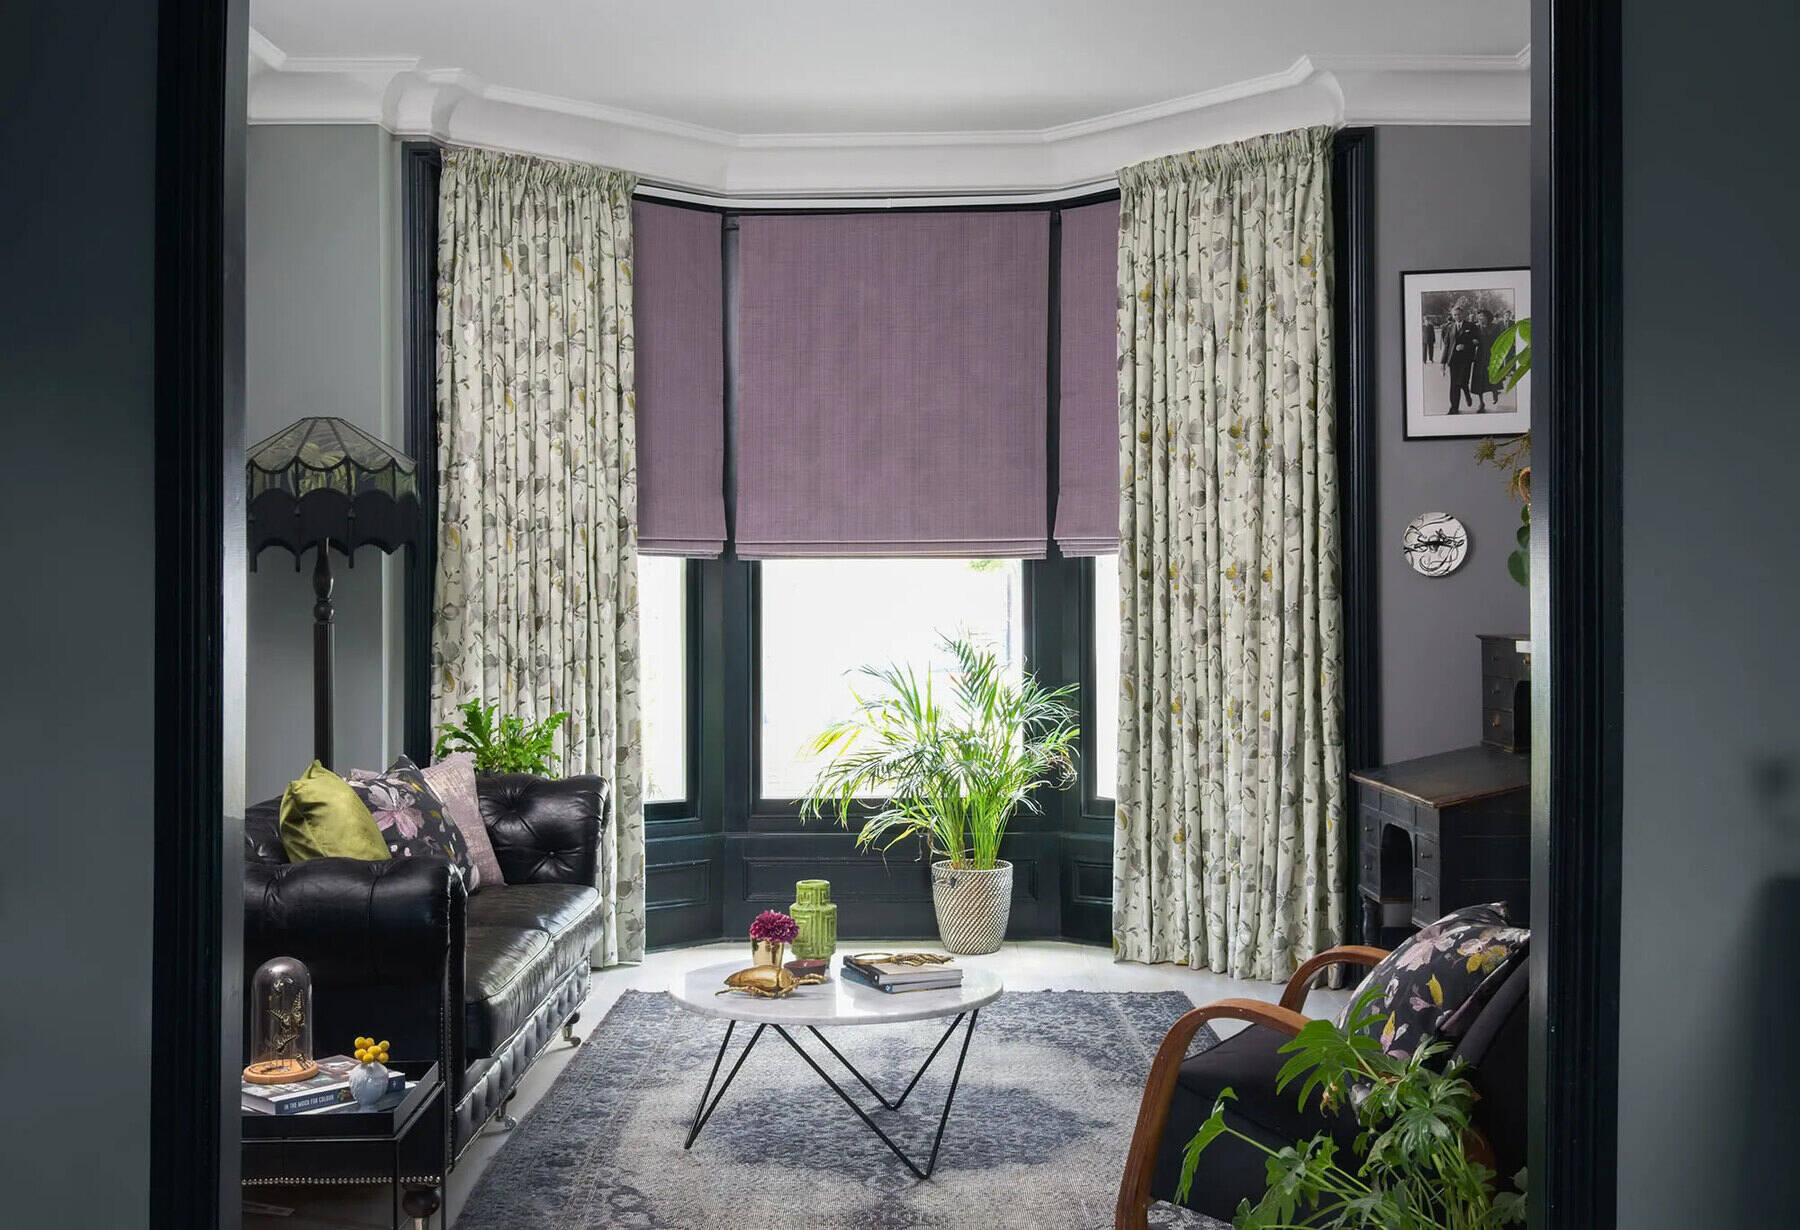
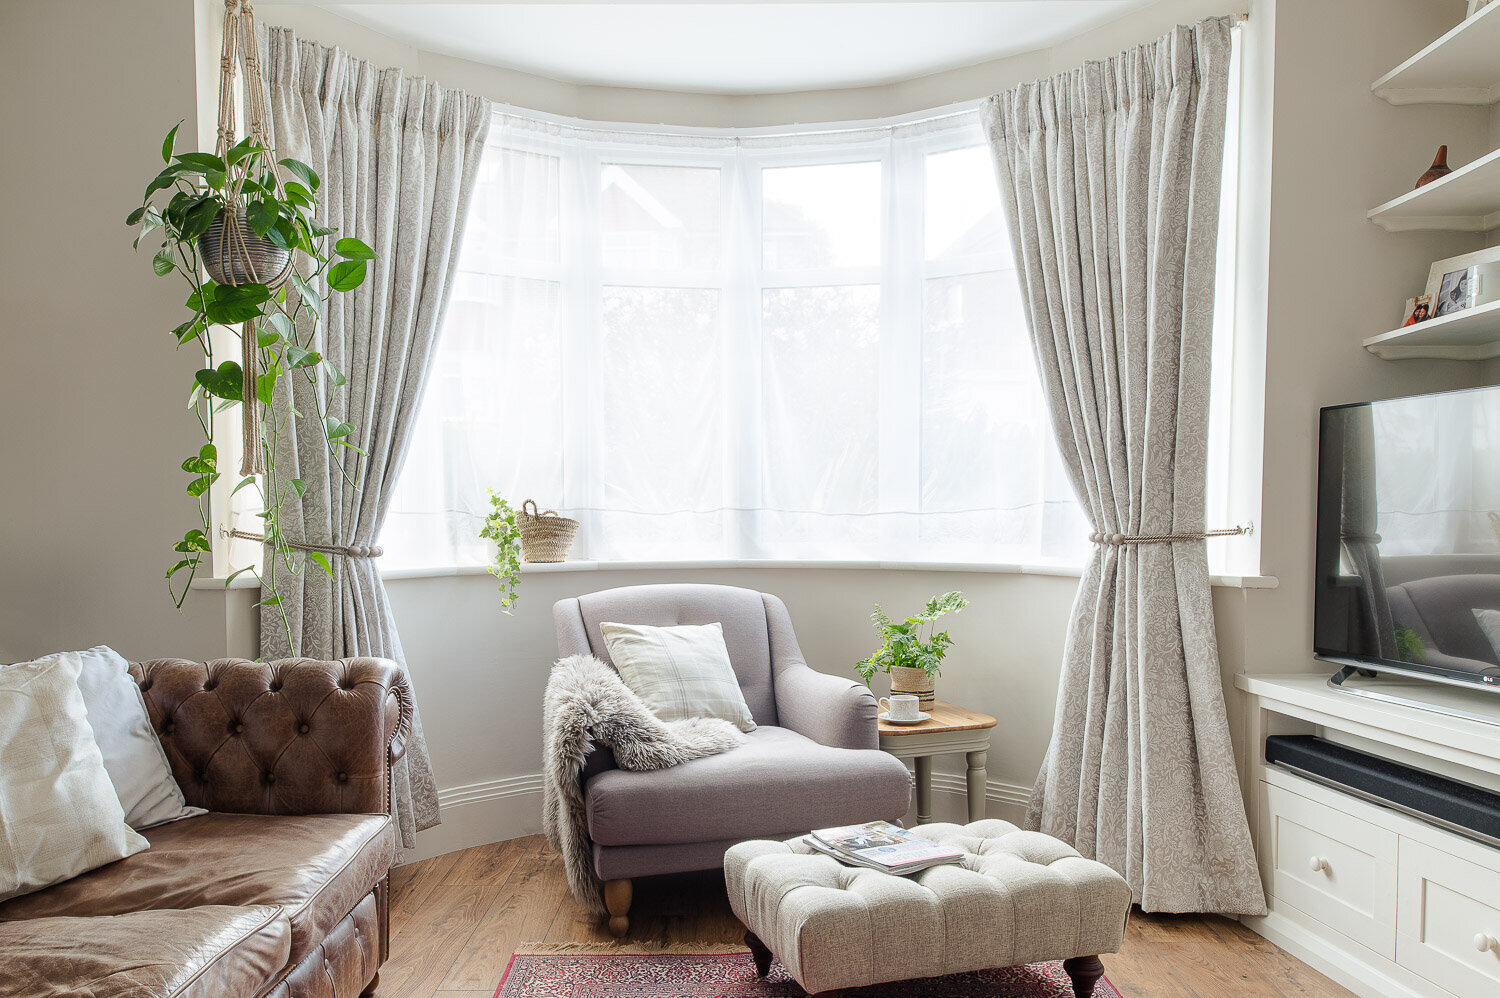
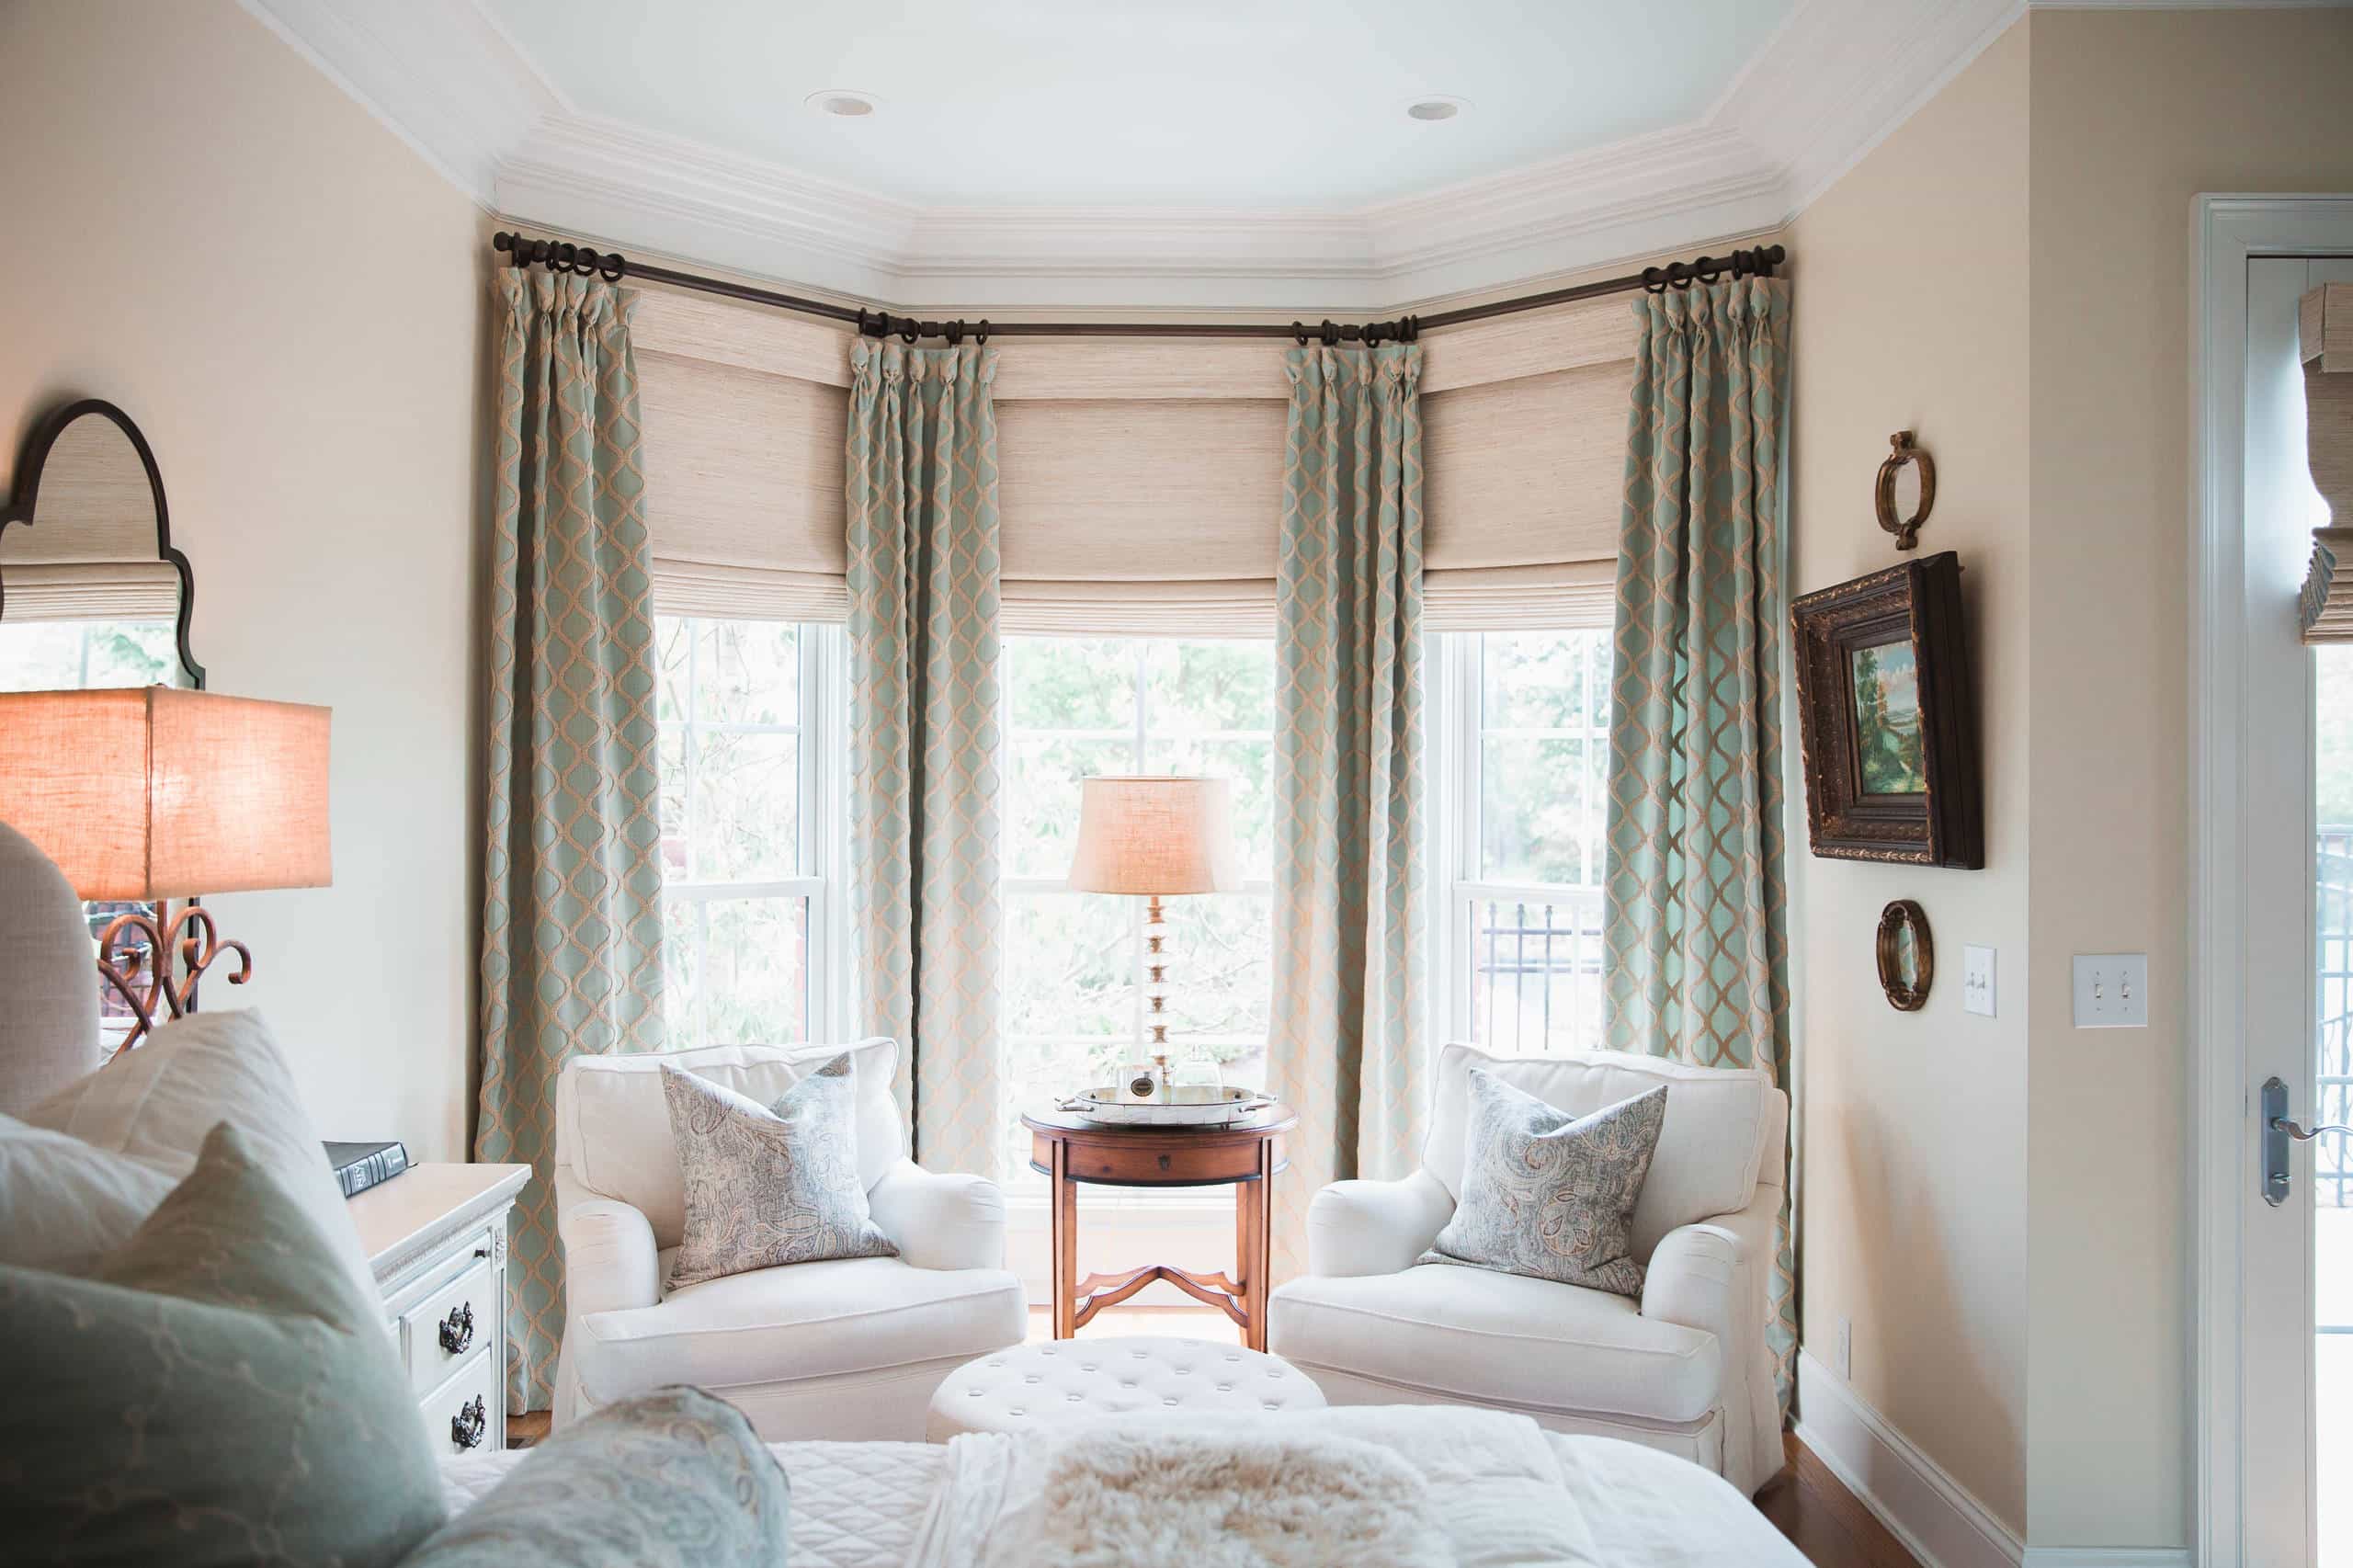
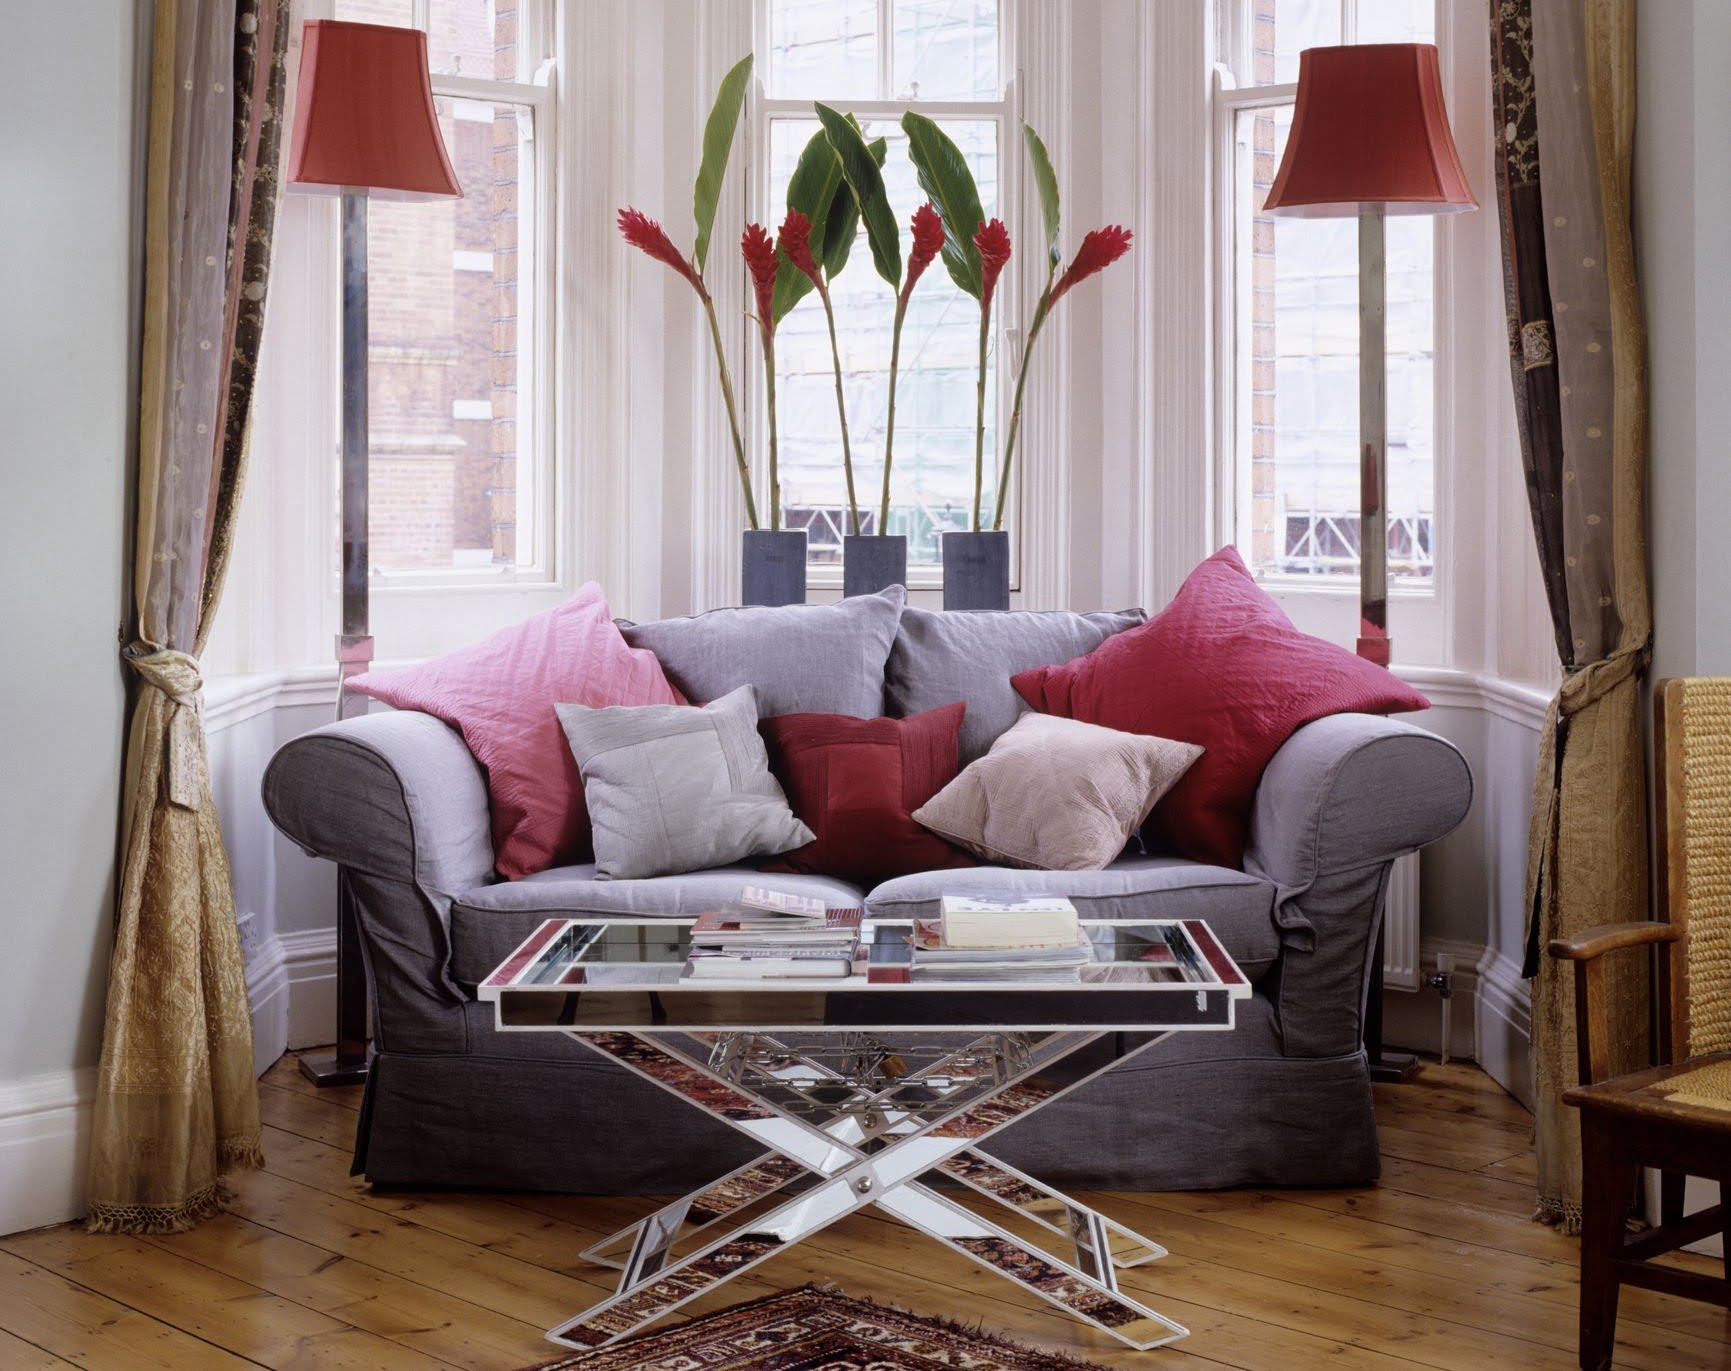
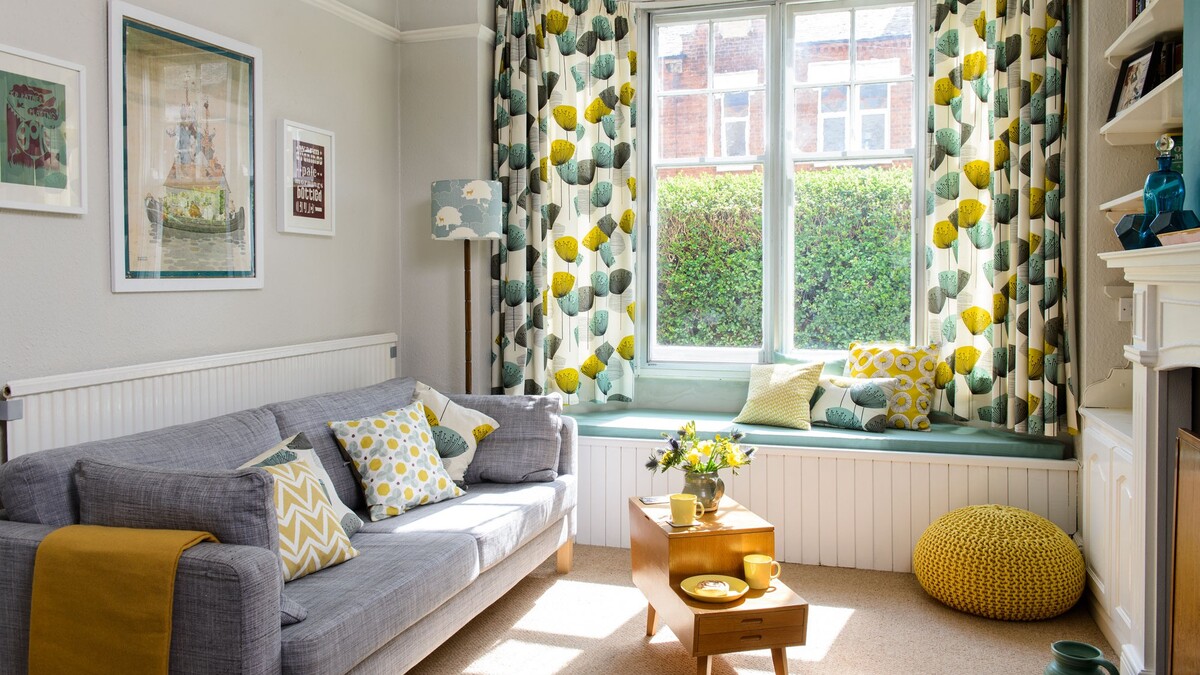
Creating a cozy and inviting living room space often involves adding unique and functional furniture pieces. One excellent option is a bay window seat, which not only maximizes the use of space but also adds a charming and comfortable seating area to your home.
A bay window seat is a versatile addition that can serve as a reading nook, a place to relax and unwind, or even extra seating for guests. It can transform an ordinary bay window into a focal point of your living room, creating a warm and welcoming atmosphere.
In this article, we will guide you through the process of creating your own bay window seat. From planning and measuring to choosing the right materials and building the seat, we will provide you with step-by-step instructions to help you bring this cozy addition to life.
Before we dive into the construction process, it’s important to note that the measurements and techniques mentioned in this article are general guidelines. It’s crucial to adapt them to your specific bay window measurements and personal preferences. Now, let’s get started!
Key Takeaways:
- Building a bay window seat is a fun DIY project that adds charm and functionality to your living room. Plan carefully, choose the right materials, and enjoy creating a cozy retreat for yourself and your guests.
- Transform your bay window into a cozy nook by building a sturdy base frame, adding comfortable seating, and personalizing with cushions and accessories. Get creative, enjoy the process, and be proud of your DIY accomplishment!
Read also: 15 Best Bay Window Seat For 2025
Planning and Measuring
Before you begin building your bay window seat, it’s important to carefully plan and measure the space. This will ensure that your seat fits perfectly and complements the overall aesthetics of your living room. Here’s what you need to do:
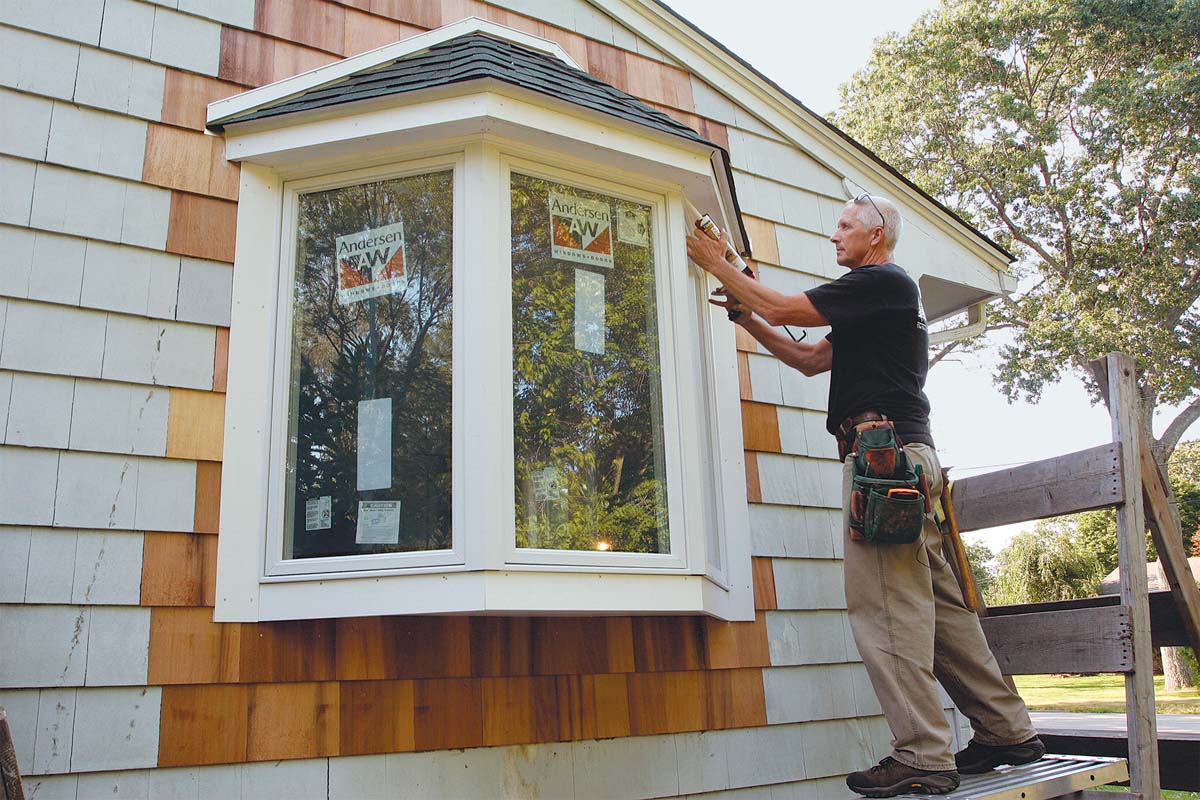
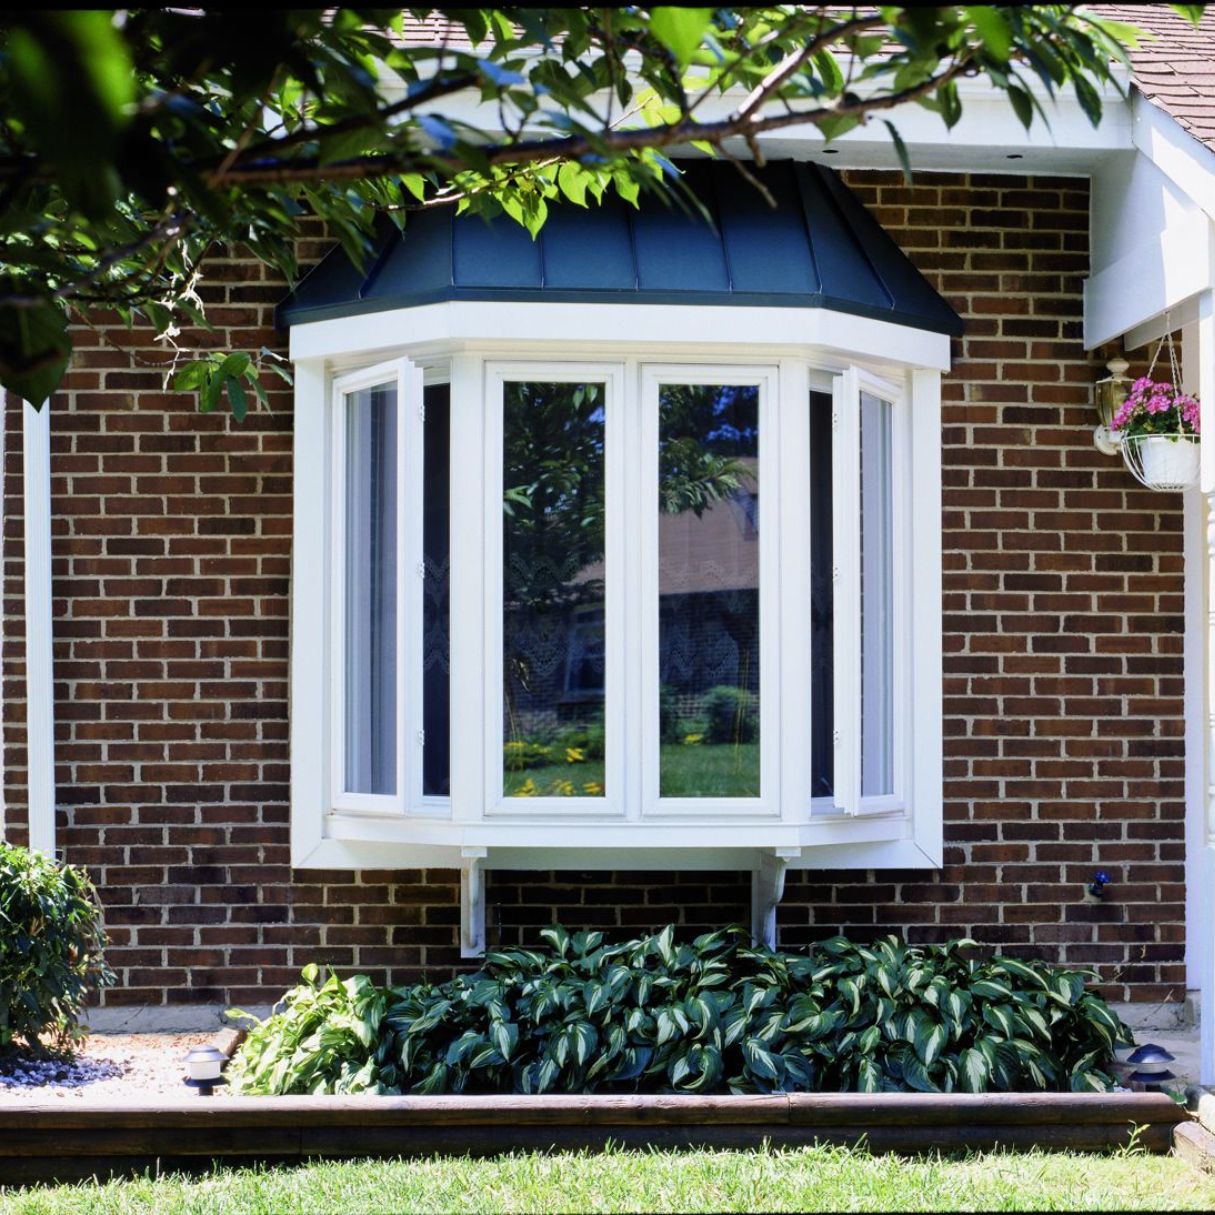
- Assess the Bay Window: Take a close look at your bay window and determine the available space for your seat. Measure the width, length, and height of the bay window area. Take note of any architectural features or obstacles, such as wall angles or heating vents, that might affect the design and dimensions of your seat.
- Consider the Purpose: Determine how you plan to use the bay window seat. Will it primarily be a cozy reading nook or a versatile seating area? This will help you decide on the size, depth, and height of the seat, as well as the need for storage or additional features.
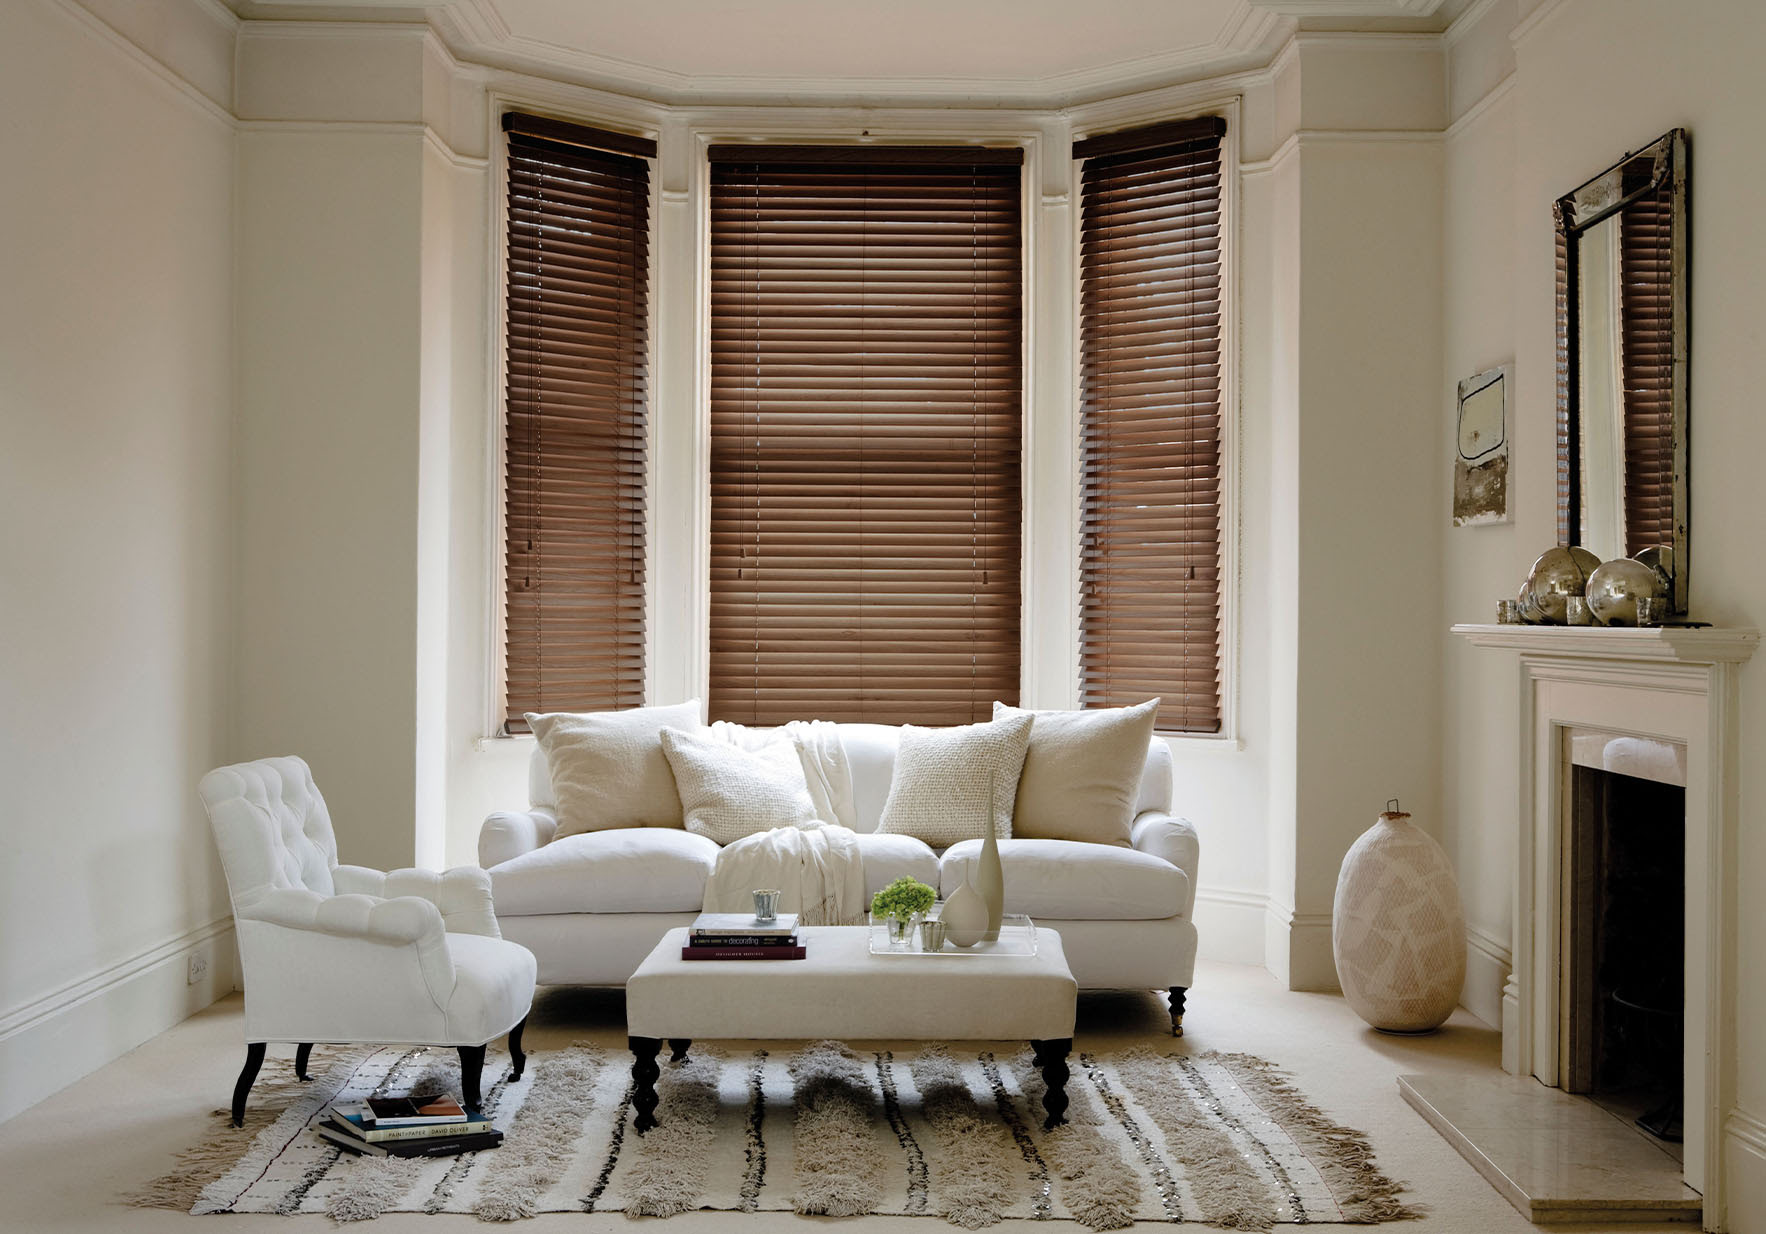
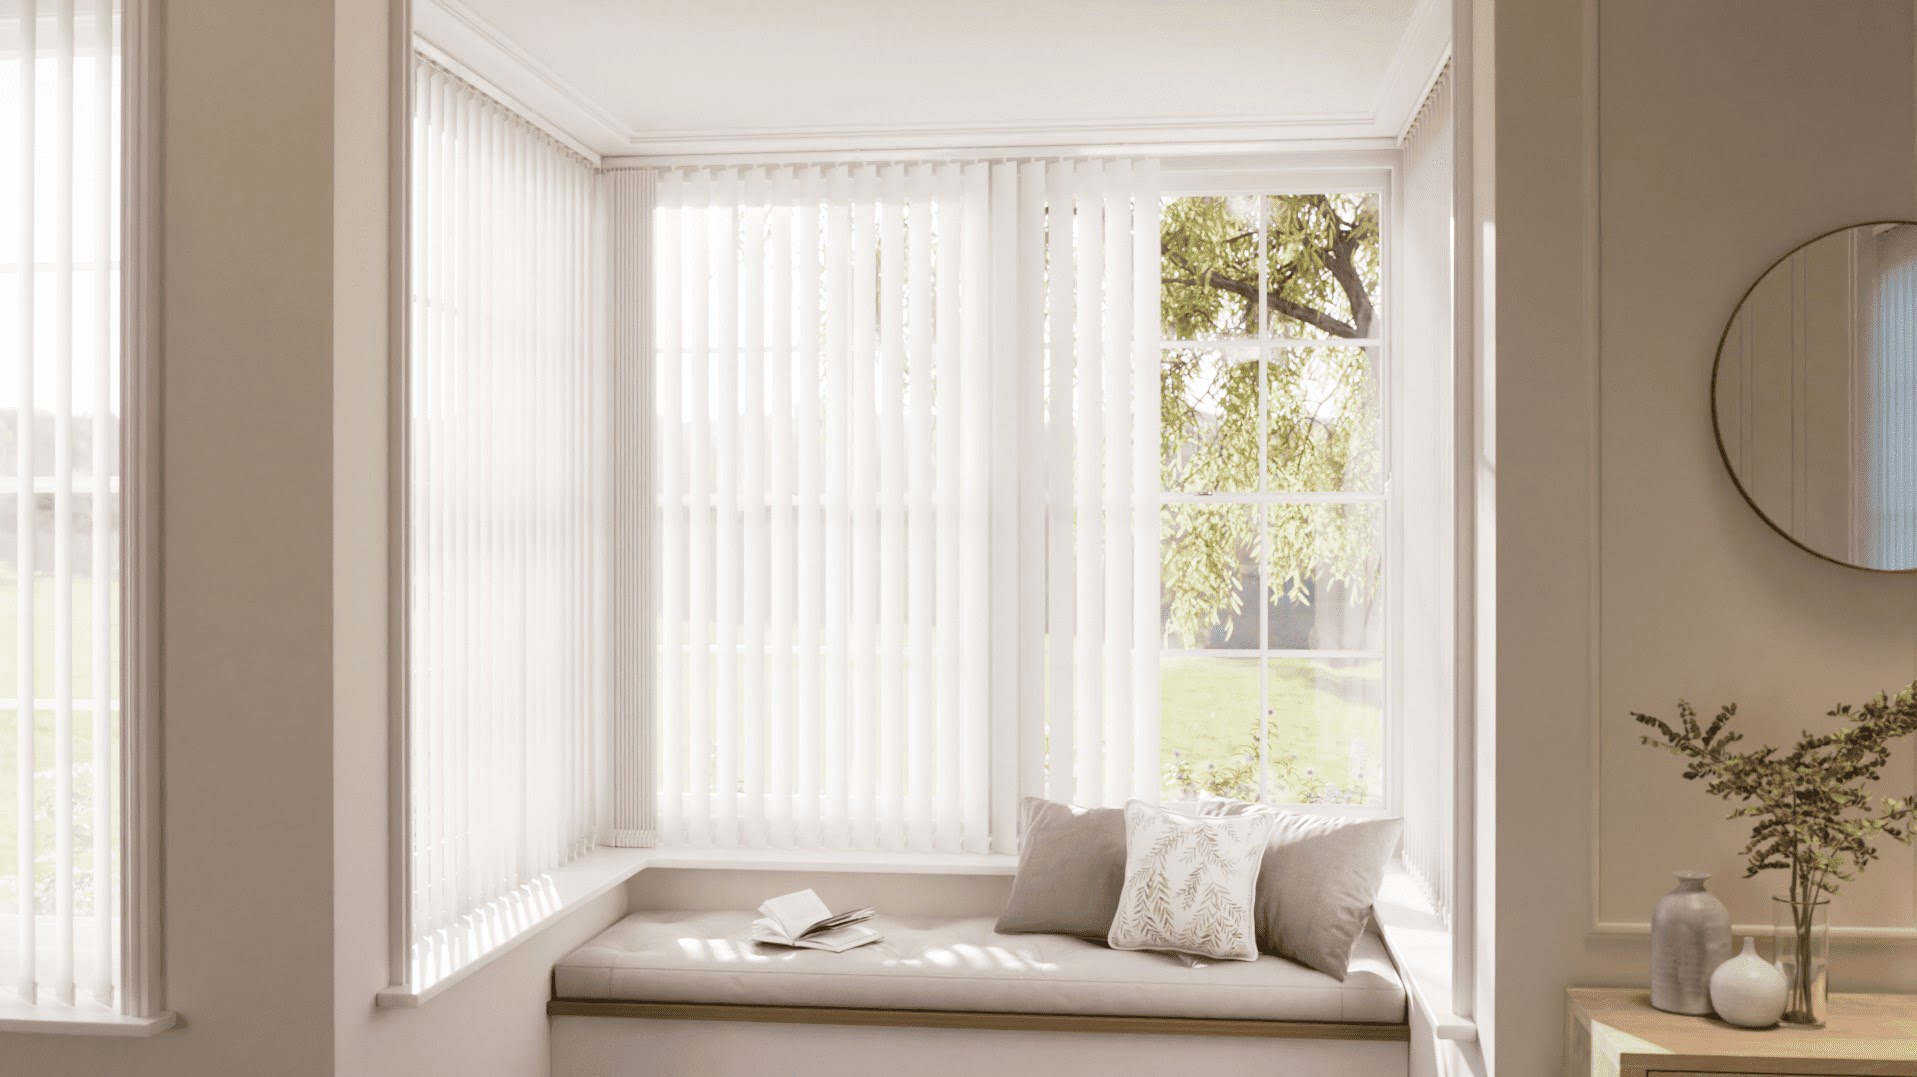
- Select a Design: Research different bay window seat designs to find inspiration. Consider whether you prefer a built-in seat that seamlessly blends with the window surroundings or a freestanding bench. Explore different styles, such as curved or straight seat edges, to find a design that complements your living room aesthetics.
- Determine Seat Height: Decide on the height of your bay window seat. Standard seat heights range from 16 to 20 inches, but you can adjust it according to your comfort and the height of the window sill.
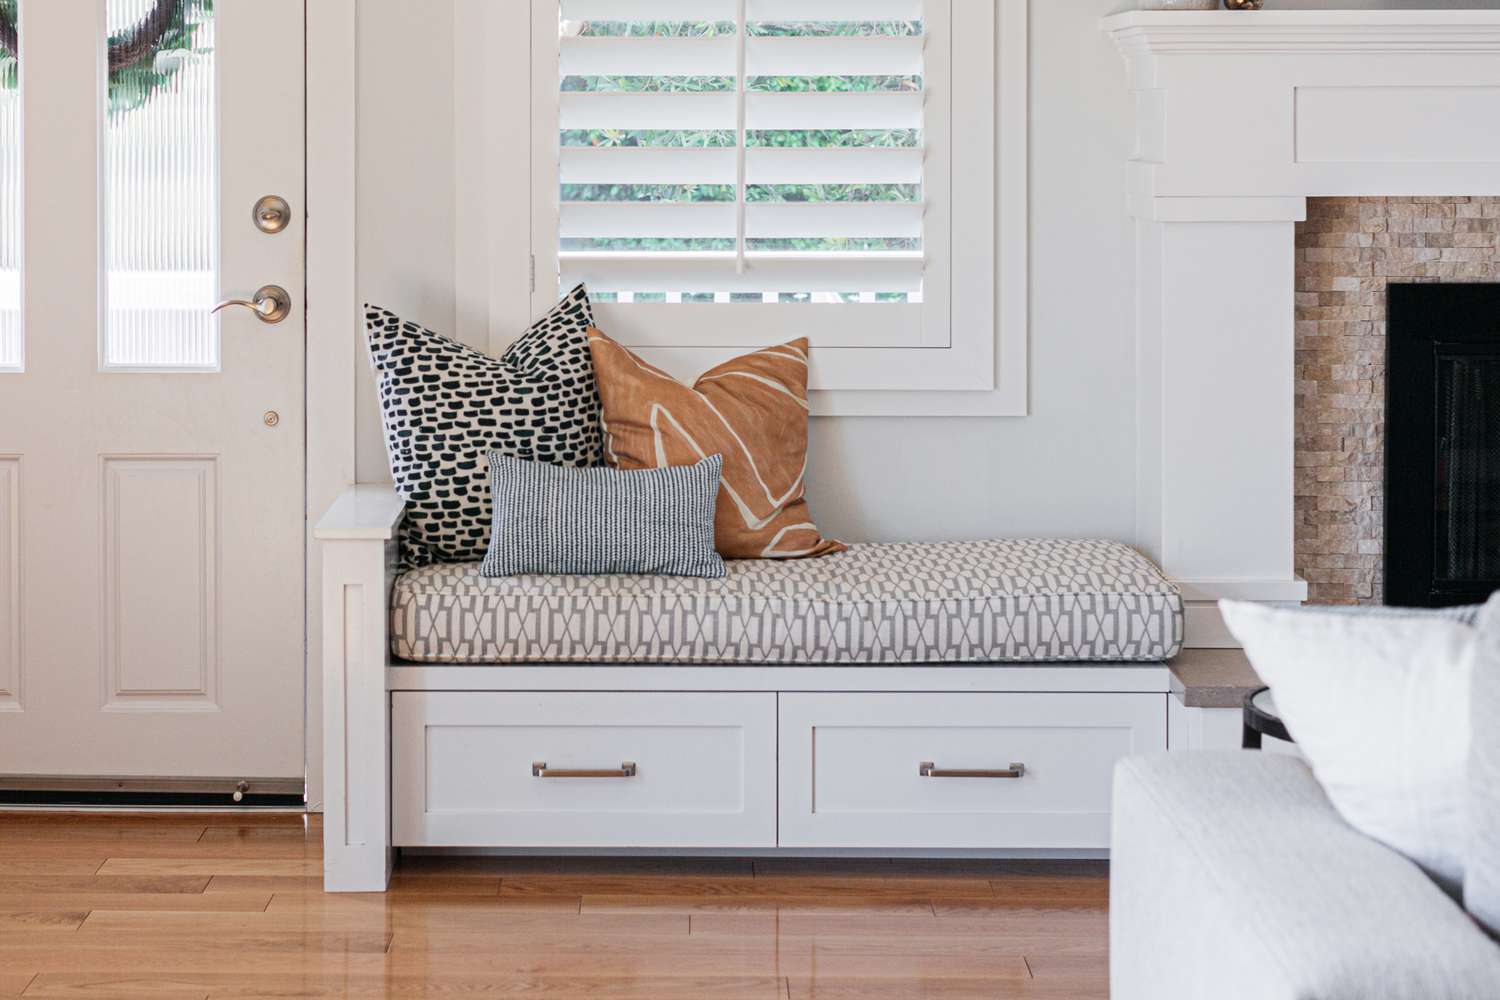
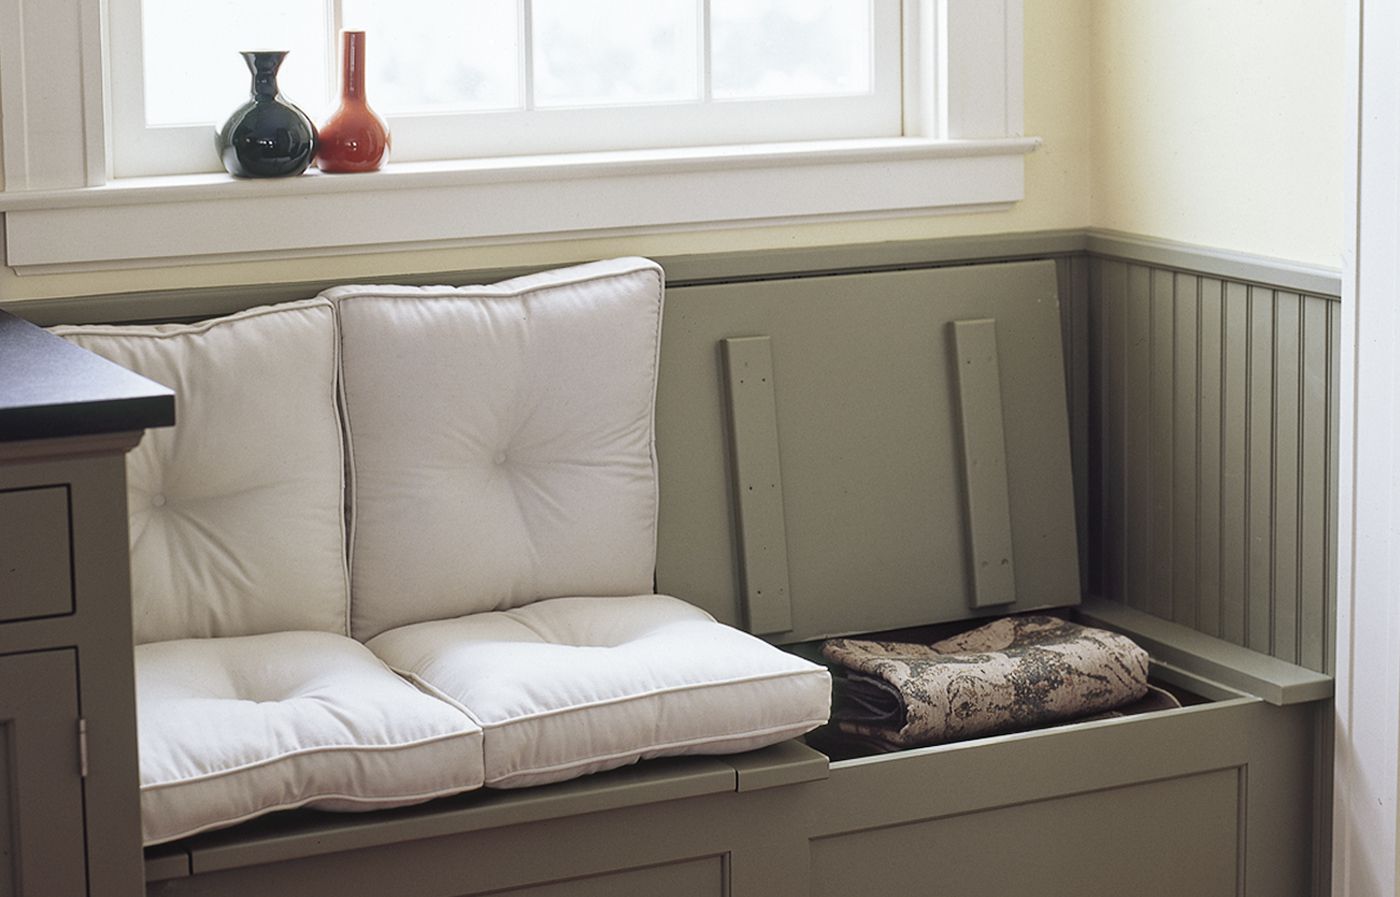
- Plan for Storage: If you want to maximize the functionality of your bay window seat, consider incorporating storage space beneath the seat or adding built-in shelves. This will help you keep your living room organized and clutter-free.
- Sketch the Design: Once you have gathered all the necessary information and made your decisions, sketch a detailed design of your bay window seat. Include measurements, dimensions, and any additional features you want to incorporate. This will serve as a blueprint for your construction process.
Planning and measuring are crucial steps that will ensure a successful and well-fitting bay window seat. Take the time to carefully assess your space and consider your needs and preferences before moving on to the next steps of the process.
Choosing the Right Materials
When it comes to building a bay window seat, selecting the right materials is essential for both durability and aesthetics. Here are some key considerations to keep in mind:
- Wood: Opt for high-quality, sturdy wood for the frame and base of your bay window seat. Choose a wood species that matches the existing furniture in your living room or complements the overall style you are aiming for. Common options include oak, pine, and maple.
- Plywood: For the seat and backrest, plywood is a cost-effective and durable choice. Look for plywood with a smooth finish to ensure a comfortable seating surface.
- Upholstery Fabric: Select a fabric that is both aesthetically pleasing and durable enough to withstand regular use. Consider factors such as color, pattern, and texture that will complement your living room decor. Opt for upholstery fabric that is easy to clean and resistant to stains, especially if you have children or pets.
- Foam Padding: To make your bay window seat comfortable and cozy, choose high-density foam padding for the seat and backrest. The thickness of the foam will depend on your personal preference and the overall design of the seat.
- Hardware: Invest in high-quality hardware, such as screws, brackets, and hinges, to ensure the stability and longevity of your bay window seat. Consider using decorative hardware that matches the style of your living room and adds a touch of elegance.
- Finishing Materials: Select a paint or stain that protects the wood and enhances its beauty. Opt for a finish that matches the existing wood finishes in your living room or choose a contrasting color for a more dramatic effect.
When choosing materials for your bay window seat, it’s important to strike a balance between aesthetics and practicality. Select materials that not only complement your living room decor but also withstand daily use. Don’t hesitate to consult with a professional or visit a local home improvement store for guidance and recommendations on the best materials for your specific project.
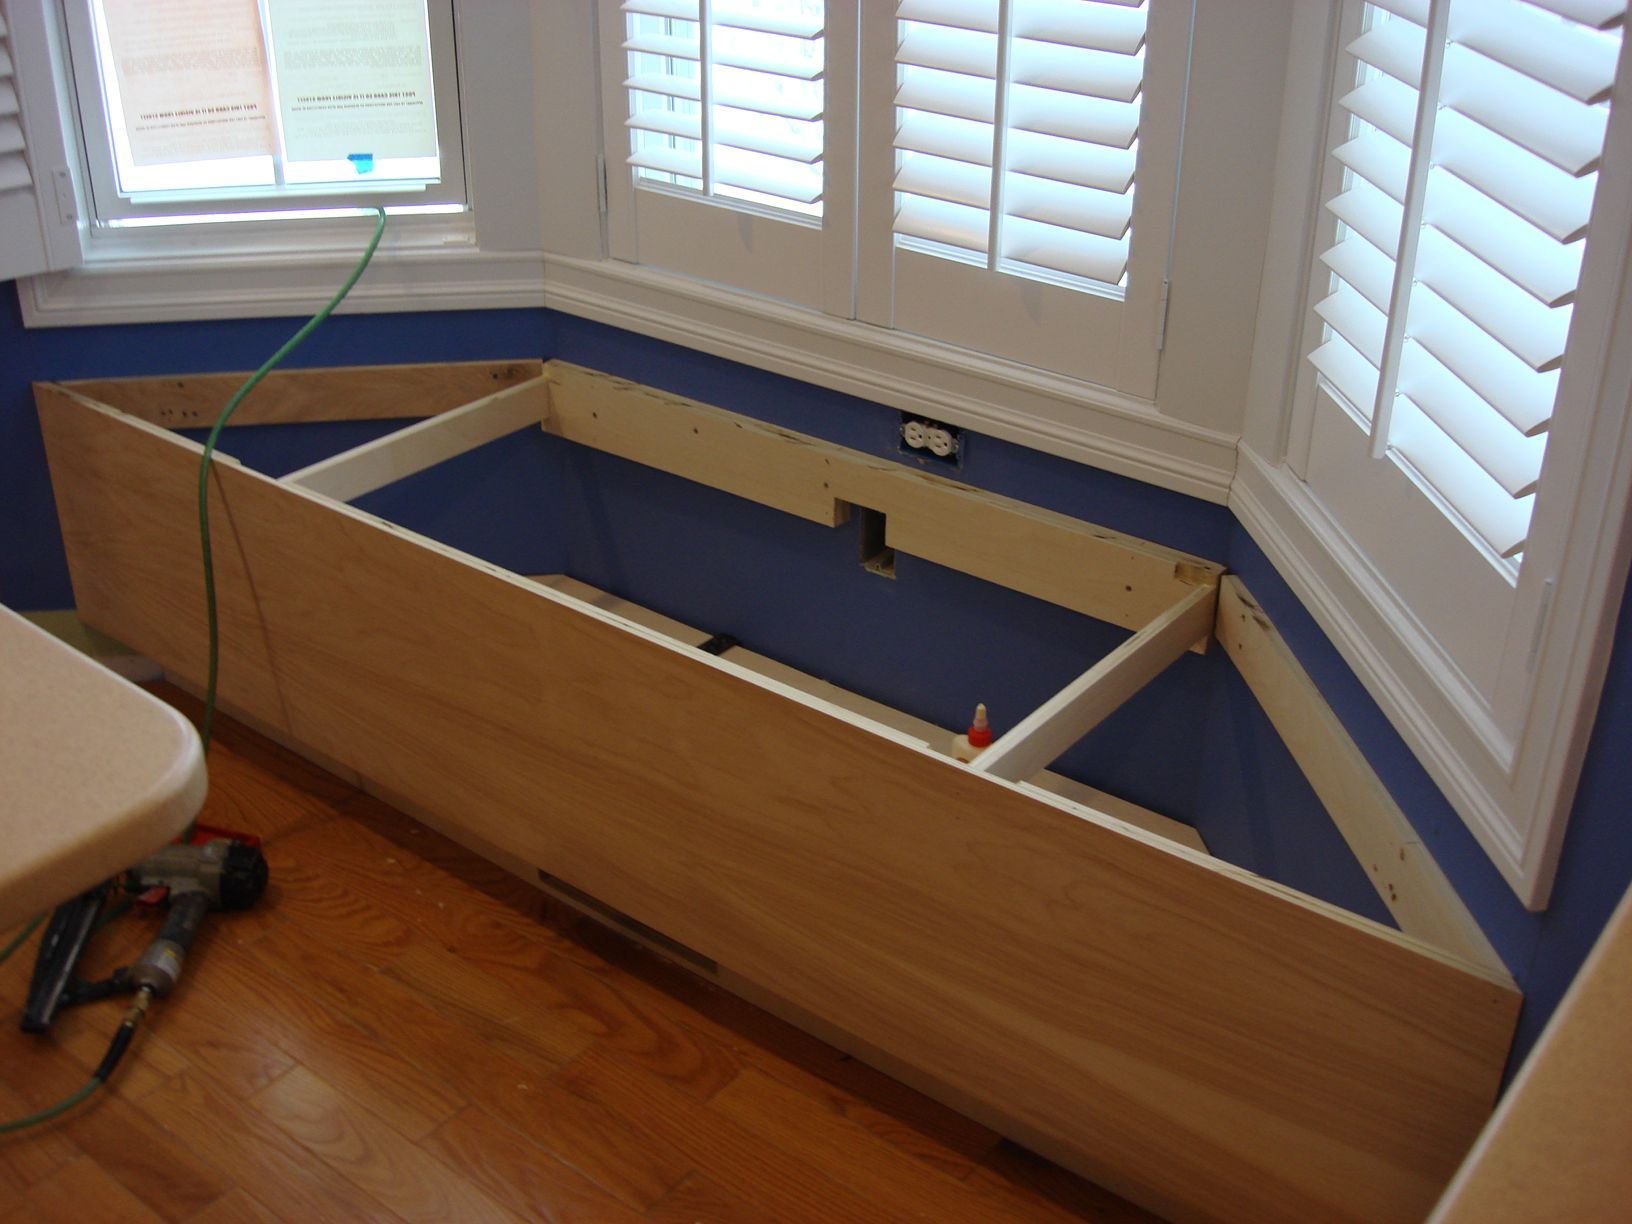
Building the Base Frame
The base frame serves as the foundation of your bay window seat. It provides stability and support for the seat and backrest. Here’s a step-by-step guide on building the base frame:
- Measure and Cut the Wood: Using the measurements from your design sketch, measure and cut the wood pieces for the base frame. You will need pieces for the front, back, and sides of the seat. Make sure to account for the thickness of the wood when measuring and cutting, so the final dimensions match your design.
- Assemble the Side Pieces: Start by assembling the side pieces of the base frame. Use screws and brackets to secure the joints. Ensure that the corners are square and the pieces are aligned properly. Repeat this step for the other side of the base frame.
- Add the Front and Back Pieces: Attach the front and back pieces to the side pieces, forming a rectangular frame. Use screws and brackets to secure the joints. Double-check that the frame is square and level, making any necessary adjustments.
- Install Support Beams: To provide additional support, insert support beams inside the base frame. These beams can be placed horizontally or vertically, depending on your design. Secure the support beams to the frame using screws or brackets.
- Reinforce the Frame: Take a moment to ensure the base frame is sturdy and stable. Check for any wobbling or weak joints and reinforce them with additional screws or brackets if needed.
- Attach the Frame to the Wall: If your bay window seat is a built-in design, secure the base frame to the wall using screws and wall anchors. This will provide extra stability and prevent the frame from shifting or moving.
Building the base frame is a crucial step in constructing your bay window seat. Take your time to measure accurately, assemble the pieces carefully, and reinforce the joints for a sturdy and long-lasting frame.
When making a bay window seat, be sure to measure the space accurately to ensure a perfect fit. Take into account the height, depth, and width of the seat to create a comfortable and functional space.
Adding the Seat and Backrest
Now that the base frame is in place, it’s time to add the seat and backrest to your bay window seat. This step will provide comfort and complete the construction process. Follow these instructions to add the seat and backrest:
- Cut the Seat and Backrest Pieces: Measure and cut the plywood pieces for the seat and backrest according to your design dimensions. Ensure that the cuts are clean and precise.
- Attach the Seat: Position the plywood seat piece on top of the base frame. Use screws to secure the seat to the frame. Ensure that it is centered and level. Consider adding additional support beams underneath the seat for added stability if necessary.
- Add Foam Padding: Cut foam padding to fit the dimensions of the seat and backrest. Attach the foam to the plywood using adhesive or upholstery staples. Ensure a comfortable thickness for the foam according to your personal preference.
- Upholster the Seat and Backrest: Cut upholstery fabric, allowing for extra fabric to wrap around the edges. Secure the fabric to the seat and backrest with a staple gun, pulling it tightly to create a smooth and wrinkle-free surface. Trim any excess fabric.
- Attach the Backrest: Position the plywood backrest piece against the rear of the base frame. Use screws to secure the backrest to the frame. Ensure that it is positioned at a comfortable angle for sitting.
- Finishing Touches: If desired, add decorative elements such as trim or buttons to enhance the appearance of the seat and backrest. Paint or stain any visible wood surfaces to match the overall design aesthetic.
Adding the seat and backrest is where your bay window seat truly comes together. Take care to ensure that the seat is securely attached, and the upholstery is smooth and well-finished. This will create a comfortable and visually appealing seating area in your living room.
Read also: 9 Best Bay Window Seat Cushion For 2025
Finishing Touches
Once the seat and backrest are in place, it’s time to add the finishing touches to your bay window seat. These final details will enhance both the functionality and aesthetics of the seat. Here’s what you can do to complete your project:
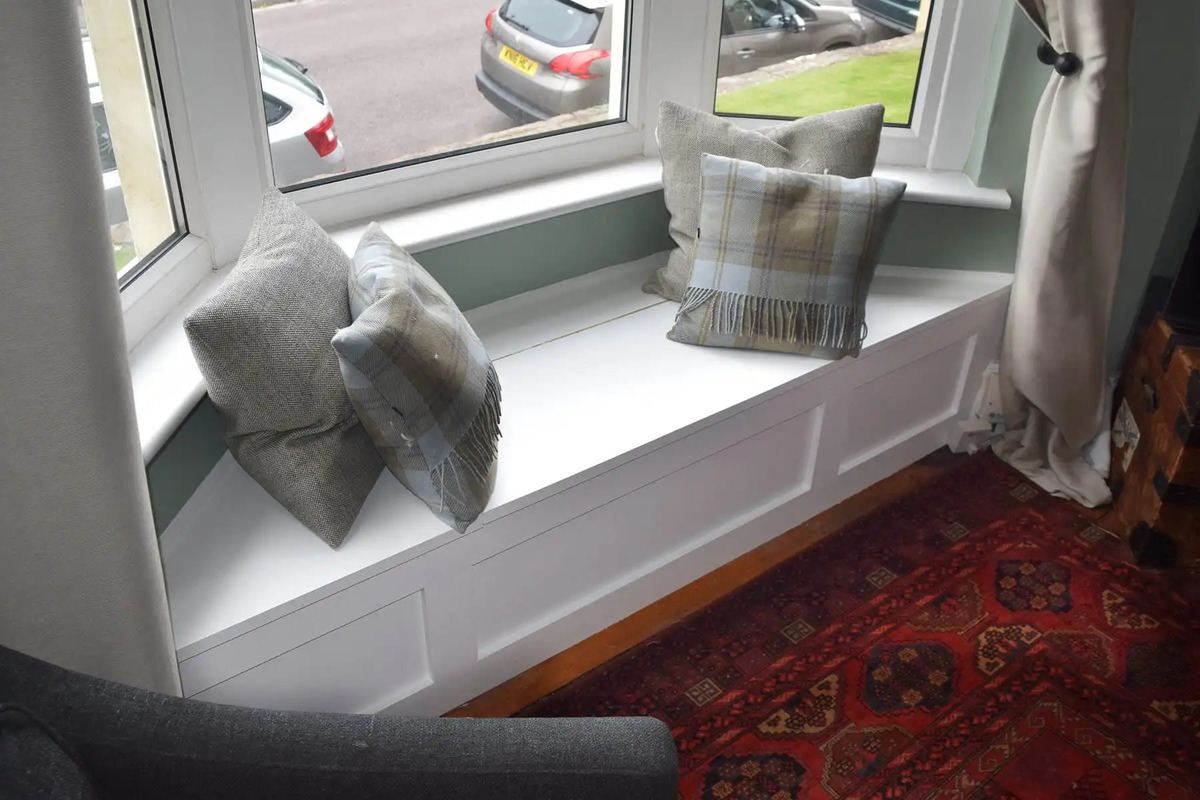
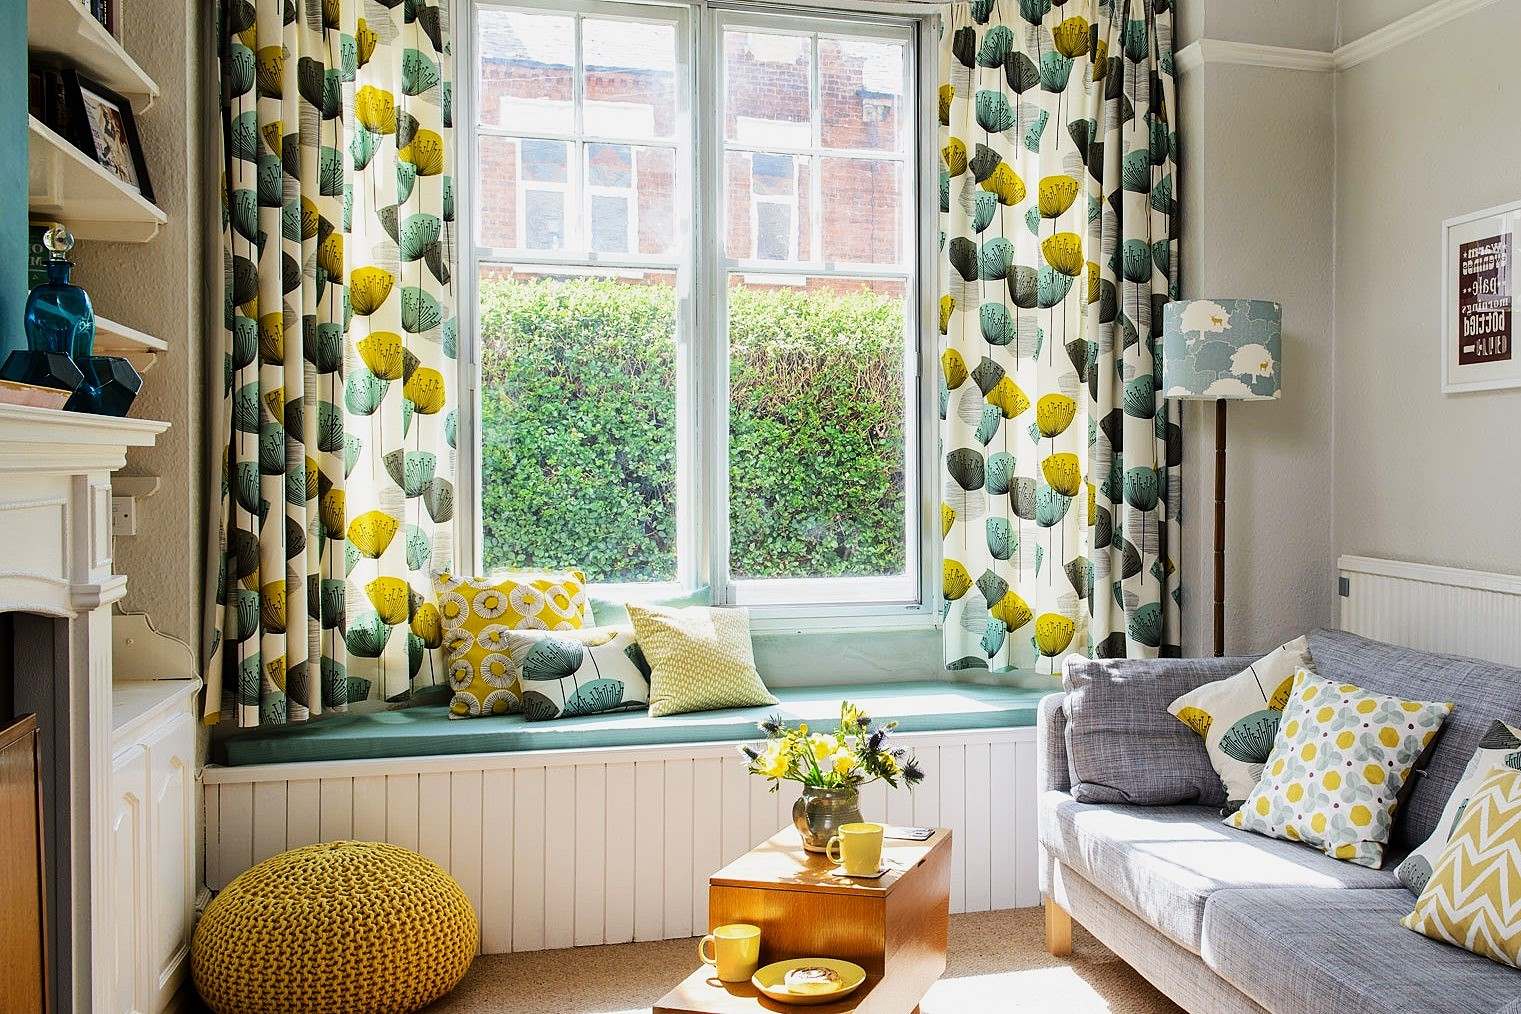
- Add Cushions: To make your bay window seat even more comfortable, consider adding cushions. Choose cushions that match your living room decor and provide ample support. You can mix and match different sizes and shapes for added visual interest.
- Add Throw Pillows: Decorative throw pillows are a great way to liven up your bay window seat. Select pillows that complement the colors and patterns in your living room, adding a pop of style and personality to the space.
- Create Storage: If you opted for a storage feature in your bay window seat, organize the space beneath the seat by adding baskets or bins. This will help keep your living room tidy while maximizing the functionality of the seat.
- Accessorize: Consider adding some personal touches to your bay window seat. Place a small side table or a stack of books nearby for convenience. Incorporate plants, artwork, or other decorative items to make the space feel homier and more inviting.
- Keep it Clean: Regularly vacuum the seat and cushions to remove any dust or debris. If spills occur, clean them immediately to prevent stains. This will help maintain the seat’s appearance and longevity.
- Enjoy Your Bay Window Seat: Finally, sit back, relax, and enjoy your newly constructed bay window seat. Whether you use it for reading, lounging, or entertaining guests, this cozy addition will surely become a favorite spot in your living room.
Adding the finishing touches to your bay window seat allows you to customize it to your liking and make it a true reflection of your personal style. Take the time to select cushions, pillows, and accessories that bring your seat to life and make it a comfortable and inviting space in your home.
Conclusion
Creating a bay window seat in your living room is a rewarding DIY project that adds both functionality and charm to your space. By following the steps outlined in this article, you can build a cozy seating area where you can relax, read a book, or gather with friends and family.
Remember to carefully plan and measure your bay window space, choose the right materials, and build a sturdy base frame. Adding the seat and backrest, along with the finishing touches of cushions and accessories, will complete the transformation of your bay window into a cozy nook.
As you embark on this project, don’t be afraid to get creative and make it your own. Explore different design options, colors, and patterns to match your personal style and living room decor. The bay window seat can truly become a unique focal point that adds character and functionality to your home.
Once your bay window seat is complete, take the time to enjoy it. It’s a space designed for relaxation and comfort, where you can curl up with a good book or simply take in the view outside. Make it a cozy retreat for yourself and a welcoming spot for your guests.
Lastly, be proud of your accomplishment. Building a bay window seat requires patience, attention to detail, and some DIY skills. By successfully completing this project, you have not only added a beautiful and functional furniture piece to your living room but also honed your DIY abilities.
So, go ahead and create your own bay window seat and transform your living room into a cozy and inviting haven that you can enjoy for years to come.
Frequently Asked Questions about How To Make A Bay Window Seat
Was this page helpful?
At Storables.com, we guarantee accurate and reliable information. Our content, validated by Expert Board Contributors, is crafted following stringent Editorial Policies. We're committed to providing you with well-researched, expert-backed insights for all your informational needs.

0 thoughts on “How To Make A Bay Window Seat”