Home>Gardening & Outdoor>Outdoor Structures>How To Put A Window In A Shed
Outdoor Structures
How To Put A Window In A Shed
Modified: August 28, 2024
Learn how to install a window in your shed with our step-by-step guide. Enhance your outdoor structures with natural light and ventilation.
(Many of the links in this article redirect to a specific reviewed product. Your purchase of these products through affiliate links helps to generate commission for Storables.com, at no extra cost. Learn more)
Introduction
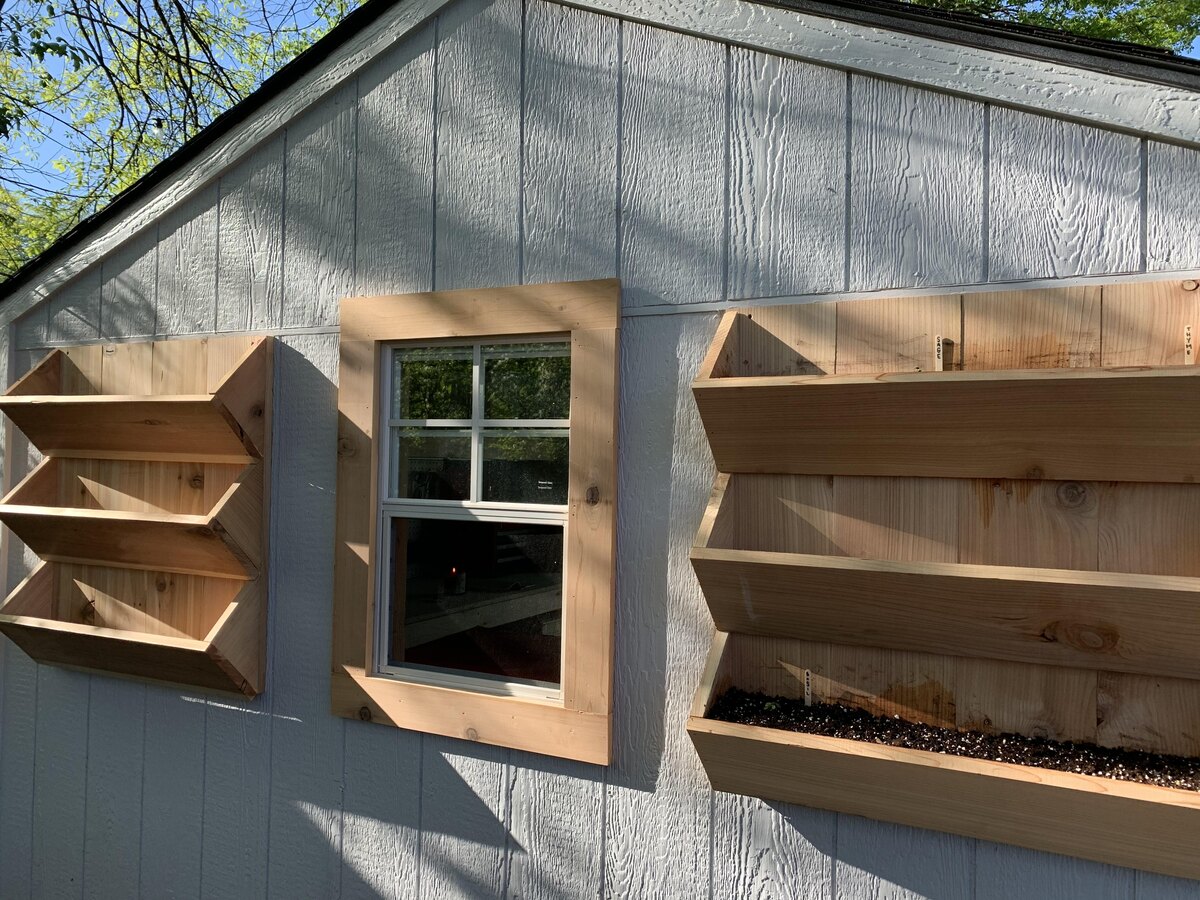
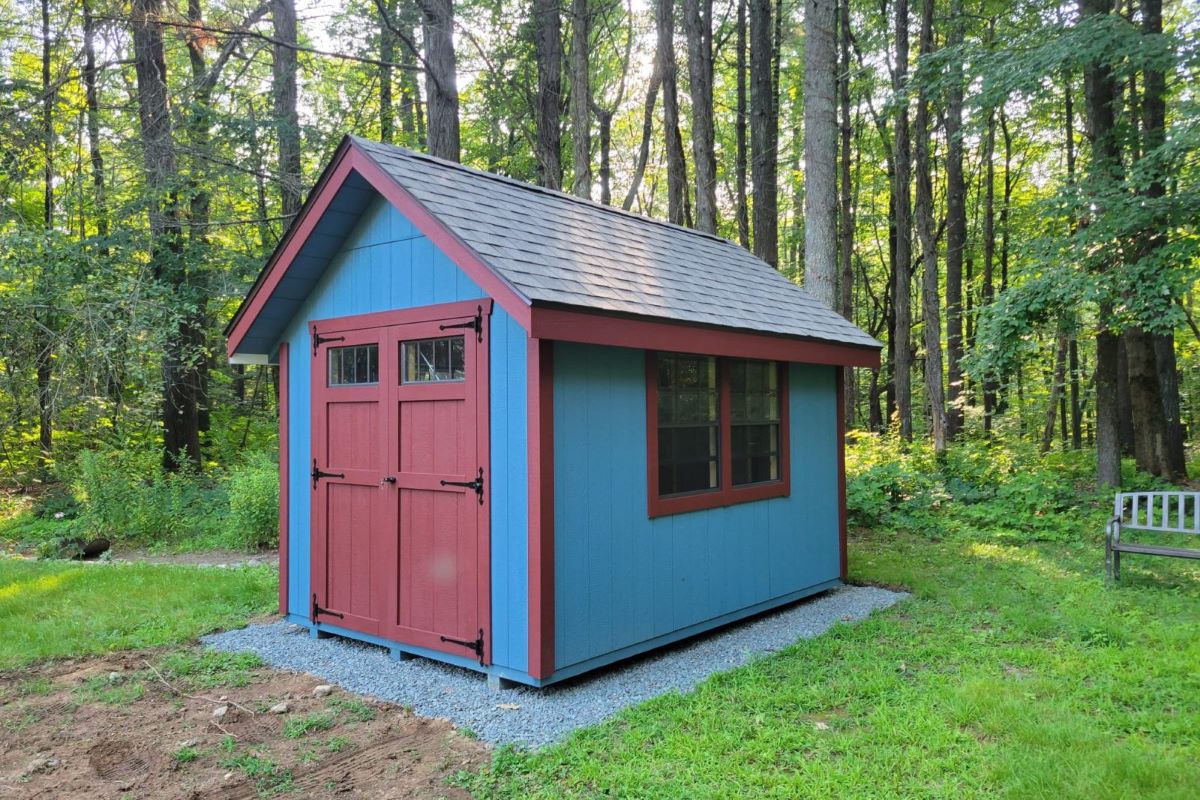
Adding a window to your shed can significantly enhance its functionality and aesthetic appeal. Not only does it allow natural light to illuminate the interior, but it also facilitates ventilation, creating a more comfortable environment. Whether you're transforming your shed into a workspace, a hobby room, or a cozy retreat, installing a window can make a world of difference.
In this comprehensive guide, we will walk you through the step-by-step process of adding a window to your shed. From gathering the necessary tools and materials to sealing the window and completing the installation, we've got you covered. By following these instructions, you can elevate the functionality and charm of your shed while enjoying the satisfaction of a DIY project.
Let's dive into the exciting world of shed transformation and learn how to put a window in your shed with ease and confidence.
Key Takeaways:
- Adding a window to your shed not only brings in natural light and ventilation but also enhances the shed’s charm and functionality, making it a more inviting and versatile space for various activities.
- By following the step-by-step guide, you can successfully install a window in your shed, creating a brighter and more inspiring environment while enjoying the satisfaction of a DIY project.
Read more: How To Install A Shed Window
Step 1: Gather the Necessary Tools and Materials
Before embarking on the window installation process, it’s essential to gather all the tools and materials required for the project. Here’s a comprehensive list to ensure you have everything you need:
Tools:
- Measuring tape
- Pencil or marker
- Safety goggles
- Gloves
- Level
- Power drill
- Screwdriver
- Saw (circular or reciprocating)
- Caulking gun
- Paintbrush
- Clamps
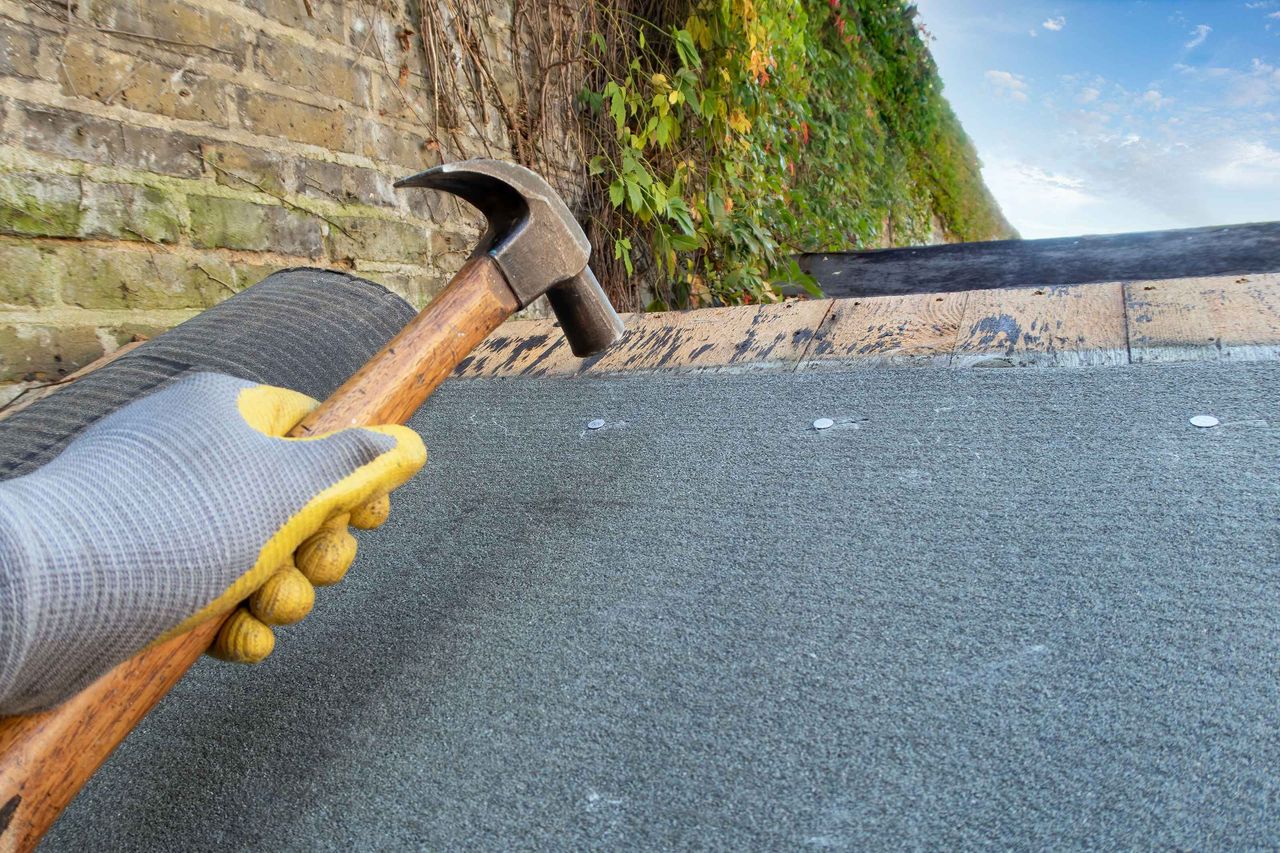
- Hammer
Materials:
- Window kit or pre-fabricated window
- Lumber for framing
- Exterior-grade plywood
- Wood screws
- Shims
- Exterior caulk
- Paint or sealant (if necessary)
- Window trim
- Window flashing
Once you have all the necessary tools and materials at your disposal, you’re ready to move on to the next step in the window installation process. Proper preparation sets the stage for a smooth and successful project, ensuring that you have everything you need within arm’s reach.
Step 2: Measure and Mark the Window Location
Accurate measurements and precise marking are crucial for a seamless window installation. Here’s how to proceed:
Begin by determining the ideal placement for your window. Consider the shed’s layout, the interior’s functionality, and the exterior aesthetic. Once you’ve identified the location, use a measuring tape to mark the dimensions of the window opening on the shed’s exterior. Ensure that the measurements are level and plumb to guarantee a proper fit for the window.
Next, mark the corners of the window opening using a pencil or marker. Use a level to confirm that the markings are straight and aligned. Double-check the measurements to avoid any errors before proceeding to cut the opening.
It’s essential to consider the window’s height from the shed’s floor and its distance from the shed’s corners and edges. These measurements will ensure that the window is positioned appropriately and harmonizes with the shed’s overall design.
By taking the time to measure and mark the window location accurately, you lay a solid foundation for the subsequent steps in the installation process. Precision at this stage is key to achieving a professional and polished result.
Read more: How To Put Siding On A Shed
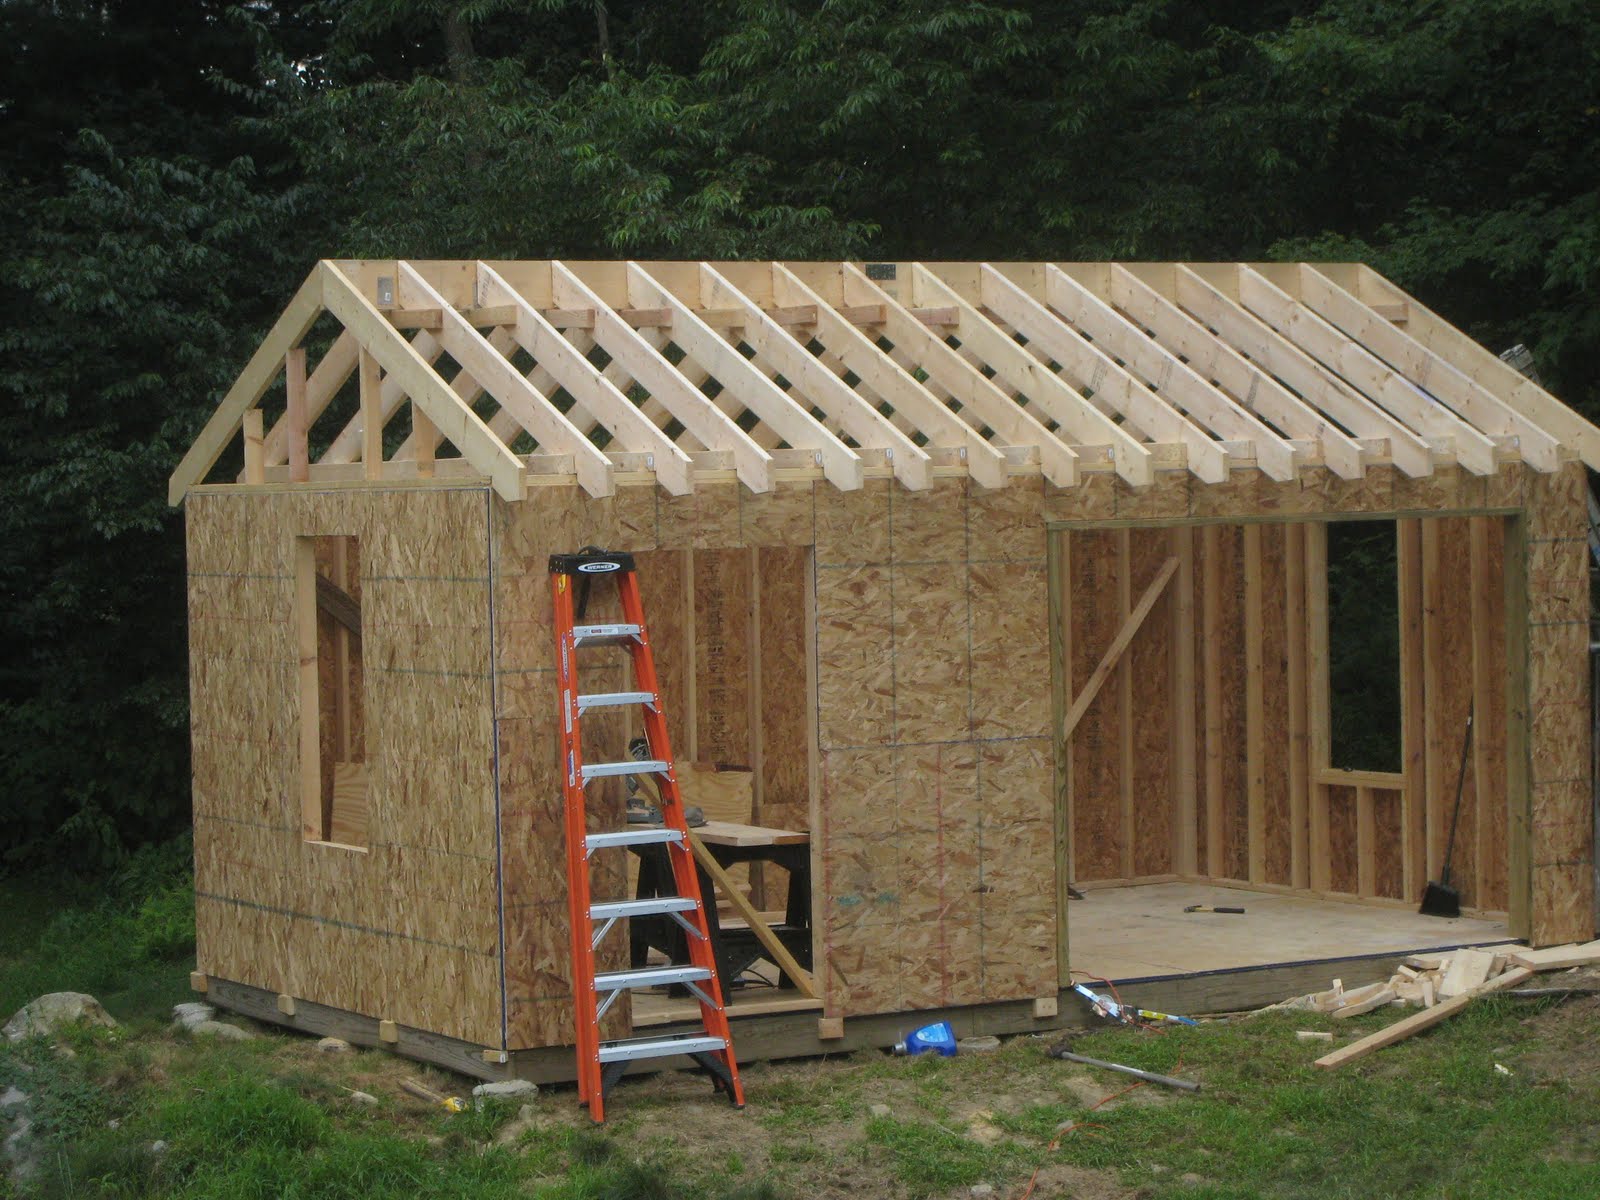
Step 3: Cut the Opening for the Window
With the window location marked, it’s time to cut the opening in the shed’s wall. This step requires precision and caution to ensure a clean and accurate cut.
Using the marked dimensions as your guide, carefully cut along the lines to create the window opening. If you’re using a power saw, such as a circular or reciprocating saw, ensure that you follow the markings precisely. Remember to prioritize safety by wearing goggles and gloves during the cutting process.
As you cut through the shed’s exterior, be mindful of any electrical wiring, plumbing, or other potential obstructions within the wall. Take the necessary precautions to avoid damaging any internal components of the shed.
Once the opening is cut, assess the edges to ensure that they are smooth and free of any debris or protrusions. This will facilitate the subsequent steps of installing the window frame and ensure a proper seal once the window is in place.
After cutting the opening, take a moment to appreciate the progress made. The precise execution of this step sets the stage for the window installation to proceed smoothly, bringing you one step closer to completing your shed transformation.
Step 4: Install the Window Frame
With the window opening cut, it’s time to install the window frame, a critical element that provides structural support and ensures a secure fit for the window. Follow these steps to complete this phase of the installation:
Begin by measuring the dimensions of the window opening to determine the appropriate size for the window frame. Cut pieces of lumber to construct the frame, ensuring that they align with the width and height of the opening. Use a level to confirm that the frame pieces are plumb and level before securing them in place.
Position the frame within the window opening, ensuring a snug fit against the shed’s exterior. Use shims to adjust and level the frame as needed, providing stability and ensuring that it is properly aligned. Once the frame is positioned correctly, secure it in place using wood screws, driving them through the frame and into the shed’s structure.
Verify that the frame is securely anchored and level, making any necessary adjustments to guarantee a precise fit. The frame serves as the foundation for the window installation, so it’s essential to dedicate attention to this step to ensure a seamless and durable result.
Installing the window frame marks a significant milestone in the installation process, bringing you closer to completing the transformation of your shed. With the frame in place, the next step is to proceed with securing the window within its new home.
When putting a window in a shed, make sure to measure the window opening accurately and use a level to ensure it is installed straight. Use silicone caulk to seal the edges and prevent leaks.
Step 5: Secure the Window in Place
After installing the window frame, the next crucial step is to secure the window within the frame, ensuring a stable and weather-resistant fit. Follow these steps to complete this phase of the installation:
Begin by carefully placing the window into the frame, ensuring that it sits squarely and securely. Depending on the type of window you’re installing, you may need to enlist the help of a friend or family member to ensure a safe and steady placement.
Once the window is positioned within the frame, use shims to create a uniform gap between the window and the frame on all sides. This gap will allow for proper insulation and prevent air and moisture infiltration. Ensure that the window is centered within the frame and operates smoothly before proceeding to secure it in place.
With the window correctly positioned, drive screws through the window’s side and top flanges into the frame, anchoring it securely. Be cautious not to overtighten the screws, as this may affect the window’s operation. Double-check that the window remains level and plumb as you secure it in place.
Once the window is secured, open and close it to confirm that it operates smoothly and seals properly. This step ensures that the window is not only securely installed but also functions as intended, providing both natural light and ventilation for your shed.
Securing the window within the frame is a pivotal moment in the installation process, bringing you closer to completing the transformation of your shed. With the window in place, the final step is to seal the window and add finishing touches to ensure its durability and weather resistance.
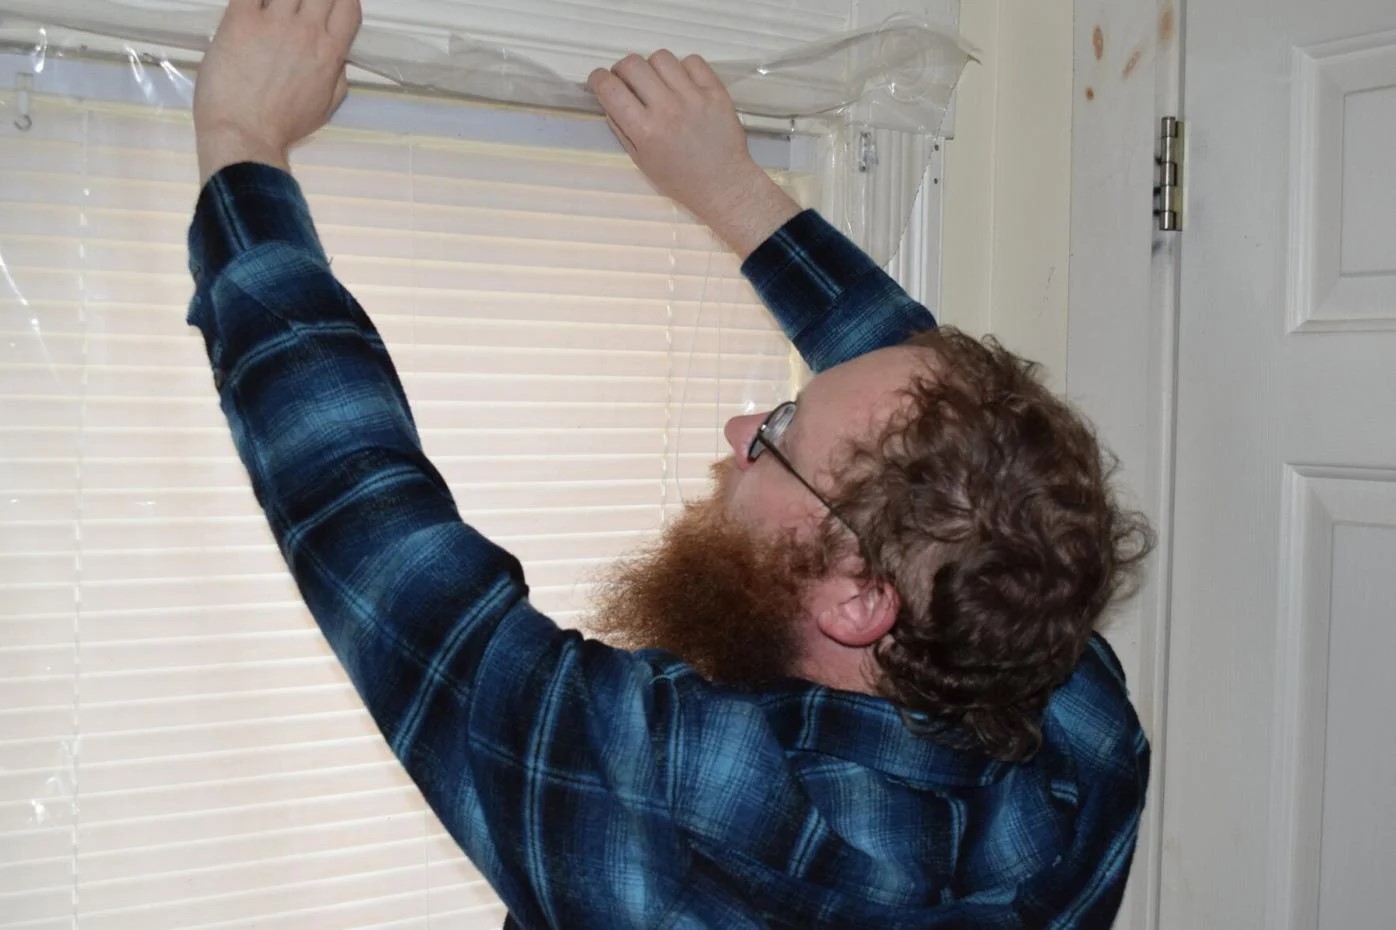
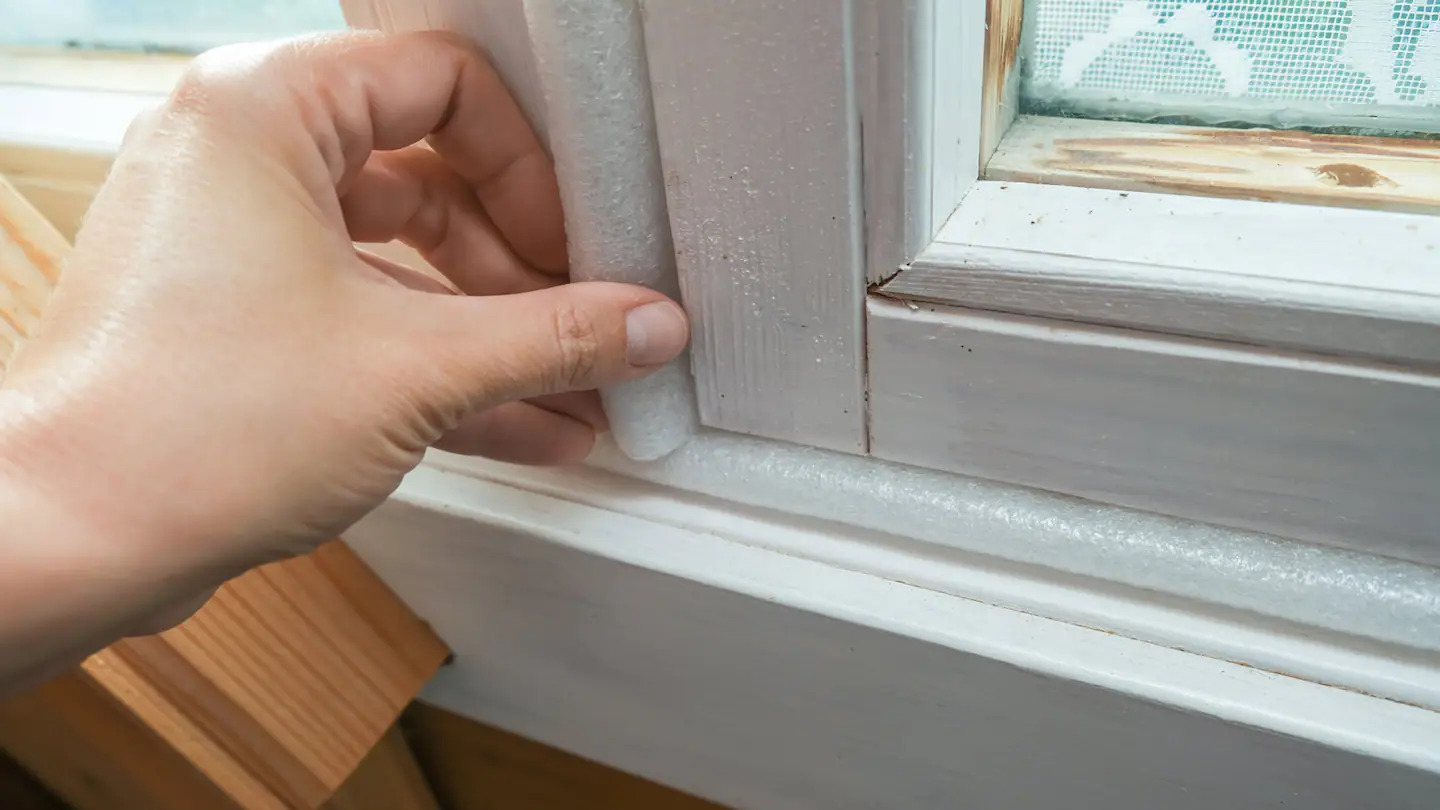
Step 6: Seal the Window and Finish the Installation
As the window is securely in place, the final step involves sealing the window to protect it from the elements and ensure its longevity. Follow these essential steps to complete the installation process:
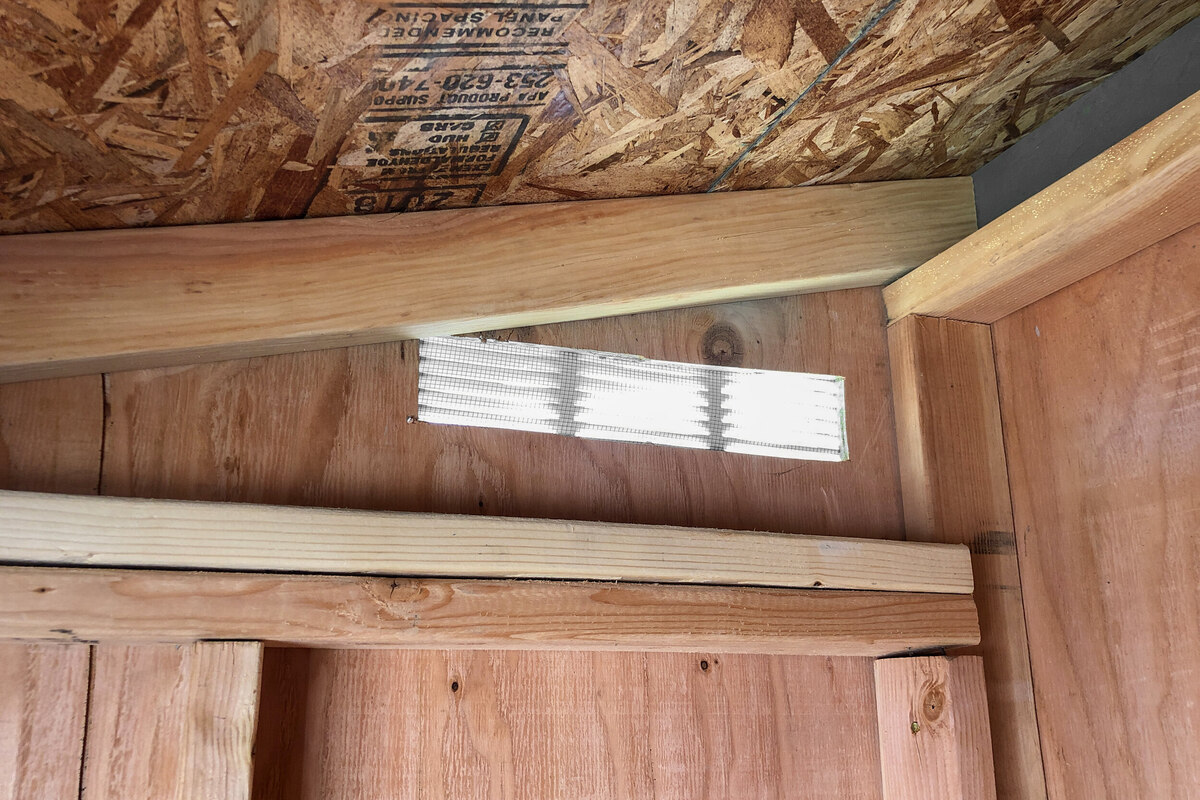
Begin by applying exterior-grade caulking around the perimeter of the window where it meets the frame. This creates a watertight seal, preventing moisture from seeping into the shed and safeguarding the window against potential damage. Ensure that the caulking is applied evenly and covers any gaps between the window and the frame.
Next, install window flashing along the top and sides of the window to further fortify its weather resistance. Window flashing acts as a barrier, redirecting water away from the window and preventing it from infiltrating the shed’s interior. Secure the flashing in place, ensuring that it overlaps the window flanges and the surrounding frame.
Once the caulking and flashing are in place, inspect the window to ensure that all gaps and seams are adequately sealed. Address any areas that may require additional caulking or flashing to guarantee comprehensive protection against the elements.
After sealing the window, add finishing touches such as window trim to enhance the aesthetic appeal of the installation. The trim not only provides a polished look but also contributes to the window’s structural integrity and weather resistance. Choose trim that complements the shed’s design and carefully install it around the window’s perimeter.
With the window sealed and the finishing touches in place, take a moment to admire the completed installation. The addition of a window not only enhances the shed’s functionality and visual appeal but also represents a successful DIY project that elevates the space.
Congratulations! By following these steps, you’ve successfully added a window to your shed, transforming it into a brighter, more inviting space. Whether you’re using your shed as a workshop, studio, or retreat, the new window adds both practical and aesthetic value to your outdoor structure.
Read more: How To Put Gutters On A Shed
Conclusion
Adding a window to your shed is a rewarding endeavor that enhances both its functionality and visual appeal. By following the step-by-step process outlined in this guide, you’ve embarked on a journey to transform your shed into a brighter, more inviting space. From gathering the necessary tools and materials to sealing the window and completing the installation, each step has contributed to the successful addition of this valuable feature.
With the new window in place, your shed now benefits from natural light, improved ventilation, and a heightened sense of openness. Whether you’re pursuing hobbies, working on DIY projects, or simply seeking a tranquil retreat, the addition of a window creates a more comfortable and inspiring environment within your shed.
Furthermore, the satisfaction of completing a DIY project that not only enhances your space but also reflects your craftsmanship and attention to detail is truly gratifying. The skills and knowledge gained from this experience can be applied to future projects, empowering you to further customize and improve your outdoor structures.
As you enjoy the fruits of your labor, take pride in the fact that you’ve not only added a window to your shed but also enriched your living space through creativity and resourcefulness. Your shed is now a more dynamic and versatile asset, offering a well-lit and welcoming space for various activities and pursuits.
Embrace the newfound ambiance and functionality of your shed, and continue to explore opportunities for enhancing your outdoor spaces through thoughtful and skillful improvements. Whether it’s a shed, a garden retreat, or a workshop, the possibilities for personalization and enhancement are endless, and the addition of a window is just the beginning of your transformative journey.
Congratulations on successfully installing a window in your shed, and may your newly illuminated space inspire countless moments of creativity, productivity, and relaxation.
Frequently Asked Questions about How To Put A Window In A Shed
Was this page helpful?
At Storables.com, we guarantee accurate and reliable information. Our content, validated by Expert Board Contributors, is crafted following stringent Editorial Policies. We're committed to providing you with well-researched, expert-backed insights for all your informational needs.


0 thoughts on “How To Put A Window In A Shed”