Articles
How To Make Ripple Fold Drapes
Modified: January 18, 2024
Learn how to make ripple fold drapes in these informative articles. Find step-by-step guides, tips, and tricks to create the perfect ripple fold drapes for your home.
(Many of the links in this article redirect to a specific reviewed product. Your purchase of these products through affiliate links helps to generate commission for Storables.com, at no extra cost. Learn more)
Introduction
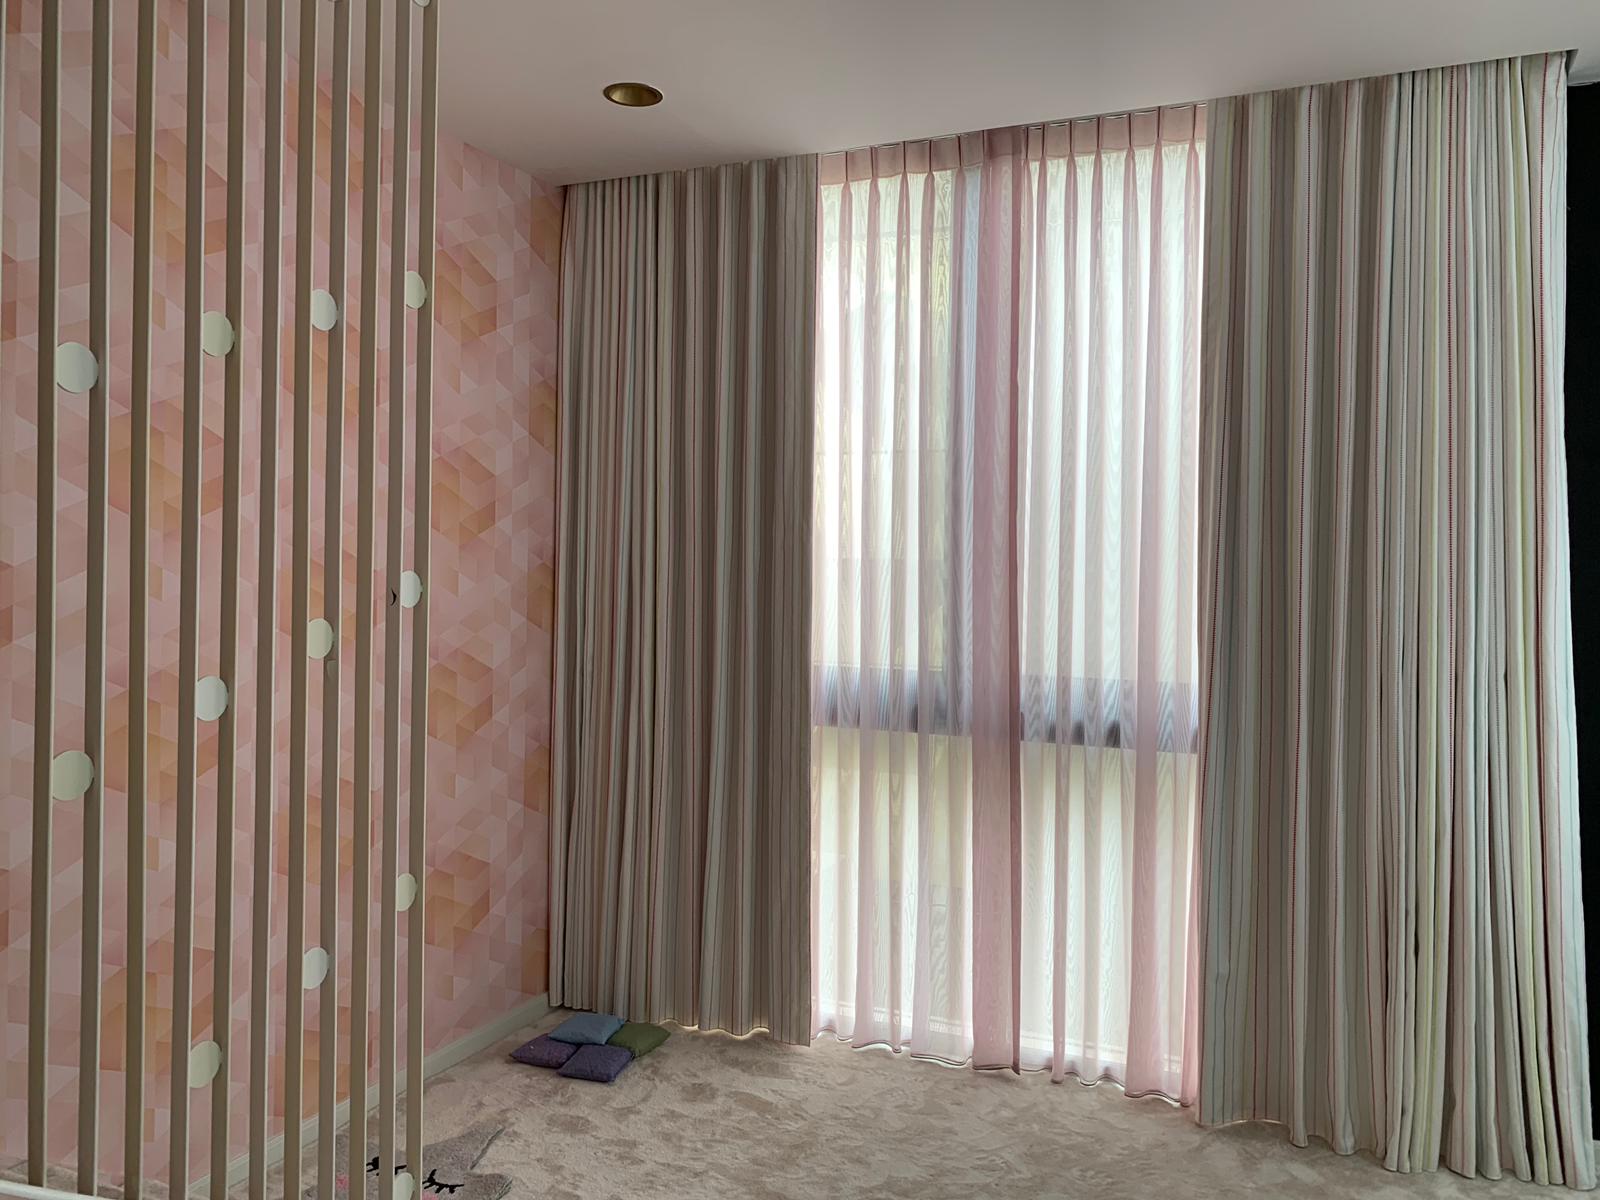
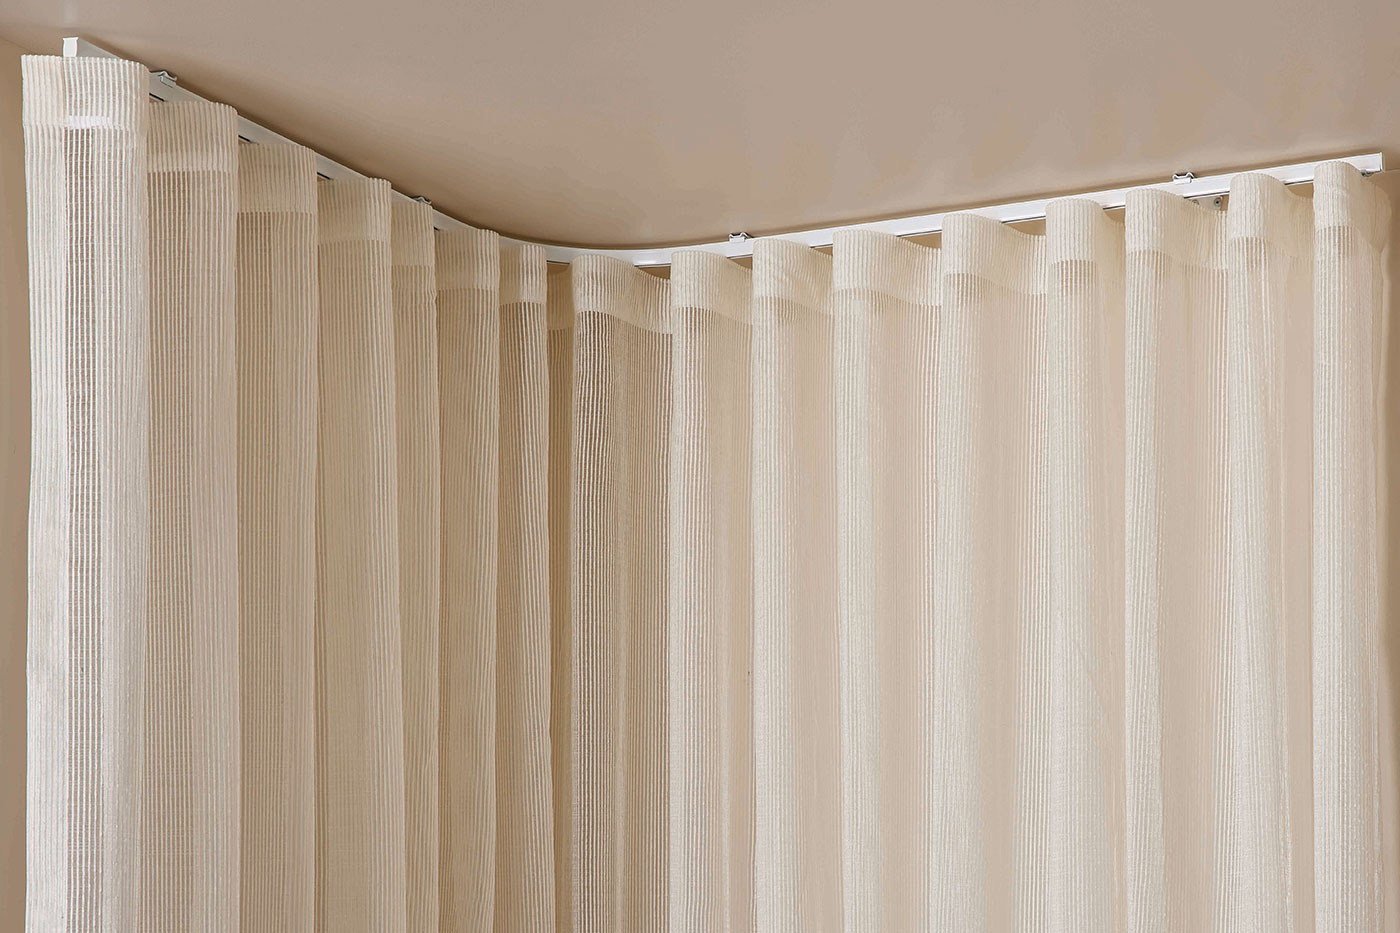
When it comes to window treatments, drapes can have a significant impact on the overall look and feel of a room. The ripple fold style, in particular, has gained popularity for its modern and elegant appearance. With its soft folds and sleek lines, ripple fold drapes can transform any space into a stylish and sophisticated haven.
In this article, we will guide you through the step-by-step process of making ripple fold drapes. Whether you are a DIY enthusiast or simply looking to personalize your home decor, this tutorial will equip you with the necessary knowledge and skills to create beautiful drapes that perfectly fit your space.
Before we dive into the instructions, let’s take a moment to gather the materials that you will need for this project.
Key Takeaways:
- Elevate your space with elegant ripple fold drapes. Follow our comprehensive guide to create custom drapes that reflect your personal style and enhance the ambiance of any room.
- Transform your windows into stunning focal points with DIY ripple fold drapes. From gathering materials to hanging the finished product, our step-by-step tutorial equips you with the knowledge and skills for a successful drapery project.
Read more: How To Make Grommet Drapes
Step 1: Gathering Materials
Before you begin making ripple fold drapes, it’s important to gather all the necessary materials to ensure a smooth and successful project. Here’s a list of items you will need:
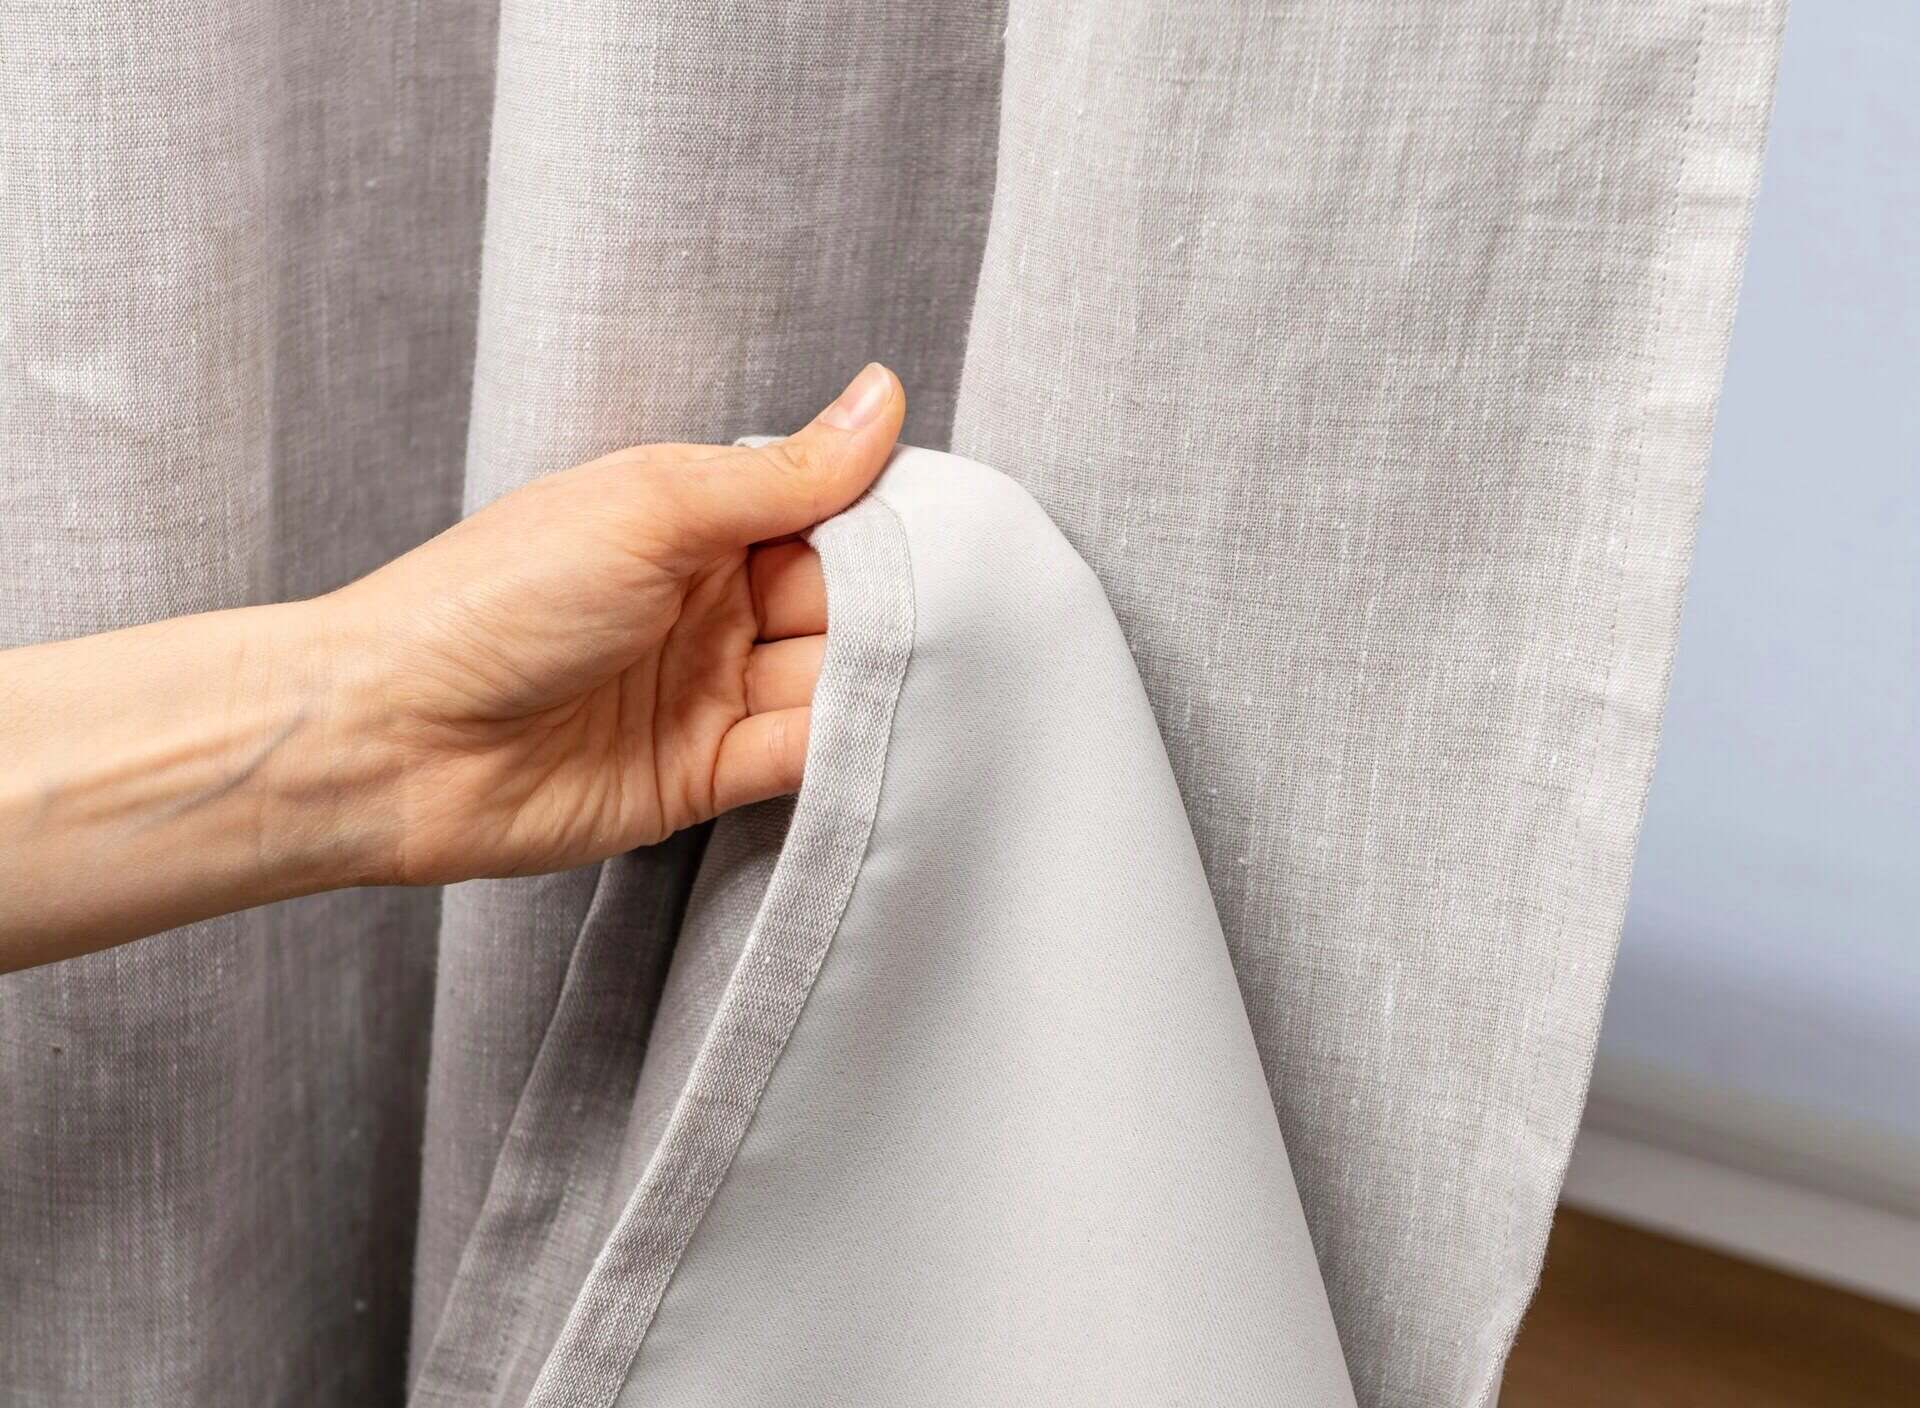
- Fabric: Choose a high-quality fabric of your choice. Make sure the fabric is appropriate for drapes and has enough weight to create the desired ripple effect.
- Measuring Tape: A measuring tape is essential for accurate measurements of your windows and fabric.
- Sewing Machine: You will need a sewing machine to stitch the fabric together.
- Thread: Select a thread color that matches your fabric for a seamless finish.
- Pins: Use pins to hold the fabric in place as you sew.
- Rod or Track: Decide whether you want to use a decorative rod or a track system to hang your drapes.
- Ripple Fold Hardware: You will need ripple fold hardware, including carriers and gliders, to create the ripple fold effect.
- Scissors: A good pair of fabric scissors is essential for cutting the fabric to the desired size.
- Iron and Ironing Board: Ironing the fabric is crucial to ensure neat and professional-looking drapes.
Once you have gathered all the necessary materials, you are ready to move on to the next step: measuring and marking.
Step 2: Measuring and Marking
Accurate measurements are key to creating ripple fold drapes that fit your windows perfectly. Follow these steps to measure and mark your fabric:
- Measure the Width: Use a measuring tape to measure the width of your window. Add an additional 4-6 inches on each side for fullness and overlap.
- Measure the Height: Measure the height of your window from the top to the desired length of your drapes. Add a few extra inches for hemming and the ripple fold header.
- Mark the Fabric: Lay out your fabric on a flat surface with the wrong side facing up. Use a fabric pencil or chalk to mark the measurements you obtained in the previous steps.
- Cut the Fabric: Using sharp fabric scissors, carefully cut along the marked lines to create your fabric panels. Make sure to cut in a straight line for a professional finish.
With your fabric panels cut and ready, it’s time to move on to the next step: preparing the fabric.
Step 3: Preparing the Fabric
Preparing the fabric is an essential step in creating well-made ripple fold drapes. Follow these steps to ensure that your fabric is ready for sewing:
- Iron the Fabric: Use an iron and ironing board to remove any wrinkles or creases from the fabric. This will help you achieve a clean and polished look.
- Hem the Sides: Fold over the sides of each fabric panel about half an inch and press with an iron to create a clean hem. Pin the folded edges in place and stitch along the folded line using a sewing machine.
- Hem the Bottom: Repeat the same process for the bottom edge of the fabric panels. Fold over the bottom edge about an inch, press with an iron, pin in place, and stitch along the folded line.
- Optional: Add a Lining (if desired): If you prefer to have lined drapes for added privacy or to block out sunlight, you can now attach a separate lining to the back of each fabric panel. Simply cut the lining to match the size of the fabric panel, pin it in place, and sew it along the edges.
Once you have completed these steps, your fabric panels are now prepared to be transformed into beautiful ripple fold drapes. The next step will guide you through creating the ripple fold effect.
When making ripple fold drapes, use a ripple fold tape to create evenly spaced and uniform ripples. This will ensure a professional and polished look for your drapes.
Step 4: Creating the Ripple Fold
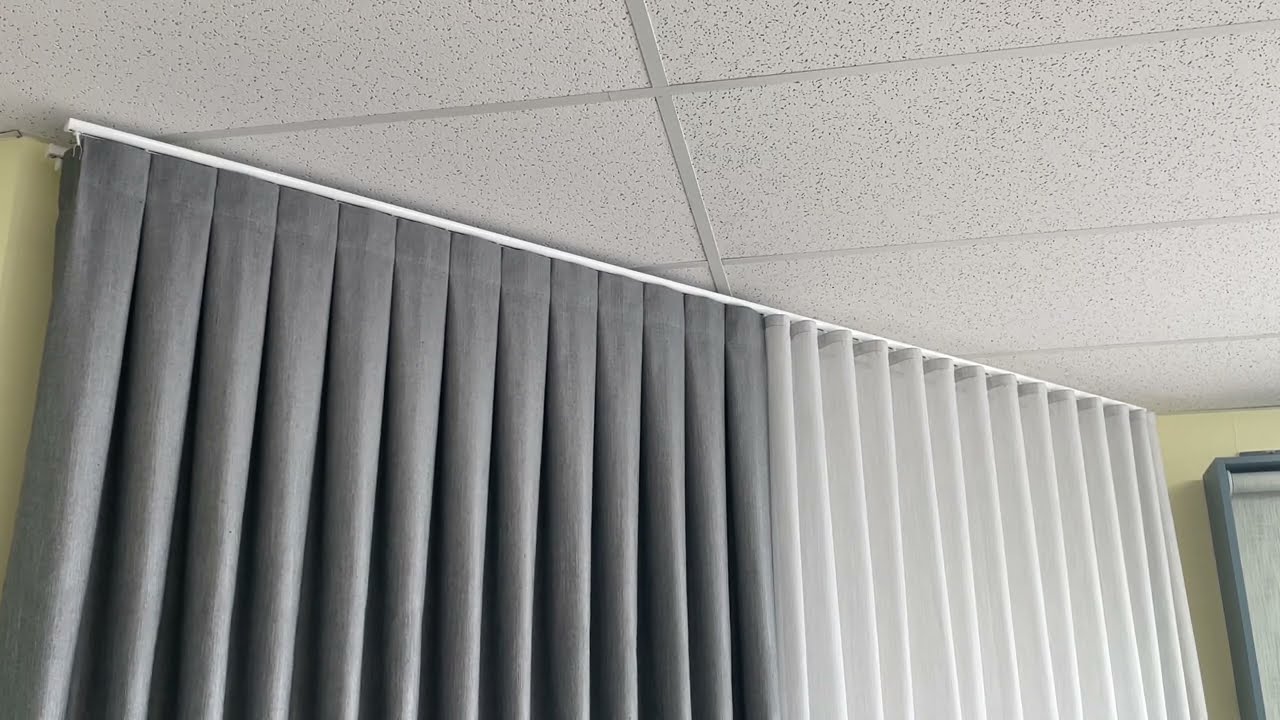
The ripple fold is what gives these drapes their distinct and elegant appearance. Follow these steps to create the ripple fold effect:
- Measure and Mark the Fold Points: Start by measuring and marking the fold points on the top edge of each fabric panel. The spacing between the fold points will depend on your desired look, but typically ranges from 3 to 5 inches. Use a measuring tape and fabric pencil or chalk to mark the points evenly across the width of the fabric panel.
- Create the Folds: To create the ripple fold, bring the first fold point down towards the wrong side of the fabric and align it with the bottom of the second fold point. This will create a soft fold or loop in the fabric. Use pins to hold the fold in place. Repeat this process for all the marked fold points.
- Secure the Folds: Once all the folds are in place, sew a straight stitch across the top edge of the fabric, securing the folds. This stitch should be about half an inch below the top edge.
- Optional: Add Weights (if desired): To ensure that the drapes hang evenly and maintain their ripple fold shape, you can add weights to the bottom hem. Sew small weights, such as washers, evenly spaced along the bottom edge of each fabric panel.
With the ripple fold created, your fabric panels are now ready for the next step: attaching the hardware.
Read more: How To Make Swag Drapes
Step 5: Attaching the Hardware
Attaching the hardware is an important step in ensuring that your ripple fold drapes hang properly and function smoothly. Follow these steps to attach the hardware:
- Measure and Mark the Placement: Start by measuring the desired height for your drapes and mark the placement of the hardware accordingly. Use a pencil or chalk to mark where the rod or track will be installed.
- Install the Hardware: Based on your marked placement, install the rod or track according to the manufacturer’s instructions. Ensure that it is securely mounted and level.
- Add the Ripple Fold Hardware: Attach the ripple fold hardware, including carriers and gliders, to each fabric panel. The carriers will slide along the track or rod, while the gliders will help maintain the ripple fold effect.
- Hang the Fabric Panels: Slide the carriers of each fabric panel onto the track or rod, ensuring that they are evenly spaced. Test the movement to make sure the drapes glide smoothly and the ripple folds are well-defined.
With the hardware securely installed and the fabric panels hanging in place, your ripple fold drapes are almost complete. The final step will guide you through hanging the drapes and adding the finishing touches.
Step 6: Hanging the Ripple Fold Drapes
Now that you’ve completed all the previous steps, it’s time to hang your beautiful ripple fold drapes. Follow these steps to ensure a proper installation:
- Adjust the Length (if necessary): Before you hang the drapes, check if they need any further adjustments in length. Use a measuring tape to ensure they are at the desired height from the floor or window sill.
- Hang the Drapes: Carefully slide the carriers with the fabric panels onto the track or rod. Ensure that the panels are evenly spaced and aligned. Ensure that the ripple folds are flowing smoothly and symmetrically across the width of the window.
- Arrange the Folds: Once the drapes are hung, take a few moments to adjust and arrange the ripple folds. Gently manipulate and distribute the fabric to create an even and visually pleasing draping effect.
- Finishing Touches: To complete the look, step back and ensure that the drapes are hanging straight and evenly. Use a steamer or iron to remove any remaining wrinkles or creases.
Congratulations! You have successfully made and hung your very own ripple fold drapes. Admire and enjoy the new and stylish look they bring to your space.
Remember, proper care and maintenance will ensure the longevity of your drapes. Regularly dust or vacuum them to remove any debris, and follow the manufacturer’s instructions for cleaning, if required.
Thank you for following this tutorial on how to make ripple fold drapes. We hope you found it informative and inspiring. Now it’s time to sit back, relax, and enjoy your beautifully decorated windows!
Conclusion
Creating ripple fold drapes is a satisfying and rewarding project that allows you to personalize your home decor and add a touch of elegance to any room. By following the step-by-step instructions outlined in this article, you can confidently make your own ripple fold drapes and transform your windows into stunning focal points.
Throughout this tutorial, we covered everything from gathering materials to hanging the drapes, ensuring that you have a comprehensive understanding of the process. Remember to take your time and pay attention to detail to achieve professional-looking results.
With the right fabric, precise measurements, and proper execution of the ripple fold technique, you can create drapes that enhance your living space and reflect your personal style.
Now that you have the knowledge and skills to make ripple fold drapes, don’t hesitate to explore different fabric options, colors, and textures to customize your drapes to your preferences. Additionally, you can experiment with various rod or track styles to achieve the desired aesthetic.
By incorporating your creativity and attention to detail, you will be able to enjoy the beauty of custom-made ripple fold drapes that perfectly complement your space.
Thank you for joining us on this journey of creating ripple fold drapes. We hope this tutorial has inspired you to embark on your own drapery project and bring a touch of sophistication and style to your home.
Frequently Asked Questions about How To Make Ripple Fold Drapes
Was this page helpful?
At Storables.com, we guarantee accurate and reliable information. Our content, validated by Expert Board Contributors, is crafted following stringent Editorial Policies. We're committed to providing you with well-researched, expert-backed insights for all your informational needs.


0 thoughts on “How To Make Ripple Fold Drapes”