Home>Gardening & Outdoor>Outdoor Structures>How To Put Together A Plastic Shed
Outdoor Structures
How To Put Together A Plastic Shed
Modified: August 28, 2024
Learn how to assemble a plastic shed with our step-by-step guide. Perfect for outdoor structures, our tips will have your shed up in no time.
(Many of the links in this article redirect to a specific reviewed product. Your purchase of these products through affiliate links helps to generate commission for Storables.com, at no extra cost. Learn more)
Introduction
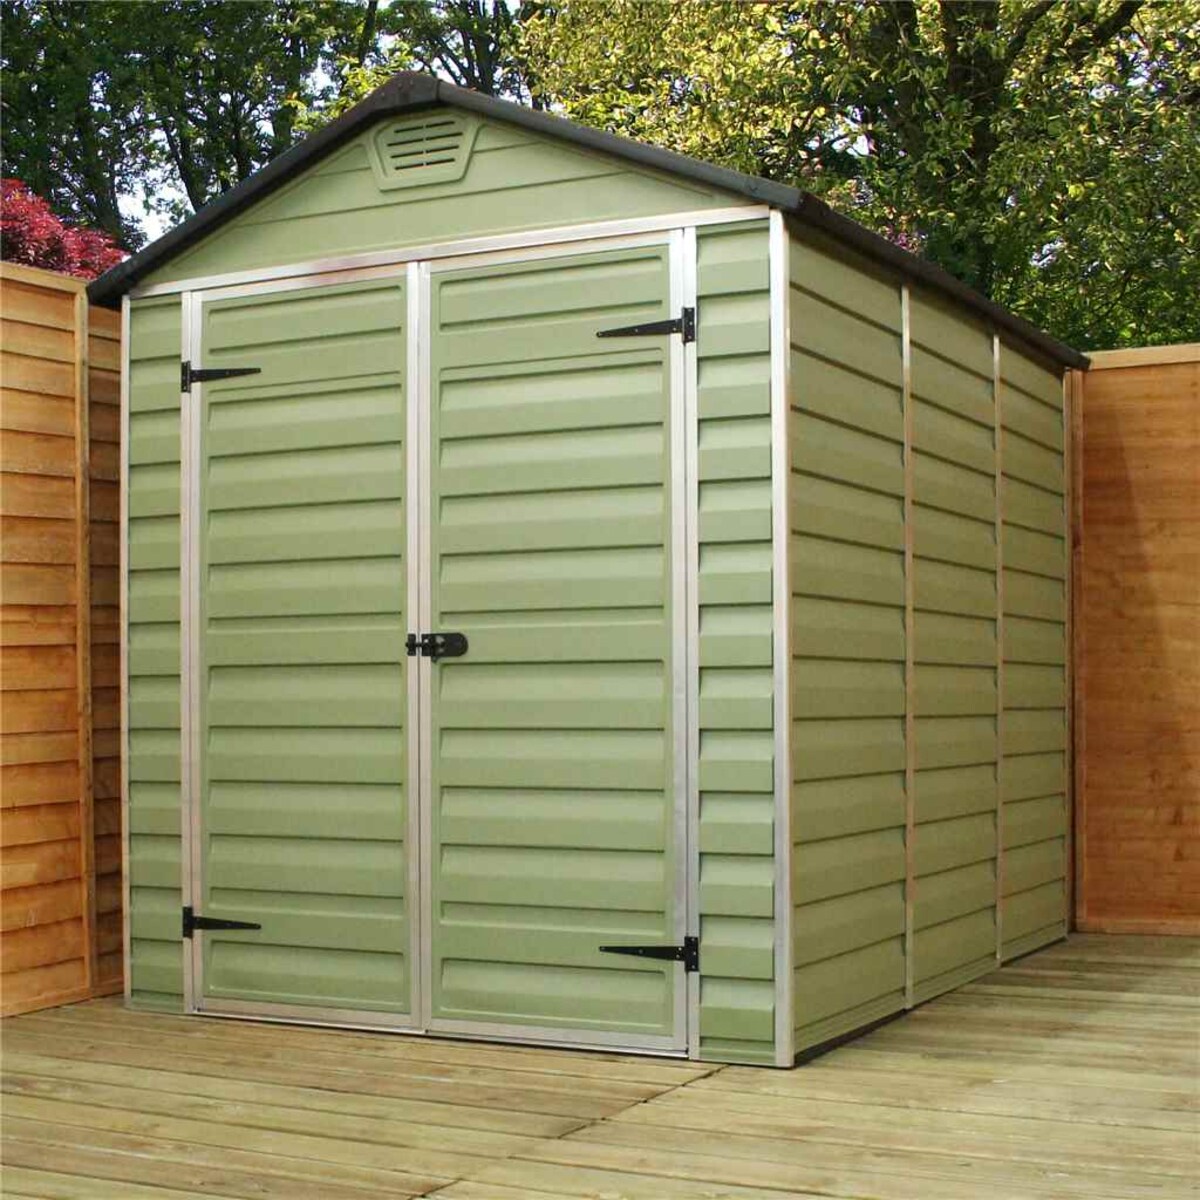
So, you've decided to add a plastic shed to your outdoor space. Congratulations! This versatile and durable structure will provide you with valuable storage space for your gardening tools, outdoor equipment, and other essentials. Whether you're a seasoned DIY enthusiast or a novice looking to tackle a new project, assembling a plastic shed can be a rewarding experience. With the right tools, a bit of patience, and a clear plan in mind, you'll soon have a functional and attractive storage solution right in your backyard.
In this comprehensive guide, we'll walk you through the step-by-step process of putting together a plastic shed. From gathering the necessary tools and preparing the area to assembling the shed panels, installing the roof, and organizing the interior, we've got you covered. By following these instructions, you'll be well on your way to enjoying the benefits of a neatly organized outdoor space. Let's dive in and get started on this exciting project!
Key Takeaways:
- Assembling a plastic shed requires gathering tools, preparing the area, assembling panels, installing the roof, securing the shed, and organizing the interior. Proper preparation and attention to detail are crucial for a successful project.
- Organizing the shed’s interior maximizes storage space and accessibility. Grouping similar items, installing shelves and hooks, and creating a workspace contribute to a functional and efficient outdoor storage solution.
Read more: How To Put Together A Rubbermaid Shed
Step 1: Gather Tools and Materials
Before you begin assembling your plastic shed, it’s essential to gather all the necessary tools and materials. Having everything at hand will streamline the process and prevent unnecessary interruptions. Here’s a list of the typical tools and materials you’ll need:
Tools:
- Screwdriver (preferably electric or cordless for efficiency)
- Adjustable wrench
- Utility knife
- Step ladder
- Hammer
- Power drill
- Level
- Gloves and safety goggles
Materials:
- Plastic shed kit (ensure all components are included)
- Foundation kit or materials for anchoring the shed
- Concrete blocks or treated lumber for the foundation
- Corrosion-resistant screws
- Roofing materials (if not included in the shed kit)
- Sealant or caulk
Once you’ve gathered all the necessary tools and materials, it’s time to move on to the next step. Proper preparation is key to a successful shed assembly project, so take the time to ensure that you have everything you need before diving in.
Step 2: Prepare the Area
Preparing the area where your plastic shed will be located is crucial for ensuring its stability and longevity. Here’s a step-by-step guide to help you prepare the site:
1. Choose the Location: Select a level area with good drainage for your shed. Ensure that it complies with any local building codes or regulations. Consider factors such as sunlight exposure and proximity to utilities.
2. Clear the Ground: Remove any debris, rocks, or vegetation from the area. Clearing the ground will provide a clean and level surface for the shed’s foundation.
3. Create a Foundation: Depending on the type of shed you have, you may need to create a foundation using concrete blocks, treated lumber, or a purpose-built foundation kit. Follow the manufacturer’s instructions to ensure a stable and secure base for your shed.
4. Level the Foundation: Use a level to ensure that the foundation is perfectly even. This step is crucial for the proper assembly and stability of the shed.
5. Anchor the Foundation: If your shed requires anchoring, follow the instructions to secure the foundation to the ground using the appropriate hardware. This will help prevent the shed from being affected by strong winds or other external forces.
6. Consider Drainage: If your area is prone to water accumulation, consider adding a layer of gravel or creating a slight slope to direct water away from the shed’s base. Proper drainage will protect the shed from potential water damage.
By thoroughly preparing the area for your plastic shed, you’ll create a solid foundation for the assembly process and ensure that your shed remains structurally sound for years to come.
Read more: How To Put A Blender Together
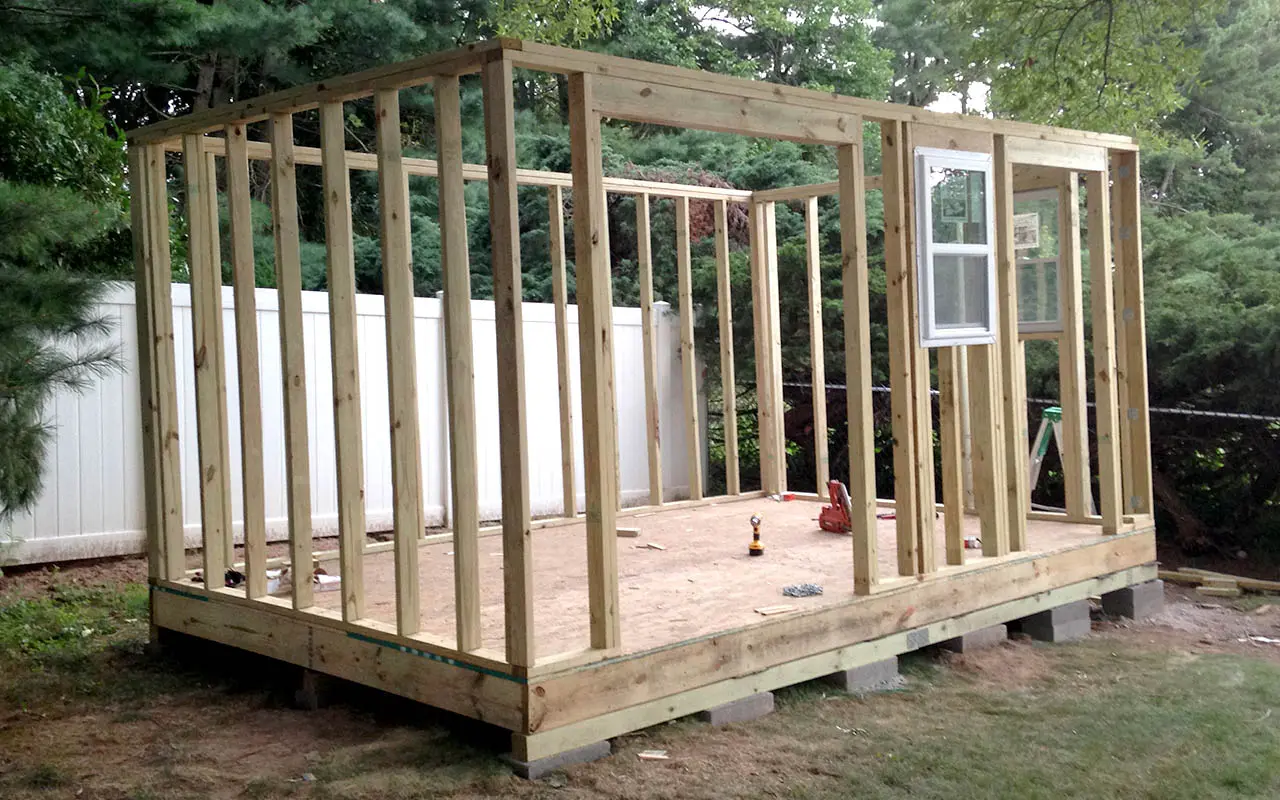
Step 3: Assemble the Shed Panels
With the area prepared, it’s time to start assembling the shed panels. This is where the structure of your shed begins to take shape. Follow these steps to ensure a smooth assembly process:
1. Organize the Panels: Lay out all the panels according to the manufacturer’s instructions. Group them by type and size to make the assembly process more efficient.
2. Follow the Manual: Carefully review the assembly manual provided by the manufacturer. Pay close attention to the labeled parts and the recommended sequence for assembling the panels.
3. Start with the Base: Begin by attaching the panels that form the base of the shed. Follow the instructions for securing the base panels to the foundation or floor frame.
4. Connect the Walls: Assemble and connect the wall panels, following the designated order. Use the recommended fasteners and techniques to ensure a secure and stable structure.
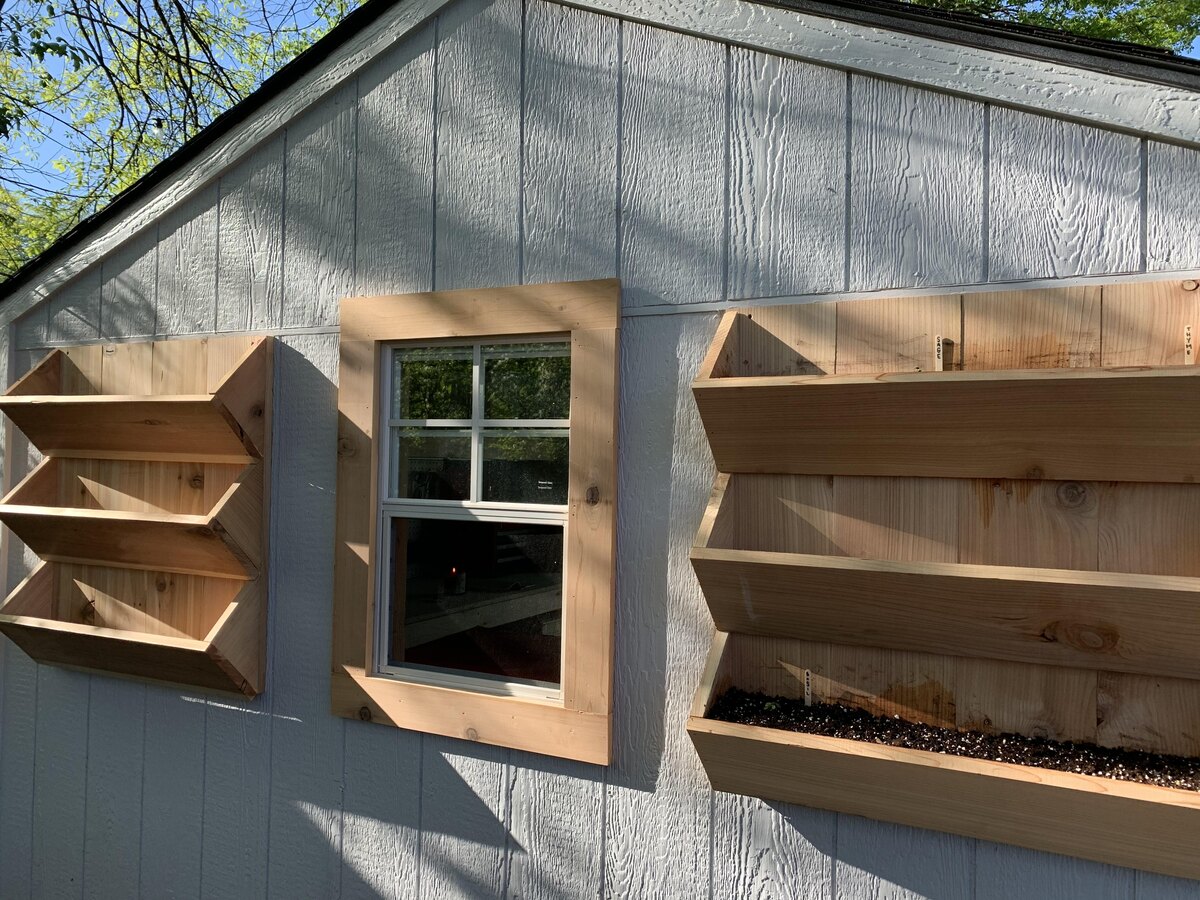
5. Install Doors and Windows: If your shed includes doors and windows, carefully install them according to the manufacturer’s instructions. Take your time to ensure that they are properly aligned and secure.
6. Check for Alignment: Use a level to check the alignment of the panels as you progress. Adjust as needed to ensure that the shed is straight and plumb.
7. Secure the Roof Structure: If the roof is part of the panel assembly, follow the instructions to secure it in place. If the roof is a separate component, it will be installed in the next step.
By methodically assembling the shed panels, you’ll lay the groundwork for completing the structure and moving on to the next stages of the assembly process. Take your time to ensure that each step is completed accurately and securely.
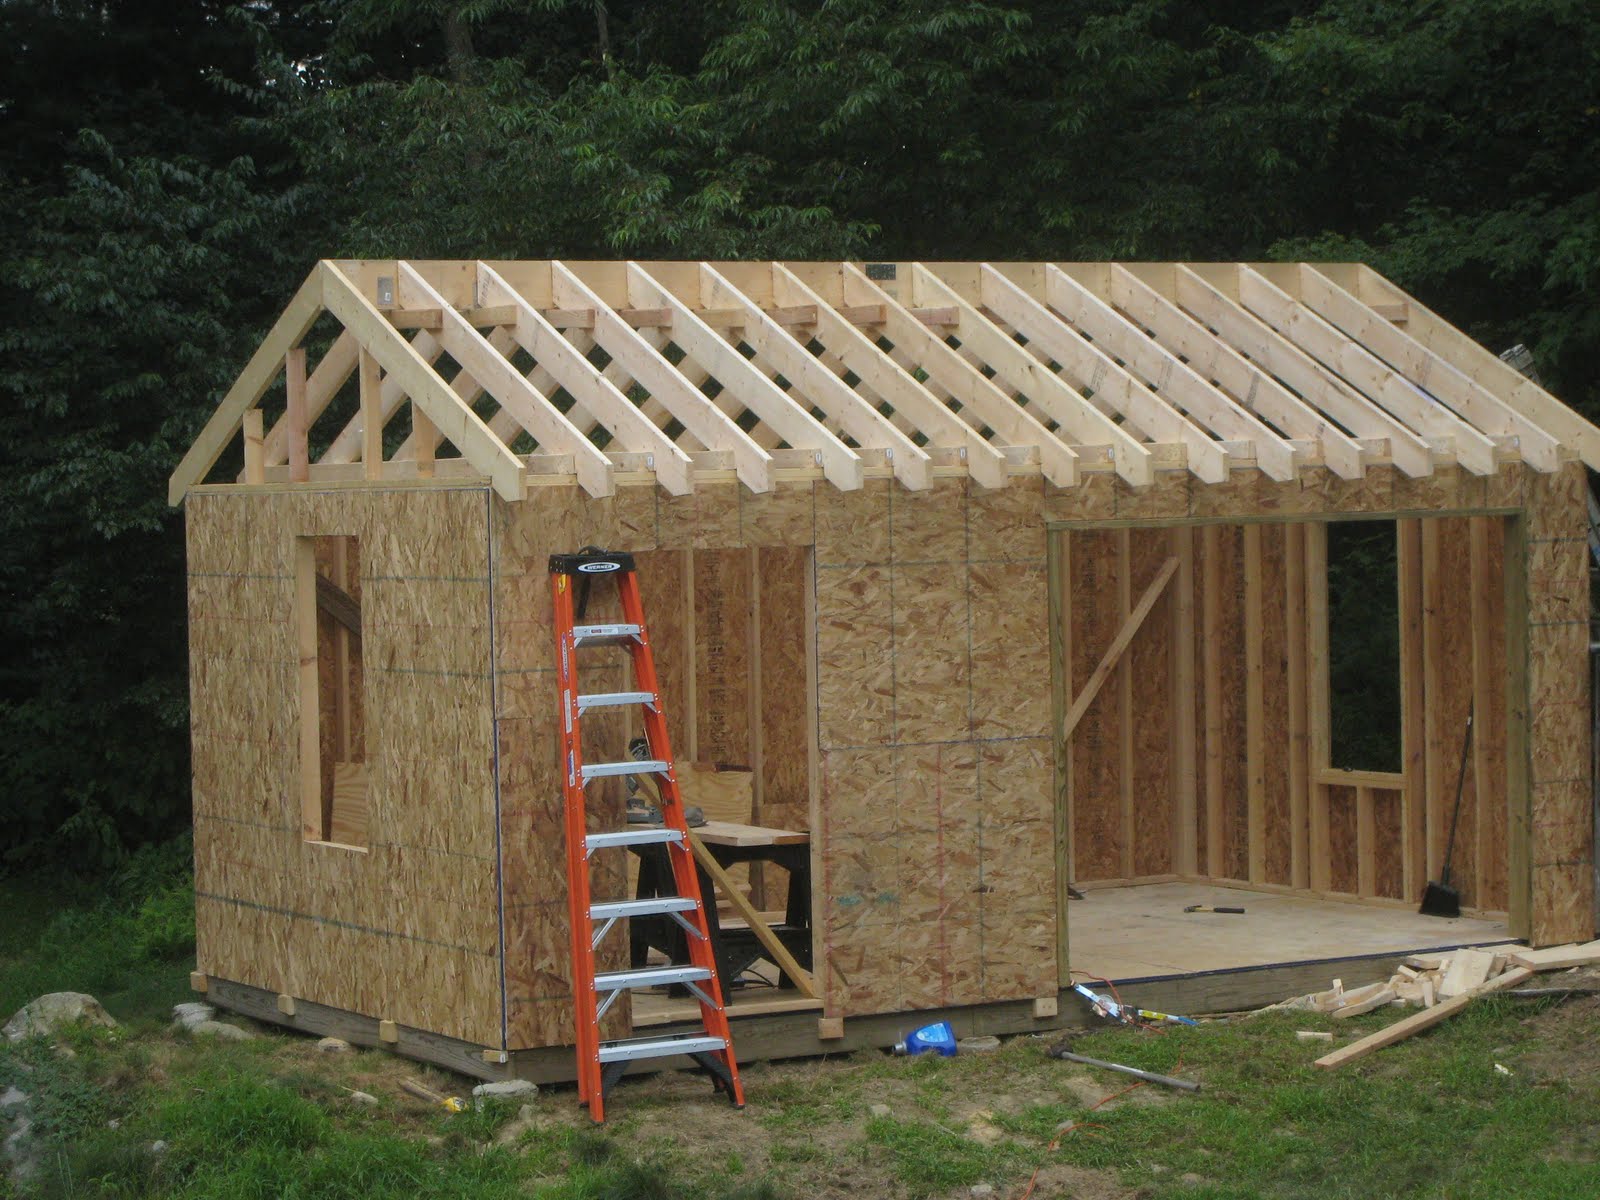
Step 4: Install the Roof
With the shed panels assembled, it’s time to install the roof to complete the structure. Follow these steps to ensure a secure and weather-resistant roof installation:
1. Gather Roofing Materials: If the shed kit does not include roofing materials, gather the necessary components, such as roof panels, shingles, or other roofing elements, as specified by the manufacturer.
2. Position the Roof Panels: Place the roof panels in the designated position on top of the shed structure. Ensure that they are aligned and securely positioned before fastening them in place.
3. Secure the Roof Panels: Use the recommended fasteners and techniques to secure the roof panels to the shed structure. Follow the manufacturer’s instructions to ensure that the panels are properly attached and weatherproof.
4. Install Roofing Materials: If your shed requires additional roofing materials, such as shingles or a weatherproof membrane, carefully install them according to the manufacturer’s guidelines. Pay attention to proper sealing and overlap to prevent water infiltration.
5. Check for Proper Drainage: Ensure that the roof is designed to allow for proper drainage. Verify that water will flow away from the shed to prevent pooling and potential water damage.
6. Inspect for Stability: Once the roof is installed, inspect the entire structure for stability. Check for any loose fasteners or components that may need adjustment to ensure the shed’s overall integrity.
By installing the roof with care and attention to detail, you’ll complete the shed’s weatherproofing and provide protection for the contents stored within. A well-installed roof will contribute to the longevity and functionality of your plastic shed.
When putting together a plastic shed, make sure to carefully read the instructions and lay out all the parts before starting. This will help you stay organized and avoid any mistakes during assembly.
Step 5: Secure the Shed
Once the shed structure is fully assembled, it’s essential to secure it properly to ensure stability and resilience, especially in the face of adverse weather conditions. Follow these steps to secure your plastic shed:
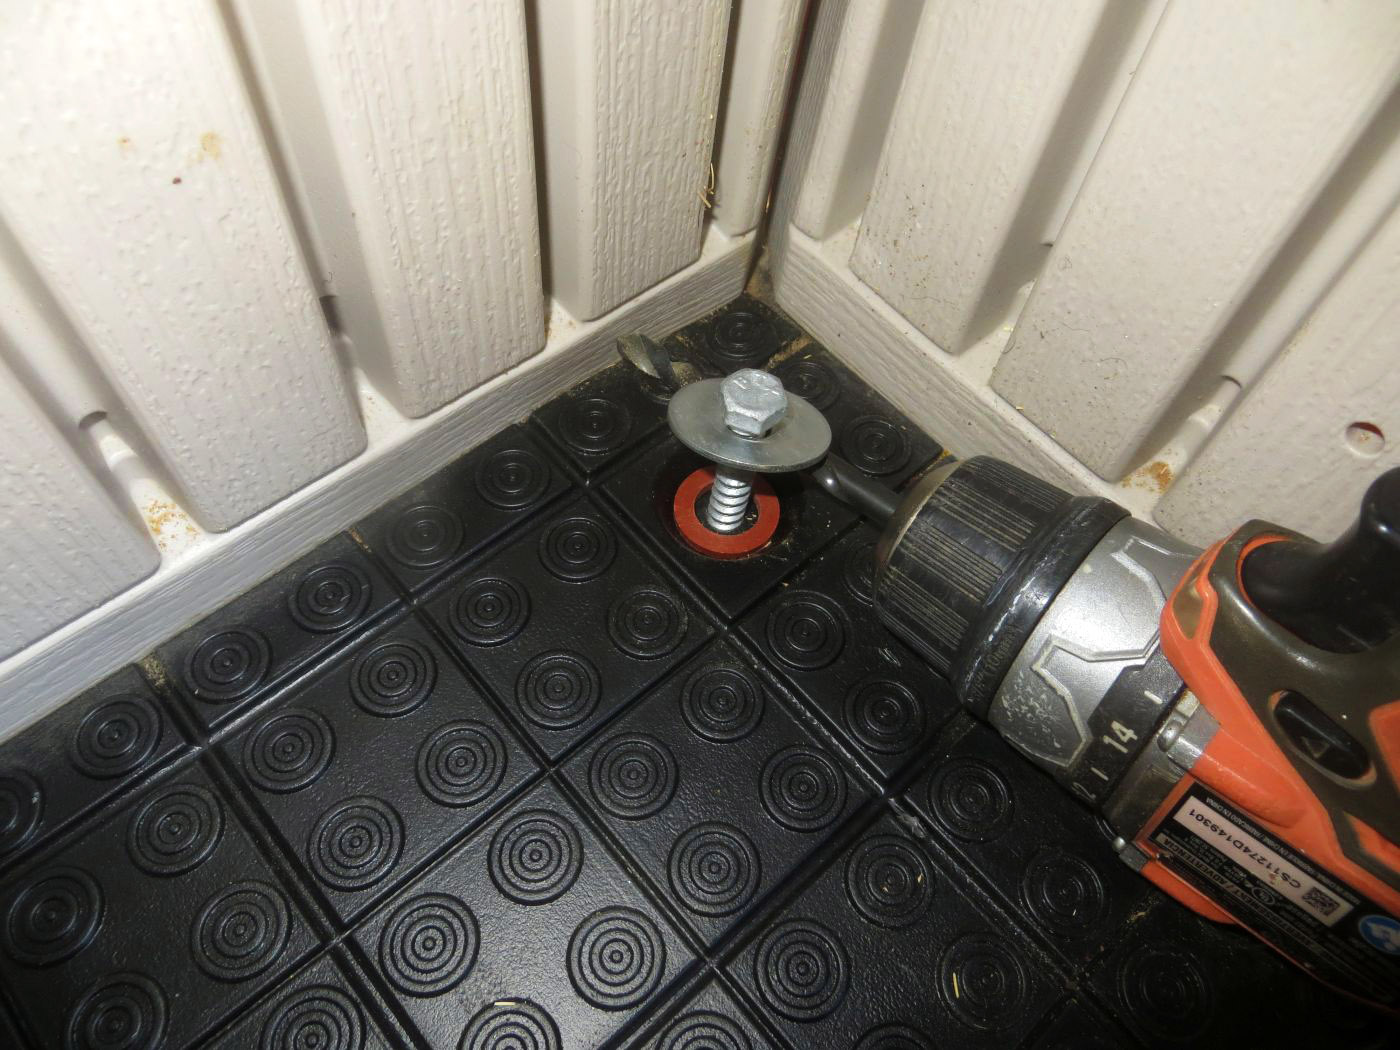
1. Anchor the Shed: Depending on the manufacturer’s recommendations and local building codes, use the appropriate anchors or fasteners to secure the shed to the foundation or ground. This step is crucial for preventing the shed from being displaced by strong winds or other external forces.
2. Verify Fastenings: Inspect all fasteners, including screws and bolts, to ensure that they are properly tightened and secure. Tighten any loose fasteners to reinforce the overall stability of the shed.
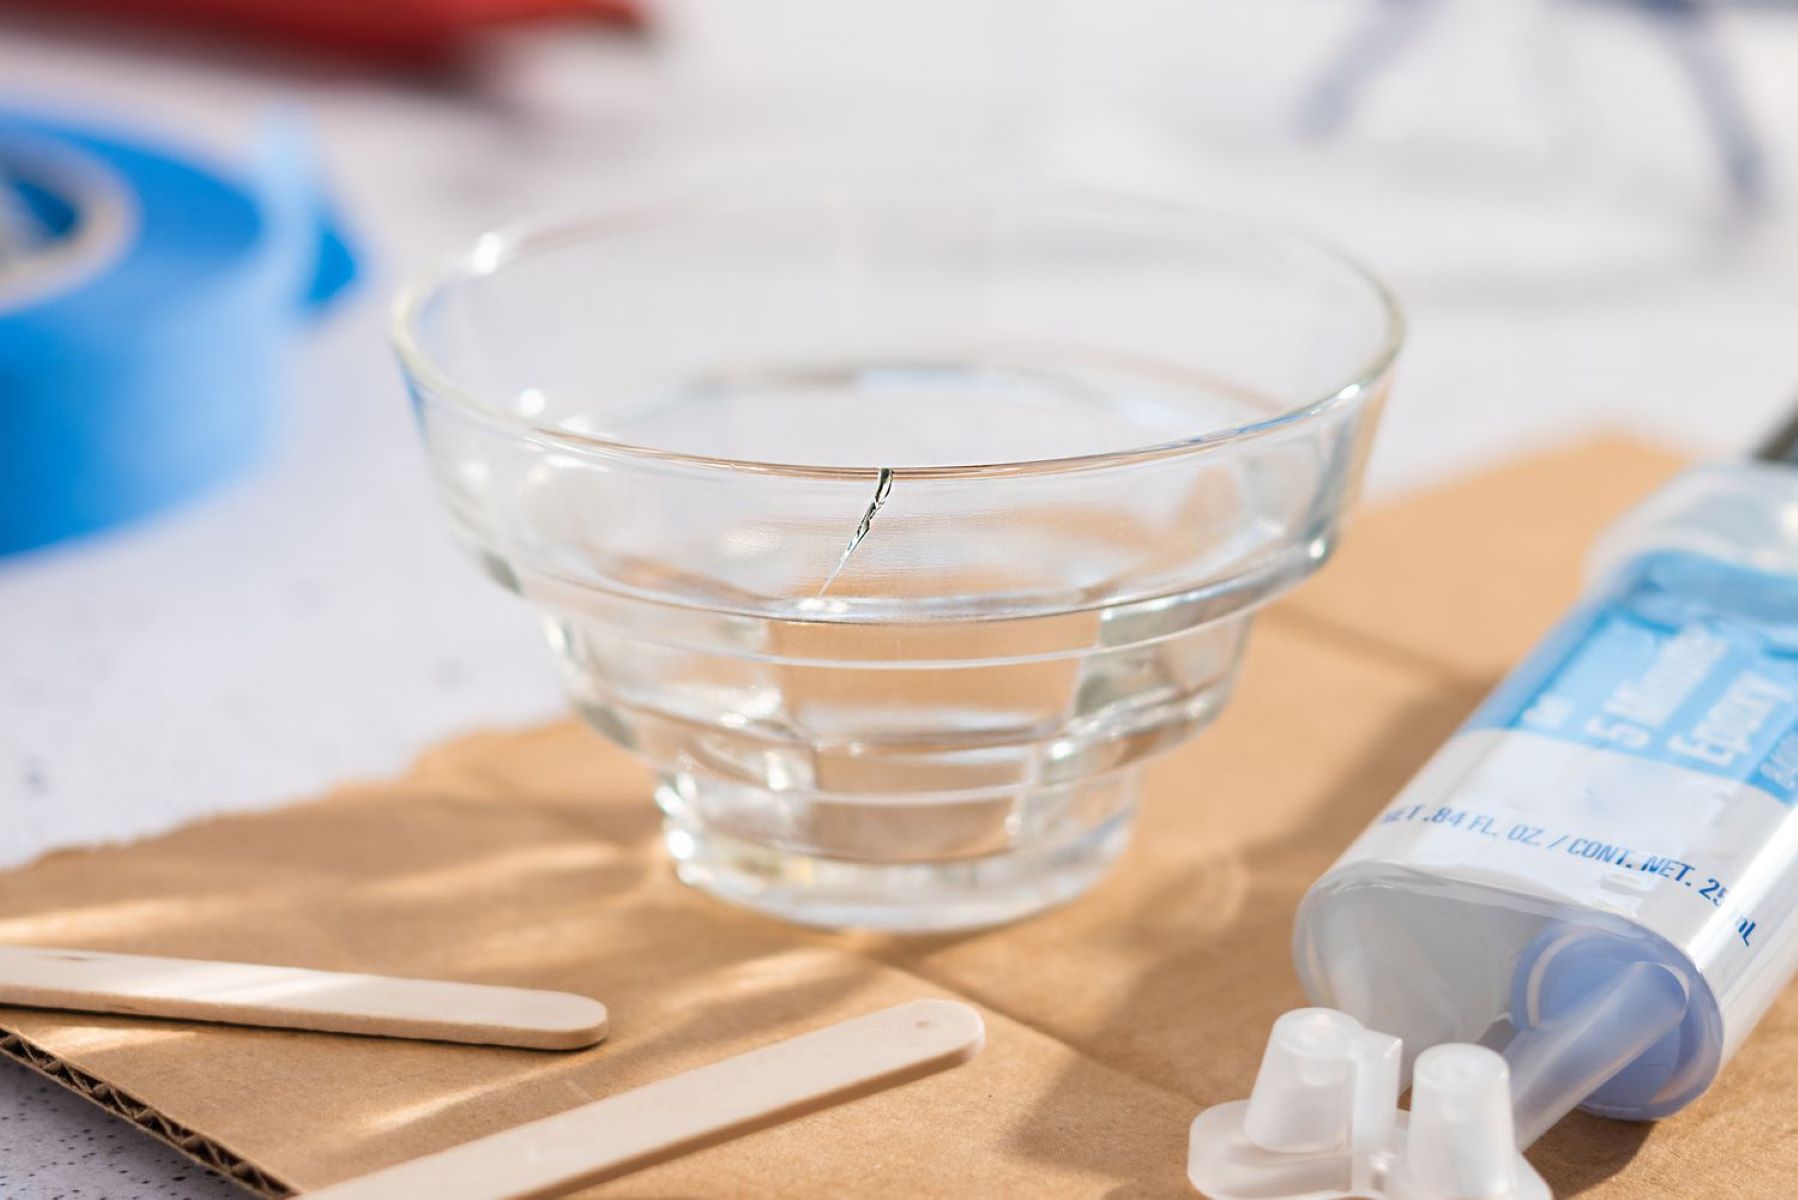
3. Seal Joints and Gaps: Use a suitable sealant or caulk to seal any joints, gaps, or potential points of water infiltration. This will help protect the interior of the shed from moisture and enhance its weather resistance.
4. Check Doors and Windows: Verify that the doors and windows are properly aligned, securely fastened, and functional. Adjust and tighten any hardware as needed to ensure a tight seal and smooth operation.
5. Inspect for Levelness: Use a level to check the shed for overall levelness and alignment. Make any necessary adjustments to ensure that the shed is stable and sits evenly on the foundation.
6. Consider Additional Security Measures: Depending on your specific needs and location, you may want to consider additional security measures, such as installing a padlock or security system to protect the contents of the shed.
By taking the time to properly secure the shed, you’ll ensure that it remains steadfast and resilient, providing reliable storage and protection for your belongings for years to come.
Step 6: Organize the Interior
With the plastic shed fully assembled and secured, it’s time to turn your attention to organizing the interior space. A well-organized shed interior will not only maximize storage capacity but also make it easier to locate and access your belongings. Follow these steps to efficiently organize the interior of your shed:
1. Assess Storage Needs: Take stock of the items you plan to store in the shed. Consider their sizes, shapes, and frequency of use to determine the most practical storage solutions.
2. Install Shelving and Storage Units: Depending on your storage needs, install shelves, cabinets, and other storage units to optimize the use of vertical space. Adjustable shelving can accommodate items of various sizes and shapes.
3. Group Similar Items: Organize your belongings into categories and group similar items together. This will make it easier to locate specific items when needed and maintain a tidy and functional storage space.
4. Utilize Hooks and Hangers: Install hooks, hangers, and tool racks to keep frequently used tools and equipment easily accessible and off the floor. This will help free up valuable floor space and minimize clutter.
5. Create a Workspace: If your shed will serve as a workspace for gardening or DIY projects, designate a specific area for these activities. Install a workbench or table for potting plants, assembling projects, or performing repairs.
6. Label Storage Containers: Use labels or clear storage containers to identify the contents of boxes and bins. This simple step will save time and frustration when searching for specific items.
7. Maintain Accessibility: Arrange items in a way that allows for easy access to frequently used items while ensuring that less frequently used items are stored in accessible yet out-of-the-way locations.
By thoughtfully organizing the interior of your plastic shed, you’ll create an efficient and functional storage space that enhances your outdoor activities and simplifies the maintenance of your outdoor living area.
Read more: How To Put Plumbing Pipes Together
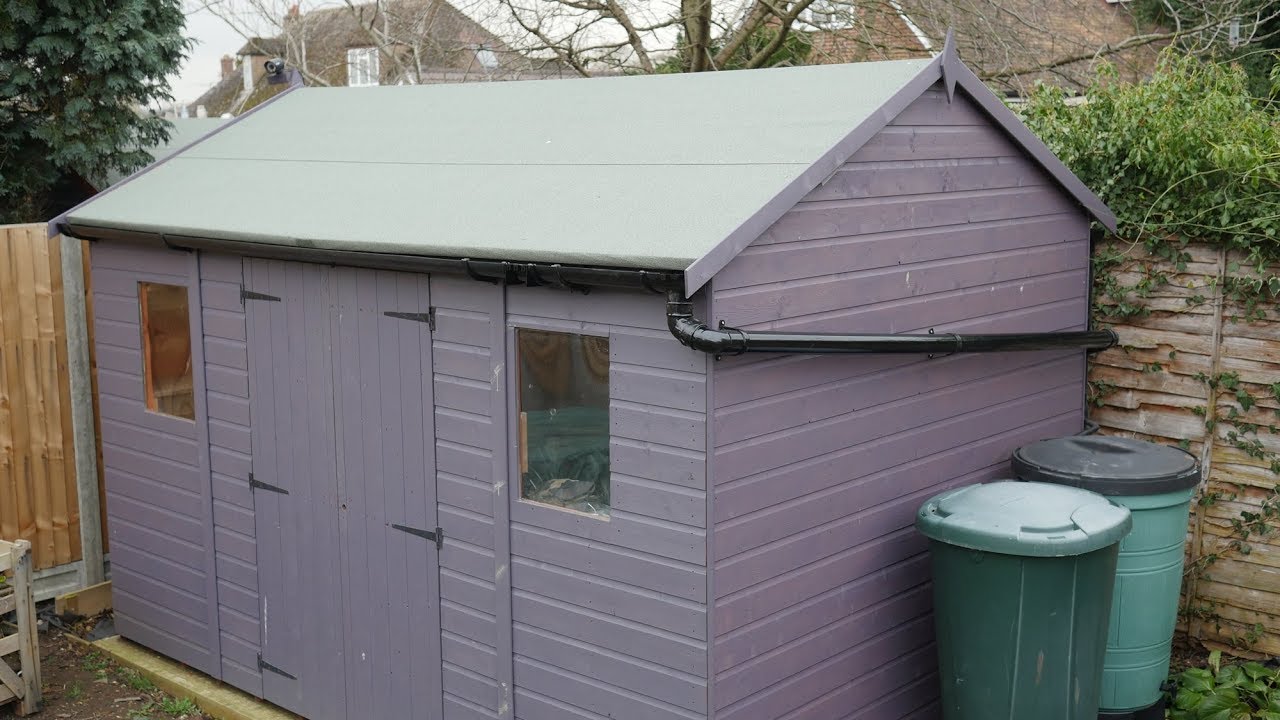
Conclusion
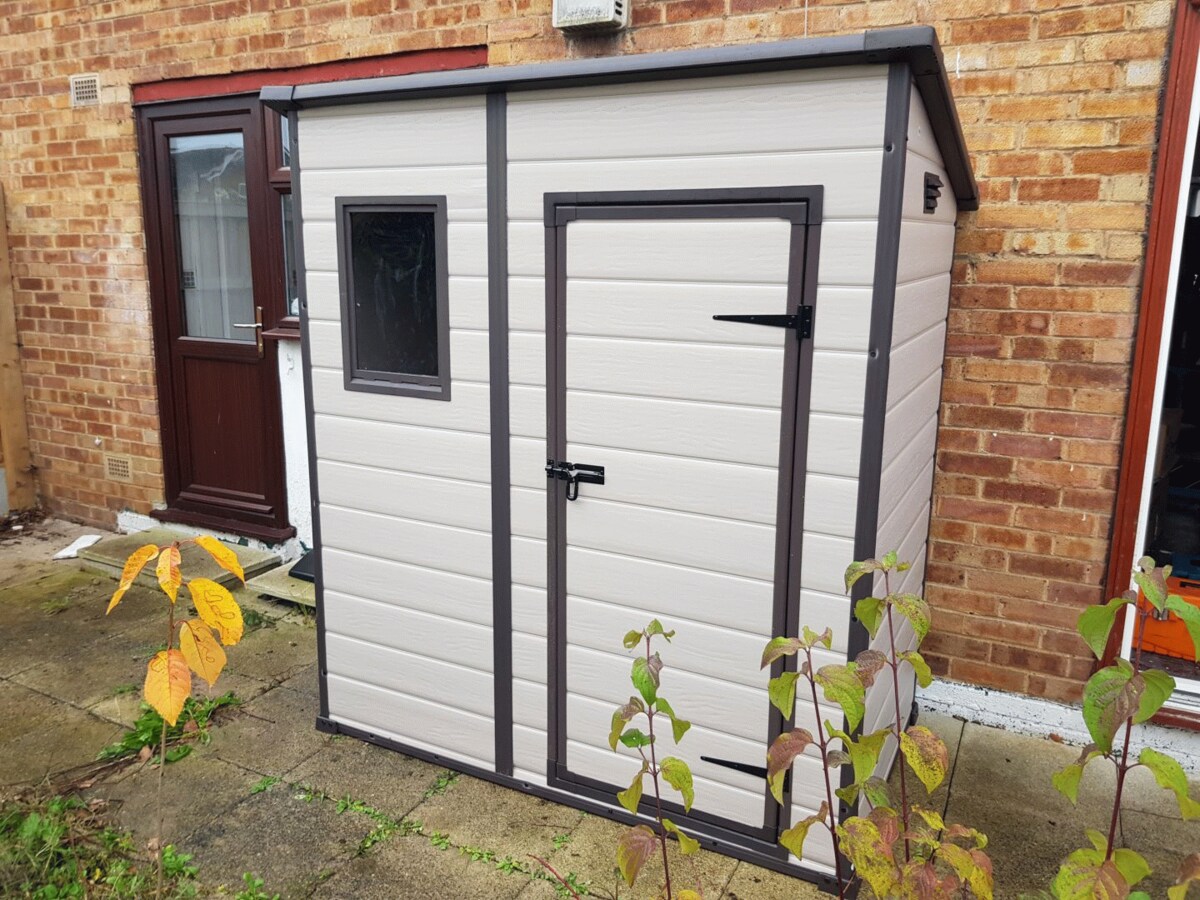
Congratulations on successfully assembling and organizing your plastic shed! By following the step-by-step process outlined in this guide, you’ve not only created a valuable storage space but also enhanced the functionality and organization of your outdoor area. As you stand back and admire your handiwork, take a moment to appreciate the effort and dedication that went into this project.
Building a plastic shed is not just about creating a storage space; it’s about creating a functional and personalized outdoor environment that suits your needs and lifestyle. Whether you’re using the shed for gardening tools, outdoor equipment, or as a workspace for DIY projects, its presence contributes to the overall harmony and efficiency of your outdoor living space.
As you enjoy the benefits of your new plastic shed, remember to maintain it regularly. Check for any signs of wear, tighten fasteners as needed, and keep the interior organized. Regular maintenance will ensure that your shed remains in top condition and continues to serve its purpose for years to come.
Lastly, take pride in the fact that you’ve added a practical and visually appealing structure to your outdoor space. Your efforts have not only provided you with a functional storage solution but have also contributed to the overall aesthetics and organization of your property. Your plastic shed is a testament to your dedication to creating a well-maintained and enjoyable outdoor environment.
Thank you for allowing us to guide you through this process. We hope that your plastic shed brings you years of convenience and satisfaction, and that the knowledge and skills gained from this project will serve you well in future endeavors. Here’s to many productive and fulfilling days in your beautifully organized outdoor space!
Frequently Asked Questions about How To Put Together A Plastic Shed
Was this page helpful?
At Storables.com, we guarantee accurate and reliable information. Our content, validated by Expert Board Contributors, is crafted following stringent Editorial Policies. We're committed to providing you with well-researched, expert-backed insights for all your informational needs.


0 thoughts on “How To Put Together A Plastic Shed”