Home>Furniture>Living Room Furniture>How To Put A TV Stand Together
Living Room Furniture
How To Put A TV Stand Together
Modified: March 16, 2024
Learn how to put a TV stand together with our step-by-step guide. Find the best living room furniture for your home and create the perfect entertainment setup.
(Many of the links in this article redirect to a specific reviewed product. Your purchase of these products through affiliate links helps to generate commission for Storables.com, at no extra cost. Learn more)
Introduction
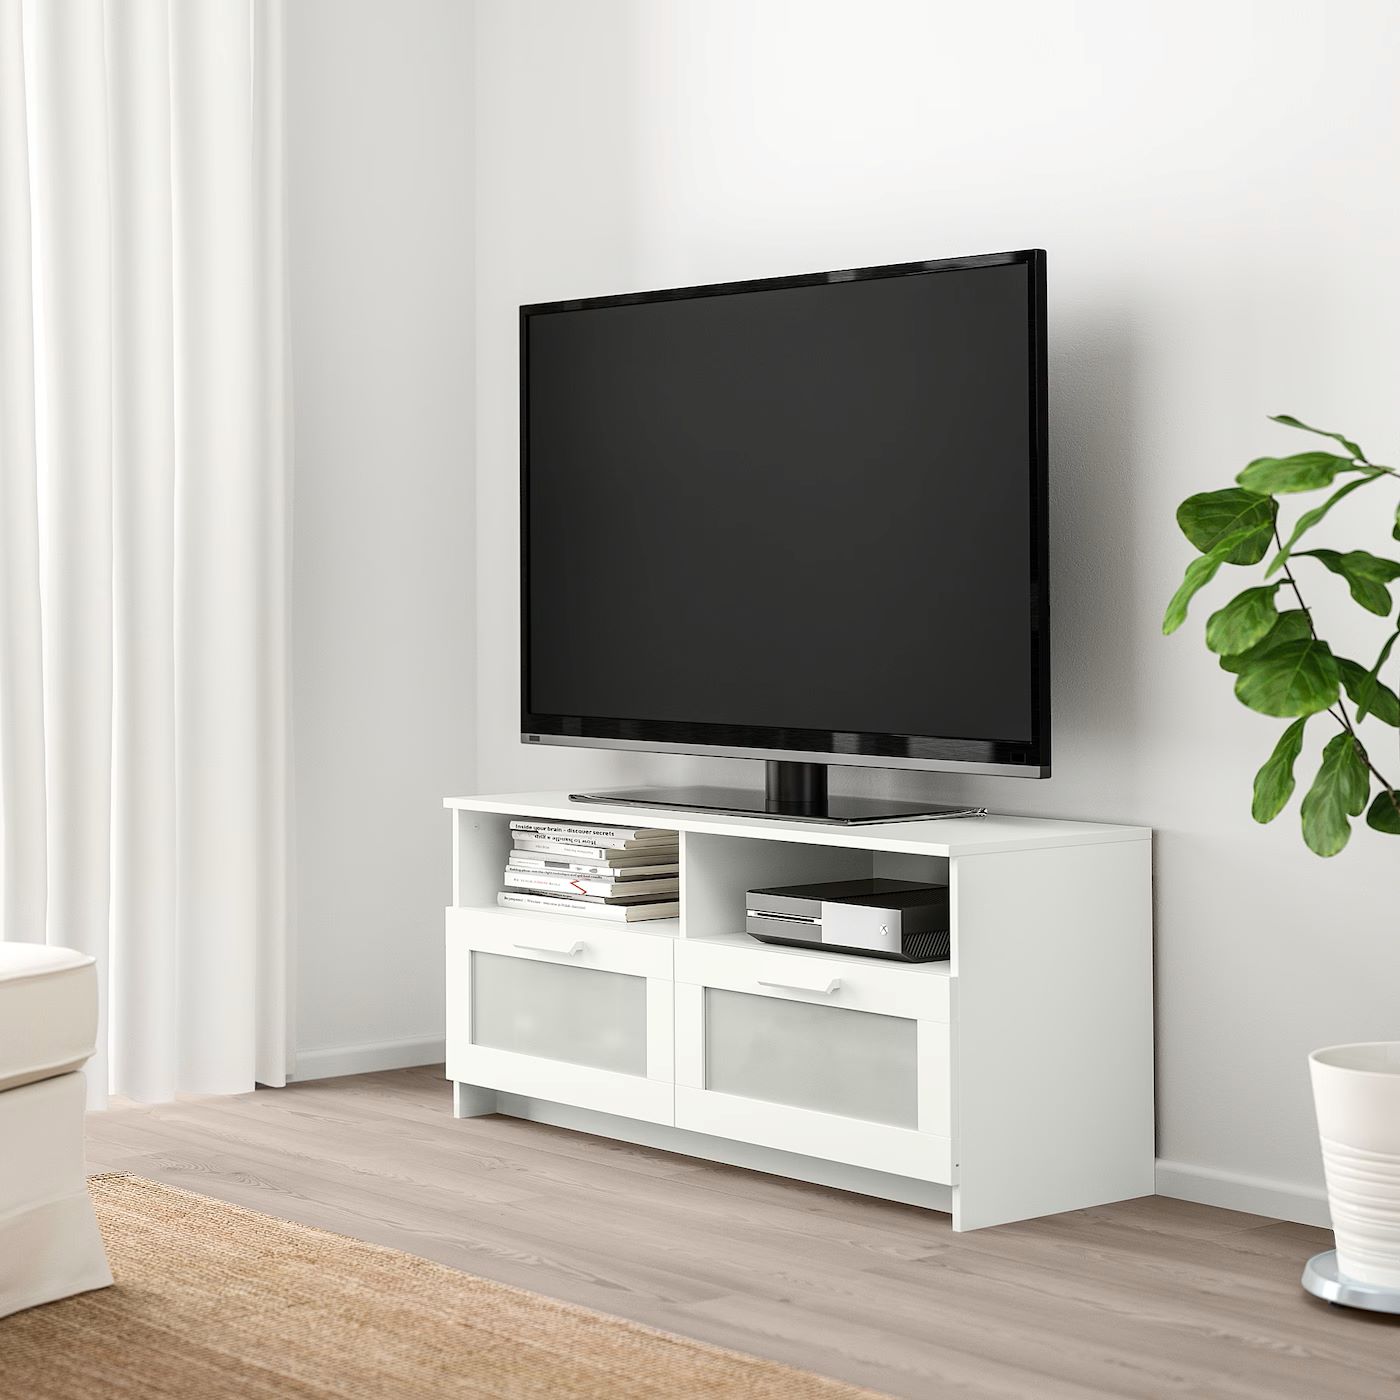
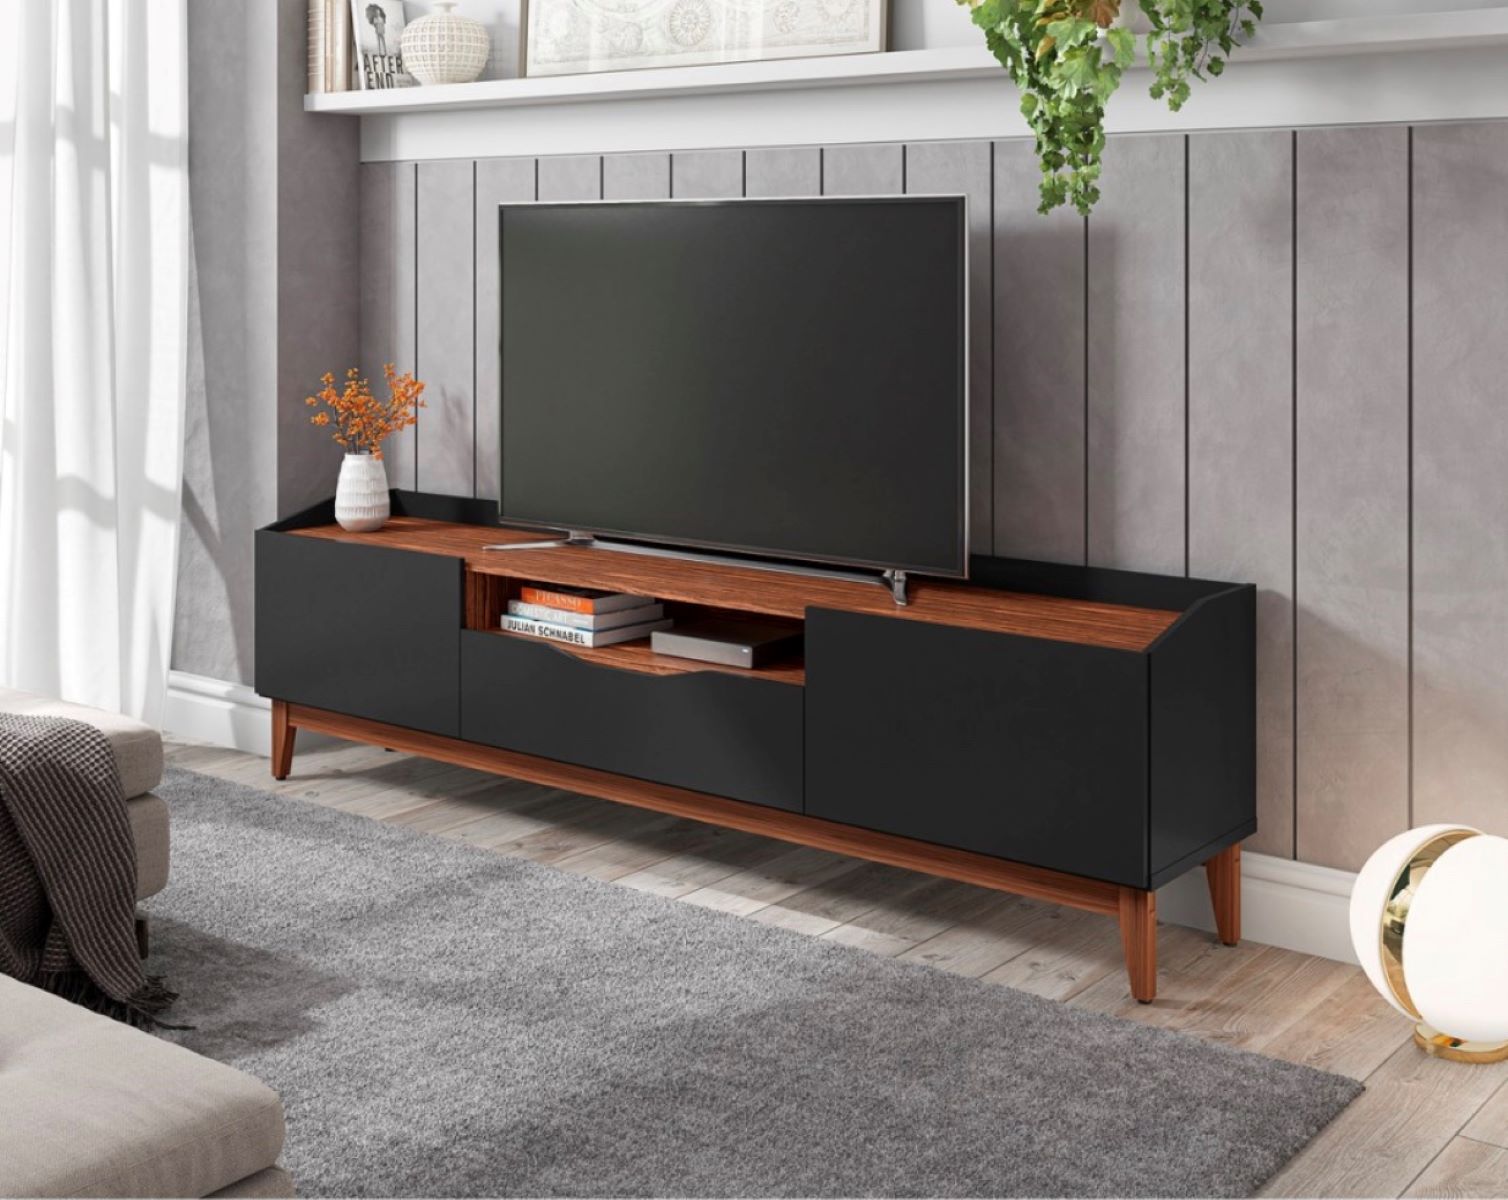
When it comes to setting up your living room, one essential piece of furniture is a TV stand. Not only does it provide a sturdy platform for your television, but it also serves as a storage solution for your entertainment devices and accessories. Putting together a TV stand may seem like a daunting task, but with the right approach and a little patience, you’ll be able to assemble it in no time.
In this comprehensive guide, we will take you through the step-by-step process of assembling a TV stand. Whether you are a DIY enthusiast or a novice in furniture assembly, these instructions will help you navigate the process with ease. So, let’s dive in!
Key Takeaways:
- Assembling a TV stand is like solving a fun puzzle! Unbox, sort, and follow the instructions carefully. Double-check for stability and safety to enjoy your new entertainment setup.
- Organize cables, adjust the stand, and ensure safety for a perfect TV setup. It’s a DIY project that brings style and comfort to your living room!
Read more: How To Put Together LG OLED TV Stand
Step 1: Unboxing the TV Stand
The first step in putting together a TV stand is unboxing it. Carefully remove the packaging material and place it in a designated area to avoid any potential hazards. Make sure you have enough space to lay out the components and work comfortably.
Inspect the contents of the box to ensure that you have received all the necessary parts and hardware. It is recommended to refer to the provided checklist or instruction manual to verify that everything is included.
Additionally, take a moment to check for any damage or defects on the components. If you notice any issues, contact the manufacturer or retailer for a replacement or resolution.
Once you have confirmed that all the parts are present and in good condition, dispose of the packaging responsibly. Recycling or properly discarding the materials is not only environmentally friendly but also ensures a clutter-free workspace.
Step 2: Sorting and Identifying the Parts
After unboxing the TV stand, the next step is to sort and identify the various parts. Lay out all the components in an organized manner, preferably on a clean and flat surface. This will make it easier to locate and assemble each individual piece.
Refer to the instruction manual or diagrams provided by the manufacturer to familiarize yourself with the different parts. This will help you understand the purpose and function of each component, making the assembly process smoother.
If the components are not labeled or marked, take a moment to use the manual as a guide to identify each part. It is crucial to correctly identify and differentiate between similar-looking pieces to ensure proper assembly.
Consider using small containers or cups to separate and organize hardware such as screws, nuts, and bolts. This will prevent them from getting mixed up and make it easier to locate the required pieces during assembly.
Take your time during this step to avoid confusion and mistakes later on. By sorting and identifying the parts meticulously, you’ll have a clear understanding of what needs to be done and be better prepared for the following steps in the assembly process.
Step 3: Reading the Instructions or Manual
Before embarking on the TV stand assembly, take the time to thoroughly read and understand the provided instructions or manual. While it may be tempting to jump right into the assembly process, familiarizing yourself with the manufacturer’s guidelines is crucial for a successful and hassle-free experience.
The instructions will typically provide a step-by-step breakdown of the assembly process, along with illustrations or diagrams to aid comprehension. Pay close attention to any specific warnings, tips, or special considerations mentioned by the manufacturer. These guidelines are designed to ensure your safety and the longevity of the TV stand.
Many manufacturers provide instructions in multiple languages, so make sure you find the version that suits your needs. If you are not fluent in the language provided, consider using an online translation tool or seeking assistance from someone who can understand the instructions.
While it may be tempting to rely solely on your intuition or prior experience in furniture assembly, it’s essential to follow the specific instructions provided by the manufacturer. Each TV stand model may have unique requirements or steps that differ from those you have encountered before.
If you come across any ambiguities or have any questions while reading the instructions, don’t hesitate to reach out to the manufacturer’s customer support for clarification. They are there to assist you and provide guidance throughout the assembly process.
By investing time in comprehending the instructions, you’ll be equipped with the knowledge necessary to confidently proceed with the TV stand assembly.
Step 4: Assembling the Base
With the instructions and an understanding of the parts, it’s time to move on to assembling the base of the TV stand. The base provides stability and support for the entire structure, so it’s important to follow the instructions carefully.
Begin by placing the main base piece on the floor or the designated area. Align it according to the instructions, ensuring that any pre-drilled holes or slots are in the correct position.
Once the base is positioned correctly, attach the support brackets or legs. These pieces are usually secured using screws or bolts provided with the TV stand. Use a screwdriver or a wrench to tighten them firmly, but be careful not to overtighten and risk damaging the material.
Check the stability of the base by gently rocking it back and forth. If there is any wobbliness or instability, double-check that all the screws and bolts are properly tightened. If necessary, make adjustments to ensure a solid and level base.
After assembling the base, take a moment to clean and remove any dust or debris that may have accumulated during the process. This will help maintain the appearance of the TV stand and ensure that it is ready for further assembly.
Completing this step successfully will provide a strong foundation for the TV stand and set the stage for the remaining assembly steps.
Read more: What To Put In A TV Stand
Step 5: Connecting the Support Pillars
Once the base is securely assembled, it’s time to move on to connecting the support pillars. These pillars will provide the vertical structure of the TV stand, so it’s important to ensure they are properly aligned and attached.
Refer to the instruction manual for guidance on the placement and orientation of the support pillars. The manual will specify the number of pillars required and their corresponding positions.
Start by aligning the first support pillar with the designated holes or slots on the base. Insert the screws or bolts provided and tighten them using a screwdriver or a wrench. Make sure the pillar is firmly attached to the base, but avoid overtightening to prevent damage.
Proceed to attach the remaining support pillars in the same manner, following the instructions carefully. Check for any specific alignment requirements or additional hardware that may be necessary for each pillar.
As you connect each support pillar, periodically check the overall stability and balance of the TV stand. If there are any signs of wobbling or instability, double-check the attachment of the support pillars and make any necessary adjustments.
Take your time to ensure that all the support pillars are securely connected. This step plays a crucial role in maintaining the structural integrity and stability of the TV stand.
Once you have successfully connected the support pillars, move on to the next step in the assembly process.
When putting a TV stand together, make sure to carefully follow the instructions provided in the manual. Lay out all the parts before starting and use the correct tools for assembly to avoid damaging the stand.
Step 6: Attaching the TV Bracket
Now that the base and support pillars are in place, it’s time to attach the TV bracket. The TV bracket will hold your television securely and allow for easy viewing. Following the instructions provided, carefully proceed with this step.
Start by locating the TV bracket and ensuring that it is compatible with your television’s size and weight. It’s important to use the correct bracket to prevent any potential damage to your TV.
Position the TV bracket on the support pillars, aligning the pre-drilled holes or slots. Use the provided screws or bolts to secure the bracket to the support pillars. As always, be cautious not to overtighten and risk damaging the bracket or pillars.
Ensure that the TV bracket is level and securely attached. Test its stability by gently shaking it to make sure it can hold the weight of your TV without any wobbling or slipping.
After attaching the TV bracket, refer to the instruction manual for any additional adjustments or fine-tuning that may be required. Some TV brackets allow for tilt or swivel adjustments, which can be useful for achieving optimal viewing angles.
Once you are satisfied with the positioning and stability of the TV bracket, proceed to the next step.
Remember, safety is crucial when mounting your TV. If you are unsure about the process or have concerns about the weight or size of your TV, consider seeking professional assistance to ensure a secure and safe installation.
Step 7: Mounting the TV onto the Stand
With the TV bracket securely attached, it’s time to mount your television onto the stand. Ensure that you have read the manufacturer’s instructions and have the necessary tools and assistance before proceeding with this step.
Start by unplugging and detaching any cables connected to the back of your TV. This will make the mounting process easier and prevent any accidental damage to the cables.
Carefully lift your television and align it with the TV bracket on the stand. Make sure that the mounting holes on the back of the TV align with the brackets on the stand. It’s important to have someone assist you during this step to ensure the TV is positioned correctly and prevent any accidents.
Once the TV is aligned, use the provided screws or bolts to secure the television to the TV bracket. Make sure to tighten the screws or bolts securely, but avoid over-tightening that may damage the TV or the bracket.
Double-check the stability of the mounted TV by gently shaking it to ensure it is securely fastened to the stand. If there is any wobbling or instability, recheck the mounting screws and make any necessary adjustments.
Once your TV is securely mounted, reattach the cables and ensure they are neatly organized. Carefully guide the cables through the cable management channels or clips provided on the stand to keep them tidy and prevent tangling.
Take a step back and admire your mounted TV. Make any final adjustments to achieve the desired viewing angle and ensure the TV is level. Remember to follow the manufacturer’s instructions and recommendations for your specific TV model.
With your TV securely mounted on the stand, you’re one step closer to creating the perfect entertainment setup in your living room.
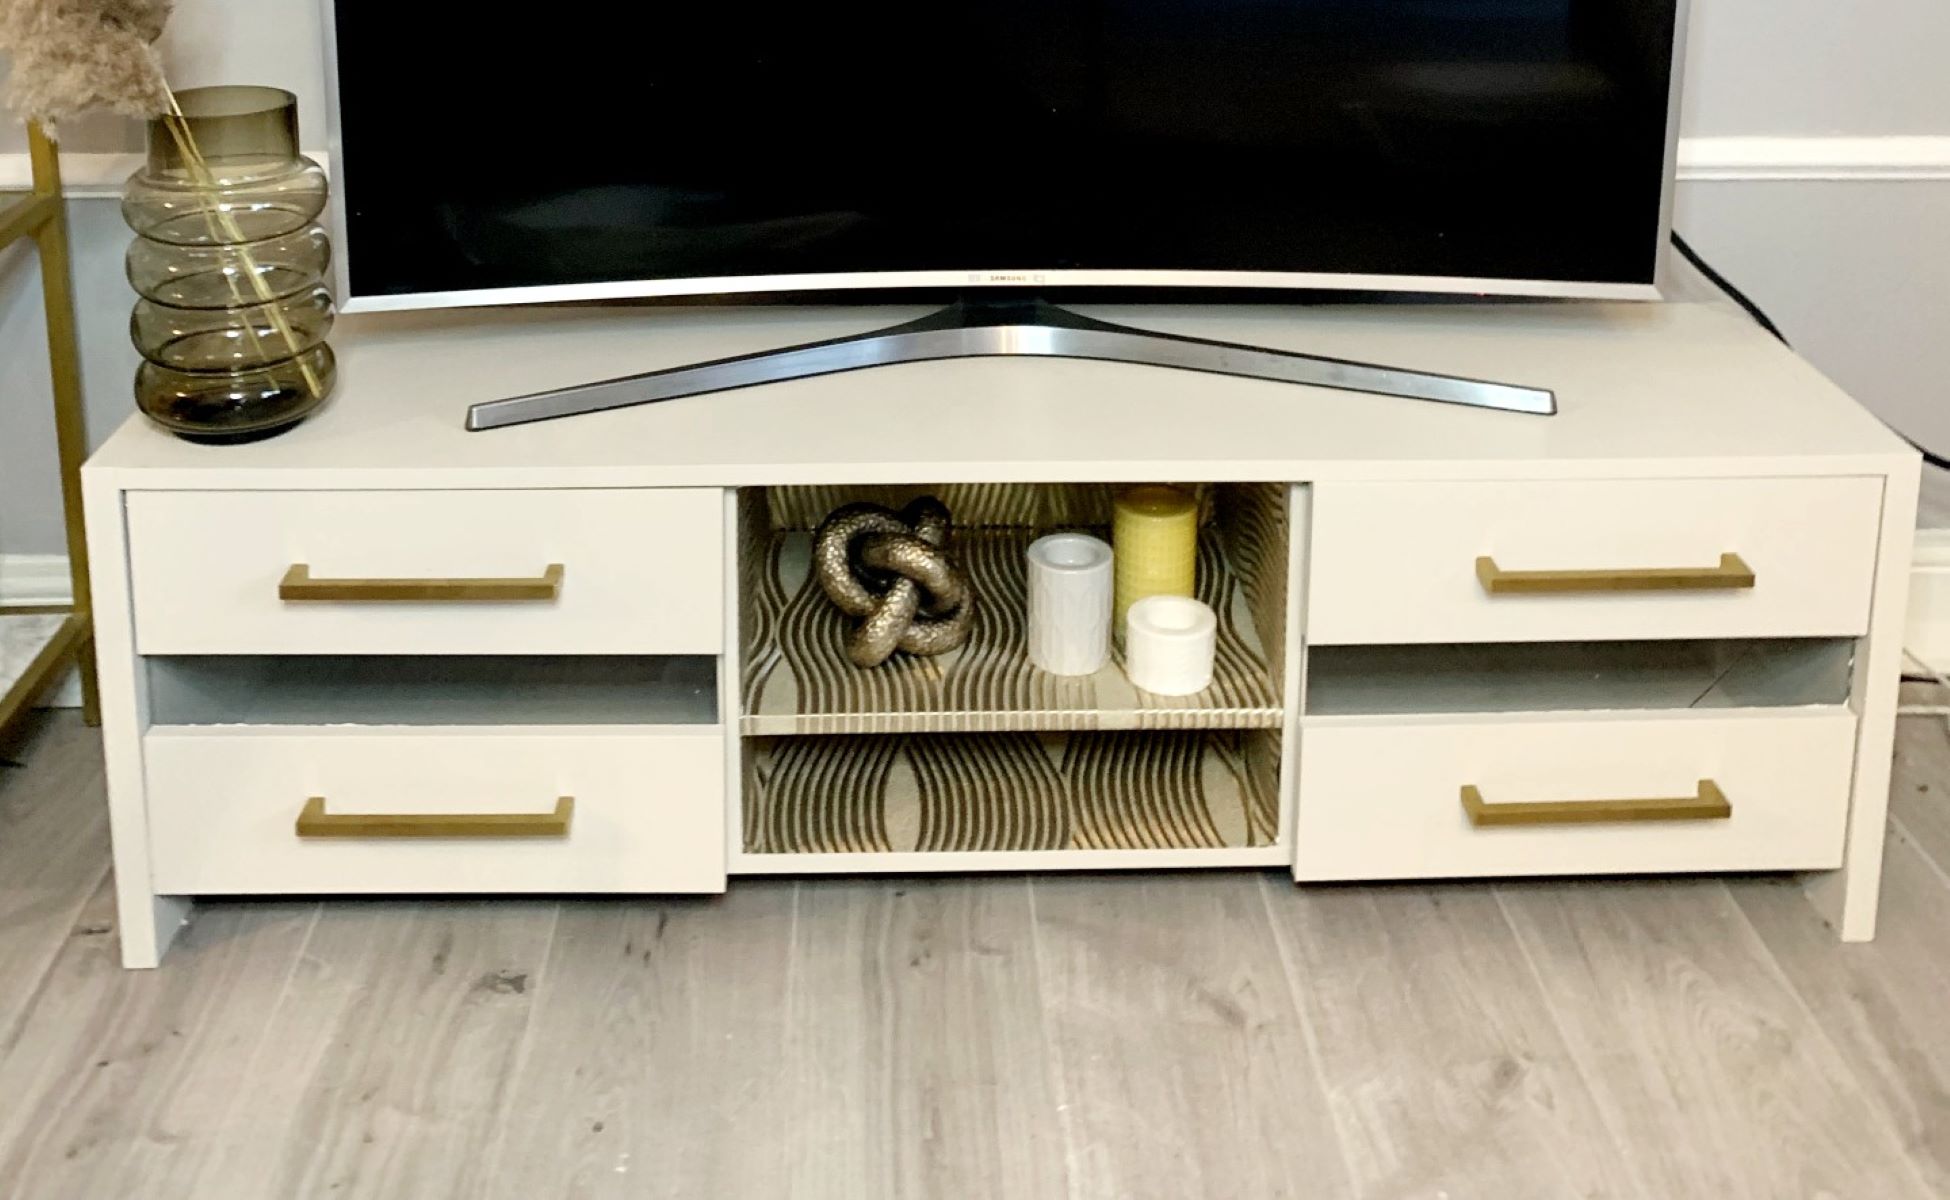
Step 8: Organizing Cables and Wires
With your TV mounted on the stand, it’s time to tackle the task of organizing the cables and wires. This step is important not only for aesthetic purposes but also for safety and functionality.
Start by identifying and separating the different cables and wires that are connected to your TV and other entertainment devices. This includes HDMI cables, power cords, audio cables, and any other peripherals.
Take advantage of the cable management features provided on the TV stand. Look for cable routing holes, clips, or channels that can help keep the cables neatly organized and hidden from view. Thread the cables through these designated areas to prevent tangling and create a cleaner look.
Consider using zip ties, Velcro straps, or cable sleeves to bundle the cables together and prevent them from becoming a tangled mess. This will not only make it easier to manage and identify the cables but also aid in future troubleshooting or cable adjustments.
If possible, route the cables towards the back of the TV stand to keep them out of sight. Conceal excess cable length by wrapping it behind the stand or using cable management accessories designed for this purpose.
Label the cables to make it easier to identify each one. You can use color-coded labels, adhesive tags, or even masking tape with written descriptions. This will save you time and effort when you need to locate or rearrange the cables in the future.
Finally, ensure that the cables are not strained or taut. Leave some slack in each cable to allow for movement or adjustments without causing stress on the connections.
By organizing your cables and wires, you not only improve the overall aesthetics of your living room but also make future maintenance and troubleshooting much easier.
Read more: How To Put A Blender Together
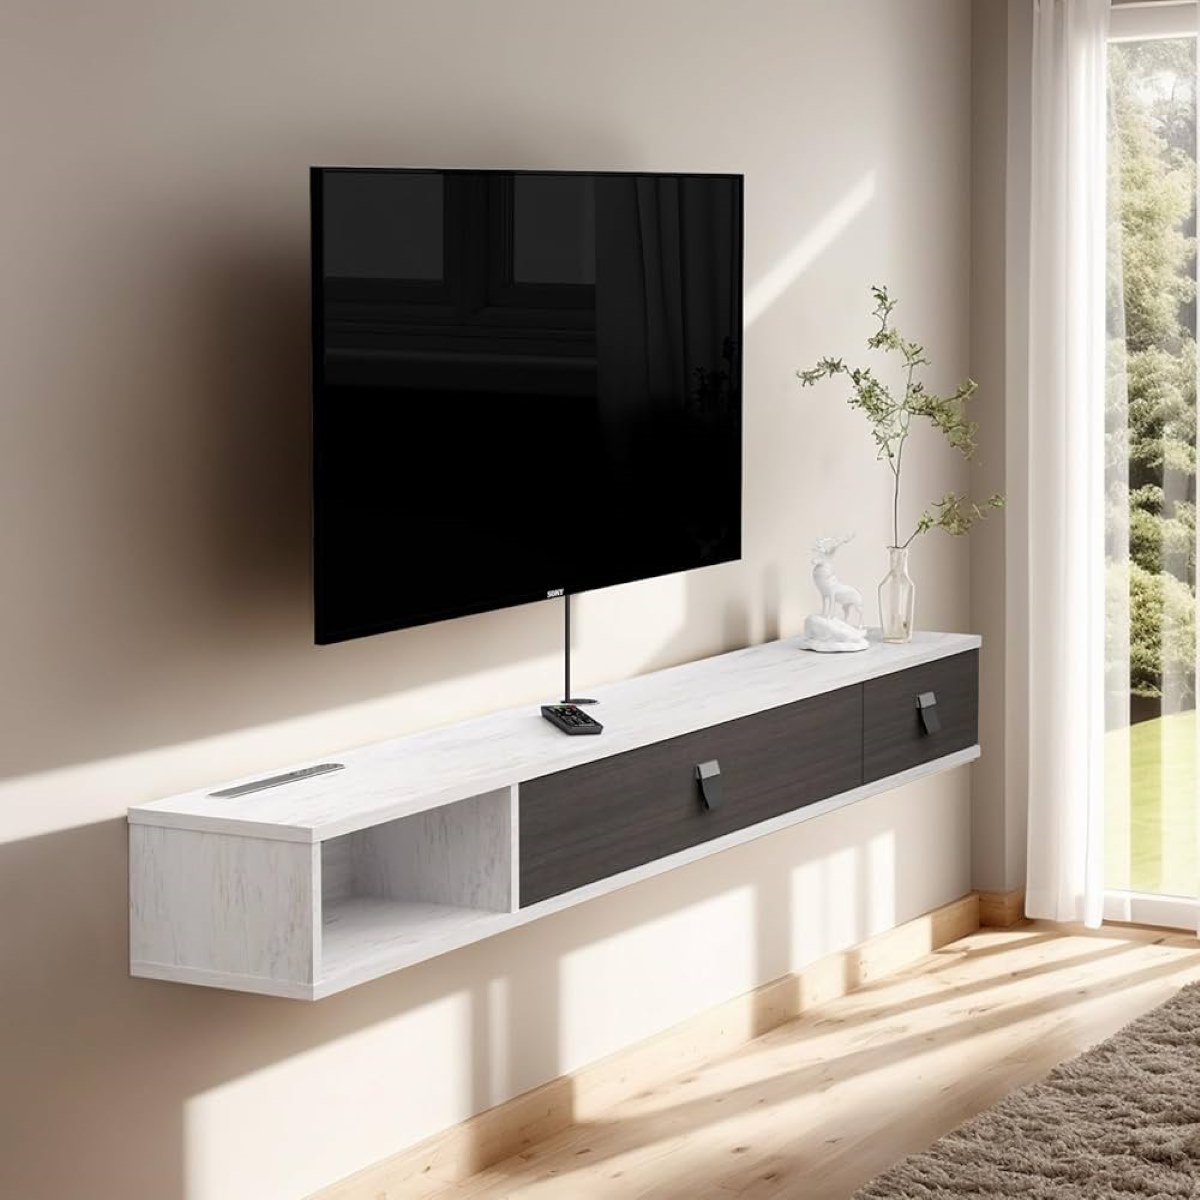
Step 9: Adjusting the Stand and TV Placement
With your TV mounted and the cables organized, it’s time to focus on adjusting the TV stand and finalizing the placement of your television. Making small adjustments can significantly enhance your viewing experience and ensure optimal comfort.
Start by checking the levelness of the TV stand. Use a bubble level or the built-in level function on your smartphone to ensure that the stand is perfectly level. Adjust the leveling feet or base accordingly to achieve a balanced and even surface.
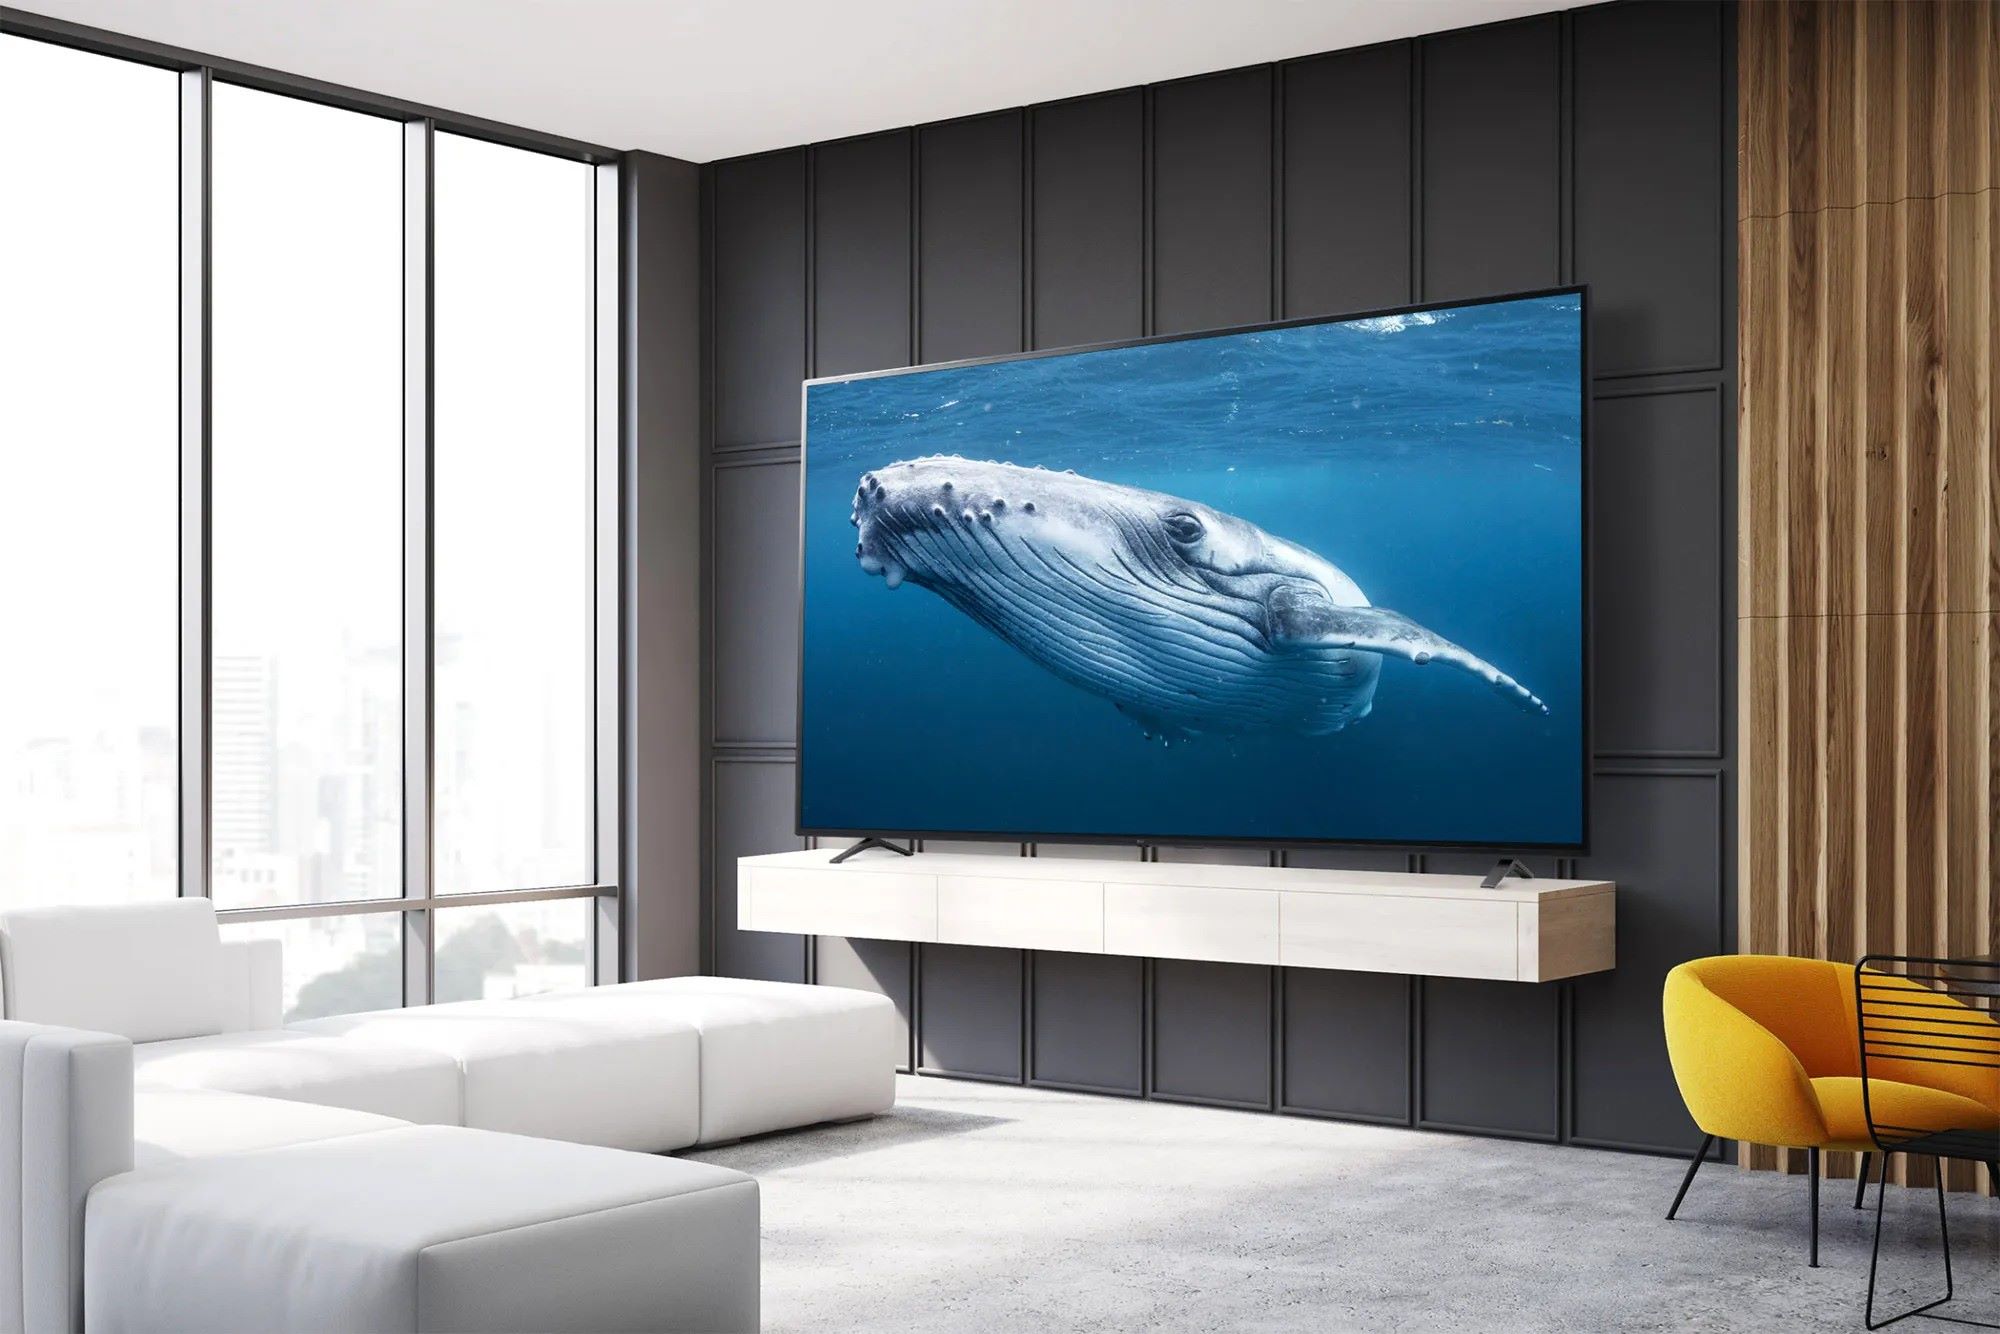
Consider the viewing angle when positioning your TV stand. Ensure that the television is placed at a height and distance that allows for comfortable viewing from your preferred seating area. You may need to adjust the height of the stand or the positioning of your seating furniture to find the optimal viewing experience.
Take into account the lighting in your living room. Position the TV stand in a way that minimizes glare or reflections on the screen. If necessary, adjust the curtains or blinds or consider using an anti-glare screen protector to improve the visibility of your television.
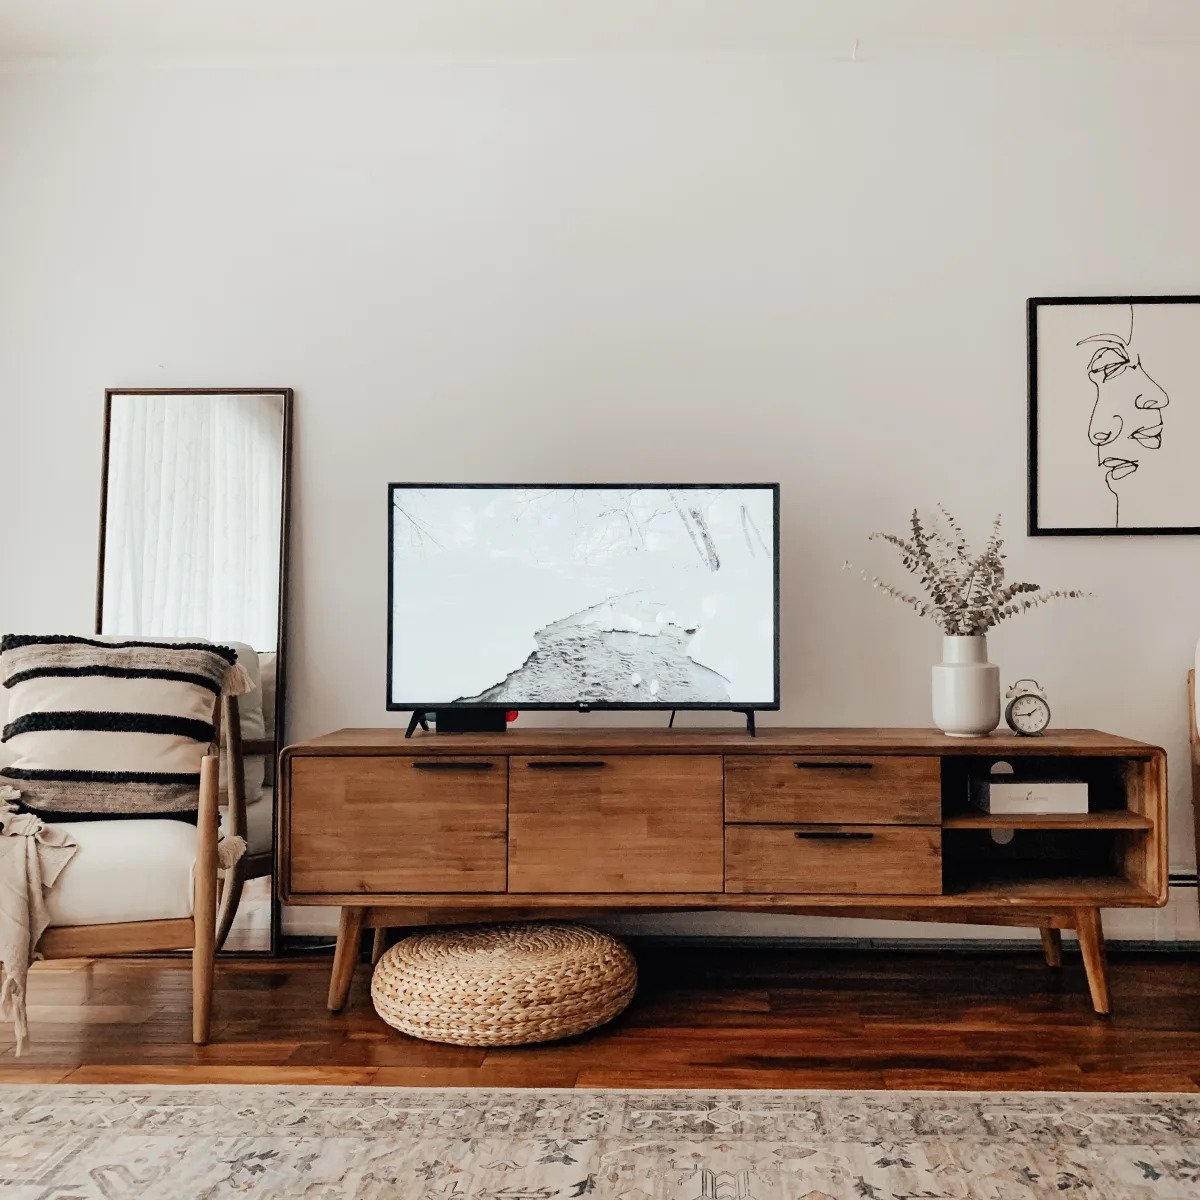
Consider the overall aesthetics of your living room when placing the TV stand. Ensure that it complements the existing furniture and décor. You may also want to consider hiding any other electronics or devices that are connected to the TV stand, such as a cable box or gaming console, to maintain a clutter-free look.
Make any necessary adjustments to the angle or tilt of the TV itself. Most modern TVs offer options for adjusting the viewing angle or tilt, allowing you to customize your viewing experience. Refer to your TV’s manual for instructions on adjusting these settings.
Once you have made all the necessary adjustments, step back and assess the overall appearance and functionality of your TV setup. Ensure that the TV stand and television are securely in place and that the viewing experience meets your expectations.
Remember, adjusting the stand and TV placement is a personal preference, so feel free to experiment and fine-tune until you are satisfied with the results. After all, the goal is to create a comfortable and enjoyable entertainment hub in your living room.
Step 10: Double-checking for Stability and Safety
As you near the completion of assembling your TV stand, it is crucial to double-check for stability and ensure that all safety measures are in place. Taking the time to do a final inspection will provide peace of mind and prevent any accidents or damage.
Start by gently rocking the TV stand to check for any wobbling or instability. If you notice any movement, tighten all screws and bolts that may have become loose during the assembly process. Verify that the base, support pillars, and TV bracket are securely fastened together.
Inspect the TV itself to confirm that it is securely mounted to the TV bracket. Check the mounting screws to ensure they are tightened properly. Make sure the TV is level and adjust if necessary.
Inspect the surrounding area for any hazards or potential risks. Ensure that the TV stand is positioned on a flat and stable surface, such as a level floor. Remove any tripping hazards or objects that may obstruct the path around the TV stand.
Check that all cables and wires are properly organized and secured. Ensure they are not pulled taut and that there are no exposed or damaged cables. If needed, use cable management accessories to keep cables neatly organized and out of the way.
If your TV stand includes any glass shelves or doors, inspect them for any cracks or damage. Check that the glass is secure and stable. Avoid placing heavy objects or exceeding the weight limits specified by the manufacturer.
Review the safety guidelines provided by the manufacturer. Ensure that you are aware of any weight limits or restrictions for your TV stand. Follow the recommended usage guidelines to prevent any accidents and extend the lifespan of your TV stand.
If you have any doubts about the stability or safety of your TV stand, consider reaching out to a professional or the manufacturer for assistance and guidance.
By performing a thorough double-check, you can rest assured that your TV stand is stable, secure, and safe for use. Enjoy your new setup and the countless hours of entertainment it will provide!
Conclusion
Putting together a TV stand may initially seem like a complex task, but with the right approach and attention to detail, it can be a rewarding DIY project. By following these step-by-step instructions, you will be able to assemble your TV stand successfully and create a functional and stylish addition to your living room.
From unboxing and sorting the parts to reading the instructions, each step is important to ensure a smooth assembly process. Take your time, follow the manufacturer’s guidelines, and don’t hesitate to seek assistance when needed. Remember, the goal is to assemble the TV stand safely and reliably.
As you progress through each step, make sure to double-check for stability and safety. Confirm that all the components are securely attached and that the TV is mounted properly onto the stand. Pay attention to cable organization to maintain a clutter-free look and prevent any potential hazards.
After completing the assembly, take a moment to admire and inspect your finished TV stand. Ensure that it meets your expectations in terms of both functionality and aesthetics. Adjust the stand and TV placement, as needed, to optimize your viewing experience and create a visually pleasing setup.
By following these instructions and taking the time to assemble your TV stand correctly, you can enjoy your favorite shows, movies, and games in a comfortable and visually appealing environment.
Remember, safety is of utmost importance. If you encounter any difficulties or are unsure about any aspect of the assembly process, do not hesitate to consult the manufacturer’s instructions or seek professional assistance.
Now that you have successfully assembled your TV stand, sit back, relax, and enjoy your favorite entertainment in style.
Frequently Asked Questions about How To Put A TV Stand Together
Was this page helpful?
At Storables.com, we guarantee accurate and reliable information. Our content, validated by Expert Board Contributors, is crafted following stringent Editorial Policies. We're committed to providing you with well-researched, expert-backed insights for all your informational needs.


0 thoughts on “How To Put A TV Stand Together”