Home>Gardening & Outdoor>Outdoor Structures>How To Put Together A Rubbermaid Shed
Outdoor Structures
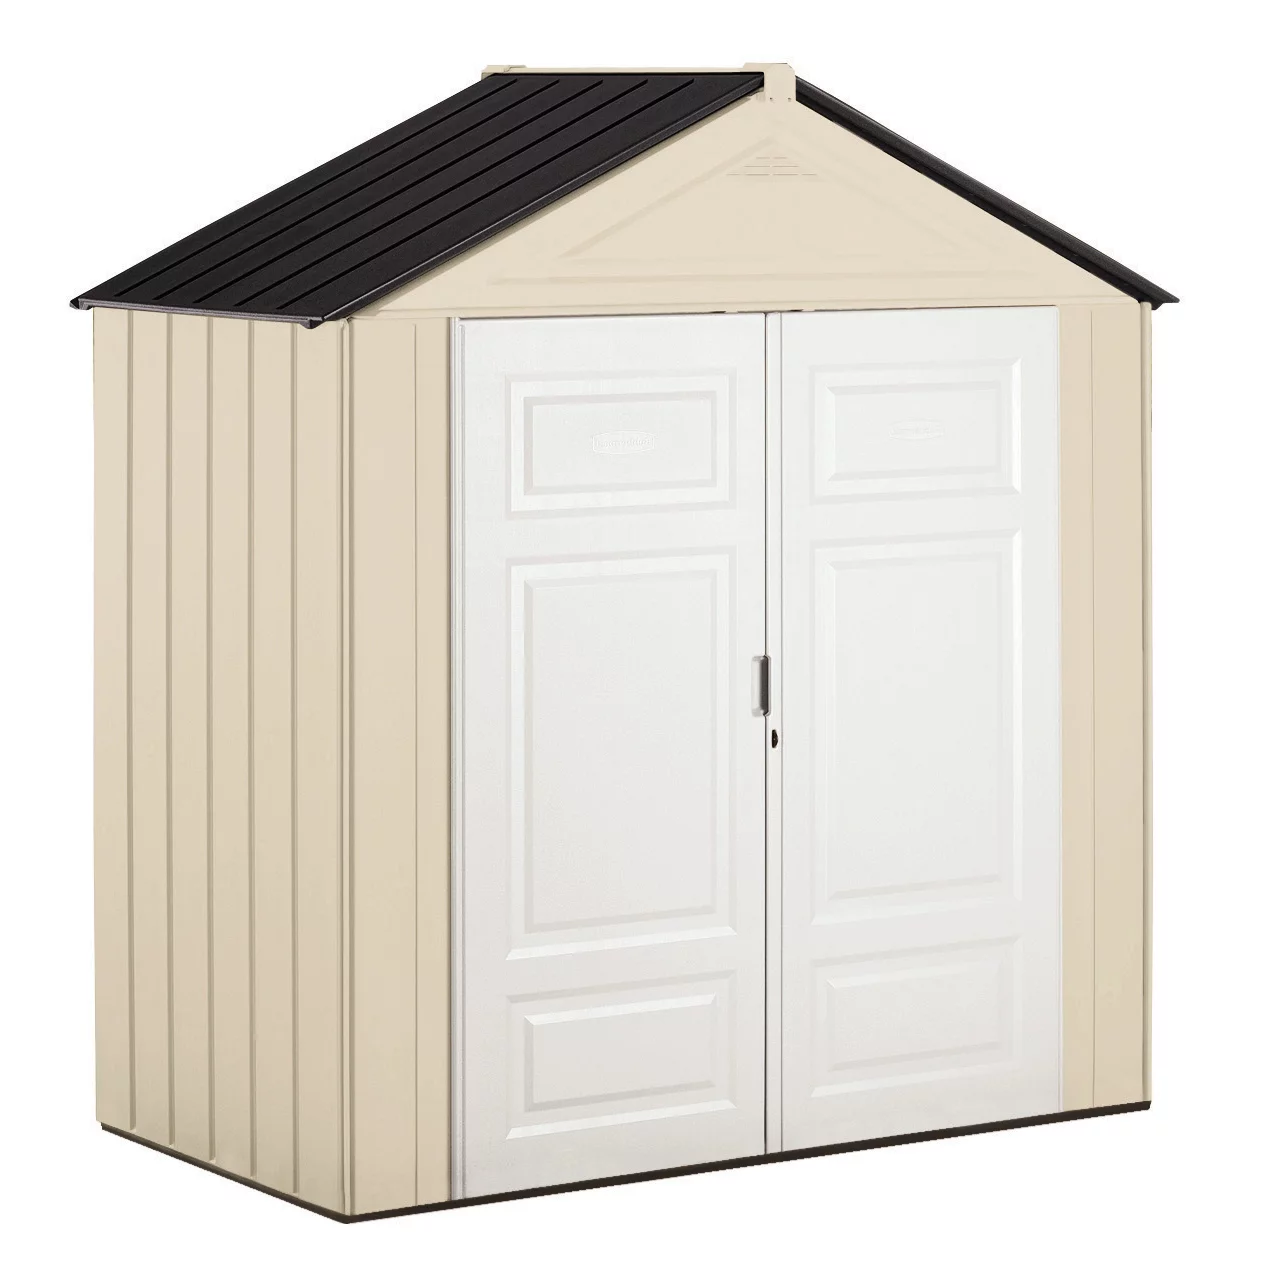
How To Put Together A Rubbermaid Shed
Published: January 20, 2024
Learn how to easily assemble a Rubbermaid shed and create additional outdoor storage space with our step-by-step guide. Perfect for organizing your outdoor structures.
(Many of the links in this article redirect to a specific reviewed product. Your purchase of these products through affiliate links helps to generate commission for Storables.com, at no extra cost. Learn more)
Introduction
Welcome to the world of outdoor storage solutions! If you're looking for a durable, easy-to-assemble storage option, a Rubbermaid shed might be the perfect fit for your needs. Whether you're a seasoned DIY enthusiast or a first-time assembler, putting together a Rubbermaid shed is a manageable and rewarding project that can enhance your outdoor space and keep your tools, equipment, and seasonal items organized and protected.
In this comprehensive guide, we'll walk you through the step-by-step process of assembling a Rubbermaid shed, from preparing the area to adding accessories. You'll discover valuable tips and tricks to streamline the assembly process and ensure that your shed is sturdy and functional for years to come.
So, grab your toolkit, roll up your sleeves, and let's dive into the exciting world of assembling a Rubbermaid shed. Whether you're envisioning a dedicated storage space for your gardening supplies, a shelter for your outdoor gear, or a versatile workspace, this guide will equip you with the knowledge and confidence to bring your vision to life. Let's get started!
Key Takeaways:
- Preparing the area for your Rubbermaid shed is crucial for stability and longevity. Clear debris, level the ground, and check local regulations before starting the assembly process.
- After assembling the shed, enhance its functionality with accessories like shelving, lighting, ventilation, security features, and personal touches. These additions make the shed a personalized and efficient storage space.
Read more: How To Put Together A Plastic Shed
Step 1: Preparing the Area
Before diving into the assembly process, it’s crucial to prepare the designated area where your Rubbermaid shed will stand. Proper preparation not only ensures a stable foundation for your shed but also contributes to its longevity and functionality. Here’s a detailed breakdown of the essential steps to prepare the area:
Selecting the Site
Begin by carefully selecting the location for your Rubbermaid shed. Ideally, choose a level area with good drainage to prevent water accumulation around the shed. Ensure that the site is easily accessible and allows for sufficient clearance around the shed for maintenance and usage.
Clearing and Leveling
Clear the selected area of any debris, rocks, or vegetation that could obstruct the assembly or affect the stability of the shed. Use a shovel and a level to remove any uneven patches and create a flat surface for the shed’s base. This step is crucial for ensuring that the shed sits securely and maintains its structural integrity.
Foundation Considerations
Depending on your preference and the specific requirements of your site, you may opt to lay down a foundation for the shed. Common foundation options include concrete slabs, gravel beds, or treated wood frames. Each of these choices offers distinct benefits in terms of stability and durability, so weigh your options carefully before proceeding.
Read more: How To Assemble A Rubbermaid Shed
Checking Local Regulations
Before you finalize the shed’s placement, it’s essential to check with local authorities or homeowner’s associations for any regulations or restrictions regarding outdoor structures. Compliance with these guidelines will help you avoid potential issues and ensure that your shed is positioned in accordance with local regulations.
By meticulously preparing the area for your Rubbermaid shed, you’re setting the stage for a smooth and successful assembly process. With the groundwork in place, you’re ready to move on to the exciting phase of putting together your durable and versatile outdoor storage solution.
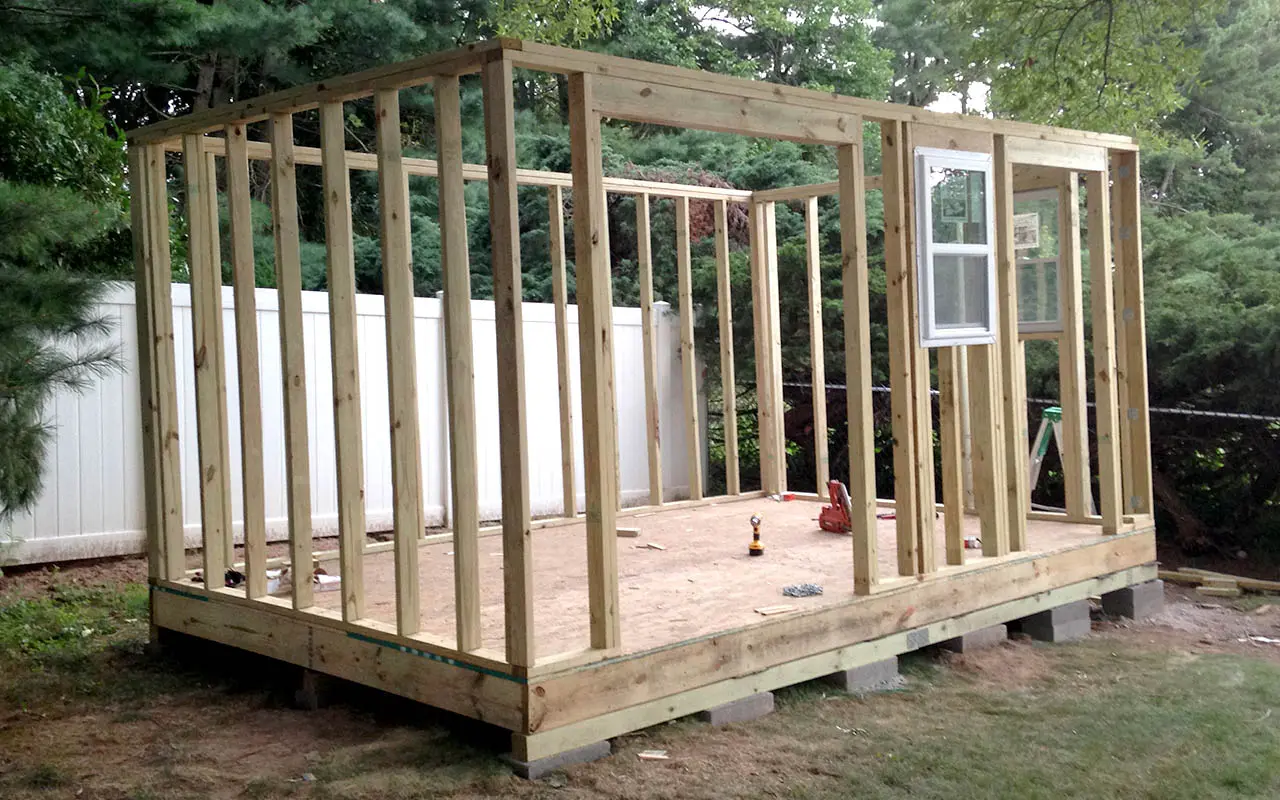
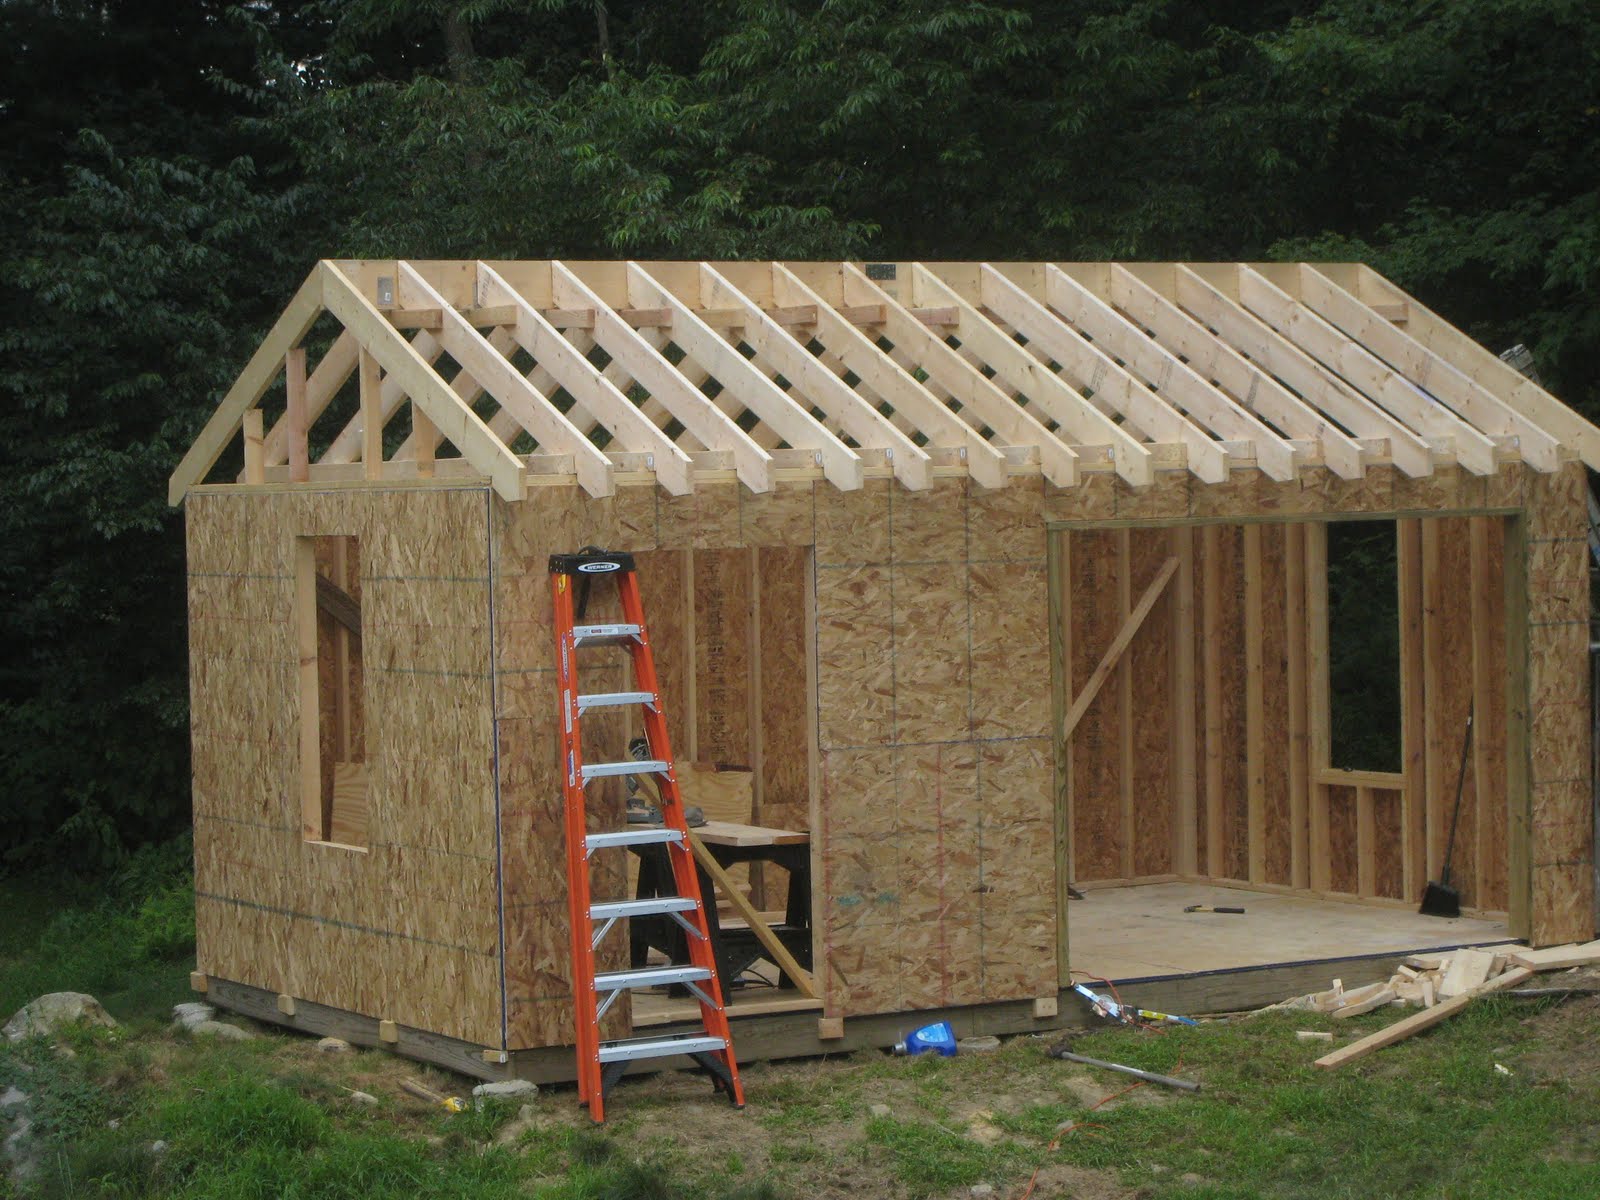
Step 2: Assembling the Shed
Now that the area is prepped and ready, it’s time to embark on the exciting journey of assembling your Rubbermaid shed. This step-by-step process will guide you through the assembly, ensuring that each component fits together seamlessly to create a sturdy and functional structure.
Organizing the Components
Before diving into the assembly, take a moment to organize the shed components. Unpack the contents of the shed and arrange the parts in an orderly manner. This preparatory step will streamline the assembly process and help you locate specific components with ease as you progress through the steps.
Following the Instructions
Refer to the comprehensive assembly instructions provided by Rubbermaid. These guidelines are designed to guide you through the assembly process, detailing each step and highlighting essential safety considerations. Following the instructions diligently will ensure that the shed is assembled correctly and functions as intended.
Read more: How To Put A Blender Together
Assembling the Frame
Begin by assembling the frame of the shed, following the step-by-step instructions provided. This typically involves connecting the wall panels, roof supports, and door frame to form the basic structure of the shed. Pay close attention to the alignment and secure attachment of each component to ensure the structural integrity of the shed.
Securing the Panels
Once the frame is assembled, proceed to secure the wall and roof panels to complete the enclosure of the shed. Ensure that each panel is properly aligned and securely fastened according to the manufacturer’s specifications. This stage marks a significant milestone in the assembly process, bringing the shed closer to its fully enclosed form.
Installing Doors and Vents
With the panels in place, install the doors and vents as per the provided instructions. Proper installation of these components is crucial for ensuring convenient access to the shed and promoting adequate ventilation to safeguard the items stored inside.
Checking and Adjusting
Once the shed is fully assembled, take a moment to inspect the structure and make any necessary adjustments. Ensure that all components are securely fastened, and the shed stands level on the prepared foundation. This thorough check will help address any minor issues before proceeding to the next phase.
By following these meticulous steps, you’ll successfully assemble your Rubbermaid shed, creating a reliable and versatile outdoor storage solution that caters to your specific needs. With the shed taking shape, it’s time to add the finishing touches to enhance its functionality and appeal.
Read more: How To Take Apart A Rubbermaid Shed
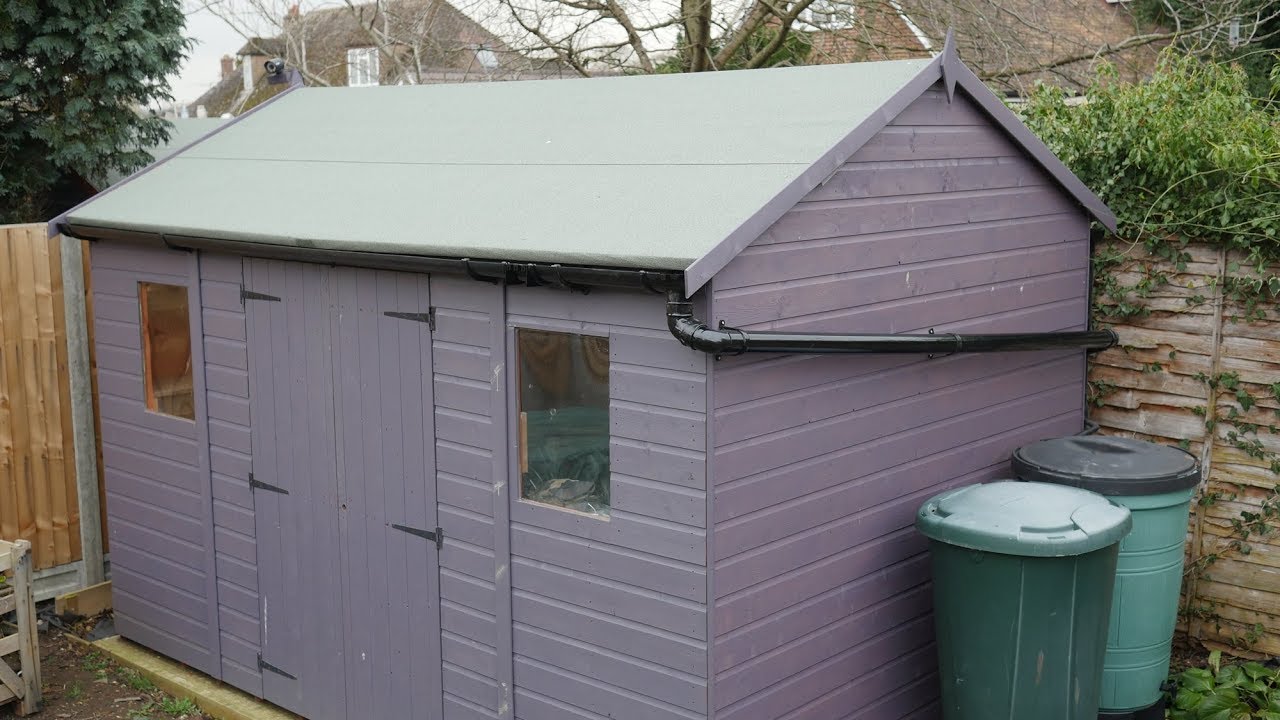
Step 3: Adding Accessories
With the main structure of your Rubbermaid shed assembled, it’s time to enhance its functionality and convenience by incorporating a range of accessories. These additions can elevate the shed’s utility, organization, and overall appeal, providing a tailored storage solution that aligns with your specific requirements. Let’s explore the essential accessories to consider:
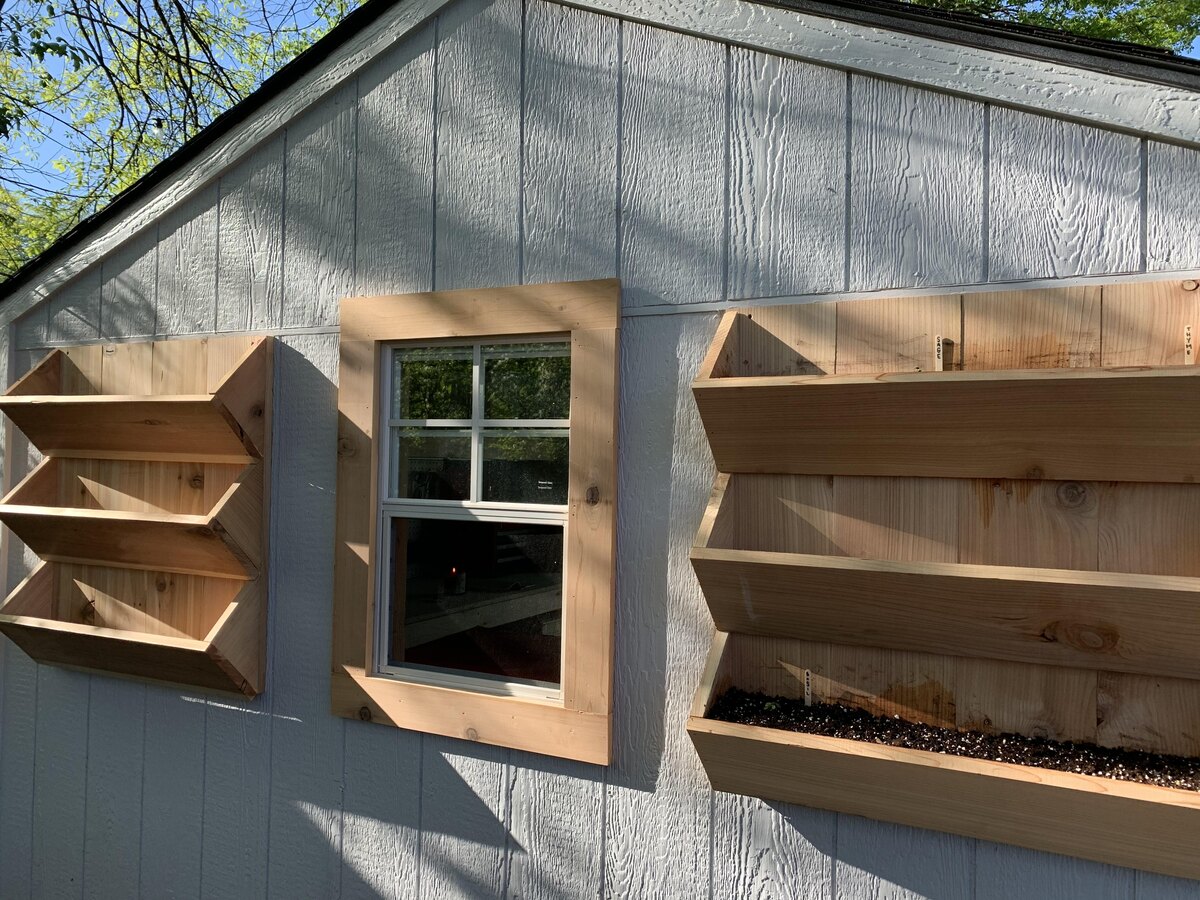
Shelving and Storage Systems
Integrate durable shelving units and storage systems within the shed to maximize its organizational potential. Adjustable shelves, hanging racks, and tool organizers can efficiently utilize the available space, keeping your tools, supplies, and equipment neatly arranged and easily accessible. Customizing the interior with versatile storage solutions allows you to optimize the shed’s capacity to accommodate a diverse range of items.
Lighting Solutions
Illuminate the interior of the shed with suitable lighting solutions to facilitate visibility and functionality, especially during low-light conditions. LED light fixtures or battery-operated lights can be strategically positioned to ensure adequate brightness throughout the shed, making it easier to locate items and work comfortably within the space, regardless of the time of day.
Ventilation Enhancements
Consider incorporating additional ventilation enhancements, such as vent kits or louvers, to promote optimal air circulation within the shed. Adequate ventilation helps prevent moisture buildup, minimizes the risk of mold or mildew, and preserves the condition of the stored items. By improving airflow, you can create a more conducive environment for storing tools, gardening supplies, and other belongings.
Read more: How To Put Plumbing Pipes Together
Security Features
Enhance the security of your Rubbermaid shed by installing robust locking mechanisms or padlocks to safeguard valuable equipment and belongings. Additionally, motion-activated lights or security cameras can provide an extra layer of protection, deterring unauthorized access and enhancing peace of mind regarding the shed’s contents.
Personalization and Aesthetics
Infuse your personal touch into the shed’s design by incorporating decorative elements, such as window boxes, exterior hooks for hanging plants or decor, or customizable signage. These additions not only add visual appeal to the shed but also reflect your individual style, creating a welcoming and personalized outdoor storage space.
By integrating these accessories, you can transform your Rubbermaid shed into a tailored and functional storage solution that aligns with your specific needs and preferences. With the shed now equipped with essential accessories, you’ve successfully created a versatile and personalized outdoor space that enhances your organization and storage capabilities.
Conclusion
Congratulations on successfully completing the assembly of your Rubbermaid shed and enhancing its functionality with a range of accessories! By following the meticulous steps outlined in this guide, you’ve transformed your outdoor space into a versatile and organized storage haven that caters to your specific needs. As you reflect on the journey from preparing the area to adding personalized touches, it’s evident that your efforts have culminated in the creation of a durable and efficient outdoor structure.
As you stand back and admire the newly assembled shed, envision the myriad possibilities it offers. From housing your gardening tools and outdoor gear to serving as a workshop or hobby space, the Rubbermaid shed stands ready to support your endeavors and safeguard your belongings. Its sturdy construction, thoughtful design, and personalized enhancements make it a valuable addition to your outdoor environment.
Furthermore, the skills and knowledge gained from this assembly experience empower you to tackle future DIY projects with confidence. The process of assembling the shed has not only provided a practical storage solution but has also honed your abilities as a handy individual capable of taking on rewarding tasks that enhance your living space.
Remember to maintain your Rubbermaid shed regularly, ensuring that it remains in optimal condition to serve you for years to come. Periodic checks, cleaning, and maintenance of the shed and its accessories will prolong their lifespan and preserve their functionality, allowing you to derive maximum value from your investment.
As you bask in the satisfaction of a job well done, take pride in the outdoor oasis you’ve created. Your Rubbermaid shed stands as a testament to your dedication to organization, craftsmanship, and personalized living spaces. Embrace the opportunities that this versatile structure provides, and continue to infuse your outdoor environment with creativity, functionality, and your unique flair.
With your Rubbermaid shed assembled and accessorized, you’re ready to embark on new adventures, pursue your hobbies, and savor the convenience of a well-organized outdoor storage solution. Cheers to your successful shed assembly and the boundless opportunities it brings to your outdoor lifestyle!
Frequently Asked Questions about How To Put Together A Rubbermaid Shed
Was this page helpful?
At Storables.com, we guarantee accurate and reliable information. Our content, validated by Expert Board Contributors, is crafted following stringent Editorial Policies. We're committed to providing you with well-researched, expert-backed insights for all your informational needs.

0 thoughts on “How To Put Together A Rubbermaid Shed”