
Articles
How To Sew A Quilt Binding
Modified: December 7, 2023
Learn how to sew a quilt binding with our step-by-step articles. Enhance your quilting skills and create beautifully finished projects.
(Many of the links in this article redirect to a specific reviewed product. Your purchase of these products through affiliate links helps to generate commission for Storables.com, at no extra cost. Learn more)
Introduction
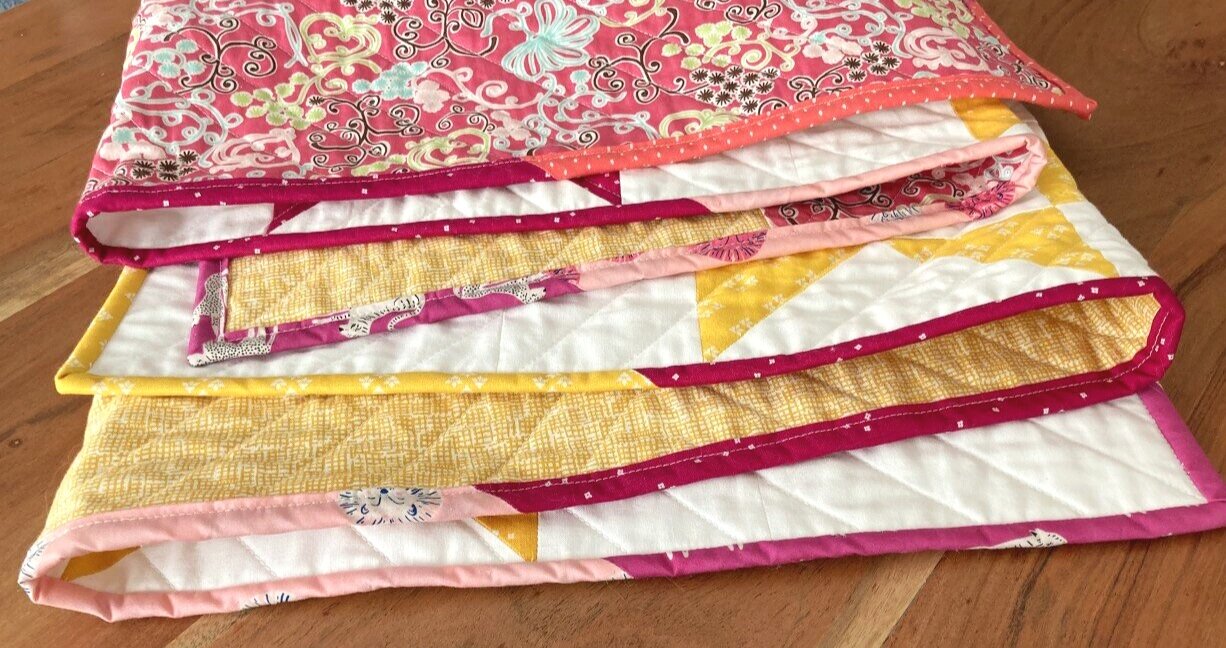
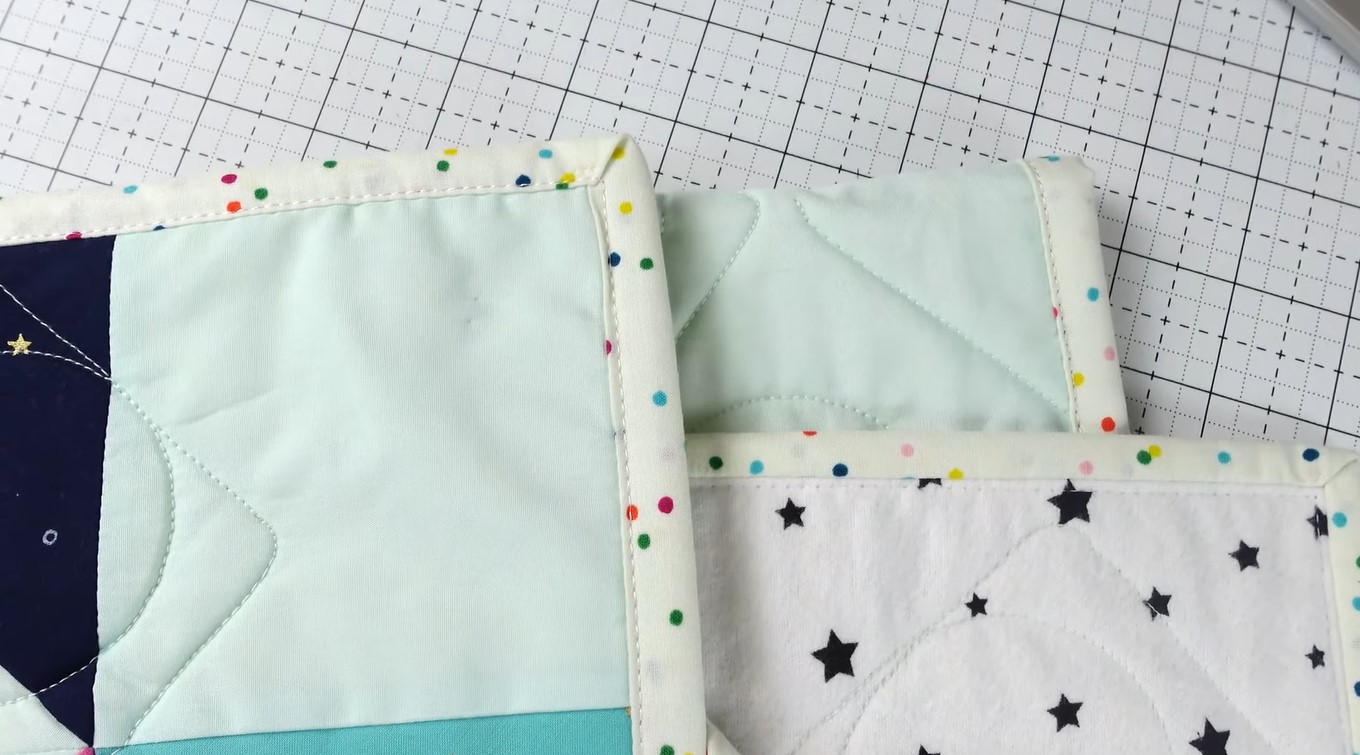
Welcome to our comprehensive guide on how to sew a quilt binding. Quilt binding is the final step in completing a quilt, and it adds both functionality and aesthetic appeal to your finished project. A well-executed quilt binding not only secures the edges of the quilt layers but also provides a beautiful frame for your hard work.
In this article, we will take you through each step of the process, from preparing the quilt for binding to finishing off the binding. Whether you are a beginner or an experienced quilter, our detailed instructions and tips will help you achieve professional-looking results.
Before we dive into the steps, let’s take a look at the tools and materials you will need:
Key Takeaways:
- Master the art of quilt binding by preparing the quilt meticulously, cutting and joining binding strips accurately, and sewing with patience and precision for a professional finish.
- Elevate your quilting projects with perfectly mitered corners and a flawless finish, whether you choose to sew the binding by machine or hand. Enjoy the process and showcase your unique creations with pride!
Read more: How To Machine Sew On Binding On A Quilt
Tools and Materials Needed
Before you start sewing the quilt binding, make sure you have the following tools and materials at hand:
- Fabric scissors
- Quilting ruler
- Rotary cutter
- Pins
- Iron and ironing board
- Marking tool (such as a fabric marker or chalk)
- Sewing machine with a walking foot or a regular presser foot
- Thread in a color that complements your quilt
- Quilt binding fabric (this can be a pre-made binding or fabric cut into strips)
- Binding clips (optional, but helpful for securing the binding in place)
- Hand sewing needle (if you plan to hand sew your binding)
Having these tools and materials ready will make the quilt binding process much smoother and more enjoyable.
Preparing the Quilt for Binding
Before you can attach the binding to your quilt, you need to prepare the edges of the quilt. Follow these steps to ensure your quilt is ready for binding:
- Trim excess batting and backing fabric: Use fabric scissors to trim the excess batting and backing fabric, leaving about 1/4 inch beyond the quilt top edges. This will create an even and clean edge for attaching the binding.
- Press the quilt top: Lay the quilt top on an ironing board and gently press it with an iron to remove any wrinkles or creases. This will make it easier to align the binding and achieve a neat finish.
- Square up the corners: Measure and mark the corners of the quilt to ensure they are square. You can use a quilting ruler to measure equal distances from the edges and adjust as needed. Trim any excess fabric to create square corners.
By properly preparing the quilt, you will have a solid foundation for attaching the binding and achieving a professional look. Take your time with these steps to ensure accuracy and precision.
Cutting the Binding Strips
Once your quilt is prepared, it’s time to cut the binding strips. The binding strips are the long, narrow pieces of fabric used to create the border around the quilt. Follow these steps to cut the binding strips:
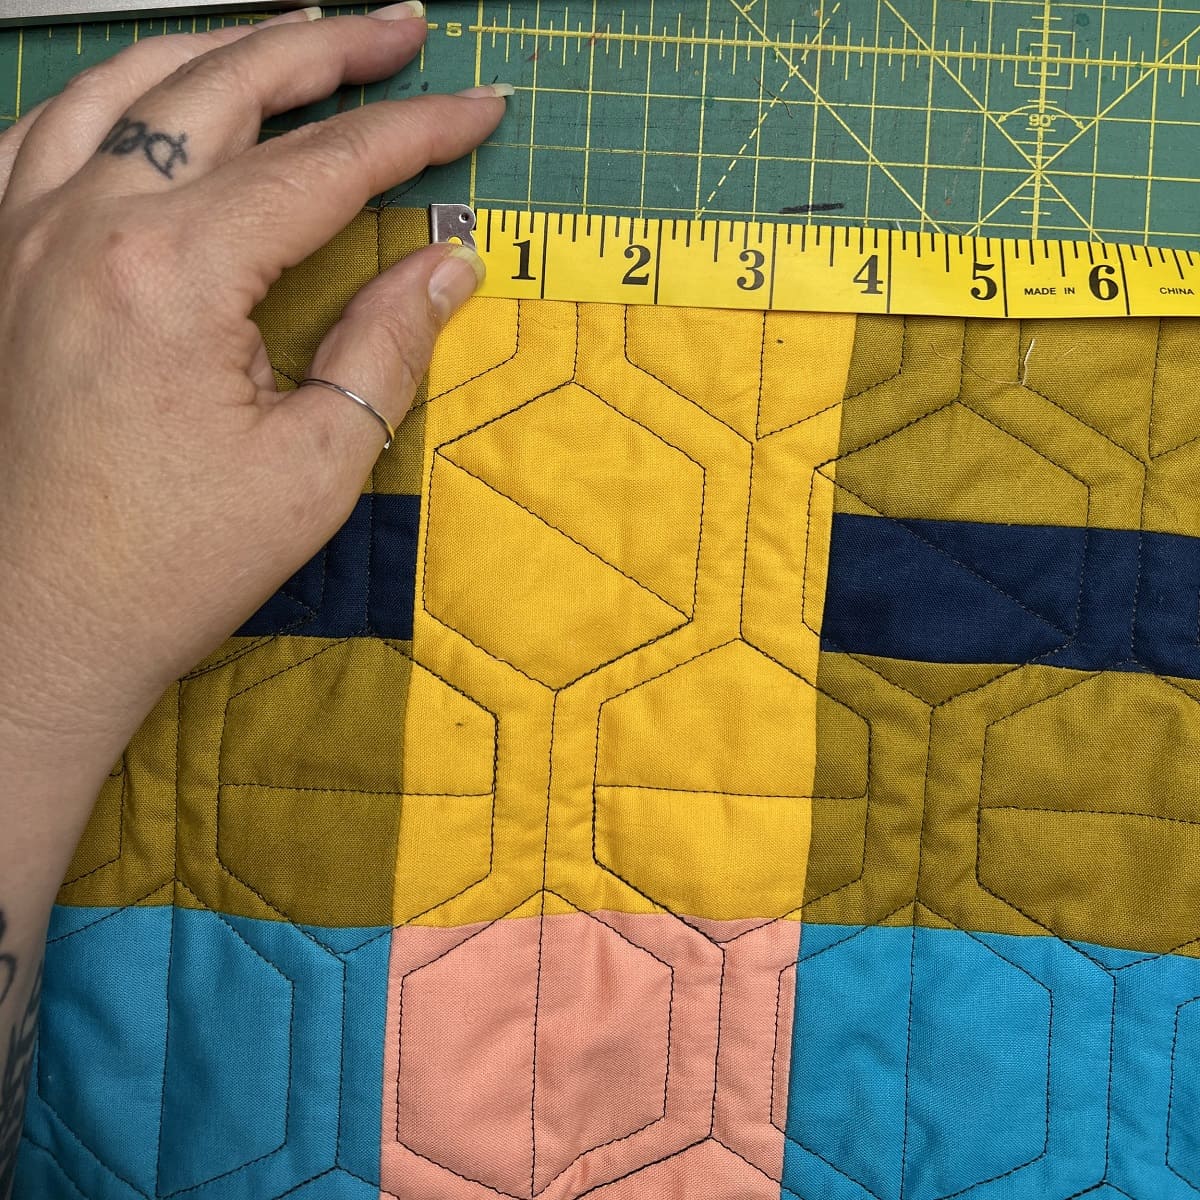
- Measure the perimeter of the quilt: Using a quilting ruler, measure the perimeter of the quilt. This will determine the length of your binding strips.
- Calculate the width of the binding: Decide on the desired width of your binding. The most common width is 2.5 inches, but you can adjust it to your preference.
- Calculate the number of strips needed: Divide the perimeter measurement by the width of the binding strips to determine how many strips you will need. Round up to the nearest whole number.
- Prepare the fabric: Using your chosen fabric for the binding, cut strips across the width of the fabric. The strips should be the length of the quilt’s perimeter and the width of your desired binding width.
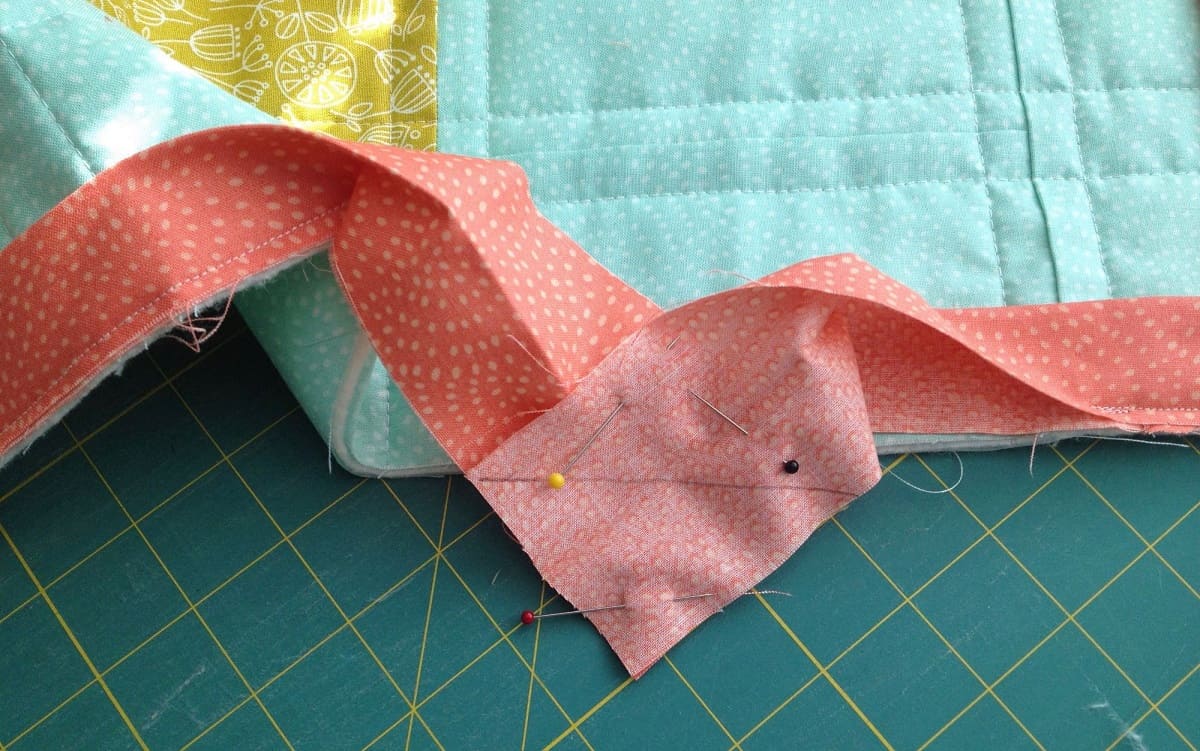
- Join the strips (optional): If your binding strips are not long enough to cover the entire perimeter, you can join multiple strips together. To do this, place two strips at a 90-degree angle with right sides facing each other and sew a diagonal seam from corner to corner. Trim the excess fabric and press the seam open.
Ensure that your binding strips are cut accurately and straight to create a clean and professional finish. Take your time in measuring and cutting the strips to achieve the desired result.
Joining the Strips
If your quilt is larger than the width of your binding fabric, you will need to join multiple binding strips together to create one continuous strip. Follow these steps to join the strips:
- Place two binding strips at a 90-degree angle: Lay one binding strip horizontally and place the other strip vertically, aligning their right sides together. The strips should overlap slightly.
- Sew a diagonal seam: Sew a diagonal seam from the top left corner to the bottom right corner of the overlapping area. Use a 1/4 inch seam allowance and backstitch at the beginning and end of the seam to secure it.
- Trim the excess fabric: Trim the excess fabric from the seam allowance, leaving about 1/4 inch beyond the seam line.
- Press the seam open: Open up the joined strips and press the seam open with an iron. This will help reduce bulk and create a smooth transition between the strips.
- Repeat if necessary: If you need to join more binding strips, repeat the above steps until you have one continuous strip that is long enough to cover the perimeter of your quilt.
Joining the binding strips seamlessly is crucial for a professional-looking finish. Take your time with each step and ensure that the strips are securely joined and pressed flat.
When sewing a quilt binding, use a walking foot attachment on your sewing machine to help prevent the layers from shifting and ensure a smooth, even finish.
Read more: How To Sew Satin Binding On A Quilt
Attaching the Binding to the Quilt
Now that you have your binding strips prepared, it’s time to attach the binding to the quilt. Follow these steps to sew the binding onto the quilt:
- Starting point: Choose a straight edge of your quilt to begin attaching the binding. Leave a tail of about 6-8 inches loose and do not sew over it.
- Align the binding: Align the raw edges of the binding strip with the raw edge of the quilt, right sides together. Leave a 6-8 inch tail at the starting point and begin sewing with a 1/4 inch seam allowance.
- Sew the binding: Sew along the quilt’s edge, securing the binding strip in place. Continue sewing until you reach the first corner.
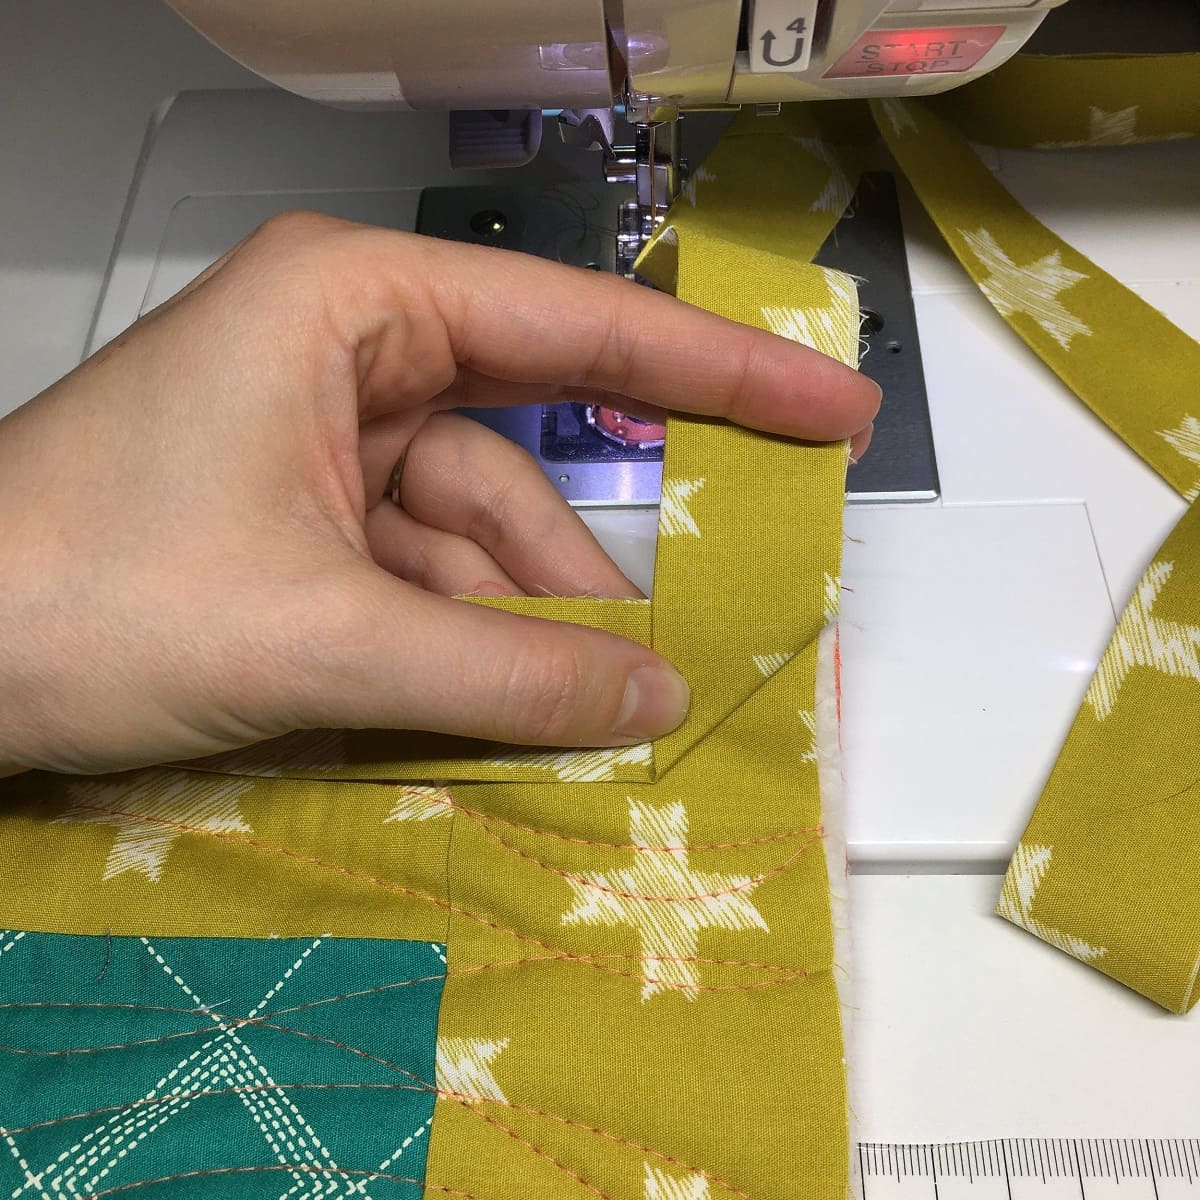
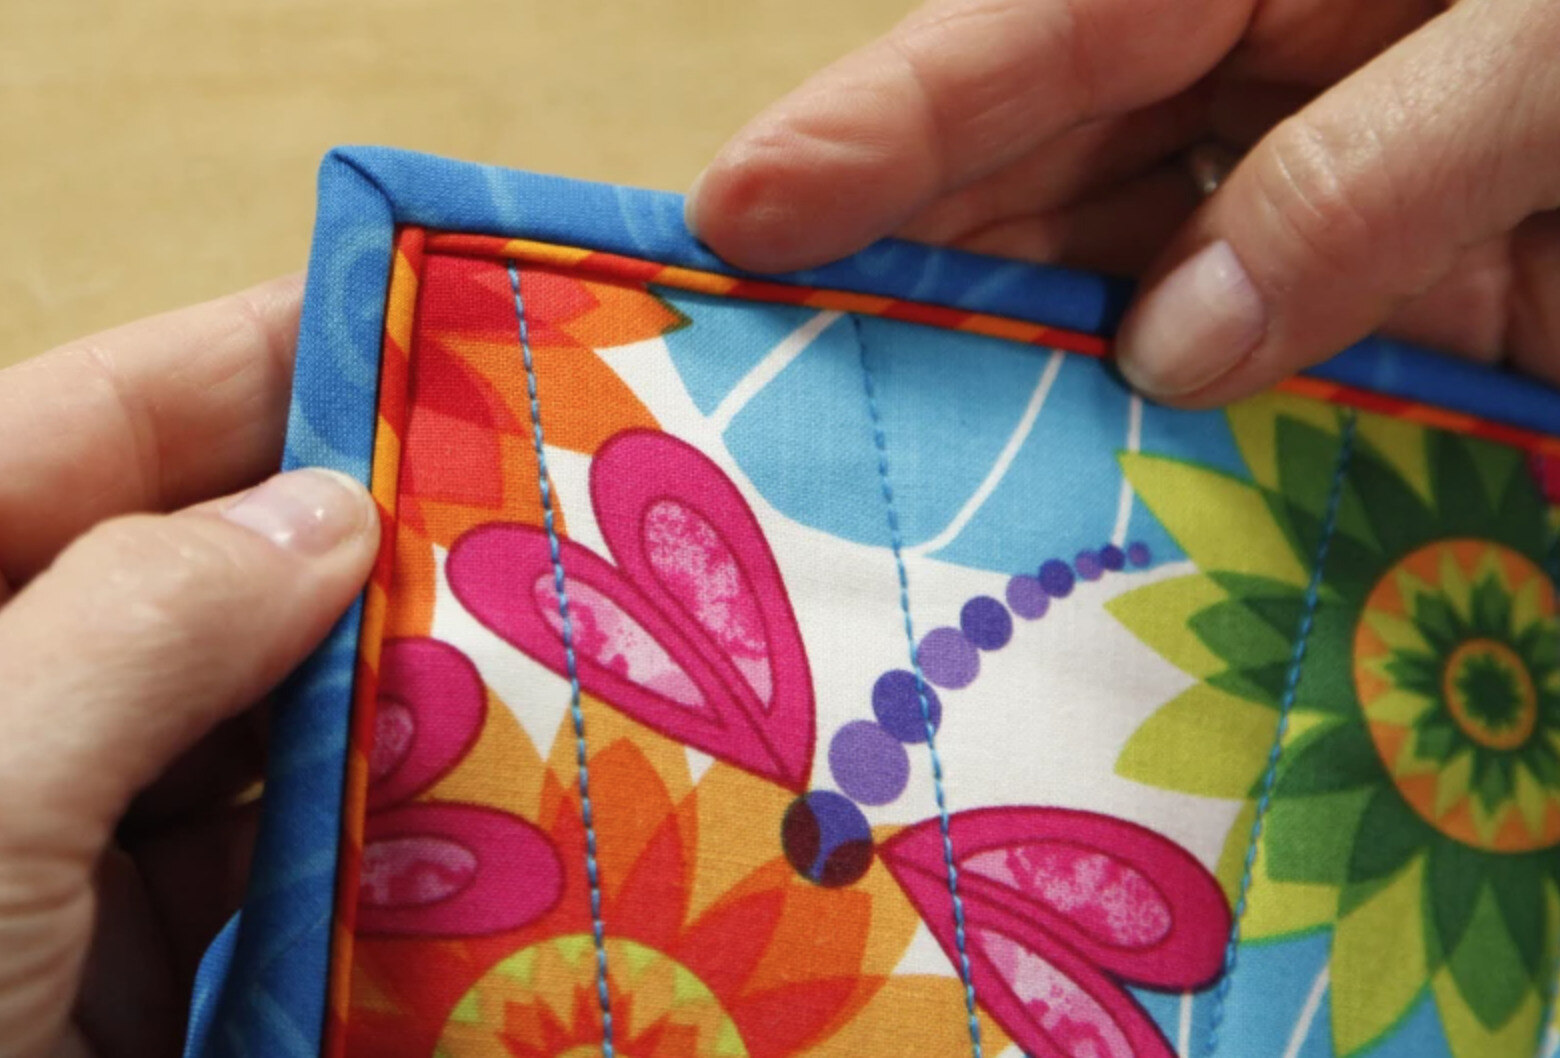
- Miter the corner: When you approach a corner, stop sewing 1/4 inch away from the edge. Fold the binding strip up at a 45-degree angle, creating a mitered corner. Then, fold it back down, aligning it with the next edge. Continue sewing from the next edge, starting 1/4 inch away from the corner.
- Continue sewing: Repeat the above step for the remaining corners, mitering each one as you go. Once you reach the starting point, stop sewing a few inches before the loose tail.
- Join the ends: To join the ends of the binding, lay the loose tail over the starting point tail. Trim any excess if necessary. Open up the binding strip and fold the loose tail to create a clean edge. Then, fold the starting point tail over it and pin in place. Sew across the join to secure it.
Attaching the binding to the quilt can be a bit tricky, especially when mitering the corners. Take your time and practice patience to achieve neat and precise results.
Mitering the Corners
Mitering the corners of the quilt binding creates clean, crisp corners and adds a professional touch to your quilt. Follow these steps to miter the corners:
- When you approach a corner, stop sewing 1/4 inch away from the edge.
- Fold the binding strip up at a 45-degree angle, creating a mitered corner. The fold should align with the top edge of the quilt.
- Next, fold the binding strip back down, aligning it with the next edge of the quilt. This will create a diagonal fold at the corner.
- Pin the folded corner in place to secure it temporarily.
- Continue sewing from the next edge of the quilt, starting 1/4 inch away from the corner.
- Repeat these steps for the remaining corners of the quilt.
Mitering the corners may take a bit of practice to get the fold and alignment just right. Take your time and adjust as needed to achieve clean and precise corners. Using binding clips instead of pins can help hold the folded corners in place as you sew.
Finishing the Binding
Now that you have attached the binding to the quilt and mitered the corners, it’s time to finish off the binding. Follow these steps to complete the binding:
- Trim excess binding: Trim the binding about 1/4 inch beyond the starting point join. This will ensure a clean and even finish.
- Press the binding: Gently press the binding away from the quilt, pressing out any wrinkles or folds. Be careful not to stretch or distort the fabric as you press.
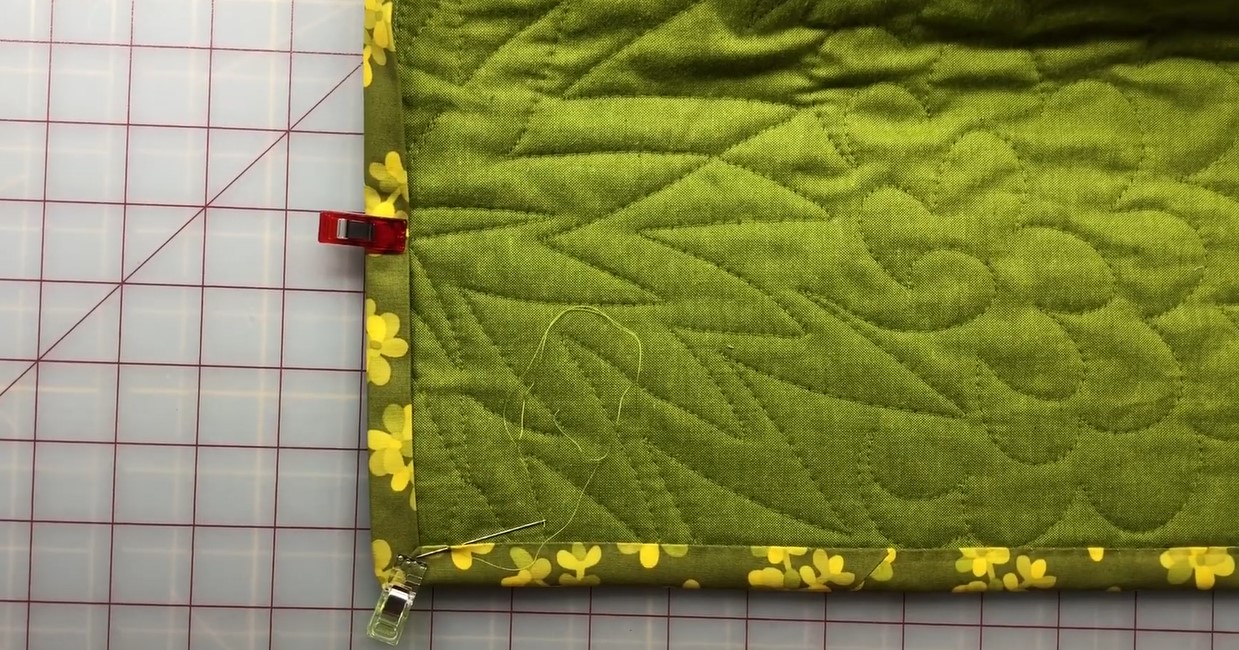
- Fold the binding: Fold the binding strip over the quilt edge, wrapping it around to the back of the quilt. The fold should be aligned with the quilt’s edge, covering the raw edges.
- Secure the binding: You can use binding clips or pins to hold the folded binding in place. Alternatively, you can iron the folded binding to create a crease for sewing.
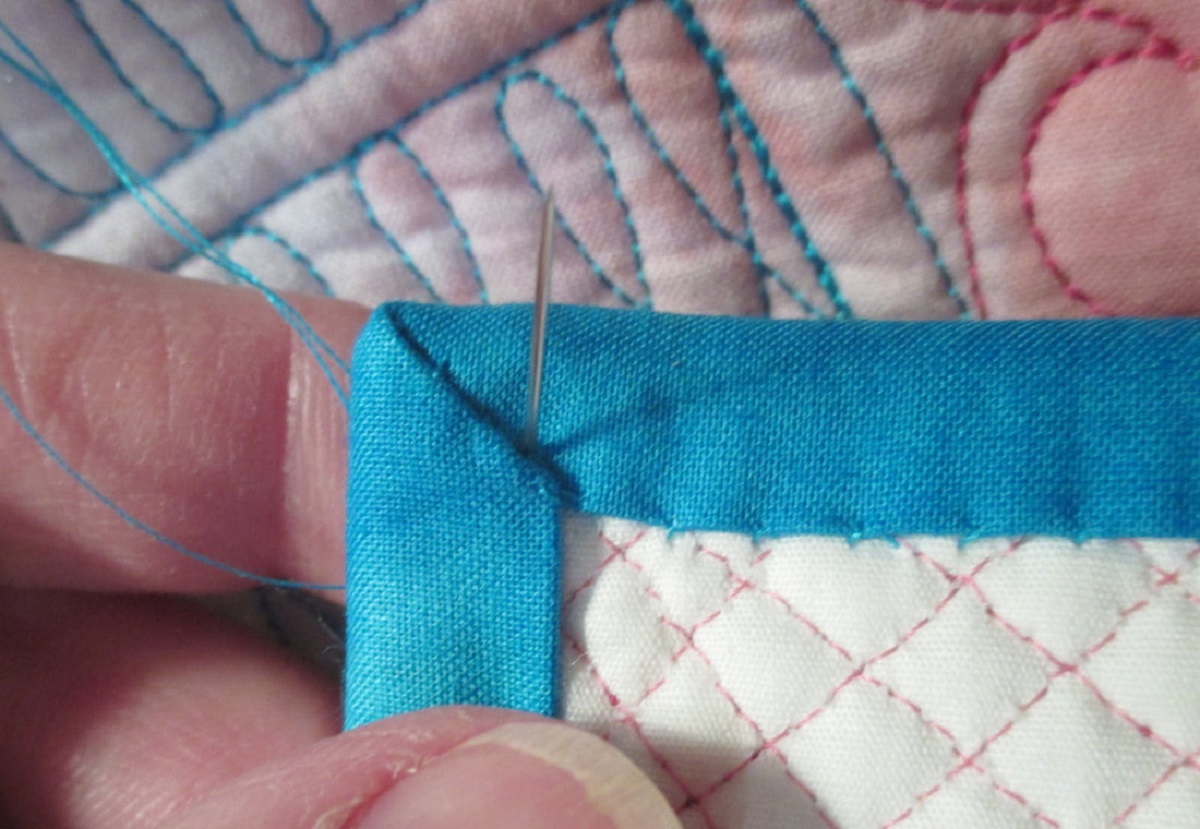
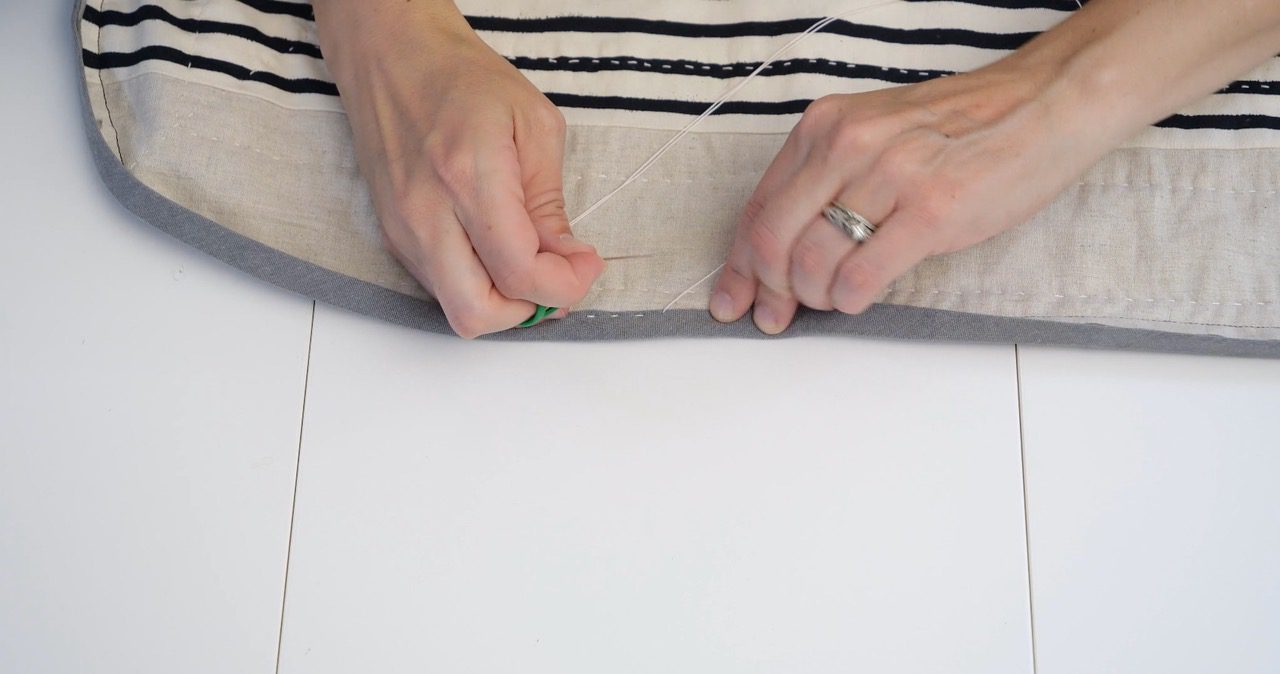
- Topstitch or hand stitch: Depending on your preference, you can either topstitch the binding in place using your sewing machine or hand stitch it for a more traditional finish. If topstitching, sew close to the folded edge of the binding, ensuring all layers are caught in the stitches. If hand stitching, use a blind or slip stitch to secure the binding, making sure the stitches are discreet and hold the binding firmly.
- Secure the ends: Once you have sewn around the entire quilt, secure the loose ends of the binding by folding and tucking them under or stitching them down.
Finishing the binding requires attention to detail and precision. Be patient, take your time, and ensure that the binding is securely attached and lays flat against the quilt’s edges.
Conclusion
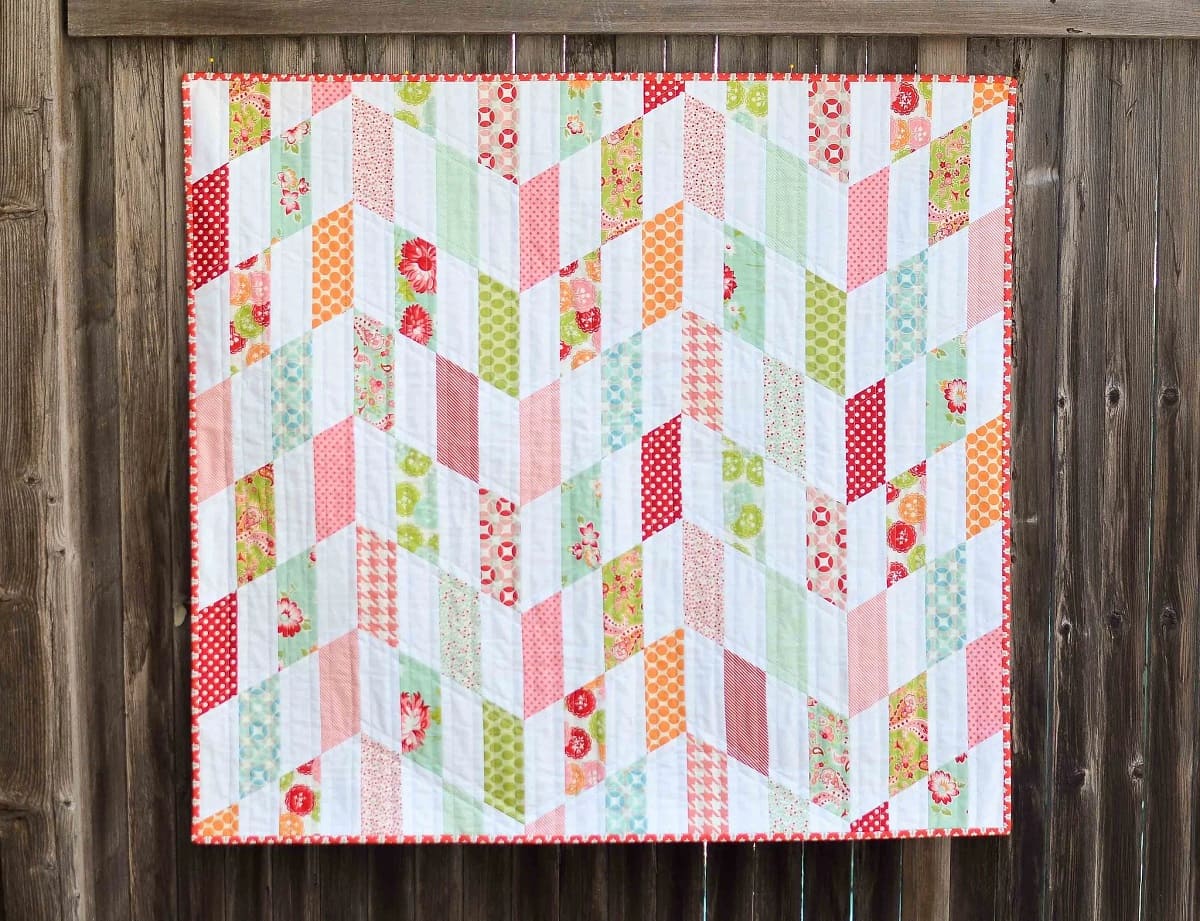
Congratulations! You have successfully learned how to sew a quilt binding. By following the steps outlined in this comprehensive guide, you can add the perfect finishing touch to your quilting projects. Binding not only secures the edges of your quilt but also enhances its overall appearance.
Remember, preparation is key. Taking the time to prepare your quilt, cut the binding strips accurately, and join them seamlessly will ensure a professional outcome. Mitering the corners adds a polished touch, and carefully finishing off the binding ensures a durable and neat finish.
Whether you choose to sew your binding by machine or hand, the result will be a beautiful quilt that can be cherished for years to come. With practice, you will gain confidence and expertise in creating perfect quilt bindings.
Now, armed with this knowledge and your newfound skills, go ahead and complete your quilting projects with confidence. Enjoy the process of adding the finishing binding, and celebrate your accomplishment as you showcase your unique quilted creations!
Frequently Asked Questions about How To Sew A Quilt Binding
Was this page helpful?
At Storables.com, we guarantee accurate and reliable information. Our content, validated by Expert Board Contributors, is crafted following stringent Editorial Policies. We're committed to providing you with well-researched, expert-backed insights for all your informational needs.

0 thoughts on “How To Sew A Quilt Binding”