Articles
How To Level A Gravel Driveway
Modified: May 6, 2024
Learn the best techniques for leveling your gravel driveway in our informative articles. Get expert advice on achieving a smooth and even surface for your property.
(Many of the links in this article redirect to a specific reviewed product. Your purchase of these products through affiliate links helps to generate commission for Storables.com, at no extra cost. Learn more)
Introduction
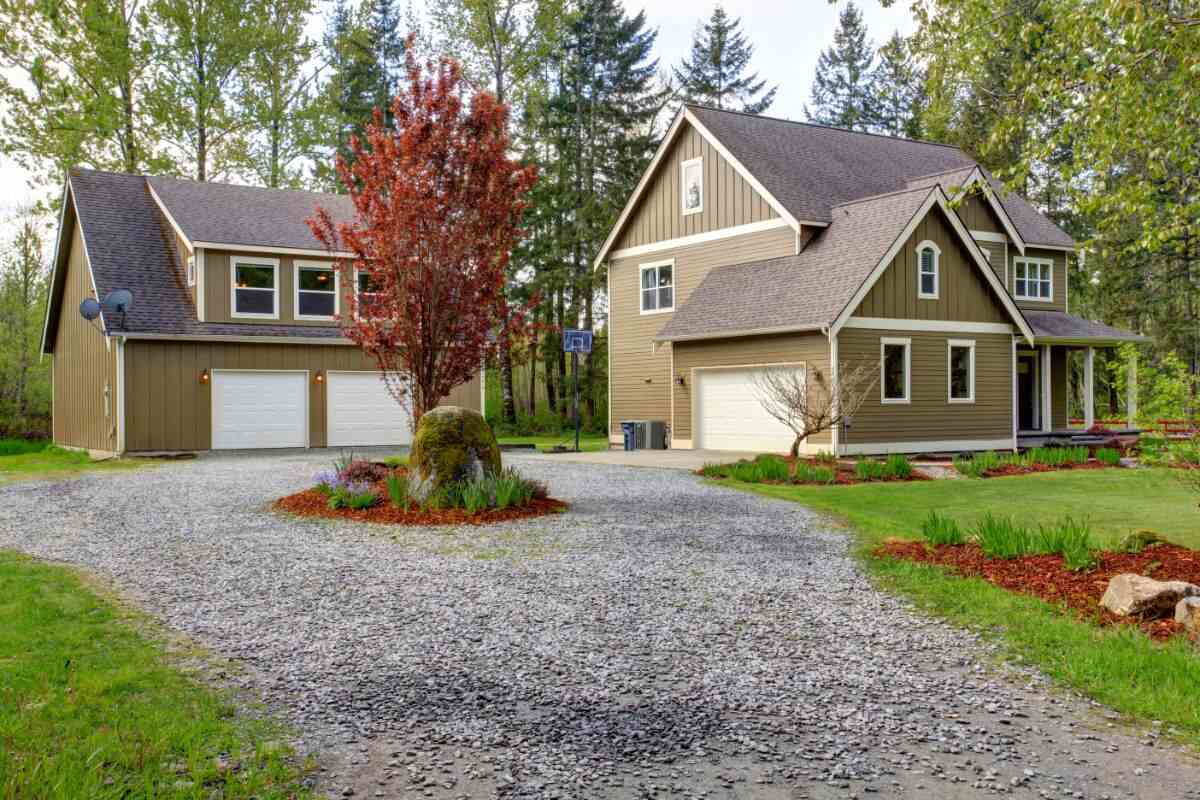
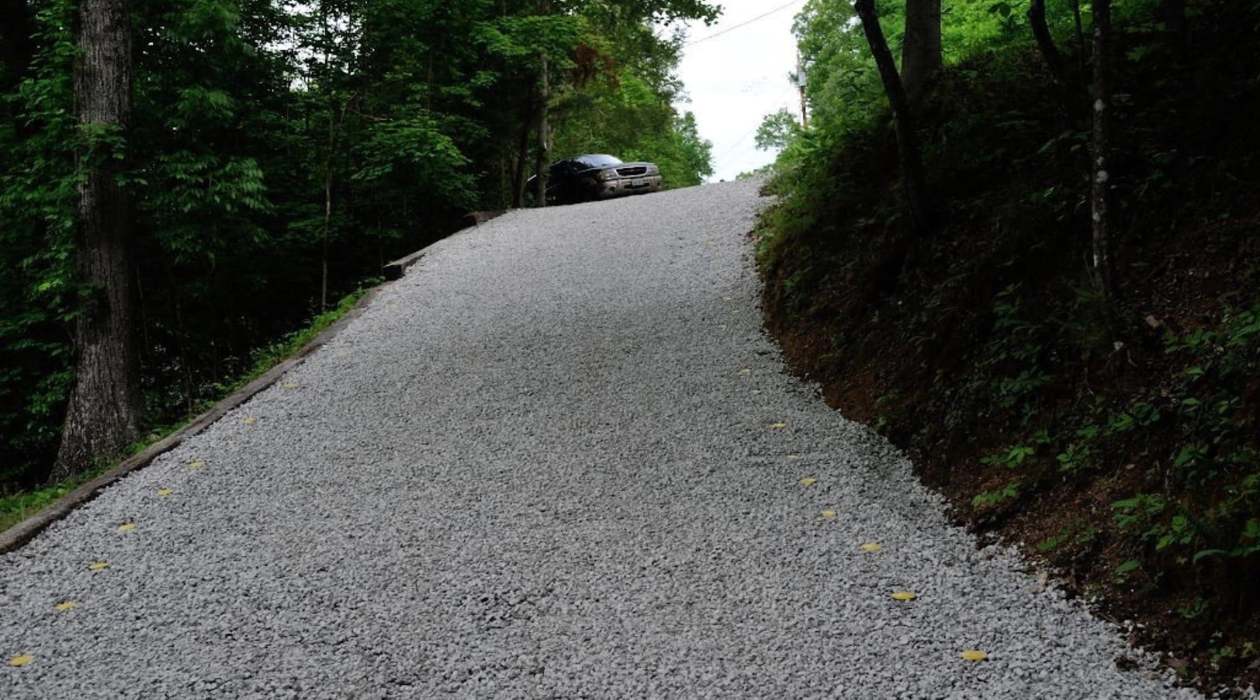
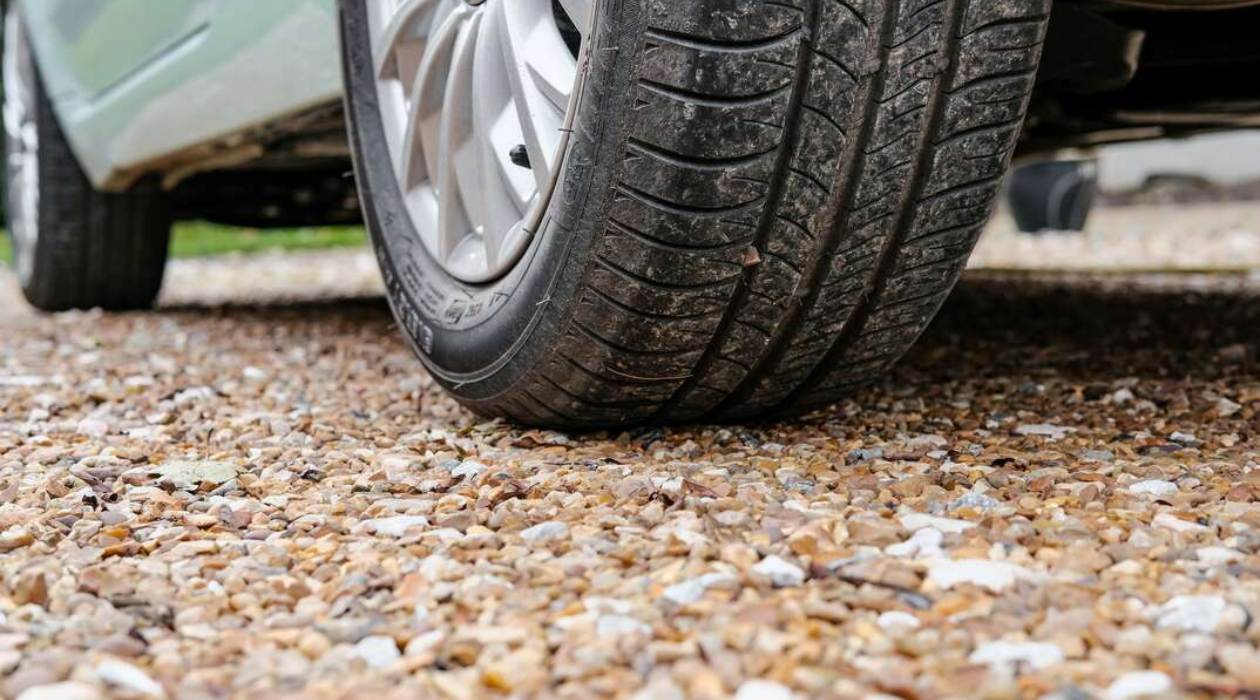
Welcome to our comprehensive guide on how to level a gravel driveway. A well-maintained driveway can greatly enhance the curb appeal of your home and provide a smooth and safe driving experience. However, over time, gravel driveways can become uneven, with potholes and bumps making it difficult to navigate.
Leveling your gravel driveway is an important task that ensures a smooth and even surface. It involves removing any debris, grading the driveway, and compacting the gravel to create a stable and durable surface. In this article, we will walk you through the step-by-step process of leveling your gravel driveway, helping you achieve a professional-looking result.
Before we dive into the specific steps, let’s take a moment to understand why leveling your gravel driveway is crucial. Firstly, a level driveway prevents water from pooling on the surface, which can lead to erosion and damage over time. Additionally, a smooth driveway reduces the risk of vehicles getting stuck in potholes or encountering bumps that could potentially cause damage. Lastly, a well-leveled gravel driveway improves the aesthetic appeal of your property, leaving a positive impression on visitors and potential buyers.
Now that we understand the importance of a level gravel driveway, let’s delve into the step-by-step process of achieving this. But before we begin, make sure you have the necessary tools and materials ready. Let’s get started!
Key Takeaways:
- Leveling your gravel driveway is crucial for preventing water damage, enhancing accessibility and safety, improving aesthetic appeal, minimizing maintenance, and increasing the longevity of your driveway.
- By following the step-by-step process of clearing, grading, and compacting your gravel driveway, and implementing regular maintenance, you can achieve a smooth, durable, and visually appealing driveway that adds value to your property.
Read more: How To Maintain Gravel Driveway
Understanding the Importance of Leveling a Gravel Driveway
Leveling a gravel driveway is an essential maintenance task that ensures a safe and functional surface for vehicles and pedestrians. Let’s explore some of the reasons why this is important:
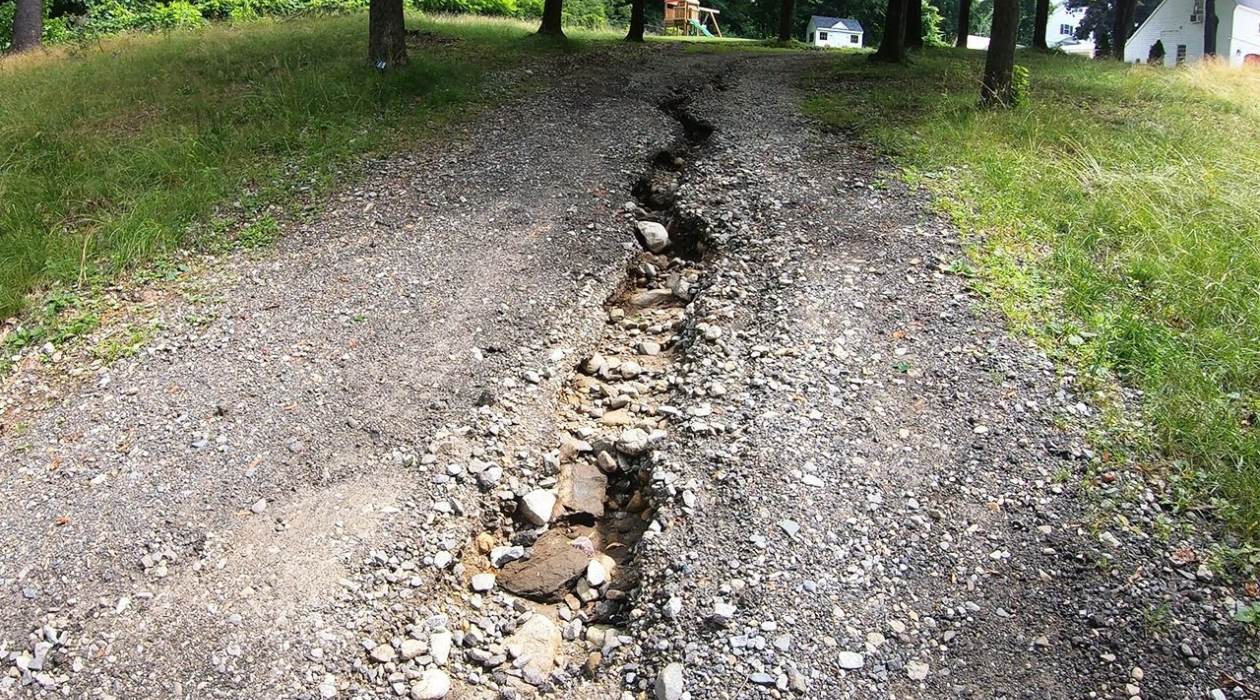
- Preventing Water Damage: A level driveway helps to prevent water from collecting and pooling on the surface. When water accumulates, it can seep into the gravel and underlying layers, causing erosion, washouts, and potholes. By leveling the driveway, you create a slight slope that allows rainwater to drain away properly, minimizing the risk of water damage.
- Enhancing Accessibility: An uneven gravel driveway can be challenging to navigate, especially for vehicles with low clearance or mobility-impaired individuals. Bumps, potholes, and uneven surfaces can cause vehicles to bounce or get stuck. By leveling the driveway, you create a smooth and even surface, making it easier for vehicles to traverse and ensuring accessibility for all.
- Improving Safety: A level gravel driveway improves safety for both vehicles and pedestrians. Uneven surfaces can be hazardous, increasing the likelihood of accidents, especially during wet or icy conditions. By leveling the driveway, you eliminate tripping hazards, reduce the risk of skidding, and provide a stable surface for walking and driving.
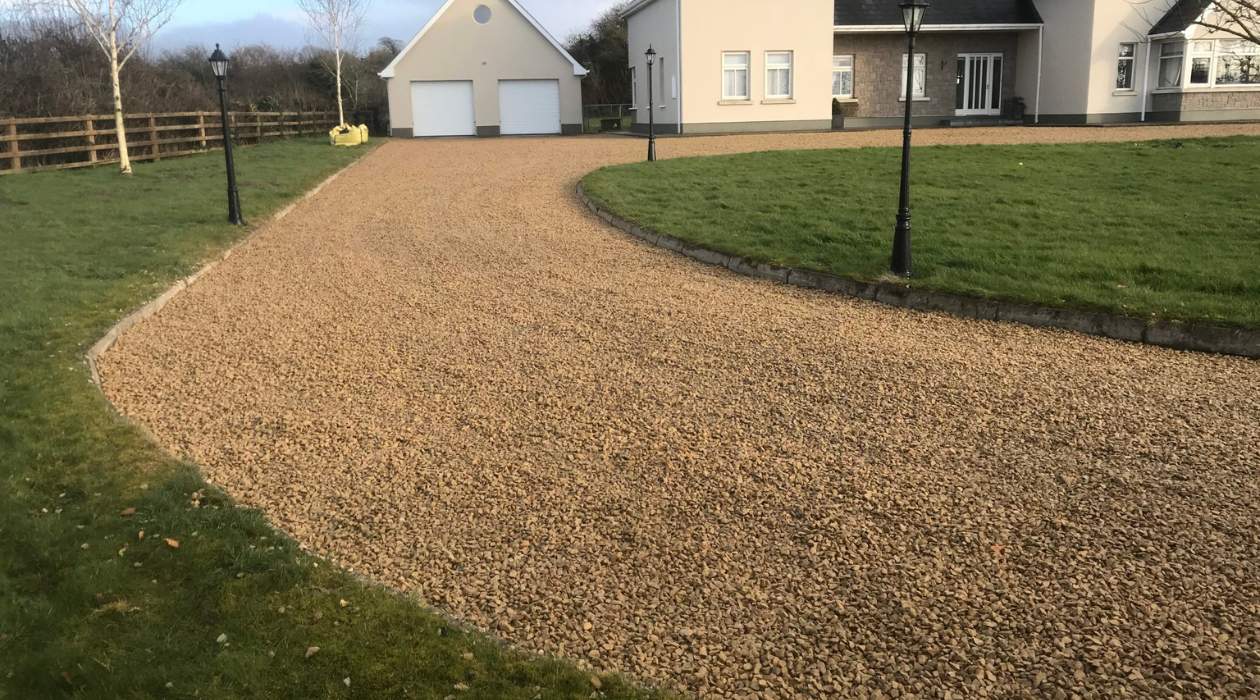
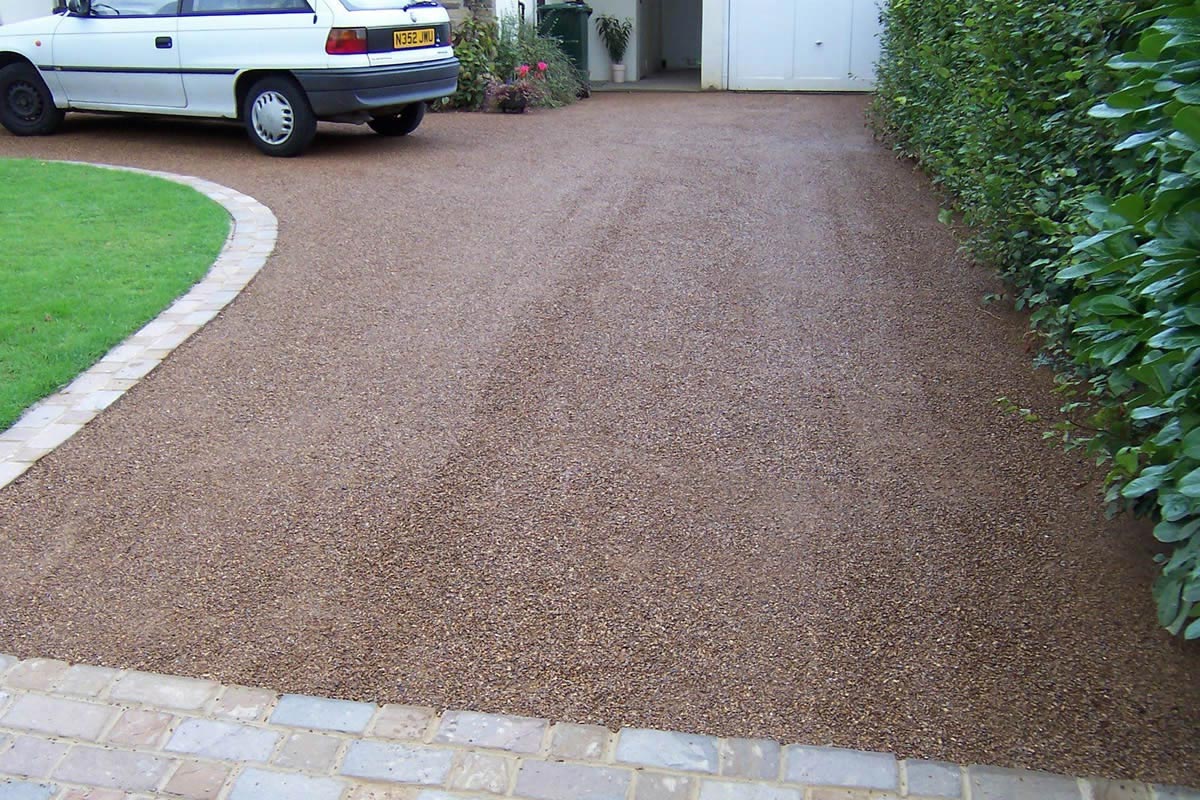
- Enhancing Aesthetic Appeal: A well-leveled gravel driveway greatly enhances the overall appearance of your property. It creates a clean and polished look, adding to the curb appeal and leaving a positive impression on visitors and potential buyers. A visually appealing and well-maintained driveway can also increase the value of your property.
- Minimizing Maintenance: Leveling your gravel driveway can minimize the need for ongoing maintenance. With a smooth and even surface, you reduce the occurrence of potholes, ruts, and gravel displacement. This means less time and effort spent on repairing and regrading your driveway in the future.
Overall, leveling a gravel driveway is essential for maintaining its longevity, improving safety, and enhancing its visual appeal. In the following sections, we will guide you through the step-by-step process of leveling your gravel driveway, ensuring that you achieve a professional and durable result.
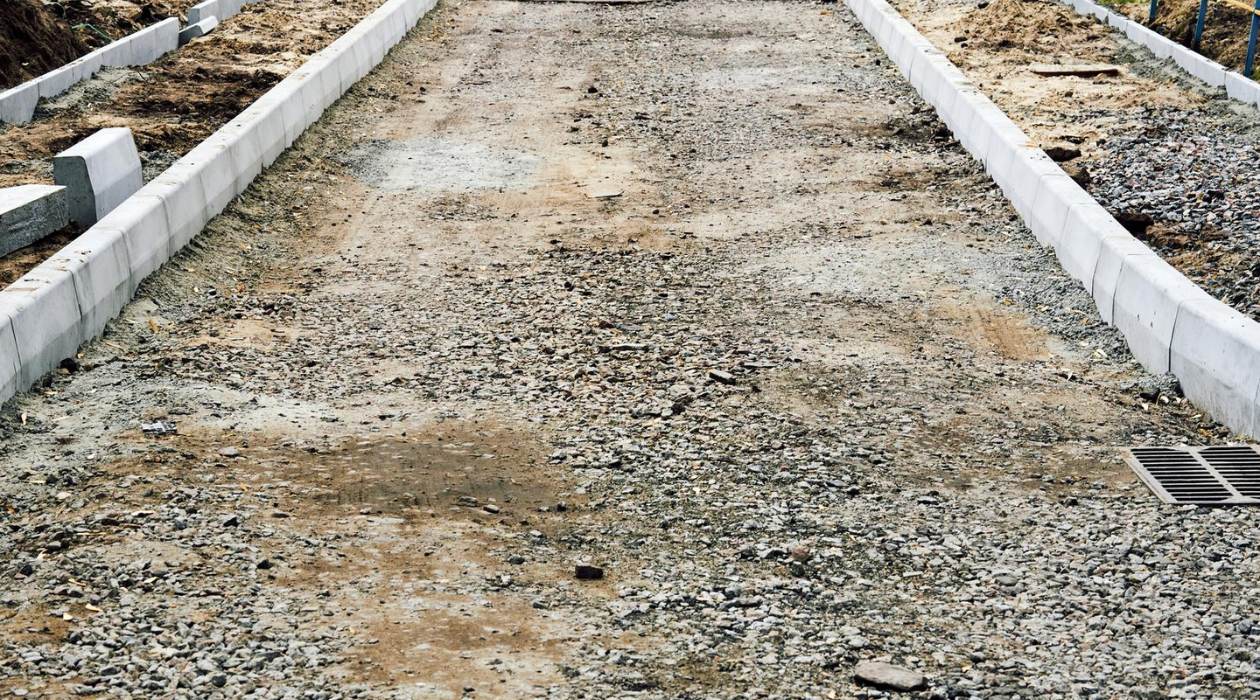
Step 1: Clearing and Preparing the Driveway
The first step in leveling your gravel driveway is to clear the area and prepare it for the grading process. Here’s what you need to do:
- Remove any debris: Begin by removing any debris, such as rocks, branches, or leaves, from the surface of your driveway. Use a rake or a leaf blower to clear the area effectively. It’s important to have a clean and debris-free surface to ensure an accurate grading process.
- Trim vegetation: If there are any weeds, grass, or vegetation growing in the driveway, trim them down or remove them entirely. This will prevent plants from pushing through the gravel and causing unevenness in the future.
- Repair any significant damage: Inspect your driveway for any significant damage, such as large potholes or deep ruts. These should be repaired before proceeding with the leveling process. Fill any holes or depressions with additional gravel and compact it down thoroughly.
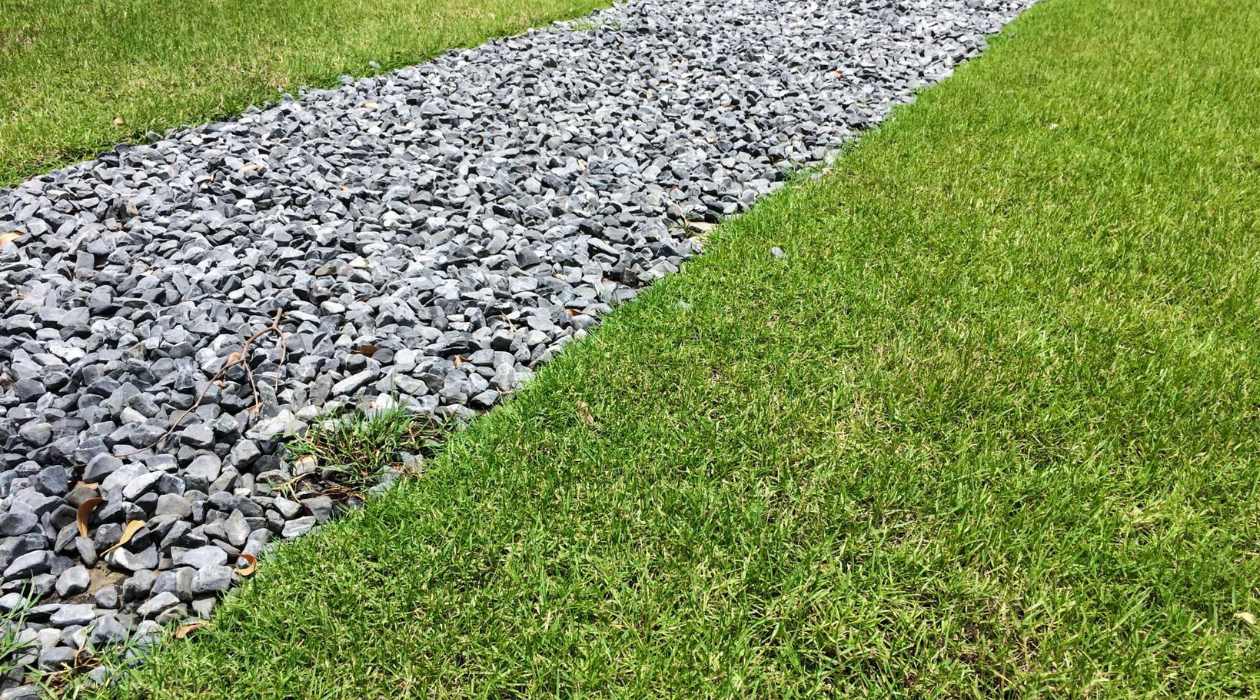
- Consider edging your driveway: Edging your gravel driveway can help contain the gravel and prevent it from spreading onto adjacent areas. Use plastic or metal edging material and install it along the sides of your driveway, making sure it is securely in place.
- Check for drainage issues: Assess the drainage of your driveway and ensure that water has a clear path to flow away. If necessary, make adjustments to the slope or add additional drainage solutions, such as swales or French drains, to prevent water from pooling on the surface.
- Mark any areas that need attention: Walk along the driveway and mark any areas that require special attention during the grading process. These may include spots that are particularly uneven or areas that need additional gravel for leveling.
By clearing and preparing your driveway, you create a clean canvas for the grading and leveling process. Taking the time to address any necessary repairs and ensuring proper drainage will help in achieving a more successful and long-lasting result.
Step 2: Gathering the Necessary Tools and Materials
Before you begin the process of leveling your gravel driveway, it’s essential to gather all the necessary tools and materials. Having everything prepared will make the job more efficient and ensure that you have what you need to achieve a professional result. Here’s a list of the tools and materials you’re going to need:
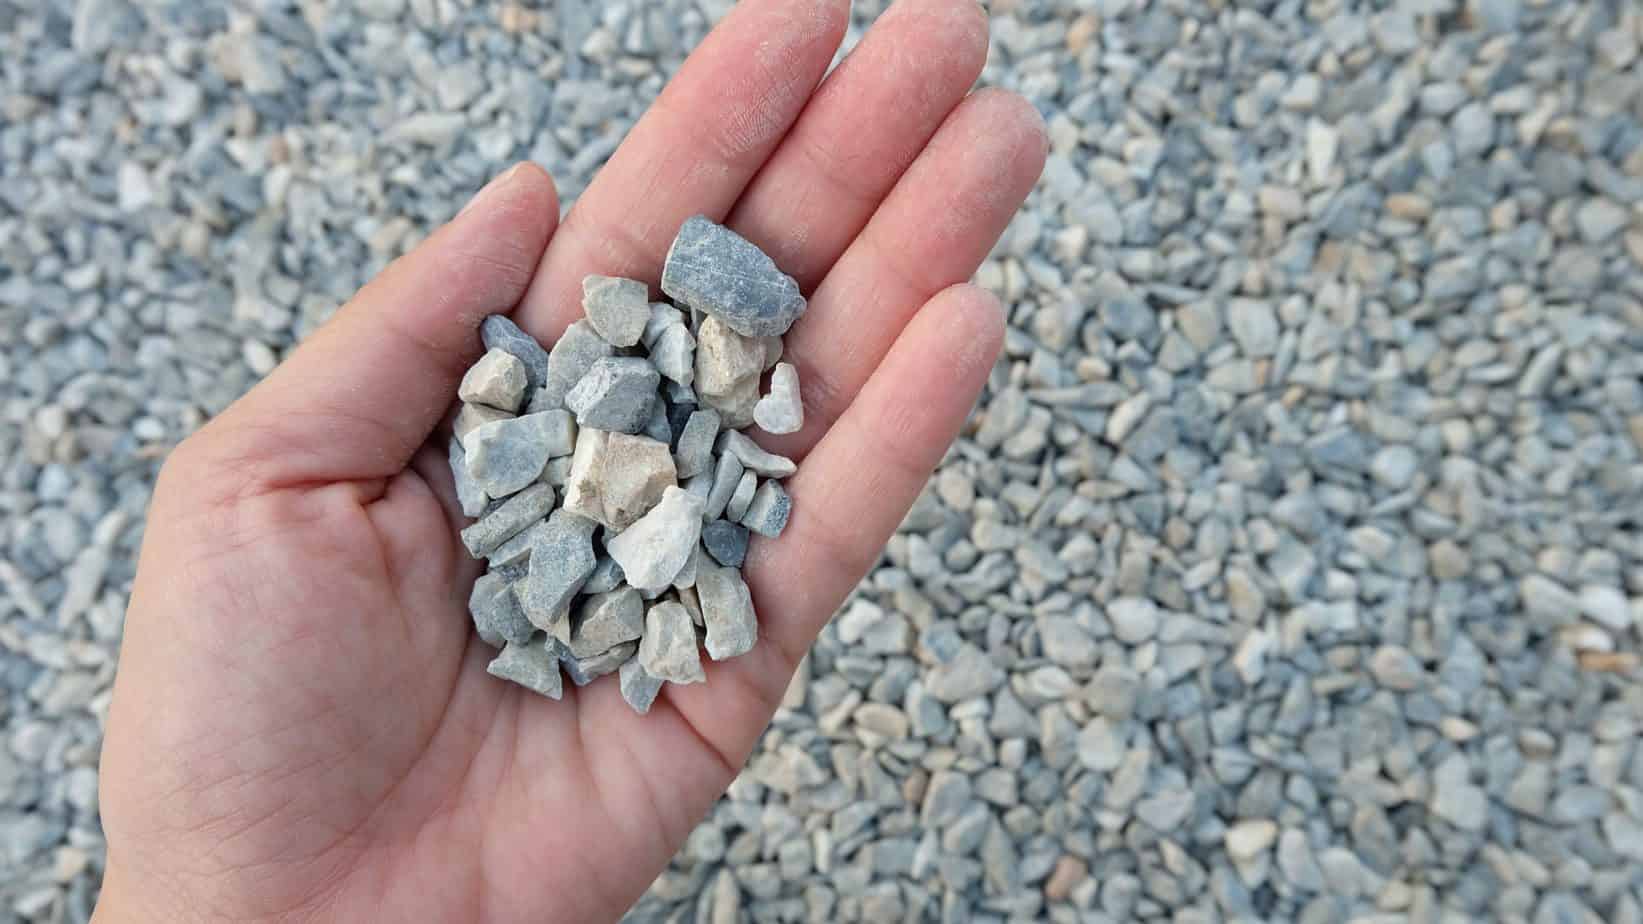
- Shovel or Gravel Rake: A shovel or gravel rake will be used for moving and spreading the gravel during the leveling process. Choose a sturdy and durable tool that can handle the weight of the gravel.
- Grading Rake: A grading rake, also known as a landscape rake, is a long-handled tool with tines that will help you level the gravel evenly. It allows you to spread and smooth the gravel with precision.
- Wheelbarrow: A wheelbarrow will come in handy for transporting and moving larger quantities of gravel. It will help save time and energy during the process.
- Measuring Tools: You’ll need a measuring tape or a measuring wheel to measure the length, width, and depth of your driveway. These measurements are crucial for calculating the amount of gravel needed for leveling.
- Compactor or Tamper: To ensure a stable and compacted surface, you’ll need a compactor or tamper. This tool helps to compress the gravel and create a solid foundation for your driveway.
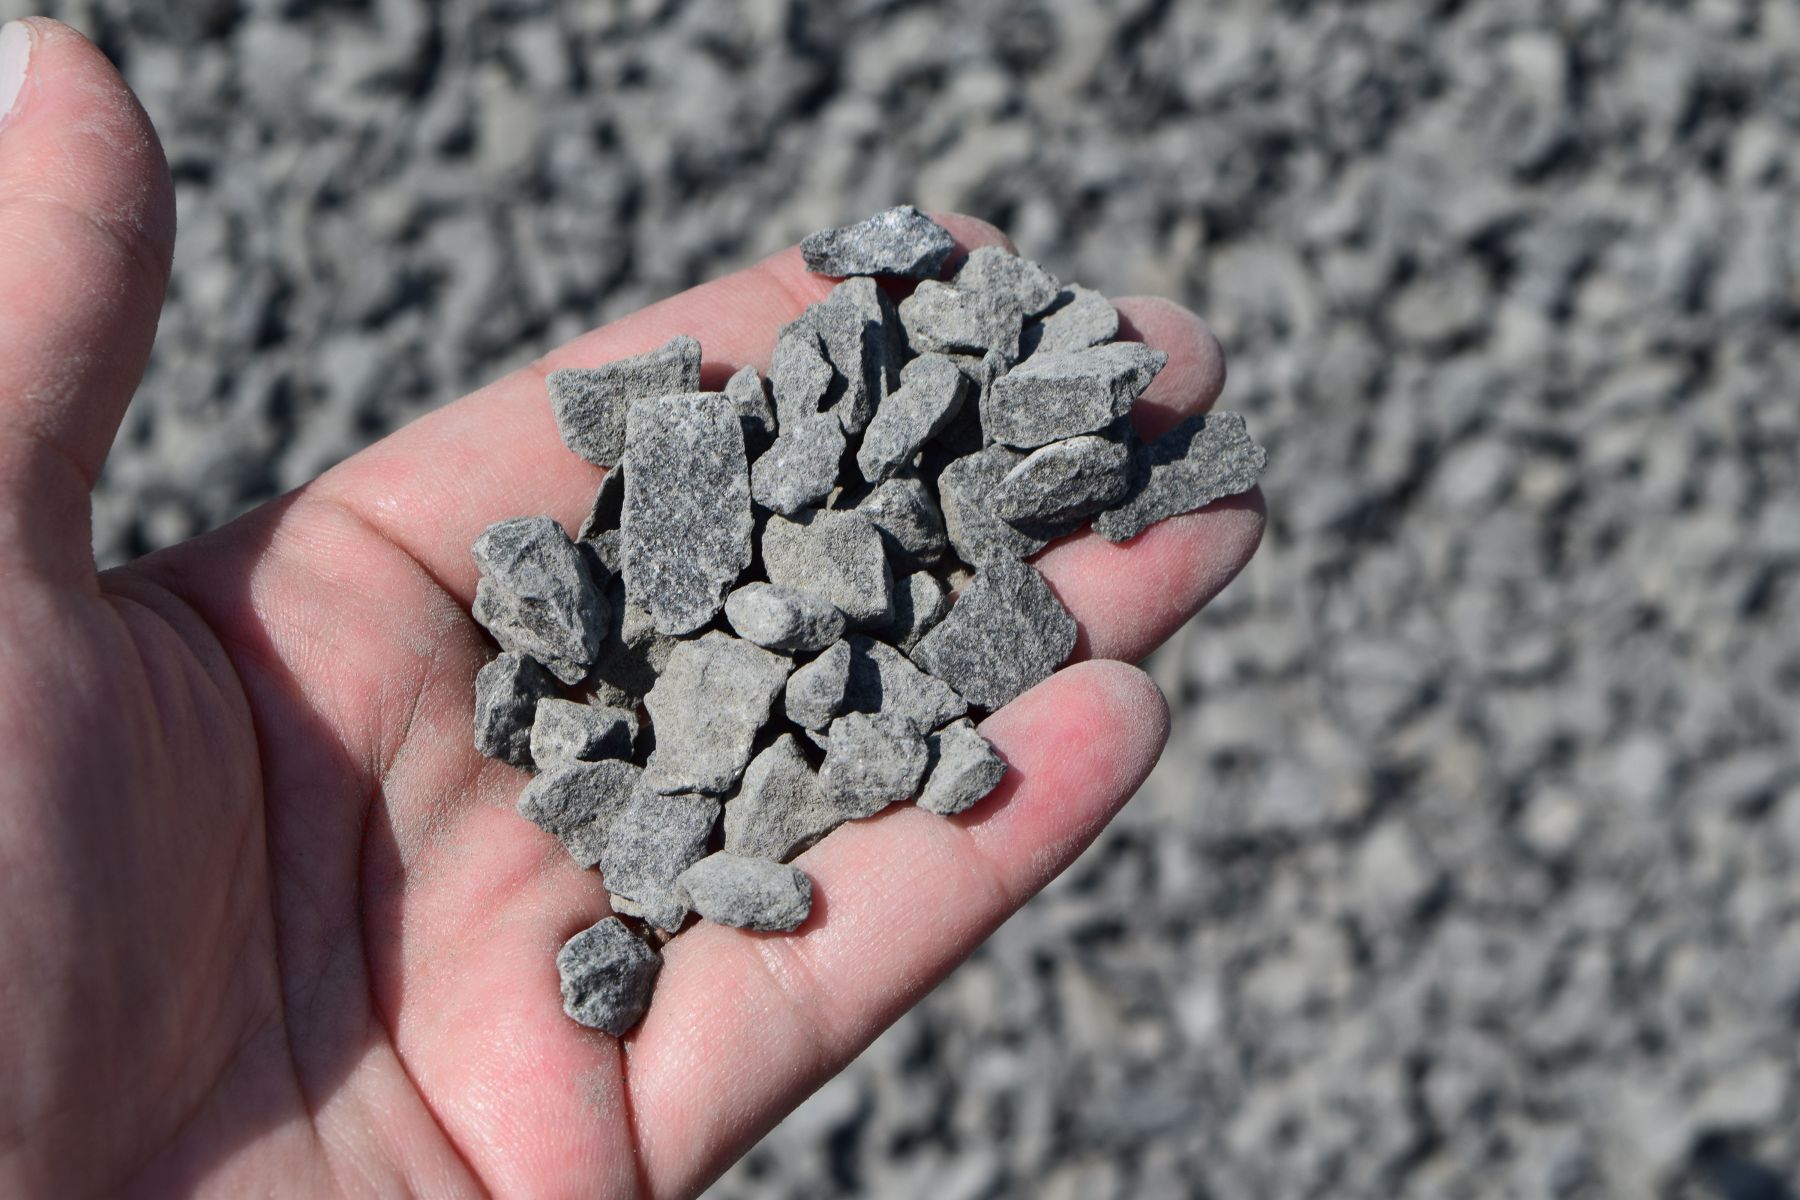
- Additional Gravel: Depending on the condition of your driveway, you may need to acquire additional gravel for leveling. Take accurate measurements of your driveway to determine the amount of gravel required.
- Gravel Stabilizer (optional): If you want to enhance the stability and longevity of your gravel driveway, you may consider using a gravel stabilizer. This product helps to hold the gravel in place and prevents it from shifting over time.
- Safety Equipment: Don’t forget about your safety! Wear protective gear such as gloves, safety glasses, and sturdy shoes to protect yourself from any potential hazards.
By having all the necessary tools and materials ready, you’ll be well-prepared to tackle the leveling process without any interruptions. This step will save you time and ensure that you have everything you need to achieve a successfully leveled gravel driveway.
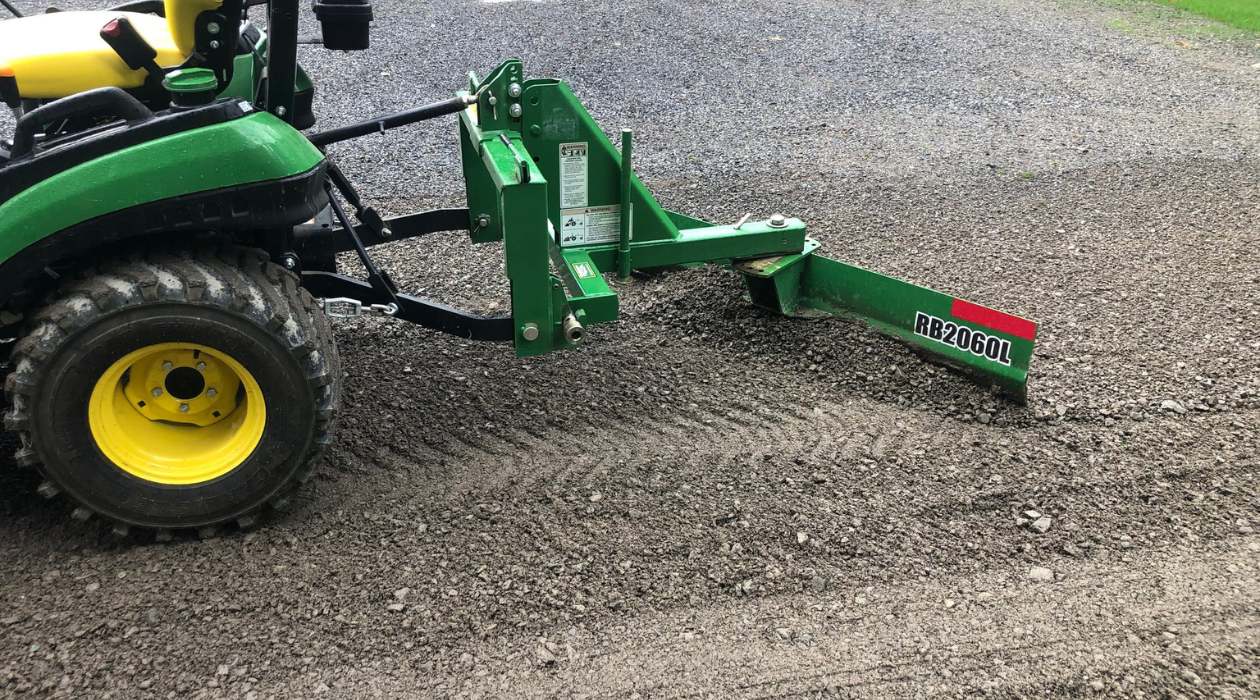
Step 3: Grading the Driveway Surface
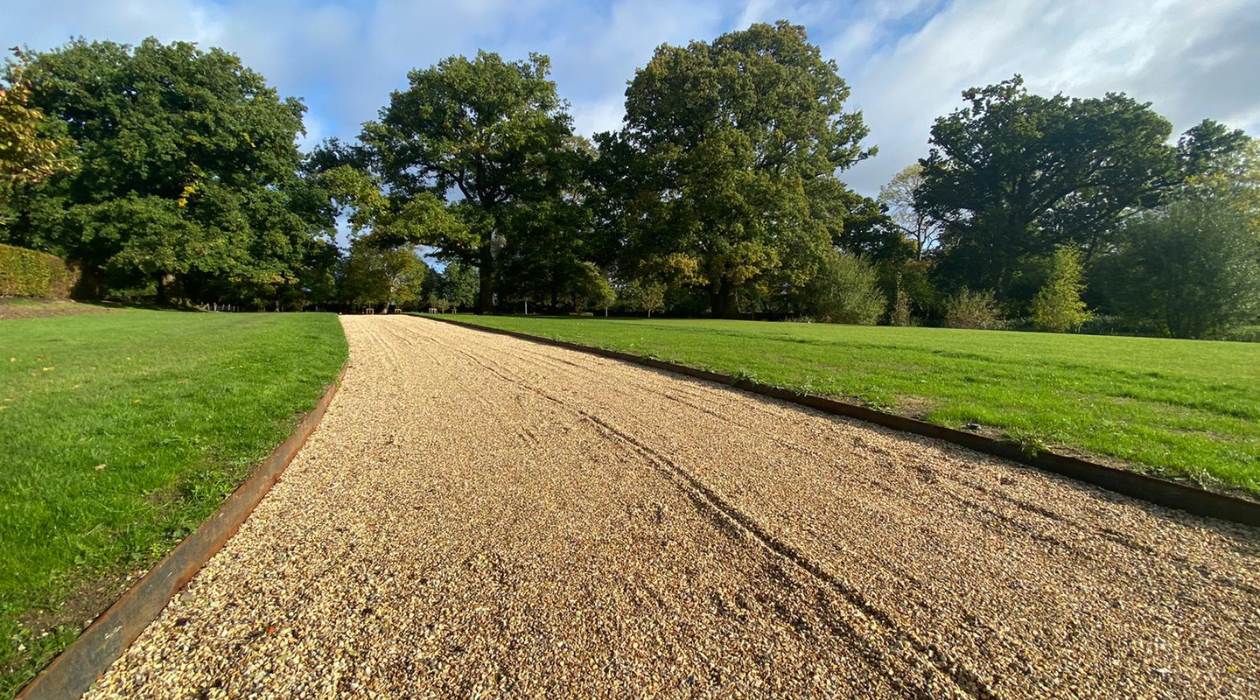
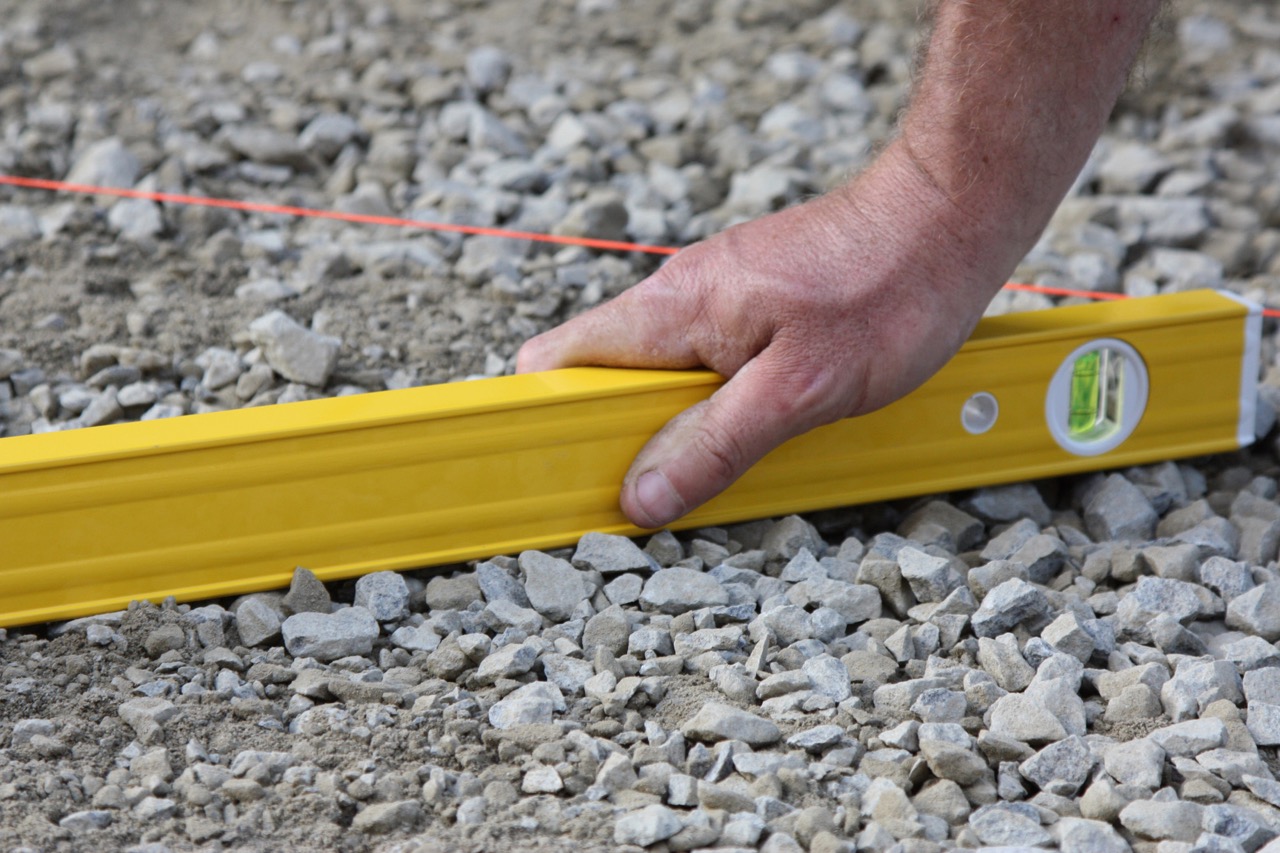
Now that you’ve cleared the driveway and gathered the necessary tools and materials, it’s time to start grading the surface. This step involves creating a smooth and even slope that facilitates proper drainage and provides a level surface for your gravel driveway. Follow these steps to effectively grade your driveway:
- Start at the highest point: Begin grading from the highest point of your driveway. This will ensure that water flows away from your property and prevent pooling. Use a grading rake or shovel to move the gravel from the high areas to the low areas.
- Create a slight slope: Aim for a gentle slope of around 1-2% towards the sides of your driveway. This will facilitate water runoff and prevent stagnant water. Use the grading rake to distribute the gravel evenly and create the desired slope.
- Pay attention to the middle: While focusing on creating a slope towards the sides, ensure that the middle part of the driveway remains slightly higher. This will prevent water from pooling in the middle and help with overall drainage.
- Check the driveway for evenness: Regularly walk over the graded surface and use a rake to even out any uneven spots. Pay attention to areas that you marked during the preparation stage and make the necessary adjustments to achieve an even surface.
- Use a measuring tool: To ensure accuracy, periodically use a measuring tape or measuring wheel to check the slope and overall consistency of the driveway. Make adjustments as needed to achieve the desired slope and levelness.
- Compact the gravel: Once you’re satisfied with the grading of the driveway, use a compactor or tamper to compact the gravel. This will create a solid and stable surface. Start from the highest point and work your way towards the sides, compacting each section thoroughly.
- Inspect the surface: After compacting, inspect the entire surface of your gravel driveway for any remaining unevenness or low spots. Use a rake to fill in any depressions with additional gravel and recompact those areas if necessary.
By following these steps, you’ll be able to effectively grade your driveway, creating a smooth and properly sloped surface. This will not only improve the functionality and drainage of your gravel driveway but also enhance its overall appearance.
To level a gravel driveway, use a rake or shovel to spread the gravel evenly. Then, use a heavy roller or compactor to pack the gravel down for a smooth surface.
Read more: How To Plow A Gravel Driveway
Step 4: Compact the Gravel
Once you have finished grading your gravel driveway, the next step is to compact the gravel. Compacting the gravel is crucial as it creates a solid and stable surface that can withstand heavy loads and prevent future settling. Follow these steps to properly compact the gravel:
- Choose the right compactor: Select a compactor that is appropriate for the size and type of your gravel driveway. Plate compactors and vibrating compactors are commonly used for this task. Rent or purchase the compactor based on the size and scale of your project.
- Start from the highest point: Begin compacting the gravel from the highest point of your driveway, working your way towards the lowest point. This ensures that any excess water drains away properly.
- Slow and steady: When using the compactor, move it slowly over the surface of the gravel. Avoid rushing this process, as taking your time will allow the compactor to effectively compress the gravel and create a solid base.
- Overlap each pass: Make sure to overlap each pass of the compactor by around 50% to ensure even compaction. This will help eliminate any air gaps and create a uniform and stable surface.
- Pay attention to the edges: Don’t forget to compact the edges of your driveway as well. Use a smaller compactor or a hand tamper to reach the edges and corners, ensuring that the entire area is compacted uniformly.
- Inspect for any low spots: After completing the compaction process, inspect the driveway for any remaining low spots or uneven areas. If you find any, add additional gravel and compact those areas again.
- Perform a final pass: Once you’ve addressed any low spots, perform a final pass with the compactor over the entire surface of the driveway. This final pass ensures that the gravel is uniformly compacted and provides a solid and durable surface.
Properly compacting the gravel is essential for creating a stable and long-lasting driveway. By following these steps, you’ll ensure that the gravel is thoroughly compressed, minimizing the risk of future settling and maintaining the integrity of your driveway.
Step 5: Adding a Gravel Stabilizer (Optional)
Adding a gravel stabilizer is an optional step that can help enhance the stability and durability of your gravel driveway. A gravel stabilizer is a product designed to bind the gravel together, reducing the risk of displacement and creating a more solid surface. Follow these steps to add a gravel stabilizer if desired:
- Choose the right gravel stabilizer: There are various types of gravel stabilizers available on the market, so it’s important to choose one that suits your specific needs. Look for stabilizers that are compatible with gravel driveways and provide the level of stabilization necessary.
- Prepare the driveway: Before applying the stabilizer, make sure your driveway is thoroughly cleaned and free of any loose debris. Remove any weeds or vegetation that may be growing in the gravel.
- Follow instructions: Read the instructions provided by the manufacturer of the gravel stabilizer carefully and follow them precisely. The application process may vary depending on the product, so it’s important to follow the recommended guidelines.
- Apply the stabilizer: Using a watering can or a spray applicator, apply the gravel stabilizer evenly over the surface of your driveway. Start from one end and work your way to the other, ensuring that the stabilizer is distributed uniformly.
- Allow sufficient drying time: After applying the gravel stabilizer, allow sufficient time for it to dry and set. This drying time may vary depending on the product, so refer to the manufacturer’s instructions for guidance.
- Inspect and add more stabilizer if needed: Once the stabilizer has dried, inspect the driveway for any areas that may require additional stabilizer. Fill in any gaps or uneven spots with more stabilizer, following the manufacturer’s instructions.
- Maintain the stabilizer: Regularly check the condition of the gravel stabilizer and perform any necessary maintenance as recommended by the manufacturer. This may involve reapplying the stabilizer periodically to ensure optimal performance.
Adding a gravel stabilizer can help minimize gravel displacement, reduce dust, and improve the overall stability and longevity of your gravel driveway. However, keep in mind that not all driveways may require a stabilizer, so assess the condition and usage of your driveway before deciding whether to utilize this optional step.
Step 6: Maintaining the Level of the Gravel Driveway
Once you have successfully leveled your gravel driveway, it’s important to implement a maintenance routine to keep it in optimal condition. Regular maintenance will help preserve the level surface and prevent the need for extensive regrading in the future. Here are some tips for maintaining the level of your gravel driveway:
- Regularly inspect the surface: Visual inspection is key to identifying any early signs of damage or unevenness. Walk your driveway regularly and look for any areas that may need attention, such as depressions, erosion, or weeds.
- Fill in depressions and low spots: If you notice any depressions or low spots, promptly add additional gravel to fill them in. Use a grading rake to spread the gravel evenly and compact it to match the surrounding area.
- Address drainage issues: Ensure that your driveway has adequate drainage to prevent water from pooling. Clear any debris or obstacles that may impede the flow of water and make any necessary adjustments to maintain proper slope and drainage.
- Regularly rake the surface: Use a gravel rake or landscaping rake to smooth out any uneven areas or ridges that may have formed on the surface. Raking the gravel regularly helps redistribute it and maintain an even surface.
- Control weed growth: Prevent weeds from taking root in your gravel driveway by applying a weed control solution or manually removing any weeds that appear. Regularly inspect and address any weed growth to maintain the integrity of your driveway.
- Consider regrading periodically: Depending on the usage and condition of your driveway, it may be necessary to regrade the surface periodically. This can help restore any slight unevenness and ensure a level and stable surface.
- Address erosion promptly: If you notice signs of erosion, such as exposed soil or washouts, take immediate action to prevent further damage. Add additional gravel and compact it to stabilize the affected area and prevent future erosion.
- Keep heavy vehicles off the driveway: To maintain the levelness of your gravel driveway, avoid parking heavy vehicles or equipment on it for extended periods. Heavy loads can cause the gravel to sink and create uneven surfaces.
By implementing these maintenance practices, you can keep your gravel driveway level and in good condition for years to come. Regular inspection, prompt repairs, and proactive measures will help preserve the integrity and longevity of your driveway.
Conclusion
Congratulations! You’ve successfully learned how to level a gravel driveway. By following the steps outlined in this guide, you can create a smooth, functional, and visually appealing driveway that enhances the curb appeal of your home. Let’s recap the key points we covered:
First, we discussed the importance of leveling a gravel driveway. A level surface prevents water damage, improves accessibility and safety, and boosts the overall aesthetic appeal of your property. Leveling your driveway not only enhances its functionality but also increases its longevity.
We then explored the step-by-step process of leveling your gravel driveway. This includes clearing and preparing the driveway, gathering the necessary tools and materials, grading the surface to create a slope, compacting the gravel for stability, and considering the optional step of adding a gravel stabilizer. We also discussed the importance of maintaining the level of your gravel driveway through regular inspections, addressing issues promptly, and implementing a maintenance routine.
Remember, the key to a well-maintained gravel driveway is vigilance and regular upkeep. By addressing any issues as they arise, keeping the surface smooth and even, and taking necessary steps to prevent erosion and weed growth, you can enjoy a level and durable driveway for years to come.
Thank you for joining us on this journey to level your gravel driveway. With these newfound skills and knowledge, you can confidently tackle this project and enjoy the benefits of a well-leveled and visually appealing driveway. Happy leveling!
Now that you've mastered leveling your gravel driveway, why not enhance your outdoor space further? For those interested in giving their garden a fresh look, our guide on unique garden fence ideas offers plenty of creative options. From classic picket fences to innovative landscaping solutions, you'll find inspiration to transform your garden into a beautiful and functional retreat. Don't miss out on these exciting design ideas!
Frequently Asked Questions about How To Level A Gravel Driveway
Was this page helpful?
At Storables.com, we guarantee accurate and reliable information. Our content, validated by Expert Board Contributors, is crafted following stringent Editorial Policies. We're committed to providing you with well-researched, expert-backed insights for all your informational needs.

0 thoughts on “How To Level A Gravel Driveway”