Articles
How To Reface A Kitchen Cabinet
Modified: October 19, 2024
Learn how to reface your kitchen cabinets and give them a fresh new look with our step-by-step guide. Transform your kitchen furniture easily and affordably!
(Many of the links in this article redirect to a specific reviewed product. Your purchase of these products through affiliate links helps to generate commission for Storables.com, at no extra cost. Learn more)
Introduction
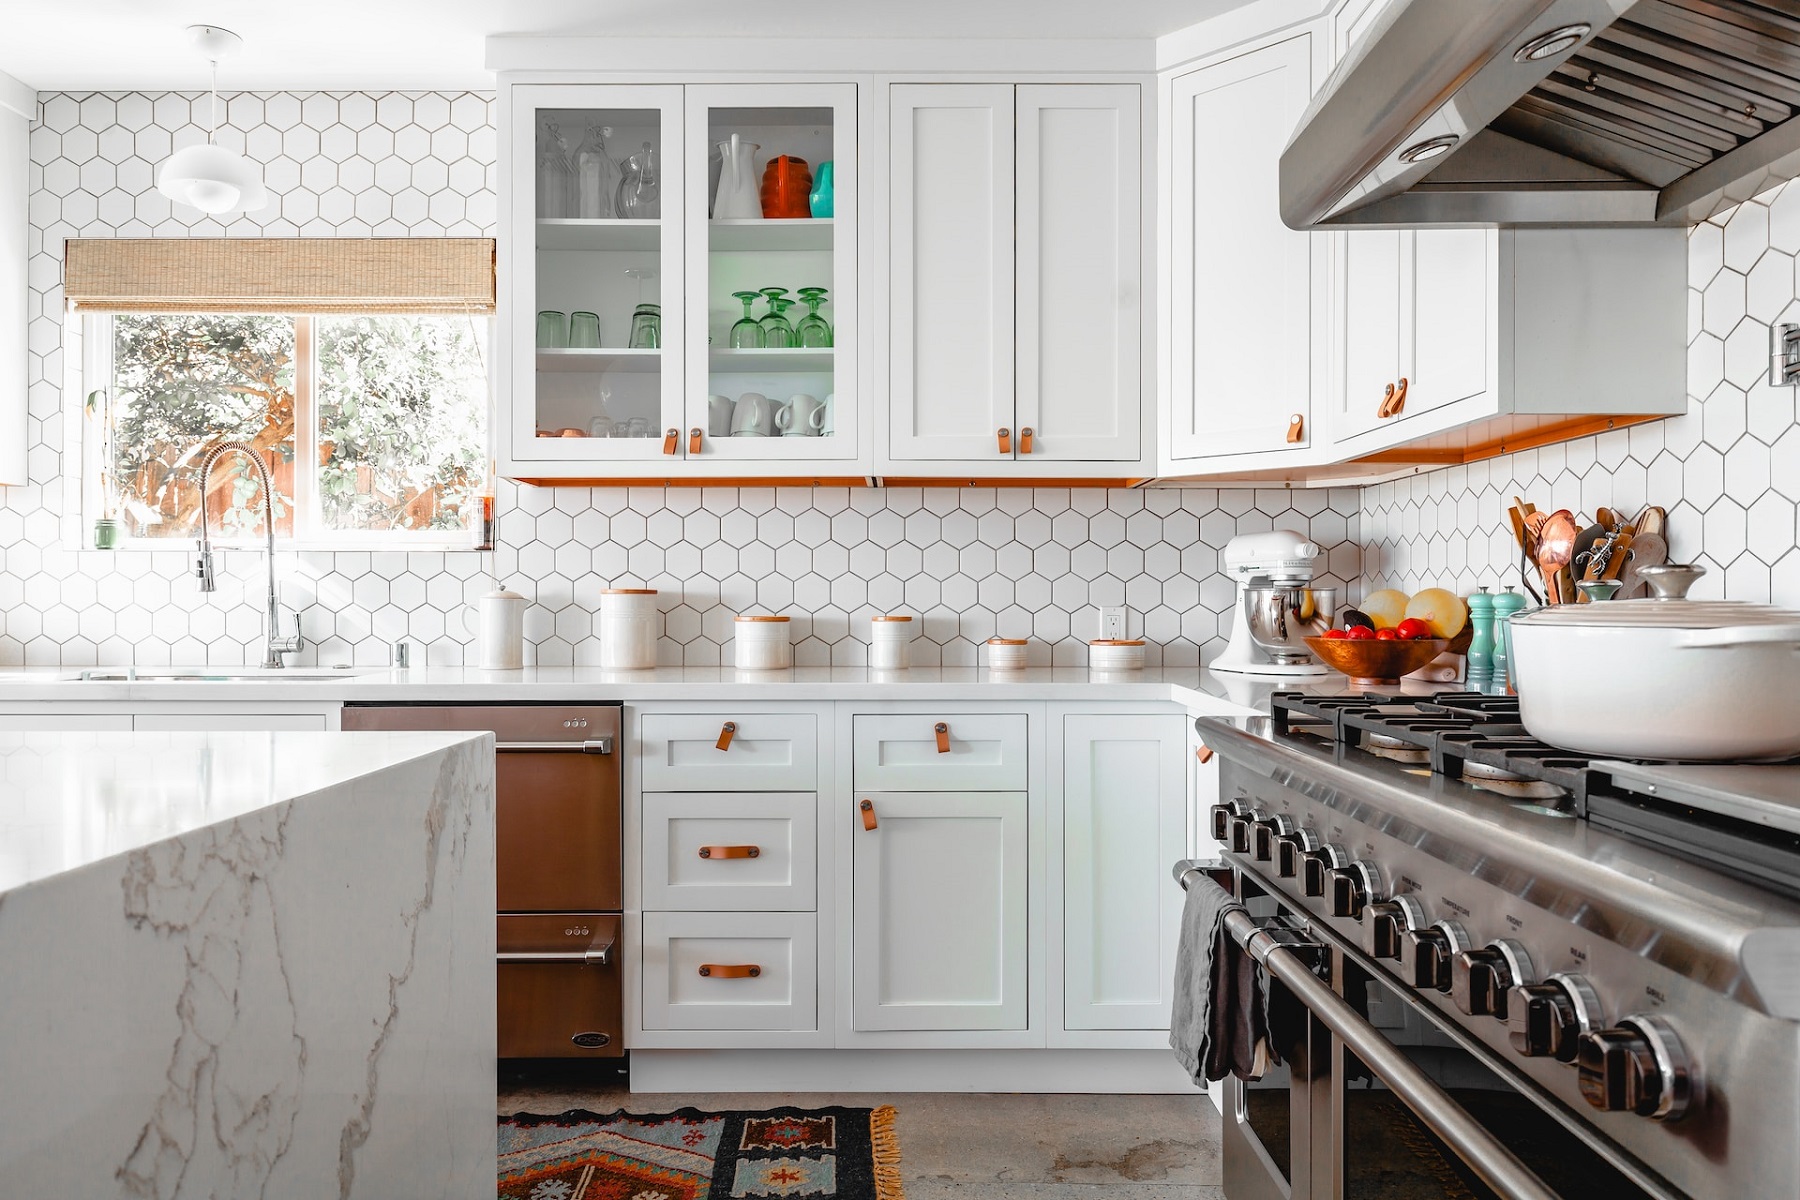
Welcome to our comprehensive guide on how to reface a kitchen cabinet. If you’re looking to give your kitchen a fresh new look without the hassle and expense of a complete cabinet replacement, cabinet refacing is the perfect solution. Refacing your kitchen cabinets involves updating the exterior surfaces while maintaining the existing cabinet structure. It’s a cost-effective and efficient way to transform the overall appearance of your kitchen.
Refacing kitchen cabinets allows you to change the color, style, and finish of your cabinets, giving your kitchen a whole new look. Whether you’re aiming for a modern, traditional, or rustic aesthetic, cabinet refacing provides endless possibilities to personalize your kitchen to suit your taste and style.
This step-by-step guide will walk you through the process of refacing kitchen cabinets, helping you achieve professional-looking results with ease. Let’s get started!
Key Takeaways:
- Transform your kitchen with cabinet refacing, a cost-effective and efficient way to achieve a fresh new look without the hassle of complete replacement. Personalize your space with endless color, style, and hardware options.
- Follow the step-by-step guide to achieve professional-looking results. From gathering supplies to reattaching doors, each step plays a crucial role in achieving a beautiful and durable finish. Enjoy the satisfaction of a stunning kitchen transformation!
Read more: How Much Is Cabinet Refacing
Step 1: Gather Necessary Supplies
Before you begin the cabinet refacing process, it’s important to gather all the necessary supplies. Having everything on hand will ensure a smooth and efficient workflow. Here are the supplies you’ll need:
- Cabinet Refacing Kit: Look for a kit that includes veneer sheets, adhesive, and other refinishing materials.
- Screwdriver: To remove cabinet doors and hardware.
- Sandpaper or Sanding Block: For smoothing out the cabinet surfaces.
- Primer: Helps the paint or stain adhere to the cabinet surfaces.
- Paint or Stain: Choose a color or finish that complements your kitchen design.
- New Cabinet Hardware: Consider updating the handles, knobs, or pulls for a fresh look.
- Paintbrushes or Foam Rollers: For applying primer and paint.
- Drop Cloths or Plastic Sheeting: To protect your kitchen surfaces from paint or stain splatter.
- Tape Measure and Level: Ensures accurate measurements and straight installations.
- Cleaners and Rags: For cleaning and prepping the cabinet surfaces.
- Masking Tape: Helps create clean paint lines and prevent paint bleed.
Take the time to gather all these supplies before starting the cabinet refacing process. This will save you from unnecessary interruptions and allow you to tackle each step seamlessly.
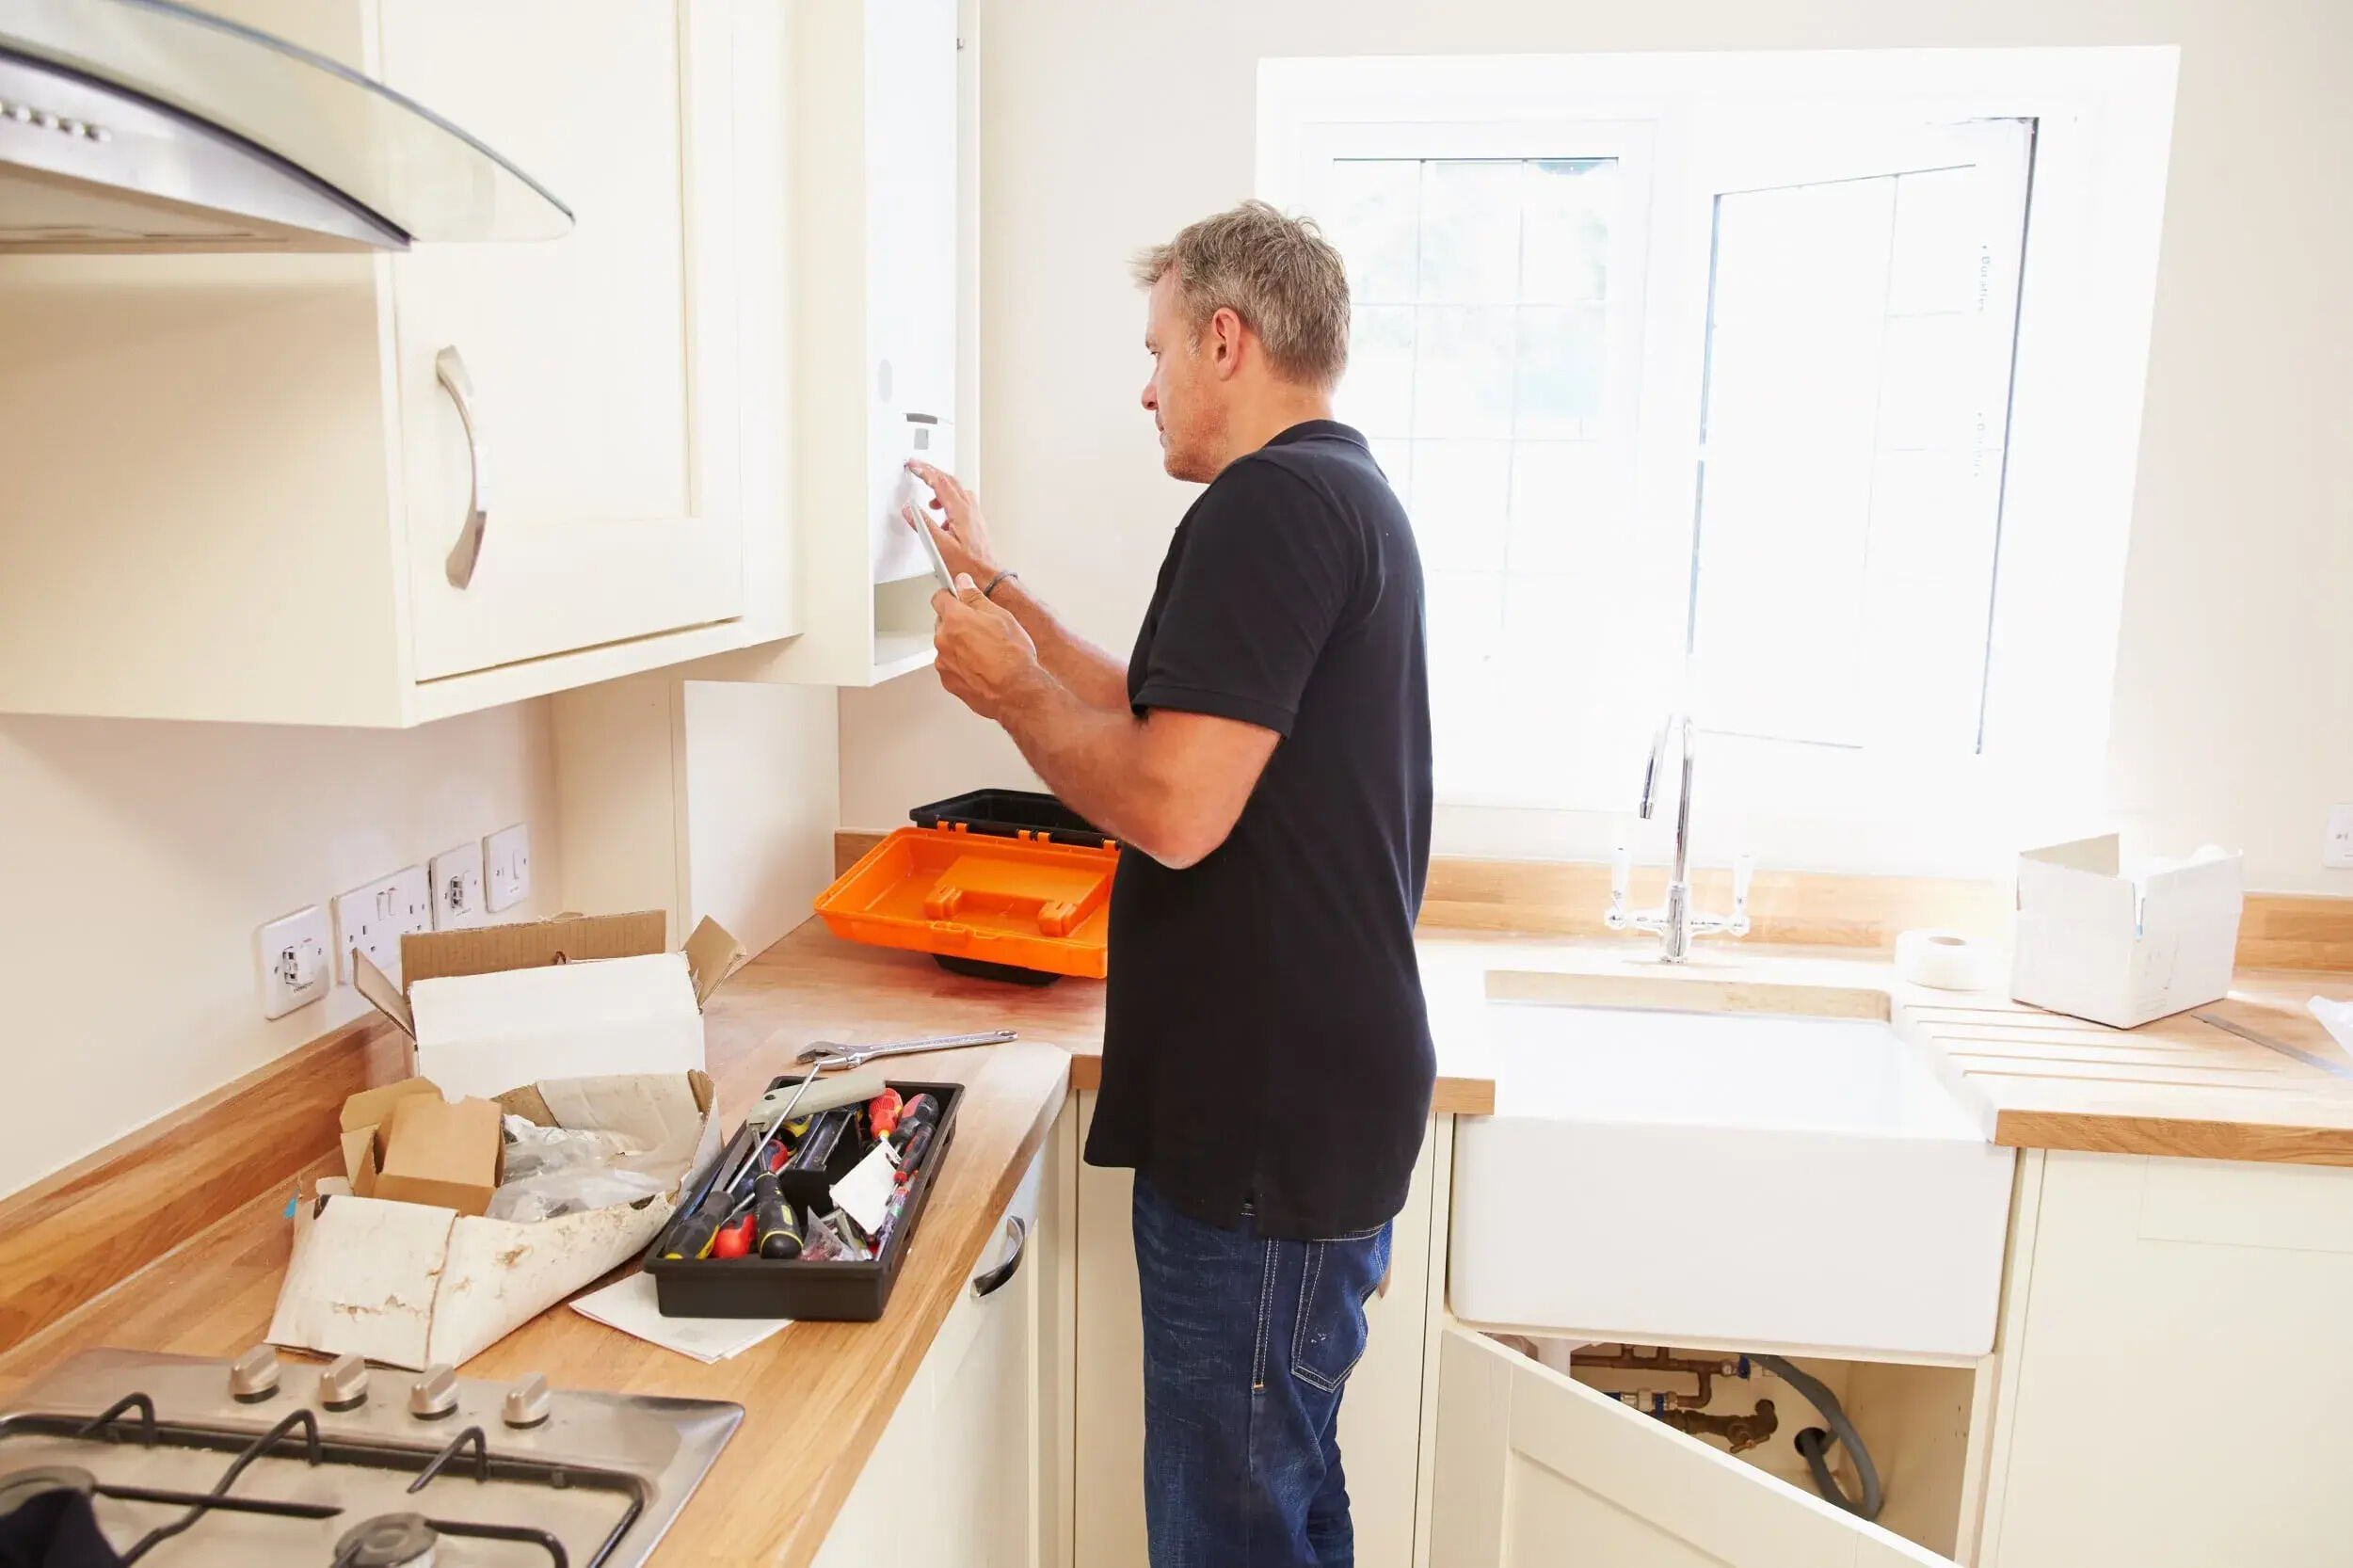
Step 2: Remove Cabinet Doors and Hardware
Now that you have all the necessary supplies, it’s time to begin the cabinet refacing process by removing the cabinet doors and hardware. Follow these steps:
- Start by using a screwdriver to remove the screws that hold the cabinet doors in place. Set aside the screws in a safe place so they don’t get lost.
- Once the screws are removed, carefully lift the cabinet doors off their hinges. It’s helpful to have a second person assist you with this step, especially if the doors are large or heavy.
- Set the cabinet doors aside in a clean and safe area where they won’t get damaged. You may want to label each door to keep track of their respective locations.
- Next, remove any hardware such as handles, knobs, or pulls from the cabinet frames. Use a screwdriver or a drill, depending on the type of hardware, to unscrew and remove them.
- Place the hardware in labeled bags or containers so you can easily find them later when it’s time to reattach them.
By removing the cabinet doors and hardware, you’ll have easier access to the cabinet frames for the next steps of the refacing process. Remember to take caution when handling the doors to avoid any damage.
Step 3: Clean and Prep Cabinet Surfaces
After removing the cabinet doors and hardware, it’s crucial to clean and prep the cabinet surfaces before applying any refinishing materials. Follow these steps:
- Start by using a mild cleaner or degreaser to remove any dirt, grime, or grease buildup on the cabinet surfaces. Wipe down the surfaces with a clean cloth or sponge.
- Once the cabinets are clean, use sandpaper or a sanding block to lightly sand the surfaces. This will help create a smooth surface for the primer and paint or stain to adhere to.
- Sand in the direction of the wood grain, using even and gentle strokes. Avoid applying too much pressure to prevent damaging the cabinet surfaces.
- After sanding, use a clean, damp cloth to remove any dust or debris from the cabinet surfaces. Make sure they are completely dry before moving on to the next step.
- If there are any holes or imperfections on the cabinet surfaces, use wood filler to fill them in. Allow the wood filler to dry according to the manufacturer’s instructions and then sand it smooth.
- Finally, use painter’s tape to cover any areas that you don’t want to be painted or stained, such as adjacent walls, countertops, or flooring. This will create a clean and neat finish.
Cleaning and prepping the cabinet surfaces is a crucial step to ensure proper adhesion of the refinishing materials. Take your time to thoroughly clean and prepare the cabinets for the next steps in the refacing process.
Step 4: Apply Primer to Cabinet Surfaces
With the cabinet surfaces clean and prepped, it’s time to apply primer. Primer helps create a smooth and even base for the paint or stain to adhere to, ensuring a long-lasting and professional finish. Follow these steps:
- Choose a high-quality primer that is specifically designed for use on wood surfaces. There are different types of primers available, such as oil-based or water-based. Follow the manufacturer’s instructions for the best results.
- Start by stirring the primer thoroughly to ensure it is well-mixed. Pour a small amount of primer into a paint tray or container.
- Using a paintbrush or a foam roller, apply a thin and even coat of primer to the cabinet surfaces. Work in small sections, starting from the top and moving downwards.
- Make sure to reach all the nooks and crannies, including the edges and corners of the cabinets. Smooth out any drips or excess primer as you go along.
- Allow the primer to dry completely according to the manufacturer’s instructions. This usually takes a few hours, but it’s best to check the label for the exact drying time.
- After the primer is dry, lightly sand the surfaces with fine-grit sandpaper to remove any roughness or imperfections. Wipe away any dust or debris with a clean cloth.
- Repeat the priming and sanding steps if necessary, depending on the type of primer and the condition of the cabinet surfaces.
Applying primer is an important step to ensure the best adhesion and durability of the paint or stain. Take your time to apply the primer evenly and allow it to dry completely before moving on to the next step.
When refacing kitchen cabinets, consider using peel-and-stick veneer for an easy and cost-effective update. It’s a simple way to give your cabinets a fresh new look without the hassle of a full renovation.
Read more: How To Reface A Brick Fireplace
Step 5: Paint or Stain Cabinet Doors and Frames
Now that the primer is dry and the cabinet surfaces are prepped, it’s time to paint or stain the cabinet doors and frames. This is the step where you can truly transform the look of your kitchen. Follow these steps:
- If you’re painting the cabinet doors and frames, choose a high-quality paint that is specifically designed for use on wood surfaces. Consider using a sprayer for a smooth and professional finish or use a paintbrush or foam roller for a more textured look.
- Before applying paint or stain, stir it thoroughly to ensure it is well-mixed. Pour a small amount of paint or stain into a paint tray or container.
- If you’re staining the cabinet doors and frames, choose a stain that complements the desired color and aesthetics of your kitchen. Test the stain on a small inconspicuous area first to ensure you achieve the desired color.
- Using a paintbrush, foam brush, or clean cloth, apply a thin and even coat of paint or stain to the cabinet doors and frames. Work in small sections, following the grain of the wood.
- Make sure to cover all surfaces, including the edges and corners of the doors and frames. Smooth out any drips or excess paint or stain as you go along.
- Allow the first coat to dry completely according to the manufacturer’s instructions. This typically takes a few hours. You may need to apply additional coats for a more opaque or deeper color.
- Once the final coat is dry, inspect the cabinet doors and frames for any imperfections. Lightly sand any rough areas or blemishes and wipe away any dust or debris.
Painting or staining the cabinet doors and frames is the most transformative step in the refacing process. Take your time, follow the manufacturer’s instructions, and ensure each coat is dry before moving on to the next step.
Step 6: Install New Hardware
Installing new hardware is a simple yet impactful way to enhance the look of your refaced kitchen cabinets. Follow these steps to install the new hardware:
- Start by determining the placement of the new hardware on the cabinet doors and frames. Use a tape measure and level to ensure accurate placement and alignment.
- If the new hardware requires new holes, use a pencil to mark the desired locations. If the hardware aligns with existing holes, skip to the next step.
- Using a drill or screwdriver, carefully create the new holes for the hardware following the marked locations. Take caution not to drill too deep or damage the cabinet surfaces.
- Fit the hardware into the newly created holes or align them with the existing holes. Depending on the type of hardware, you may need to use a screwdriver or a drill to tighten the screws and secure the hardware in place.
- Repeat the installation process for each piece of new hardware on all the cabinet doors and frames.
Installing new hardware is a great way to give your refaced cabinets a fresh and updated look. Take your time during the installation process to ensure that the hardware is secure and aligned properly.
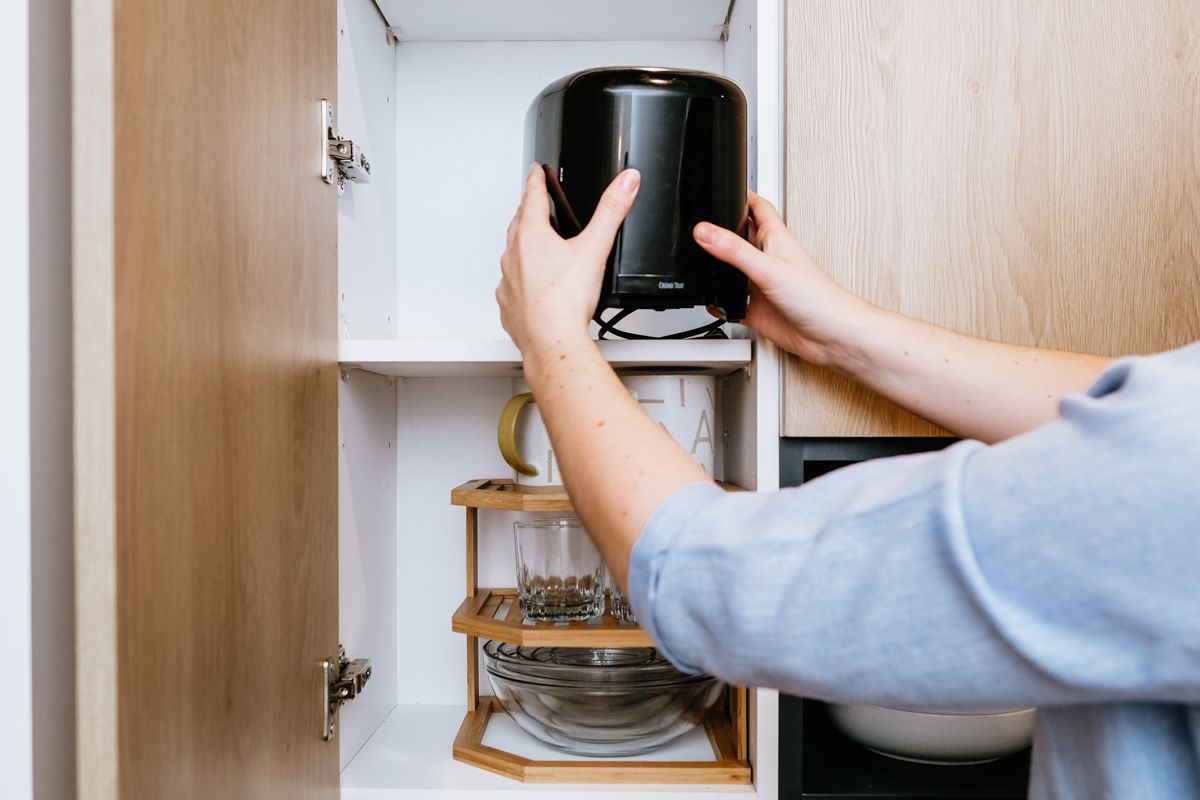
Step 7: Reattach Cabinet Doors
With the cabinet doors freshly refaced and the new hardware installed, it’s time to reattach the doors to the cabinet frames. Follow these steps:
- Start by aligning the hinges on the cabinet doors with the corresponding hinge plates on the cabinet frames.
- Once aligned, insert the hinge screws and tighten them using a screwdriver. Make sure the doors are hanging straight and level.
- Repeat the process for each cabinet door, ensuring that they are all properly aligned and securely attached.
- Test each door by opening and closing them to ensure smooth operation. Make any necessary adjustments to the hinges if needed.
By reattaching the cabinet doors, you bring the refacing process to its final stages. Take your time and ensure that each door is aligned properly and securely fastened to the cabinet frames.
Step 8: Final Touches and Clean Up
With the cabinet doors reattached, it’s time to add the final touches to complete the refacing process. Follow these steps for the finishing touches and clean up:
- Inspect the cabinet doors and frames for any imperfections or touch-ups that may be needed. Use a small brush or foam brush to carefully touch up any areas that require additional paint or stain.
- Remove any painter’s tape that was used to protect adjacent surfaces. Take your time and peel it off slowly to ensure clean lines.
- Wipe down the cabinet surfaces and hardware with a clean, damp cloth to remove any dust or debris that may have accumulated during the refacing process.
- Dispose of any used paint cans, brushes, or other supplies properly according to local regulations.
- Take a step back and admire your newly refaced kitchen cabinets! Enjoy the fresh new look and feel that you have achieved through the refacing process.
With the final touches and clean up complete, you can now fully appreciate the transformation of your kitchen cabinets. Sit back, relax, and enjoy your newly revamped space!
Conclusion
Cabinet refacing is a cost-effective and efficient way to give your kitchen a fresh new look without the hassle and expense of a complete cabinet replacement. By following the steps outlined in this guide, you can achieve professional-looking results and transform the overall appearance of your kitchen.
From gathering the necessary supplies to reattaching the cabinet doors, every step of the refacing process plays a crucial role in achieving the desired outcome. Taking the time to clean and prep the cabinet surfaces, applying primer, and choosing the right paint or stain will ensure a beautiful and durable finish.
Don’t forget to pay attention to the small details, such as installing new hardware and adding the finishing touches. These final steps can make a significant impact on the overall aesthetics of your kitchen cabinets.
Remember, cabinet refacing allows you to personalize your kitchen to suit your taste and style. Whether you’re aiming for a modern, traditional, or rustic look, the possibilities are endless when it comes to choosing paint colors, stains, and hardware.
By following this comprehensive guide, you can confidently embark on your cabinet refacing journey and create a stunning kitchen that reflects your personal style. Enjoy the satisfaction of transforming your space without breaking the bank. Happy refacing!
Frequently Asked Questions about How To Reface A Kitchen Cabinet
Was this page helpful?
At Storables.com, we guarantee accurate and reliable information. Our content, validated by Expert Board Contributors, is crafted following stringent Editorial Policies. We're committed to providing you with well-researched, expert-backed insights for all your informational needs.


0 thoughts on “How To Reface A Kitchen Cabinet”