Home>Storage Ideas>Kitchen Storage>How Are Kitchen Cabinets Refaced? Your Questions Answered
Kitchen Storage
How Are Kitchen Cabinets Refaced? Your Questions Answered
Modified: February 26, 2024
Find out everything you need to know about kitchen cabinet refacing, including answers to your top questions. Get inspired with kitchen storage ideas!
(Many of the links in this article redirect to a specific reviewed product. Your purchase of these products through affiliate links helps to generate commission for Storables.com, at no extra cost. Learn more)
Introduction
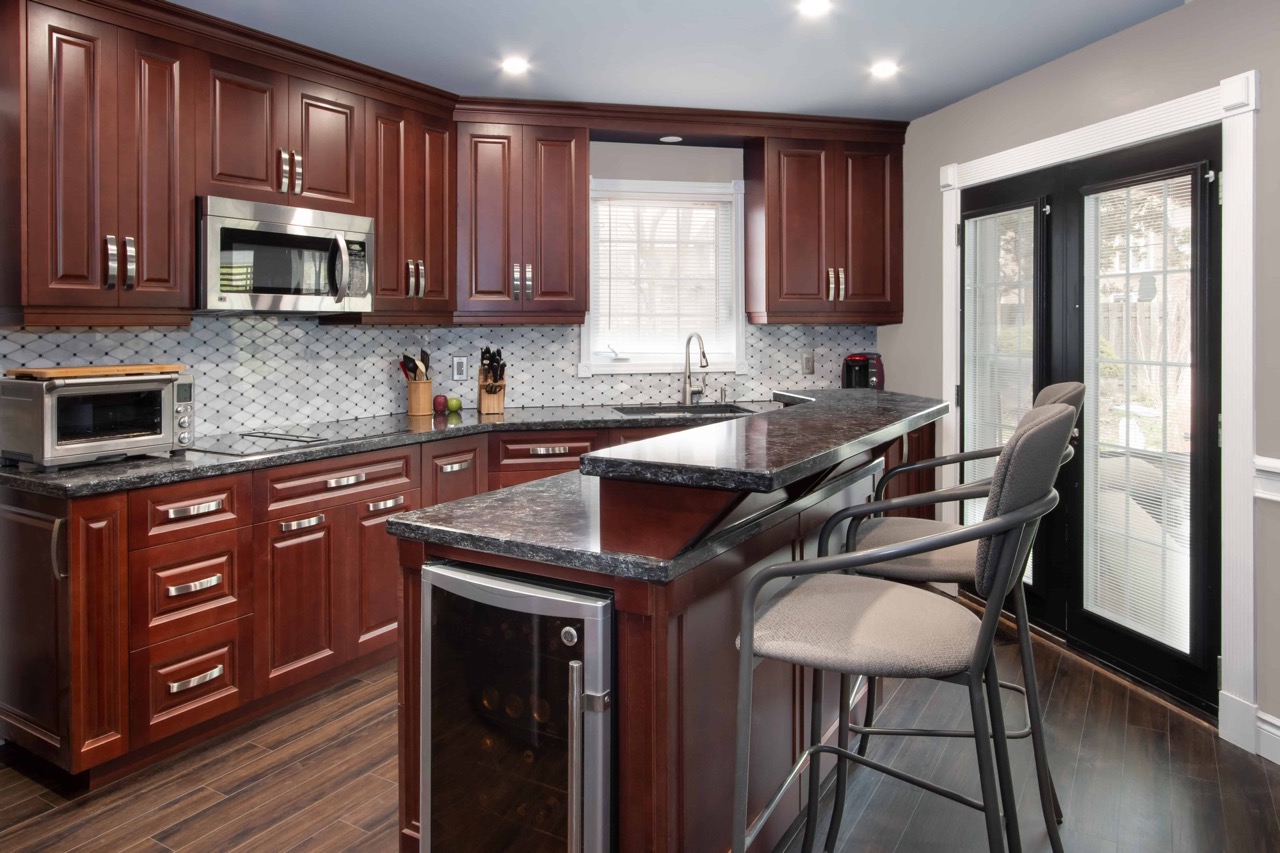
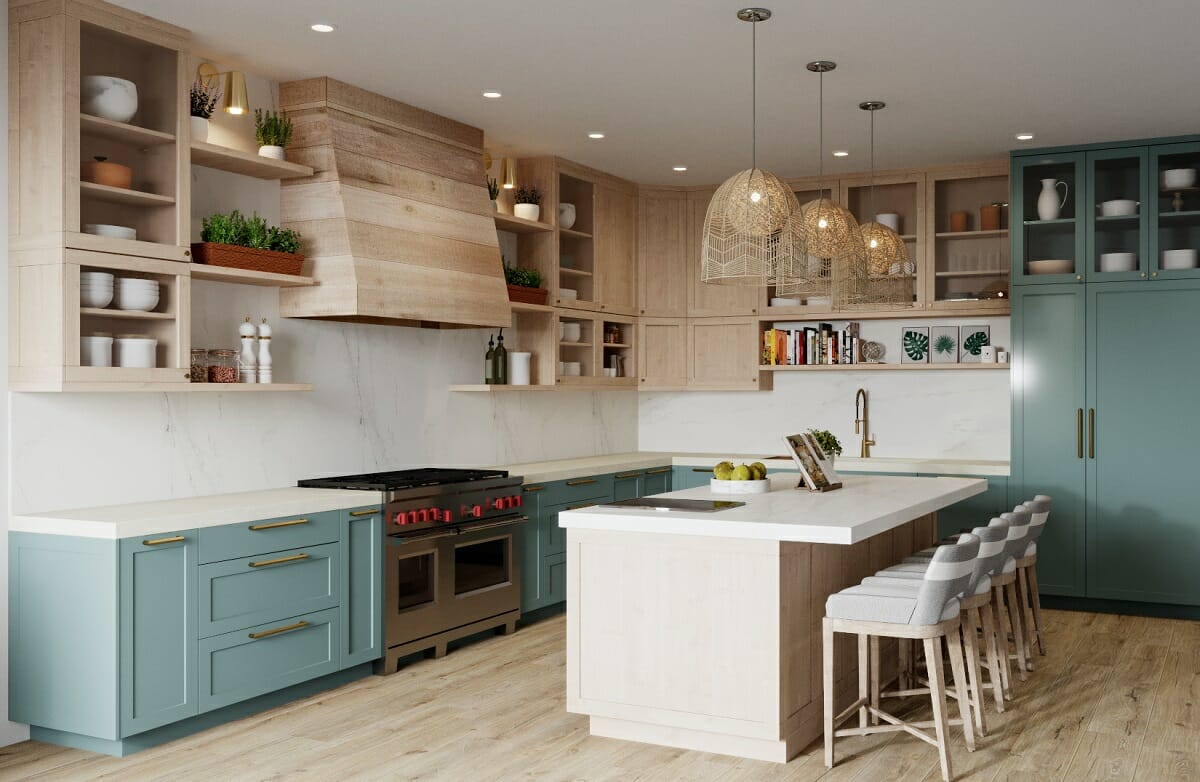
Welcome to the world of kitchen cabinet refacing! If you’re looking to give your kitchen a fresh new look without the cost and hassle of a complete renovation, cabinet refacing is the perfect solution. This process involves updating the exterior of your cabinets while keeping the existing cabinet boxes intact. By replacing the cabinet doors and drawer fronts, and applying new laminate or veneer to the cabinet surfaces, you can transform the appearance of your kitchen in a cost-effective and efficient way.
Many homeowners choose cabinet refacing over full replacements because it allows them to achieve a beautiful, customized look at a fraction of the cost. Not only does refacing save you money, but it also saves you time and minimizes the disruption to your daily routine. In just a matter of days, you can completely revamp the look of your kitchen and create a space that reflects your personal style and preferences.
In this article, we’ll explore the process of kitchen cabinet refacing in detail, from understanding the basics to the step-by-step instructions. We’ll also discuss the tools and materials you’ll need, the benefits of cabinet refacing, and some maintenance tips to keep your newly refaced cabinets looking their best.
So, if you’re ready to give your kitchen a fresh new look without the hefty price tag, let’s dive into the world of kitchen cabinet refacing!
Key Takeaways:
- Give your kitchen a fresh new look with cabinet refacing, a cost-effective and time-saving alternative to full cabinet replacements. Enjoy customizable options and minimal disruption to your daily routine.
- Properly prepare and maintain your refaced cabinets for long-lasting beauty. Add finishing touches, implement regular cleaning, and preventive maintenance to keep your kitchen looking fresh and stylish.
Understanding Cabinet Refacing
Cabinet refacing is a process that involves updating the visible parts of your kitchen cabinets, such as the doors, drawer fronts, and external surfaces. It is an excellent alternative to a full cabinet replacement, as it can completely transform the look of your kitchen without the need for extensive construction or demolition.
When you choose to reface your cabinets, you’re essentially giving them a facelift. The cabinet boxes themselves remain intact, and only the exterior elements are replaced or upgraded. This means that the existing cabinet layout and structure remain the same, saving you time, money, and the hassle of a complete kitchen overhaul.
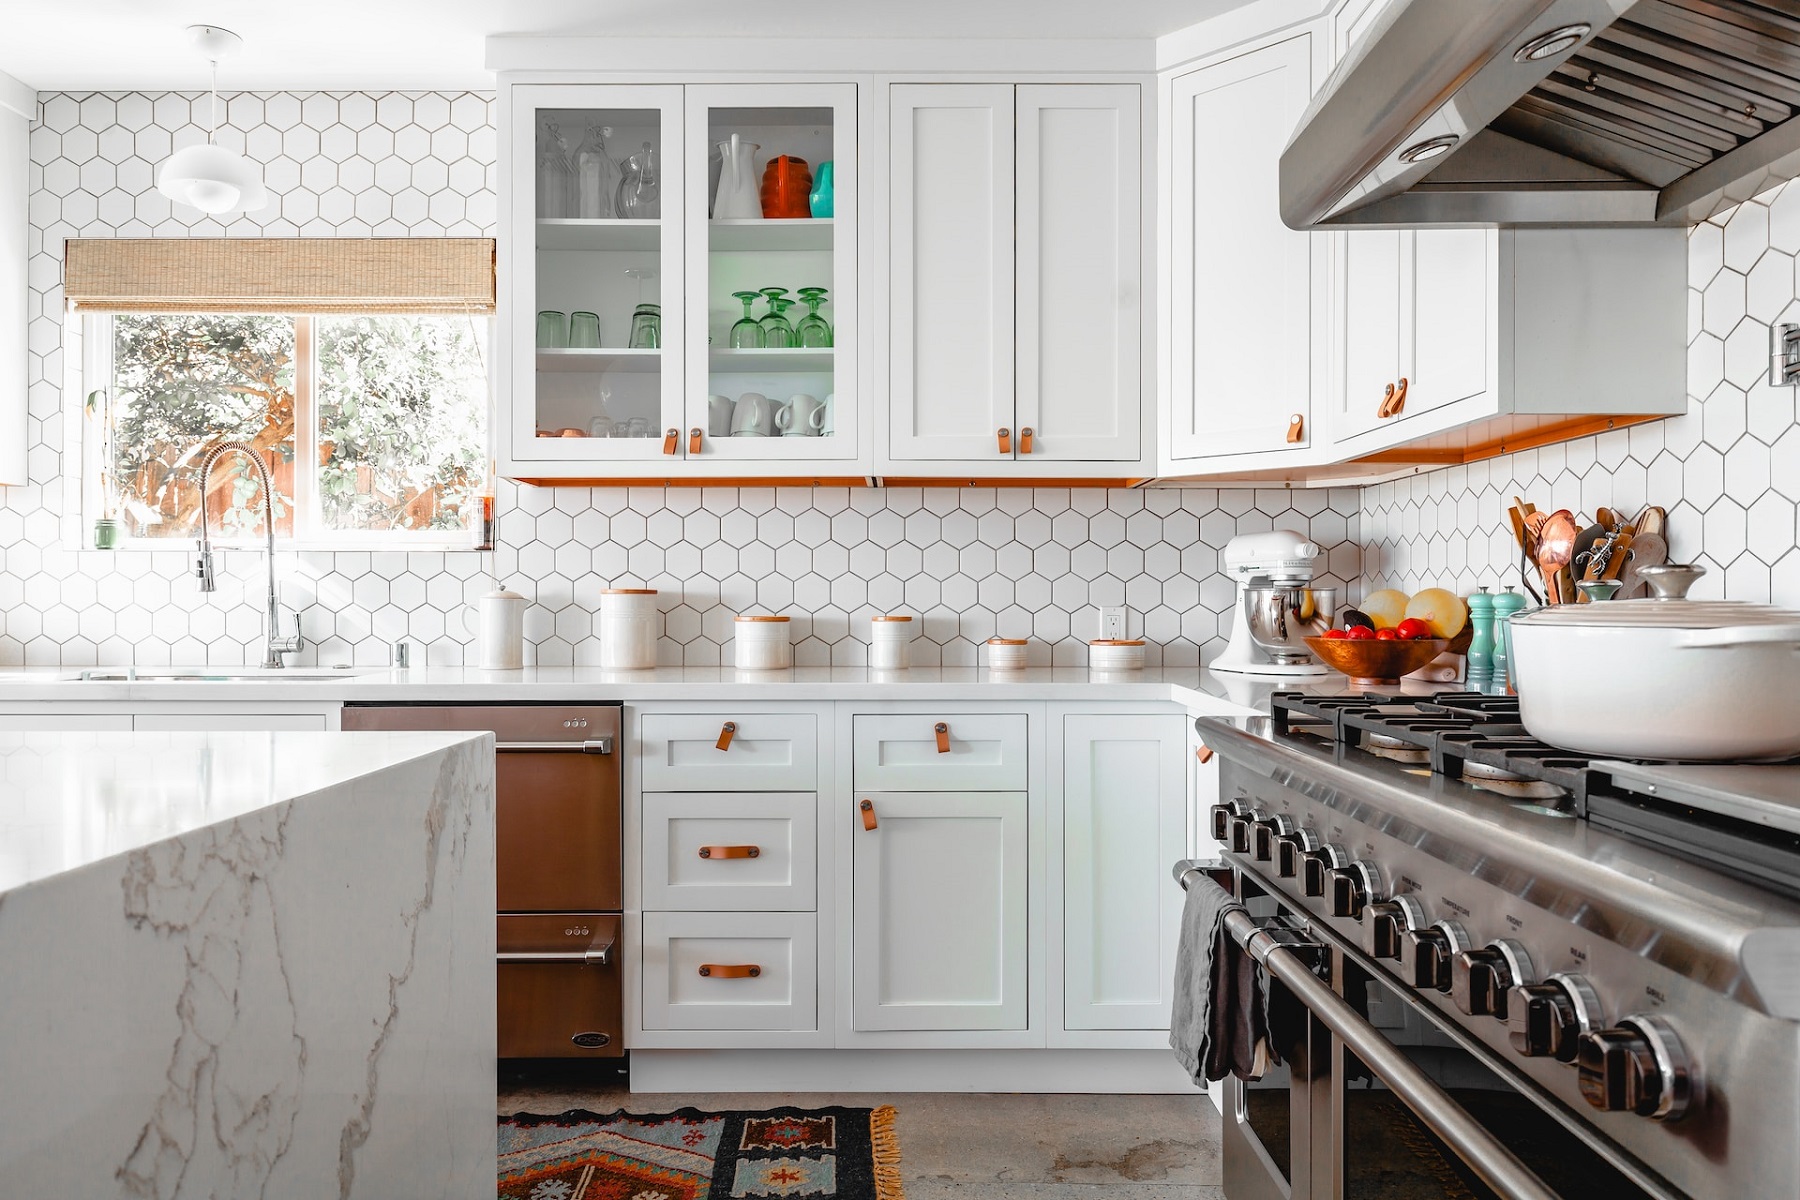
During the cabinet refacing process, you have the option to choose new cabinet doors and drawer fronts that match your desired style. There are a variety of materials available, including wood, laminate, and veneer. You can also select from a range of colors and finishes to complement your kitchen’s décor and personal taste.
In addition to updating the doors and drawer fronts, you can also replace the hardware, such as handles, knobs, and hinges. This small change can make a significant difference in the overall aesthetic of your cabinets.
It’s important to note that cabinet refacing is suitable for cabinets that are in good structural condition. If your cabinets are showing signs of extensive wear and tear, or if they have significant structural issues, it may be necessary to consider a full cabinet replacement instead.
Overall, cabinet refacing offers homeowners an affordable and efficient way to achieve a fresh, updated look for their kitchen cabinets. It provides an opportunity to personalize the design, improve functionality, and enhance the overall aesthetics of the kitchen space.
Benefits of Cabinet Refacing
Cabinet refacing offers numerous benefits for homeowners who want to give their kitchen a makeover without the cost and effort of a full renovation. Here are some of the key advantages of choosing cabinet refacing:
- Cost-Effective: Cabinet refacing is a more affordable option compared to replacing the entire cabinets. By keeping the existing cabinet boxes and simply updating the external elements, you can save a significant amount of money on materials and labor.
- Time-Saving: Refacing cabinets is a quicker process compared to a full cabinet replacement. Instead of weeks or even months of construction and installation, cabinet refacing can be completed in just a matter of days. This means less disruption to your household and a faster turnaround time.
- Eco-Friendly: By choosing to reface your cabinets instead of replacing them, you’re reducing waste and contributing to a more sustainable approach to home improvement. Refacing helps minimize the amount of material that ends up in landfills, making it an environmentally friendly choice.
- Customizable Options: Cabinet refacing allows you to personalize the look of your kitchen. With a wide range of materials, colors, finishes, and hardware options available, you can create a customized design that fits your style and preferences perfectly.
- Minimal Disruption: Unlike a full cabinet replacement, cabinet refacing involves minimal disruption to your kitchen. Since the cabinet boxes remain intact, there is no need to remove or reinstall the plumbing, electrical wiring, or countertops. This makes the refacing process less invasive and easier to manage.
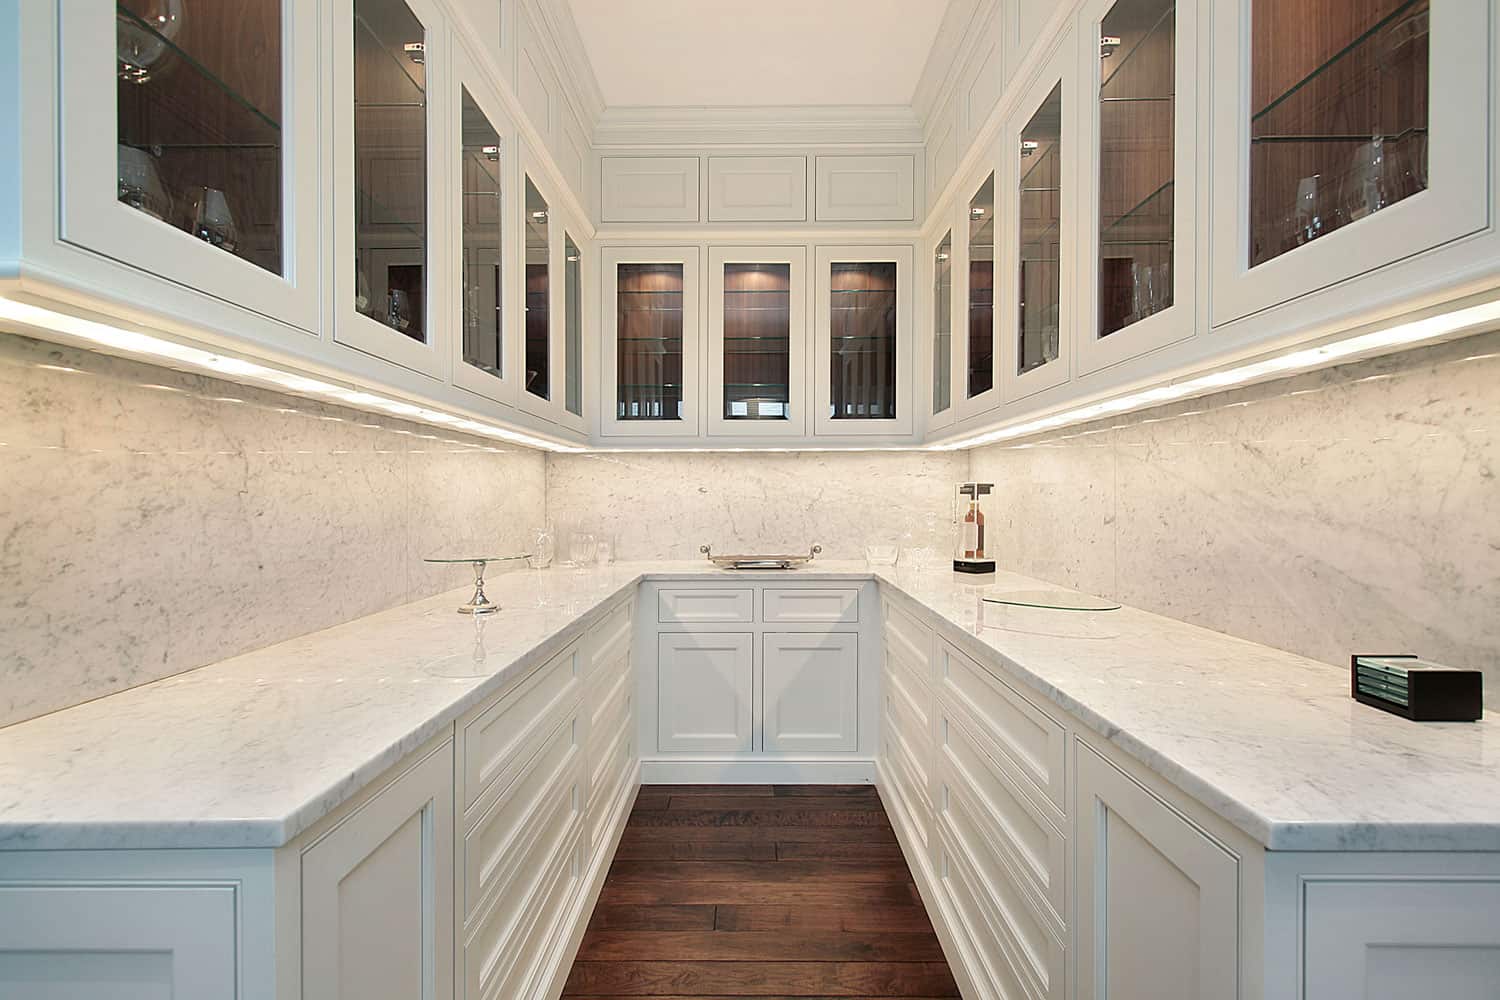
- Improved Aesthetics: One of the main reasons homeowners choose cabinet refacing is to give their kitchen a fresh new look. By updating the doors, drawer fronts, and surfaces, you can transform the appearance of your cabinets and create a more modern, stylish, or cohesive design.
- Increased Home Value: Refacing your cabinets can have a positive impact on the value of your home. A well-designed and updated kitchen is a major selling point for potential buyers, and cabinet refacing can contribute to a more attractive and appealing kitchen space.
Overall, cabinet refacing offers an affordable, efficient, and customizable solution for homeowners who want to refresh their kitchen cabinets. It combines cost savings, reduced construction time, eco-friendly practices, and the ability to create a personalized design. If you’re looking to update your kitchen, cabinet refacing may be the perfect option for you.
Tools and Materials Needed
Before embarking on a cabinet refacing project, it’s essential to gather the necessary tools and materials. Having the right equipment will ensure that the process runs smoothly and efficiently. Here’s a list of the tools and materials you’ll need:
Tools:
- Drill
- Screwdriver
- Clamps
- Jigsaw or circular saw
- Sander or sandpaper
- Putty knife
- Paintbrush or paint roller
- Tape measure
Materials:
- New cabinet doors and drawer fronts
- Laminate or veneer sheets
- Adhesive or contact cement
- Edge banding
- New hardware (handles, knobs, hinges)
- Paint or stain (if desired)
- Cleaner or degreaser
- Sandpaper (various grits)
- Wood filler or putty
- Primer
- Paint or stain finish
When selecting new cabinet doors and drawer fronts, consider the style and material that will complement your kitchen’s design. Whether you choose solid wood, laminate, or thermofoil, make sure they are the correct size to fit your current cabinet boxes.
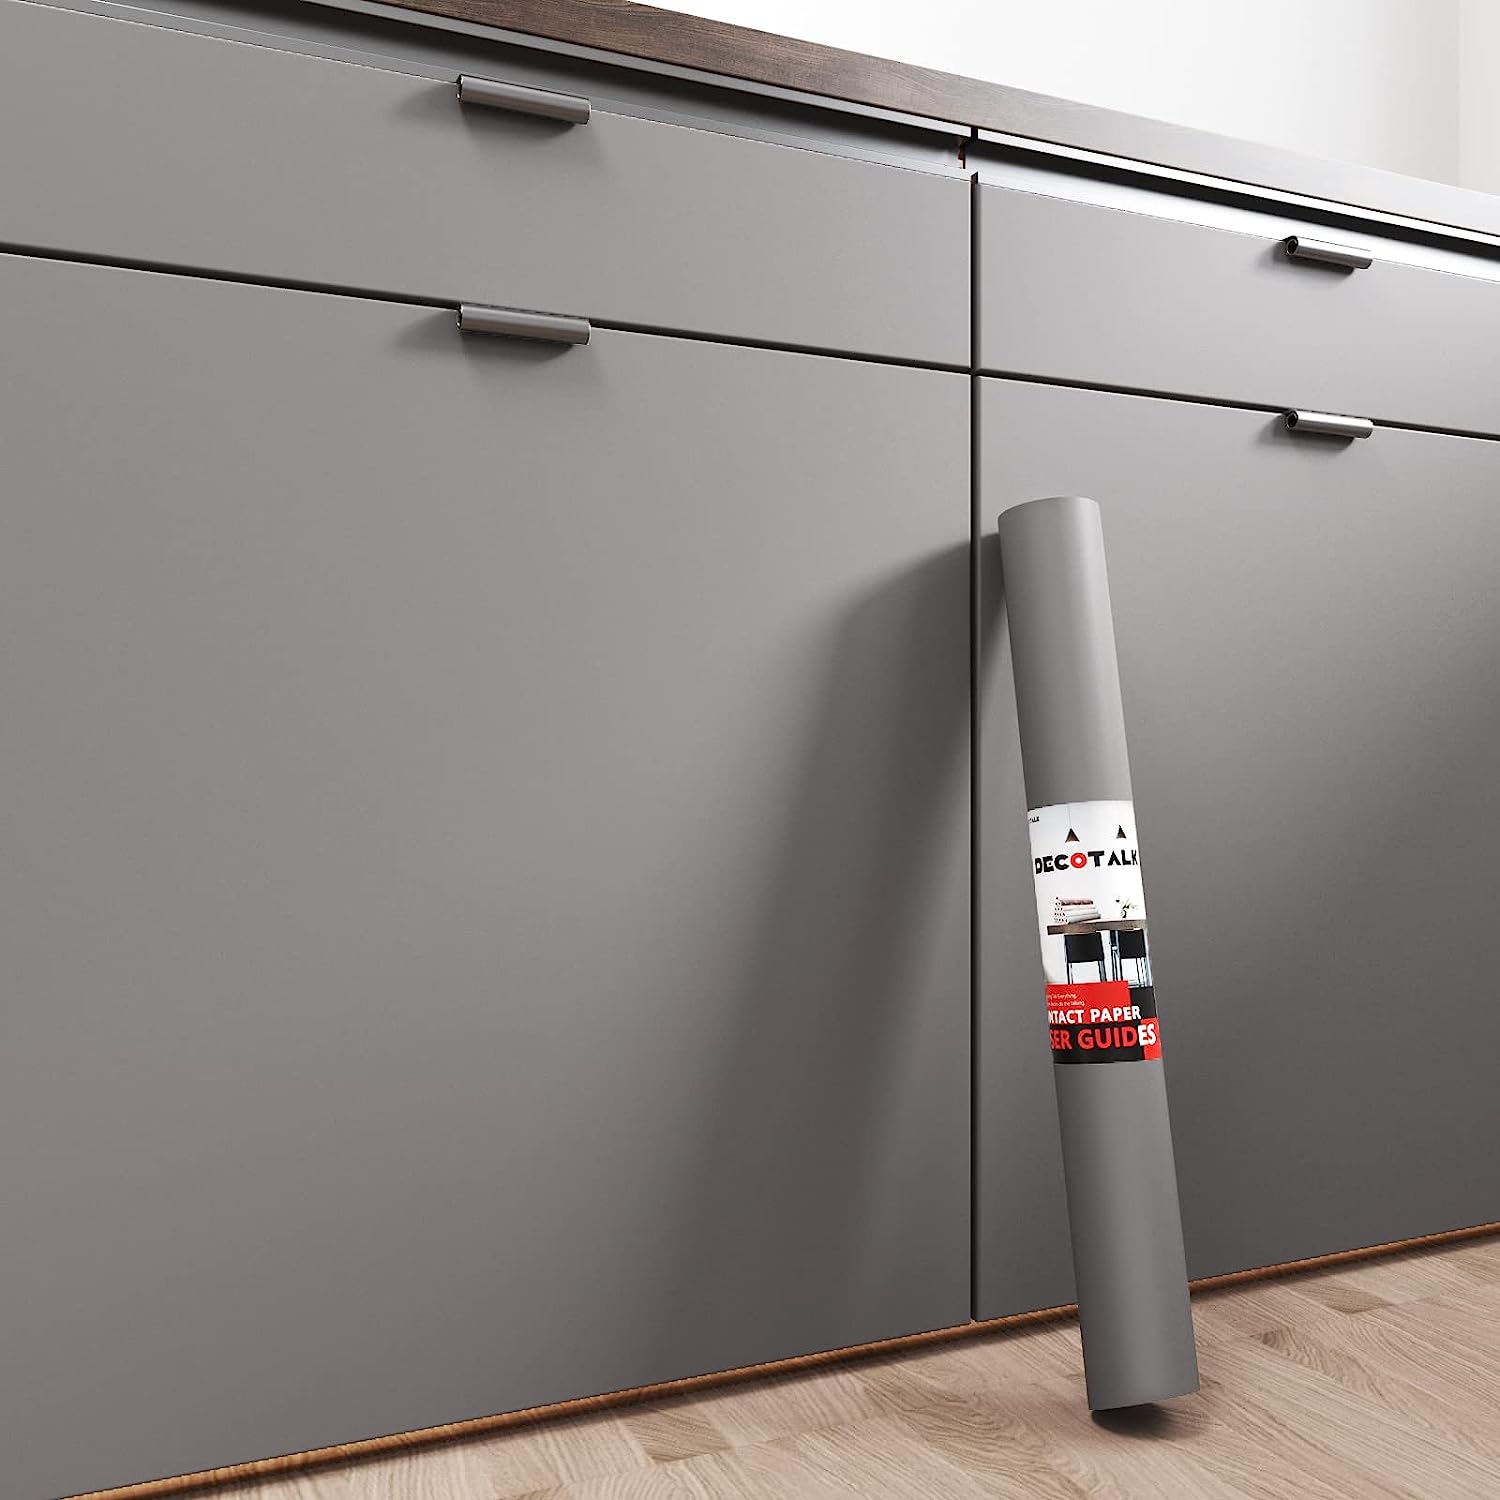
The laminate or veneer sheets will be used to cover the existing cabinet surfaces. Choose a color or pattern that matches your desired aesthetic and ensure that there is enough material to cover all the cabinet surfaces.
Adhesive or contact cement is necessary to secure the laminate or veneer sheets to the cabinet surfaces. Make sure to choose an adhesive that is specifically designed for this purpose.
Edge banding is used to cover the exposed edges of the laminate or veneer sheets. It ensures a clean and finished look and adds durability to the refaced cabinets.
When it comes to hardware, select handles, knobs, and hinges that not only complement the new cabinet doors but also enhance the overall aesthetic of your kitchen.
In addition to the mentioned materials, you may also require painter’s tape, drop cloths or plastic sheets to protect surrounding areas, and a dust mask or safety goggles to ensure your safety throughout the process.
By gathering these tools and materials in advance, you’ll be well-prepared to tackle your cabinet refacing project. Remember to double-check your measurements and plan the process carefully to yield the best results.
Step-by-step Process of Kitchen Cabinet Refacing
Refacing your kitchen cabinets can be a rewarding DIY project that transforms the look of your kitchen. Here’s a step-by-step guide to help you through the process:
- Prepare the Cabinets: Empty the cabinets and remove all items from the shelves. Use painter’s tape to protect the surrounding areas and lay down drop cloths or plastic sheets to catch any debris or spills.
- Remove Cabinet Doors and Hardware: Using a screwdriver or drill, remove all cabinet doors, drawer fronts, and hardware such as handles, knobs, and hinges. Keep the hardware organized and labeled for easy reinstallation later.
- Clean and Sand the Cabinet Surfaces: Clean the cabinet boxes, doors, and drawer fronts thoroughly with a cleaner or degreaser to remove any built-up grime or grease. Once dry, sand the surfaces lightly to create a rough texture that helps the adhesive or contact cement bond effectively.
- Apply New Laminate or Veneer: Measure and cut the laminate or veneer sheets to fit the cabinet surfaces. Apply adhesive or contact cement to both the cabinet surfaces and the back of the laminate/veneer. Carefully place the laminate/veneer onto the cabinet surfaces, starting from one end and using a roller or flat object to smooth out any air bubbles or wrinkles.
- Attach Edge Banding: Cut the edge banding to the appropriate lengths and apply it to the exposed edges of the cabinet boxes and doors. Use clamps or tape to hold the edge banding in place until the adhesive sets.
- Reattach Cabinet Doors and Hardware: Once the adhesive has fully dried, reattach the cabinet doors, drawer fronts, and hardware. Make sure to align the doors properly and tighten all screws and hinges securely.
- Final Touches and Maintenance Tips: If desired, apply a fresh coat of paint or stain to the cabinet doors and drawer fronts. This can further enhance the appearance of your newly refaced cabinets. Additionally, regularly clean the cabinets with a mild cleaner and avoid using abrasive materials or harsh chemicals that can damage the refaced surfaces.
Throughout the process, take your time and pay attention to detail. Double-check measurements, ensure proper alignment, and allow sufficient drying time for adhesives and finishes.
Remember, if you’re unsure or uncomfortable with any step of the refacing process, it’s always a good idea to consult a professional. They can offer guidance, recommendations, and expertise to ensure a successful cabinet refacing project.
Read more: What Is Cabinet Refacing
Preparing the Cabinets for Refacing
Before you begin the process of refacing your kitchen cabinets, it’s crucial to properly prepare them. Taking the time to prepare the cabinets will ensure that the refacing materials adhere well and that you achieve the best possible results. Here are the necessary steps for preparing the cabinets for refacing:
- Empty the Cabinets: Remove all items from the cabinets and clear out any clutter. This will allow you to have unrestricted access to the cabinet surfaces during the refacing process.
- Protect Surrounding Areas: Use painter’s tape to protect the surrounding walls, countertops, and any other surfaces that are not being refaced. This will prevent any accidental damage from adhesives, sanding, or painting.
- Remove Cabinet Doors and Hardware: Using a screwdriver or drill, carefully remove the cabinet doors, drawer fronts, and all hardware, including handles, knobs, and hinges. Place the hardware in labeled bags or containers to keep them organized for later reinstallation.
- Thoroughly Clean the Cabinets: Clean the cabinet boxes, doors, and drawer fronts with a mild cleaner or degreaser to remove any dirt, grime, or residue. Pay extra attention to areas around the stove, sink, and food preparation surfaces. Make sure to let them dry completely before moving on to the next step.
- Sand the Cabinet Surfaces: Using sandpaper or a sander, lightly sand the cabinet surfaces. This step helps to roughen the surface, allowing the adhesive or contact cement to bond more effectively. Sand in the direction of the wood grain, being careful not to apply too much pressure or sand too aggressively.
- Fill any Holes or Imperfections: Inspect the cabinets for any holes, cracks, or imperfections. Use wood filler or putty to fill these areas, smoothing them out with a putty knife. Allow the filler to dry completely and then sand it down until it is flush with the surrounding surface.
- Clean the Surfaces Again: After sanding and filling, it’s important to clean the cabinets once more to remove any dust or debris. Wipe down the surfaces with a damp cloth and make sure they are free from any loose particles before proceeding with the refacing materials.
By following these steps, you’ll ensure that the cabinet surfaces are clean, smooth, and ready to accept the new laminate or veneer. Properly preparing the cabinets sets the foundation for a successful and long-lasting cabinet refacing project.
Take the time to complete each step thoroughly and be patient during the preparation process. This will ultimately contribute to achieving professional-looking results and a beautiful new appearance for your kitchen cabinets.
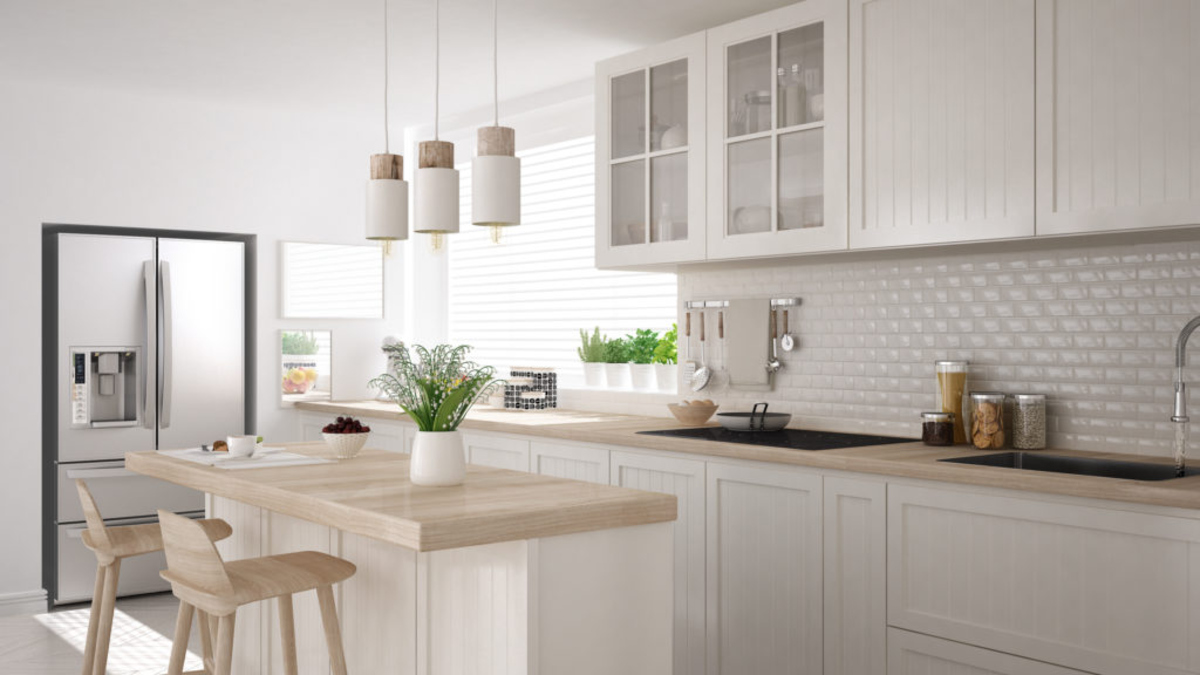
When refacing kitchen cabinets, consider options like replacing cabinet doors and drawer fronts, applying a veneer to the cabinet boxes, and updating hardware for a fresh look.
Removing Cabinet Doors and Hardware
To begin the cabinet refacing process, it’s essential to remove the cabinet doors and hardware. This step allows for easier access to the cabinet boxes and ensures a smooth and seamless refacing process. Here’s a step-by-step guide on how to remove the cabinet doors and hardware:
- Gather the Necessary Tools: Before you begin, ensure you have the appropriate tools on hand. A screwdriver or a drill with the appropriate bit will be needed to remove the screws holding the doors and hardware in place.
- Empty the Cabinets: Remove all items from the cabinets, including dishes, cookware, and any other belongings. It’s best to have the cabinets empty to avoid any potential damage or obstacles during the removal process.
- Identify the Hinges: Take note of the type of hinges used on your cabinet doors. Common types include overlay hinges, inset hinges, and European-style hinges. This will help you determine the specific steps needed to remove them.
- Remove the Hinge Screws: Using a screwdriver or drill, unscrew the screws that secure the hinges to the cabinet boxes. Depending on the hinge type, you may need to remove screws from both the cabinet side and the door side of the hinge. Be sure to keep track of the screws as they will be needed for reinstallation later.
- Release the Door from the Hinges: With the hinge screws removed, gently lift the cabinet door away from the cabinet box. The door may still be attached by temporary clips or magnetic catches, so check for any additional connections and release them as necessary.
- Label and Store the Cabinet Doors: To avoid confusion during the refacing process, label each cabinet door according to its corresponding position. This will ensure that each door is reinstalled in its original location. Store the doors in a safe and clean area where they won’t be damaged.
- Remove Drawer Fronts and Hardware: If your kitchen cabinets include drawers, follow the same steps to remove the drawer fronts. Remove any screws or hardware securing the drawer fronts to the drawer boxes. Just like with the cabinet doors, label each drawer front and store them in a safe place.
- Remove Hardware: To complete the removal process, unscrew and remove any hardware such as handles, knobs, and hinges. Place the hardware in labeled bags or containers to keep them organized for later reinstallation.
It’s important to handle the cabinet doors and hardware with care during removal to prevent any damage. Take your time and make sure to keep track of all screws and hardware for an easy reinstallation later.
By properly removing the cabinet doors and hardware, you’ll be ready to move on to the next steps of the cabinet refacing process and achieve a fresh new look for your kitchen cabinets.
Cleaning and Sanding the Cabinet Surfaces
Once you’ve removed the cabinet doors and hardware, it’s time to clean and sand the cabinet surfaces. Properly cleaning and sanding the surfaces ensures that the new laminate or veneer will adhere well and provide a smooth, flawless finish. Follow these steps to clean and sand the cabinet surfaces effectively:
- Clean the Cabinet Surfaces: Use a mild cleaner or degreaser and a clean cloth or sponge to thoroughly clean the cabinet surfaces. Pay special attention to areas around the stove, sink, and food preparation areas, as these tend to accumulate more grease and grime. Wipe down the surfaces, removing any dirt or residue, and allow them to dry completely.
- Prepare the Sandpaper: Choose the appropriate grit sandpaper for the job. For initial sanding, start with a medium-grit sandpaper, such as 120 or 150. If the surfaces are in good condition, you can use a finer grit, such as 220, for a smoother finish. Attach the sandpaper to a sanding block or use a sanding machine if preferred.
- Sand the Cabinet Surfaces: Begin sanding the cabinet surfaces using long, smooth strokes, following the natural grain of the wood. Apply moderate pressure to remove any existing finish, smooth out imperfections, and create a rough surface that will promote better adhesion of the new laminate or veneer. Make sure to cover all visible surfaces, including the cabinet boxes, doors, and drawer fronts. Sand the surface evenly, checking for any remaining spots or rough areas.
- Remove Sanding Residue: After sanding, use a clean cloth or a vacuum cleaner with a brush attachment to remove any sanding residue or dust. It’s essential to have a clean, debris-free surface to ensure proper adhesion of the new laminate or veneer.
- Smooth the Surface: If desired, you can perform a final sanding with a fine-grit sandpaper, such as 220, to achieve an even smoother surface before applying the new laminate or veneer. This step is optional but can enhance the overall finish.
Properly cleaning and sanding the cabinet surfaces is crucial for achieving professional-looking results. Take your time during this process and ensure that all surfaces are smooth, clean, and free from debris. Maintaining a dust-free environment will contribute to better adhesion and a flawless finish for your refaced cabinets.
Once the cleaning and sanding steps are complete, you’re ready to move on to the next phase of the cabinet refacing process, which involves applying the new laminate or veneer to transform the appearance of your cabinets.
Applying New Laminate or Veneer
Applying new laminate or veneer is a crucial step in the cabinet refacing process. It is what gives your cabinets a fresh new look and transforms the overall appearance of your kitchen. Follow these steps to apply the new laminate or veneer successfully:
- Measure and Cut the Laminate or Veneer: Measure the dimensions of your cabinet surfaces carefully, taking into account any necessary allowances for overhang. Using a utility knife or a circular saw, cut the laminate or veneer sheets to fit the measured dimensions.
- Prepare the Surfaces: Prior to applying the new laminate or veneer, clean the cabinet surfaces once again to remove any dust or debris. Ensure that the surfaces are completely dry before proceeding.
- Apply Adhesive: Apply a thin, even layer of adhesive or contact cement to both the cabinet surfaces and the back of the laminate or veneer sheets. Use a paint roller or a brush to achieve a smooth, consistent coat of adhesive. Pay attention to the edges and corners of the cabinet surfaces.
- Place and Smooth the Laminate or Veneer: Carefully place the laminate or veneer sheets onto the cabinet surfaces. Start from one end and press firmly, moving your hands across the surface to eliminate any air bubbles or wrinkles. Use a roller or a flat, smooth object to ensure proper adhesion and a uniform finish. Work slowly and meticulously to avoid any misalignment or mistakes. If necessary, trim any excess material along the edges using a utility knife.
- Attach Edge Banding: Cut edge banding strips to the appropriate lengths and apply them to the exposed edges of the cabinet boxes and doors. Use clamps or tape to hold the edge banding in place until the adhesive sets. This step enhances the durability and visual appeal of the refaced cabinets.
- Allow the Adhesive to Set: Follow the manufacturer’s instructions to determine the recommended drying time for the adhesive. It’s important to allow sufficient time for the adhesive to set and bond the laminate or veneer securely to the cabinet surfaces. Avoid disturbing or putting any pressure on the surfaces until the adhesive is fully dry.
- Clean up Excess Adhesive: Once the adhesive has dried, use a clean cloth or a damp sponge to remove any excess adhesive that may have seeped out during the application process. It’s crucial to have clean and neat edges for a professional finish.
Applying new laminate or veneer requires precision and attention to detail. Take your time during this step to ensure proper alignment and a seamless finish. Properly adhering the laminate or veneer will provide you with beautifully refaced cabinets that look brand new.
Once the laminate or veneer has been applied and the adhesive is fully dry, you can proceed to the next steps of reattaching the cabinet doors and hardware, and adding the final touches to complete your cabinet refacing project.
Reattaching Cabinet Doors and Hardware
After successfully refacing your kitchen cabinets, it’s time to reattach the cabinet doors and hardware. Reattaching the doors and hardware is an important step to complete your cabinet refacing project and restore functionality to your cabinets. Follow these steps to reattach the cabinet doors and hardware:
- Gather the Hardware: Ensure that you have all the necessary hardware, including screws, hinges, handles, knobs, and any other components that were originally attached to the cabinet doors.
- Align the Doors: Proper alignment of the cabinet doors is crucial for a visually appealing and functional outcome. Carefully position each door in its designated location, ensuring that it is level and properly aligned with adjacent doors and cabinet boxes.
- Attach Hinges to Cabinet Boxes: Using a screwdriver or drill, reattach the hinges to the cabinet boxes. Align the hinge screw holes with the pre-existing pilot holes on the cabinet boxes, and securely tighten the screws. Depending on the hinge type, you may need to adjust the hinge positions to achieve optimal alignment.
- Attach Hinges to Doors: After the hinges are attached to the cabinet boxes, reattach the doors to the hinges. Hold the door in position, aligning the hinge plates with the hinges on the cabinet boxes. Insert the hinge pins or screws into the hinges to secure the doors in place.
- Install Drawer Fronts: If your cabinets include drawers, reattach the drawer fronts using the appropriate screws or attachments. Align the drawer fronts with the drawer boxes and secure them firmly in place.
- Attach Hardware: Once the doors and drawer fronts are reattached, it’s time to install the hardware. Align the handles or knobs with the pre-drilled holes on the doors, and secure them using the provided screws. Ensure that the hardware is tightened securely, but be careful not to overtighten and damage the doors or drawers.
- Test the Doors and Drawers: Before considering the reinstallation process complete, test each door and drawer to ensure that they open and close smoothly. Adjust the hinges or drawer slides if necessary to achieve optimal functionality.
Throughout the reinstallation process, pay close attention to the alignment and positioning of the doors and hardware. Take your time to ensure that everything is properly aligned, level, and functional. Properly reattaching the cabinet doors and hardware will provide you with a finished look and allow you to fully enjoy your newly refaced cabinets.
Once all the doors and hardware are reattached and the functionality is confirmed, your cabinet refacing project is nearly complete. The final step involves adding the finishing touches and implementing proper maintenance to keep your refaced cabinets looking their best for years to come.
Final Touches and Tips for Maintenance
With your refaced cabinets now reassembled and looking brand new, it’s time to add the final touches and implement proper maintenance to keep them in pristine condition. Here are some important final touches and maintenance tips for your refaced cabinets:
1. Finishing Touches:
- If desired, apply a fresh coat of paint or stain to the cabinet doors and drawer fronts. This can further enhance the appearance and ensure a cohesive finish.
- Consider adding new decorative elements such as crown molding, trim, or valances to give your cabinets a more customized and polished look.
- Replace outdated or worn-out hardware with new handles, knobs, and hinges that complement the refaced cabinets. This can provide a subtle yet impactful aesthetic upgrade.
2. Regular Cleaning:
- Regularly clean your refaced cabinets using a mild cleaner or soap and water. Avoid abrasive cleaners or harsh chemicals that can damage the finish.
- Wipe down the cabinets regularly to remove any spills, splatters, or stains that may occur during everyday use. Prompt cleaning helps prevent buildup and keeps your cabinets looking fresh and clean.
- Use a soft cloth or non-abrasive sponge to avoid scratching or damaging the cabinet surfaces. Dry the cabinets thoroughly after cleaning to prevent moisture damage.
3. Preventive Maintenance:
- Avoid using excessive force when opening or closing cabinet doors and drawers to prevent unnecessary wear and tear.
- Be mindful of hot objects such as pots, pans, or appliances placed near the cabinet surfaces. Use trivets or heat-resistant mats to protect the laminate or veneer from heat damage.
- Regularly inspect the cabinet doors, drawer fronts, and hardware for any signs of loosening or damage. Tighten screws as needed and replace any worn-out or faulty hardware promptly.
- Monitor and manage moisture levels in your kitchen to prevent warping or damage to the cabinet surfaces. Proper ventilation and controlling humidity levels can help maintain the integrity of the refaced cabinets.
4. Addressing Special Surfaces:
- If you have opted for wood veneer, periodically treat the surfaces with a wood cleaner and conditioner to maintain their natural beauty and protect them from drying or cracking.
- For laminate surfaces, avoid using abrasive scrub brushes or steel wool that can scratch the finish. Instead, use a soft cloth or sponge along with a non-abrasive cleaner to remove dirt or stains.
By implementing these final touches and following proper maintenance practices, you can enjoy your refaced cabinets for years to come. Regular cleaning and preventive maintenance will help keep their appearance fresh and extend their longevity.
Congratulations on completing your cabinet refacing project! Your newly refaced cabinets are sure to enhance the aesthetics and functionality of your kitchen for many years to come.
Conclusion
Refacing your kitchen cabinets is a fantastic way to give your kitchen a fresh new look without the cost and hassle of a complete renovation. By updating the cabinet doors, drawer fronts, and surfaces, you can transform the appearance of your cabinets and create a space that reflects your personal style and preferences.
In this article, we explored the process of kitchen cabinet refacing in detail. We discussed the benefits of cabinet refacing, including its cost-effectiveness, time-saving nature, and the customizable options it offers. We also delved into the tools and materials needed for the refacing process, such as drills, sandpaper, adhesive, and new cabinet doors.
We provided a step-by-step guide, taking you through each phase of the refacing process, from preparing the cabinets, removing the doors and hardware, cleaning and sanding the surfaces, applying new laminate or veneer, reattaching the doors and hardware, to adding the final touches and implementing proper maintenance.
Throughout this article, we emphasized the importance of careful planning, attention to detail, and taking the time to achieve professional-looking results. By following the steps outlined in this guide and implementing the provided tips and best practices, you can successfully complete your cabinet refacing project and create a kitchen that feels refreshed, updated, and tailored to your personal style.
Remember, cabinet refacing allows you to achieve a beautiful, customized look at a fraction of the cost and disruption of a full cabinet replacement. The process is eco-friendly, as it reduces waste and promotes sustainability by keeping the existing cabinet boxes intact. Additionally, refacing can increase the value of your home and provide you with a kitchen you’ll love for years to come.
So, if you’re ready to give your kitchen cabinets a makeover, consider cabinet refacing as an affordable and efficient option. With proper planning, the right tools and materials, and a bit of creativity, you can revitalize your kitchen and create a space that truly feels like your own.
Frequently Asked Questions about How Are Kitchen Cabinets Refaced? Your Questions Answered
Was this page helpful?
At Storables.com, we guarantee accurate and reliable information. Our content, validated by Expert Board Contributors, is crafted following stringent Editorial Policies. We're committed to providing you with well-researched, expert-backed insights for all your informational needs.


0 thoughts on “How Are Kitchen Cabinets Refaced? Your Questions Answered”