Home>Articles>How To Remove A Lock From A Craftsman Tool Chest
Articles
How To Remove A Lock From A Craftsman Tool Chest
Modified: August 16, 2024
Learn the steps to easily remove a lock from your Craftsman tool chest with this comprehensive how-to guide. Get expert advice and tips in this informative article.
(Many of the links in this article redirect to a specific reviewed product. Your purchase of these products through affiliate links helps to generate commission for Storables.com, at no extra cost. Learn more)
Introduction
Having a Craftsman tool chest is a great way to keep your tools organized and easily accessible. However, there may come a time when you need to remove the lock from your Craftsman tool chest. Whether you’ve lost the key or want to replace the lock with a new one, removing the lock can seem like a daunting task. But fear not! In this article, we will guide you through the step-by-step process of removing a lock from a Craftsman tool chest.
Before we dive into the specific steps, let’s quickly go over the tools you will need for this task. You will need a Phillips screwdriver, a flathead screwdriver, a pair of needle-nose pliers, and a hex key set. It’s important to gather these tools beforehand to ensure a smooth and efficient process. Now that we have our tools ready, let’s get started with step one.
Key Takeaways:
- Easily remove the lock from your Craftsman tool chest by gathering the right tools, disconnecting attached cables, and unscrewing or unlocking the lock. Reassemble the chest for convenient and secure tool storage.
- Whether replacing the lock or leaving the chest unlocked, follow the step-by-step process to remove the lock from your Craftsman tool chest. Organize your tools and enjoy a functional workspace.
Step 1: Gather the necessary tools
Before you begin the process of removing the lock from your Craftsman tool chest, you need to gather the necessary tools. Having the right tools on hand will make the process easier and more efficient. Here are the tools you will need:
- Phillips screwdriver: This will be used to remove any screws holding the lock in place.
- Flathead screwdriver: You may need this to pry open any covers or panels on the lock mechanism.
- Needle-nose pliers: These will come in handy for disconnecting any cables or rods attached to the lock.
- Hex key set: Depending on the type of lock on your Craftsman tool chest, you may need a hex key to unscrew or unlock the lock.
Once you have gathered these tools, you are ready to move on to the next step. Make sure to have them easily accessible and within reach to avoid any unnecessary delays during the process. With the tools at your disposal, you can now proceed to remove the lock from your Craftsman tool chest.
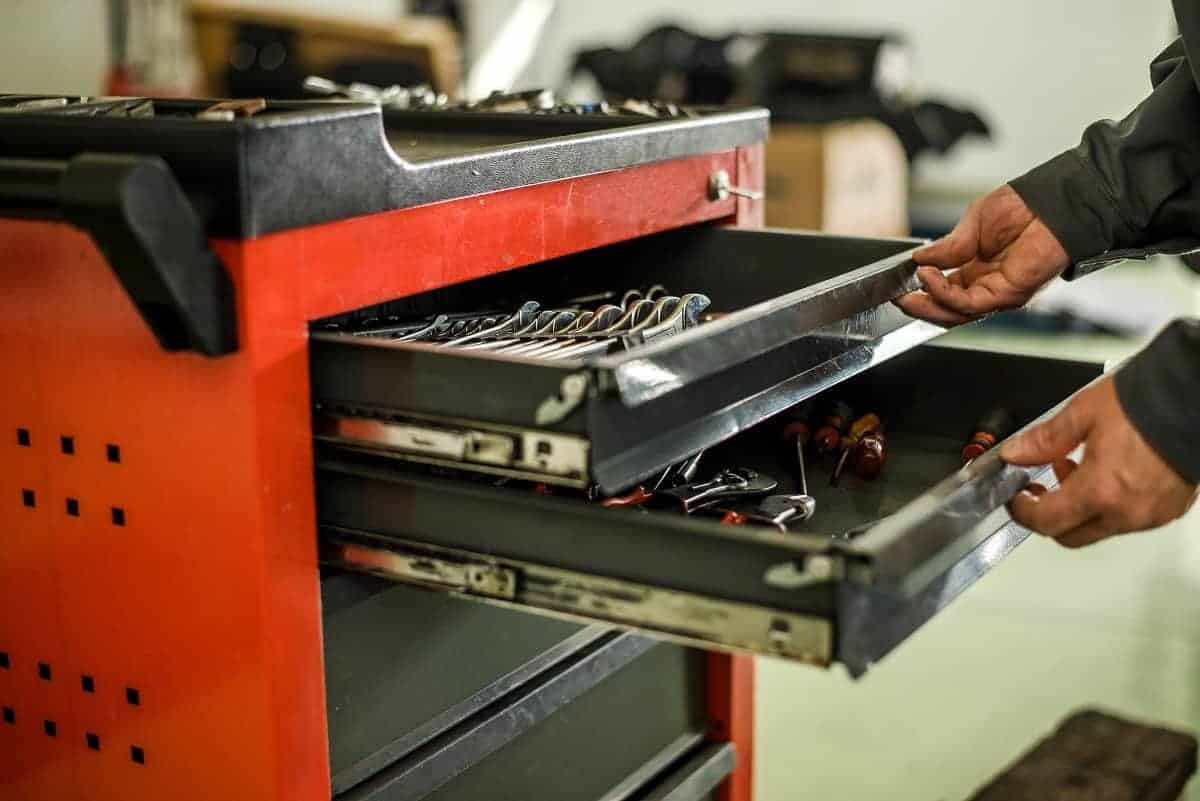
Step 2: Remove the contents of the tool chest
Before you can proceed with removing the lock from your Craftsman tool chest, it’s important to empty the contents of the chest. This will prevent any tools or items from getting in the way and make the process easier and safer.
Start by removing all the tools, equipment, and any other items stored in your tool chest. Take the time to organize and set them aside in a safe location. This will not only make it easier to access the lock mechanism but also ensure that nothing gets damaged or misplaced during the process.
As you remove the items, take note of any particularly heavy or delicate tools that may require extra care during the process. By handling your tools with care, you will not only preserve their functionality but also prevent injuries or accidents.
Once you have removed all the contents from the tool chest, take a moment to clean and organize the empty space. This will not only make it easier to work in but also give you the opportunity to declutter and assess the condition of your tool chest.
With the contents safely removed, you are now ready to move on to the next step of the lock removal process. Remember to handle your tools and equipment with care throughout the process to ensure a smooth and efficient removal of the lock.
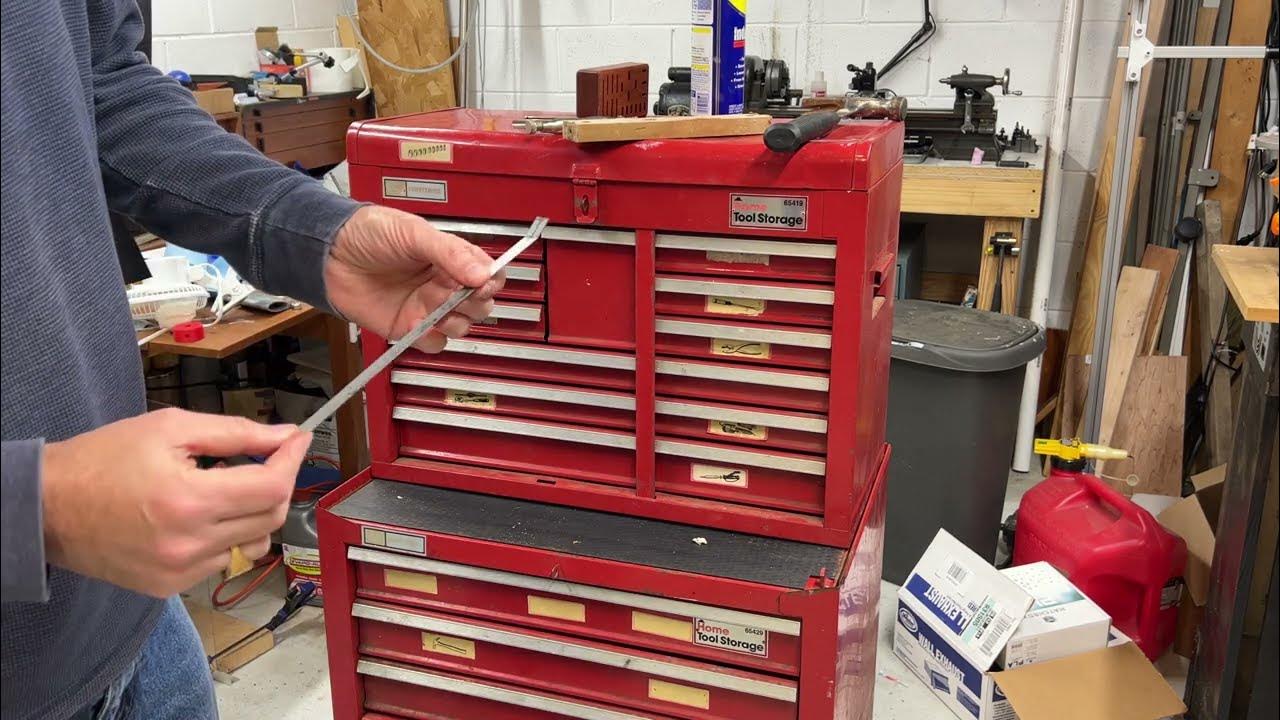
Step 3: Examine the lock mechanism
Now that you have emptied your Craftsman tool chest and prepared the space, it’s time to examine the lock mechanism in detail. Understanding how the lock is constructed and functions will help you navigate the removal process more effectively.
Take a close look at the lock and identify the different components involved. Look for any screws, bolts, or clips that may be holding the lock in place. It’s important to have a good understanding of how the lock is attached to the tool chest so that you can remove it without causing any damage.
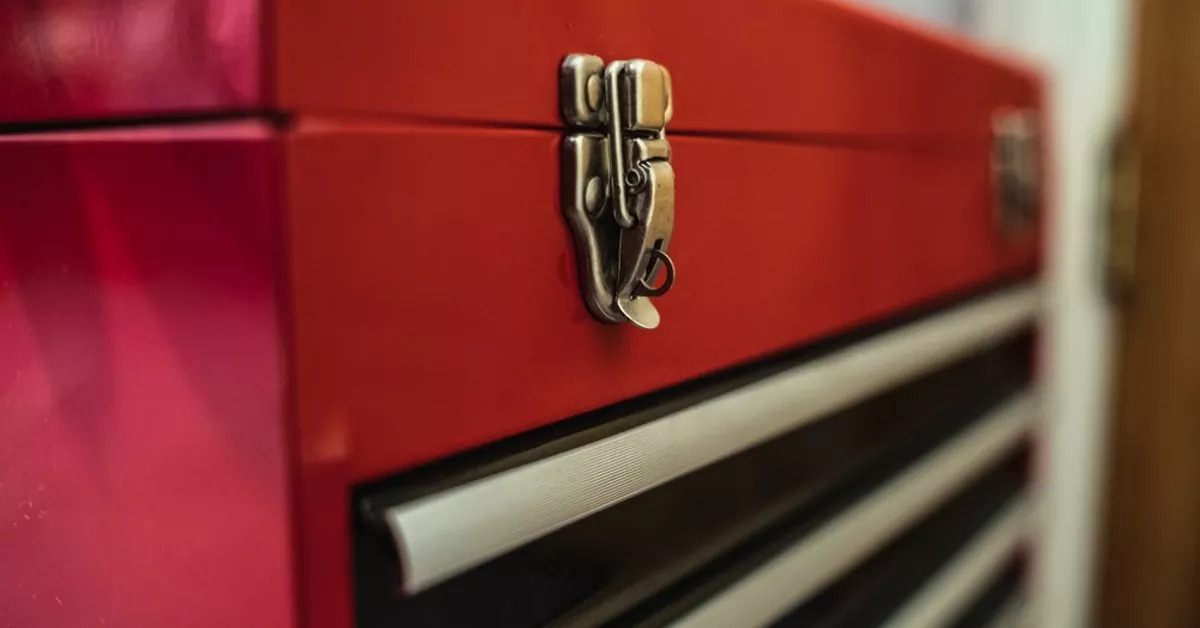
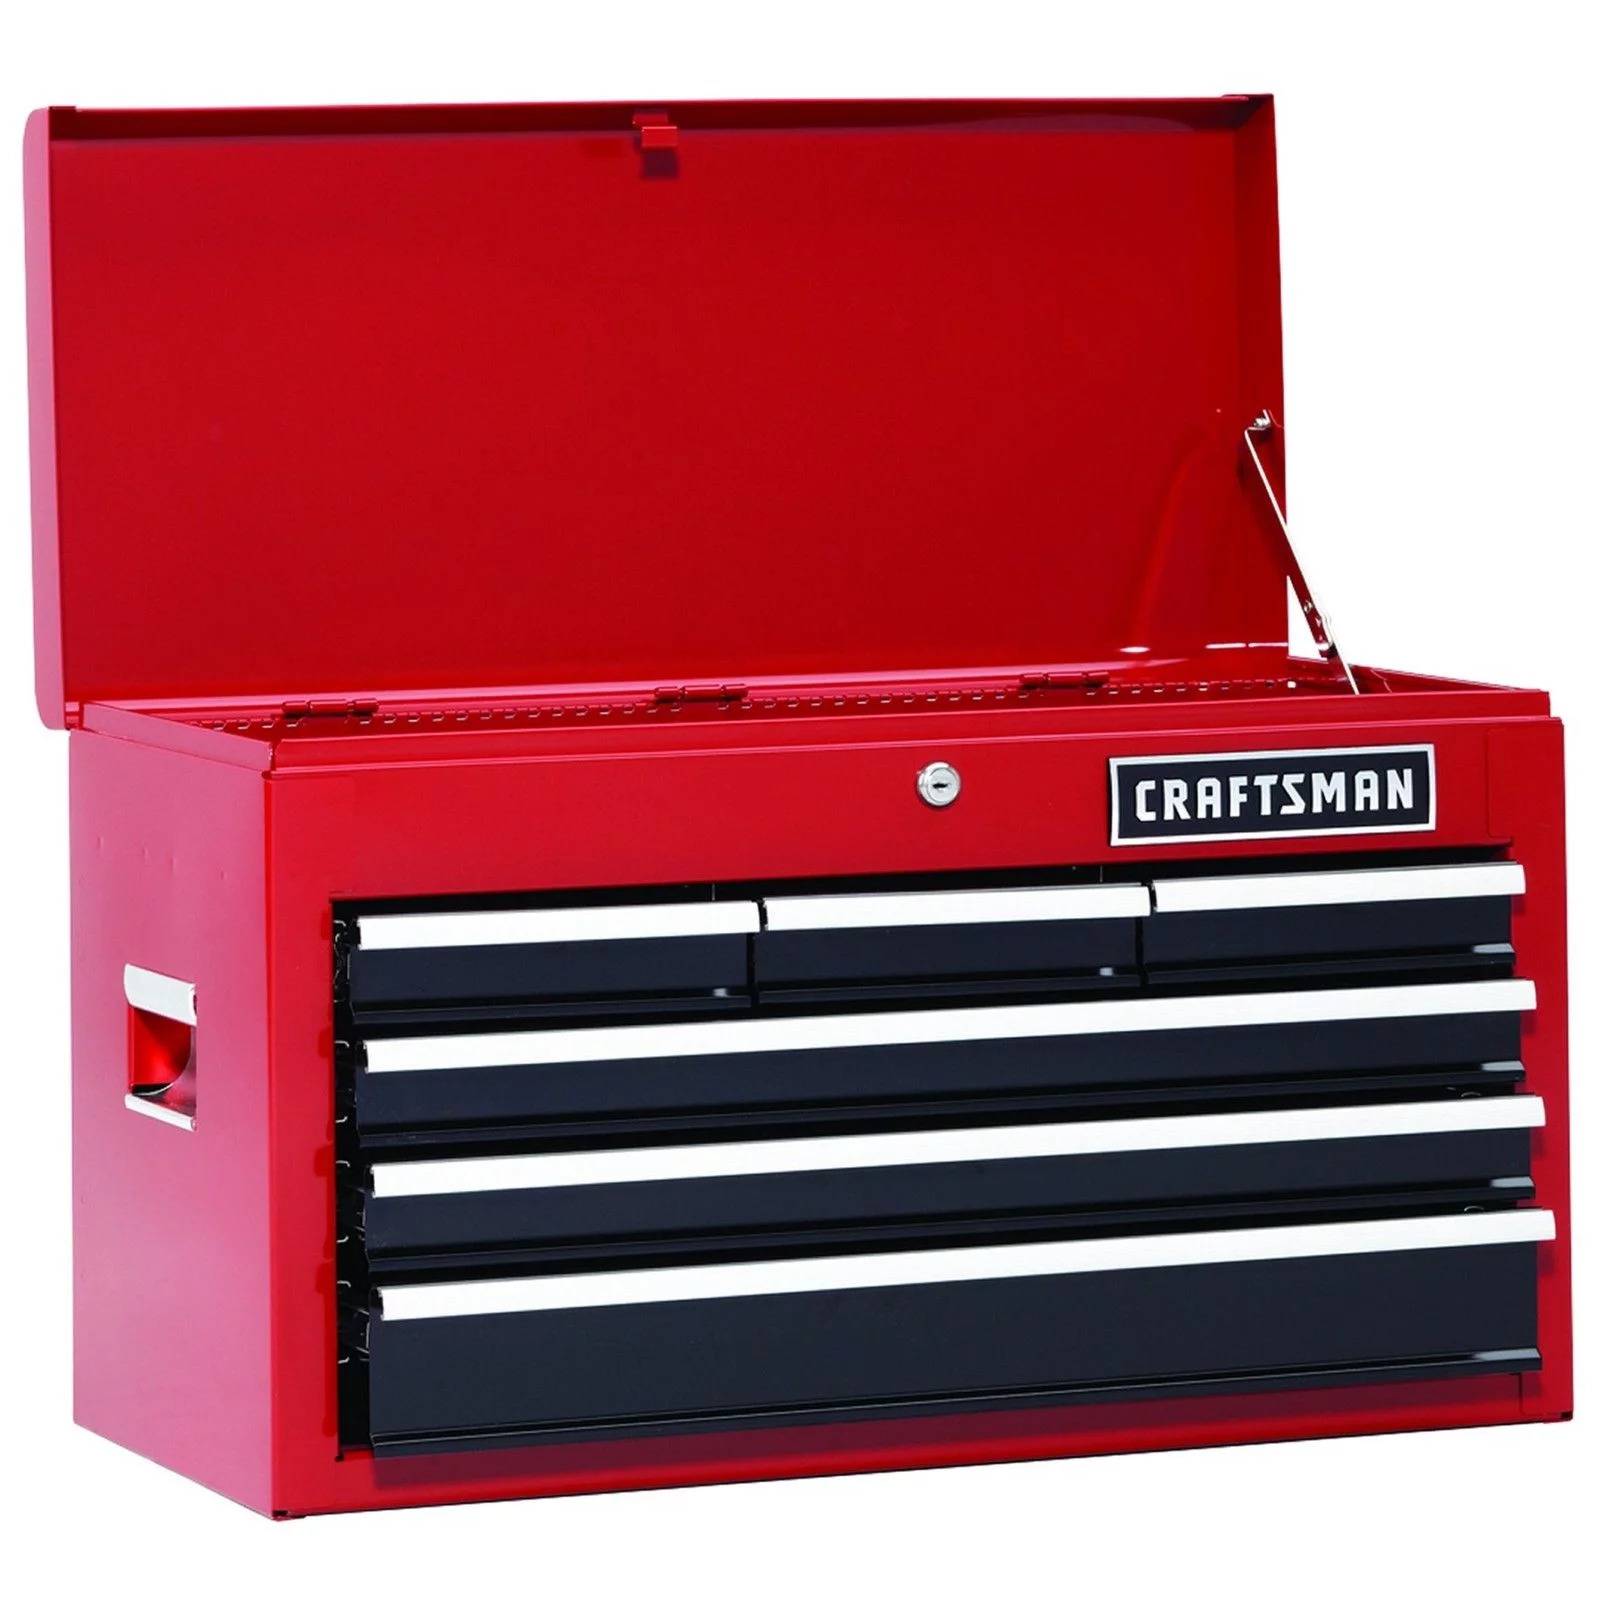
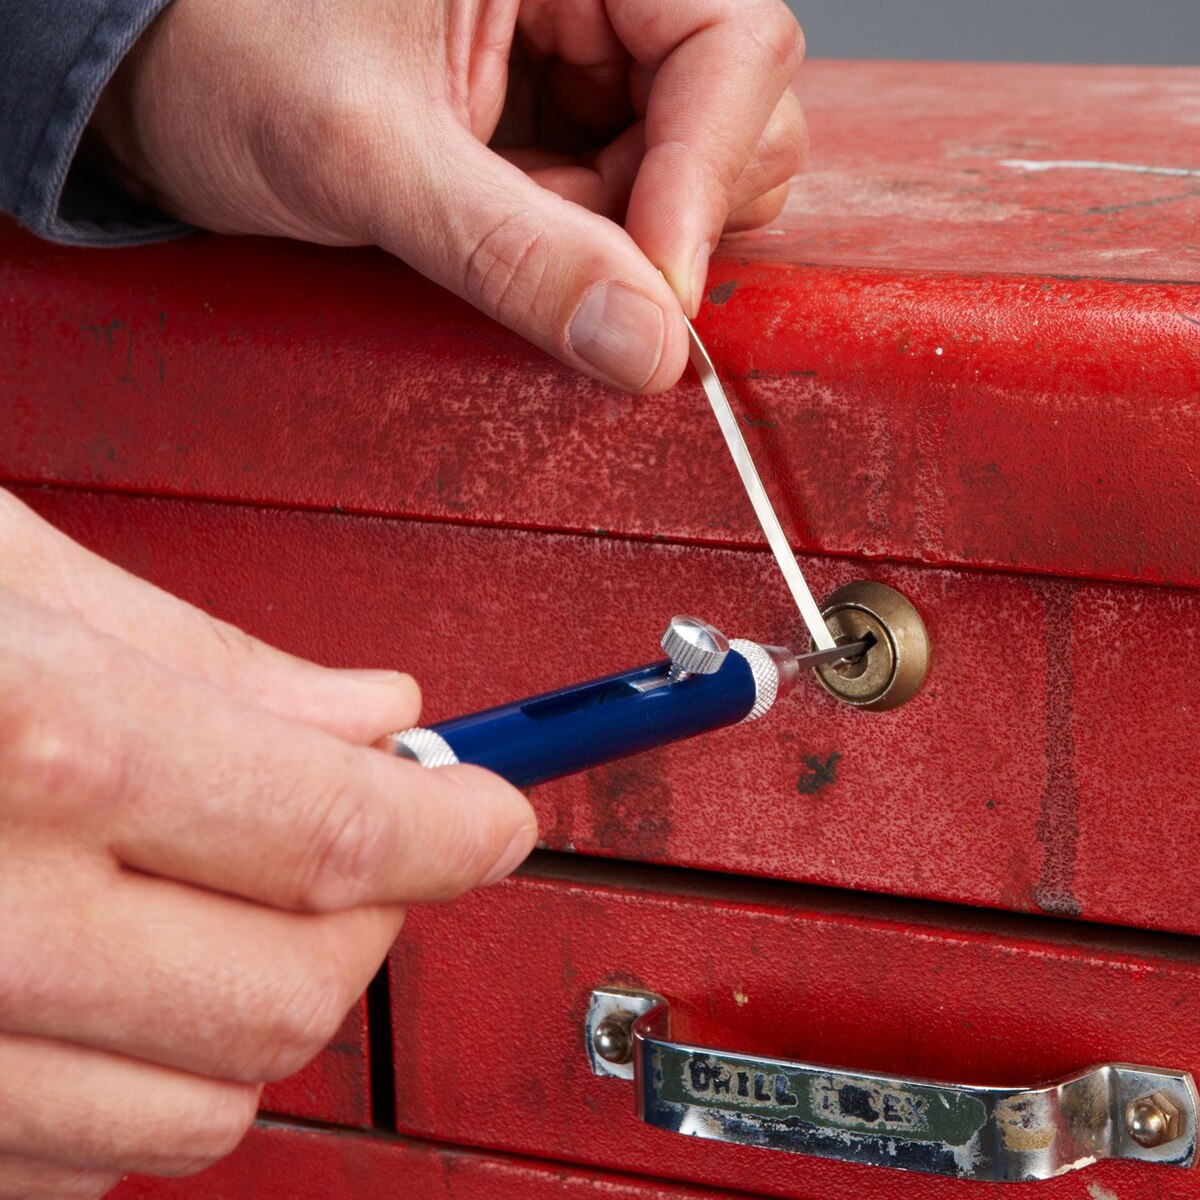
Observe the keyhole and determine the type of lock you have. Craftsman tool chests commonly have either a key tumbler lock or a combination lock. Knowing the type of lock will guide your removal process, as different types of locks may require different methods for removal.
If you have a key tumbler lock, look for any screws or bolts securing it in place. These may be located on the front or back of the lock mechanism. Use a Phillips screwdriver or a hex key, depending on which type of fastener is used, to carefully remove them.
For combination locks, they are usually secured with a mounting bracket. Look for any screws or clips attaching the bracket to the tool chest. Use a screwdriver or pliers to remove these fasteners and detach the mounting bracket from the chest.
During the examination, it’s also a good idea to check for any signs of damage or corrosion on the lock mechanism. If the lock is damaged beyond repair, you may need to consider replacing it instead of removing it.
By thoroughly examining the lock mechanism, you will have a better understanding of how it is installed and be prepared to move on to the next step of the removal process with confidence.
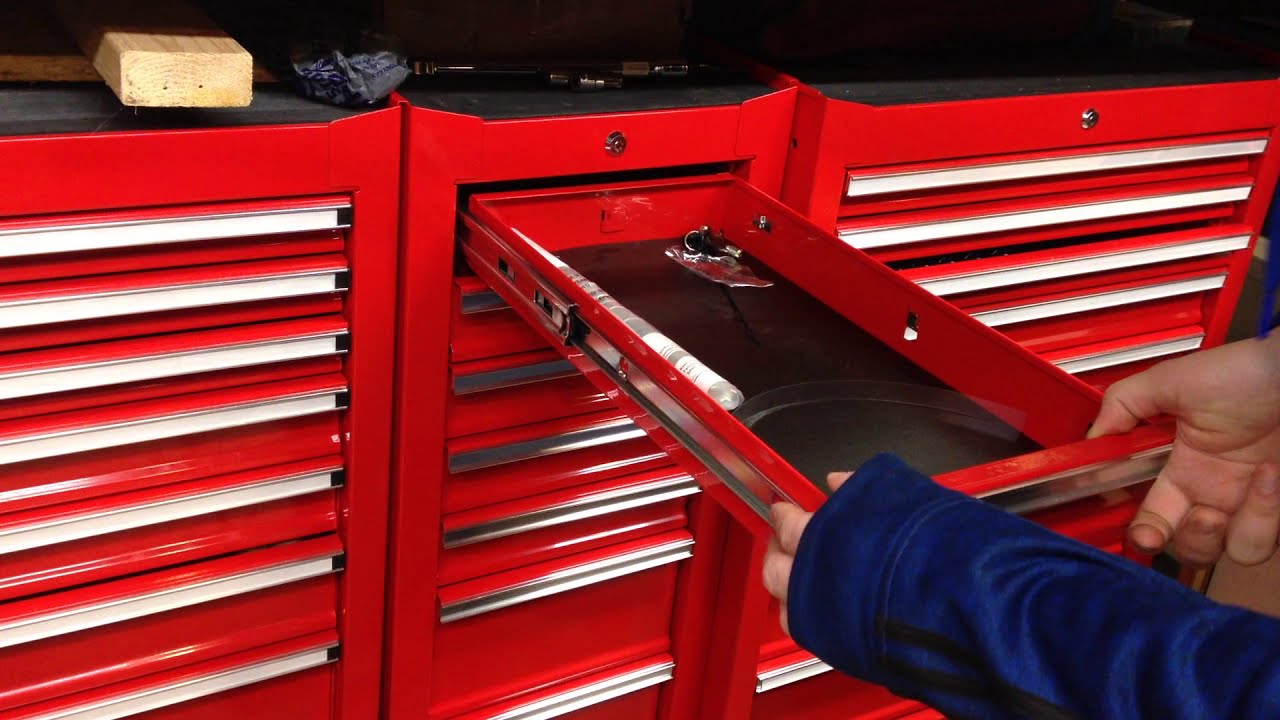
Step 4: Disconnect any attached cables or rods
Once you have examined the lock mechanism and identified any screws or bolts that secure it in place, the next step is to disconnect any attached cables or rods. These components are commonly found in tool chests with multiple drawers or compartments that are connected to the lock mechanism.
Inspect the lock mechanism and look for any cables or rods that are connected to it. These cables or rods are often responsible for locking and unlocking multiple sections of the tool chest simultaneously. It’s crucial to disconnect them before attempting to remove the lock to avoid any potential damage or interference.
Using a pair of needle-nose pliers, carefully disconnect the cables or rods from the lock mechanism. Be gentle to prevent bending or damaging these components. Depending on the type of lock and chest design, there may be multiple connections or a single cable or rod to disconnect.
Take your time and ensure that all connections are completely detached from the lock mechanism. Be mindful of any clips or fasteners that may be holding the cables or rods in place. If necessary, use the pliers or a small flathead screwdriver to release these fasteners and free the cables or rods.
Once all the cables or rods are disconnected, double-check to ensure that they are completely detached from the lock mechanism. This will prevent any potential interference or difficulties during the lock removal process.
By disconnecting the attached cables or rods, you have successfully prepared the lock mechanism for removal. This step ensures that there are no obstructions or complications when it comes time to remove the lock from your Craftsman tool chest.
To remove a lock from a Craftsman tool chest, you will need to locate the retaining clip on the inside of the chest and use a screwdriver to pry it off. Once the clip is removed, the lock can be easily taken out.
Read more: How To Lock A Craftsman Tool Chest
Step 5: Remove any screws or bolts securing the lock
With the attached cables or rods disconnected, it’s time to focus on removing any screws or bolts that are securing the lock in place. These fasteners keep the lock firmly attached to the tool chest, and removing them is essential for a successful lock removal.
Inspect the lock mechanism and identify the screws or bolts that are holding it in place. They may be positioned on the front or back of the lock, or even on the sides, depending on the design of your Craftsman tool chest. Take note of their location to ensure a systematic removal process.
Using a Phillips screwdriver or a suitable hex key, gently loosen and remove the screws or bolts one by one. It’s important to use the correct size and type of tool to avoid stripping or damaging the fasteners. Apply even pressure and turn counterclockwise to unscrew them.
Depending on the lock mechanism’s design, there may be a single screw or multiple screws securing the lock. Take your time and ensure that each screw or bolt is fully removed before moving on to the next one. Keep the screws or bolts in a safe place to prevent losing them during the process.
Once all the screws or bolts are removed, the lock should be loose and easily removable from the tool chest. However, if you encounter any resistance or difficulty in removing the lock, double-check for any hidden screws or bolts that may still be holding it in place.
By removing the screws or bolts that secure the lock, you have taken a significant step towards successfully removing the lock from your Craftsman tool chest. With caution and attention to detail, you can proceed to the next step of the lock removal process.
Step 6: Unscrew or unlock the lock
With the screws or bolts removed, it’s time to focus on actually unscrewing or unlocking the lock itself. The method will vary depending on the type of lock you have on your Craftsman tool chest. Whether it’s a key tumbler lock or a combination lock, we will guide you through the process.
If you have a key tumbler lock:
- Insert the appropriate key into the keyhole of the lock.
- Turn the key counterclockwise to unlock the lock.
- If your key is missing or broken, you can try using a flathead screwdriver to turn the lock cylinder counterclockwise. Apply gentle pressure and slowly rotate the cylinder until the lock is released.
If you have a combination lock:
- Follow the manufacturer’s instructions to input the correct combination on the dials of the lock.
- Once the correct combination is entered, locate the release button or lever on the lock.
- Press the release button or activate the lever to unlock the lock and release its mechanism.
If your combination is not working or the release mechanism is jammed, you can try gently tapping the lock with a rubber mallet or using lubrication such as WD-40 to help loosen any stuck components. Be careful not to apply excessive force that could further damage the lock.
Once the lock is unscrewed or unlocked, it should be easy to remove it from your Craftsman tool chest. Take this opportunity to inspect the lock and ensure it is in good condition. Depending on your needs, you can either choose to replace the lock with a new one or leave the chest unlocked for easier access.
By successfully unscrewing or unlocking the lock, you have completed a crucial step in removing the lock from your Craftsman tool chest. With the lock released, you can now proceed to the next step with confidence to complete the lock removal process.
Step 7: Replace the lock or leave it unlocked
Now that the lock has been removed from your Craftsman tool chest, you have a decision to make – whether to replace the lock with a new one or leave the chest unlocked for easier access.
If you choose to replace the lock, you have several options. You can purchase a new lock from a hardware store or online retailer that is compatible with your Craftsman tool chest. Make sure to select a lock that matches the type and size of the previous lock for a proper fit.
To install the new lock, follow the manufacturer’s instructions provided with the lock. Typically, you will need to insert the lock mechanism into the designated slot on the tool chest and secure it with screws or bolts. Make sure to tighten the fasteners securely to ensure the lock is firmly in place.
If you decide to leave the chest unlocked, it can provide easier and quicker access to your tools. However, it’s important to consider the security implications. Leaving the chest unlocked means that anyone can access your tools, which may not be ideal in certain situations or environments. Evaluate your specific needs and circumstances before making this decision.
Regardless of whether you choose to replace the lock or leave it unlocked, take a moment to ensure that the lock mechanism functions properly. Test the lock or the lack thereof to confirm that the tool chest can be securely opened and closed without any issues.
Remember, the goal is to provide convenient and secure storage for your tools, so choose the option that aligns with your preferences and requirements.
By deciding whether to replace the lock or leave the chest unlocked, you have completed the penultimate step in the lock removal process. You are now ready to move on to the final step and reassemble your Craftsman tool chest.
Step 8: Reassemble the tool chest
Now that you have removed the lock from your Craftsman tool chest and made any necessary decisions regarding its replacement or leaving it unlocked, it’s time to reassemble the tool chest. Following this step will allow you to restore your tool chest to its functional and organized state.
Start by aligning the components of your tool chest, such as the drawers or compartments, with the corresponding slots or tracks. Ensure that everything fits snugly and moves smoothly during the reassembly process.
If you have replaced the lock with a new one, carefully insert the lock mechanism into the designated slot on the tool chest. Align the screw holes, and then secure the lock in place by tightening the screws or bolts with the appropriate tool.
If you have chosen to leave the chest unlocked, there is no need to reinstall a lock. Simply ensure that all the components of the tool chest are properly aligned and securely in place.
As you reassemble the tool chest, take the opportunity to reorganize your tools and items. Carefully place each tool back into its designated storage space, making sure to group similar tools together and arrange them for easy access and retrieval.
Once all the tools and items are back in place, close all the drawers or compartments of your Craftsman tool chest. Ensure that they close properly and securely to prevent any accidental opening during transportation or storage.
Finally, give your tool chest a quick inspection to confirm that everything is tightly secured and in order. Take a moment to appreciate your organized workspace, knowing that you have successfully removed the lock and reassembled your Craftsman tool chest.
With the tool chest reassembled, you can now enjoy the convenience and functionality it provides for your tools. Whether you have replaced the lock or left it unlocked, you have completed the final step of the lock removal process.
Congratulations! You have successfully removed the lock from your Craftsman tool chest and reassembled it, allowing you to continue your projects with ease and efficiency.
Read more: How To Remove Drawer Craftsman Tool Chest
Conclusion
Removing a lock from a Craftsman tool chest may seem like a daunting task, but with the right tools and step-by-step guidance, it can be a straightforward process. By following the steps outlined in this article, you can easily remove the lock and regain access to your tools.
Start by gathering the necessary tools, including a Phillips screwdriver, flathead screwdriver, needle-nose pliers, and a hex key set. Then, remove the contents of the tool chest to create a clear workspace. Examine the lock mechanism to understand how it is secured and identify any attached cables or rods that need to be disconnected.
Next, remove any screws or bolts that are securing the lock in place. Depending on the type of lock, you may need to unscrew or unlock it using a key or combination. Make sure to handle the lock with care and check for any hidden screws or bolts that may still be holding it in place.
Once the lock is removed, you have the option to replace it with a new one or leave the chest unlocked for easier access. Consider your security needs and personal preference when making this decision.
Finally, reassemble the tool chest by aligning the components and securely closing all the drawers or compartments. Take the opportunity to reorganize your tools and ensure everything is in its proper place.
By successfully completing these steps, you have removed the lock from your Craftsman tool chest and restored it to a functional and organized state. Now, you can continue your projects with ease and efficiency.
Remember, always prioritize safety during the lock removal process. Take your time, follow the instructions carefully, and use the appropriate tools for each step. If you encounter any difficulties or feel unsure, it’s best to seek professional assistance.
We hope this article has provided you with valuable insights and guidance on how to remove a lock from a Craftsman tool chest. Happy tool storage and best of luck with your future projects!
Frequently Asked Questions about How To Remove A Lock From A Craftsman Tool Chest
Was this page helpful?
At Storables.com, we guarantee accurate and reliable information. Our content, validated by Expert Board Contributors, is crafted following stringent Editorial Policies. We're committed to providing you with well-researched, expert-backed insights for all your informational needs.


0 thoughts on “How To Remove A Lock From A Craftsman Tool Chest”