Articles
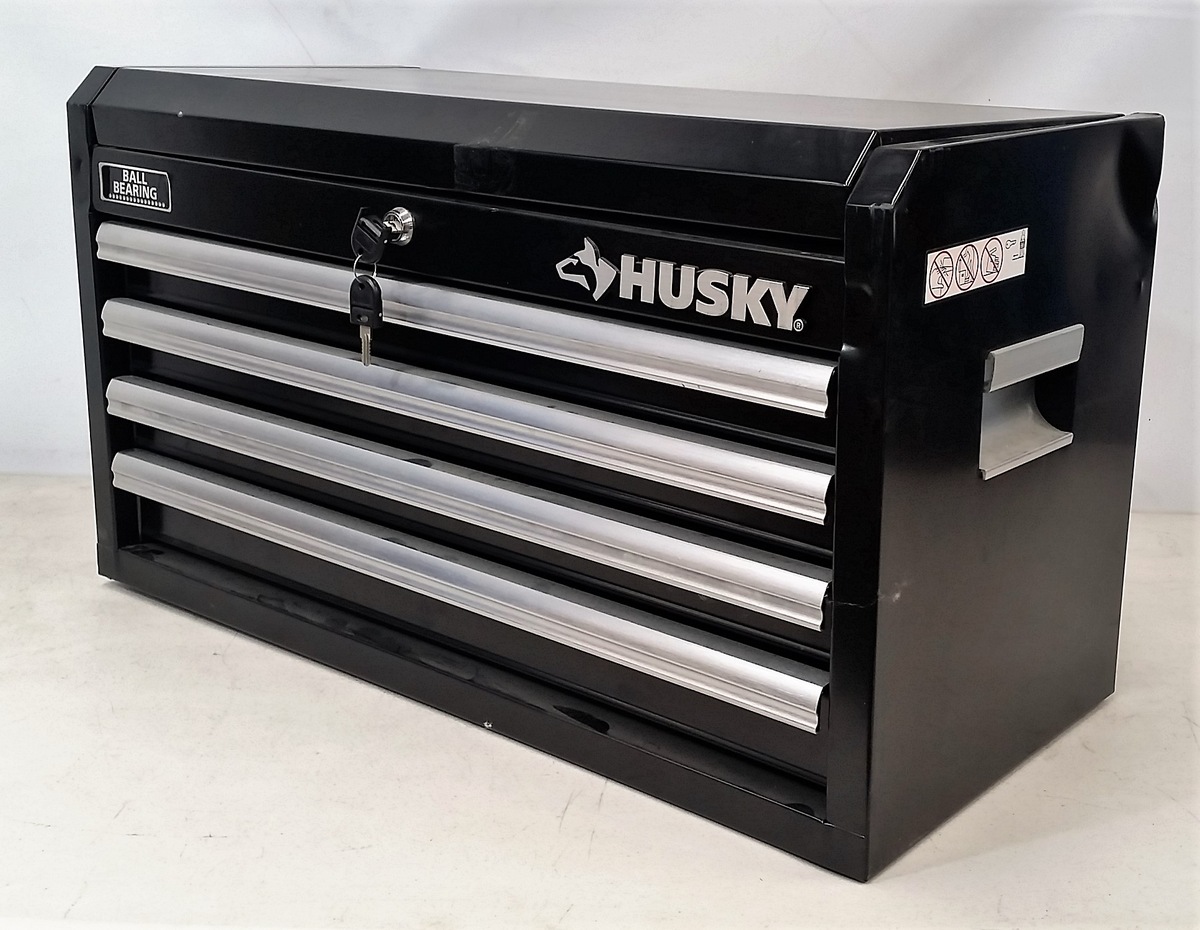
How To Remove Drawer From Husky Tool Chest
Modified: August 16, 2024
Learn how to remove a drawer from your Husky Tool Chest with this step-by-step guide. Find helpful articles and tips for easy drawer removal and maintenance.
(Many of the links in this article redirect to a specific reviewed product. Your purchase of these products through affiliate links helps to generate commission for Storables.com, at no extra cost. Learn more)
Introduction
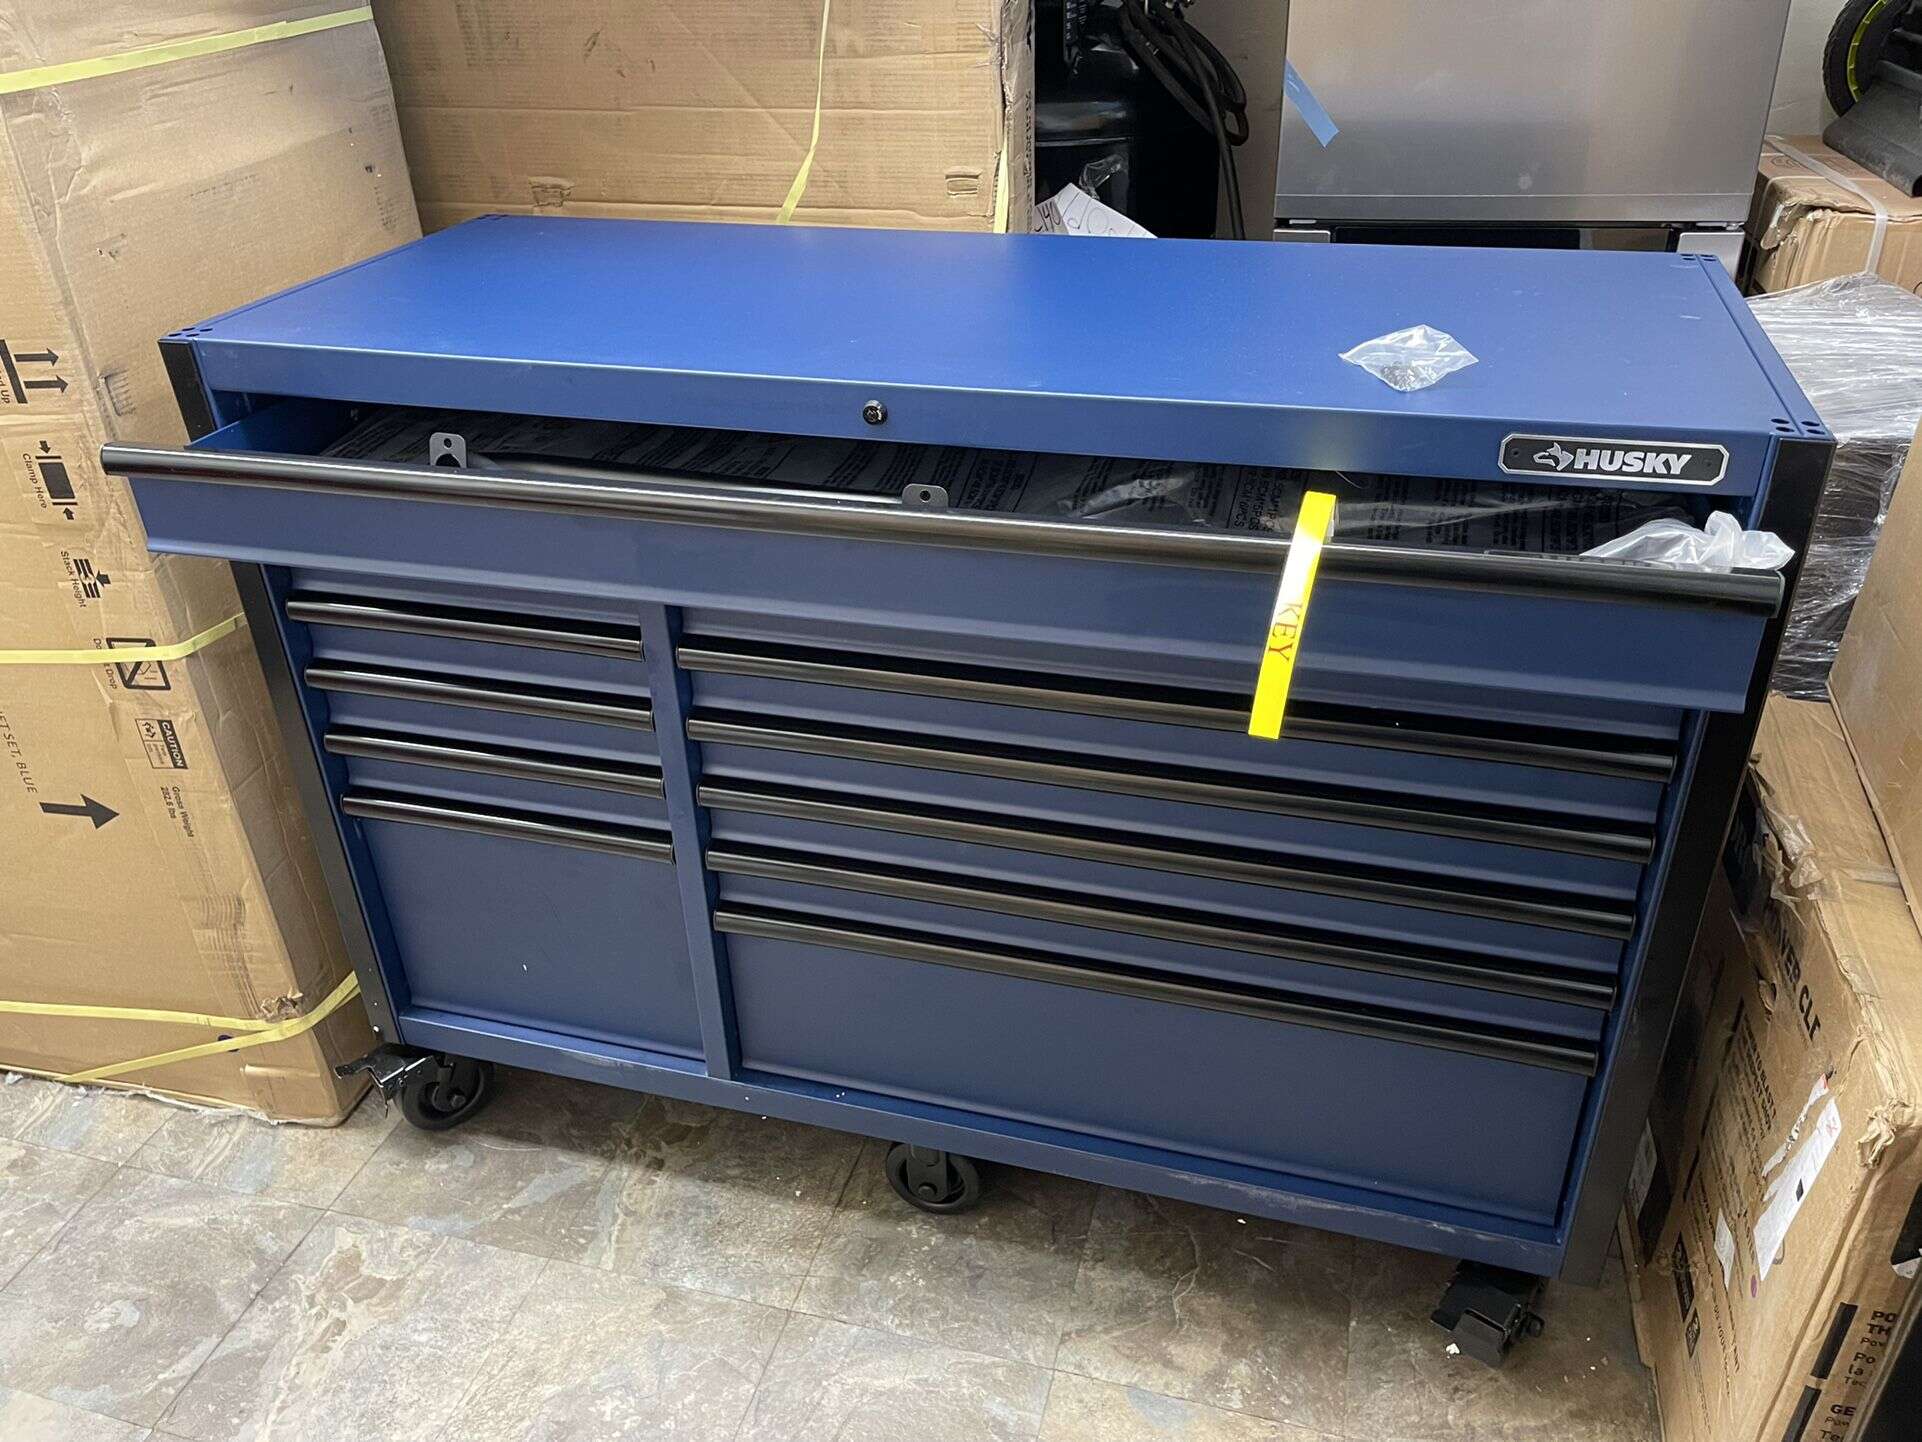
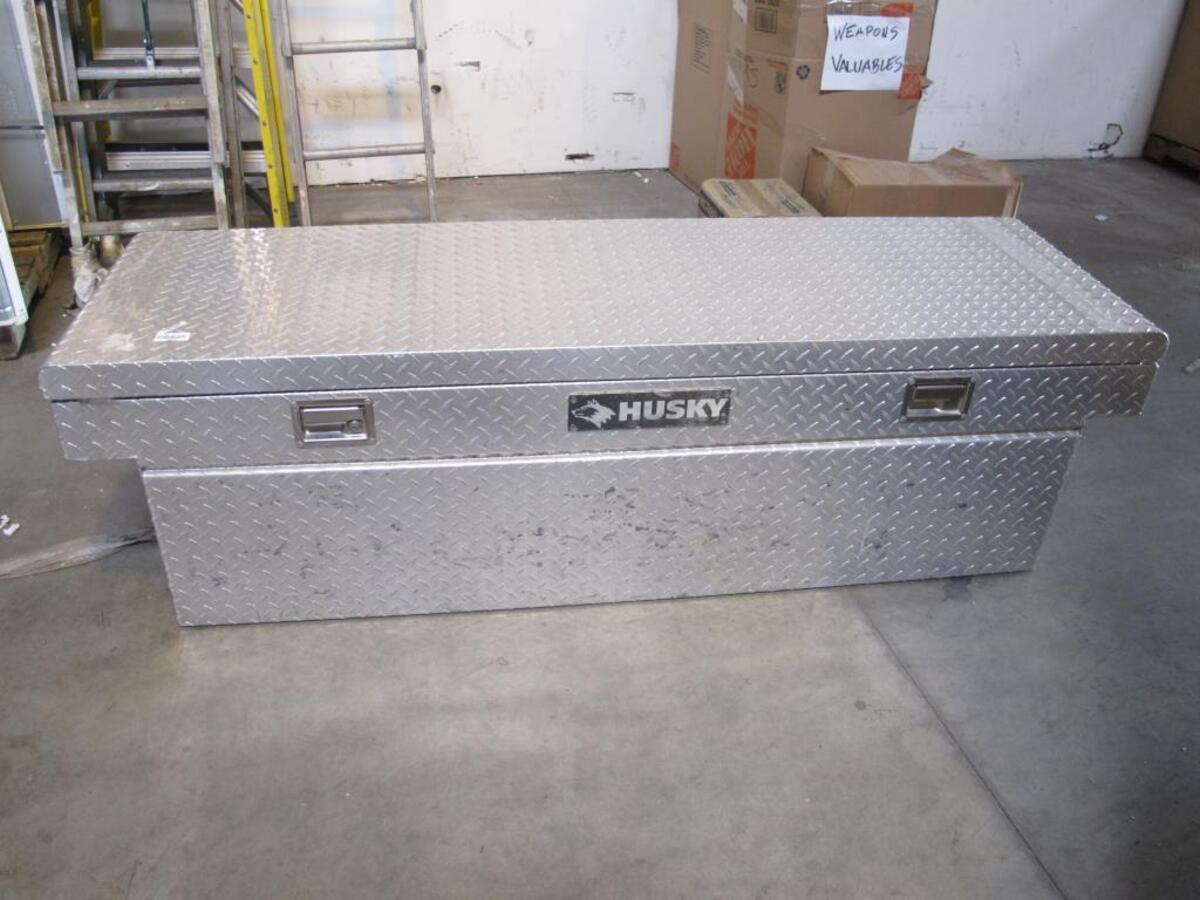
When it comes to organizing your tools, a Husky tool chest is a popular choice among DIY enthusiasts and professionals alike. With its sturdy construction and ample storage space, it provides a convenient solution for keeping your tools easily accessible. However, there may come a time when you need to remove a drawer from your Husky tool chest for various reasons, such as cleaning, repairing, or rearranging your tools.
In this article, we will guide you through the process of removing a drawer from your Husky tool chest so that you can efficiently carry out any necessary maintenance or reorganization. Whether you are a seasoned DIYer or new to tool chests, this step-by-step guide will help you navigate the process with ease.
Before we begin, it is important to note that the process may vary slightly depending on the specific model of your Husky tool chest. Therefore, it is always recommended to refer to the manufacturer’s instructions for your particular model. With that said, let’s gather the required tools and get started!
Key Takeaways:
- Efficiently remove and reinstall drawers from your Husky tool chest using basic tools like screwdrivers and a rubber mallet. Keep your tools organized and accessible with these simple steps.
- Prioritize safety and organization when removing and reinstalling drawers from your Husky tool chest. Empty, inspect, and clean your tools for a seamless maintenance process.
Required Tools
Before you begin removing a drawer from your Husky tool chest, it’s important to gather the necessary tools to ensure a smooth and efficient process. Here are the tools you’ll need:
- Phillips head screwdriver
- Flathead screwdriver
- Allen wrench set
- Rubber mallet
- Lint-free cloth
These tools will come in handy during different steps of the drawer removal process. The screwdrivers will be used to loosen and remove any screws or fasteners holding the drawer in place. The Allen wrench set may be needed to loosen specific types of bolts or connectors. The rubber mallet will help gently tap and loosen any stubborn connections and aid in the smooth removal of the drawer. Lastly, the lint-free cloth will be used to clean any dirt or debris that may have accumulated inside the drawer or on the surrounding areas.
Having these tools readily available before you start will save you time and frustration during the drawer removal process. Now that you have your tools in hand, let’s proceed to the first step: emptying the drawer.
Step 1: Empty the Drawer
Before you begin removing the drawer from your Husky tool chest, it’s important to empty its contents. This will not only make the drawer lighter and easier to handle, but it will also prevent any tools or objects from getting damaged or lost during the removal process.
Start by carefully removing each tool or item from the drawer and placing them in a safe and organized manner nearby. Sort and categorize your tools as you empty the drawer to make the reorganization process easier later on. If there are any loose screws, nuts, or bolts in the drawer, be sure to collect them and set them aside separately to avoid losing them.
As you empty the drawer, take the opportunity to inspect your tools for any signs of damage, rust, or wear. This is a good time to clean and maintain your tools if needed. Use a lint-free cloth to wipe away any dirt or debris that may have accumulated on the tools or inside the drawer.
Once the drawer is completely emptied and cleaned, you are now ready to move on to the next step: locating the drawer detent lever.
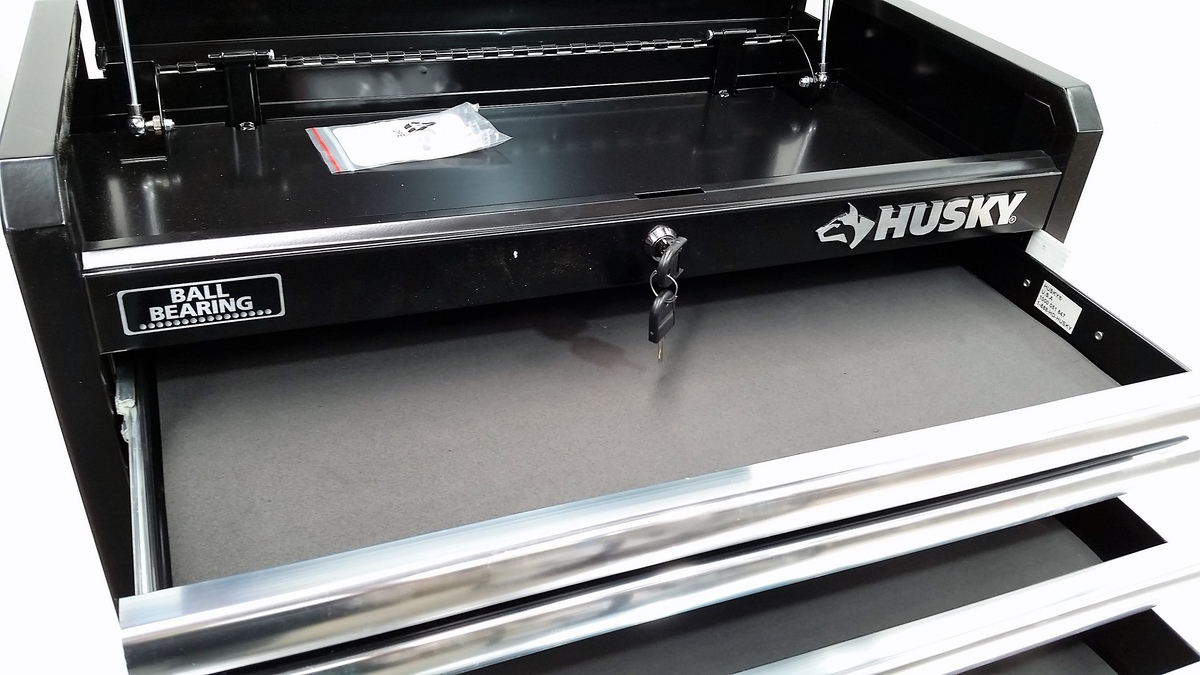
Step 2: Locate the Drawer Detent Lever
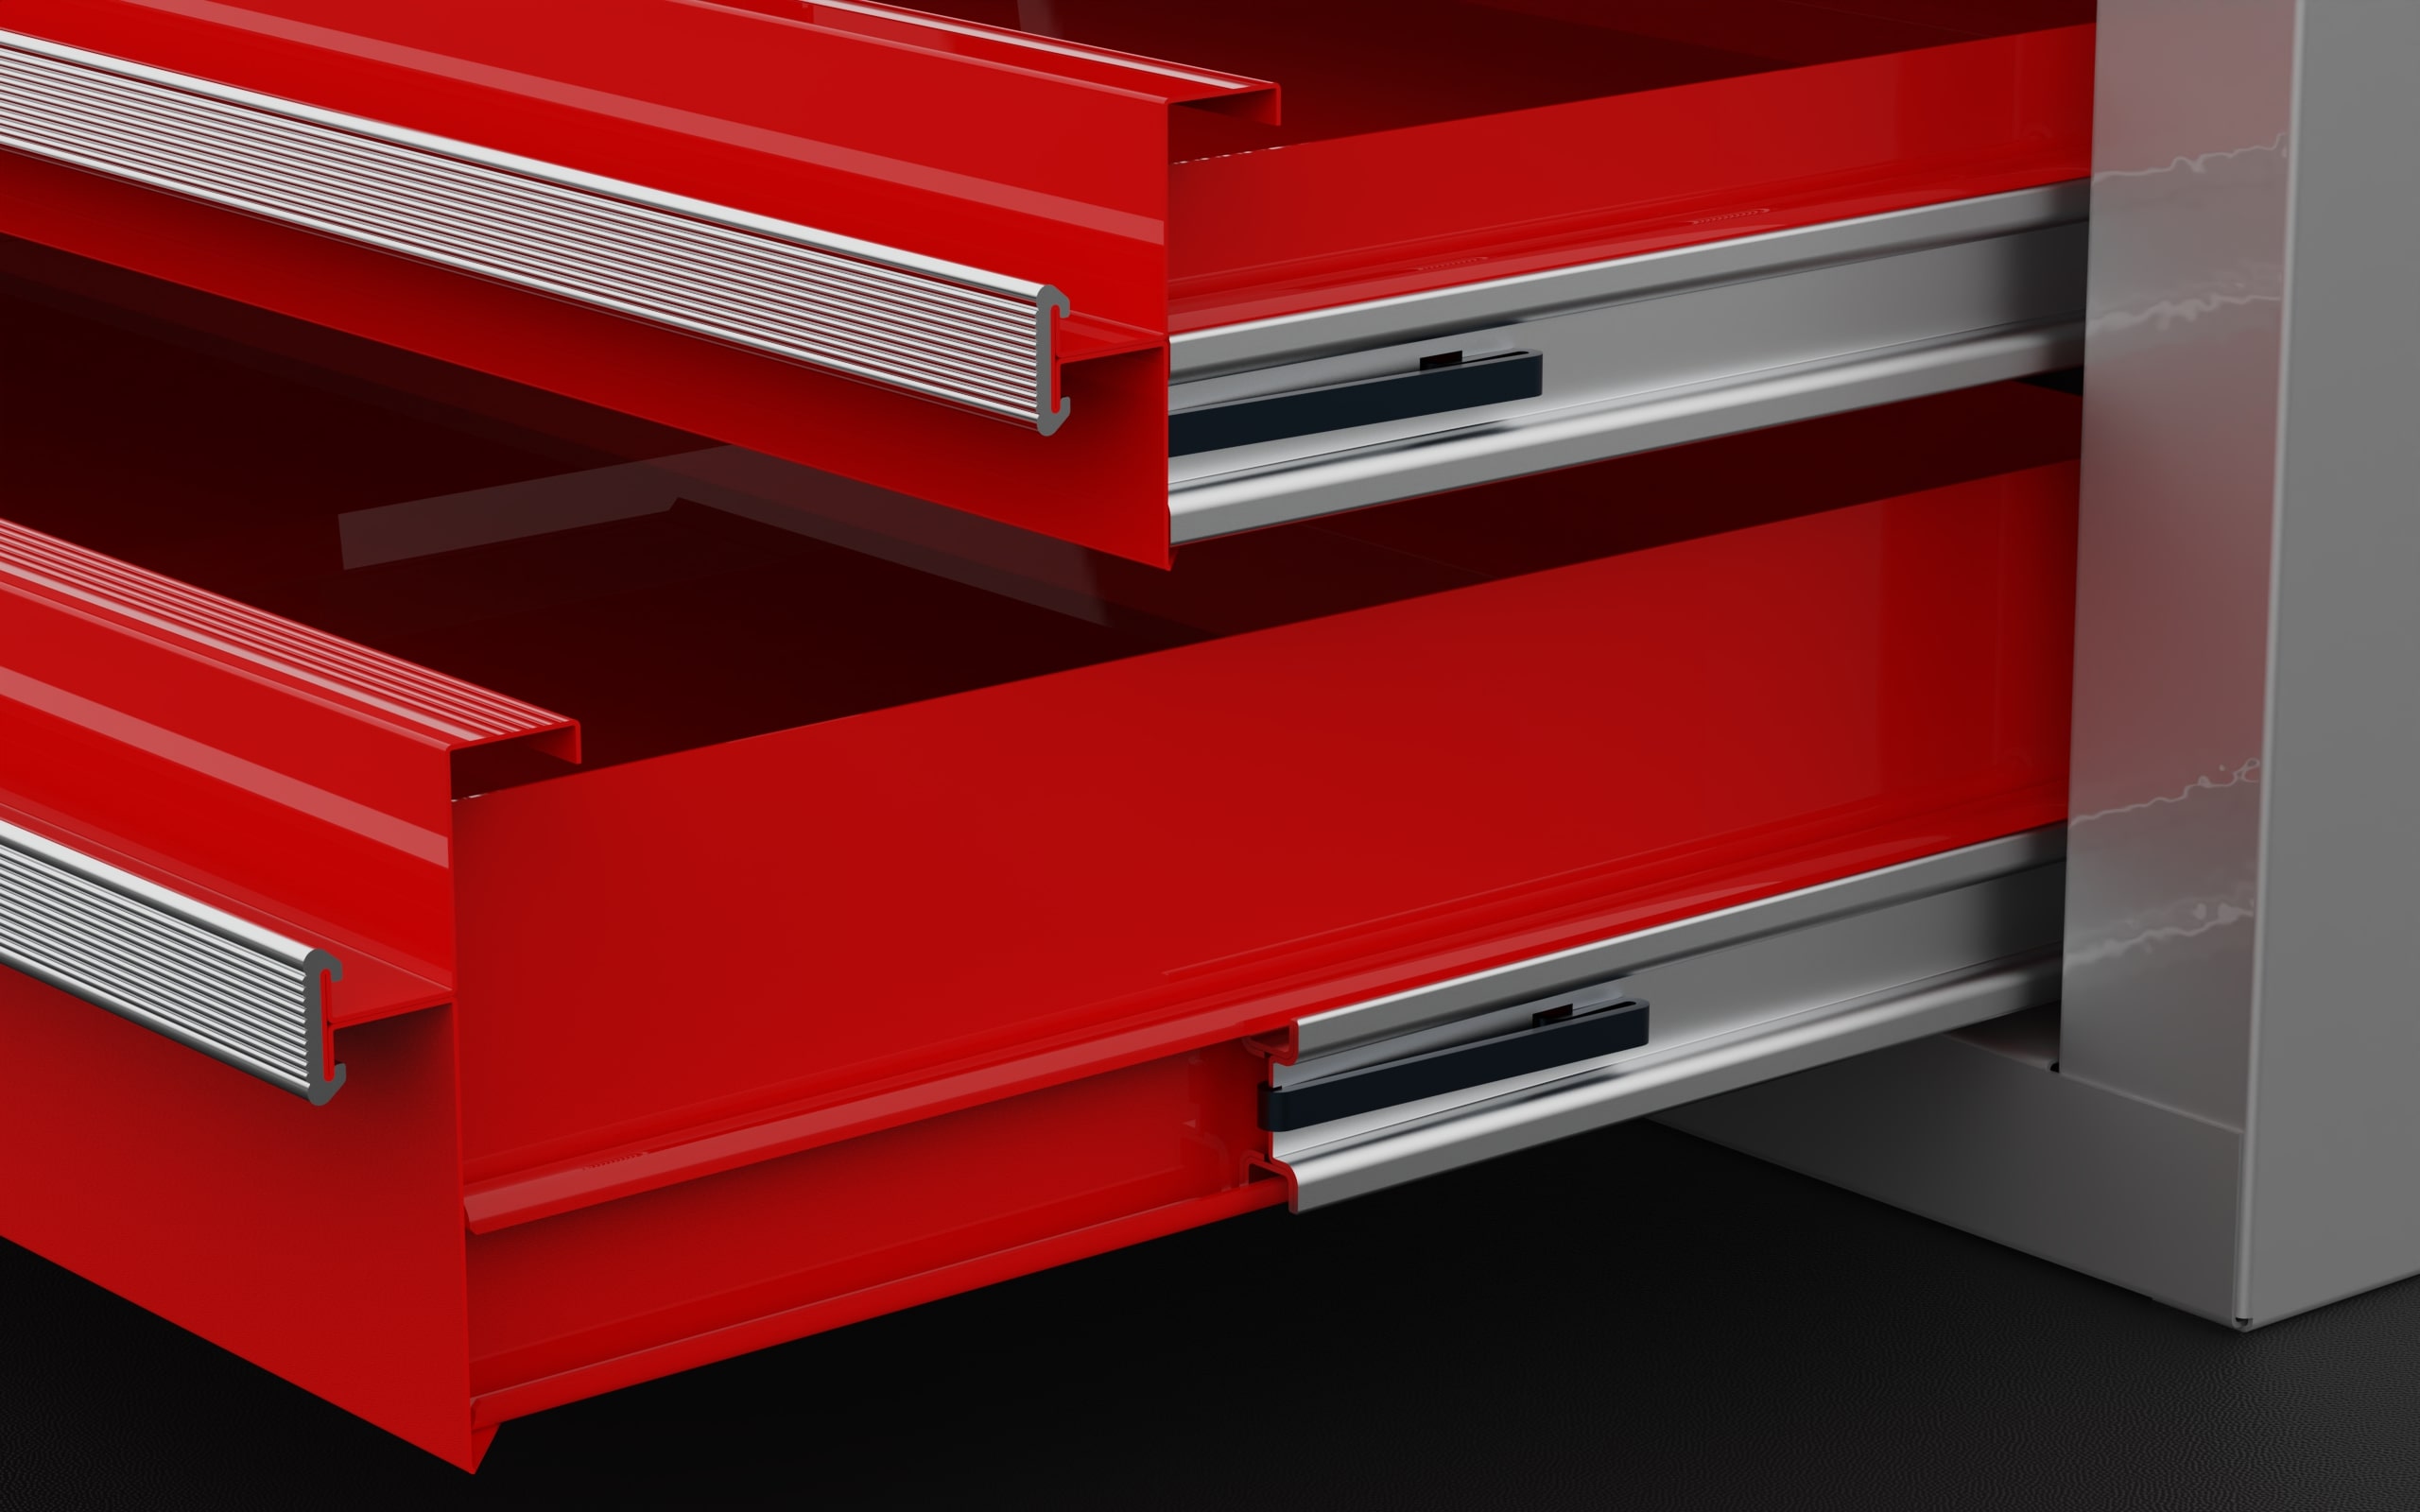
The drawer detent lever is an essential component that holds the drawer in place within the Husky tool chest. Before you can remove the drawer, you need to locate this lever, as it may be located in different positions depending on the model of your tool chest.
Begin by fully extending the drawer as far as it can go. Look inside the tool chest, near the back of the drawer, for a small lever or mechanism. This lever is typically made of metal and is designed to keep the drawer locked in place.
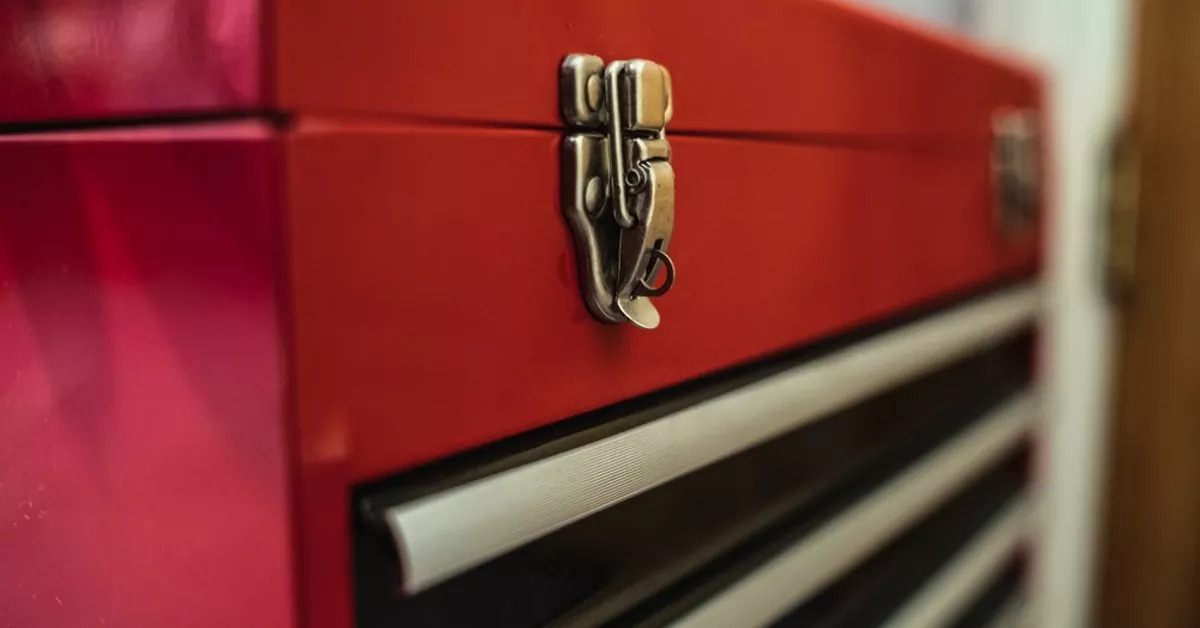
Inspect the sides and back of the drawer for any visible screws, brackets, or fasteners that may be holding the drawer in place. In some cases, the detent lever may be located on the side or the back of the drawer, which requires removing screws or clips before the lever can be accessed.
Take your time to carefully locate the drawer detent lever, as it may be positioned in a less obvious spot. If you’re having trouble finding it, consult the manufacturer’s instructions or refer to online resources specific to your Husky tool chest model.
Once you have located the detent lever, proceed to the next step: releasing the drawer detent lever.
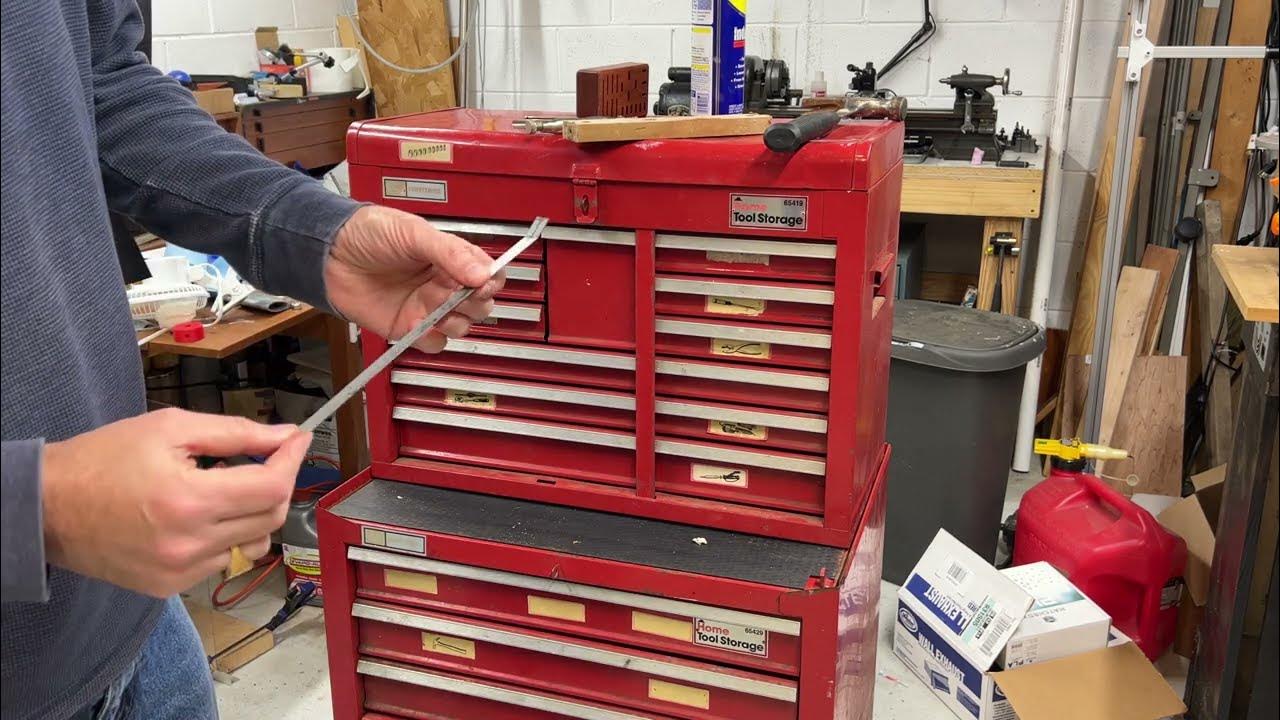
To remove a drawer from a Husky tool chest, first, open the drawer fully. Then, locate the release tabs on each side of the drawer slides and push them in while pulling the drawer out.
Step 3: Release the Drawer Detent Lever
Now that you have located the drawer detent lever, it’s time to release it to unlock the drawer from the tool chest. The method for releasing the detent lever may vary depending on the specific model of your Husky tool chest, so be sure to follow the instructions for your particular model.
If the detent lever is accessible from the back of the drawer, use a flathead screwdriver or an Allen wrench to loosen and remove any screws or fasteners holding it in place. Once the screws are removed, carefully grip the lever and gently pull or push it to release the detent mechanism. You may feel or hear a slight click when the lever is successfully released.
In some models, the detent lever may be located on the side of the drawer. In this case, you might need to remove a clip or latch before being able to access and release the lever. Use the appropriate tools to remove any clips or latches, and then proceed to release the detent lever as described earlier.
It’s important to exercise caution and be gentle when releasing the detent lever to avoid damage to the drawer or the tool chest. If you encounter any resistance or difficulty during this step, double-check for any remaining screws or fasteners that may be holding the lever in place.
With the detent lever released, you are now ready to move on to the next step: removing the drawer from the tool chest.
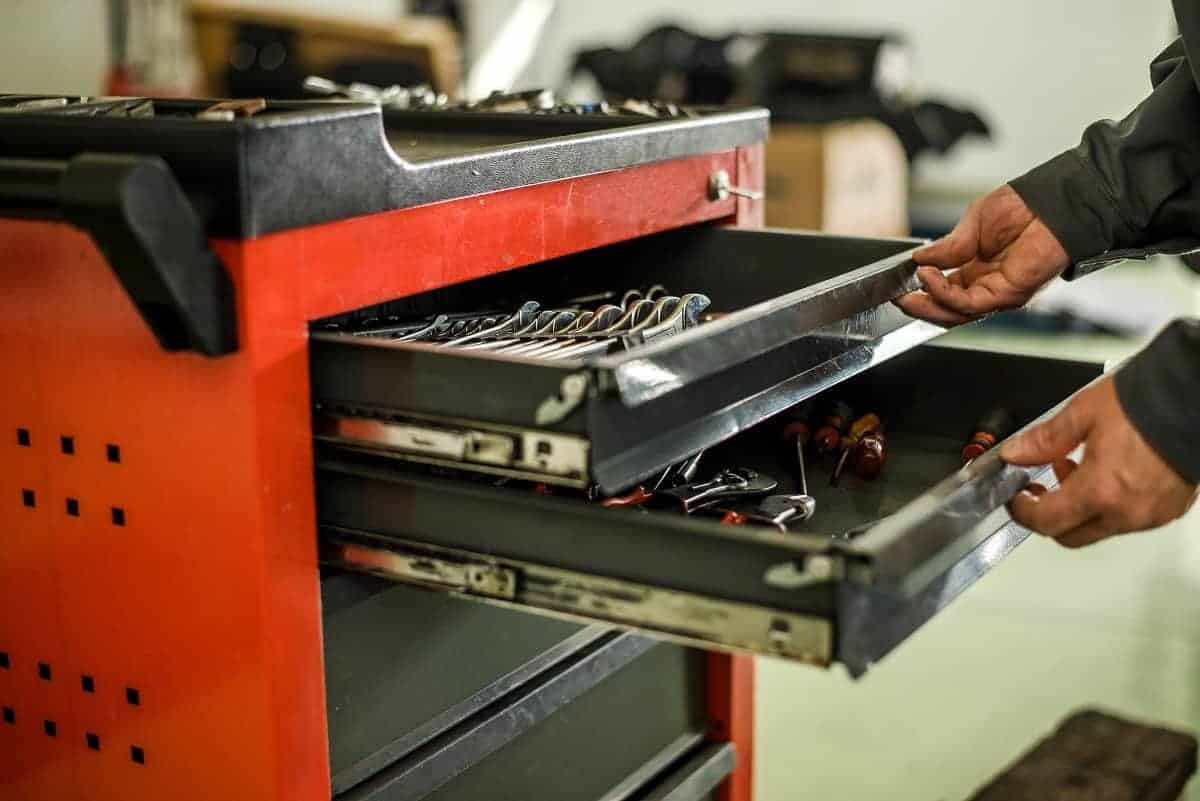
Step 4: Remove the Drawer
With the drawer detent lever released, you can now proceed to remove the drawer from your Husky tool chest. Follow these steps to ensure a smooth and safe removal process:
- Make sure the drawer is fully extended out from the tool chest.
- Reach inside the tool chest and grip both sides of the drawer firmly.
- Gently lift the front of the drawer while slightly tilting it upwards to disengage it from the drawer slides or tracks.
- Continue lifting and tilting the drawer until it is completely free from the tool chest.
- Once the drawer is out, set it aside in a safe and secure location.
During the removal process, be mindful of the weight and size of the drawer to avoid straining yourself or damaging the drawer or the tool chest. If you’re having difficulty removing the drawer, double-check that the detent lever is fully released and that there are no additional screws or fasteners obstructing the removal.
Once the drawer is removed, take a moment to inspect it for any damage or wear. Clean the drawer, if necessary, to remove any dirt or debris that may have accumulated. This is also a good opportunity to evaluate the organization and arrangement of your tools before reinstalling the drawer.
With the drawer successfully removed, you can now move on to the final step: reinstalling the drawer.
Step 5: Reinstalling the Drawer
Now that you have removed and inspected the drawer from your Husky tool chest, it’s time to reinstall it. Follow these steps to ensure a proper and secure installation:
- Position the drawer at a slight angle, aligning the drawer slides or tracks with the corresponding slots in the tool chest.
- Gently push the drawer into the tool chest, making sure the slides or tracks engage properly.
- Push the drawer all the way in until it is flush with the front of the tool chest.
- Double-check that the drawer is securely in place and moves smoothly along the slides or tracks.
- If necessary, adjust the position of the drawer by gently lifting and repositioning it until it sits properly.
- Once the drawer is installed, test it by opening and closing it to ensure it operates smoothly and securely.
It’s important to take your time during the reinstallation process to ensure that the drawer is properly aligned and seated. If you encounter any resistance or difficulty, check for any obstructions or misalignments that may impede the proper installation of the drawer.
With the drawer successfully reinstalled, take a moment to organize and arrange your tools in a way that suits your needs. Consider using drawer dividers or trays to further optimize your tool storage and keep everything neat and accessible.
With the drawer securely in place and your tools organized, you have successfully completed the process of removing and reinstalling a drawer from your Husky tool chest.
Conclusion
Removing a drawer from your Husky tool chest may seem like a daunting task, but with the right tools and step-by-step guidance, it can be a straightforward process. By following the steps outlined in this article, you can safely and efficiently remove a drawer for cleaning, maintenance, or reorganization purposes.
Remember to gather the required tools beforehand, including screwdrivers, an Allen wrench set, a rubber mallet, and a lint-free cloth. Take the time to empty the drawer and inspect your tools, ensuring they are in good condition before proceeding.
Locating and releasing the drawer detent lever is a crucial step in the process. Carefully identify its position and follow the manufacturer’s instructions to release it properly. Once the detent lever is released, you can proceed to remove the drawer from the tool chest.
During the removal process, be mindful of the weight and size of the drawer to prevent any accidents or damage. Once the drawer is removed, take the opportunity to clean it and evaluate your tool organization before reinstalling it.
Reinstalling the drawer requires aligning it with the drawer slides or tracks and securely pushing it into place. Ensure that the drawer moves smoothly and operates securely.
By following these steps, you can successfully remove and reinstall drawers from your Husky tool chest, maintaining a well-organized tool storage system that meets your needs.
Remember to consult the manufacturer’s instructions for your specific model, as different models may have slightly different steps or considerations.
So, whether you need to clean your tools, perform maintenance, or reorganize your tool chest, now you have the knowledge and confidence to remove and reinstall a drawer from your Husky tool chest with ease.
Now that you've mastered removing drawers from your Husky Tool Chest, why not optimize what goes inside? Properly organizing tools ensures you'll find exactly what you need at a glance. Our next guide on tool chest organization offers clever tips for maximizing space and maintaining order in your setup. Don’t miss out on these practical strategies to transform your tool storage into a streamlined, efficient workspace.
Frequently Asked Questions about How To Remove Drawer From Husky Tool Chest
Was this page helpful?
At Storables.com, we guarantee accurate and reliable information. Our content, validated by Expert Board Contributors, is crafted following stringent Editorial Policies. We're committed to providing you with well-researched, expert-backed insights for all your informational needs.


0 thoughts on “How To Remove Drawer From Husky Tool Chest”