
Articles
How To Remove Moen Eva Towel Bar
Modified: March 2, 2024
Looking for articles on how to remove a Moen Eva towel bar? Find step-by-step instructions and helpful tips to easily uninstall your towel bar.
(Many of the links in this article redirect to a specific reviewed product. Your purchase of these products through affiliate links helps to generate commission for Storables.com, at no extra cost. Learn more)
Introduction
Welcome to our guide on how to remove a Moen Eva towel bar. If you’re looking to update your bathroom fixtures or simply need to make some changes, removing the towel bar is often the first step. Whether you’re replacing it with a new towel bar or opting for a different storage solution, this article will walk you through the process step by step.
Before we begin, it’s essential to gather your tools and materials. Having everything on hand will help ensure a smooth and efficient removal process. The tools you will need include:
- Phillips screwdriver
- Allen wrench
- Putty knife
- Paint patching kit (optional)
Now that you have your tools ready, let’s dive into the step-by-step process of removing a Moen Eva towel bar.
Key Takeaways:
- Easily remove a Moen Eva towel bar by preparing the work area, locating and loosening the set screw, and gently pulling the bar away. Optional steps include filling holes and patching and painting the wall for a seamless finish.
- Gather necessary tools and materials, such as a Phillips screwdriver and putty knife, before removing a Moen Eva towel bar. Take your time and proceed with caution to avoid damage, and consider optional steps for a polished look.
Read more: How To Remove Moen Towel Bar
Tools and Materials Needed
Before you start removing your Moen Eva towel bar, make sure you have the necessary tools and materials. Having these items on hand will help streamline the process and make it easier for you to complete the task:
- Phillips screwdriver: This tool will be necessary to remove any screws holding the towel bar in place. Make sure you have one that fits the screws on your specific towel bar model.
- Allen wrench: Some towel bars, including the Moen Eva, may have set screws that require an Allen wrench to loosen. Check the underside of your towel bar to determine if an Allen wrench is needed and have one ready.
- Putty knife: If you plan on filling the holes left behind by the towel bar, a putty knife will come in handy for applying and smoothing out the patching compound or filler.
- Paint patching kit (optional): If you wish to patch and paint over the holes left by the towel bar, a paint patching kit will include everything you need, such as patching compound, sandpaper, and paint.
By having these tools and materials ready, you’ll be well-equipped to remove your Moen Eva towel bar with ease.
Step 1: Prepare the Work Area
Before you start removing your Moen Eva towel bar, it’s important to prepare the work area to ensure a smooth and efficient process. Follow these steps to get your work area ready:
- Clear the surrounding area: Remove any towels, toiletries, or other items that may interfere with your access to the towel bar. This will create a clear workspace and prevent any items from getting damaged during the removal process.
- Protect the surrounding surfaces: Use masking tape or painter’s tape to cover any areas that are adjacent to or near the towel bar. This will help protect your walls, tiles, or other surfaces from accidental scratches or damage during the removal process.
- Prepare a drop cloth or a towel: Lay down a drop cloth or a thick towel below the towel bar to catch any debris or items that may fall during removal. This will help keep your floor or countertop clean and prevent any damage.
- Turn off the water supply (if applicable): If your Moen Eva towel bar is installed near a water source, such as a sink or bathtub, it’s a good idea to turn off the water supply valves before starting the removal process. This will prevent any accidental water leaks or damage.
By preparing the work area beforehand, you’ll ensure a clean and organized removal process for your Moen Eva towel bar. Once you’ve completed these steps, you’re ready to move on to the next step of loosening the set screw.
Step 2: Locate the Set Screw
Once you’ve prepared the work area, the next step in removing your Moen Eva towel bar is to locate the set screw. The set screw is a small screw that holds the towel bar in place. Here’s how to find the set screw:
- Inspect the towel bar: Take a close look at your Moen Eva towel bar and locate the areas where it attaches to the wall or mounting bracket. The set screw is typically located on one end of the towel bar or underneath it.
- Check the underside of the towel bar: In some cases, the set screw may be hidden under a decorative cover. Look for a small cap or cover that can be easily removed. Use a flathead screwdriver or your fingers to gently pry off the cover and reveal the set screw.
- Refer to the manufacturer’s instructions: If you’re having trouble locating the set screw, consult the instruction manual that came with your Moen Eva towel bar. The manual will provide specific instructions on where the set screw is located for your particular model.
Once you have located the set screw, you’re ready to move on to the next step of loosening it to remove the towel bar. Read on to learn how to loosen the set screw effectively.
Step 3: Loosen the Set Screw
Now that you have located the set screw, it’s time to loosen it to remove the Moen Eva towel bar. Follow these steps to effectively loosen the set screw:
- Choose the right tool: Depending on the towel bar model, the set screw may require either a Phillips screwdriver or an Allen wrench. Make sure you have the correct tool before proceeding.
- Insert the tool: Insert the Phillips screwdriver or Allen wrench into the set screw slot, securely gripping it with your hand.
- Turn counter-clockwise: Apply gentle pressure while turning the tool counter-clockwise. This should loosen the set screw from its locked position.
- Continue loosening: If the set screw is stubborn and doesn’t turn easily, you can try applying a small amount of lubricant, such as WD-40, to help loosen it. Be careful not to use excessive force, as this may strip the screw or damage the towel bar.
- Remove the set screw: Once the set screw is loosened, carefully remove it from the towel bar. Keep it in a safe place for reinstallation or future use if needed.
With the set screw successfully loosened and removed, you’re ready to move on to the next step of removing the towel bar itself. Read on to learn how to remove the Moen Eva towel bar efficiently.
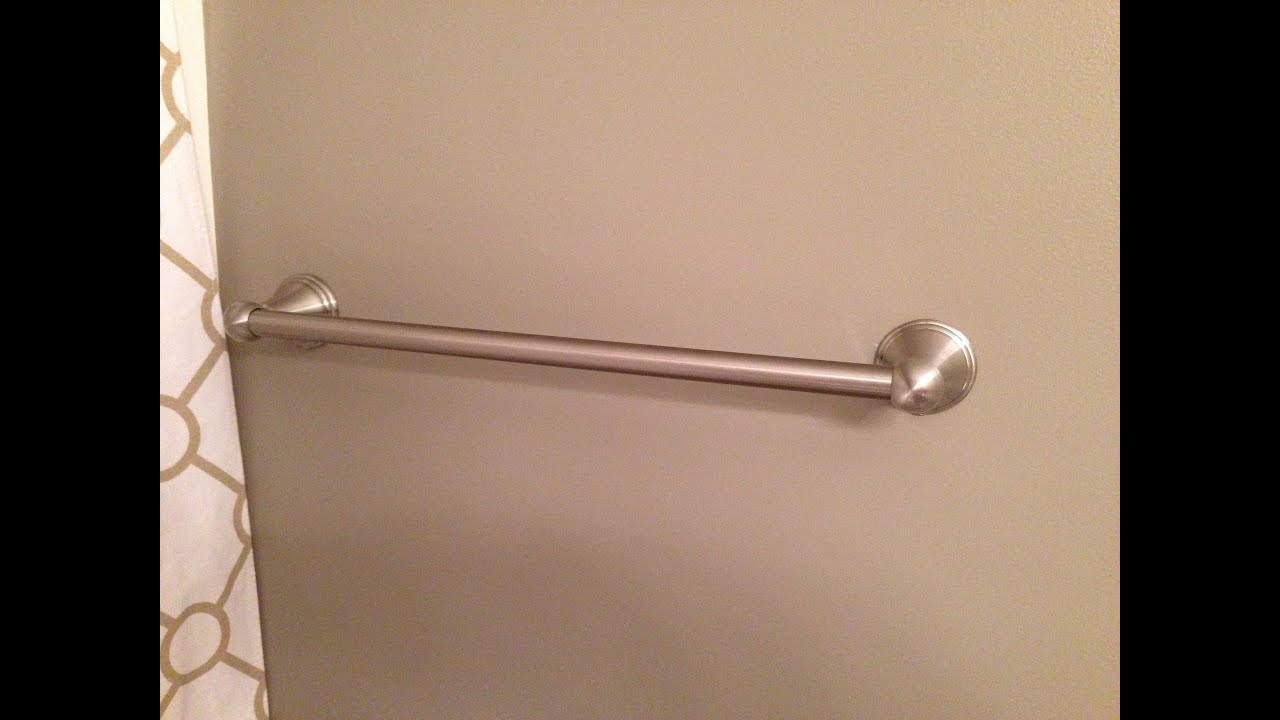
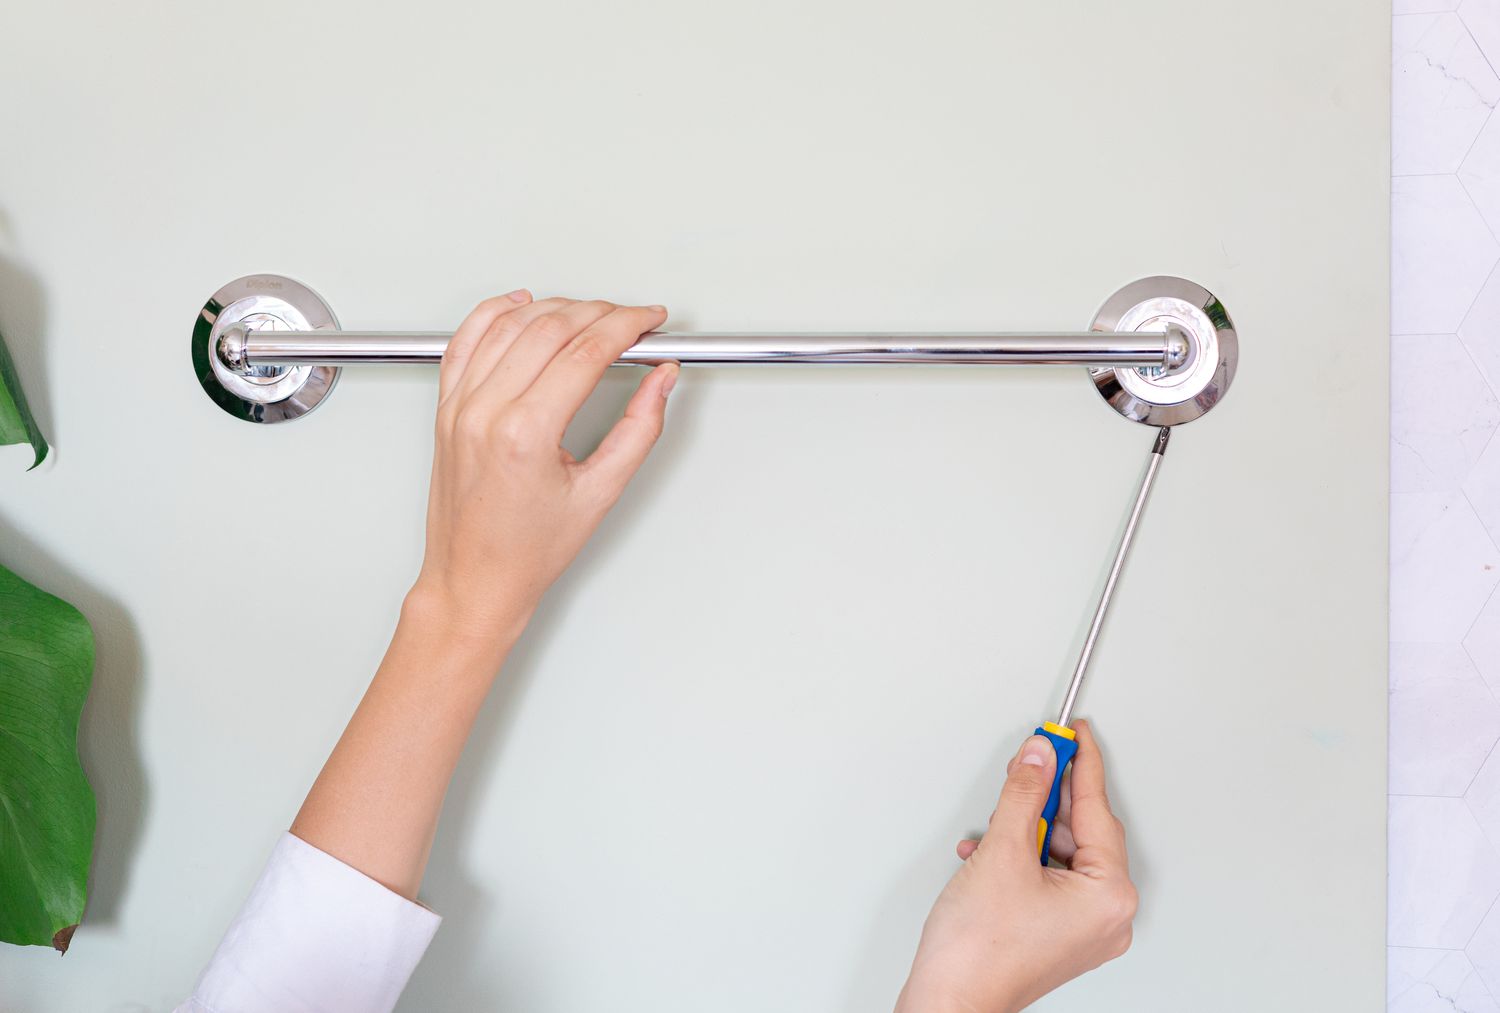
Use an Allen wrench to loosen the set screw at the base of the towel bar. Once the set screw is loose, the bar can be easily removed from the mounting brackets.
Read more: How To Remove Moen Brantford Towel Bar
Step 4: Remove the Towel Bar
Now that the set screw is loosened and removed, it’s time to proceed with removing the Moen Eva towel bar from its mounting bracket. Follow these steps to safely remove the towel bar:
- Gently pull on the towel bar: Slowly and steadily pull the towel bar away from the wall or mounting bracket. Apply even pressure to avoid any sudden or jerky movements.
- Check for any additional attachments: Some towel bars may have additional screws or mounting brackets holding them in place. If you encounter any resistance while pulling, carefully inspect the towel bar for any hidden attachments.
- Remove any remaining screws: If there are additional screws or brackets securing the towel bar, use the appropriate tool (Phillips screwdriver or Allen wrench) to remove them. Keep these screws in a safe place for reinstallation or future use.
- Set the towel bar aside: Once all attachments are removed, set the towel bar aside in a safe location. You can place it on a soft cloth or towel to prevent any scratches or damage.
With the Moen Eva towel bar successfully removed, you have now completed the main step of the removal process. If you plan on installing a new towel bar, make sure to clean the area and prepare it for the new installation. If you no longer wish to have a towel bar in that space, you can proceed to the optional steps of filling the holes and patching and painting the wall. Read on to learn more about these optional steps.
Step 5: Fill the Holes (Optional)
If you have removed the Moen Eva towel bar and are left with unsightly holes in your wall, you may want to consider filling them for a seamless finish. Follow these steps to fill the holes left from the towel bar:
- Clean the holes: Use a damp cloth or sponge to clean any debris or dust from the holes. This will ensure proper adhesion of the patching material.
- Choose a patching compound: Select a suitable patching compound or filler that matches the texture of your wall. You can find these at your local hardware or home improvement store.
- Apply the patching compound: Using a putty knife or a spatula, carefully fill the holes with the patching compound. Smooth it out evenly to create a seamless surface. Allow the compound to dry according to the manufacturer’s instructions.
- Sand the surface: Once the patching compound is fully dry, use fine-grit sandpaper to lightly sand the patched area. This will help create a smooth finish and blend it with the surrounding wall texture.
- Wipe clean: After sanding, use a clean, dry cloth or sponge to wipe away any dust or residue from the patched area.
By following these steps, you can effectively fill the holes left behind by the towel bar and achieve a polished look on your wall. Once the holes are filled and the surface is smooth, you can move on to the optional step of patching and painting the wall if desired.
Step 6: Patch and Paint (Optional)
If you want to fully restore the wall to its original appearance after removing the Moen Eva towel bar, you can consider patching and painting the area. Follow these steps to patch and paint the wall:
- Choose a matching paint color: Take note of the existing paint color on your wall and purchase a matching paint or paint sample from a local paint store. Make sure to choose a paint finish that matches the rest of the wall.
- Prepare the area: Clean the patched area from any dust or debris using a damp cloth. If necessary, gently sand the patched area to ensure a smooth surface for paint application. Wipe away any remaining dust.
- Apply primer (if needed): If the patched area is significantly different in color from the surrounding wall, it may be necessary to apply a primer. This will help ensure the new paint color adheres properly and provides a seamless finish.
- Paint the area: Using a small brush or a roller, carefully apply the paint to the patched area. Feather the paint out to blend it with the surrounding wall and create an even finish. Allow the paint to dry according to the manufacturer’s instructions.
- Inspect and touch up: Once the paint is dry, inspect the area for any unevenness or spots that may require touch-up. Use a small brush to carefully touch up those areas, feathering the paint to match the rest of the wall.
- Clean up: Clean your brushes, rollers, and any other painting tools according to the manufacturer’s instructions. Dispose of any leftover paint or materials responsibly.
By following these steps, you can effectively patch and paint the wall, restoring it to a seamless and polished finish. However, keep in mind that patching and painting are optional steps and may not be necessary if you plan to install a new towel bar or if the patched area is not visible or of concern.
Conclusion
Congratulations! You have successfully learned how to remove a Moen Eva towel bar. By following the steps outlined in this guide, you were able to prepare the work area, locate and loosen the set screw, remove the towel bar, and optionally fill the holes and patch and paint the wall. Whether you are updating your bathroom fixtures or simply in need of a change, this knowledge will come in handy.
Remember to always gather the necessary tools and materials before starting the removal process. Take your time and proceed with caution to avoid any unnecessary damage to the towel bar or the surrounding area. If you encounter any difficulties or unusual circumstances during the removal process, it is recommended to consult the manufacturer’s instructions or seek professional assistance.
Don’t forget that the optional steps of filling the holes and patching and painting the wall can give your bathroom a polished look once the towel bar is gone. However, these steps are entirely dependent on your preference and the condition of the wall.
Now that you have successfully removed your Moen Eva towel bar, you can proceed with your desired bathroom renovation or storage solution. Enjoy your refreshed space and make it your own!
Frequently Asked Questions about How To Remove Moen Eva Towel Bar
Was this page helpful?
At Storables.com, we guarantee accurate and reliable information. Our content, validated by Expert Board Contributors, is crafted following stringent Editorial Policies. We're committed to providing you with well-researched, expert-backed insights for all your informational needs.

0 thoughts on “How To Remove Moen Eva Towel Bar”