Home>Gardening & Outdoor>Outdoor Structures>How To Fit Guttering To A Shed
Outdoor Structures
How To Fit Guttering To A Shed
Modified: August 27, 2024
Learn how to fit guttering to your shed with our step-by-step guide. Protect your outdoor structures from water damage and prolong their lifespan. Expert tips for DIY installation.
(Many of the links in this article redirect to a specific reviewed product. Your purchase of these products through affiliate links helps to generate commission for Storables.com, at no extra cost. Learn more)
Introduction
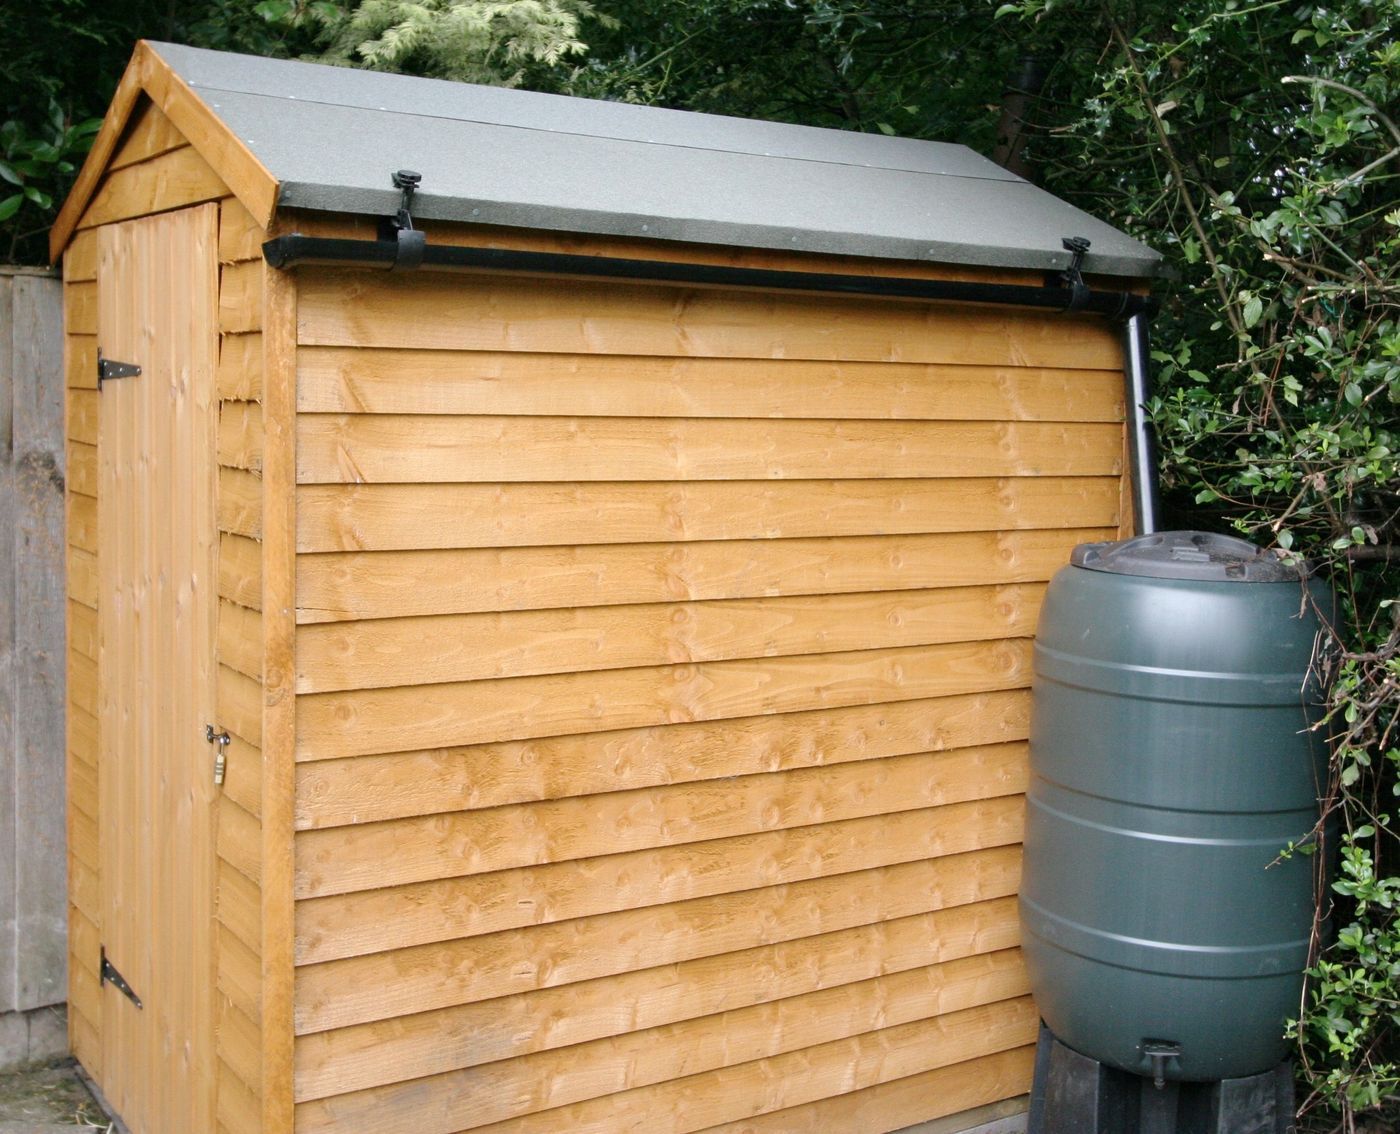
Welcome to the world of outdoor structures! Whether you’re a seasoned DIY enthusiast or just starting to explore the realm of shed maintenance, understanding how to fit guttering to a shed is a valuable skill. By doing so, you can effectively manage rainwater, safeguard your shed from potential water damage, and create a more functional and visually appealing outdoor space.
Installing guttering on a shed may seem like a daunting task at first, but with the right guidance and a bit of elbow grease, it’s a project that can be accomplished with relative ease. This article will walk you through the process, from the essential tools and materials you’ll need to the step-by-step installation techniques. By the end, you’ll have the knowledge and confidence to tackle this project and enhance the longevity and functionality of your shed.
Key Takeaways:
- Protect Your Shed
By installing guttering, you’re shielding your shed from water damage, extending its lifespan, and keeping it strong against heavy rainfall. - Beautify Your Space
Guttering not only manages water but also enhances the look of your shed, creating a cleaner and more appealing outdoor environment.
Read more: How To Put Gutters On A Shed
Tools and Materials
Before diving into the process of fitting guttering to your shed, it’s essential to gather the necessary tools and materials. Here’s a comprehensive list to ensure you’re well-prepared for the task:
Tools:
- Measuring tape
- Pencil or marker
- Hacksaw or tin snips
- Drill with bits
- Screwdriver
- Ladder
- Safety goggles
- Gloves
- Silicone sealant
- Gutter brackets
- Gutter unions and connectors
- Downpipe brackets
- Downpipe shoe
- Downpipe diverter (if collecting rainwater)
- Guttering and downpipe
- End caps
- Fixing screws and brackets
- Sealing tape
Materials:
- Measuring tape
- Pencil or marker
- Hacksaw or tin snips
- Drill with bits
- Screwdriver
- Ladder
- Safety goggles
- Gloves
- Silicone sealant
- Gutter brackets
- Gutter unions and connectors
- Downpipe brackets
- Downpipe shoe
- Downpipe diverter (if collecting rainwater)
- Guttering and downpipe
- End caps
- Fixing screws and brackets
- Sealing tape
With these tools and materials at your disposal, you’ll be well-equipped to proceed with the guttering installation for your shed.
Planning and Preparation
Before embarking on the installation of guttering for your shed, it’s crucial to engage in thorough planning and preparation. This phase sets the foundation for a successful and efficient installation process. Here’s a step-by-step guide to help you plan and prepare:
Read more: How To Turn A Shed Into A She Shed
Assess Your Shed and Surroundings
Begin by evaluating your shed and its surroundings. Take note of the shed’s dimensions, roof pitch, and the areas where water tends to accumulate during rainfall. Understanding these aspects will guide you in determining the optimal placement of the guttering system.
Choose the Right Guttering System
Consider the various types of guttering systems available, such as PVC, aluminum, or steel gutters. Each material offers distinct advantages in terms of durability, cost, and maintenance requirements. Select a guttering system that aligns with your shed’s aesthetic and functional needs.
Calculate the Required Materials
Based on your shed’s dimensions and the chosen guttering system, calculate the quantity of materials needed, including guttering lengths, downpipes, brackets, and connectors. Accurate measurements and material estimation will prevent unnecessary delays during the installation process.
Plan the Water Disposal Route
Determine the ideal location for the downpipes to ensure efficient water drainage. Consider directing the downpipes towards a designated drainage area or a rainwater collection system if you aim to utilize the harvested rainwater for other purposes.
Read more: How To Fit A Carpet
Ensure Safety Measures
Prioritize safety by securing a stable ladder, wearing appropriate protective gear, and being mindful of electrical wires or other potential hazards near the installation area. Safety should always be a top priority throughout the planning and installation stages.
By meticulously planning and preparing for the installation of guttering on your shed, you’ll lay the groundwork for a smooth and successful project, ultimately enhancing the functionality and longevity of your outdoor structure.
Installing the Guttering
With thorough planning and the necessary tools and materials in hand, you’re now ready to embark on the installation of guttering for your shed. Follow these step-by-step guidelines to ensure a seamless and effective installation process:
1. Marking and Measuring
Begin by marking the positions for the gutter brackets along the fascia board of the shed. Use a measuring tape to ensure equal spacing between the brackets, typically around 24 to 36 inches apart, depending on the anticipated water flow and the length of the guttering sections.
2. Cutting the Guttering
Using a hacksaw or tin snips, carefully cut the guttering sections to the required lengths based on the measurements taken during the planning phase. Ensure precise and clean cuts to facilitate a snug fit and optimal water flow within the guttering system.
Read more: How Far Should Gutters Extend Past The Roof
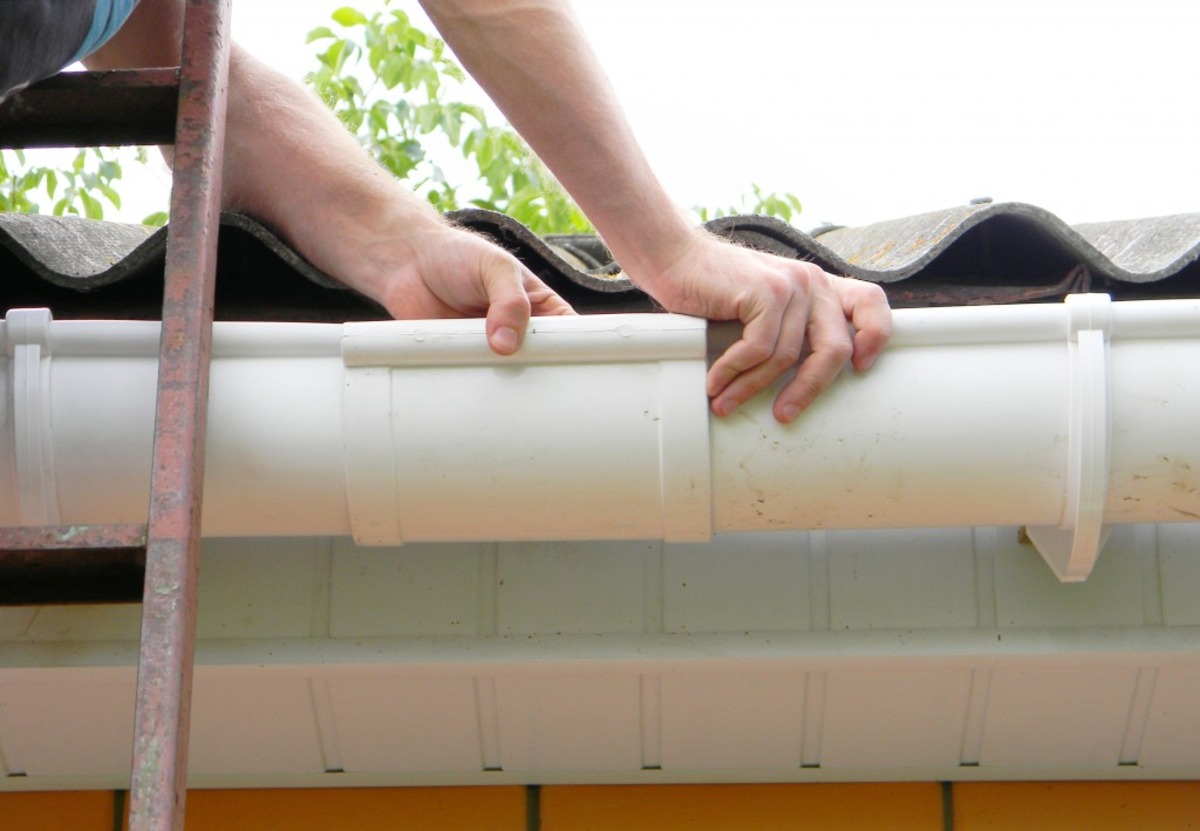
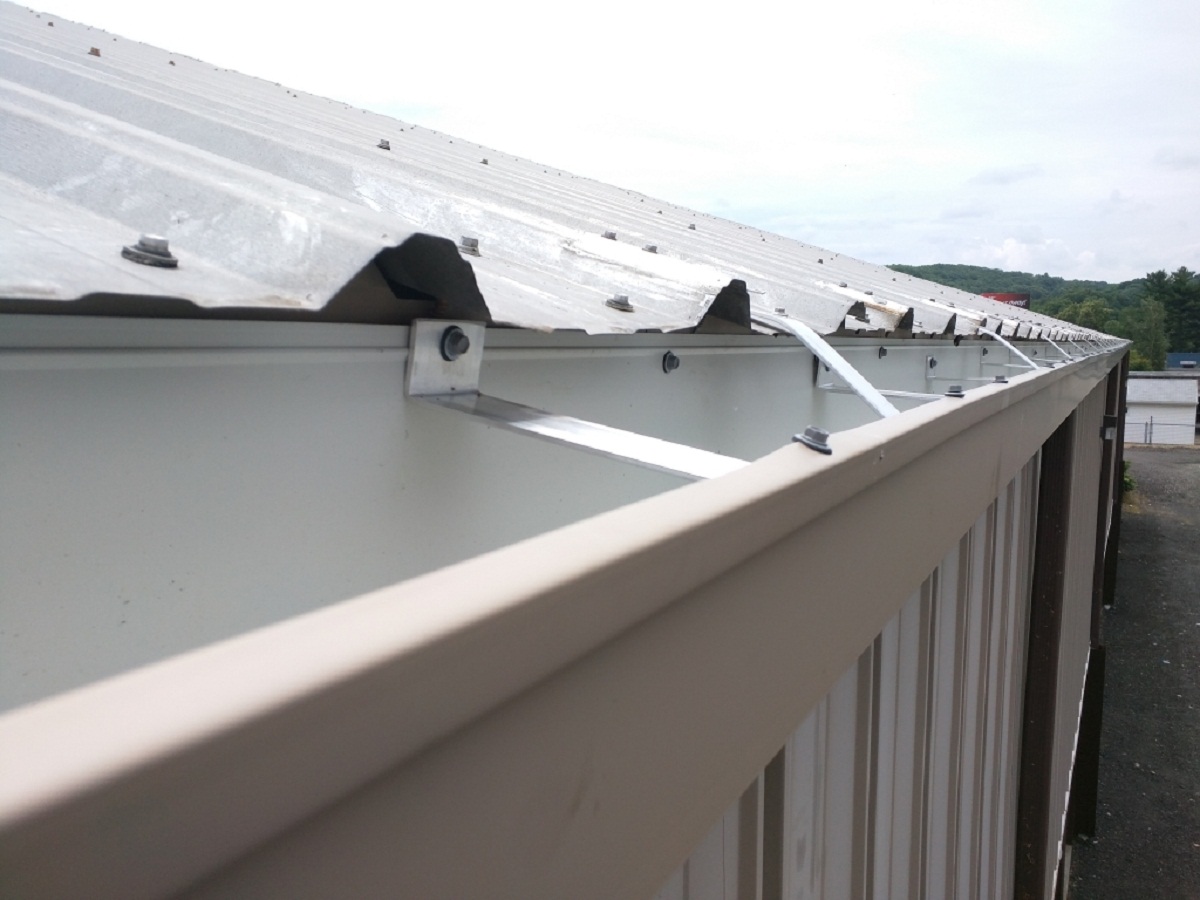
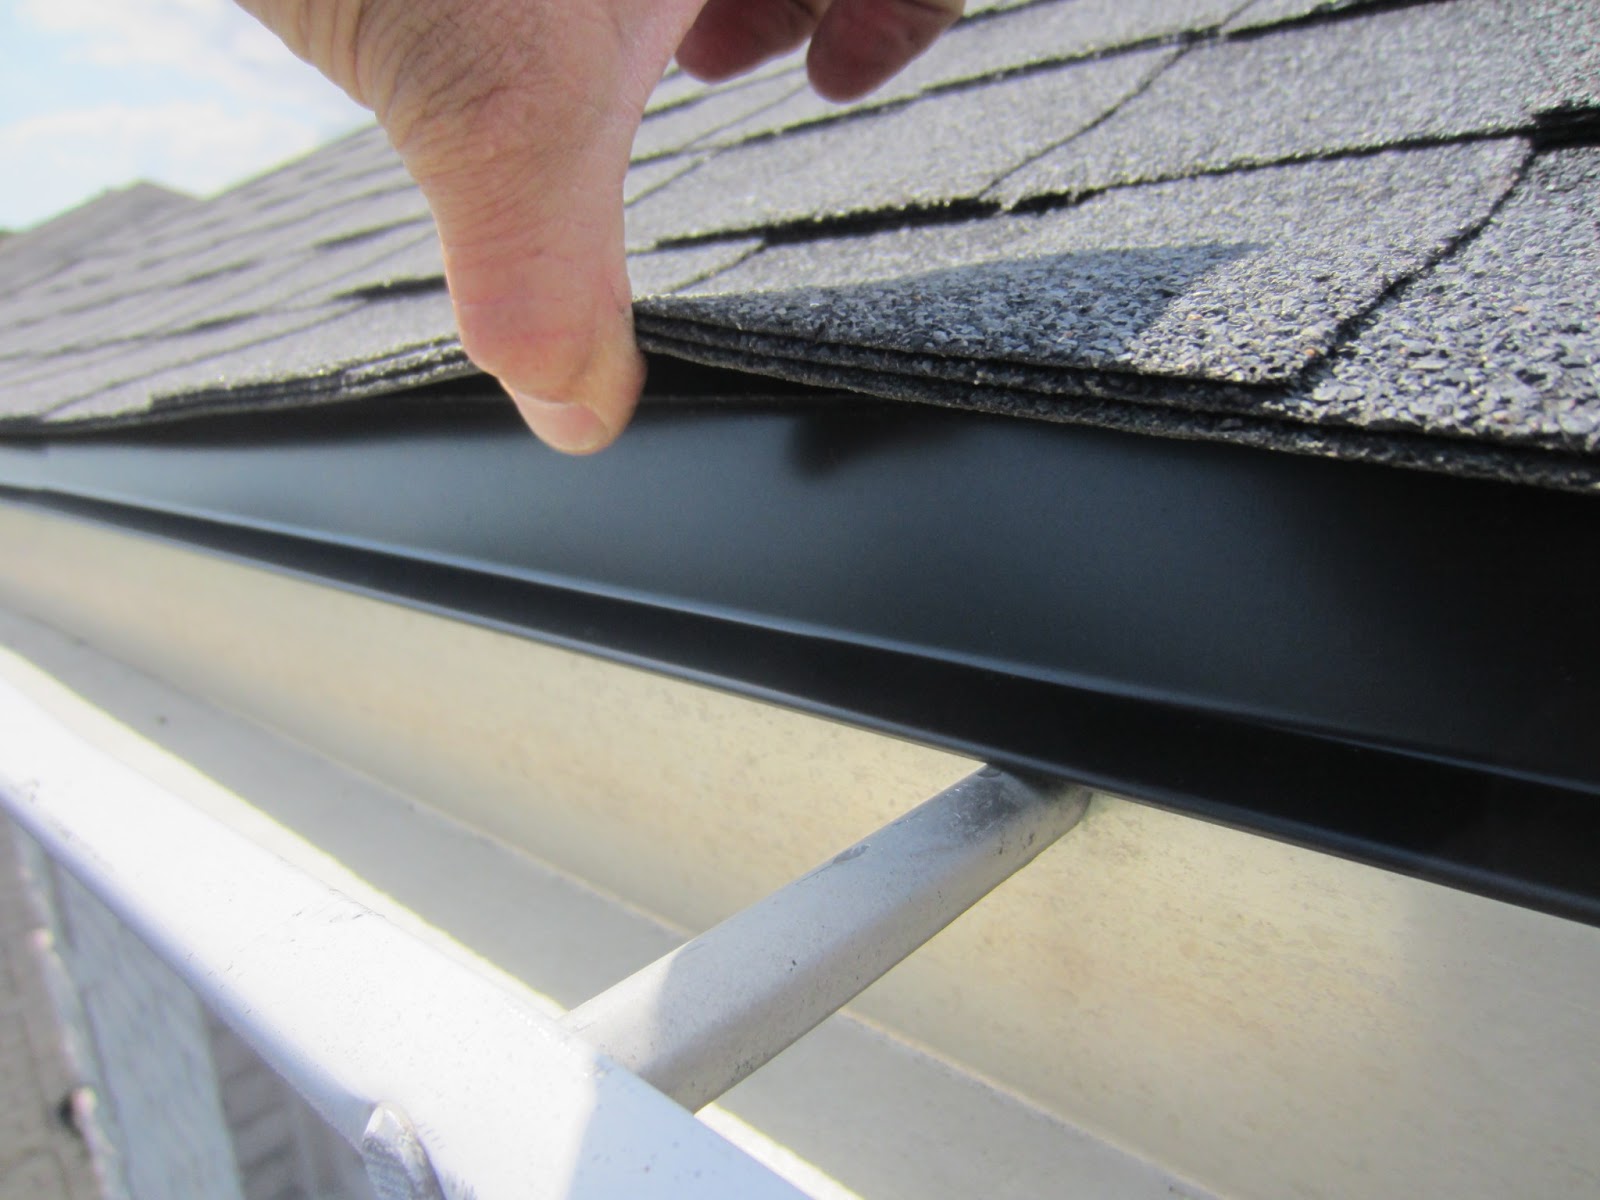
3. Attaching the Gutter Brackets
Secure the gutter brackets to the fascia board using the appropriate screws and a drill. Ensure that the brackets are level and aligned to provide adequate support for the guttering sections. This step is crucial for the stability and longevity of the guttering system.
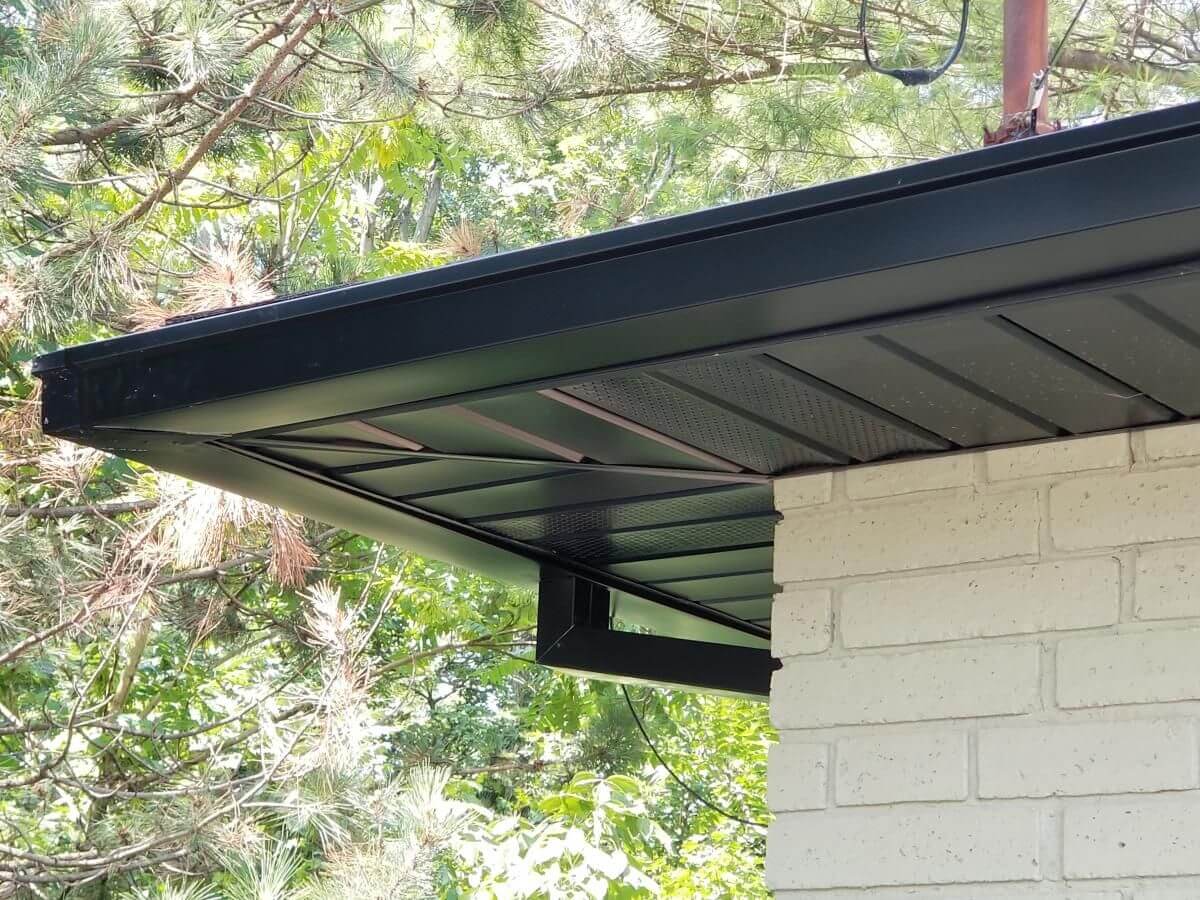
4. Assembling the Guttering
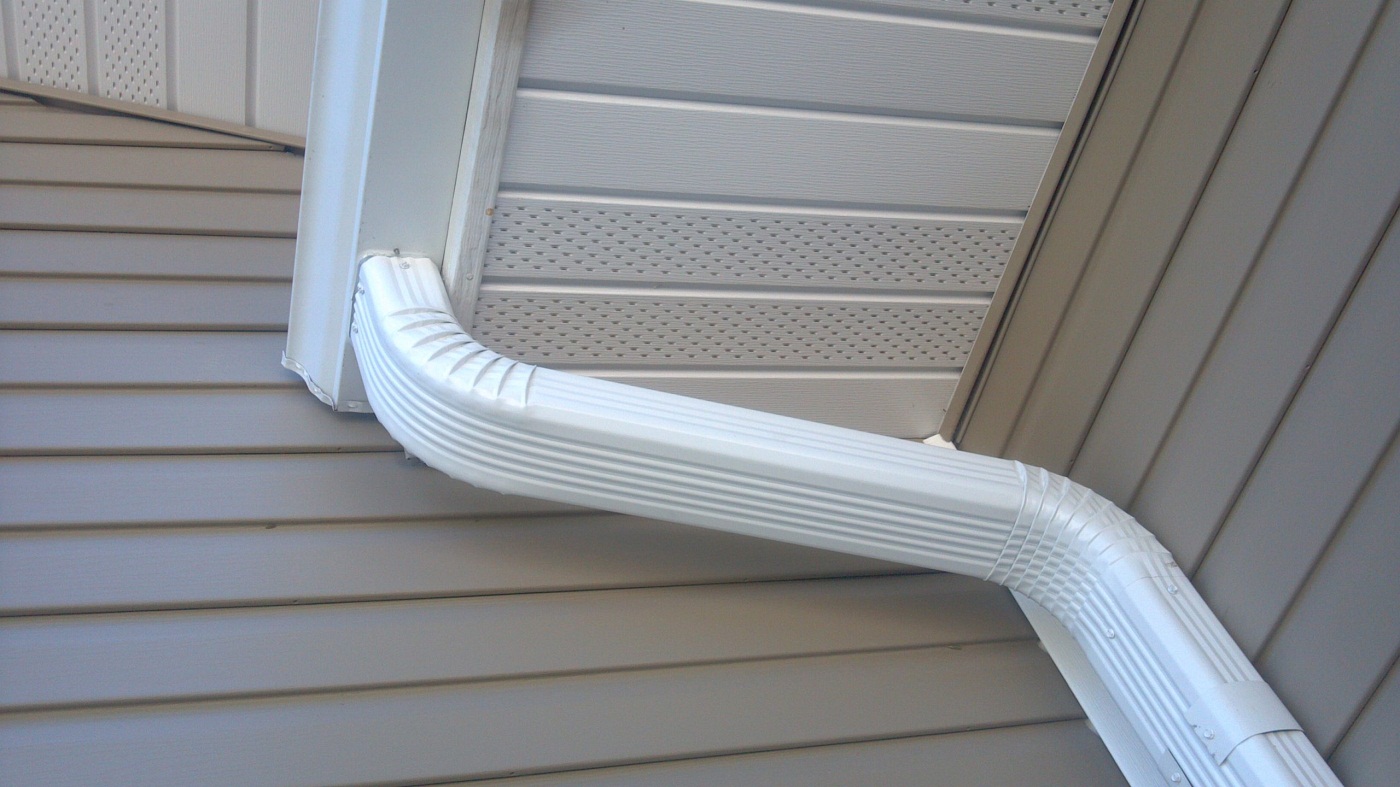
Connect the guttering sections using unions and connectors, ensuring a secure and watertight fit. Pay attention to the alignment and angle of the guttering to facilitate proper water drainage towards the downpipes.
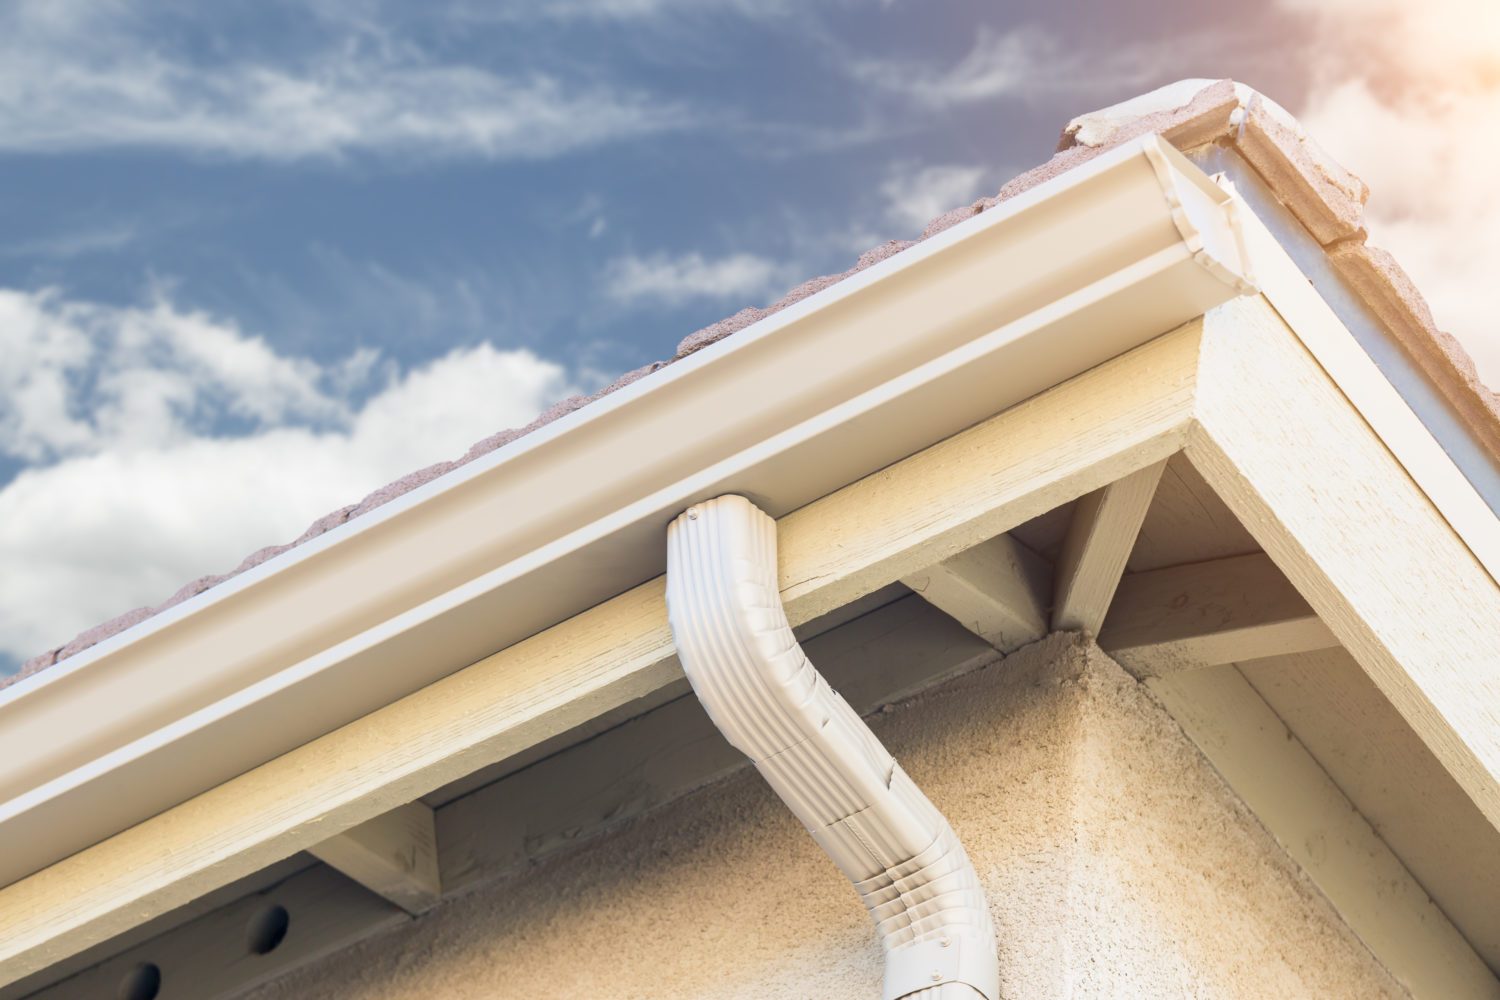
5. Installing the Downpipes
Position the downpipe brackets along the shed’s exterior, allowing for a smooth transition from the guttering to the downpipes. Attach the downpipes securely, ensuring they are directed towards the designated drainage area or rainwater collection system, if applicable.
6. Sealing and Testing
Apply silicone sealant to the joints and connections within the guttering system to prevent water leakage. Once the installation is complete, run water through the guttering to test the flow and identify any potential leaks or drainage issues that require adjustments.
By following these systematic steps, you can successfully install guttering on your shed, effectively managing rainwater and safeguarding your outdoor structure from potential water damage.
Read more: How To Pitch Gutters
Conclusion
Congratulations! You’ve now completed the installation of guttering for your shed, enhancing its functionality and resilience against the elements. By mastering this essential outdoor structure maintenance task, you’ve taken a proactive step in preserving the integrity of your shed and the surrounding environment. As you reflect on this accomplishment, consider the following key takeaways:
Protecting Your Shed
With a robust guttering system in place, your shed is better equipped to withstand heavy rainfall and potential water-related issues. By effectively managing rainwater, you’ve significantly reduced the risk of structural damage and deterioration, prolonging the lifespan of your outdoor structure.
Enhancing Outdoor Space
Beyond functionality, the installation of guttering contributes to the overall visual appeal and cleanliness of your shed and its surroundings. The streamlined water drainage provided by the guttering system creates a more aesthetically pleasing and organized outdoor environment.
Environmental Considerations
If you’ve opted to incorporate a rainwater collection system into your guttering setup, you’re actively contributing to environmental conservation. Harvesting rainwater for various uses, such as garden irrigation or cleaning, reduces reliance on traditional water sources and promotes sustainable practices.
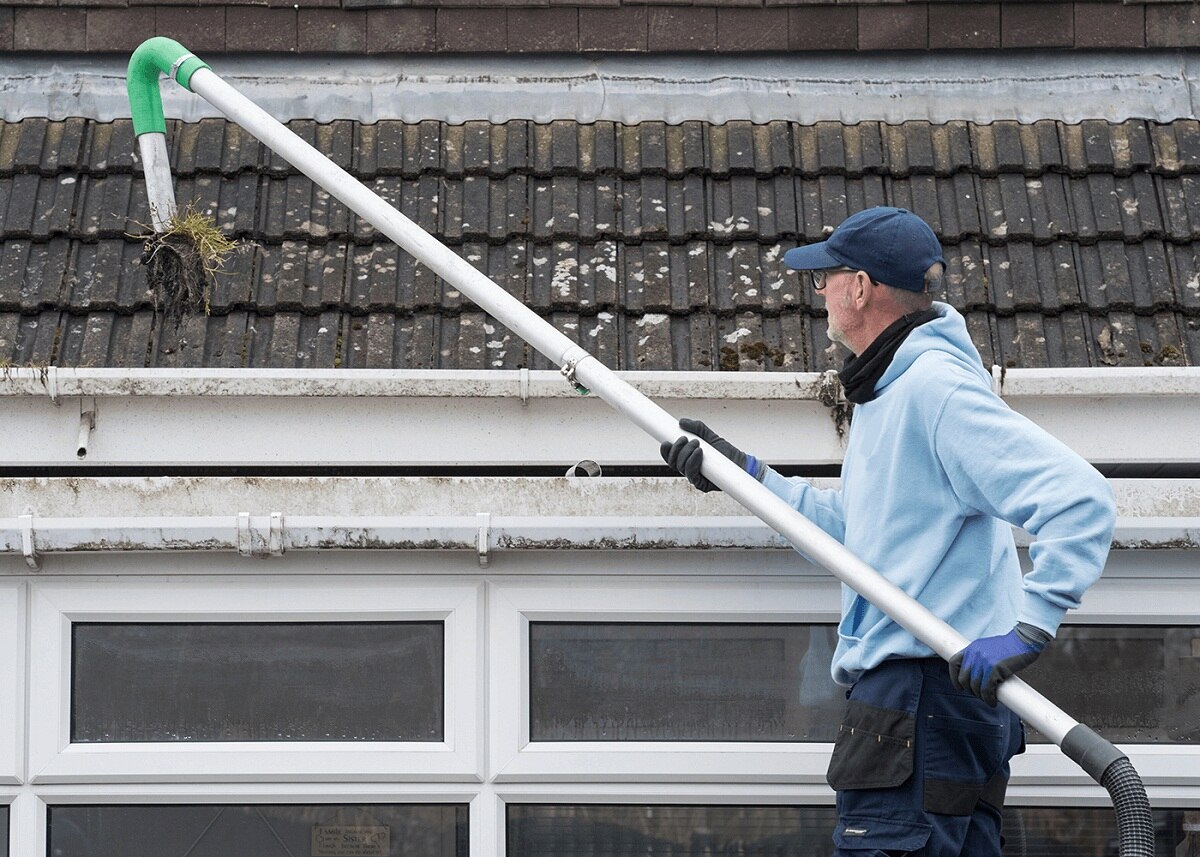
Read more: How To Keep Gutters Clean
Continuous Maintenance
While the installation marks a significant achievement, it’s important to prioritize ongoing maintenance and inspection of the guttering system. Regular cleaning, debris removal, and checks for leaks or blockages will ensure the continued efficiency and longevity of the guttering, preserving its protective function for years to come.
As you bask in the satisfaction of a job well done, take a moment to appreciate the impact of your efforts. By actively maintaining and improving your outdoor structures, you’re fostering a more resilient and harmonious living environment. With this newfound knowledge and skill, you’re well-equipped to tackle future projects and empower others to enhance their outdoor spaces.
Celebrate your accomplishment, and may your shed stand as a testament to your dedication to its care and well-being.
Frequently Asked Questions about How To Fit Guttering To A Shed
Was this page helpful?
At Storables.com, we guarantee accurate and reliable information. Our content, validated by Expert Board Contributors, is crafted following stringent Editorial Policies. We're committed to providing you with well-researched, expert-backed insights for all your informational needs.
0 thoughts on “How To Fit Guttering To A Shed”