Home>Articles>How To Add Insulation Without Removing Drywall
Articles
How To Add Insulation Without Removing Drywall
Modified: October 28, 2024
Learn how to add insulation to your home without the need to remove drywall. Find step-by-step articles and guides to help you with this DIY project.
(Many of the links in this article redirect to a specific reviewed product. Your purchase of these products through affiliate links helps to generate commission for Storables.com, at no extra cost. Learn more)
Introduction
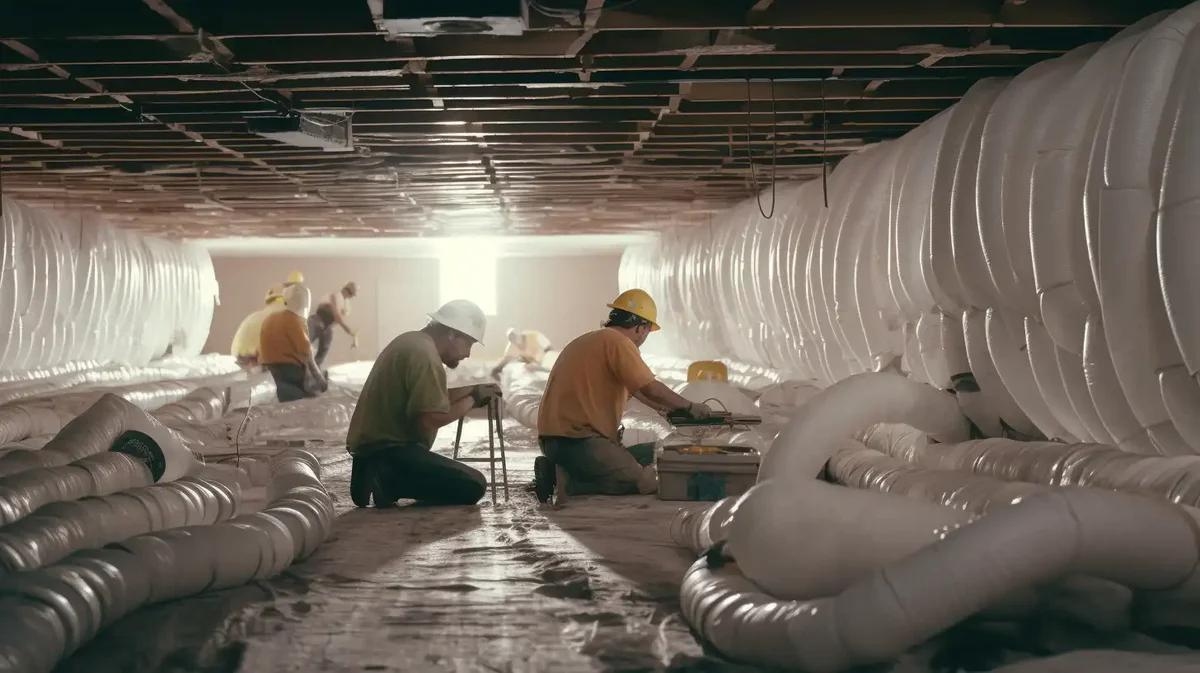
Proper insulation is crucial for maintaining a comfortable and energy-efficient home. However, adding insulation to existing walls can be a challenging task, especially if you don’t want to remove the drywall. Fortunately, there are methods available that allow you to add insulation without the need for major construction and demolition.
In this article, we will guide you through the process of adding insulation to your walls without removing the drywall. We will provide step-by-step instructions, tips, and techniques to help you accomplish this task effectively.
Before we get started, it’s important to note that while this method can enhance the insulation levels of your walls, it may not be as effective as a full insulation replacement. However, for those looking for a more affordable and less invasive option, adding insulation without removing drywall can still have significant benefits.
Now, let’s begin the journey to a more comfortable and energy-efficient home!
Key Takeaways:
- Enhance insulation and energy efficiency by adding insulation without removing drywall. Identify air gaps, use blow-in method, and finish the wall for a seamless result.
- Prioritize comfort and sustainability with cost-effective insulation upgrade. Assess wall condition, gather tools, seal air gaps, install insulation, and finish the wall for optimal results.
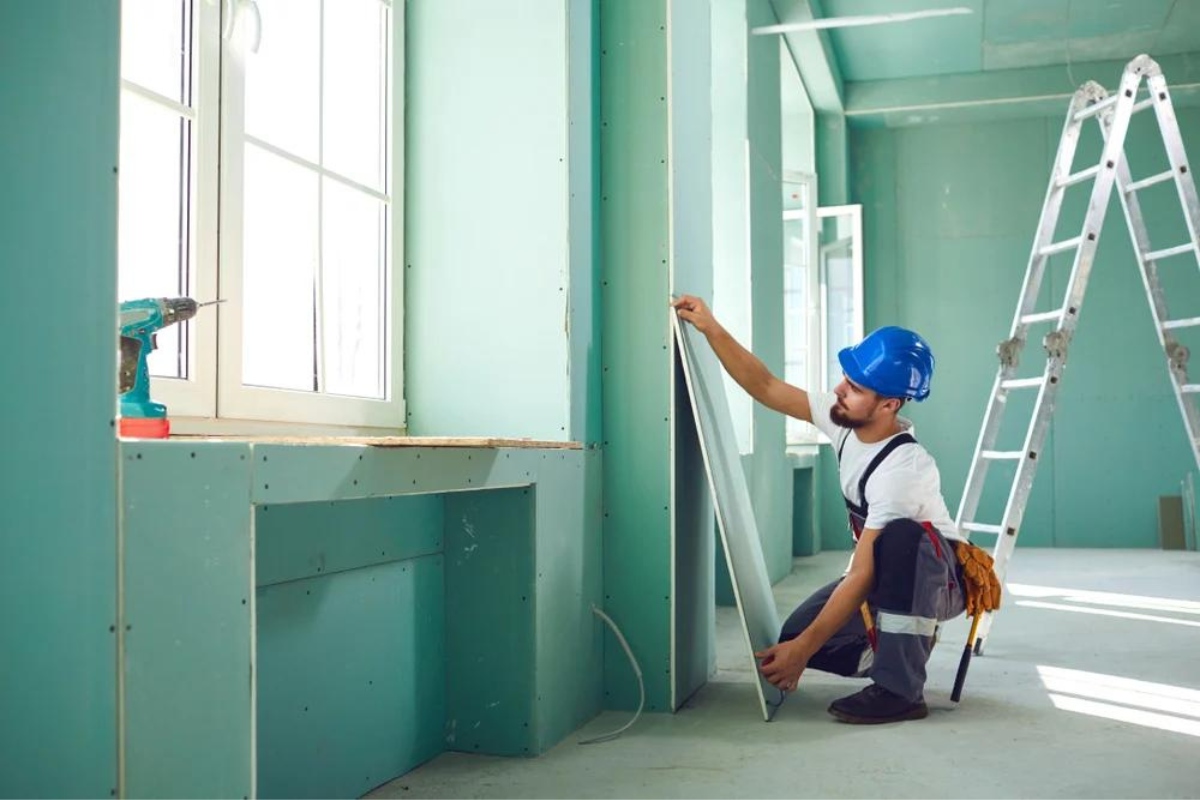
Step 1: Assessing the Wall Condition
Before you start adding insulation to your walls, it’s important to assess the condition of the existing walls. This will help you determine if there are any issues that need to be addressed before moving forward with the insulation process.
Here are a few key points to consider when assessing the wall condition:
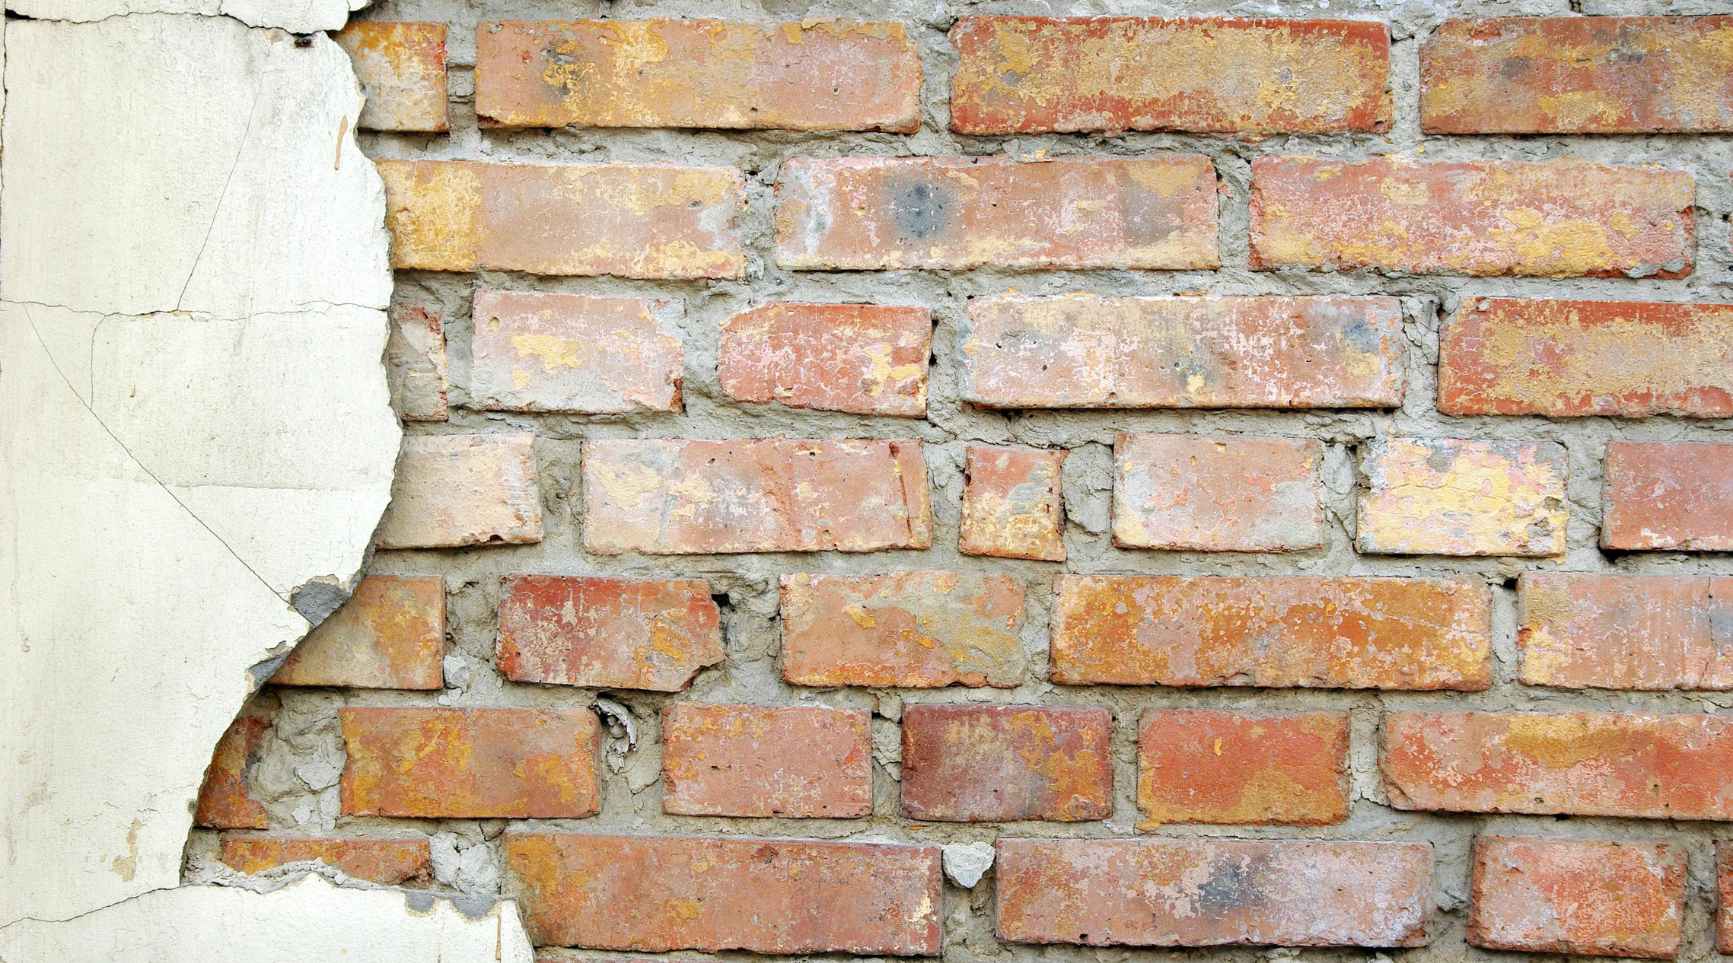
- Inspect for any signs of damage: Look for cracks, holes, or water damage on the walls. If you notice any structural issues, it’s important to address them before adding insulation.
- Check for electrical wiring and plumbing: Take note of the location of any electrical outlets, switches, and plumbing pipes on the walls. You’ll need to work around these areas during the insulation installation process.
- Determine the type of existing insulation (if any): If your walls already have insulation, identify the type and thickness. This information will help you determine the best method for adding additional insulation.
Once you have assessed the wall condition, you can proceed with the next steps in the insulation process. It’s important to address any issues or repairs needed before moving forward to ensure a smooth and effective insulation installation.
Now that you have evaluated the condition of your walls, it’s time to gather the necessary tools and materials for adding insulation without removing the drywall.
Step 2: Gathering Necessary Tools and Materials
Before you begin adding insulation to your walls without removing the drywall, it’s essential to gather all the necessary tools and materials. Having everything you need in advance will make the process smoother and more efficient.
Here’s a list of tools and materials you’ll typically need for this project:
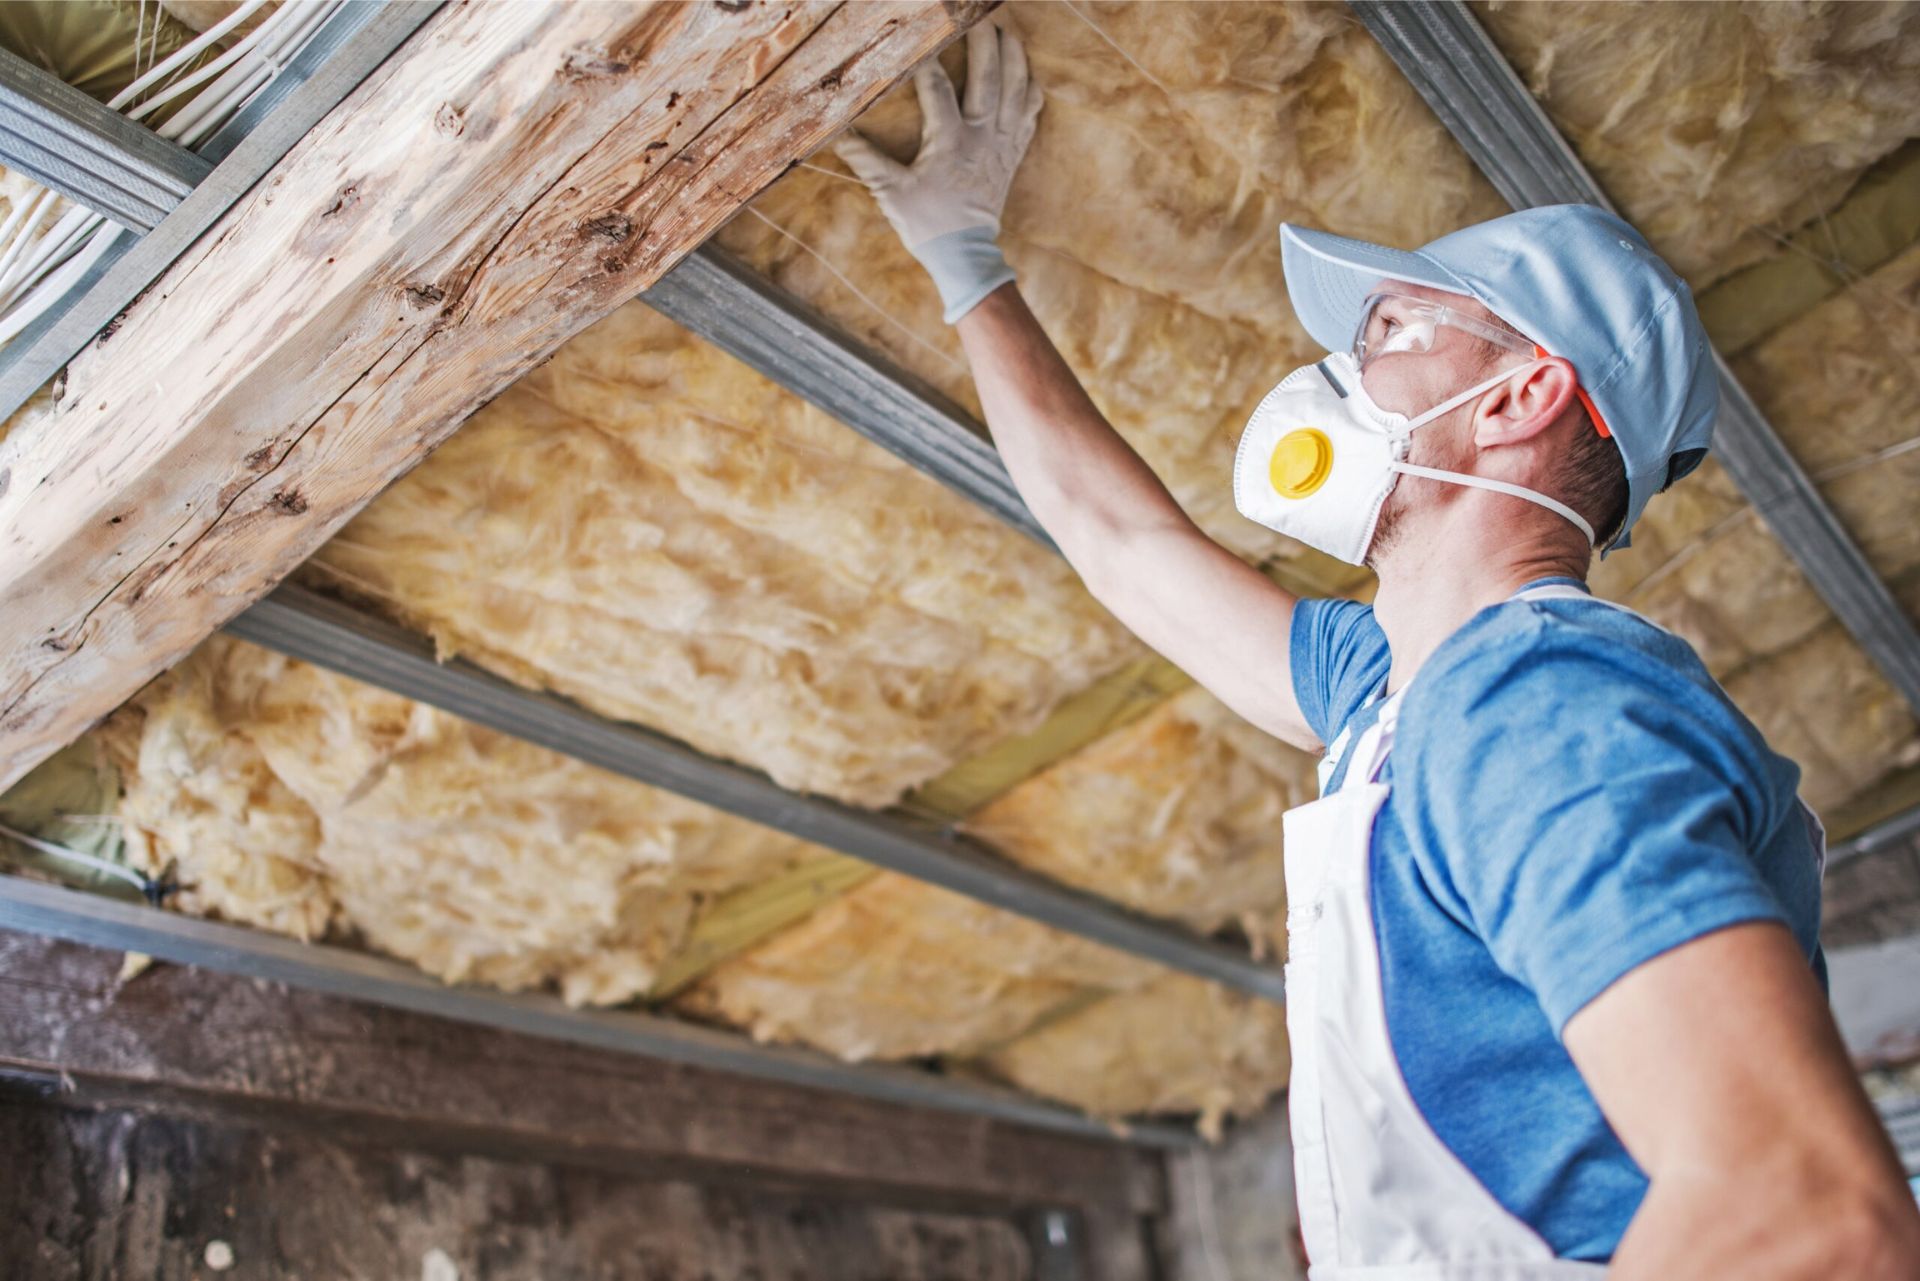
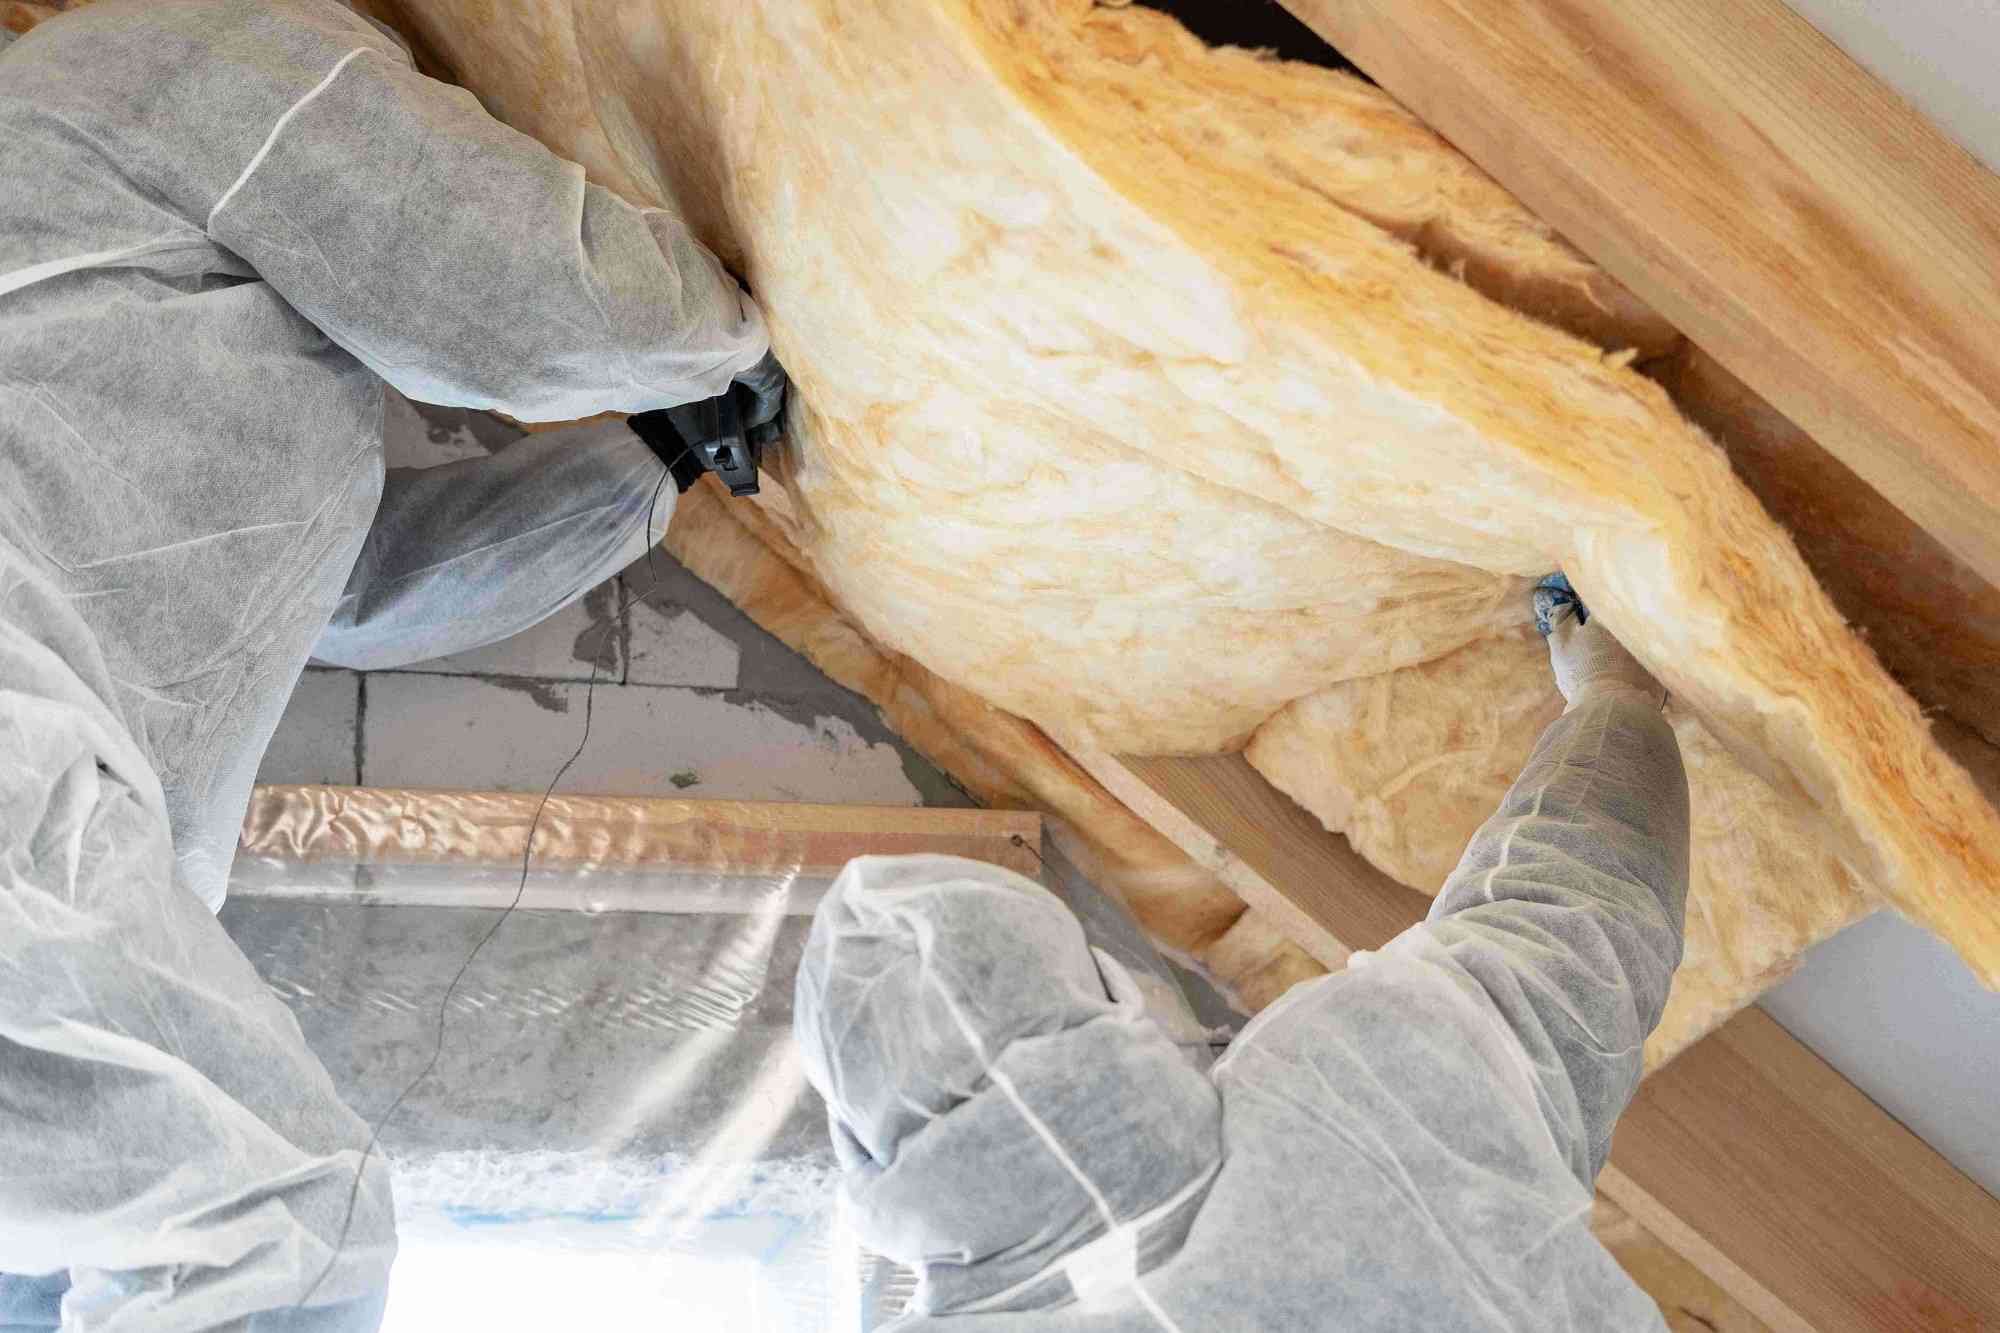
- Insulation material: Choose the appropriate insulation material for your walls. Common options include fiberglass batts, cellulose insulation, or foam boards. Consider factors such as R-value, moisture resistance, and eco-friendliness when making your selection.
- Insulation blower: If you’re using loose-fill insulation like cellulose, you’ll need an insulation blower. You can rent one from a local home improvement store.
- Protective gear: Insulation installation can be messy, so be sure to wear protective gear, including goggles, gloves, a dust mask, and appropriate clothing.
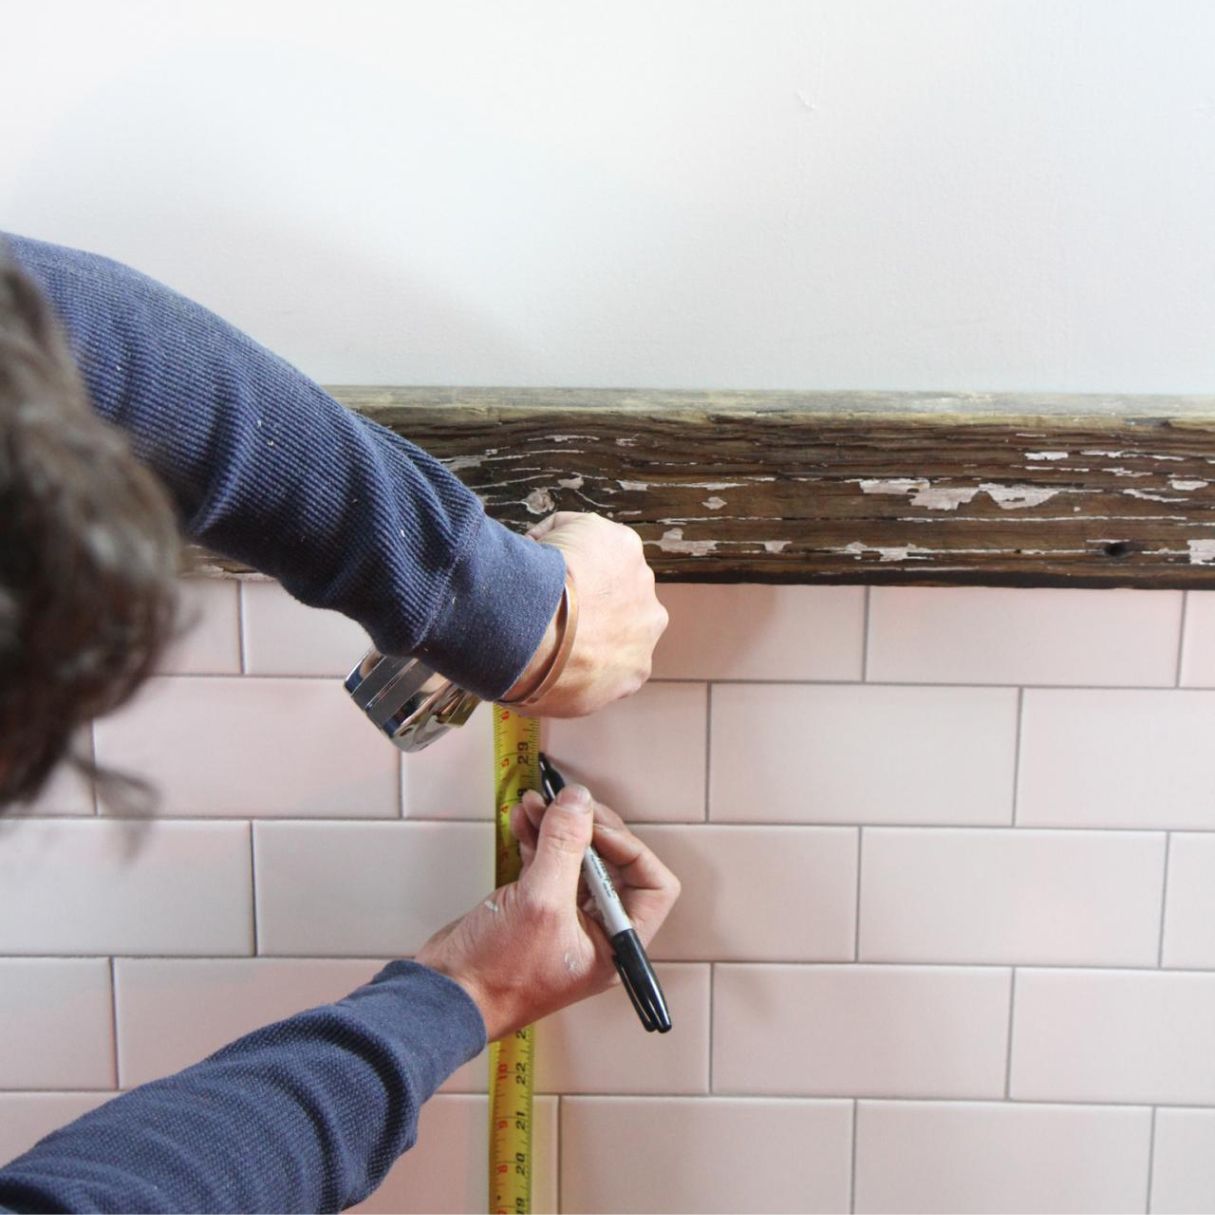
- Measuring tape: You’ll need a measuring tape to measure the distance between studs and determine the amount of insulation required.
- Caulking gun: A caulking gun will come in handy for sealing air gaps and cracks in the wall.
- Caulk or foam sealant: Choose a caulk or foam sealant suitable for filling gaps and cracks in the wall. Opt for a product that is specifically designed for insulation purposes.
- Utility knife: You’ll need a utility knife to cut insulation material to fit around obstacles and irregularities in the wall.
- Screwdriver or drill: Depending on the type of insulation you’re using, you may need a screwdriver or drill to secure the insulation in place.
- Drywall patching materials: In case the process causes any minor damage to the drywall, have some drywall patching materials on hand to repair any areas as needed.
Make sure you have all the necessary tools and materials before you begin the insulation process. This will save you time and allow for a seamless installation of the insulation.
Once you have gathered the required tools and materials, it’s time to move on to the next step: identifying and sealing air gaps in the wall.
Step 3: Identifying and Sealing Air Gaps
Before adding insulation, it’s crucial to identify and seal any air gaps or drafts in the walls. This will help maximize the effectiveness of the insulation and improve energy efficiency in your home.
Here’s how you can identify and seal air gaps:
- Inspect the walls: Carefully examine the walls for any cracks, gaps, or holes that could allow air leakage. Common areas to check include around windows and doors, electrical outlets, light switches, and baseboards.
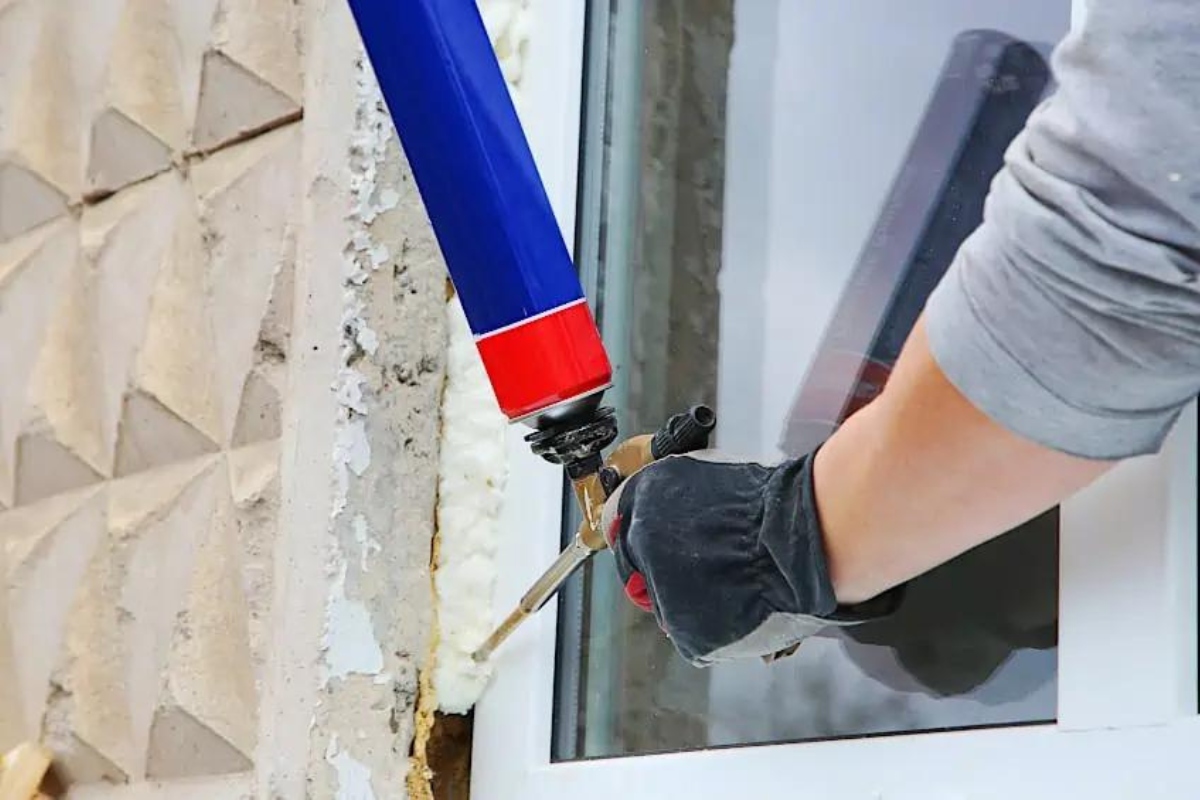
- Seal gaps with caulk: Use a caulk gun to apply caulk into any visible cracks or gaps. Make sure to choose a caulk that is specifically designed for insulation purposes. Smooth out the caulk with a caulk smoother or your finger to create a tight seal.
- Seal larger gaps with foam sealant: For larger gaps or irregular shapes, use a foam sealant instead of caulk. Foam sealants expand to fill the gaps, providing an airtight seal. Follow the manufacturer’s instructions for proper application.
- Install weatherstripping: Around windows and doors, install weatherstripping to prevent air leakage. Weatherstripping comes in various forms, such as adhesive strips or door sweeps, and helps create a tight seal when windows or doors are closed.
- Don’t forget about electrical outlets and switches: Install foam gaskets behind electrical outlet and switch plates to insulate them. This will help prevent air leakage through these openings.
By identifying and sealing air gaps, you’re ensuring that the insulation you add will be more effective in retaining heat or cool air within your home. It also helps improve the overall energy efficiency of your living space.
Once you have sealed the air gaps, it’s time to move on to the next step: installing insulation using the blow-in method.
Consider using blown-in insulation, which can be installed through small holes drilled in the drywall. This method minimizes the need for removing and replacing drywall, saving time and money.
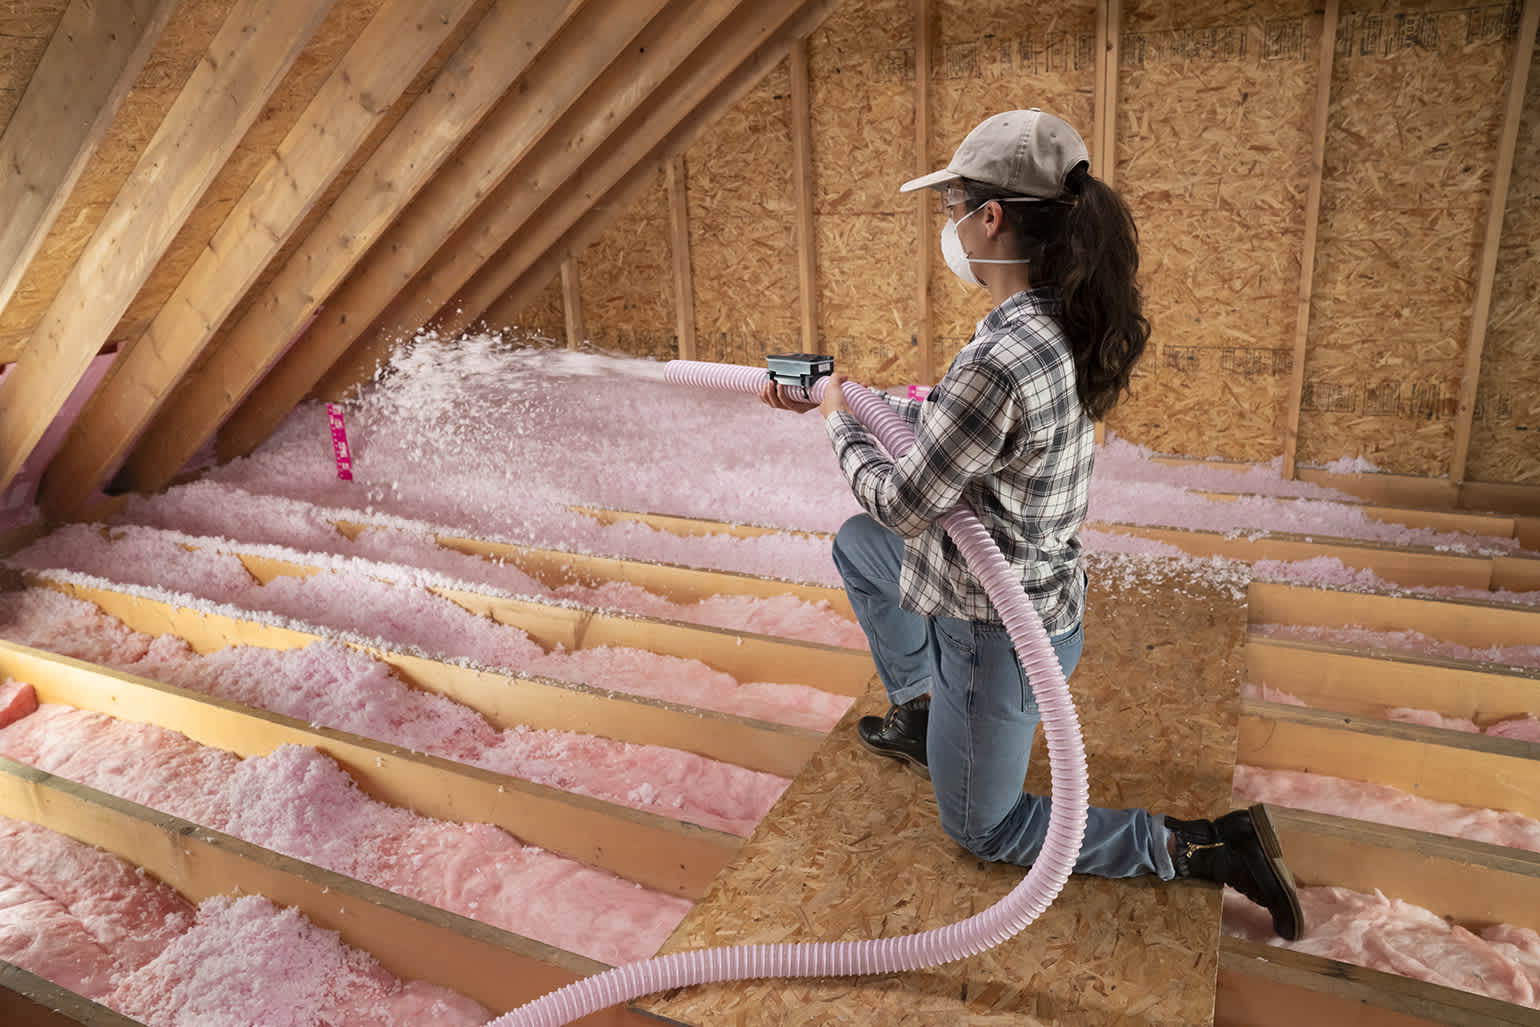
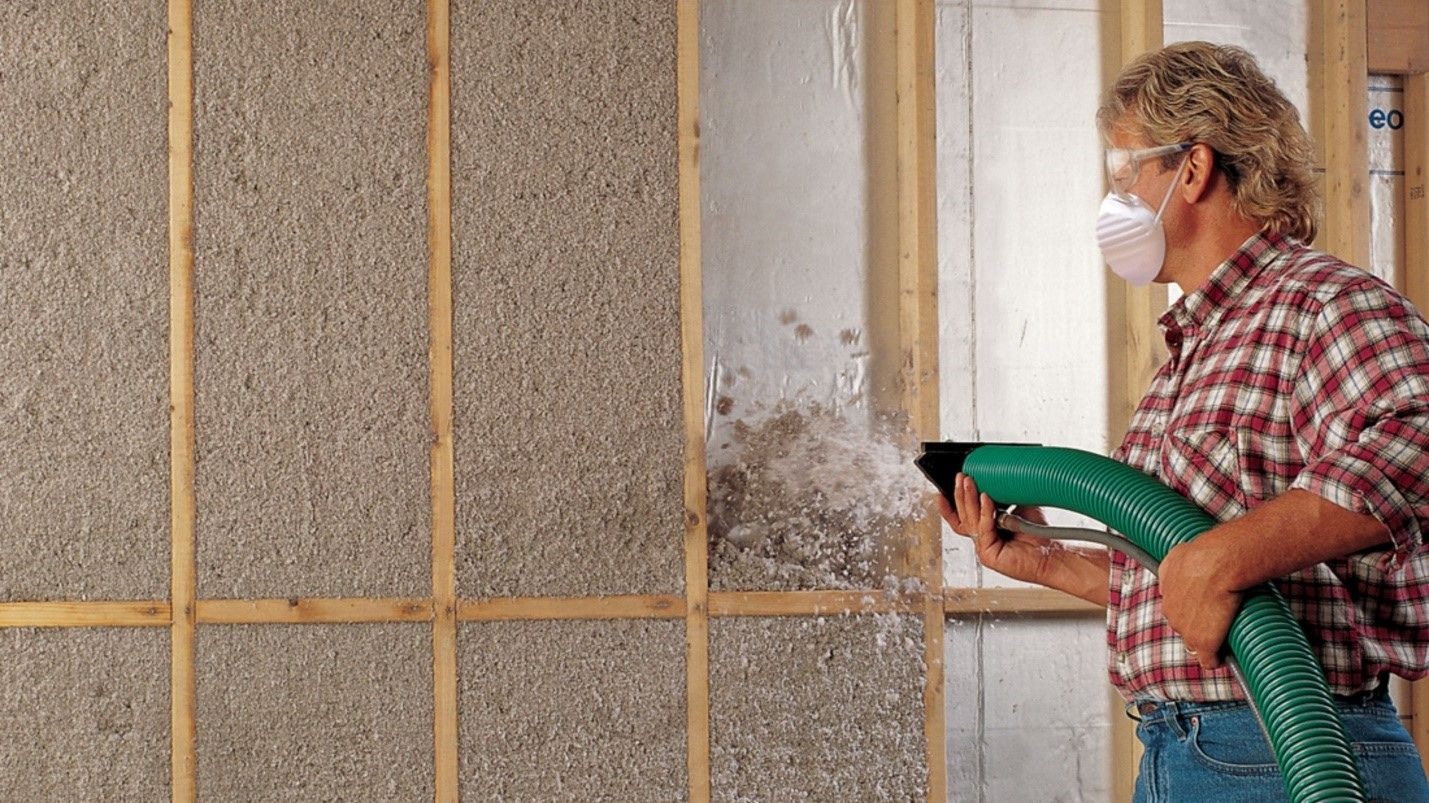
Step 4: Installing Insulation Using Blow-in Method
Now that you have sealed the air gaps, it’s time to install insulation using the blow-in method. This method is ideal for adding insulation to existing walls without removing the drywall.
Follow these steps to effectively install insulation using the blow-in method:
- Prepare the insulation material: If you’re using loose-fill insulation like cellulose, follow the manufacturer’s instructions to prepare the material for installation. This may involve breaking up clumps and fluffing the insulation.
- Locate the wall studs: Use a stud finder or other methods to locate the studs within the wall. Mark their locations using a pencil or masking tape.
- Drill access holes: Using a drill, create access holes between the studs. These holes should be near the top and bottom of each stud bay. The size and number of holes will depend on the size and type of insulation you’re using.
- Insert the insulation blower hose: Attach the insulation blower hose to one of the access holes. Start the blower and gradually fill each stud bay with insulation material, moving from bottom to top. Ensure that each section is adequately filled but not overly packed.
- Repeat the process: Move on to the next access hole and repeat the process until all stud bays are filled with insulation. Take care to maintain uniform coverage throughout the wall.
- Monitor the depth of the insulation: Use a measuring tape to verify the depth of insulation in each stud bay. Adjust the amount of insulation blown in as needed to achieve the desired depth and R-value.
It’s important to note that the blow-in method requires careful attention to ensure proper insulation coverage and density. Take your time and be thorough in filling each stud bay with insulation.
Once the insulation is installed, it’s time to move on to the final step: patching and finishing the wall.
Read more: How To Remove Drywall
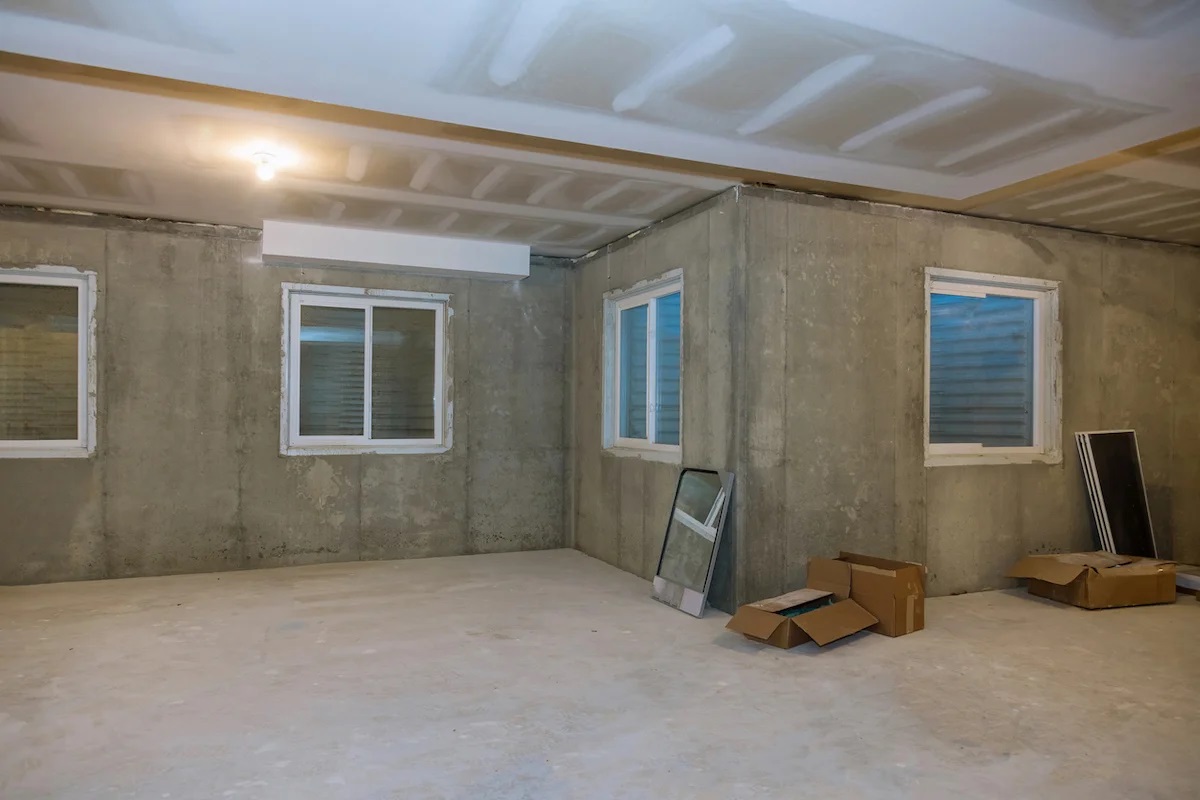
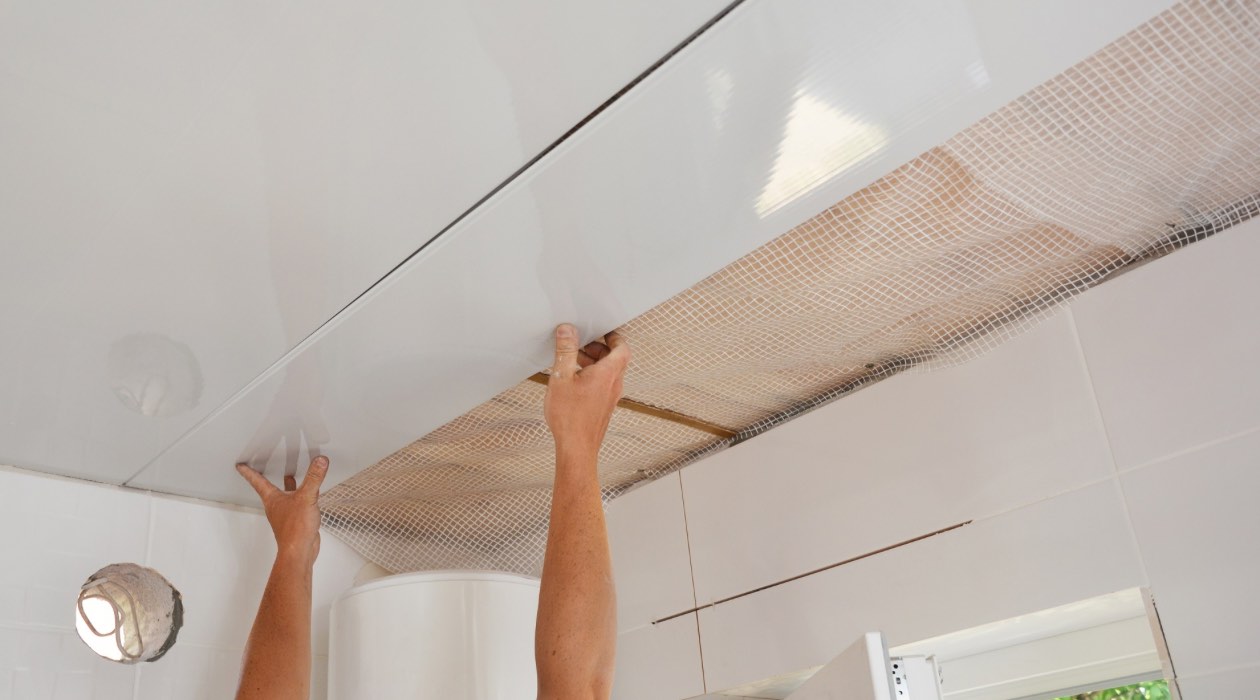
Step 5: Patching and Finishing the Wall
After successfully installing the insulation, it’s time to patch and finish the wall to restore its appearance. This step is crucial for achieving a seamless and aesthetically pleasing result.
Follow these steps to effectively patch and finish the wall:
- Fill the access holes: Begin by filling the access holes that were drilled for the insulation installation. Use a patching compound, such as spackle or joint compound, to fill the holes. Apply the compound with a putty knife or a trowel, smoothing it out until it’s flush with the wall surface.
- Allow the compound to dry: Follow the manufacturer’s instructions for the patching compound regarding drying time. Typically, it may take a few hours for the compound to dry completely. Avoid touching or disturbing the patched areas until they are fully cured.
- Sand the patched areas: Once the compound has dried, gently sand the patched areas with fine-grit sandpaper to create a smooth and uniform surface. Be careful not to sand too aggressively, as this can damage the surrounding drywall.
- Apply a primer: Before applying paint or any other finishing material, it’s essential to apply a primer to the patched areas. The primer helps the paint adhere properly and provides a consistent surface for the final finish. Follow the instructions on the primer for application and drying times.
- Finish the wall: After the primer has dried, you can proceed with finishing the wall. Apply paint or any other desired wall finish, such as wallpaper or texture. Ensure that the finish is applied evenly and matches the rest of the wall to create a seamless and cohesive look.
- Clean up: Finally, clean up the work area by removing any debris, dust, or excess materials. Put away tools and dispose of any waste properly.
By following these steps, you can effectively patch and finish the wall, making it look as good as new. Take your time during this step to ensure a high-quality finish that seamlessly blends with the rest of the wall.
And there you have it! By completing these steps, you have successfully added insulation to your walls without the need to remove the drywall. Enjoy the benefits of improved energy efficiency, increased comfort, and a more sustainable home!
Conclusion
Adding insulation to your walls without removing the drywall is a practical and cost-effective way to improve energy efficiency and comfort in your home. By following the steps outlined in this article, you can successfully enhance the insulation levels of your walls and enjoy the benefits of a well-insulated living space.
Throughout this process, it is important to assess the condition of your walls, gather the necessary tools and materials, identify and seal air gaps, install insulation using the blow-in method, and finally, patch and finish the wall to restore its appearance.
While this method may not be as effective as a full insulation replacement, it can still provide significant benefits in terms of energy savings and comfort. It’s important to remember that every home is unique, and it’s always advisable to consult with a professional or do thorough research to determine the most suitable insulation method for your specific situation.
By taking the time and effort to add insulation without removing the drywall, you are investing in the long-term comfort and energy efficiency of your home. Not only will you enjoy a more comfortable living environment, but you will also reduce your energy consumption and lower your utility bills.
Remember to prioritize safety during the insulation installation process by wearing appropriate protective gear and following all safety precautions. Additionally, be mindful of any local building codes or regulations that may apply to your insulation project.
So go ahead and take the initiative to add insulation to your walls without removing the drywall. Your efforts will contribute to creating a more sustainable and comfortable home for you and your family.
Frequently Asked Questions about How To Add Insulation Without Removing Drywall
Was this page helpful?
At Storables.com, we guarantee accurate and reliable information. Our content, validated by Expert Board Contributors, is crafted following stringent Editorial Policies. We're committed to providing you with well-researched, expert-backed insights for all your informational needs.

0 thoughts on “How To Add Insulation Without Removing Drywall”