Articles
How To Remove Moen Bathroom Faucet Handle
Modified: August 26, 2024
Learn how to easily remove the Moen bathroom faucet handle with our step-by-step articles. Fix your faucet hassle-free and save money on repairs!
(Many of the links in this article redirect to a specific reviewed product. Your purchase of these products through affiliate links helps to generate commission for Storables.com, at no extra cost. Learn more)
Introduction
Removing a Moen bathroom faucet handle may seem like a daunting task, but with the right tools and a step-by-step approach, it can be a straightforward process. Whether you’re experiencing a leaky faucet or simply want to upgrade your bathroom’s fixtures, knowing how to remove the Moen bathroom faucet handle is a valuable skill.
In this guide, we will walk you through the necessary steps to successfully remove the Moen bathroom faucet handle. By following these instructions carefully, you can save time and money by avoiding the need for professional plumbing assistance.
Before we dive into the detailed steps, let’s take a moment to review the tools and materials you’ll need for this project.
Key Takeaways:
- Save time and money by learning how to remove a Moen bathroom faucet handle on your own. With the right tools and step-by-step guidance, you can tackle this task confidently and avoid the need for professional plumbing assistance.
- Ensure a smooth and reliable water flow in your bathroom by properly maintaining and addressing any faucet-related concerns. By following the outlined steps, you can extend the lifespan of your Moen bathroom faucet and enjoy a comfortable bathing experience.
Read more: How To Remove A Moen Kitchen Faucet
Tools and Materials Needed
Before you begin removing the Moen bathroom faucet handle, gather the following tools and materials:
- Adjustable wrench or pliers
- Allan wrench (if applicable)
- Screwdriver (flathead or Phillips, depending on the type of screw)
- Bucket or towel (to catch any water that may leak during the process)
- New cartridge (optional, in case you need to replace the old one)
Make sure that you have these tools readily available before you start the removal process. This will save you time and frustration and ensure that you have everything you need to successfully remove the Moen bathroom faucet handle.
Step 1: Turn Off the Water Supply
The first and most important step in removing a Moen bathroom faucet handle is to turn off the water supply. This step is crucial to prevent any water leakage or damage during the removal process.
Locate the shut-off valves under the sink. These valves control the water flow and are typically located near the water supply lines leading to the faucet. Turn the valves clockwise to shut off the water supply.
Once the water supply is turned off, turn on the faucet to release any remaining water in the pipes. This will ensure that the water lines are fully drained and reduce the chances of water leakage during handle removal.
It’s a good idea to place a bucket or towel beneath the sink to catch any water that may still drip out while working on the faucet. This will help keep your work area clean and prevent any water damage to your bathroom.
With the water supply turned off and the faucet drained, you’re now ready to move on to the next step: removing the handle screw.
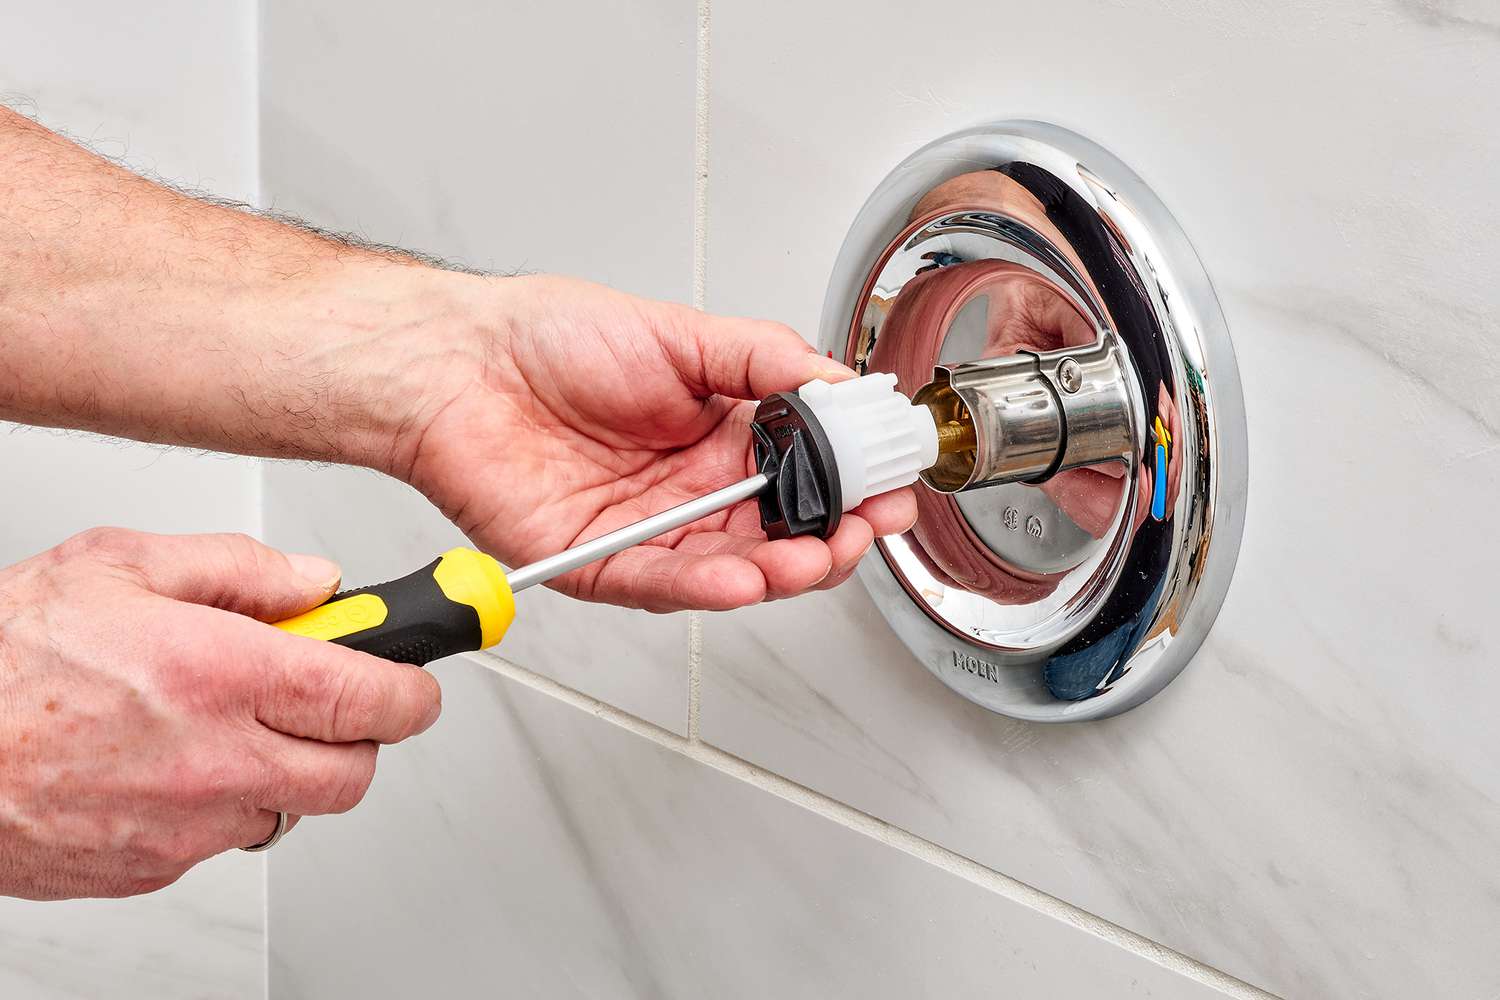
Step 2: Remove the Handle Screw
Once the water supply is turned off and the faucet is drained, it’s time to remove the handle screw. The handle screw is what holds the faucet handle in place, and removing it is an important step in accessing the internal components of the faucet.
Using a screwdriver (either flathead or Phillips, depending on the type of screw), locate the handle screw. In most cases, it is located at the base of the handle or underneath a decorative cap.
If there is a decorative cap covering the screw, carefully pry it off with a flathead screwdriver or your fingers. Set the cap aside in a safe place to prevent it from getting lost.
With the screw exposed, use the appropriate screwdriver to loosen and remove it. Turn the screw counterclockwise until it is completely unscrewed. Make sure to keep the screw in a secure place, as you will need it later when reassembling the faucet handle.
Once the screw is removed, you can proceed to the next step: removing the faucet handle.
Note: In some models of Moen bathroom faucets, there may be an Allen screw instead of a regular screw. If this is the case, use the appropriate size Allen wrench to loosen and remove the screw following the same steps as described.
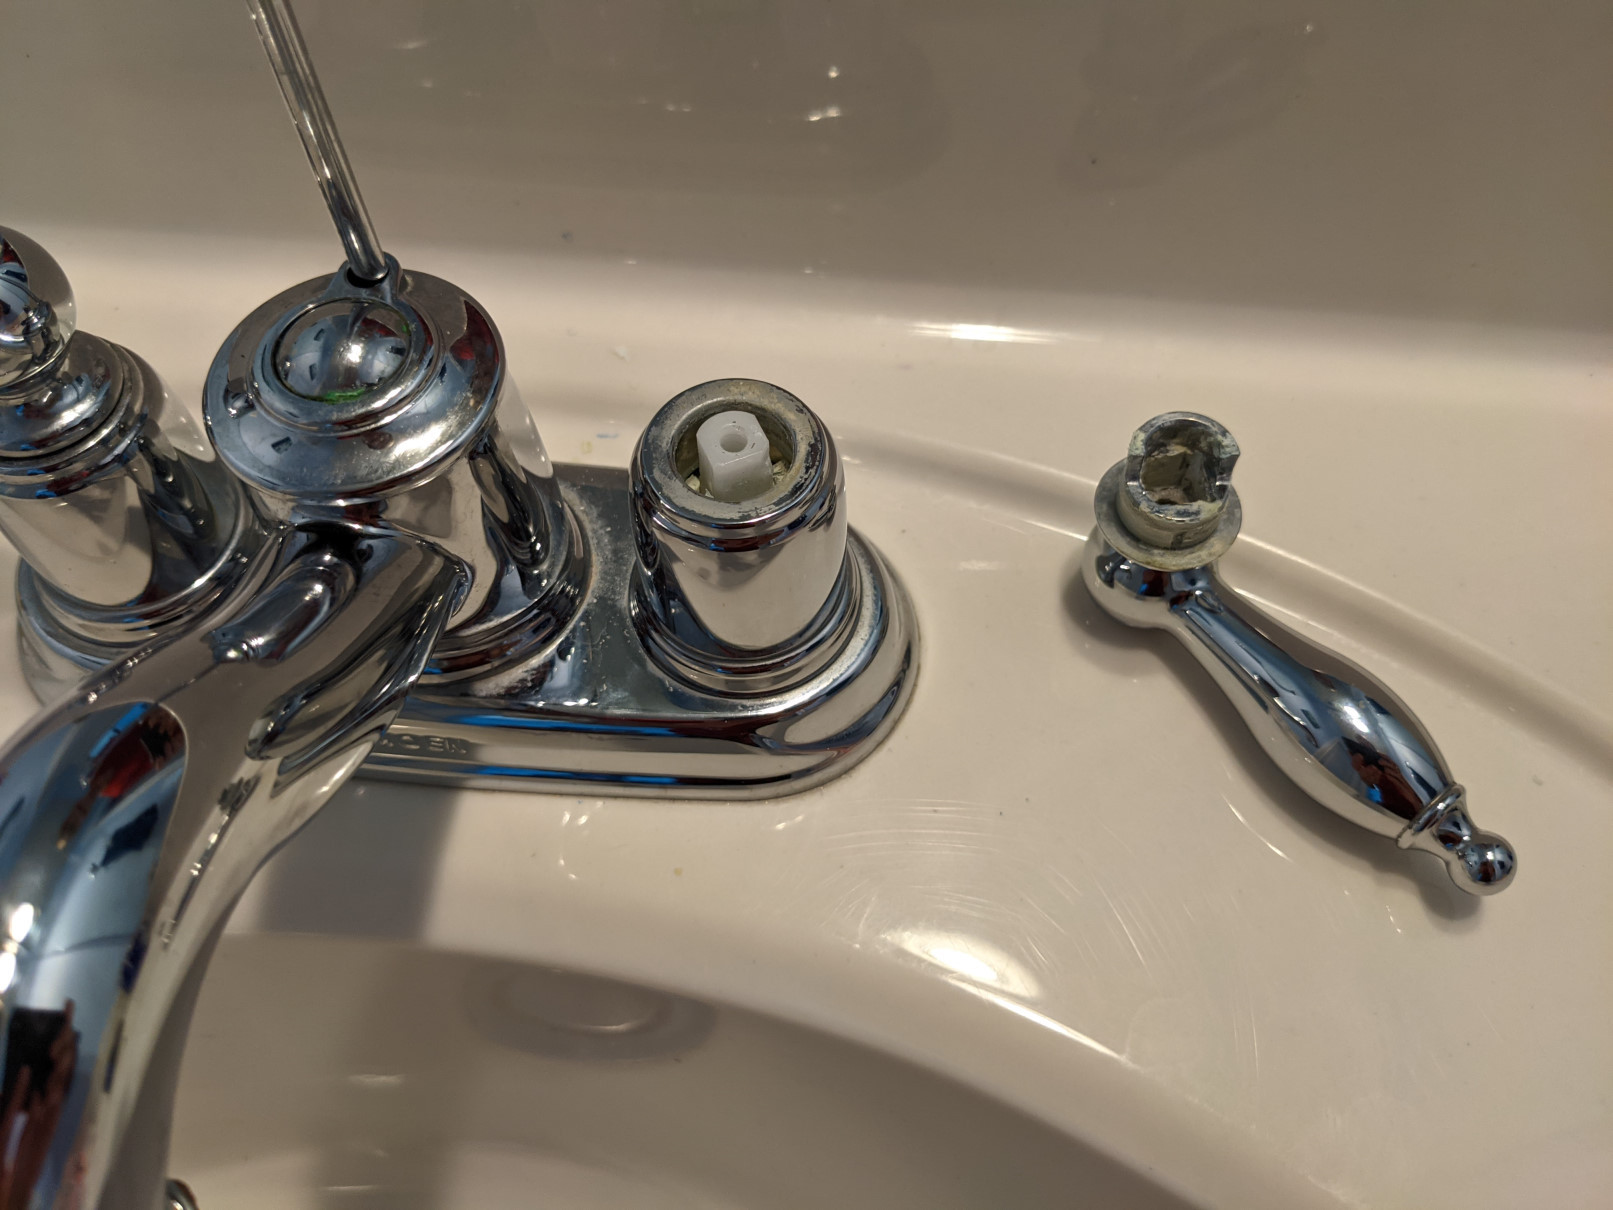
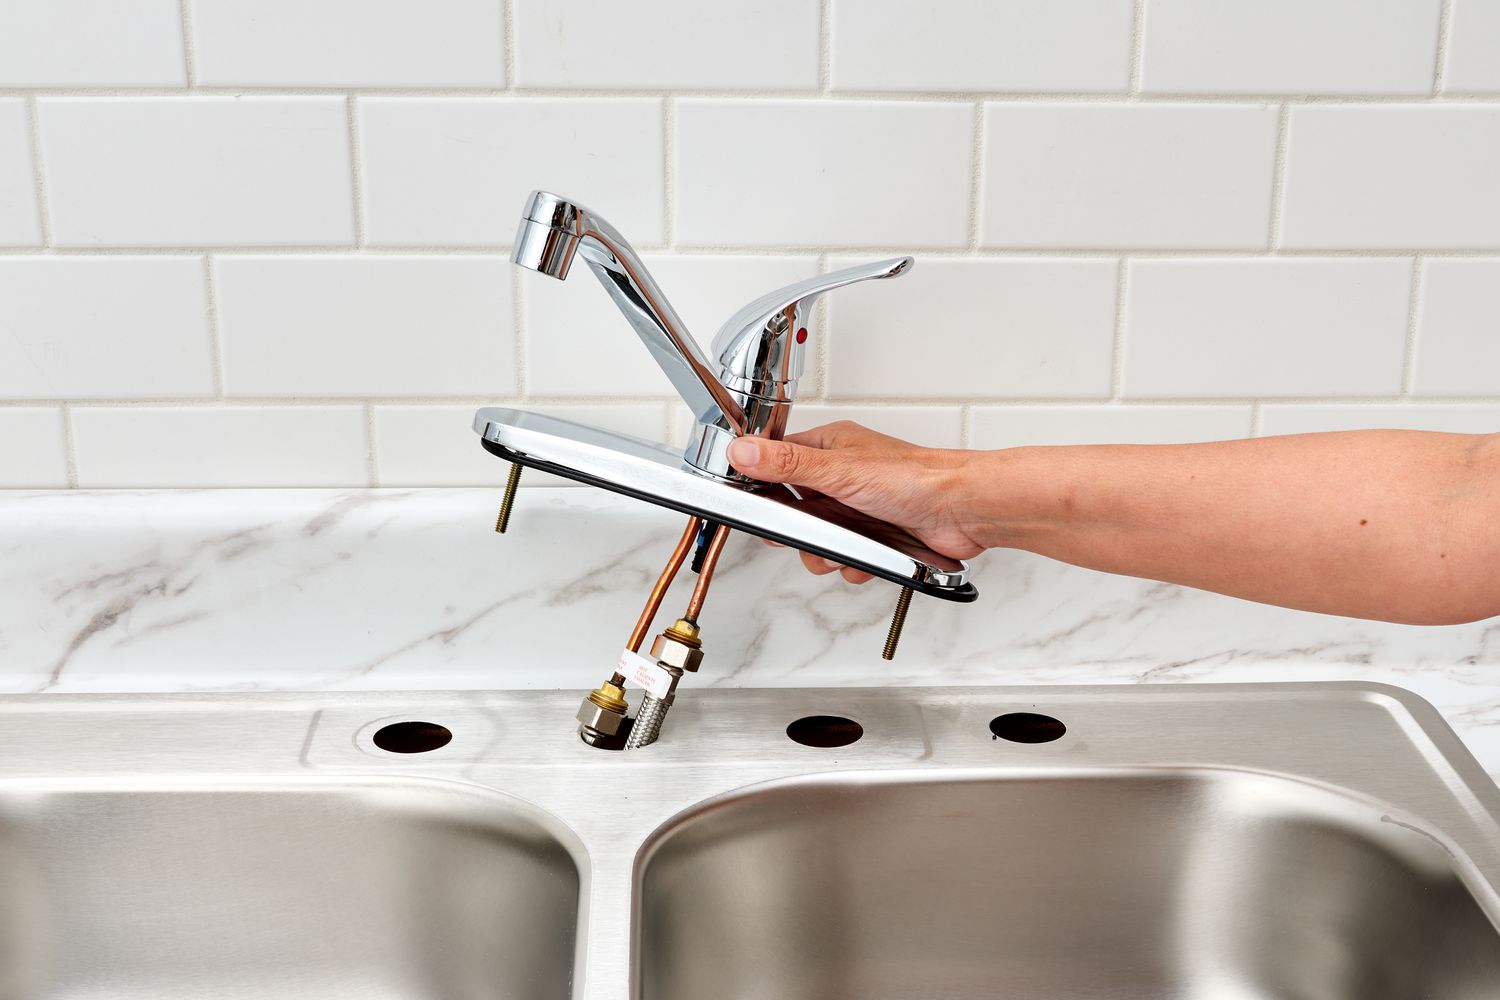
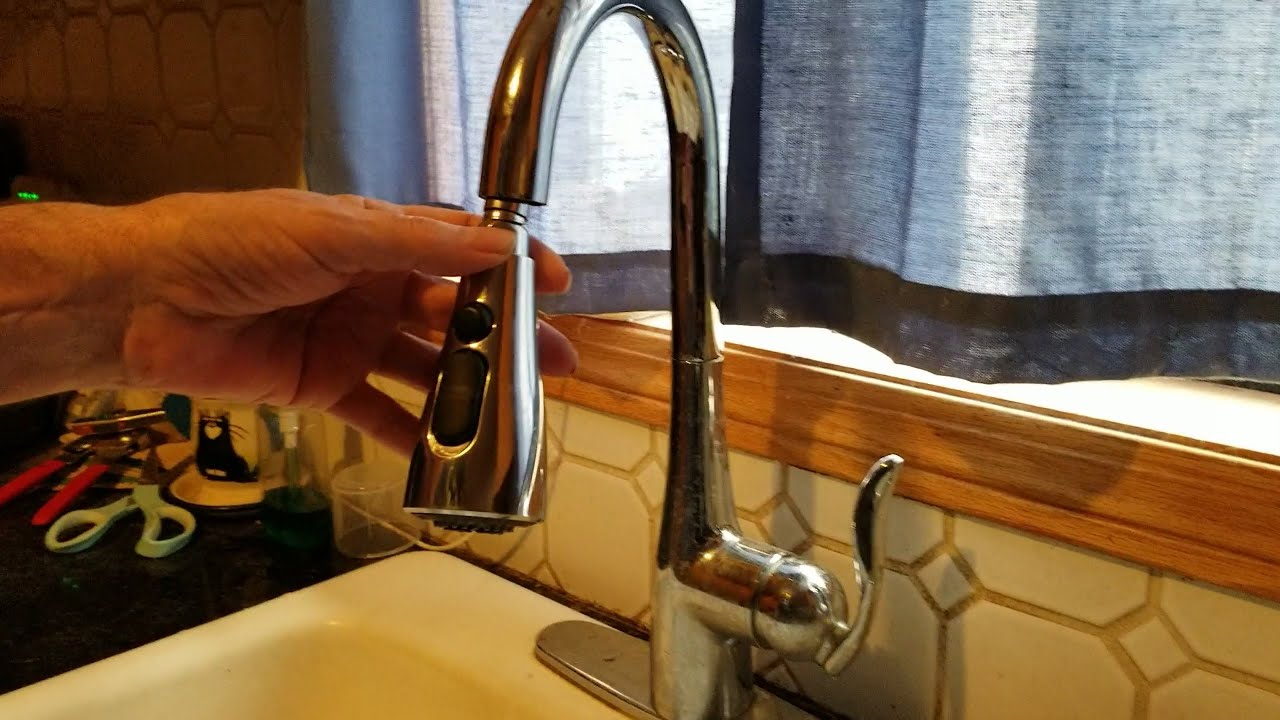
Step 3: Remove the Faucet Handle
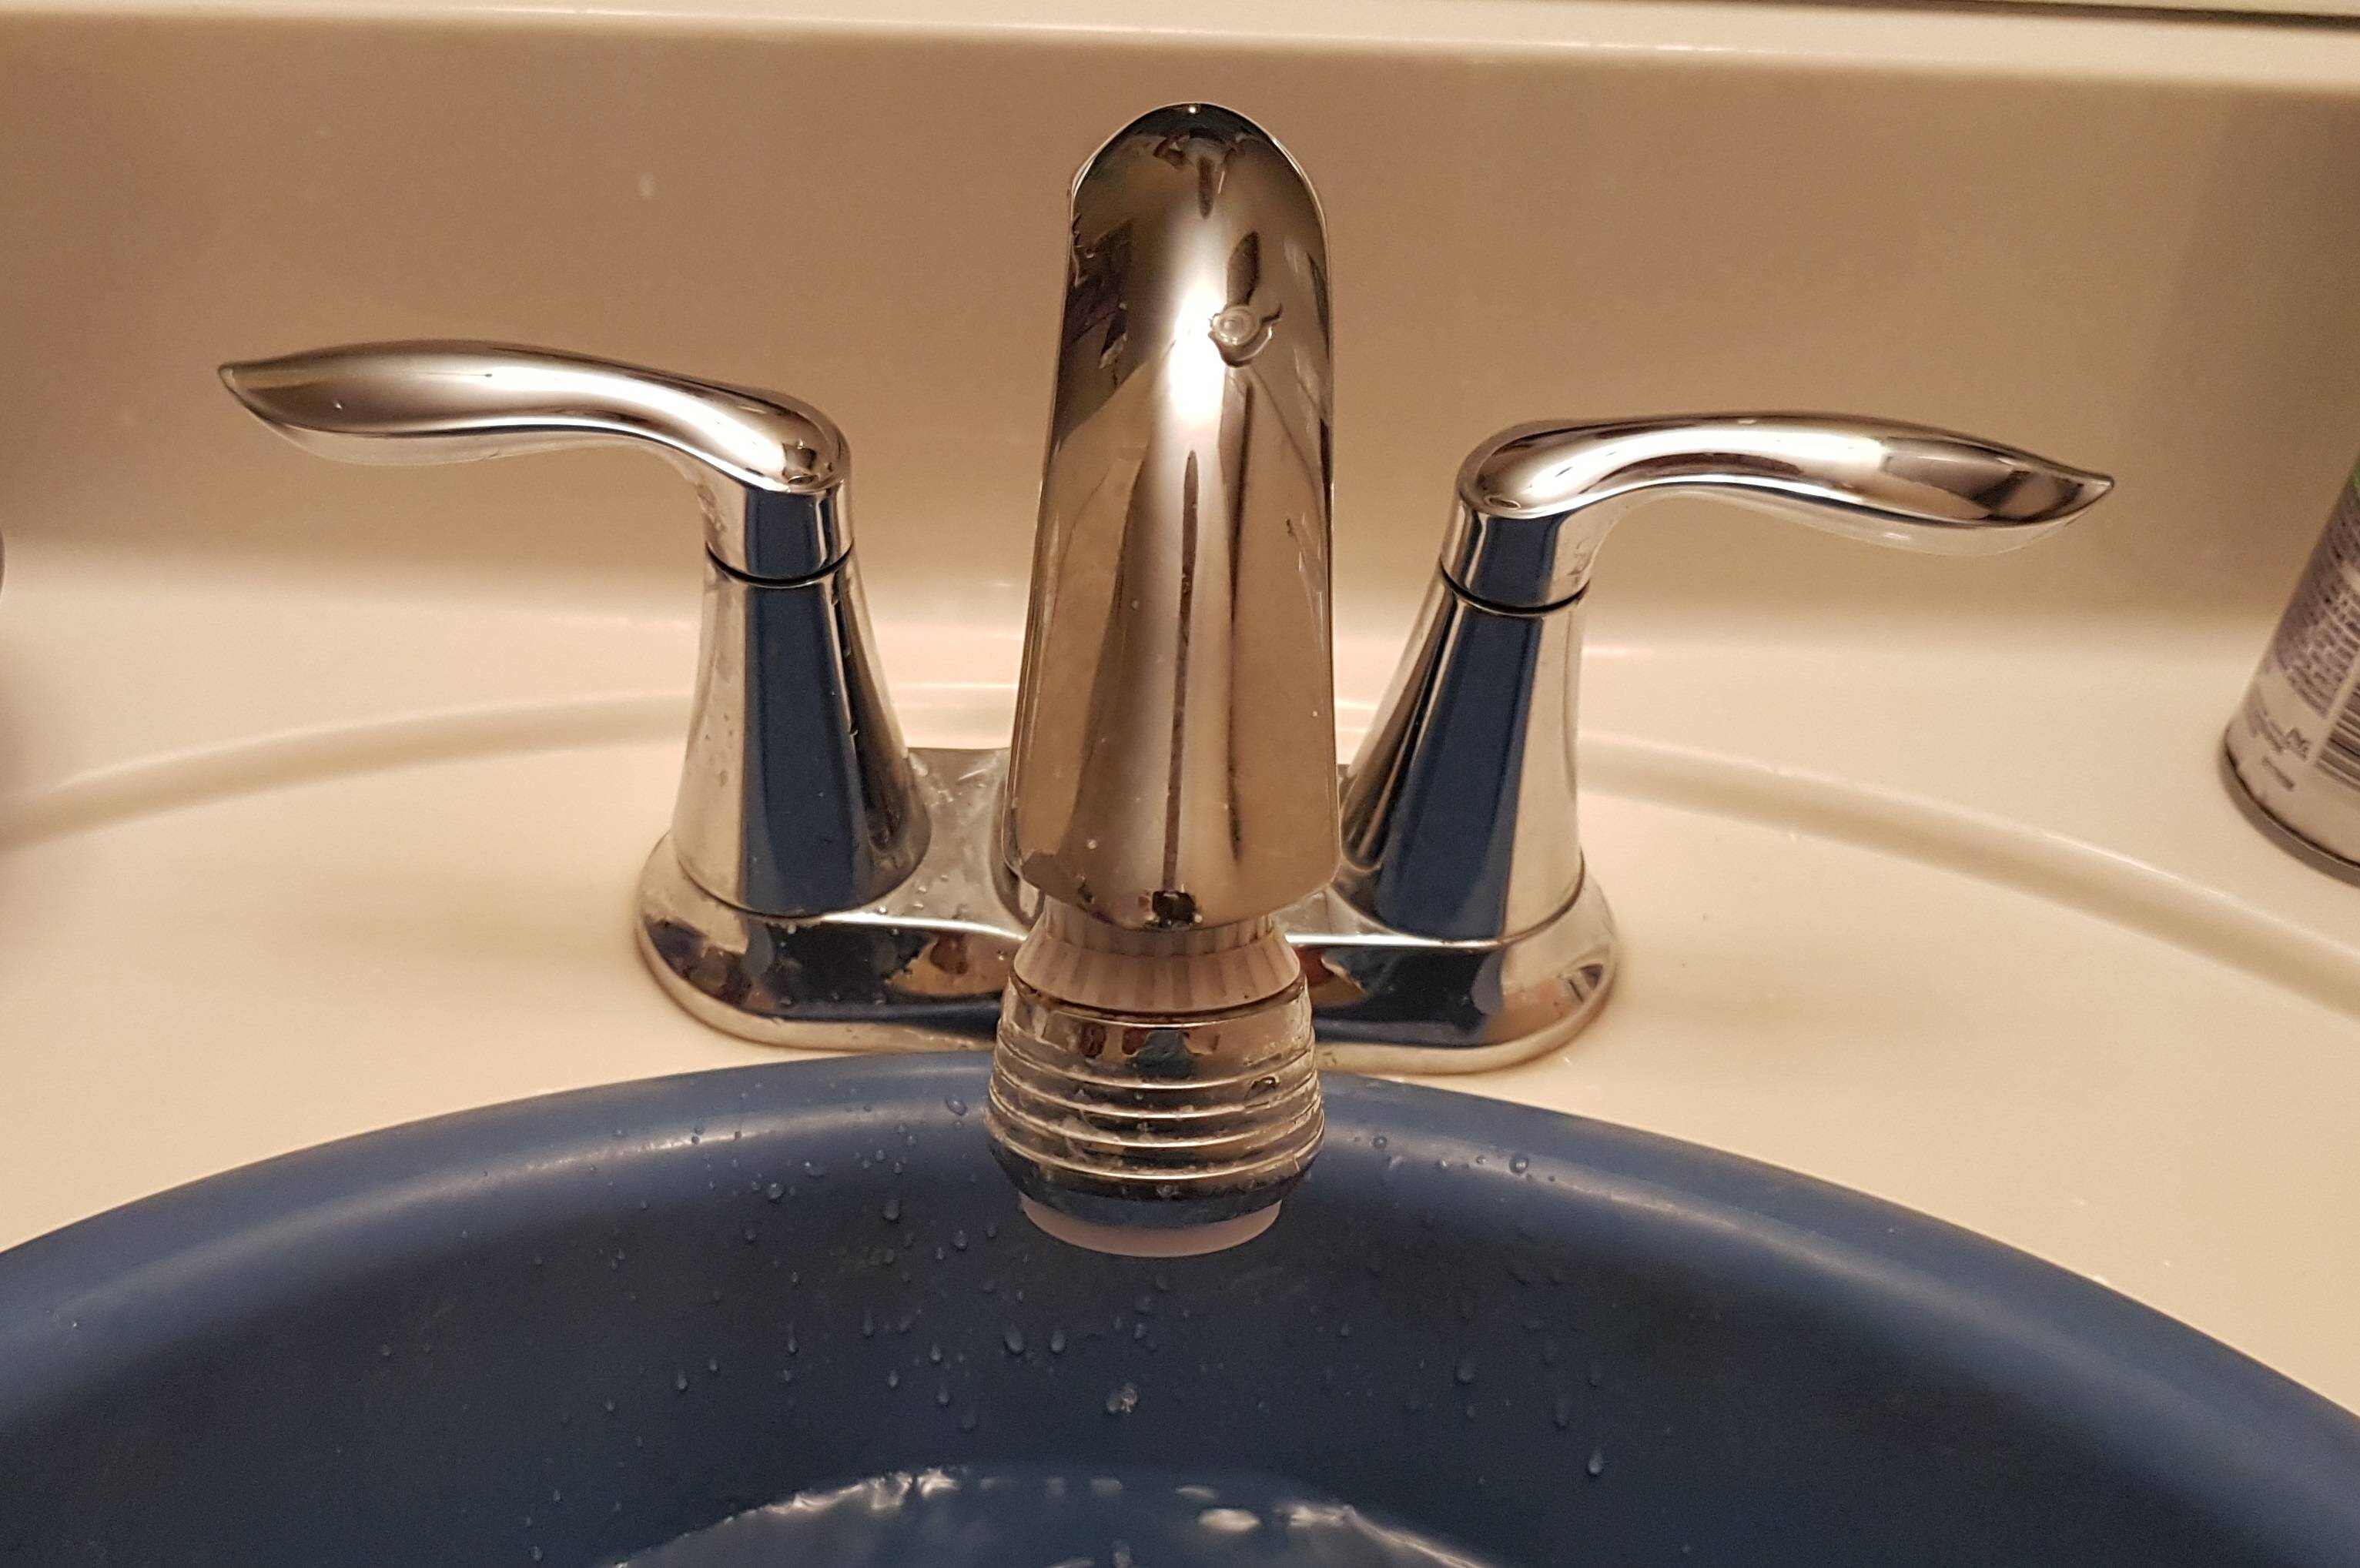
With the handle screw removed, it’s time to remove the Moen bathroom faucet handle. The handle is typically secured to the faucet base with a retaining nut or by a friction-fit mechanism. The method of removal will vary depending on the specific model and design of your faucet.
If your faucet has a retaining nut, locate it beneath the handle. Using an adjustable wrench or pliers, grasp the nut and turn it counterclockwise to loosen it. Once loosened, you should be able to remove the nut by hand.
If your faucet has a friction-fit mechanism, simply pull or wiggle the handle gently to disengage it from the base. It may take a bit of force, but be careful not to apply too much pressure to avoid damaging the handle or the faucet.
Once the handle is loosened or disengaged, carefully lift it off the faucet base and set it aside. Be mindful not to damage any of the internal components as you remove the handle.
With the faucet handle removed, you now have access to the cartridge, which is the internal part responsible for controlling the water flow. In order to fully remove the cartridge, continue following the steps outlined in the subsequent sections.
Note: Some Moen faucet models may require additional steps or different methods for handle removal. It’s always a good idea to consult the manufacturer’s instructions or seek professional assistance if you encounter any difficulties or uncertainties.
Read more: How To Remove A Two-Handle Bathroom Faucet
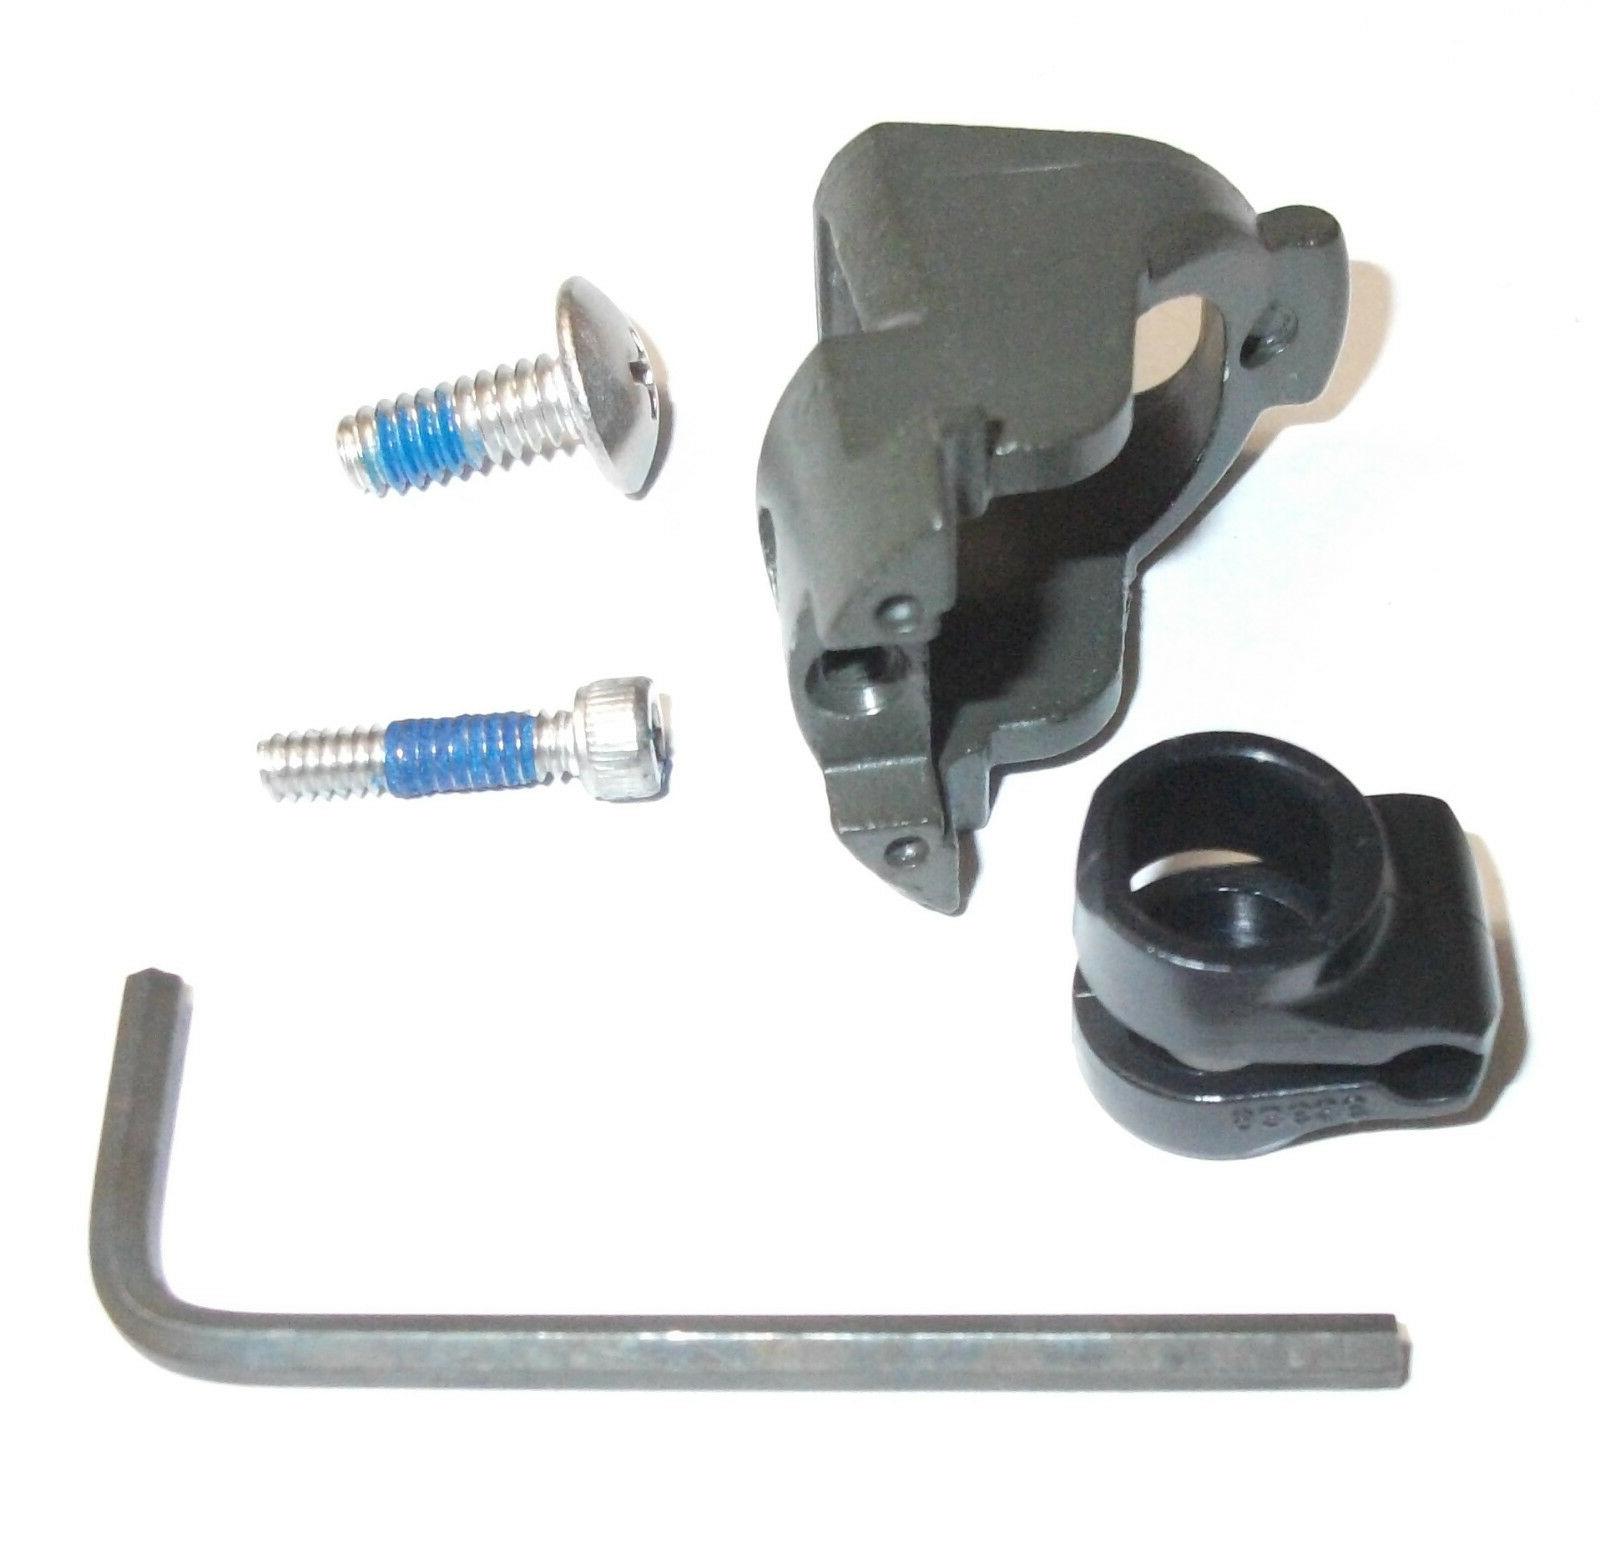
Step 4: Remove the Cartridge Retainer Clip
After removing the faucet handle, the next step in removing a Moen bathroom faucet is to remove the cartridge retainer clip. The retainer clip secures the cartridge in place and needs to be removed to access and replace the cartridge if necessary.
Locate the retainer clip, which is typically a metal or plastic clip that surrounds the cartridge. It may be on top of the cartridge or beneath it, depending on the faucet model.
Using needle-nose pliers or a small flathead screwdriver, carefully grasp the retainer clip and gently pull it out. Take care not to damage the clip or the cartridge during this process.
If the retainer clip is difficult to remove, you may need to wiggle it back and forth or apply gentle pressure to loosen it. Once the clip is completely removed, set it aside in a safe place.
Removing the retainer clip will allow you to proceed to the next step: removing the cartridge itself.
Note: Not all Moen faucets have a cartridge retainer clip. Some may use different methods to secure the cartridge in place, such as a twist-lock mechanism. If you’re unsure about how your faucet is secured, consult the manufacturer’s instructions for guidance.
To remove a Moen bathroom faucet handle, look for a small hole or set screw on the handle. Use an Allen wrench or screwdriver to loosen the set screw, then gently lift the handle off.
Step 5: Remove the Cartridge
With the retainer clip removed, you can now proceed to remove the cartridge from the Moen bathroom faucet. The cartridge is a key component that controls the water flow and temperature, and it may need to be replaced if it is faulty or causing issues with your faucet.
Grasp the cartridge firmly with your hand and gently pull it straight out from the faucet body. It may require a bit of force to remove, especially if it has been in place for a long time. If the cartridge is stuck, you can use a pair of pliers or a cartridge puller specifically designed for Moen faucets.
When removing the cartridge, be careful not to damage any of the surrounding parts or the faucet body itself. Take note of the orientation of the cartridge as you remove it, as this will help when installing a new cartridge or troubleshooting any issues.
Once the cartridge is removed, inspect it for any signs of damage or wear. If you are replacing the cartridge, compare it with the new one to ensure they are the same and compatible with your faucet model.
If you are not replacing the cartridge and simply cleaning or troubleshooting, inspect the cartridge for any debris or mineral buildup that could be causing the faucet issues. Clean it thoroughly with water and a soft brush or cloth before reinstalling it.
With the cartridge removed or cleaned, you’re ready to move on to the next step: installing a new cartridge (if necessary) or reassembling the faucet handle.
Note: If you’re unsure about the type of cartridge your Moen faucet requires or need guidance on cartridge replacement, consult the manufacturer’s instructions or contact their customer support for assistance.
Step 6: Install a New Cartridge (Optional)
If you have decided to replace the cartridge in your Moen bathroom faucet, this step will guide you through the process of installing a new one. Installing a new cartridge can help resolve issues such as leaks, drips, or difficulties with controlling water flow and temperature.
Before installing the new cartridge, ensure that it is the correct replacement for your faucet model. Refer to the manufacturer’s instructions or consult with a plumbing professional if you’re unsure.
First, take the new cartridge and align it properly with the faucet body. Make sure any tabs or grooves on the cartridge match up with the corresponding slots or receptacles inside the faucet.
Gently push the cartridge into place, applying even pressure until it is fully seated in the faucet body. It should fit snugly without any gaps or wobbling.
If needed, refer to the manufacturer’s instructions for any additional steps or adjustments required for your specific faucet model.
Once the new cartridge is installed, you can proceed to the next step: reassembling the faucet handle.
Note: If you’re not replacing the cartridge, skip this step and proceed to Step 7 for instructions on reassembling the faucet handle.
Step 7: Reassemble the Faucet Handle
Now that you have either installed a new cartridge or cleaned the existing one, it’s time to reassemble the Moen bathroom faucet handle. Properly reassembling the handle is crucial to ensure its functionality and prevent any leaks or issues with the faucet.
Begin by carefully placing the faucet handle back onto the faucet base. Align any grooves or tabs on the handle with their corresponding slots on the base.
If your faucet has a retaining nut, reattach it by turning it clockwise with an adjustable wrench or pliers. Make sure it is tightened securely but not over-tightened to avoid damaging the handle or faucet.
If your faucet has a friction-fit mechanism, push the handle back onto the base until it fits snugly. You may need to wiggle or apply slight pressure to get the handle to lock into place.
Next, locate the handle screw that you removed earlier. Insert it back into the designated screw hole and tighten it clockwise. Again, be careful not to over-tighten the screw.
If your faucet had a decorative cap covering the screw, carefully place it back over the screw and press it into place. Ensure that it sits flush with the handle for a neat and finished appearance.
With the faucet handle reassembled, you’re almost done. The final step is to turn on the water supply and test the functionality of the faucet.
Note: If you encountered any issues or difficulties during the reassembly process, consult the manufacturer’s instructions or seek professional assistance to ensure proper installation.
Read more: How To Tighten Moen Bathroom Faucet Handle
Step 8: Test the Faucet
After reassembling the Moen bathroom faucet handle, it’s important to test the faucet to ensure that it is functioning properly and there are no leaks or issues. Testing the faucet will allow you to make any necessary adjustments before completing the project.
To test the faucet, turn the water supply back on by turning the shut-off valves counterclockwise. Slowly open the faucet handle and let the water flow. Check for any leaks around the handle or the base of the faucet.
If you notice any leaks, try tightening the handle or retaining nut slightly to see if it resolves the issue. If the leak persists, there may be a problem with the cartridge or another component, and you may need to seek professional assistance or consult the manufacturer’s instructions for further troubleshooting.
While testing the faucet, also observe the water flow and temperature control. Ensure that the water comes out smoothly and at the desired temperature. If you experience any difficulties or inconsistencies, double-check that the cartridge is installed correctly or refer to the manufacturer’s instructions for troubleshooting steps.
Take the time to thoroughly test the faucet, adjusting and evaluating as needed until you are satisfied with its performance. The goal is to have a properly functioning faucet that meets your needs and operates without any leaks or issues.
Once you have completed the testing and made any necessary adjustments, congratulations! You have successfully removed and reinstalled the Moen bathroom faucet handle.
Remember to keep the handle screw, retainer clip, and any other small parts in a safe place in case you need them for future repairs or replacements.
By following these steps and taking your time to ensure proper installation, you can enjoy a fully functional, leak-free Moen bathroom faucet for years to come.
Conclusion
Removing and reassembling a Moen bathroom faucet handle may seem like a daunting task, but with the right tools, patience, and step-by-step guidance, it can be accomplished successfully. By following the outlined steps, you can save time and money by avoiding the need for professional plumbing assistance.
Throughout the process, remember to turn off the water supply, remove the handle screw, detach the faucet handle, remove the cartridge retainer clip (if applicable), extract the cartridge, and install a new cartridge if necessary. Finally, reassemble the faucet handle and test the faucet for any leaks or issues.
By properly maintaining and addressing any faucet-related concerns, you can extend the lifespan of your Moen bathroom faucet and ensure its optimal performance. Regularly checking for leaks, cleaning the cartridge, and promptly addressing any issues will contribute to a smooth and reliable water flow, as well as a comfortable bathing experience.
If you encounter any difficulties during the removal process or are unsure about certain steps, don’t hesitate to consult the manufacturer’s instructions or seek professional plumbing assistance. It’s always better to have expert guidance to avoid potential mistakes or further damage to your faucet.
Remember, a well-functioning bathroom faucet not only enhances the overall appearance of your bathroom but also provides you with convenience and comfort. With the knowledge and skills gained from this guide, you can confidently tackle any faucet handle removal and reassembly, ensuring a functional and enjoyable bathroom experience.
Now that you’re armed with the necessary information, grab your tools, roll up your sleeves, and take pride in your ability to remove and reassemble your Moen bathroom faucet handle like a pro!
Ready to tackle more DIY projects around your home? If you've nailed removing that Moen faucet handle, perhaps fixing other types of faucets is on your to-do list. Our guide on the best Delta faucet repair kits offers all the insights you need to keep your fixtures in top shape. On the flip side, if you're considering a bigger project, understanding how long a bathroom renovation takes could be crucial for planning. Both articles will surely arm you with the knowledge to upgrade your space efficiently.
Frequently Asked Questions about How To Remove Moen Bathroom Faucet Handle
Was this page helpful?
At Storables.com, we guarantee accurate and reliable information. Our content, validated by Expert Board Contributors, is crafted following stringent Editorial Policies. We're committed to providing you with well-researched, expert-backed insights for all your informational needs.


0 thoughts on “How To Remove Moen Bathroom Faucet Handle”