
Articles
How To Remove Honeycomb Blinds From Brackets
Modified: January 9, 2024
Learn how to easily remove honeycomb blinds from brackets with these step-by-step articles. Get the tips and tricks you need for a seamless blind removal process.
(Many of the links in this article redirect to a specific reviewed product. Your purchase of these products through affiliate links helps to generate commission for Storables.com, at no extra cost. Learn more)
Introduction
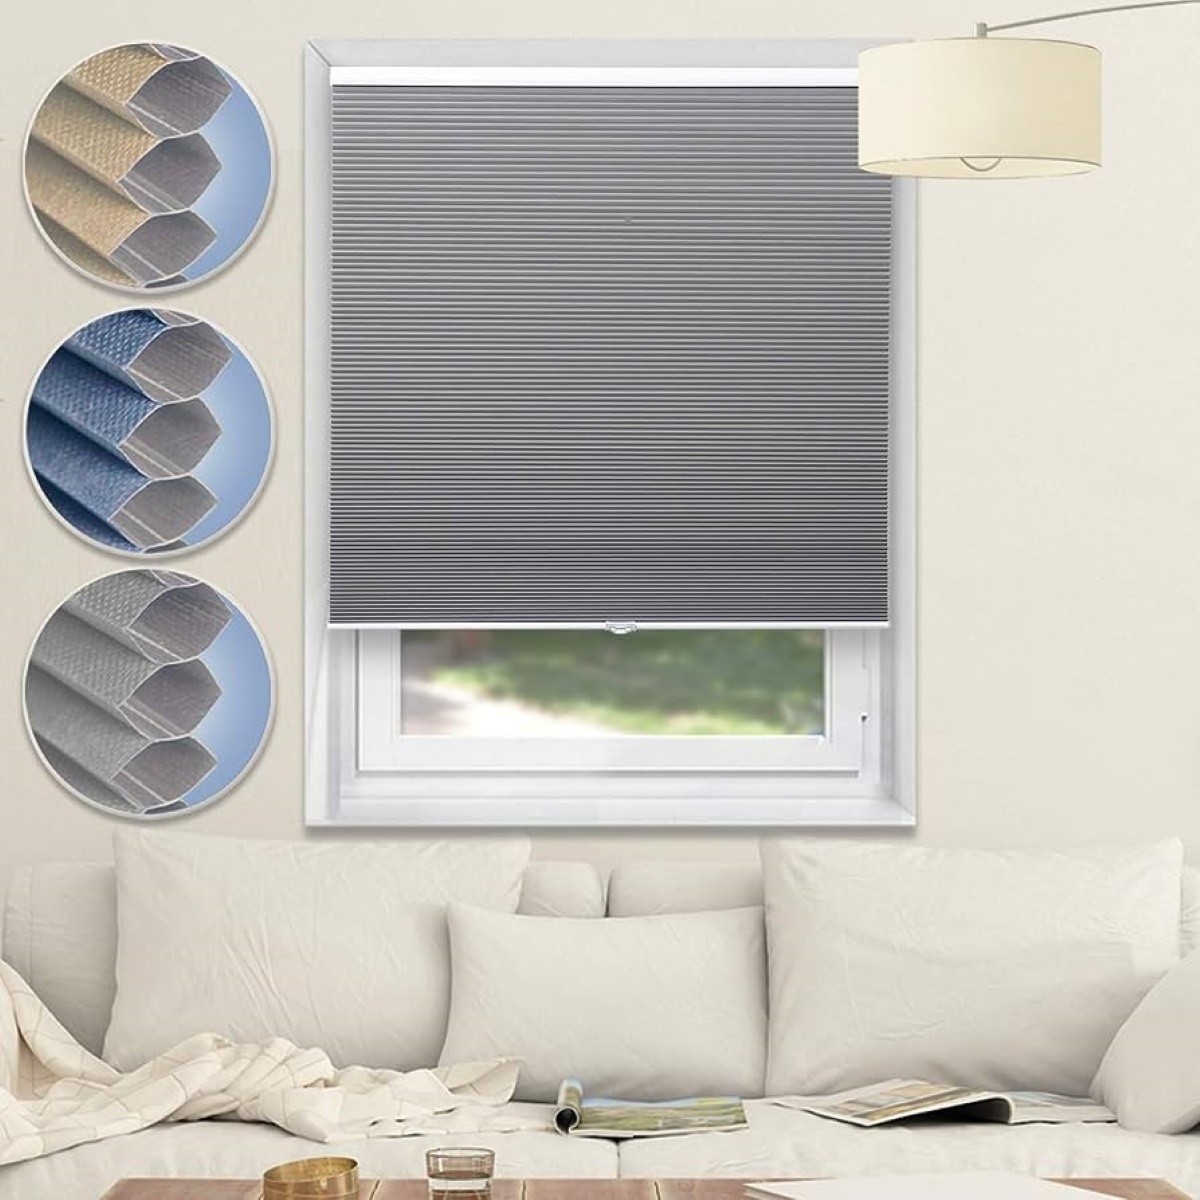
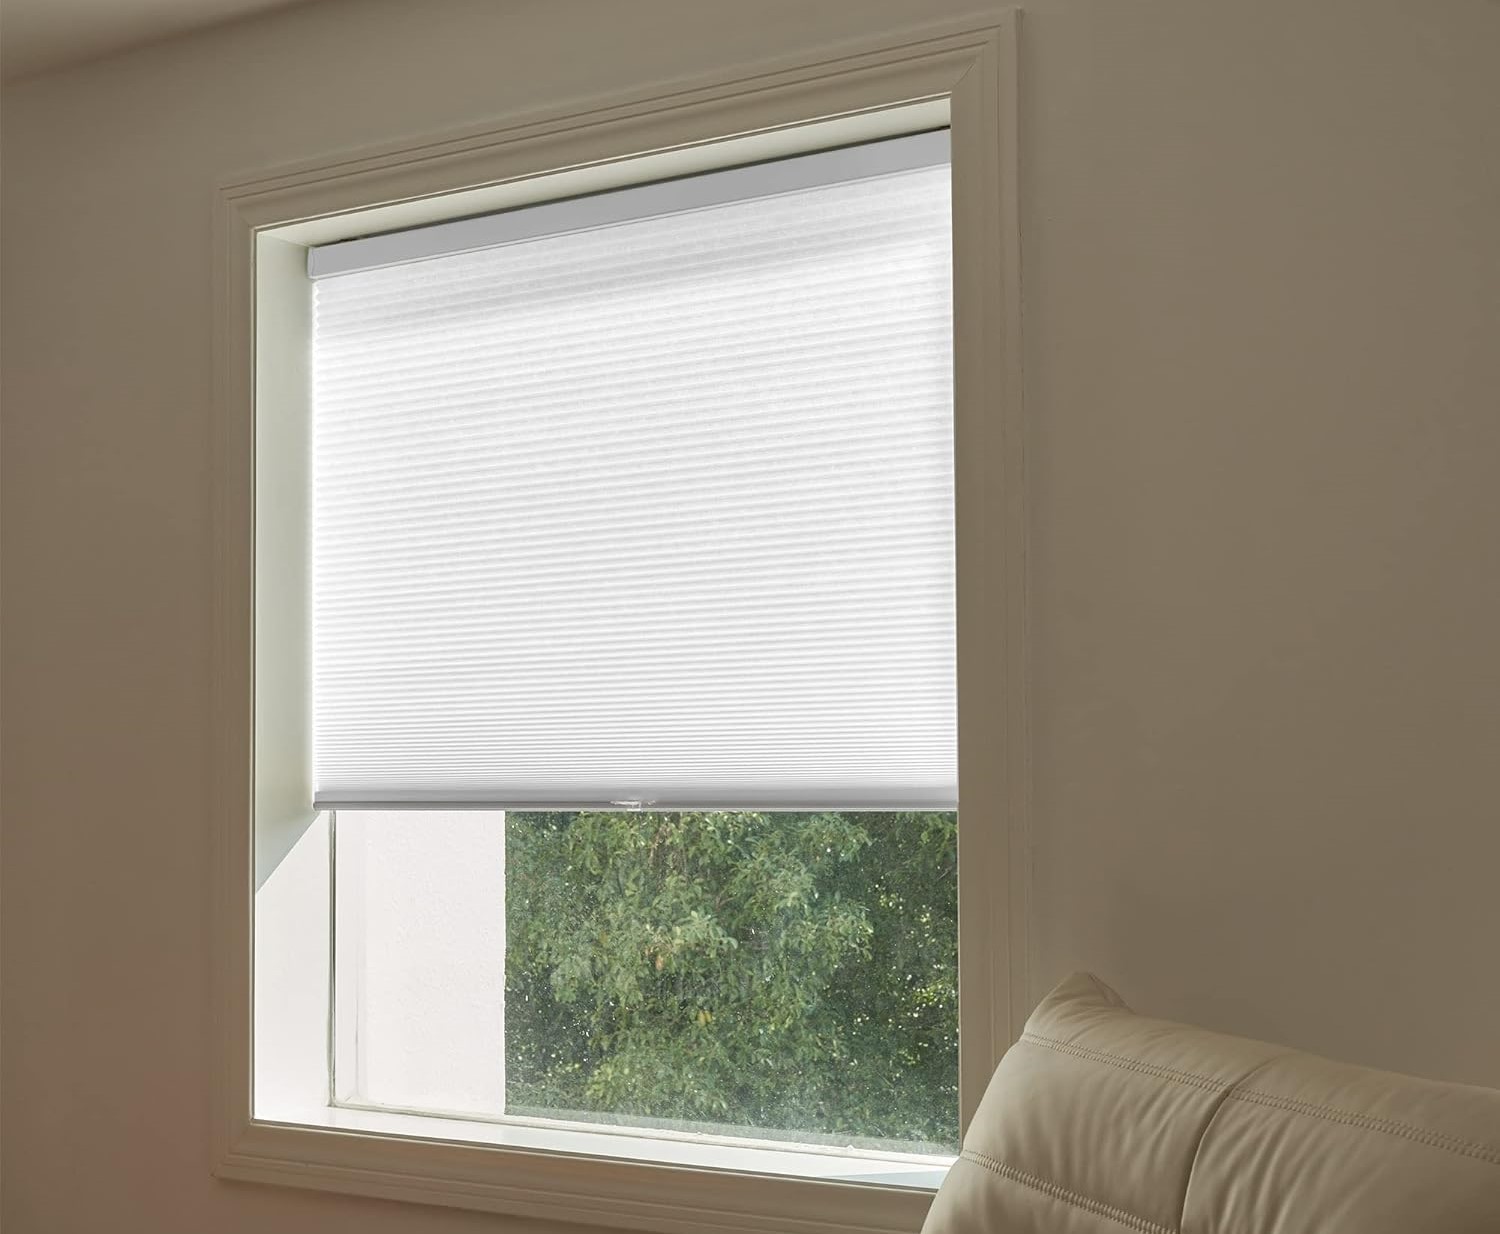
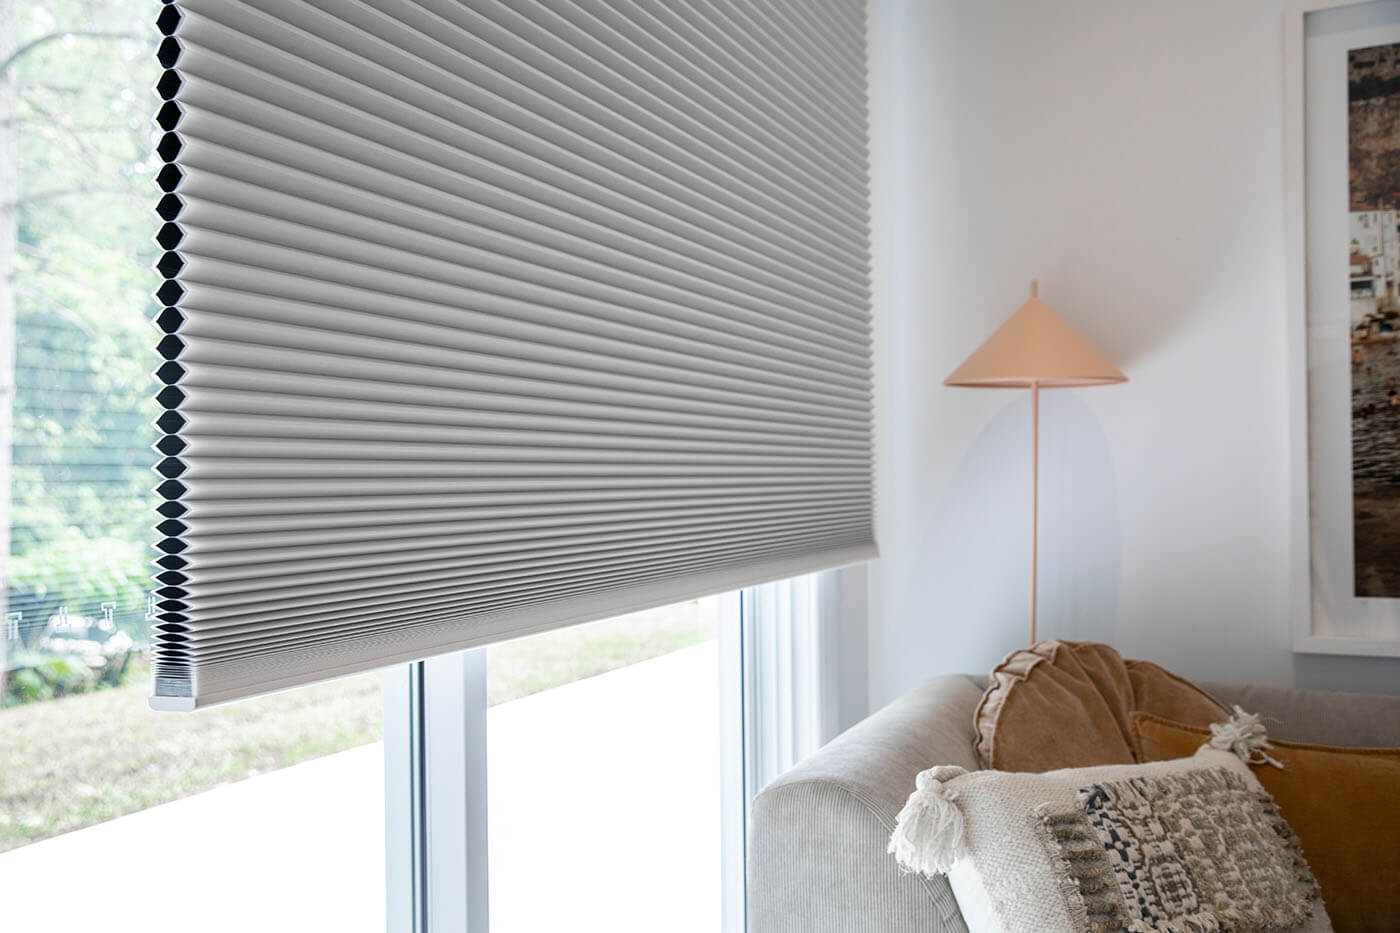
Welcome to our comprehensive guide on how to remove honeycomb blinds from brackets. Honeycomb blinds, also known as cellular blinds, are a popular choice for their energy efficiency and elegant design. They consist of a series of cells that trap air, providing insulation and reducing energy consumption.
Over time, you may need to remove honeycomb blinds from their brackets for cleaning, repair, or replacement. While the process may seem daunting at first, with the right tools and techniques, it can be easily accomplished.
In this article, we will walk you through each step of removing honeycomb blinds from brackets, ensuring you can do it yourself without any hassle. We will also provide maintenance tips to keep your blinds in top shape.
Key Takeaways:
- Easily remove honeycomb blinds from brackets using simple tools and steps, allowing for cleaning, repair, or replacement without hassle. Keep blinds in top shape with regular maintenance for extended lifespan.
- Understanding honeycomb blinds and brackets, locating and releasing locking mechanisms, and safely removing blinds are essential steps for successful maintenance. Regular cleaning and careful reinstallation ensure long-lasting functionality and style.
Read more: How To Remove Roller Blinds From Brackets
Understanding Honeycomb Blinds and Brackets
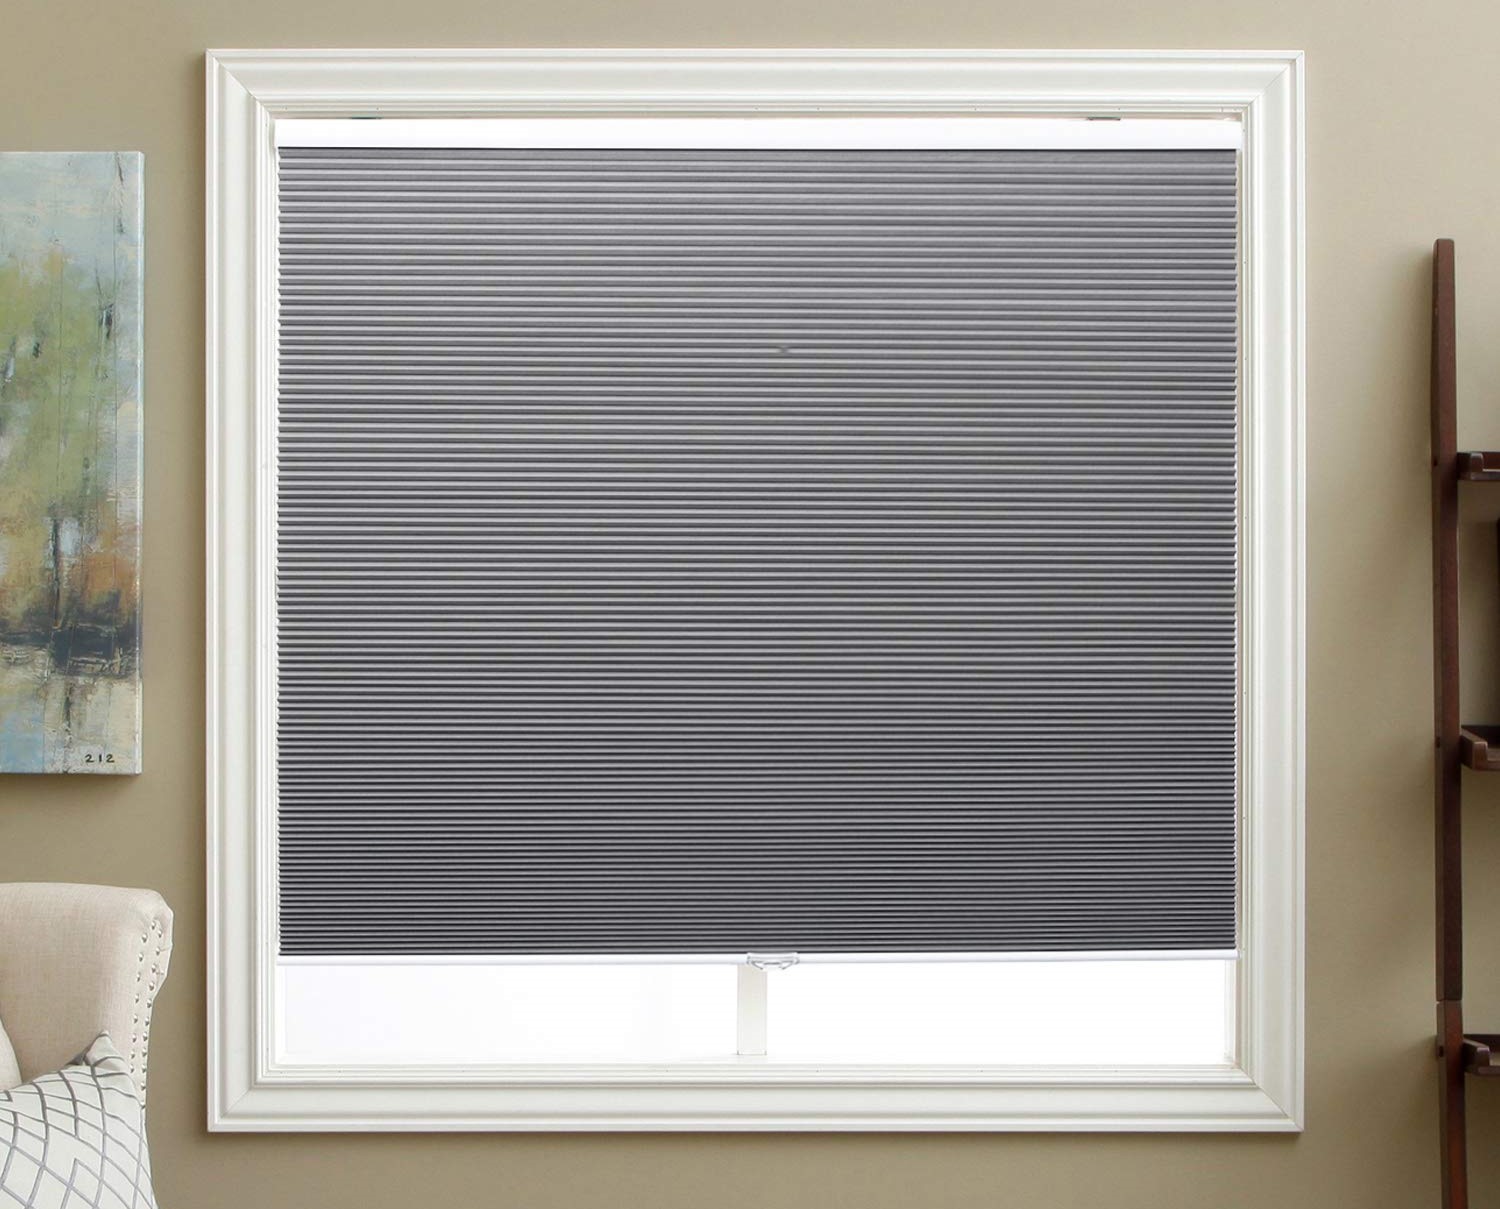
Honeycomb blinds are unique window coverings that are designed to provide insulation and regulate light. They are composed of a series of honeycomb-shaped cells that trap air, creating a layer of insulation between the window and the room. This design helps to keep your home cooler in the summer and warmer in the winter, reducing energy consumption and saving you money on utility bills.
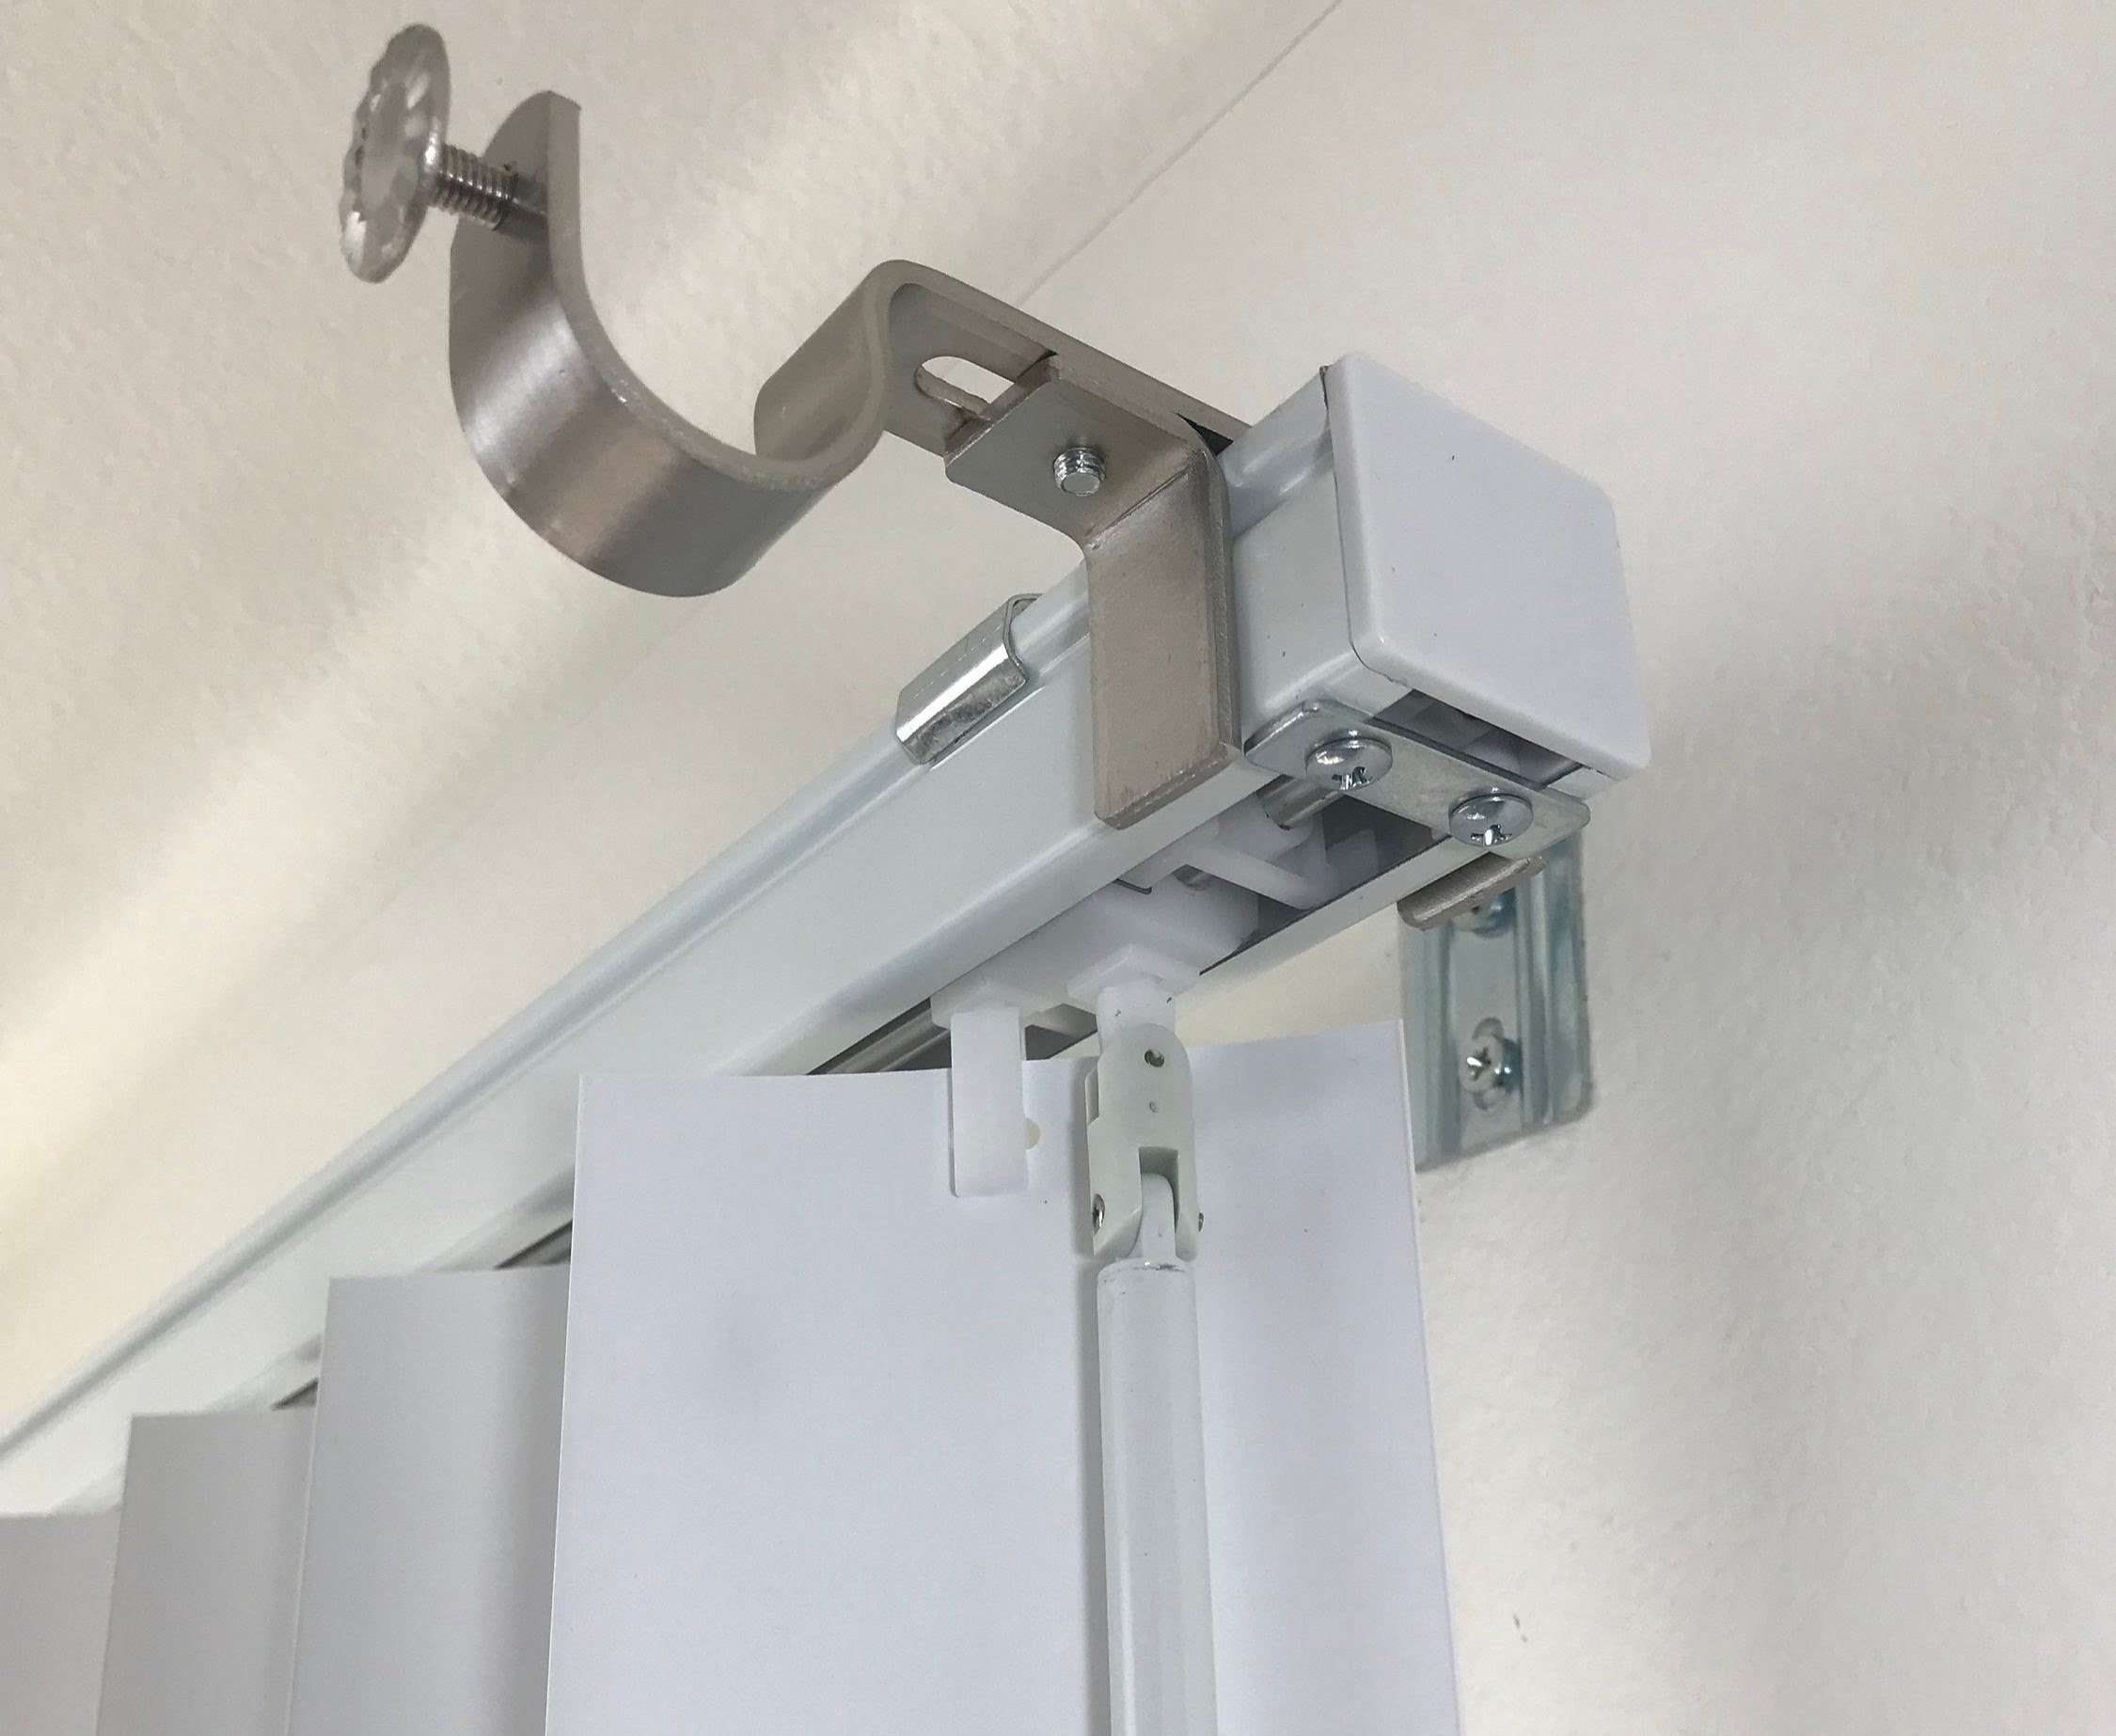
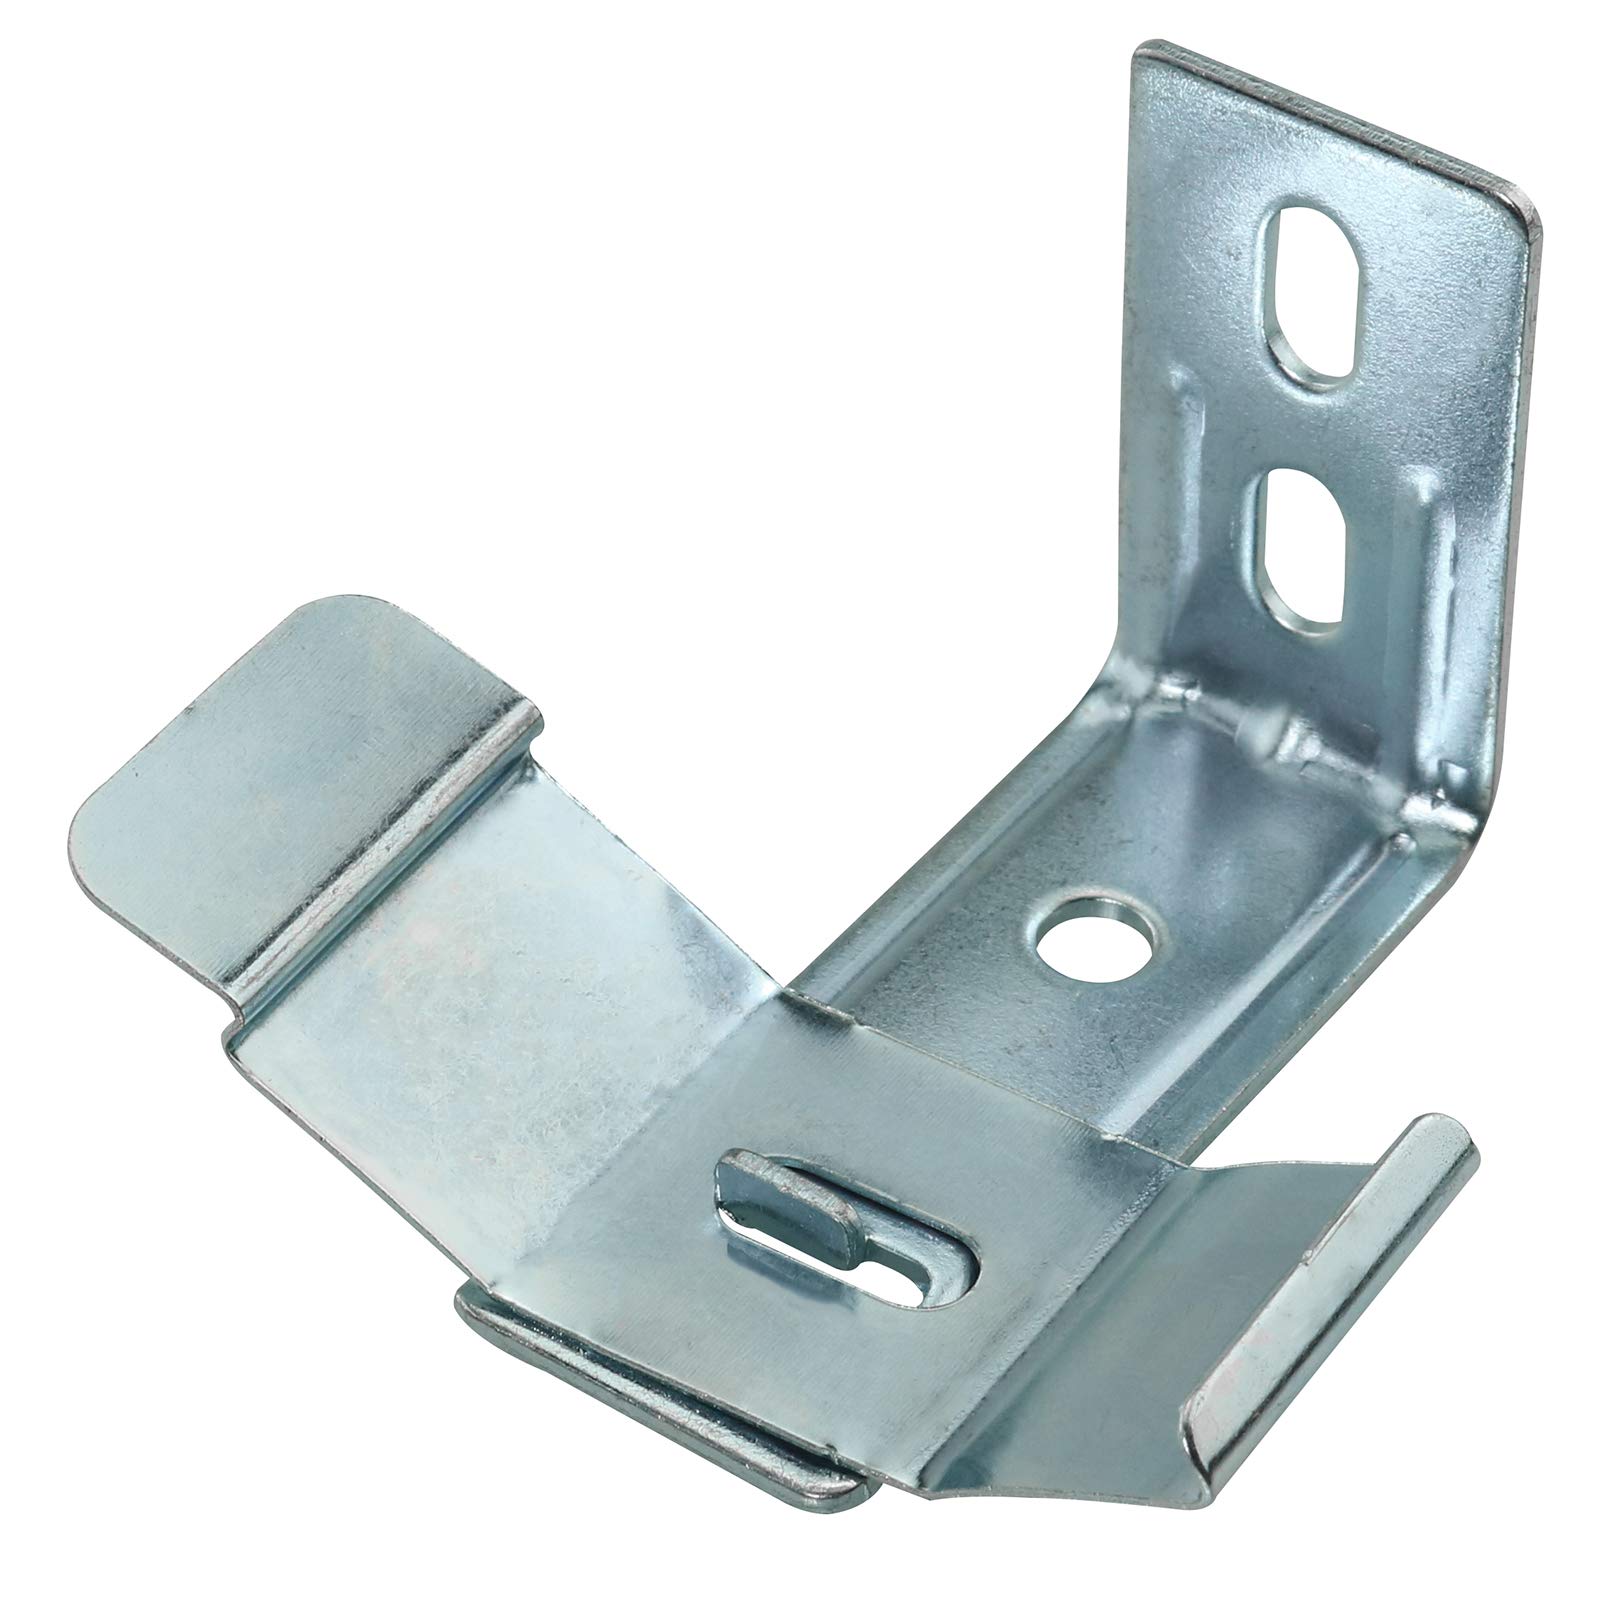
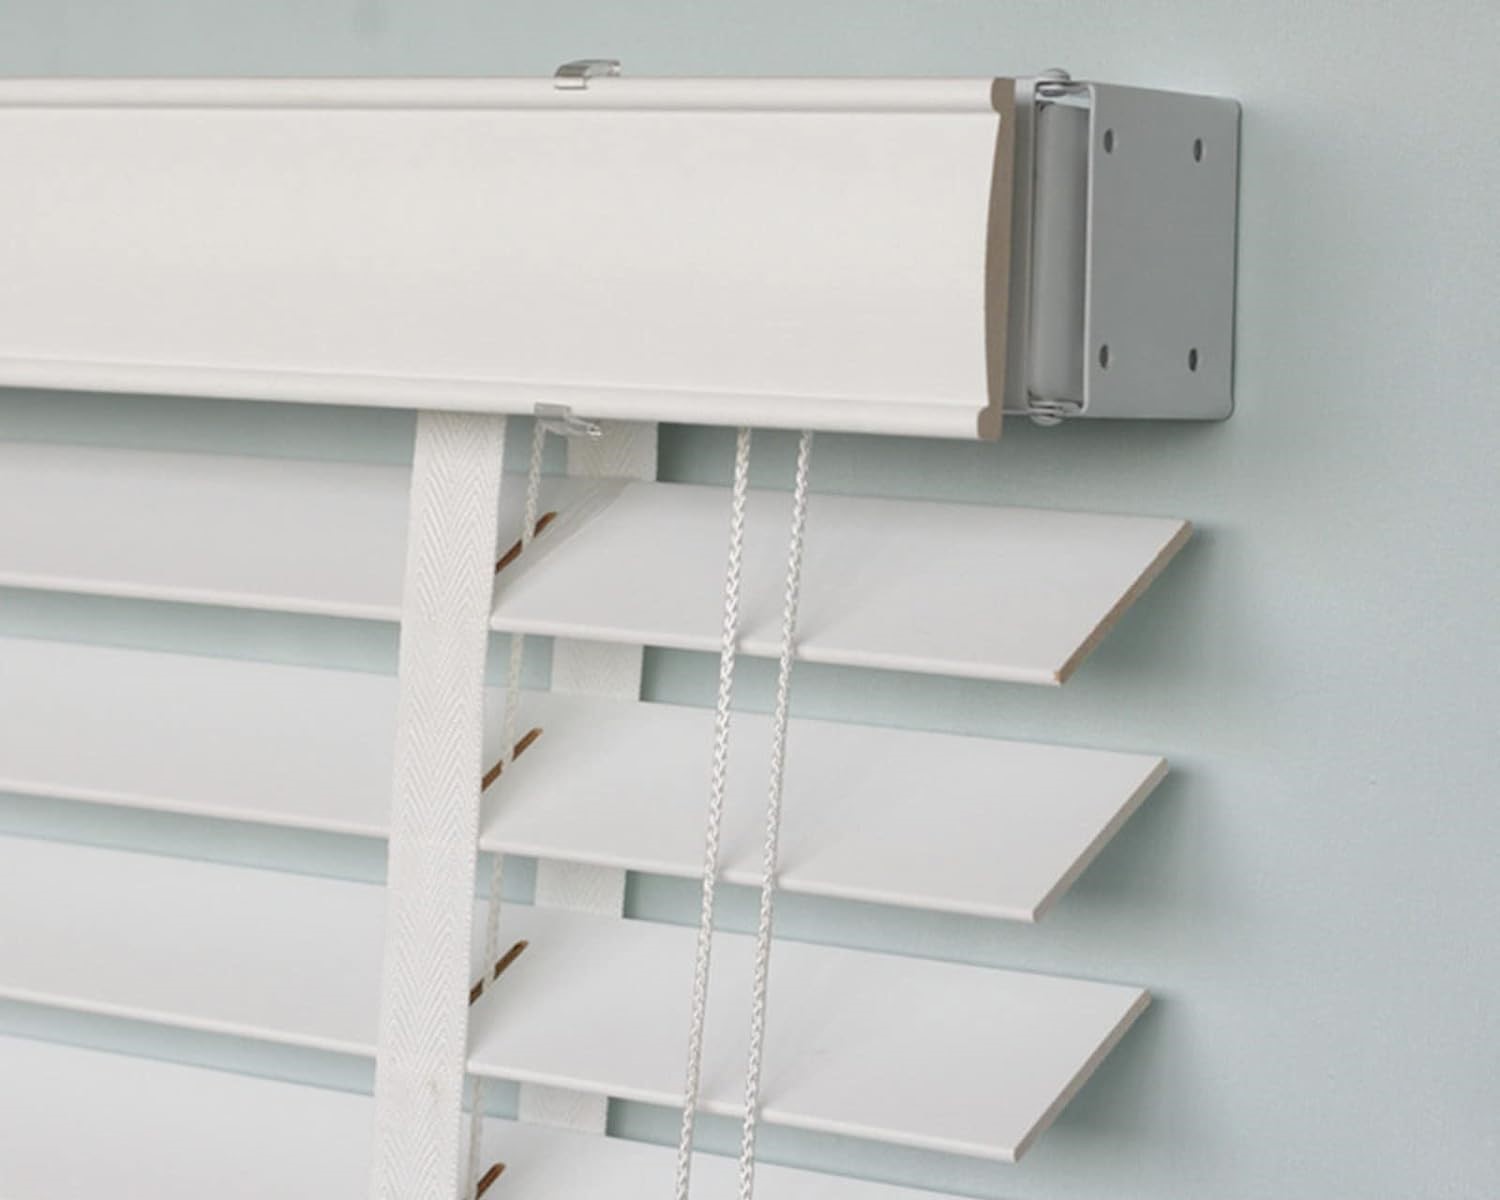
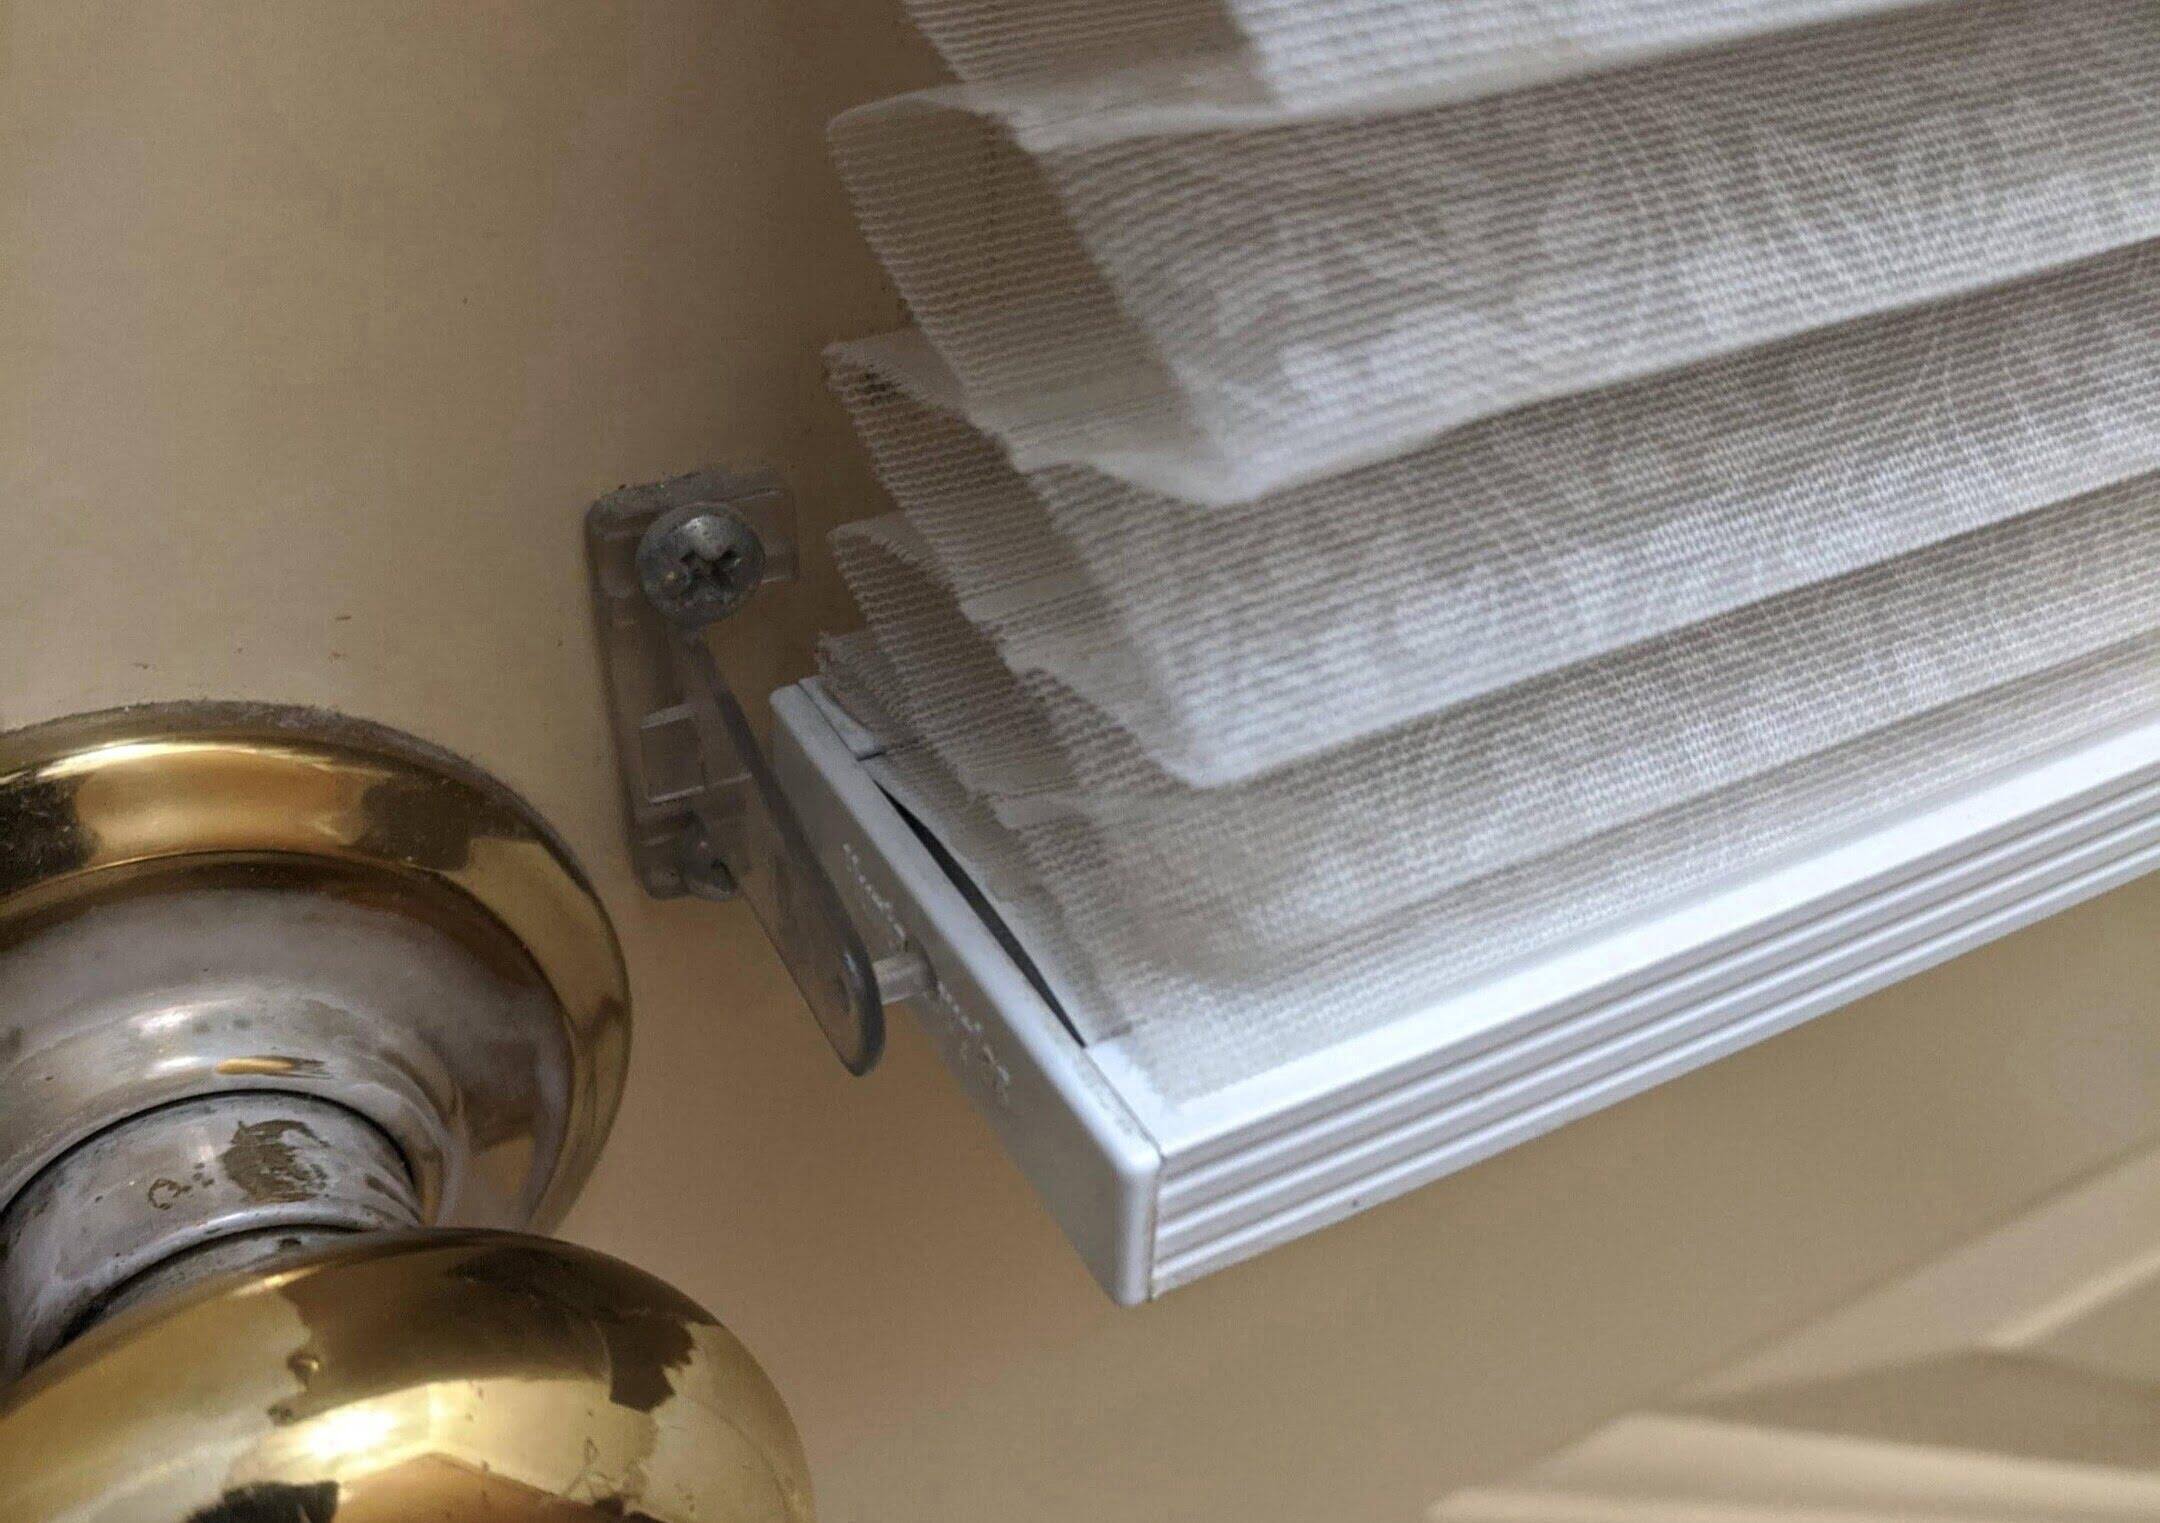
Brackets are an essential component of honeycomb blinds as they provide the support and stability needed to hold the blinds in place. They are typically made of durable materials such as metal or plastic and are attached to the window frame or wall.
Understanding how the brackets are positioned and how they hold the blinds is crucial before attempting to remove them. Most honeycomb blinds feature either a top-down or bottom-up lifting mechanism, which allows you to adjust the blinds from the top or bottom. The brackets are designed to securely hold the blinds in place while still allowing easy removal when necessary.
It’s important to note that the specific design and mechanism of your honeycomb blinds may vary, so it’s always a good idea to consult the manufacturer’s instructions or seek professional guidance if you’re unsure about any steps in the process.
Tools and Materials Needed
Before you begin the process of removing the honeycomb blinds from the brackets, gather the necessary tools and materials to ensure a smooth and efficient process. Here’s what you’ll need:
- Screwdriver: Depending on the type of brackets used, you may need a Phillips or flathead screwdriver to loosen screws or release locking mechanisms.
- Stepladder: If your blinds are installed at a height that is not easily reachable, a stepladder will come in handy to provide you with the necessary height and stability.
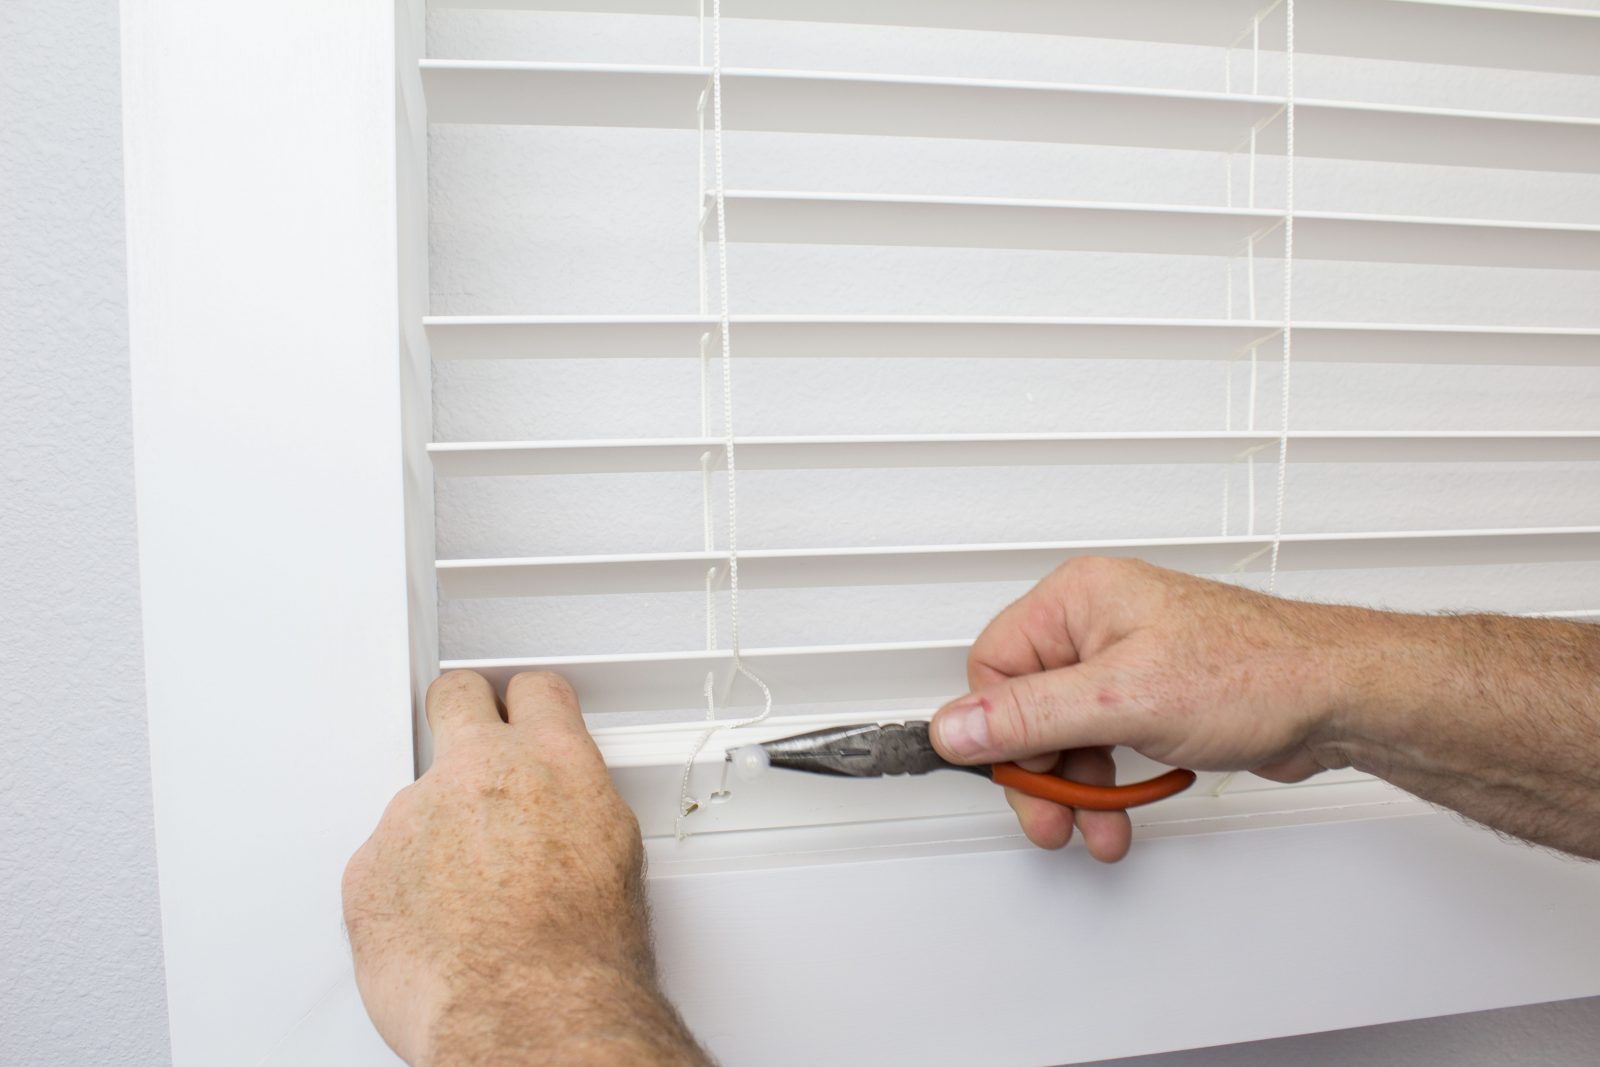
- Pliers: Pliers can be useful for gripping and maneuvering small parts or any stubborn components of the brackets.
- Cloth or towel: It’s always a good idea to have a cloth or towel on hand to protect the blinds and catch any dust or debris that may fall during the removal process.
- Optional: Additional tools or materials that may be required include a drill with appropriate bits, a pencil or marker for marking reference points, and a level to ensure accurate reinstallation of the blinds.
By having these tools and materials ready before you start, you’ll be better prepared and can avoid unnecessary interruptions during the removal process.
Step 1: Prepare the Workspace
Before you begin removing the honeycomb blinds from the brackets, it’s essential to prepare your workspace to ensure a safe and organized process. Here are the steps to follow:
- Clean the area: Clear any nearby furniture or objects that could obstruct your movement or potentially get damaged during the removal process. This will give you ample space to work comfortably.
- Protect the floor: Lay down a cloth or towel beneath the window area to catch any dust, debris, or small parts that may accidentally fall during the removal process. This will protect your floor from any potential damage and make cleanup easier.
- Use a stepladder: If your honeycomb blinds are installed at a height that is not easily reachable, use a stepladder to provide you with the necessary height and stability. Ensure that the ladder is placed on a level surface and secure before ascending.
- Open the blinds: If your blinds are closed, open them fully to provide better access to the brackets. This will make it easier to locate and maneuver the blinds during the removal process.
By taking these preparatory steps, you’ll create a safe and well-organized workspace, allowing you to focus on the task at hand without any unnecessary obstacles.
Step 2: Locate the Brackets
Once you have prepared your workspace, the next step is to locate the brackets that hold the honeycomb blinds in place. Follow these steps to find the brackets:
- Inspect the top or bottom of the blinds: Depending on the type of blinds you have, the brackets may be located at the top or bottom of the blinds. Examine the blinds carefully, looking for any visible signs of brackets.
- Feel for brackets: Run your hand along the top or bottom edge of the blinds to feel for any brackets. These brackets are typically small metal or plastic pieces attached to the blinds.
- Check for clips or locks: Some honeycomb blinds may have additional clips or locking mechanisms to secure the blinds in place. These clips or locks may be located on the sides of the blinds or within the brackets themselves.
- Refer to the installation manual: If you have the installation manual or instructions provided by the manufacturer, consult them to locate the exact position of the brackets. The manual may provide specific guidance for your particular model of honeycomb blinds.
Take your time to thoroughly examine the blinds and locate the brackets. It’s important to have a clear understanding of where the brackets are positioned before proceeding to the next steps of the removal process. This will ensure that you can safely remove the blinds without causing any damage to the blinds or the window frame.
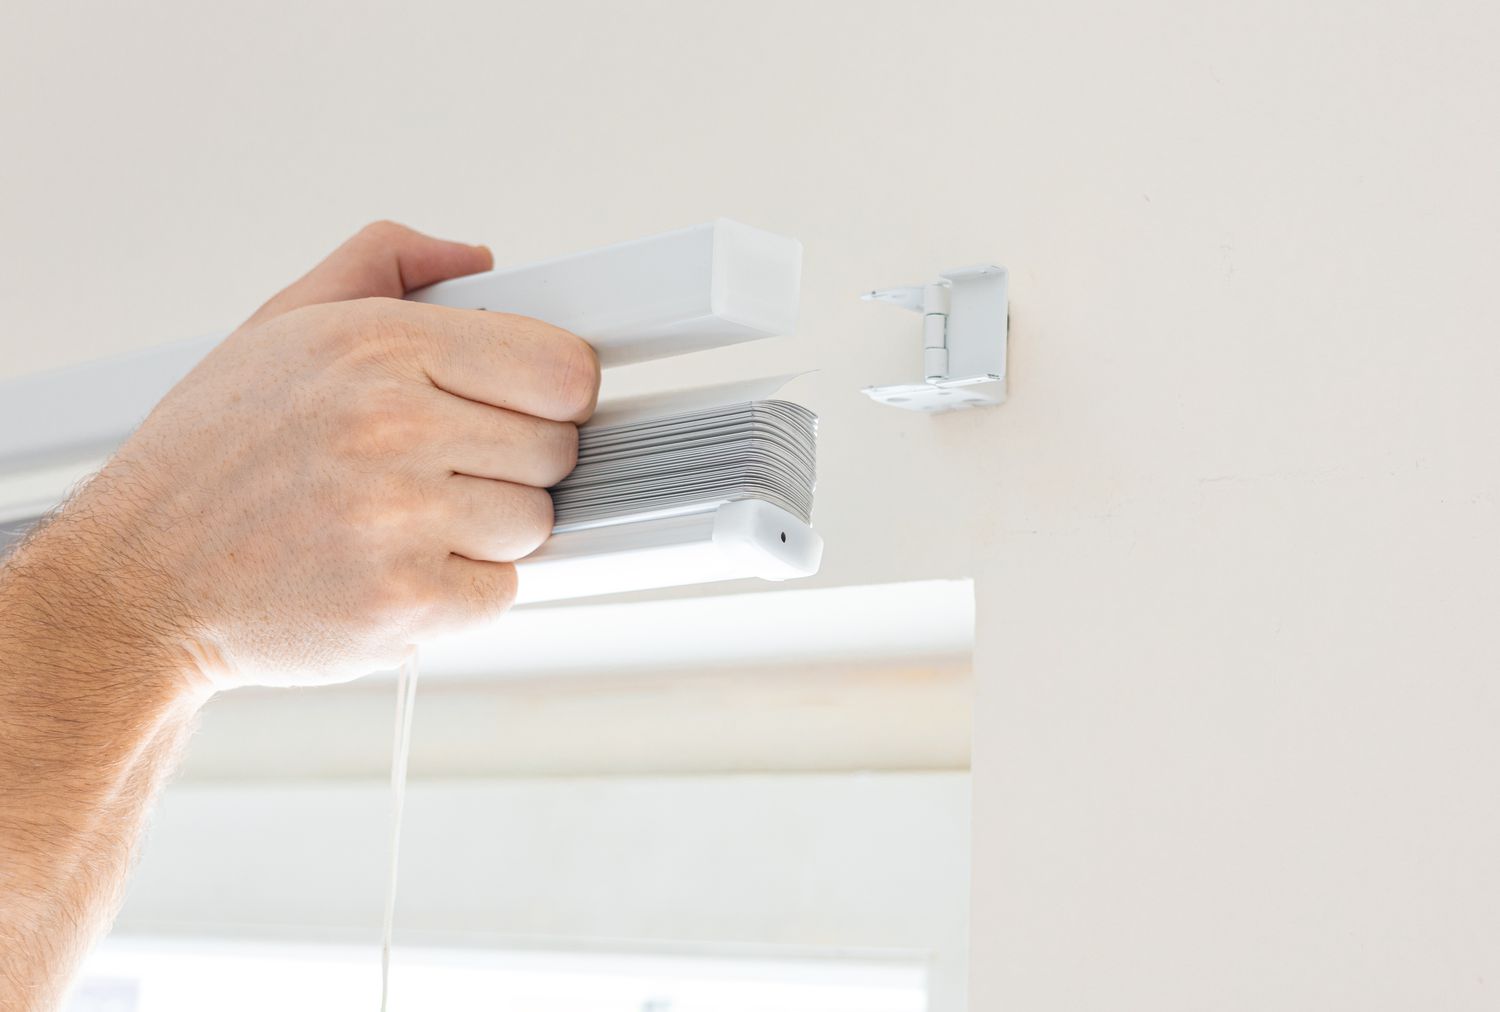
To remove honeycomb blinds from brackets, gently lift the blinds up and out of the brackets. Be careful not to force them, as this could damage the blinds or the brackets.
Step 3: Release the Locking Mechanism
After locating the brackets that secure your honeycomb blinds, the next step is to release the locking mechanism that holds the blinds in place. Follow these steps to release the locking mechanism:
- Inspect the brackets: Take a closer look at the brackets and identify any visible screws, clips, or locks that are keeping the blinds in place. These locks may vary depending on the type and design of your honeycomb blinds.
- Use a screwdriver if necessary: If your brackets have screws, use a screwdriver (either Phillips or flathead, depending on the type of screws) to carefully loosen them. Be sure to hold onto the blinds as you loosen the screws to prevent them from falling.
- Release clips or locks: If your brackets have clips or locks, use your fingers or a pair of pliers to release them. Gently press or squeeze the clips or locks to disengage them from the blinds, allowing you to remove the blinds from the brackets.
- Test the blinds: Once you believe you have released the locking mechanism, test the blinds by gently pulling them away from the brackets. If the locks have been successfully released, the blinds should move freely.
It’s important to be cautious when releasing the locking mechanism. Take your time and handle the blinds with care to avoid any damage. If you encounter resistance or difficulty in releasing the locks, refer to the manufacturer’s instructions or seek professional assistance.
Once you have successfully released the locking mechanism, you are ready to proceed to the next step of removing the honeycomb blinds from the brackets.
Step 4: Remove the Blind from Brackets
With the locking mechanism released, you can now proceed to remove the honeycomb blinds from the brackets. Follow these steps to safely remove the blinds:
- Hold the bottom rail: Begin by firmly grasping the bottom rail of the blinds, closest to the brackets. This will provide stability and control as you remove the blinds.
- Gently lift and tilt: Lift the blinds slightly upward to disengage them from the brackets. Tilt the blinds inward or outward, depending on the orientation of the brackets.
- Slide the blinds out: Once the blinds are tilted, slide them out of the brackets horizontally. Be cautious not to force the blinds as this could cause damage to the blinds or brackets.
- Set the blinds aside: Once the blinds are fully removed from the brackets, set them aside safely to prevent any damage or tangling of the cords or fabric.
Take your time and proceed with caution while removing the blinds. Depending on the size and weight of the blinds, you may require an extra pair of hands to assist you in handling them safely.
If you plan to reinstall the same blinds, it’s important to keep them in a safe and clean area during the removal process to prevent any damage or entanglement. If you are replacing the blinds, ensure that you properly dispose of the old blinds or follow any recycling guidelines for the materials.
By following these steps, you can successfully remove the honeycomb blinds from the brackets, allowing you to clean, repair, or replace them as needed.
Step 5: Cleaning and Maintenance Tips
Once you have removed the honeycomb blinds from the brackets, it’s a good opportunity to clean and maintain them. Follow these tips to keep your blinds in top shape:
- Dust regularly: Use a soft brush attachment on a vacuum cleaner or a feather duster to remove dust from the blinds. Dusting regularly will help prevent the accumulation of dirt and grime.
- Spot clean: If you notice any stains or spills on the fabric of the blinds, spot clean them immediately using a mild detergent and a damp cloth. Gently blot the affected area, avoiding excessive rubbing that could damage the fabric.
- Avoid excessive moisture: Honeycomb blinds are not suitable for areas with high humidity, such as bathrooms. Excessive moisture can cause damage to the fabric and affect the structural integrity of the blinds.
- Replace damaged parts: If you notice any broken or damaged components on your blinds, such as cords, brackets, or fabric, replace them promptly to ensure proper functionality and safety.
- Reinstall carefully: When reinstalling the blinds, ensure that the brackets are securely fastened to the window frame or wall. Check that the blinds smoothly glide up and down without any obstructions or misalignment.
Regular cleaning and maintenance will not only keep your honeycomb blinds looking their best but also extend their lifespan. By following these tips, you can ensure that your blinds continue to provide function and style to your space.
Remember to refer to the manufacturer’s instructions for specific cleaning and maintenance recommendations, as different brands and models may have varying requirements.
Conclusion
Removing honeycomb blinds from brackets may seem like a daunting task, but with the right tools, knowledge, and patience, it can be accomplished easily. By following the step-by-step guide provided in this article, you can safely remove your honeycomb blinds for cleaning, repair, or replacement.
Understanding the construction of honeycomb blinds and locating the brackets are essential first steps. Releasing the locking mechanism and removing the blinds from the brackets should be done with caution and care to avoid any damage to the blinds or the window frame.
Once removed, you can take the opportunity to clean the blinds and perform any necessary maintenance. Regular dusting and spot cleaning will help keep your blinds looking fresh and extend their lifespan.
When it comes time to reinstall the blinds, make sure to securely fasten them to the brackets and ensure smooth operation. Checking for any damaged parts and replacing them as needed will ensure the blinds continue to function properly.
By following the steps outlined in this guide and practicing regular maintenance, you can enjoy the many benefits of honeycomb blinds for years to come. Remember to consult the manufacturer’s instructions for any specific guidance related to your blinds.
Now that you have the knowledge and tools to remove honeycomb blinds from brackets, you can confidently tackle this task whenever the need arises. So go ahead and give your honeycomb blinds the care they deserve!
Frequently Asked Questions about How To Remove Honeycomb Blinds From Brackets
Was this page helpful?
At Storables.com, we guarantee accurate and reliable information. Our content, validated by Expert Board Contributors, is crafted following stringent Editorial Policies. We're committed to providing you with well-researched, expert-backed insights for all your informational needs.
