Articles
How To Remove Built-In Blinds
Modified: October 18, 2024
Learn how to easily remove built-in blinds with our informative articles. Say goodbye to tangled cords and hello to a clutter-free window.
(Many of the links in this article redirect to a specific reviewed product. Your purchase of these products through affiliate links helps to generate commission for Storables.com, at no extra cost. Learn more)
Introduction
Built-in blinds are a popular feature in many modern homes, as they offer privacy and light control without the need for traditional window coverings like curtains or blinds. However, there may come a time when you need to remove built-in blinds, whether it’s to replace them with a different style, clean them thoroughly, or repair a faulty mechanism. In this article, we will guide you through the process of removing built-in blinds step by step.
Before we dive into the details, it’s important to note that built-in blinds can vary in design and installation method, so the steps provided here may not be applicable to every type of built-in blind. It’s always a good idea to consult the manufacturer’s instructions or seek professional assistance if you’re unsure about the specific requirements of your built-in blinds.
To successfully remove built-in blinds, you’ll need a few tools and materials on hand. These may include a screwdriver, pliers, a ladder or step stool, and a drop cloth or sheet to protect the surrounding area from any dust or debris. Additionally, it’s recommended to wear protective gloves and eyewear to ensure your safety during the removal process.
Now that you’re aware of the necessary precautions and have gathered the required tools, let’s proceed with the step-by-step guide for removing built-in blinds. By following these instructions, you’ll be able to efficiently dismantle the blinds and prepare them for further maintenance or replacement.
Key Takeaways:
- Removing built-in blinds involves careful detachment, disassembly, and reinstallation. By following the step-by-step guide, you can customize your window treatment and achieve a refreshed, functional, and aesthetically pleasing result.
- Prioritize safety, gather the necessary tools, and consider optional steps such as replacing or repositioning the blinds for a personalized touch. With attention to detail and patience, you can successfully remove and reassemble built-in blinds for a rewarding home improvement project.
Read more: How To Remove A Built-In Microwave Oven
Understanding Built-In Blinds
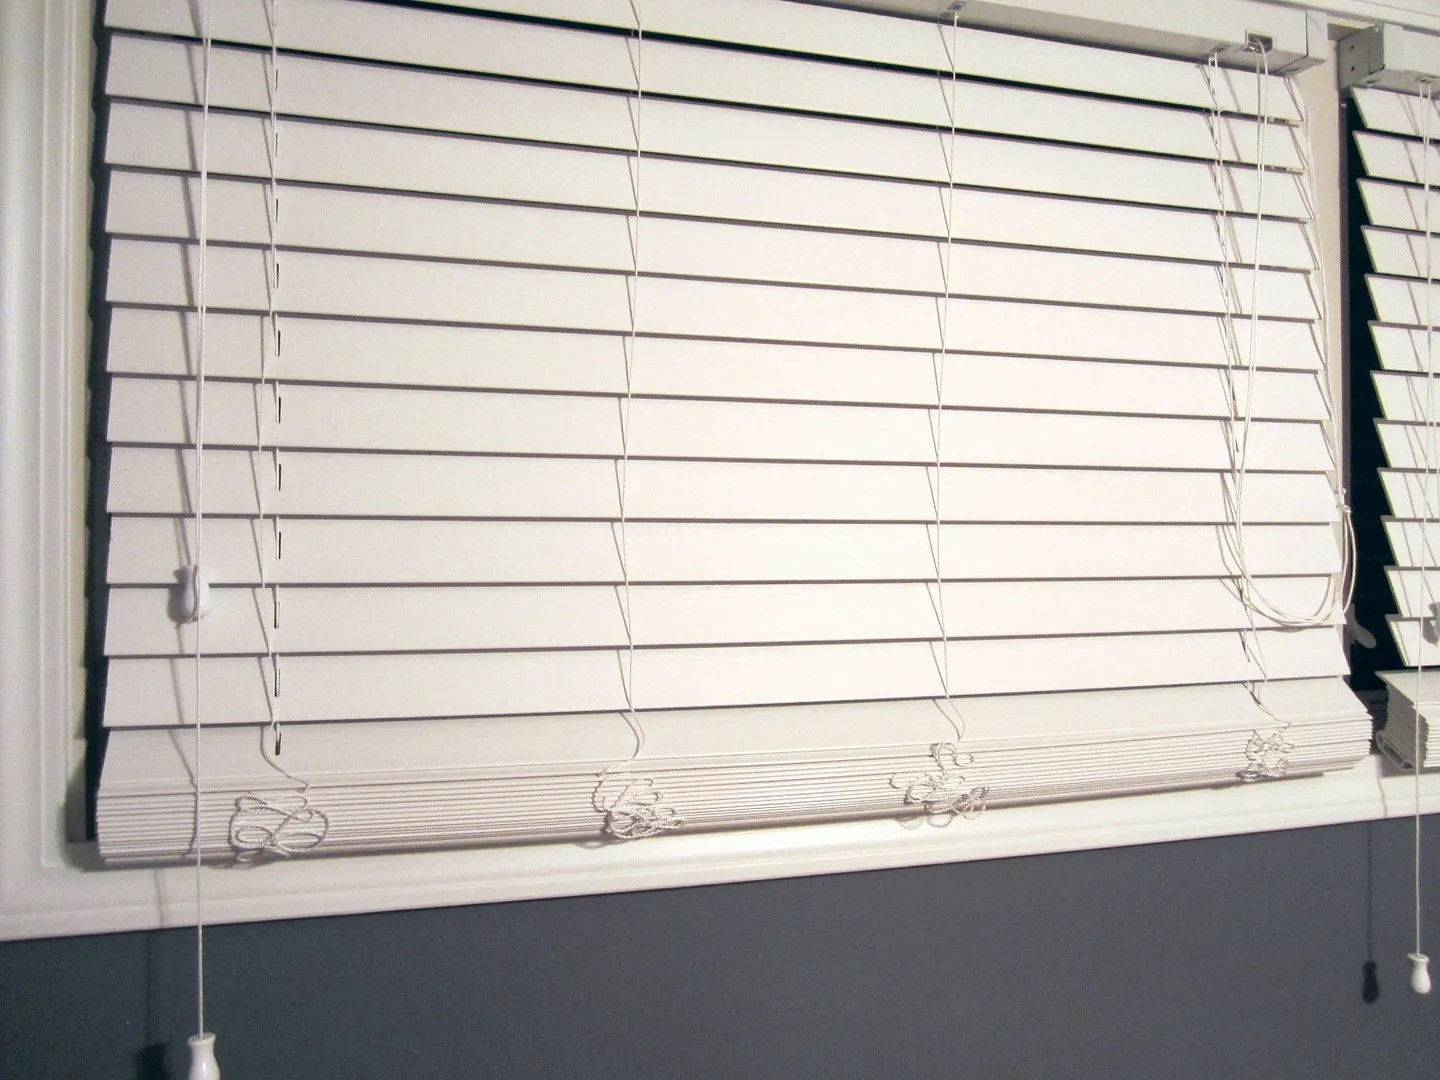
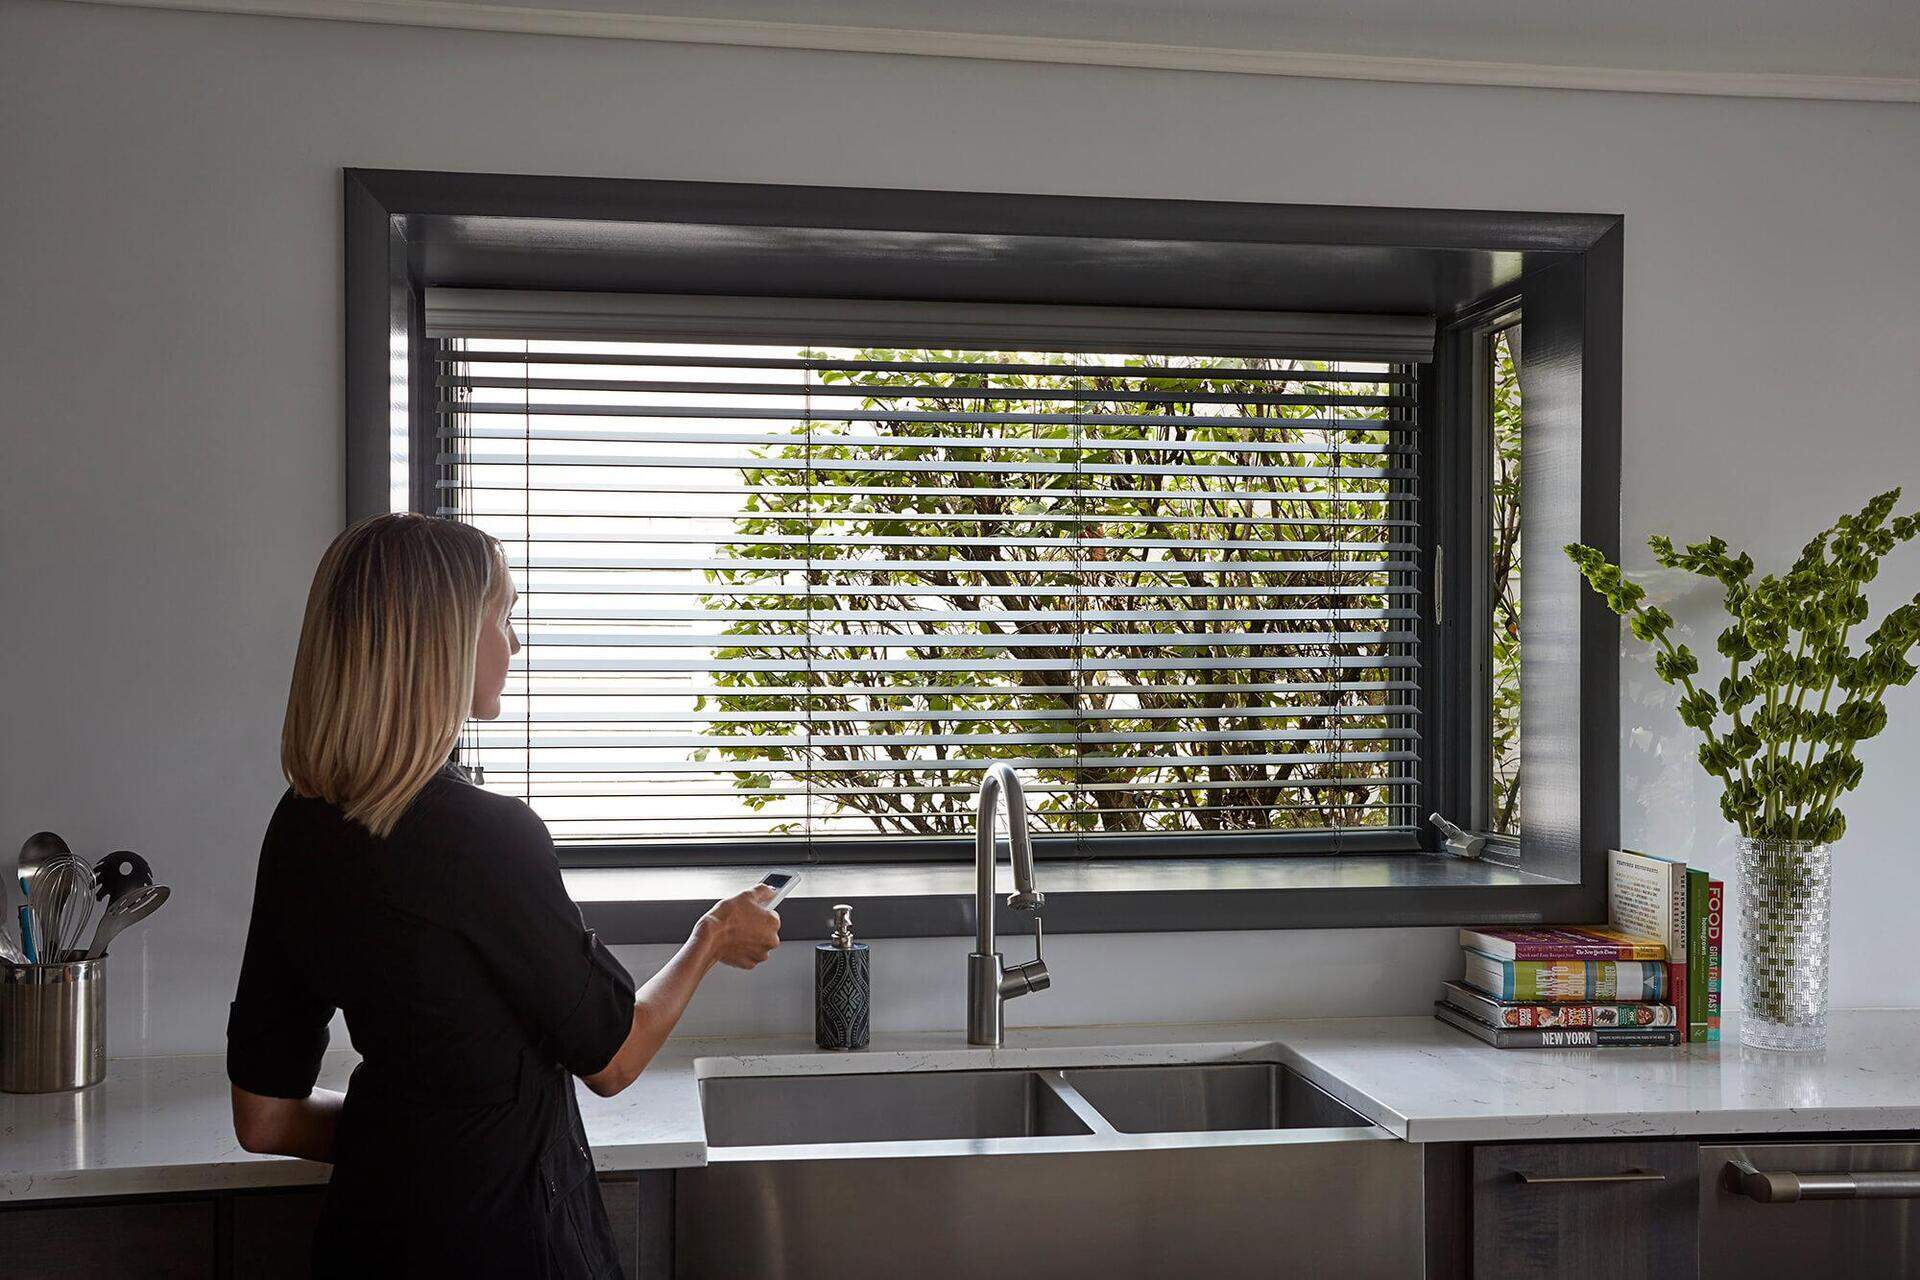
Before we delve into the process of removing built-in blinds, it’s essential to have a clear understanding of what they are. Built-in blinds consist of blinds or shades that are integrated directly into the double-glazed unit of a window. This means they are encapsulated within the glass and are operated using various control systems such as cords, wands, or even motorized mechanisms.
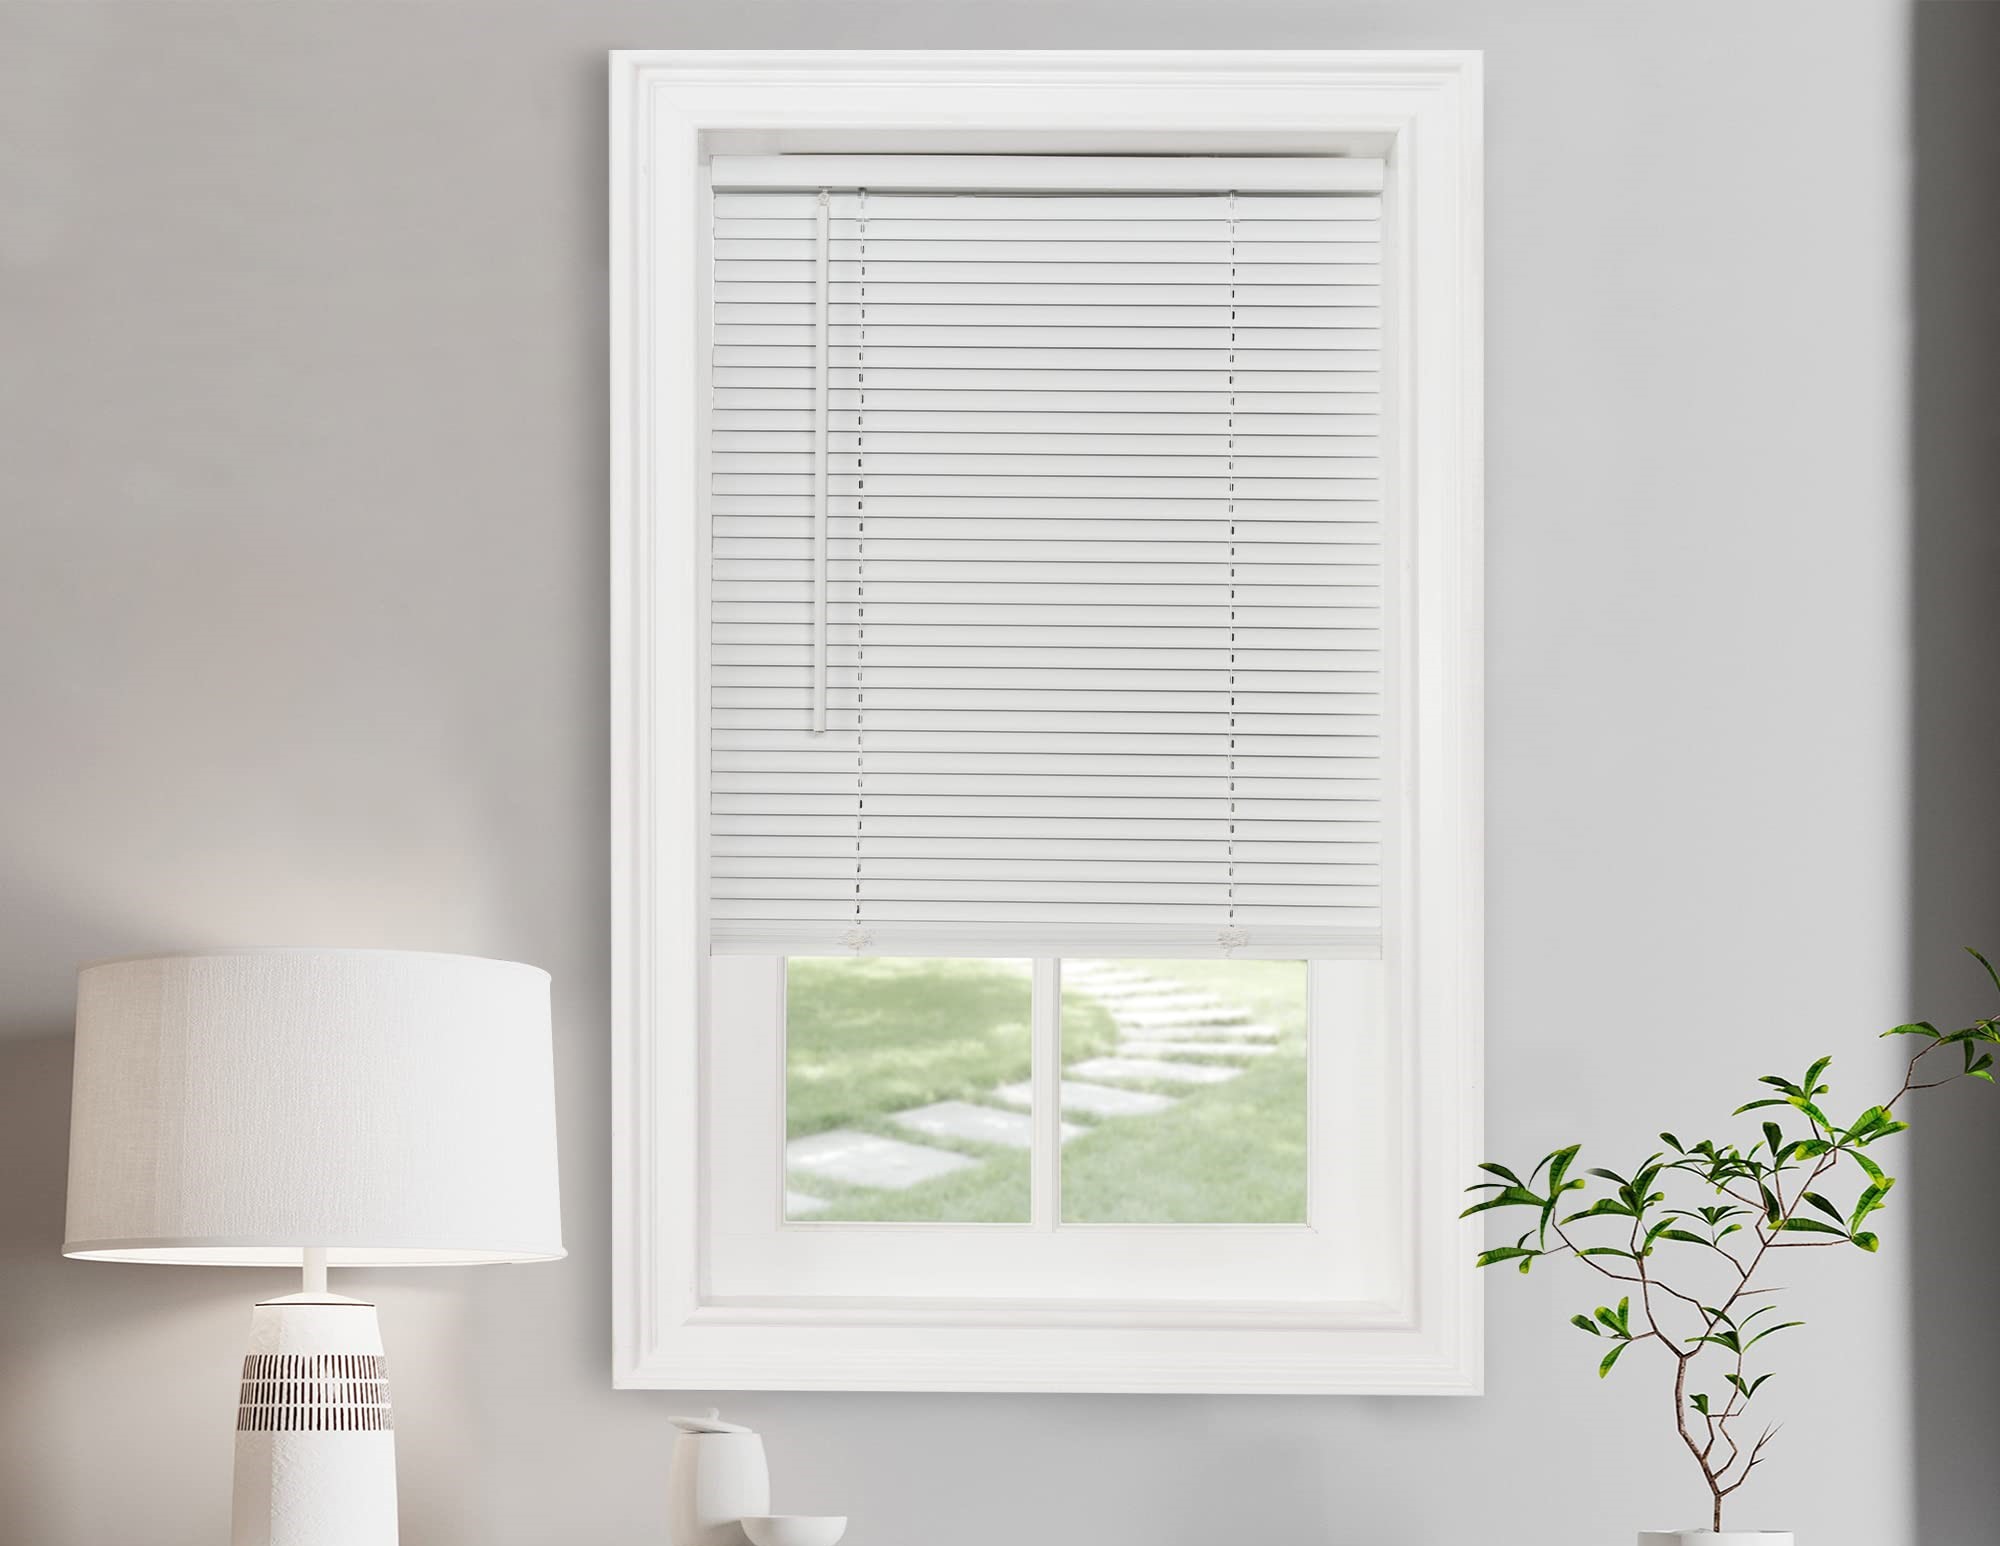
One of the significant advantages of built-in blinds is their sleek and seamless appearance. Unlike traditional blinds or curtains, these blinds are neatly enclosed within the window unit, eliminating the need for separate window coverings and reducing clutter. They also provide a more efficient solution for privacy and light control, as they can be adjusted without obstructing any external views or interfering with the window’s functionality.
Built-in blinds are available in different styles, materials, and colors to suit various aesthetic preferences and functional requirements. They can be found in homes, offices, and other commercial buildings, offering a modern and sophisticated window treatment option.
It’s worth noting that built-in blinds are generally designed to be low-maintenance and durable. However, over time, they may require cleaning, repair, or replacement, which may necessitate the removal process. By understanding the basic components of built-in blinds and how they are integrated into the window frame, you’ll be better prepared to tackle the removal process effectively.
In the next section, we will discuss the tools and materials you’ll need to have on hand before beginning the removal process. It’s important to have these resources readily available to ensure a smooth and efficient removal experience.
Tools and Materials Needed
When it comes to removing built-in blinds, having the right tools and materials on hand can make the process much easier and more efficient. Here are the essential items you’ll need before you begin:
- Screwdriver: A screwdriver is essential for removing any screws or fasteners that hold the window frame or blinds in place.
- Pliers: Pliers can be useful for grasping and manipulating small parts, such as cords or control mechanisms.
- Ladder or Step Stool: Depending on the height of your windows, you may need a ladder or step stool to reach and access the blinds.
- Drop Cloth or Sheet: To protect your flooring or furniture from any dust or debris that may be generated during the removal process, lay down a drop cloth or sheet.
- Protective Gloves and Eyewear: It’s important to prioritize your safety when working with tools and handling blinds. Wear protective gloves and eyewear to prevent injury.
These tools and materials should be readily available at your local hardware store or in your toolbox if you already have a collection of basic tools. Make sure you gather everything you need before you begin the removal process to avoid any delays or frustrations.
Once you have all the necessary tools and materials ready, you’re now equipped to start removing the built-in blinds. In the following sections, we will guide you step by step through the entire process, ensuring a smooth and successful removal experience.
Step 1: Removing the Frame of the Window
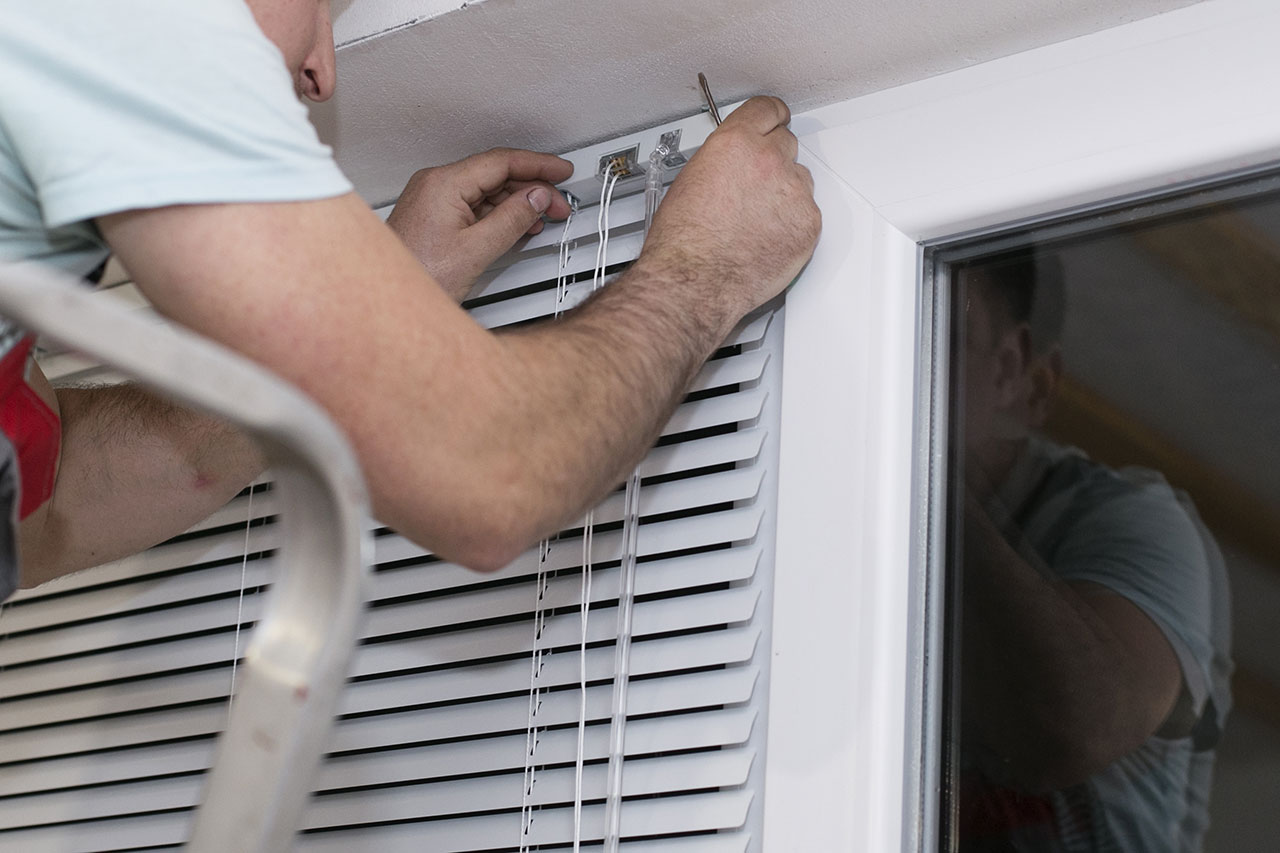
The first step in removing built-in blinds is to remove the frame of the window. This will provide you with better access to the blinds and make the removal process much easier. Here’s how to do it:
- Start by locating the screws or fasteners that hold the window frame in place. These are typically located on the sides or top of the frame.
- Using a screwdriver, carefully remove the screws or unfasten the fasteners. Place them in a safe location to avoid losing them.
- Once the screws or fasteners are removed, gently pull the window frame away from the wall, being cautious not to damage any surrounding components.
- If the frame feels stuck or resistant, check for any additional screws or fasteners that may be securing it in place. Remove these as well before attempting to pull the frame away.
- If needed, have someone assist you in holding the frame while you work on removing the blinds.
By removing the window frame, you’ll have better access to the built-in blinds and can proceed with the next steps of detaching them from the frame. Remember to work carefully and slowly to avoid any damage or accidents during this process.
In the next step, we will focus on detaching the blinds from the frame, which will allow for a more thorough removal without any obstructions.
Step 2: Detaching the Blinds from the Frame
After removing the window frame in the previous step, it’s now time to detach the built-in blinds from the frame itself. Detaching the blinds will allow for easier handling and disassembly. Follow these steps to complete this process:
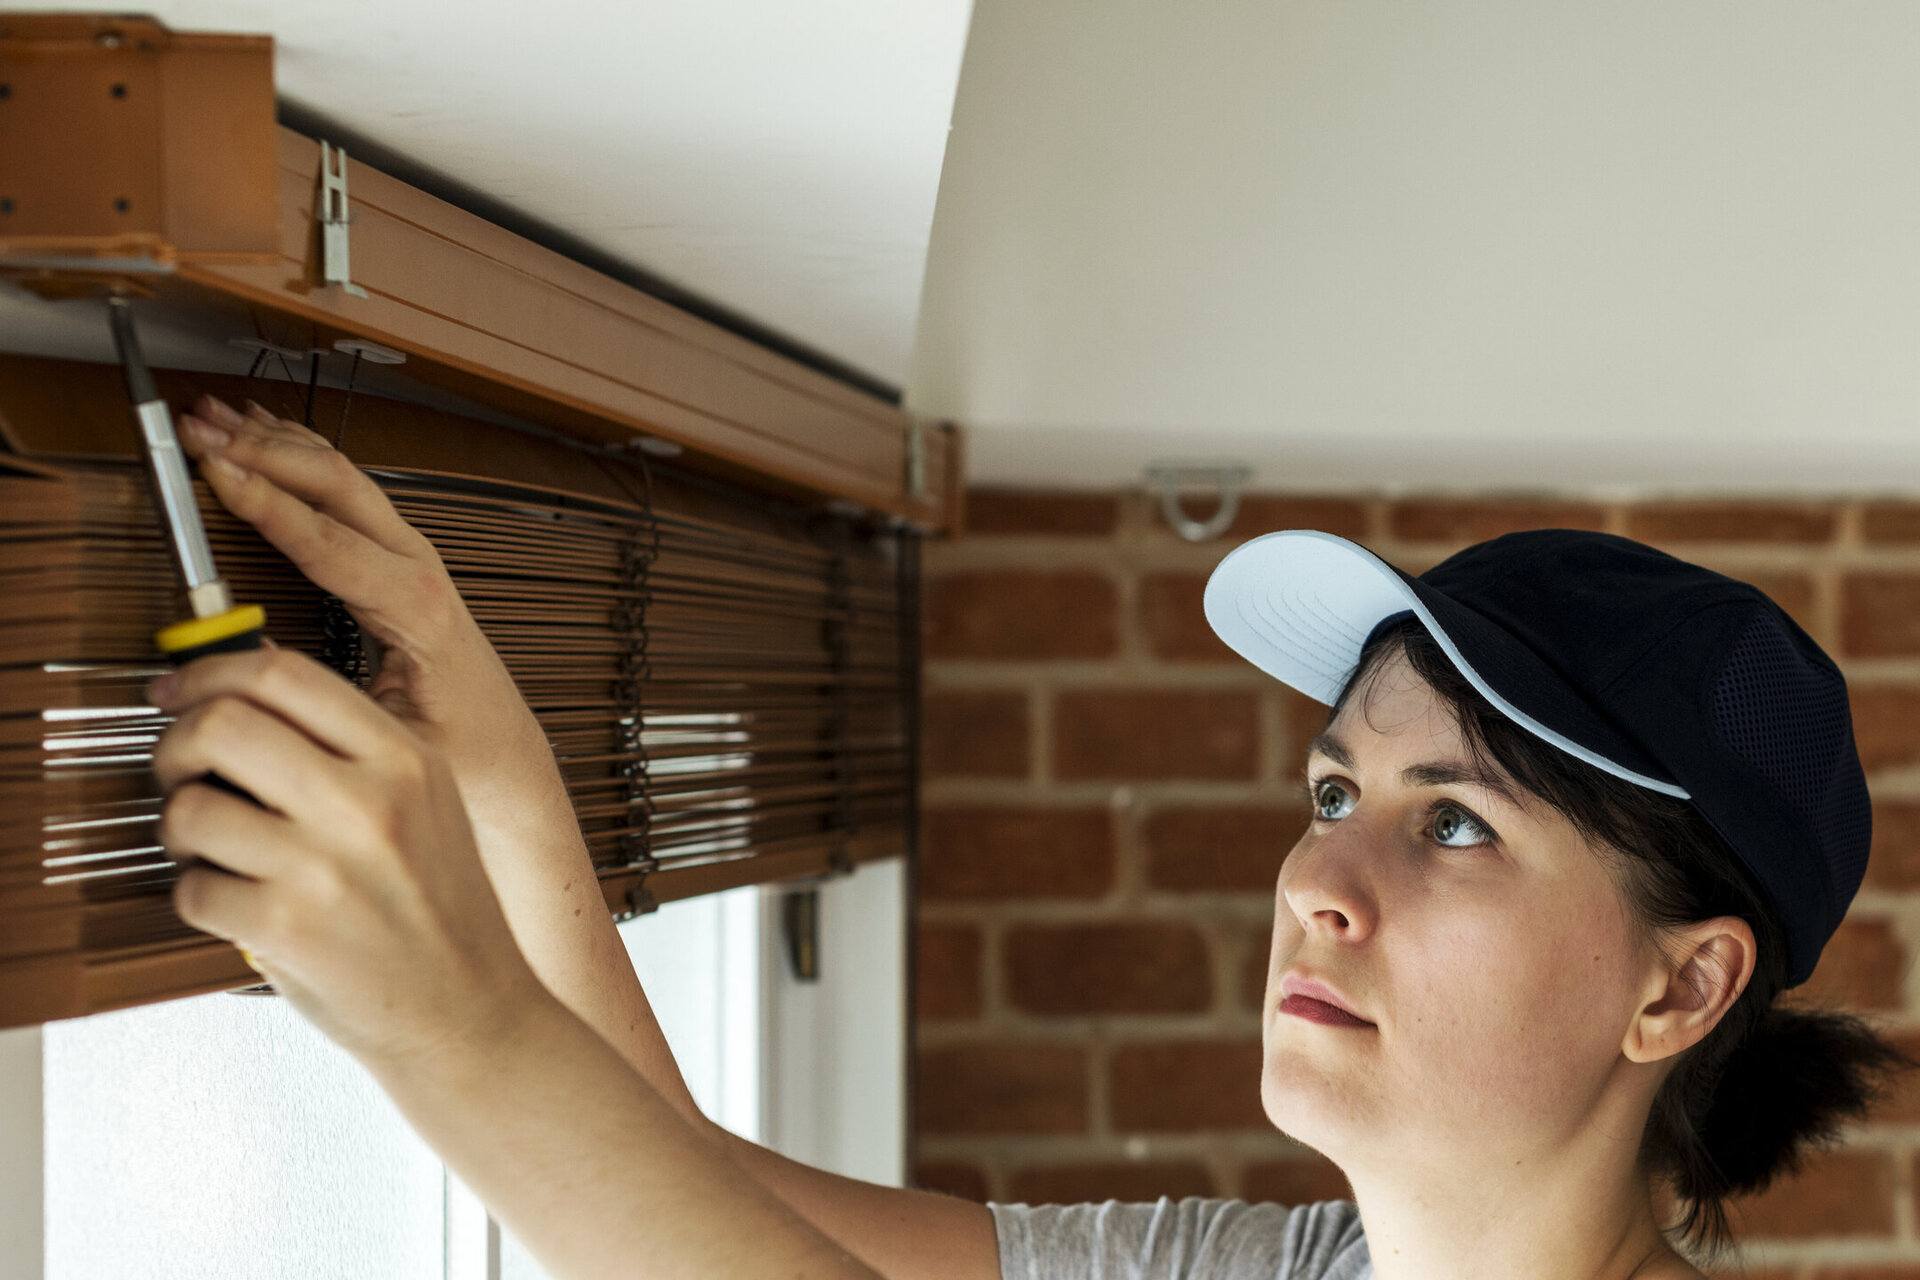
- Inspect the edges of the blinds and look for any retaining clips or brackets that may be securing them to the frame. These clips or brackets are often located on the sides or top of the blinds.
- Using a screwdriver or pliers, carefully remove any retaining clips or brackets by unscrewing them or gently prying them open.
- If there are no visible retaining clips or brackets, examine the blinds for any other securing mechanisms. Some built-in blinds may have adhesive strips or hooks holding them in place. In this case, carefully peel off the adhesive strips or release the hooks to detach the blinds.
- Once the blinds are detached, set them aside in a safe location. Be sure to handle them with care to prevent any damage or bending.
It’s important to note that the method of detaching the blinds may vary depending on the specific design and installation of your built-in blinds. If you’re unsure about how to detach the blinds or encounter any difficulties, consult the manufacturer’s instructions or seek professional assistance.
With the blinds now successfully detached from the frame, we can move on to the next step: removing the cord or wand control. This step is crucial in ensuring a smooth disassembly process without any tangles or snags.
Read more: How To Remove A Built-In Pantry Cabinet
Step 3: Removing the Cord or Wand Control
Once you have detached the built-in blinds from the frame, the next step is to remove the cord or wand control. This control mechanism is responsible for operating the blinds, allowing you to raise or lower them. Here’s how to go about removing the cord or wand control:
- Identify the cord or wand control that is attached to the blinds. The cord is typically located on one side of the blinds, while the wand control may be found on either side.
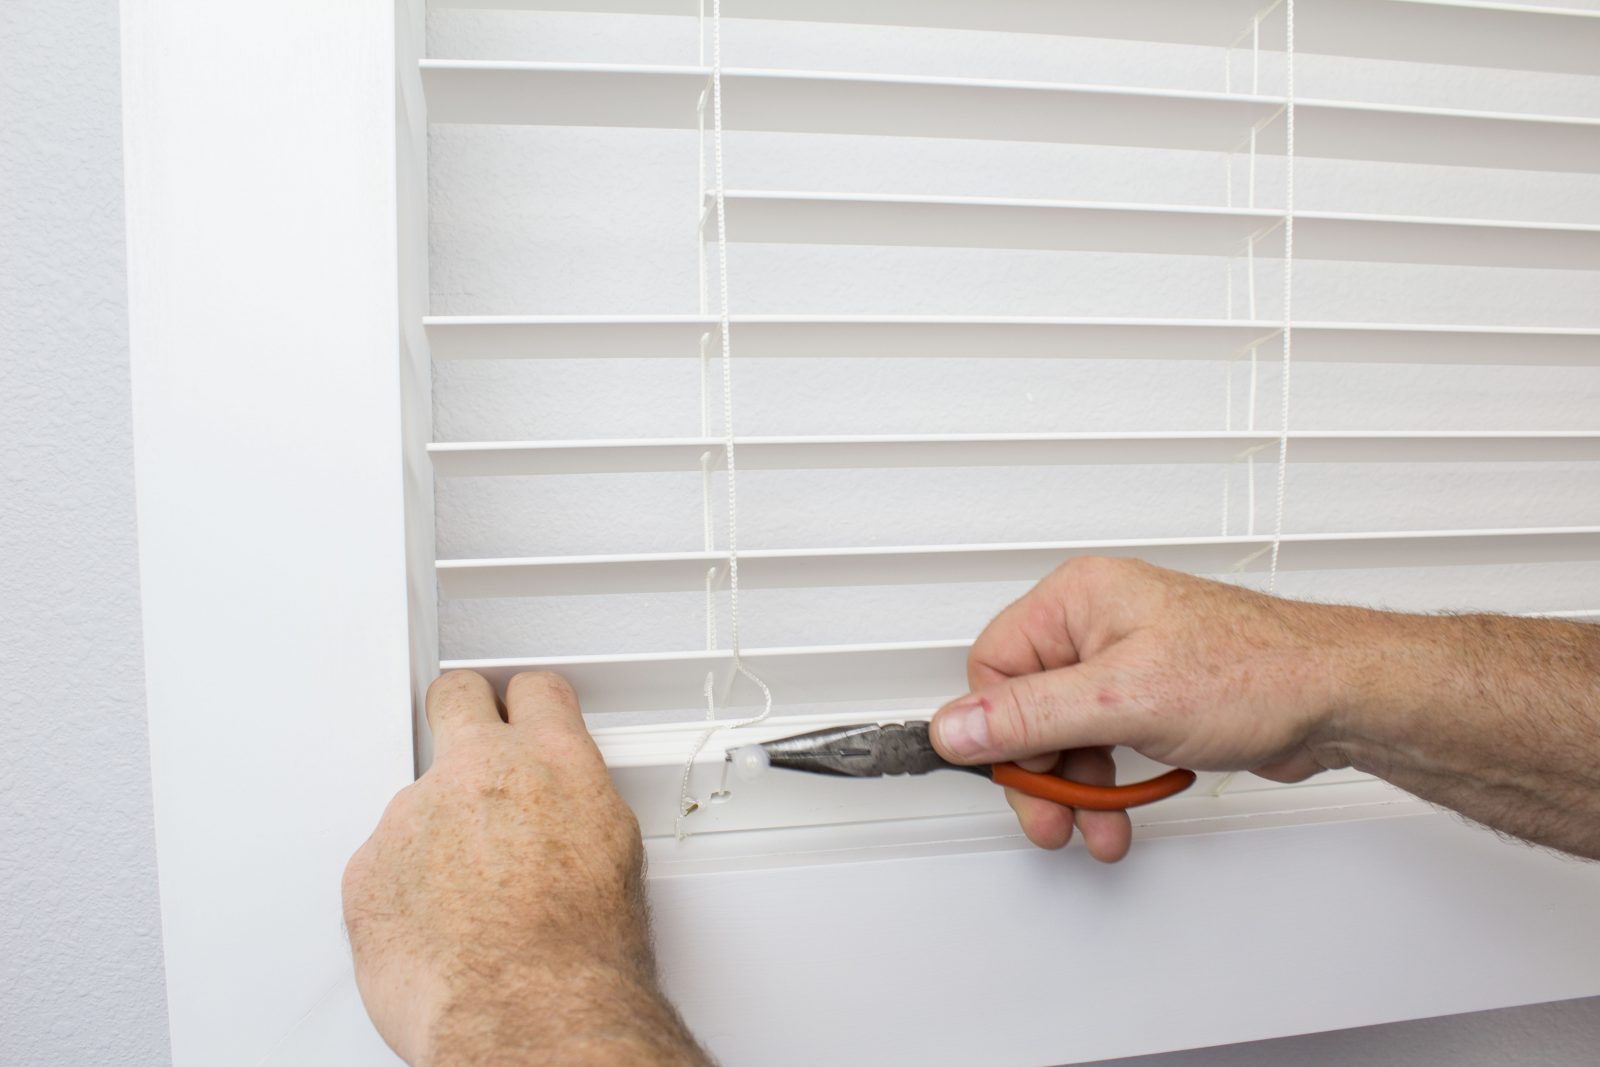
- If you are dealing with a cord control, locate the plastic cap at the bottom of the blinds where the cord exits. Gently pry off the cap to reveal the knot or connector holding the cord in place.
- Undo the knot or release the connector to free the cord from the blinds. Be careful not to damage the cord during this process.
- If you are dealing with a wand control, look for a small screw or attachment point at the top or bottom of the control. Use a screwdriver or pliers to remove the screw or detach the control from its mounting bracket.
- Once the cord or wand control is removed, set it aside with the blinds to keep everything organized.
Removing the cord or wand control will ensure that there are no obstructions or tangles when disassembling the blinds further. By following these steps carefully, you will be able to detach the control mechanism effectively and move on to the next steps of the removal process.
In the next step, we will focus on disassembling the blinds, which will allow for easier replacement or repair if necessary.
When removing built-in blinds, start by carefully removing the valance or headrail to access the blinds. Then, carefully detach the blinds from the brackets and lift them out. Be gentle to avoid damaging the blinds or the surrounding area.
Step 4: Disassembling the Blinds
Now that you have removed the cord or wand control, it’s time to disassemble the built-in blinds further. Disassembling the blinds will allow for easier replacement or repair of specific components if needed. Here’s how you can proceed with this step:
- Inspect the blinds to identify any clips, brackets, or screws that may be holding the slats or panels together.
- Using a screwdriver or pliers, carefully remove any clips, brackets, or screws that are securing the slats or panels together. Set them aside in a safe place.
- Starting from one end of the blinds, gently pull apart the slats or panels to separate them. Be cautious not to force them apart, as this can cause damage.
- If you encounter any resistance while separating the slats or panels, check for any additional clips, brackets, or screws that may be hidden and remove them as well.
- Continue separating the slats or panels until the blinds are fully disassembled. Arrange the individual components in an organized manner to ensure easy reassembly later.
Disassembling the blinds will allow you to replace or repair specific components, such as damaged slats or malfunctioning mechanisms. It also provides an opportunity to thoroughly clean the individual parts for maintenance purposes.
If you’re unsure about how to disassemble your specific type of built-in blinds or encounter any difficulties during this step, refer to the manufacturer’s instructions or consult a professional for assistance. Following these steps carefully will ensure a smooth disassembly process, setting you up for success in the upcoming steps of the removal process.
In the next step, we will discuss an optional but beneficial step – replacing or repositioning the blinds, if desired.
Step 5: Replacing or Repositioning the Blinds (Optional)
In this step, we will discuss an optional but beneficial step in the removal process of built-in blinds – replacing or repositioning them. This step is ideal if you wish to update the blinds with a different style or if you want to adjust their position for better light control or privacy. Here’s how you can proceed:
- If you plan on replacing the blinds, measure the dimensions of the window frame to ensure that the new blinds will fit properly. Take accurate measurements of the width and height of the frame.
- Select the new blinds that meet your desired style, material, and functionality preferences. Choose blinds that match the measurements of your window frame or can be easily adjusted to fit.
- If you intend to reposition the blinds, carefully determine the desired location within the window frame. Consider factors such as light control, privacy, and ease of operation.
- For replacing the blinds, follow the manufacturer’s instructions to install the new blinds in the frame. Ensure that they are securely attached and aligned correctly.
- For repositioning the blinds, carefully remove any remaining brackets, clips, or screws from the window frame. Clean the area and prepare it for reinstallation by removing any dust or debris.
- Position the blinds according to your desired location within the window frame. Use appropriate brackets, clips, or screws to secure them in place.
Replacing or repositioning the blinds can breathe new life into your windows and enhance the overall aesthetics and functionality of the space. It’s an opportunity to customize the window treatment to your specific preferences and needs.
Remember to carefully follow the instructions provided by the manufacturer for installing new blinds. If you’re unsure about the installation process or encounter any difficulties, consult a professional for assistance to ensure proper installation and functionality.
Once the blinds have been replaced or repositioned, you can move on to the next step, which involves reassembling the blinds.
Step 6: Reassembling the Blinds
After completing any necessary replacements or repositioning of the blinds, it’s time to reassemble the components to restore the built-in blinds to their original form. Reassembling the blinds will allow you to ensure proper functionality and prepare them for reinstallation. Follow these steps to successfully reassemble the blinds:
- Gather all the individual components of the blinds, including the slats or panels, clips, brackets, and screws.
- Inspect each component for any visible damage or wear. If any parts appear damaged, consider replacing them before proceeding with reassembly.
- Starting from one end of the blinds, align the slats or panels in the correct order. Make sure they are facing the right direction according to your desired appearance.
- If there are slots or grooves in the slats or panels for attaching clips or brackets, slide them into place. If using screws, insert them through the designated holes.
- Secure the slats or panels together by attaching the clips, brackets, or screws as needed. Ensure that they are firmly in place but not overly tightened to avoid damaging the components.
- Double-check the alignment and secureness of each component to ensure a smooth and functional operation of the blinds.
Reassembling the blinds requires attention to detail and accuracy to ensure proper functioning. Take your time to align the components correctly and secure them adequately. If you encounter any difficulties or complications during this step, refer to the manufacturer’s instructions or seek professional assistance.
Once the blinds are fully reassembled, you’re ready to proceed to the final step of reinstalling the window frame.
Read more: How To Remove Silhouette Blinds
Step 7: Reinstalling the Window Frame
In the final step of the built-in blinds removal process, it’s time to reinstall the window frame. Reinstalling the frame will secure the blinds in place and restore the window’s functionality. Follow these steps to properly reinstall the window frame:
- Carefully lift the window frame and align it with the window opening. Ensure that it is level and centered within the opening.
- Using a screwdriver, reinsert and tighten the screws or fasteners that were removed earlier. Start with the top screws and work your way down to the sides.
- If there are additional screws or fasteners that secure the frame to the wall or window opening, ensure they are tightly fastened as well.
- Check the entire frame for any gaps or misalignment. If necessary, make minor adjustments by gently tapping or nudging the frame into the correct position.
- Ensure that the window operates smoothly by opening and closing it a few times. This will help identify any issues with the frame alignment or blinds.
Reinstalling the window frame ensures that the blinds are securely held in place and maintains the structural integrity of the window. Take your time to ensure that the frame is properly aligned and securely fastened to avoid any potential issues in the future.
Once you’re satisfied with the reinstallation of the window frame, the built-in blinds removal process is complete. Take a moment to clean up any dust or debris from the surrounding area and admire your newly maintained or replaced blinds.
Remember, if you encountered any challenges during the removal process or if you are unsure about any specific steps, it’s always best to consult the manufacturer’s instructions or seek professional assistance for guidance.
Congratulations on successfully removing and reassembling the built-in blinds! You can now enjoy a refreshed and functional window treatment in your space.
And there you have it – a comprehensive guide on how to remove built-in blinds. We hope this step-by-step process has been helpful in guiding you through each stage of the removal process. Whether you’re replacing the blinds, cleaning them, or making repairs, following these instructions will ensure a successful outcome. Remember to take your time, prioritize safety, and seek professional assistance if needed. Enjoy your newfound knowledge and the benefits of your updated window treatment!
Conclusion
Removing built-in blinds may seem like a daunting task, but with the right knowledge and tools, it can be a manageable and rewarding process. By following the steps outlined in this guide, you’ll be able to successfully remove and reassemble your built-in blinds, allowing for maintenance, repairs, or even a complete replacement.
Understanding the components of built-in blinds and the necessary tools and materials is crucial to ensure a smooth removal process. Taking the time to carefully detach the blinds from the frame, remove the cord or wand control, and disassemble the blinds will set you up for success in the removal process.
If you choose to replace or reposition the blinds, ensure that you measure accurately and select blinds that fit seamlessly into your window frame. This step allows you to customize your window treatment to suit your preferences and improve the overall aesthetics of your space.
Once you have reassembled the blinds and securely reinstalled the window frame, you’ll have a refreshed and functional window treatment that provides privacy, light control, and enhances the beauty of your home or office.
Remember to prioritize safety throughout the removal process and consult the manufacturer’s instructions or seek professional assistance if you encounter any difficulties or uncertainties along the way.
With this comprehensive guide, you now have the knowledge and confidence to successfully remove built-in blinds. Whether you’re tackling a DIY project or seeking to maintain or update your blinds, this step-by-step process will guide you through each stage of the removal process, ensuring a successful outcome.
So go ahead and take on this home improvement task with confidence – remove those built-in blinds and achieve the desired results. Enjoy your newly refreshed windows and the benefits they bring to your living or working space!
Frequently Asked Questions about How To Remove Built-In Blinds
Was this page helpful?
At Storables.com, we guarantee accurate and reliable information. Our content, validated by Expert Board Contributors, is crafted following stringent Editorial Policies. We're committed to providing you with well-researched, expert-backed insights for all your informational needs.