Articles
How To Take Down Blinds With Hidden Brackets
Modified: December 7, 2023
Learn how to easily remove blinds with hidden brackets in this informative articles. Find step-by-step instructions and expert tips for a hassle-free process.
(Many of the links in this article redirect to a specific reviewed product. Your purchase of these products through affiliate links helps to generate commission for Storables.com, at no extra cost. Learn more)
Introduction
Welcome to our comprehensive guide on how to take down blinds with hidden brackets. Blinds can significantly enhance the aesthetic appeal and functionality of any room. However, there may come a time when you need to remove them, whether it’s for cleaning, repairs, or a change in interior decor.
Hidden bracket blinds are a popular choice for homeowners due to their sleek and modern design. Unlike traditional blinds, these innovative window treatments are installed using concealed brackets, providing a seamless and unobstructed view when the blinds are open. The hidden brackets eliminate the need for obtrusive mounting hardware, creating a clean and sophisticated appearance.
If you’re unsure how to remove blinds with hidden brackets, don’t worry! In this article, we’ll walk you through the step-by-step process, ensuring that you can safely and effectively take down your blinds without any hassle.
Before we dive into the removal process, let’s take a moment to discuss the tools and materials you’ll need to complete the task.
Key Takeaways:
- Removing blinds with hidden brackets requires safety precautions, identifying bracket locations, and careful detachment to avoid damage. Patching holes and reinstallation complete the process for a sleek, modern window treatment.
- Understanding the innovative design of hidden bracket blinds and following the step-by-step removal and reinstallation process empowers homeowners to maintain and update their window treatments with confidence.
Understanding Hidden Bracket Blinds
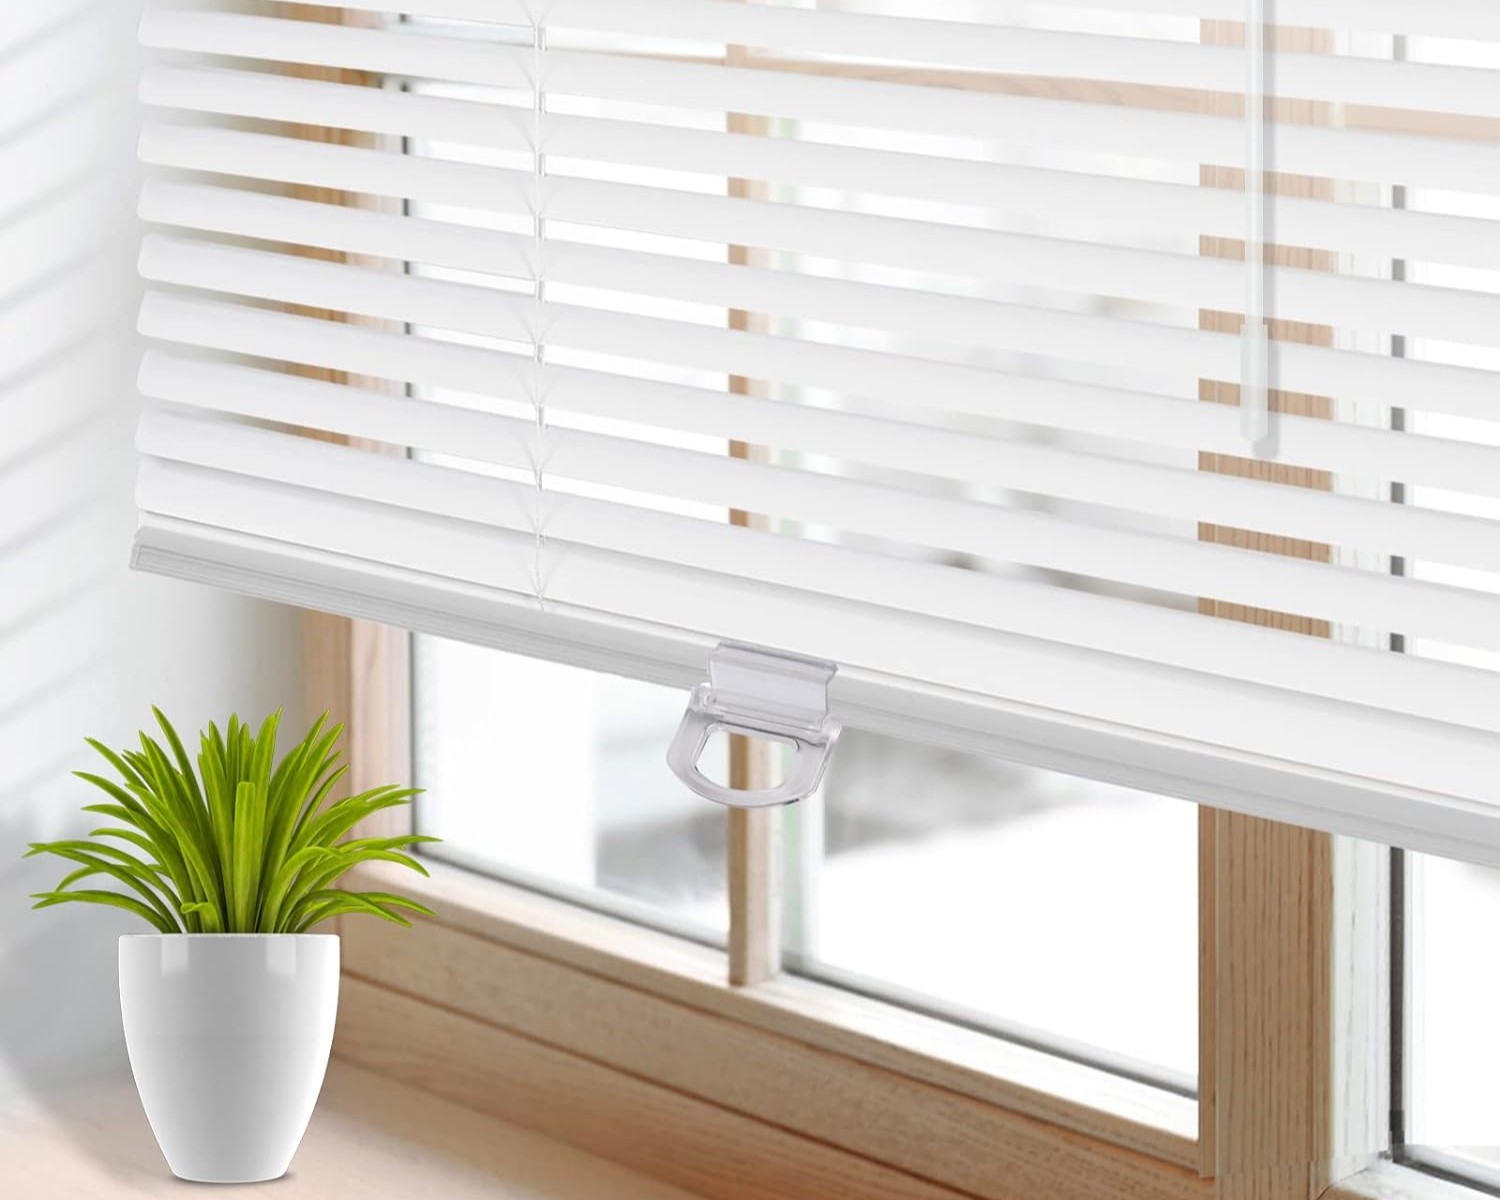
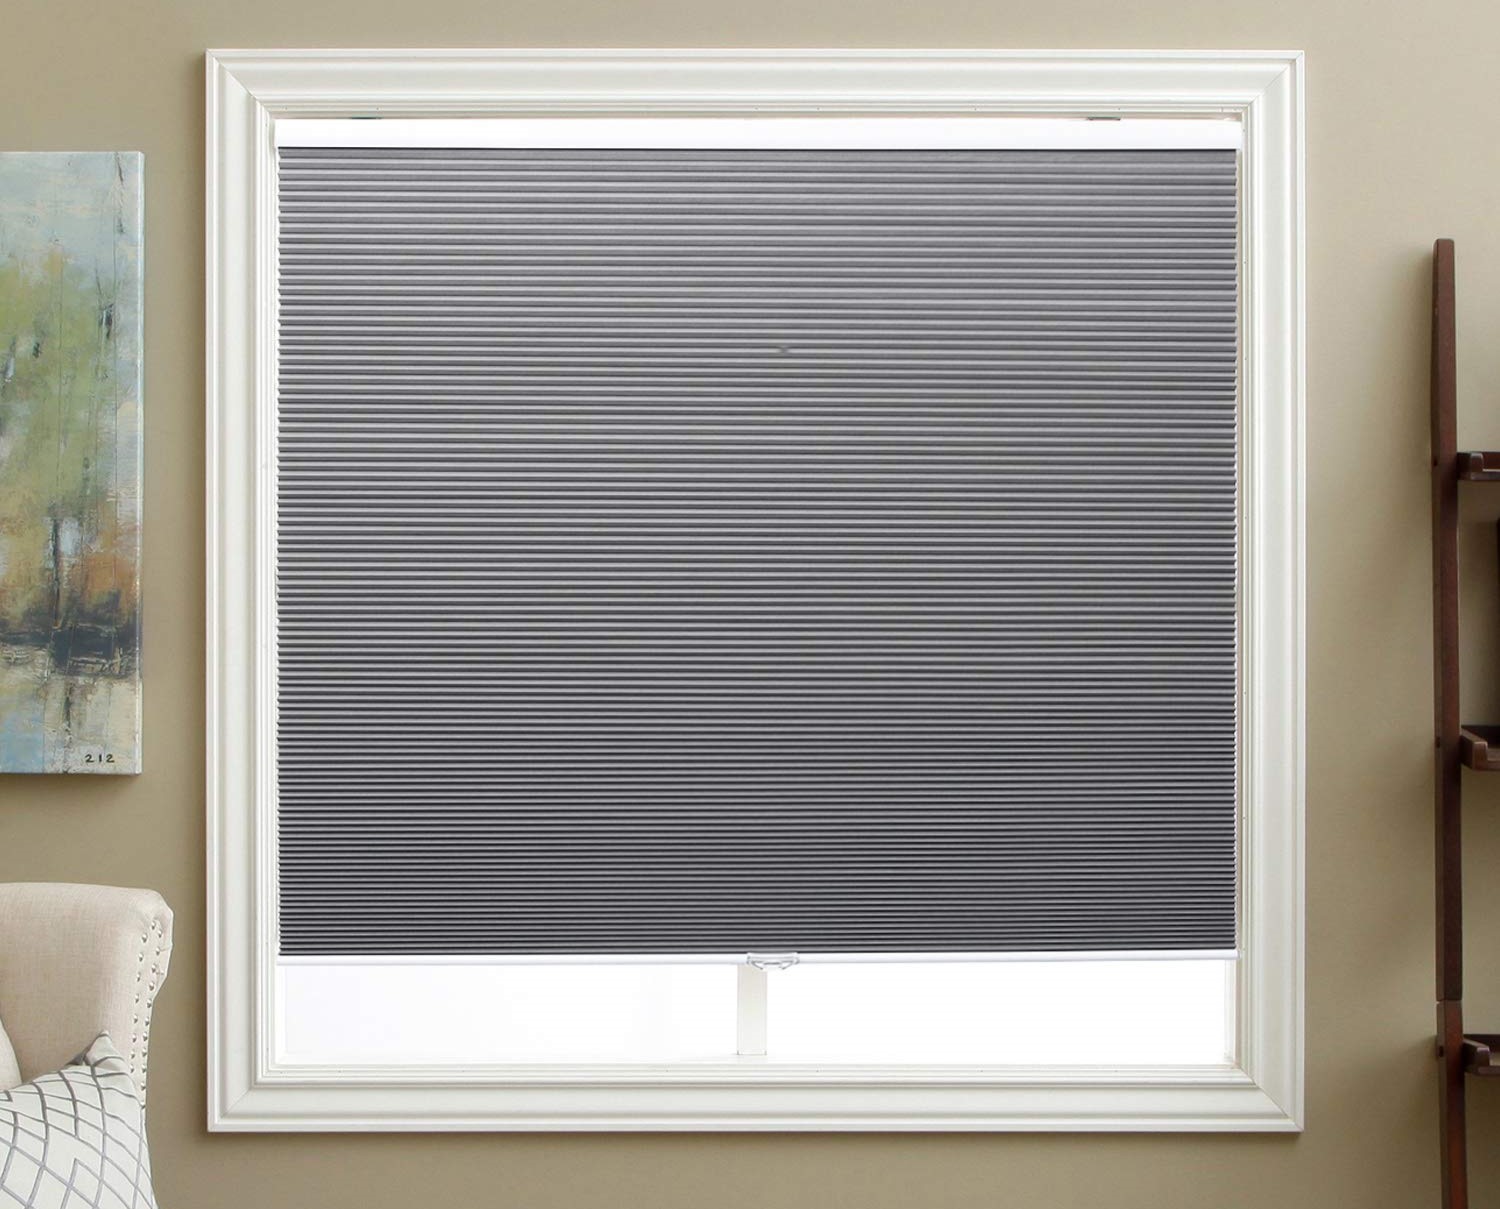
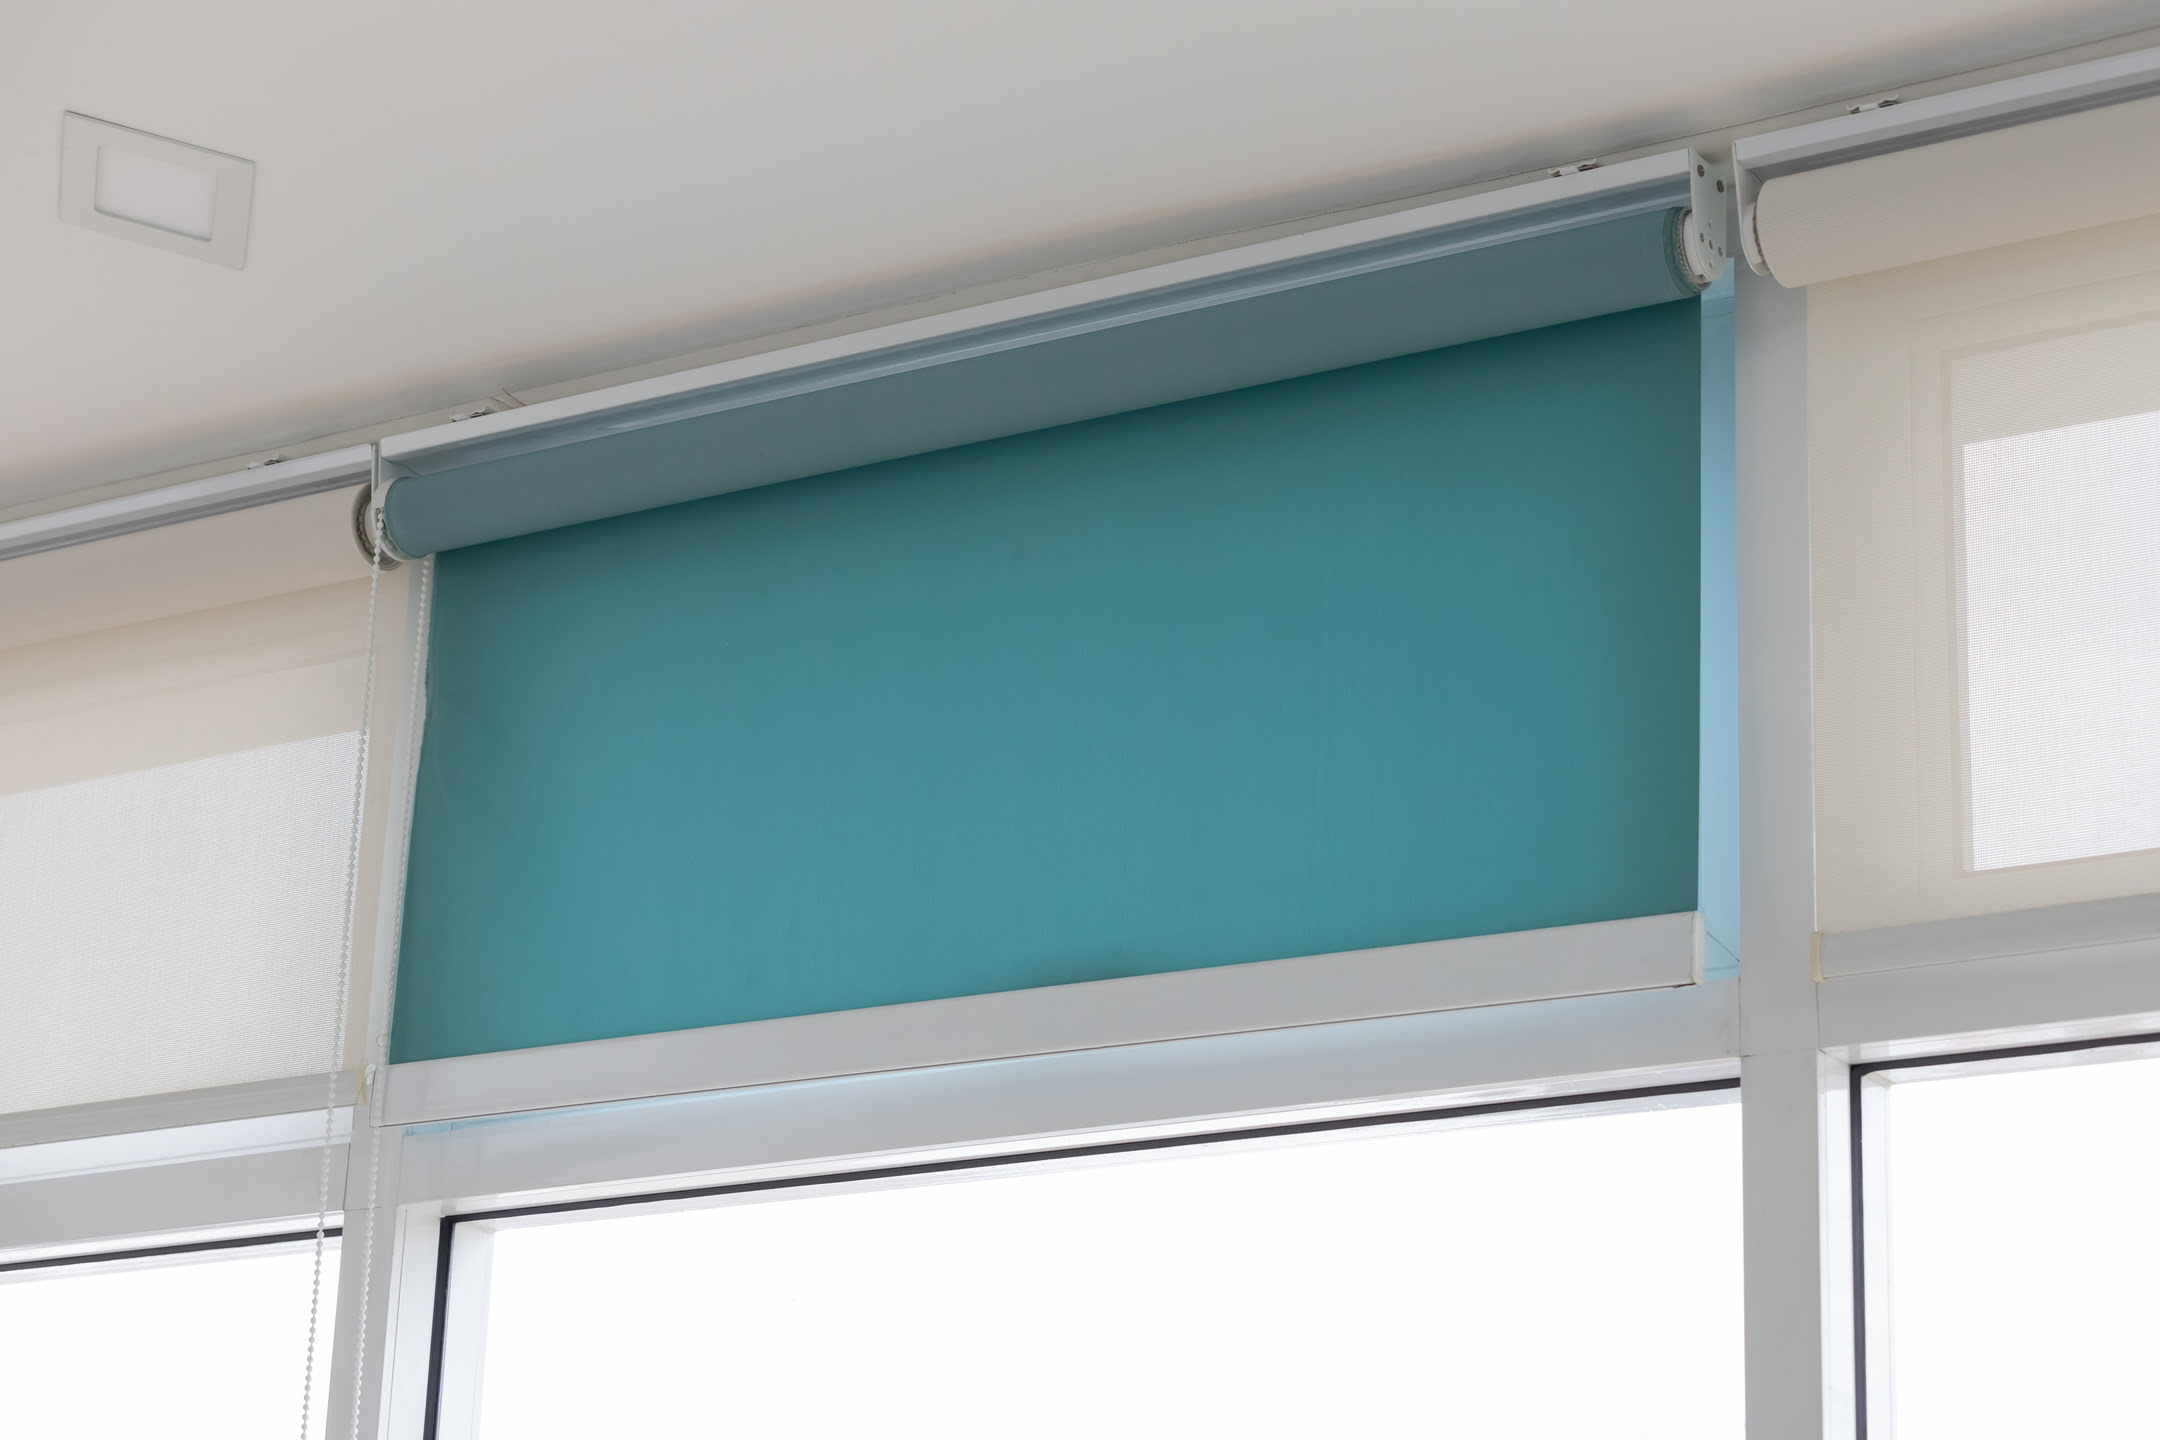
Hidden bracket blinds, also known as concealed bracket blinds or no-hole blinds, are a modern and stylish window treatment option that offers a clean and unobstructed look. Unlike traditional blinds, where the mounting brackets are visible and exposed, hidden bracket blinds have a sleek and minimalistic design.
The primary feature that sets hidden bracket blinds apart is the innovative bracket system. Instead of being visible on the top or side of the blinds, the brackets are hidden behind the blind panel itself. This design choice not only enhances the aesthetic appeal of the blinds but also provides a clearer view when the blinds are fully open.
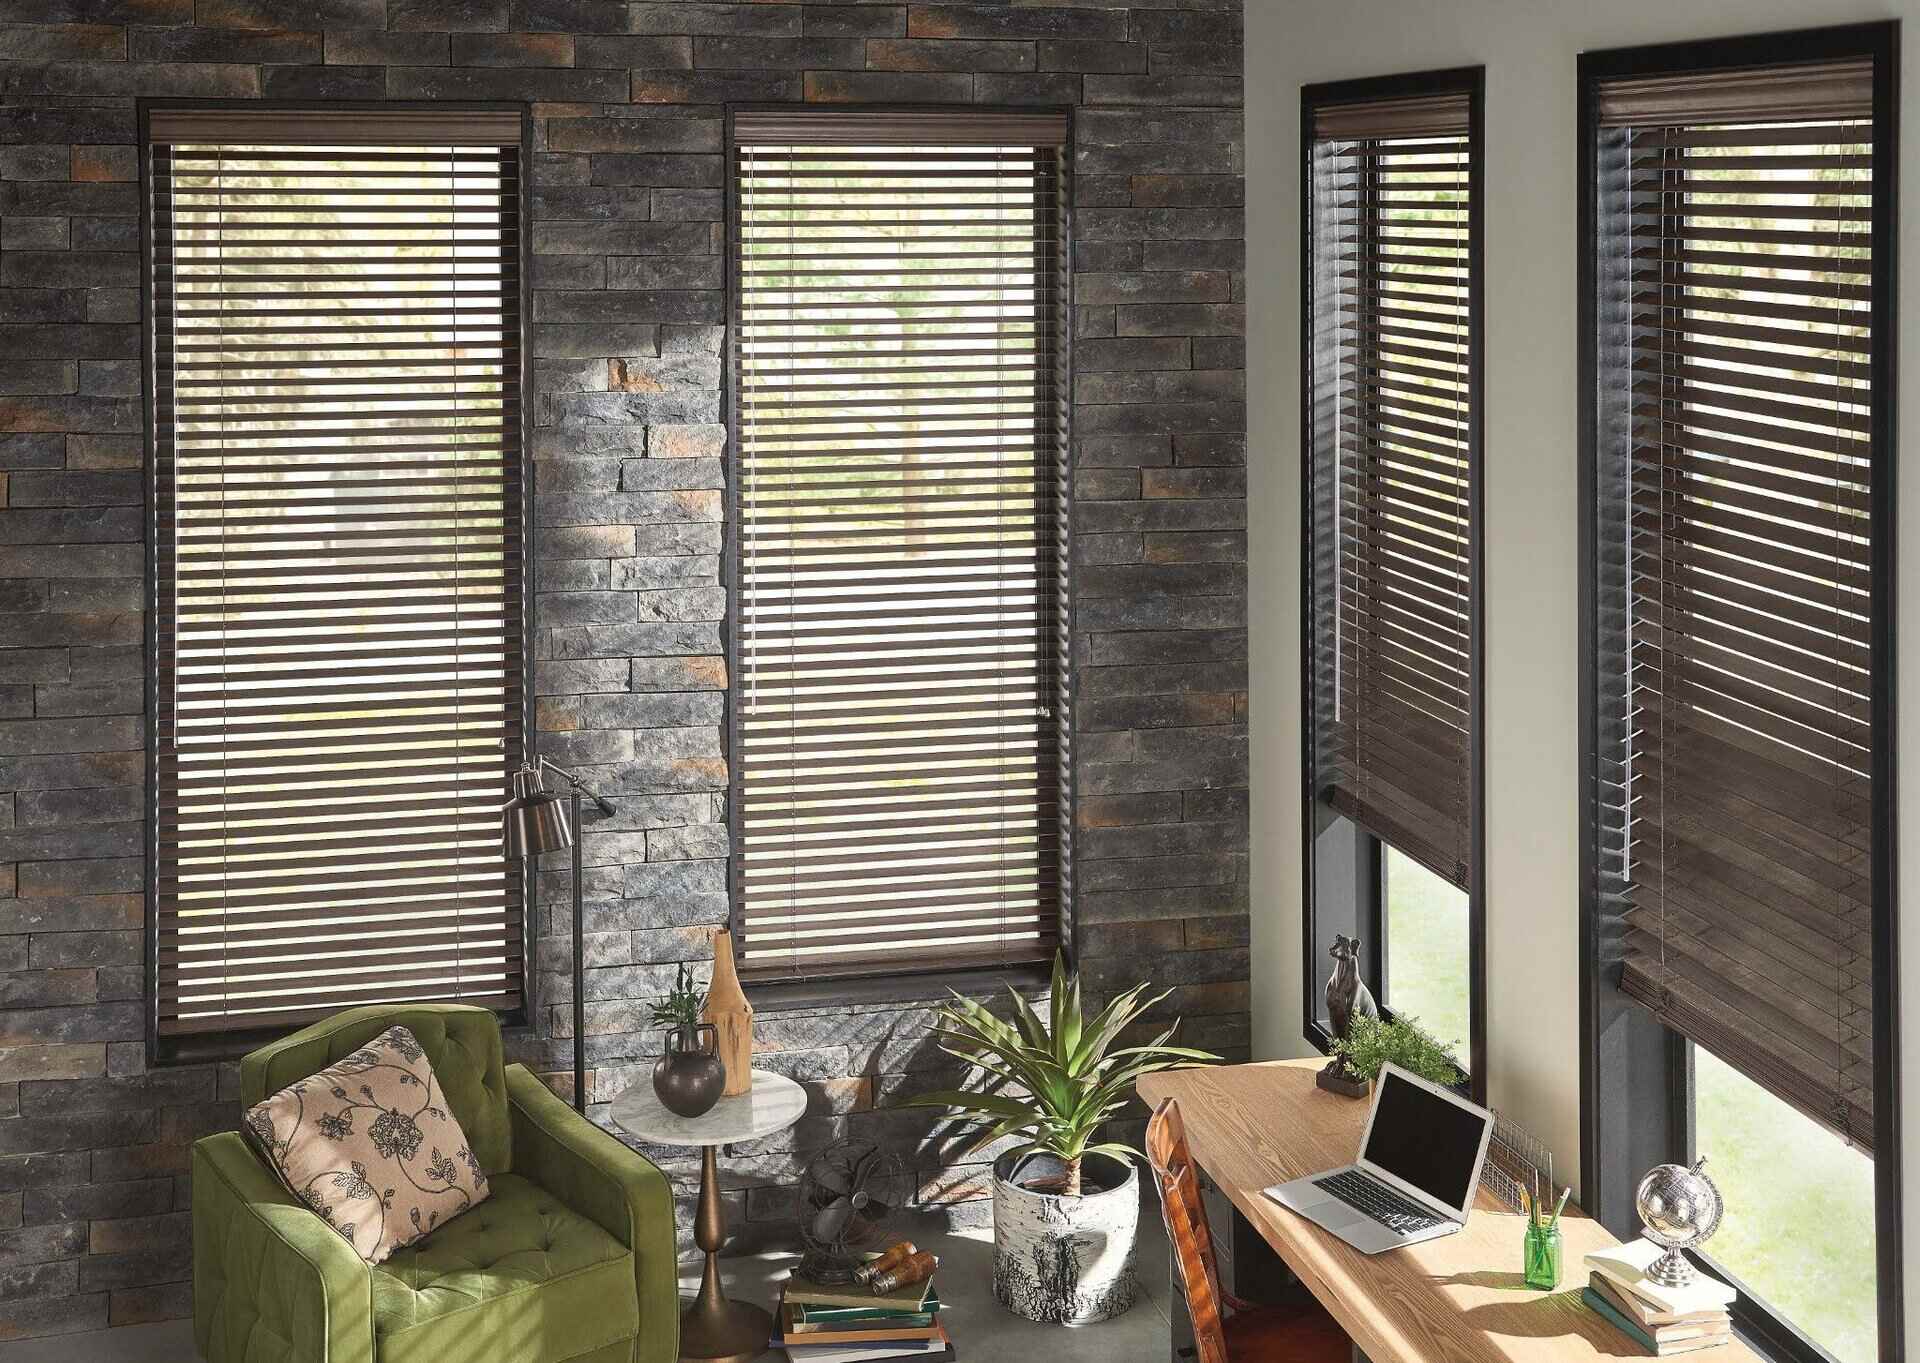
Hidden bracket blinds can be installed on various types of windows, including standard windows, French doors, and large windows. They are available in a wide range of materials, such as aluminum, wood, or fabric, allowing you to choose the option that best suits your style and preferences.
These blinds are typically controlled using a cord or wand, allowing you to easily adjust the amount of light entering the room. With their smooth and seamless operation, hidden bracket blinds provide both privacy and excellent light control.
One of the key benefits of hidden bracket blinds is their simple installation process. By removing the need for visible brackets, these blinds offer a clean and clutter-free appearance. However, when it comes time to take down hidden bracket blinds, it’s essential to follow the correct steps to avoid any damage to the blinds or your windows.
In the following sections, we’ll guide you through the process step-by-step, ensuring that you can remove your hidden bracket blinds safely and effectively.
Tools and Materials Needed
Before you begin the process of removing hidden bracket blinds, it’s important to gather all the necessary tools and materials. Having these items readily available will ensure a smooth and efficient removal process. Here are the tools and materials you’ll need:
- Screwdriver: You’ll need a screwdriver to remove any screws that are securing the blind panel to the hidden brackets.
- Pliers: Pliers can come in handy for gripping and removing any stubborn brackets or screws.
- Putty Knife: A putty knife is useful for prying off any adhesive or patching compound that may be covering the screws or brackets.
- Scissors: Scissors may be needed to cut any cords or strings that are attached to the blind panel.
- Step Stool or Ladder: Depending on the height of your blinds, you may need a step stool or ladder to reach the top of the window and remove the blinds safely.
- Optional: Patching Compound and Sandpaper. If you plan on patching and repairing any holes left behind by the brackets, you’ll need patching compound and sandpaper to smooth the surface.
It’s essential to have these tools and materials on hand before starting the removal process. This way, you won’t have any delays or interruptions once you begin taking down your hidden bracket blinds.
Once you have gathered all the necessary tools and materials, it’s time to move on to the step-by-step removal process. Remember to take your time and proceed with caution to avoid any accidental damage to your blinds, windows, or surrounding walls.
Step 1: Safety Precautions
Before you begin removing your hidden bracket blinds, it’s important to prioritize safety. Taking the proper precautions will ensure that the removal process goes smoothly and without any accidents. Here are some key safety measures to keep in mind:
- Use Protective Gear: Wear gloves and safety glasses to protect your hands and eyes during the removal process. This will prevent any potential injuries from sharp edges or debris.
- Secure the Area: Clear the area around the window to create a safe and clutter-free workspace. Remove any furniture or objects that may obstruct your movement or cause accidents.
- Turn Off Power: If your blinds are equipped with motorized or automated features, make sure to turn off the power supply before starting the removal process. This will prevent any accidental activation of the blinds during the procedure.
- Secure the Blind Panel: If the blind panel is heavy or difficult to handle, consider enlisting the help of a second person to provide support and prevent any accidental falls.
- Take Breaks: Removing blinds can be physically demanding, especially if you’re working with large or heavy window treatments. Take regular breaks to prevent strain or fatigue.
- Follow Manufacturer’s Instructions: Always refer to the manufacturer’s instructions for specific safety guidelines and recommendations relevant to your blinds.
By taking these safety precautions, you can minimize the risk of accidents and ensure a safe removal process. Remember, safety should always be your top priority when working with any type of home improvement project.
Once you have taken the necessary safety measures, you’re ready to move on to the next step: identifying the hidden bracket locations.
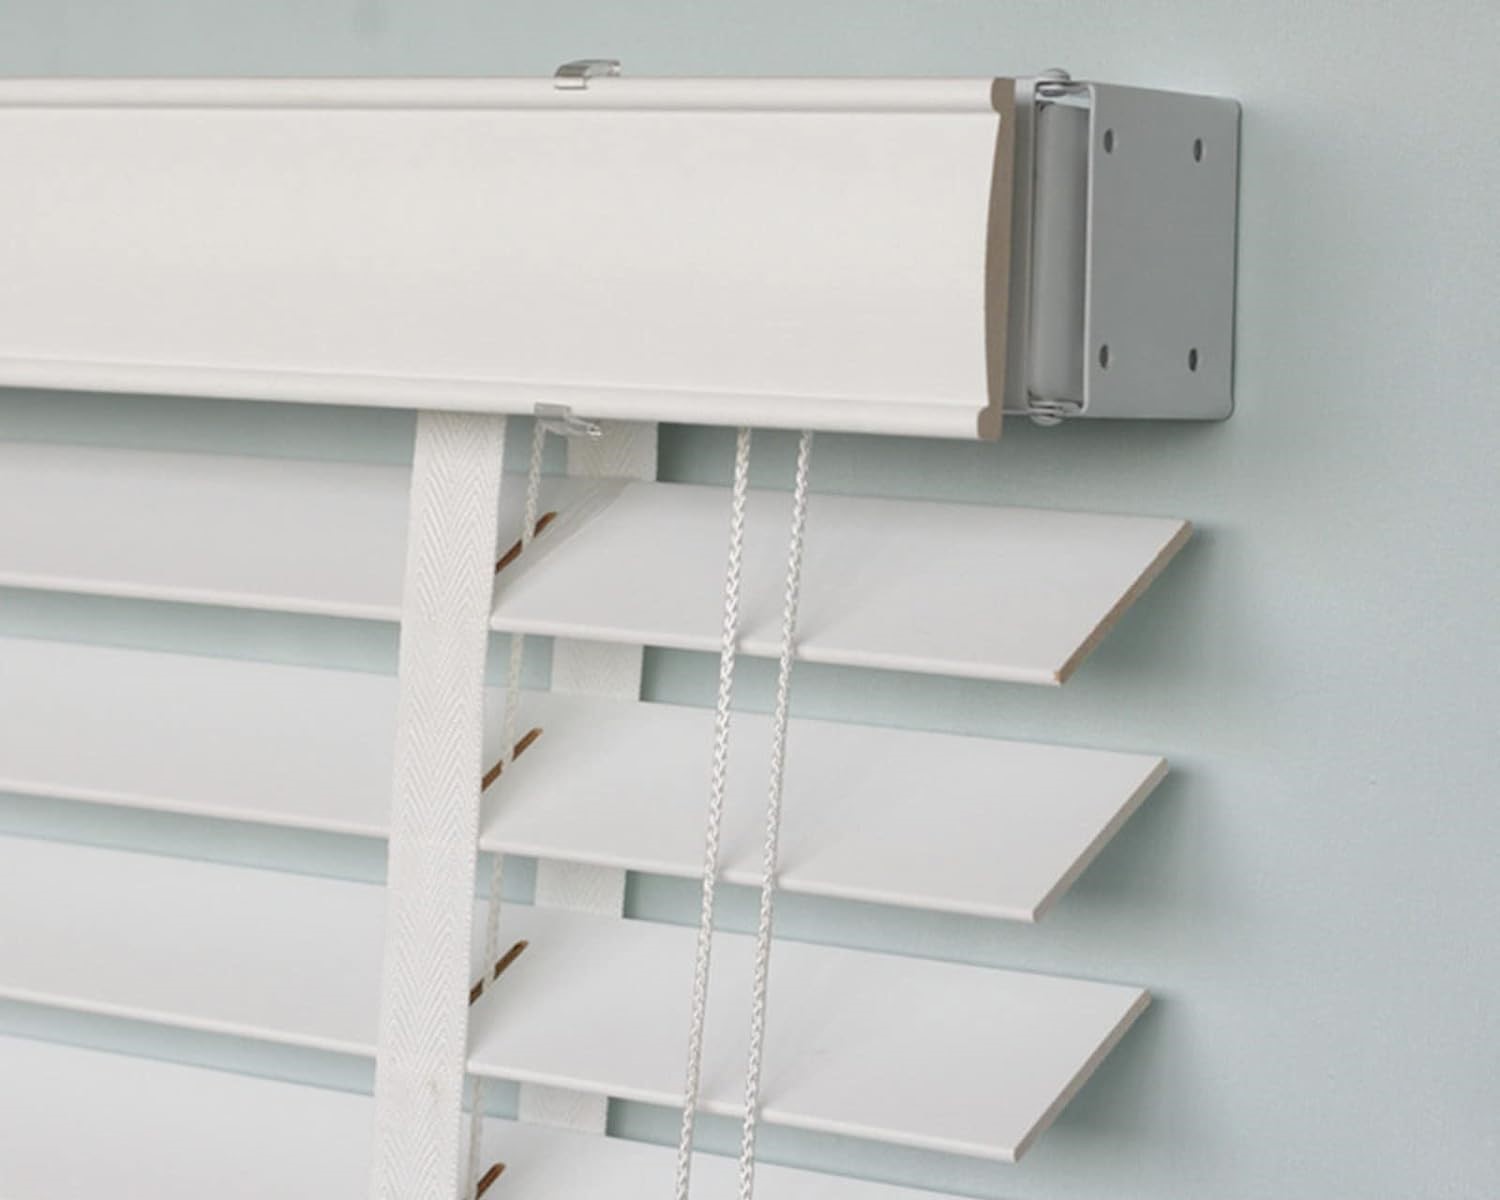
Step 2: Identifying Hidden Bracket Locations
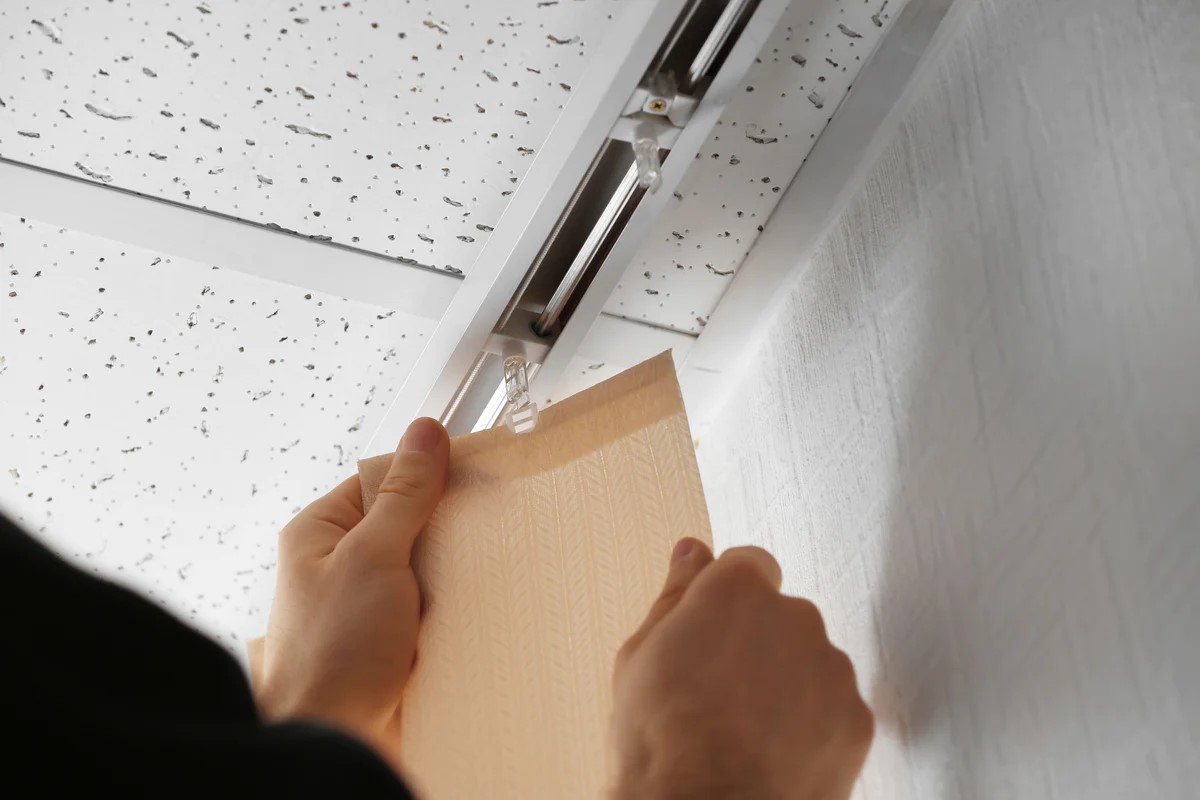
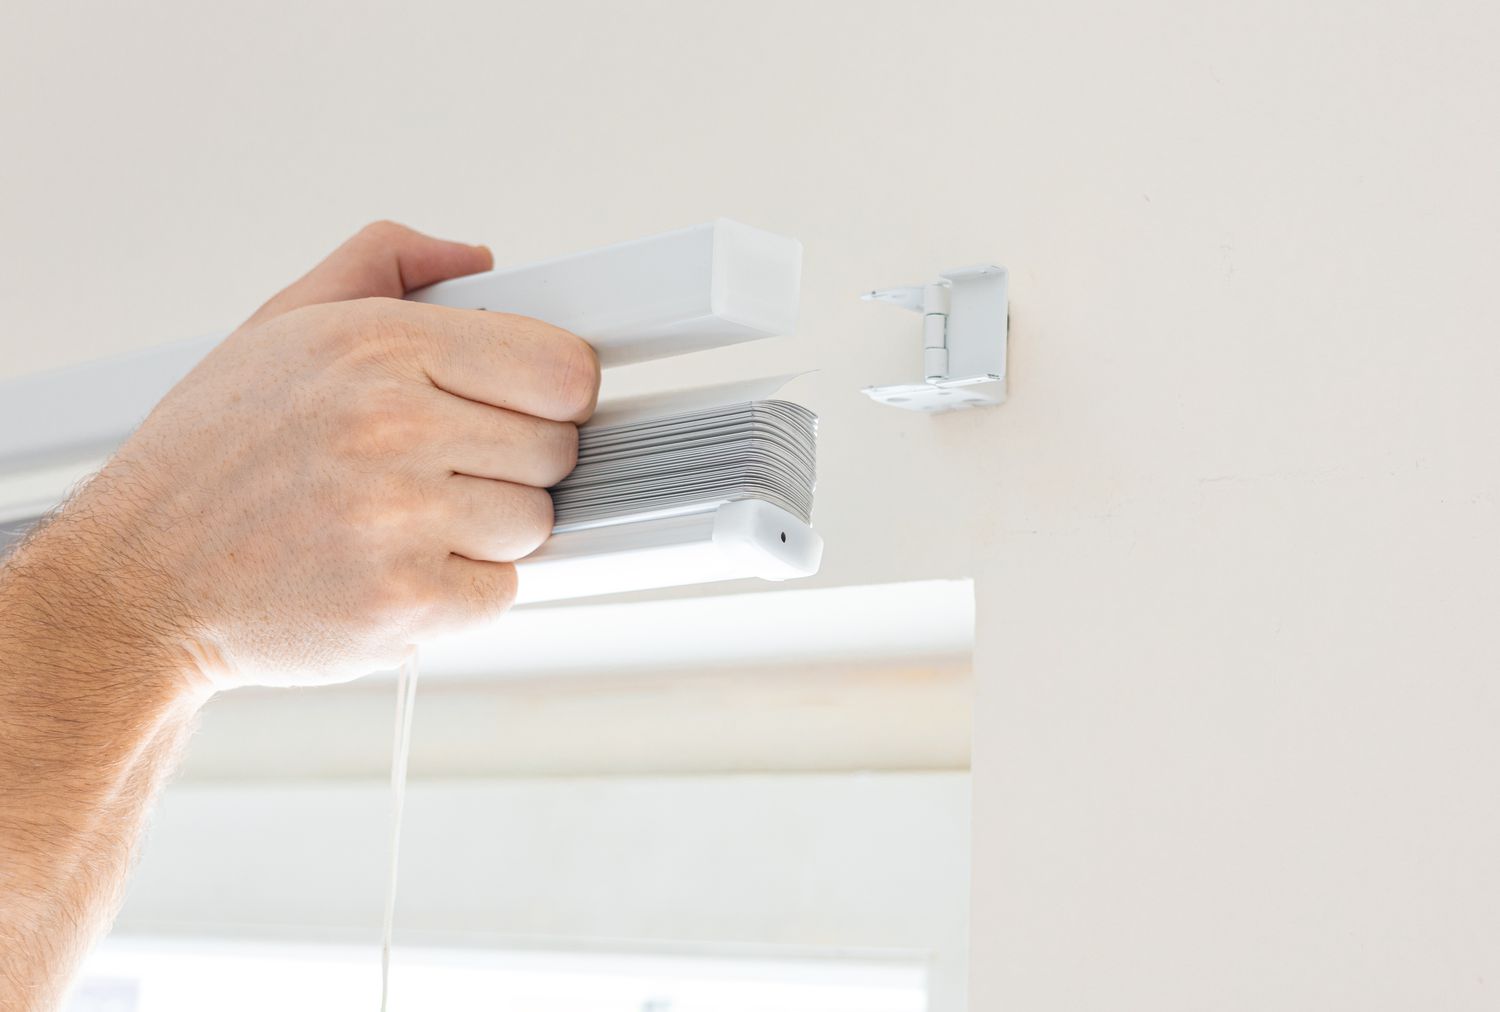
Before you can remove the blind panel, you need to locate the hidden brackets. These brackets are typically positioned at each end of the blind panel and are responsible for holding it in place. Here’s how you can identify the hidden bracket locations:
- Inspect the Top of the Blind Panel: Carefully examine the top of the blind panel. Look for any signs of brackets or screws. In some cases, the brackets may be hidden behind decorative valances or covers. If you see any visible screws or brackets, these are likely the locations of the hidden brackets.
- Check the Sides of the Blind Panel: Inspect the sides of the blind panel for any signs of brackets. Often, hidden brackets are positioned vertically along the sides of the blinds. Look for small openings or slots that may indicate the presence of brackets.
- Refer to the Manufacturer’s Instructions: If you are unable to locate the hidden bracket locations visually, refer to the manufacturer’s instructions that came with your blinds. These instructions may provide specific details or diagrams indicating the position of the hidden brackets.
- Test for Support: Gently push or tug on the blind panel to determine if it is securely held in place. The areas where you feel resistance or support are likely where the hidden brackets are located.
Once you have identified the hidden bracket locations, you’re ready to proceed to the next step: removing the blind panel.
Note: The process of identifying hidden bracket locations may vary depending on the specific type and brand of blinds you have. Always refer to the manufacturer’s instructions for accurate guidance.
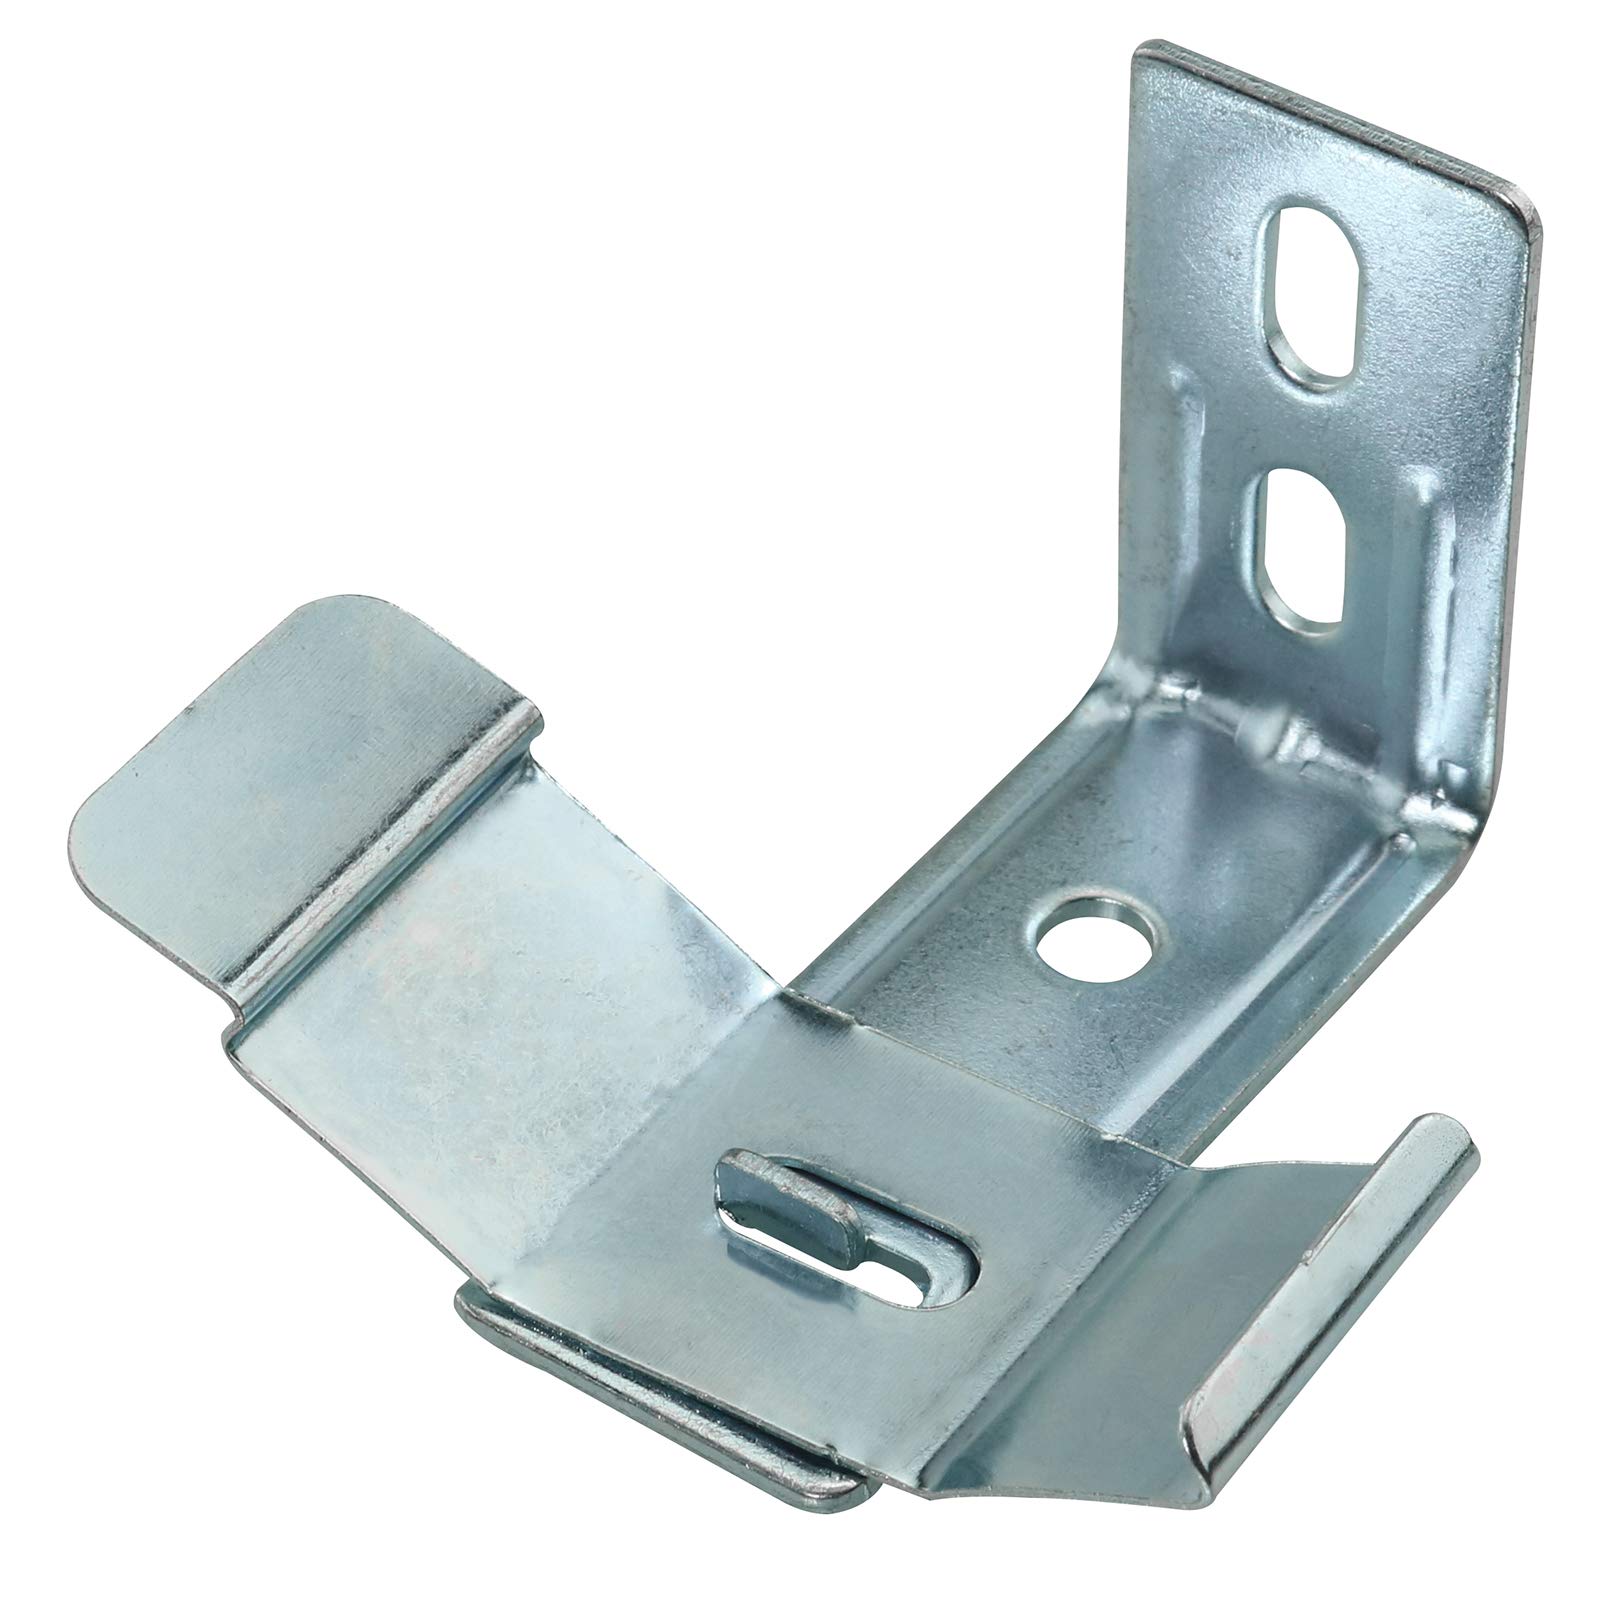
When taking down blinds with hidden brackets, be sure to carefully follow the manufacturer’s instructions to avoid damaging the brackets or the blinds. Use a screwdriver to release the brackets from the mounting surface, and be gentle to avoid any mishaps.
Read more: What Is A Hold Down Bracket For Blinds
Step 3: Removing the Blind Panel
Now that you have identified the hidden bracket locations, it’s time to remove the blind panel. Follow these steps to safely detach the blind panel from the brackets:
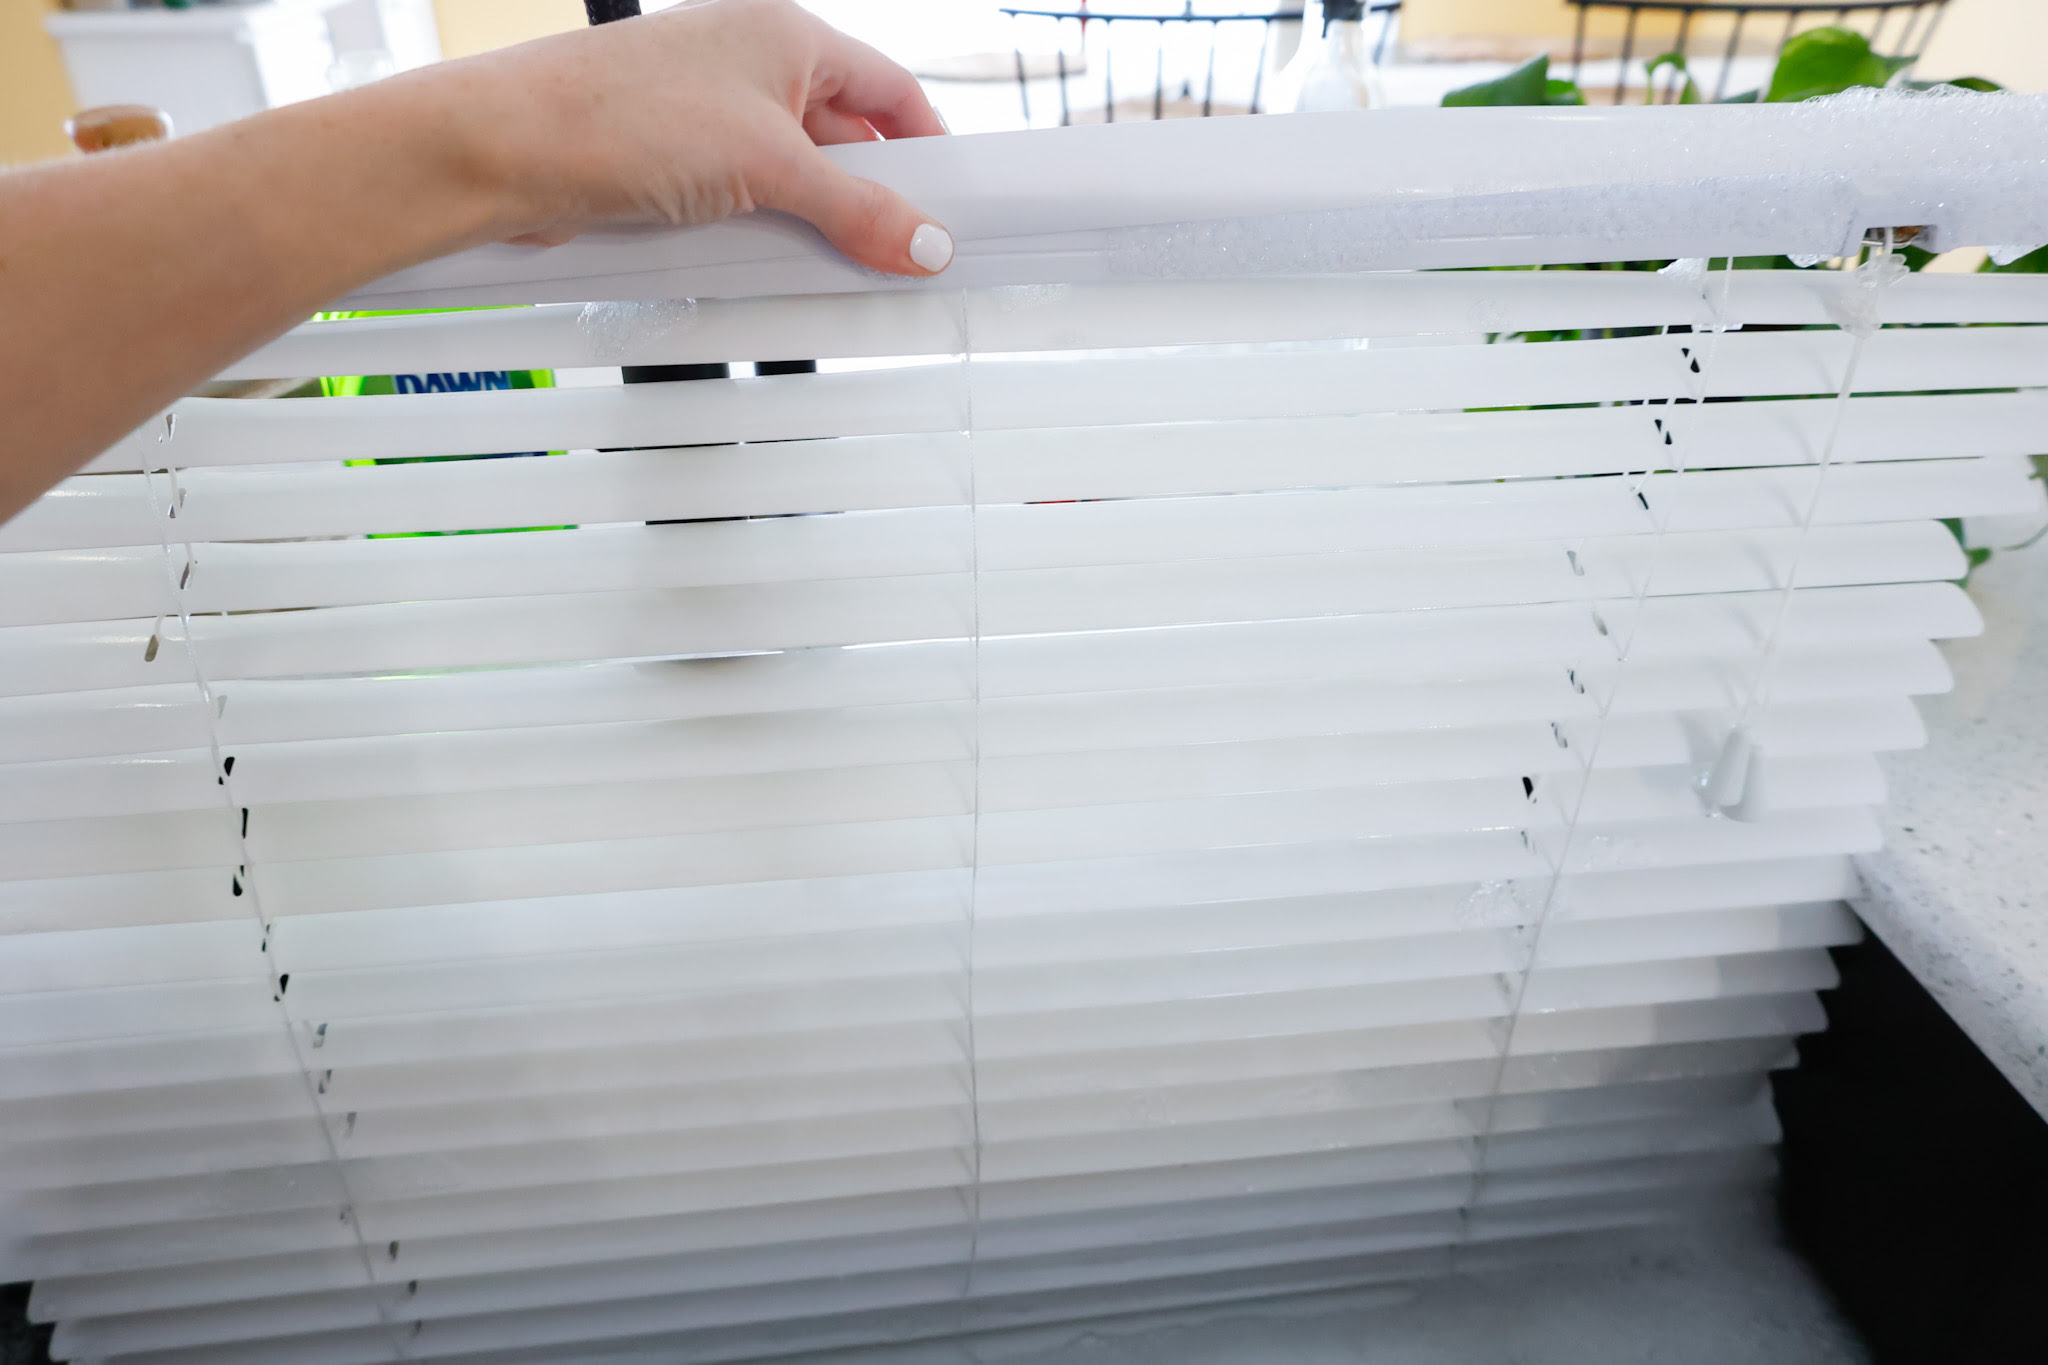
- Open the Blind Panel: If your blinds are currently closed, carefully tilt the slats to open the blind panel fully. This will provide you with better access to the hidden brackets.
- Locate the Release Mechanism: Look for a release mechanism or latch on the blind panel. This is usually located near the top and may be in the form of a small lever or button.
- Activate the Release Mechanism: Press or slide the release mechanism to disengage the blind panel from the brackets. You may need to use a screwdriver or pliers to assist if the mechanism is stiff or hard to move.
- Lower the Blind Panel: Once the release mechanism is activated, carefully lower the blind panel towards the window sill. Keep a firm grip on the blind to prevent it from falling or swinging freely.
- Check for Remaining Connections: Inspect the blind panel to ensure that it is fully detached from the hidden brackets. Look for any remaining screws, clips, or cords that may still be connected to the brackets.
- Disconnect any Remaining Connections: If you find any remaining connections, use pliers or scissors to disconnect them. Be gentle to avoid damaging the blind panel or the brackets.
By following these steps, you should be able to successfully remove the blind panel from the hidden brackets. Now, let’s move on to the next step: detaching the hidden brackets.
Note: The specific instructions for removing the blind panel may vary depending on the type and brand of blinds you have. Always refer to the manufacturer’s instructions for accurate guidance.
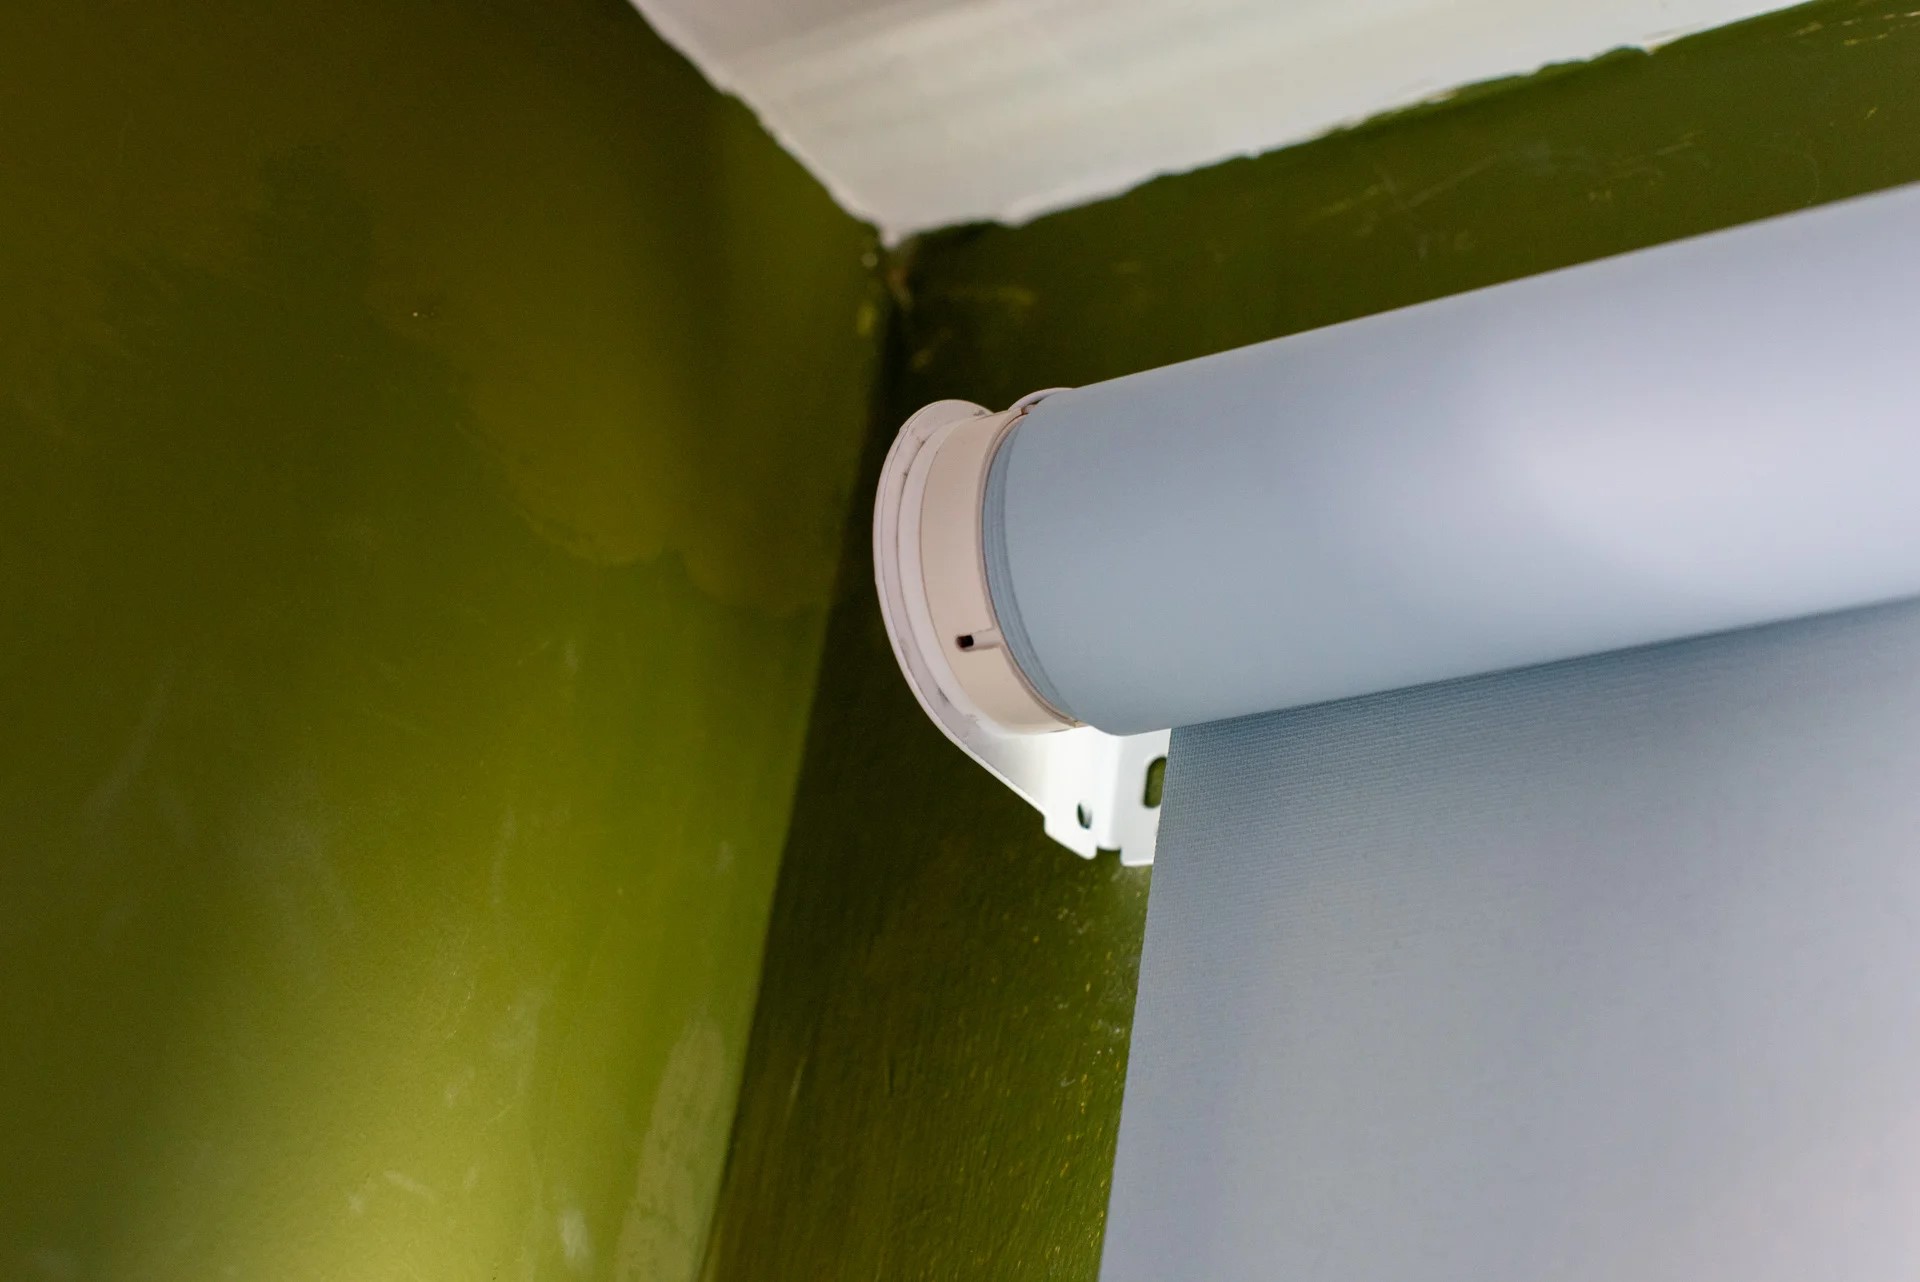
Step 4: Detaching the Hidden Brackets
After removing the blind panel, the next step is to detach the hidden brackets from the window frame. Follow these steps to safely remove the brackets:
- Inspect the Brackets: Take a closer look at the hidden brackets to determine how they are attached to the window frame. Look for screws, clips, or any other fasteners that may be securing the brackets in place.
- Remove the Fasteners: Using a screwdriver or pliers, carefully remove any screws or clips that are securing the brackets to the window frame. Be cautious not to strip or damage the screws during this process.
- Gently Release the Brackets: Once the fasteners are removed, gently push or wiggle the brackets to release them from the window frame. If they are tightly secured, you may need to use a putty knife or another flat tool to pry them away.
- Store the Brackets: Set aside the detached brackets in a safe place. Keep them organized and labeled if you plan to reuse or reinstall them in the future.
- Clean the Window Frame: Take a moment to clean the window frame where the brackets were attached. Use a mild cleaning solution and a soft cloth to remove any dirt or residue.
Once you have detached the hidden brackets, you have successfully removed the blinds from your window. However, it’s important to note that there may be small holes or marks left behind from the brackets. In the next step, we will cover how to patch and repair any holes.
Remember, the specific process for detaching the hidden brackets may vary depending on the type of blinds you have. Always refer to the manufacturer’s instructions for accurate guidance.
Step 5: Patching and Repairing any Holes
After removing the hidden brackets, you may notice small holes or marks on your window frame where they were attached. To restore the appearance of your window, follow these steps to patch and repair any holes:
- Clean the Area: Use a cloth to wipe away any dust or debris around the holes. Ensure that the surface is clean and dry before proceeding.
- Choose a Patching Compound: Select a patching compound that matches the material of your window frame. For wood frames, use a wood filler, and for vinyl or other materials, choose an appropriate filler or putty.
- Apply the Patching Compound: Using a putty knife or a small spatula, apply the patching compound to fill the holes. Smooth it out evenly and remove any excess compound using the knife.
- Let it Dry: Allow the patching compound to dry completely according to the manufacturer’s instructions. This may take several hours, so be patient and avoid touching or disturbing the repaired areas.
- Sand and Finish: Once the compound is dry, use fine-grit sandpaper to smooth the patched areas. Sand gently in a circular motion to blend the repaired spots with the surrounding window frame.
- Prime and Paint (if necessary): If your window frame requires painting, apply a primer to the patched areas and let it dry. Then, paint over the primed spots to match the color of the frame. Allow sufficient drying time between coats if multiple coats are needed.
By following these steps, you can effectively patch and repair any holes left behind by the hidden brackets, restoring the window frame’s appearance. Once you have completed the patching and repair process, your window will be ready for the next step: reinstalling the blinds.
Remember, the specific instructions for patching and repairing holes may vary depending on the material of your window frame. Always follow the manufacturer’s recommendations for best results.
Step 6: Reinstalling the Blinds
After removing the hidden brackets, detaching the blind panel, and repairing any holes, you are ready to reinstall your blinds. Follow these steps to reinstall your blinds with hidden brackets:
- Retrieve the Blind Panel: Take the blind panel that you removed earlier and set it aside for the time being.
- Position the Hidden Brackets: Hold the hidden brackets in their designated positions on the window frame, aligning them with the holes or markings left from the previous installation.
- Secure the Brackets: Using a screwdriver, insert the appropriate screws into the brackets and tighten them securely, fastening the brackets to the window frame. Ensure that the brackets are level and secure.
- Prepare the Blind Panel: Before attaching the blind panel to the hidden brackets, make sure that it is properly aligned and straightened. Adjust the tilt or slats if necessary.
- Attach the Blind Panel: Lift the blind panel and hook it onto the hidden brackets. Make sure that it fits snugly and securely into place. If there is any resistance or difficulty, double-check the alignment of the brackets.
- Test the Operation: Once the blind panel is attached, test the operation of the blinds. Open and close the blinds, ensuring that they move smoothly and without obstruction. Adjust the slats or position of the blinds as needed.
- Finishing Touches: If your blinds have any additional features, such as a valance or cord covers, reattach them to the blind panel according to the manufacturer’s instructions.
By following these steps, you can reinstall your blinds with hidden brackets, creating a clean and seamless look on your windows. Take your time to ensure that the brackets are properly positioned and the blind panel is securely attached.
After reinstalling your blinds, take a moment to admire your work and enjoy the transformed look of your windows. Whether you’re redecorating or performing maintenance, knowing how to take down blinds with hidden brackets is a valuable skill that allows you to update your window treatments effectively.
Remember, always refer to the manufacturer’s instructions for specific installation guidelines relevant to your blinds.
Read more: How To Take Down Venetian Blinds
Conclusion
Congratulations! You have successfully learned how to take down blinds with hidden brackets. From understanding the concept of hidden bracket blinds to following step-by-step instructions for removal and reinstallation, you now have the knowledge and skills to tackle this task with confidence.
By removing the blind panel, detaching the hidden brackets, and patching any holes left behind, you not only enhance the appearance of your windows but also maintain the functionality of your blinds. Whether you’re cleaning, making repairs, or redecorating your space, knowing how to remove and reinstall blinds with hidden brackets is essential.
Remember to prioritize safety during the removal process by using protective gear, securing the area, and following any manufacturer’s instructions. Take your time and proceed with caution to avoid any accidents or damage to your blinds, windows, or surrounding areas.
Once you have finished reinstalling your blinds, take a moment to appreciate the transformation. The clean and sleek look of hidden bracket blinds adds a touch of modern sophistication to any room. Enjoy the improved aesthetics and the unobstructed view they provide when open.
Thank you for following our comprehensive guide on how to take down blinds with hidden brackets. We hope the information provided has been helpful and empowering. Feel free to refer back to this article whenever you need to remove or reinstall your blinds.
Remember, if you ever feel unsure or uncomfortable with the removal process, it is always best to consult a professional for assistance. With the right knowledge and tools, you can confidently take on any home improvement project.
Frequently Asked Questions about How To Take Down Blinds With Hidden Brackets
Was this page helpful?
At Storables.com, we guarantee accurate and reliable information. Our content, validated by Expert Board Contributors, is crafted following stringent Editorial Policies. We're committed to providing you with well-researched, expert-backed insights for all your informational needs.