Articles
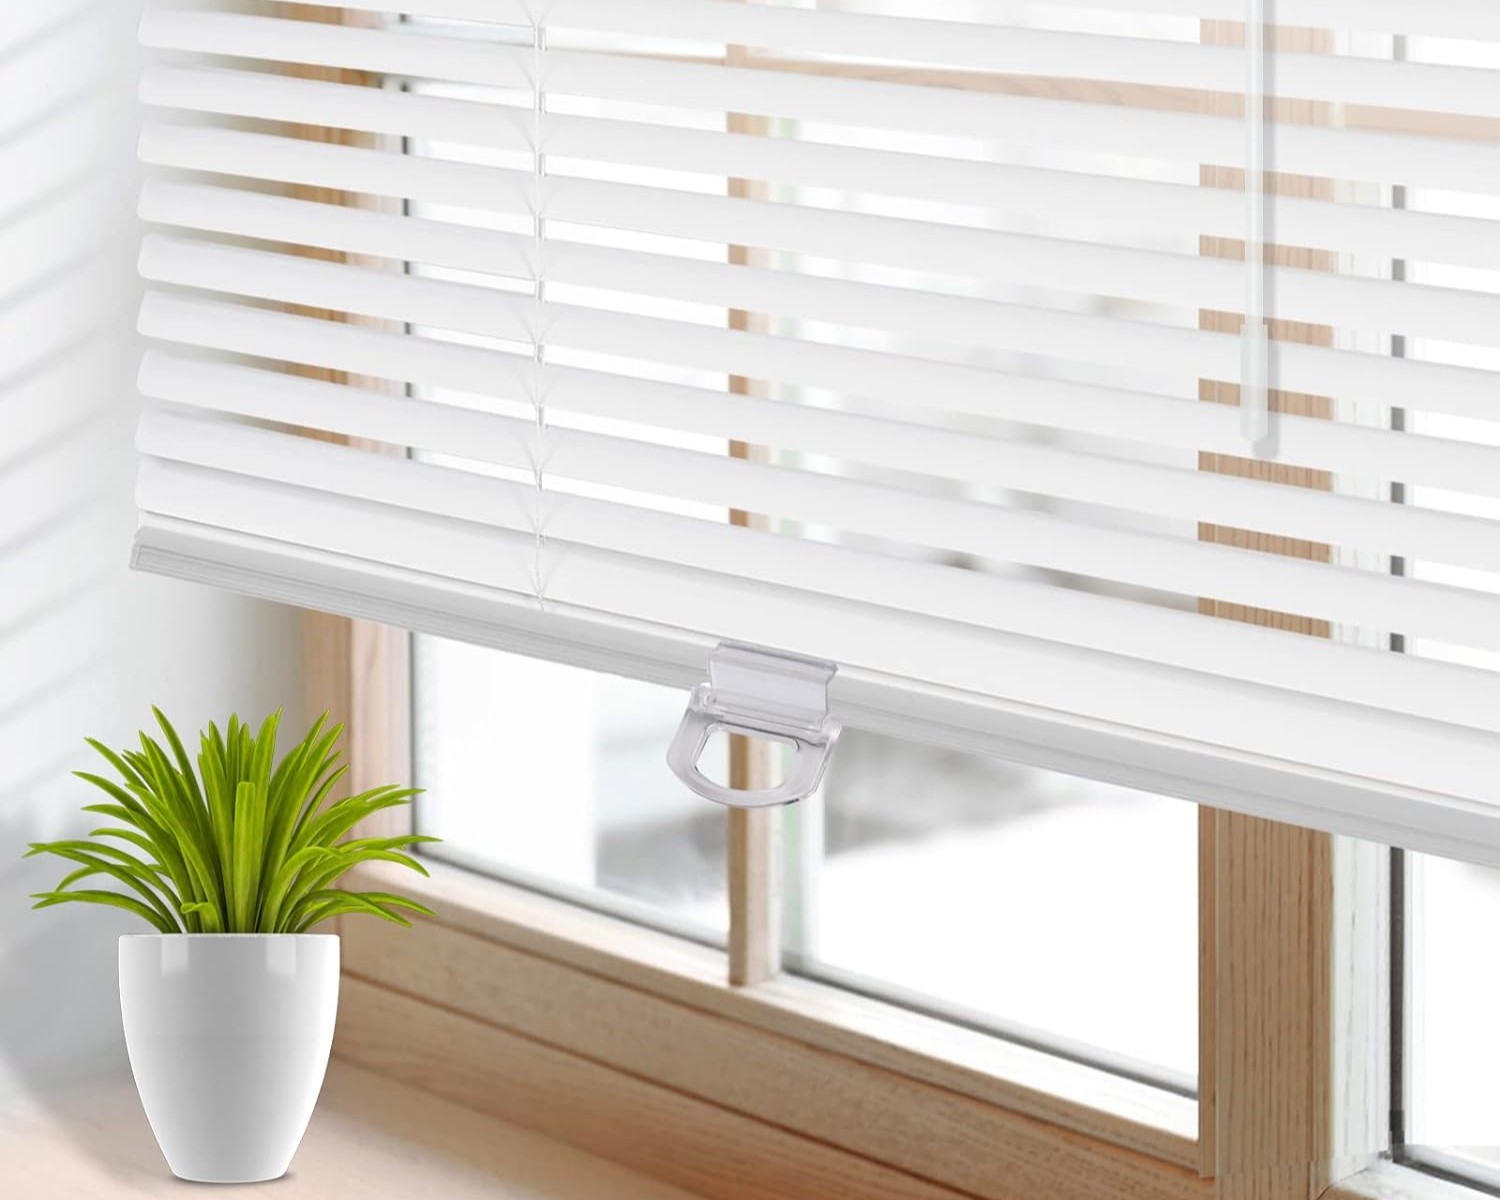
How To Take Down Blinds With Brackets
Modified: December 7, 2023
Discover easy steps to remove blinds with brackets in this informative article. Get tips and tricks for a hassle-free blind takedown process.
(Many of the links in this article redirect to a specific reviewed product. Your purchase of these products through affiliate links helps to generate commission for Storables.com, at no extra cost. Learn more)
Introduction
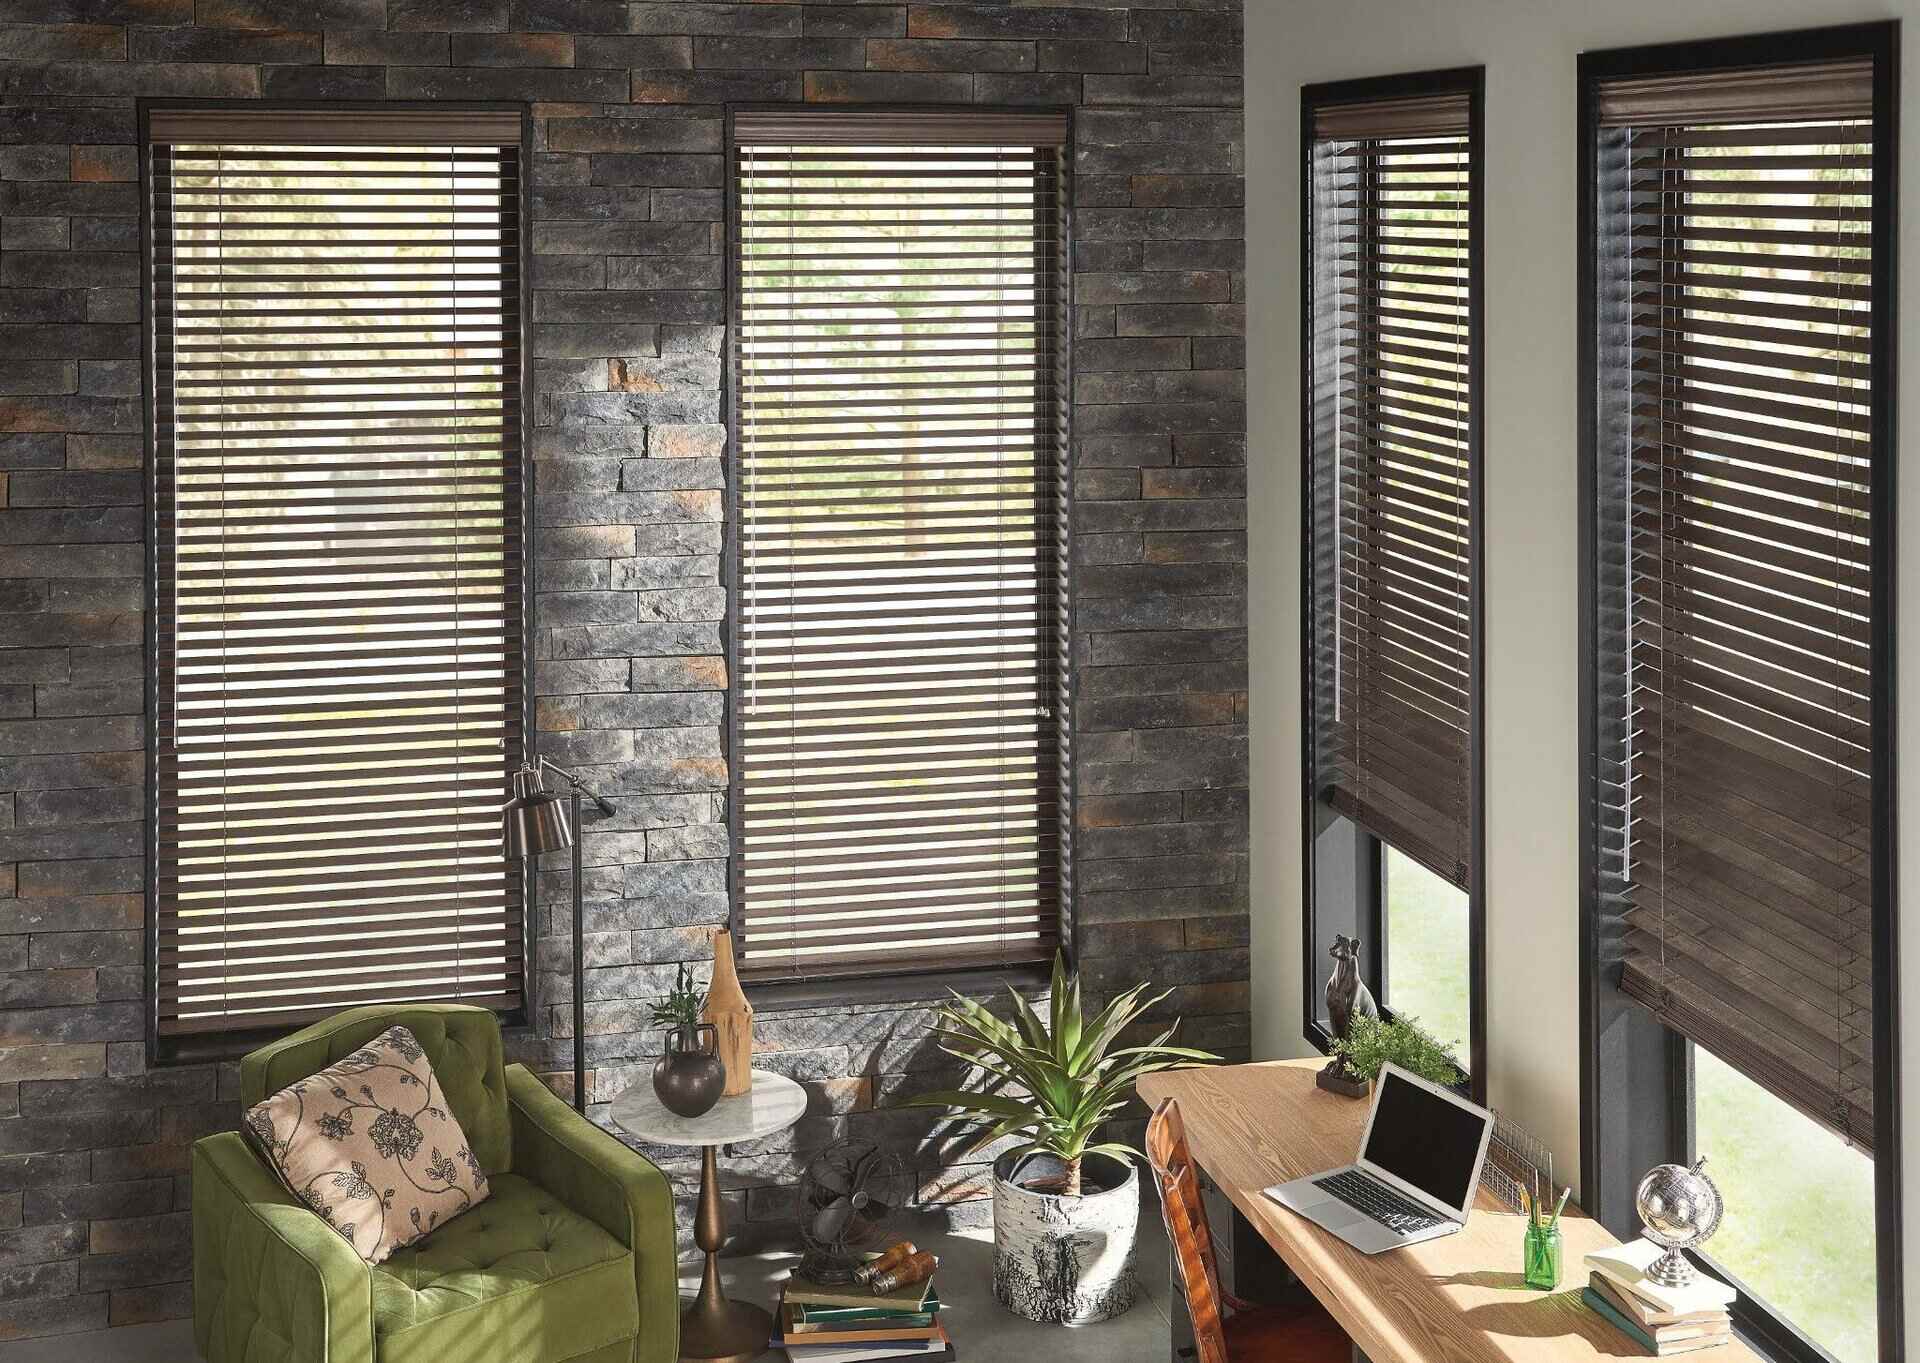
Welcome to our comprehensive guide on how to take down blinds with brackets. Whether you are replacing your blinds with new ones or simply need to remove them temporarily for cleaning or repairs, knowing the right steps can make the process much easier and ensure that you avoid any damage to your window frames or walls.
Removing blinds with brackets may seem like a daunting task at first, but with the right tools and a little bit of know-how, you can safely and efficiently take them down. In this article, we will walk you through the step-by-step process, providing useful tips and tricks along the way.
Before we dive into the details, let’s quickly go over the tools you will need for the job. Having these tools on hand will make the process much smoother and help you avoid any unnecessary frustration or delays.
Key Takeaways:
- Safely and efficiently remove blinds with brackets by following a step-by-step process, ensuring minimal damage to walls and window frames.
- Gather necessary tools, remove blind slats, unscrew bracket screws, and patch any holes or marks left behind for a smooth and hassle-free blind removal process.
Read more: How To Take Down Blinds With Hidden Brackets
Step 1: Gather necessary tools
Before you begin removing your blinds with brackets, it’s essential to ensure you have all the necessary tools. By having these tools ready, you can save time and effort during the process. Here are the tools you will need:
- A screwdriver (usually a Phillips or flathead) – This will be used to unscrew the bracket screws from the wall.
- A step stool or ladder – Depending on the height of your windows, you may need a step stool or ladder to reach the brackets safely.
- A putty knife or spackle – This will come in handy for patching any holes or marks left behind after removing the brackets.
- A microfiber cloth or duster – Before removing the blinds, it’s a good idea to give them a quick dusting to ensure they’re clean.
- Masking tape – If you plan on reusing the blinds after removal, masking tape can help keep the slats aligned and prevent them from tangling.
Once you have gathered all the necessary tools, you’re ready to move on to the next step.
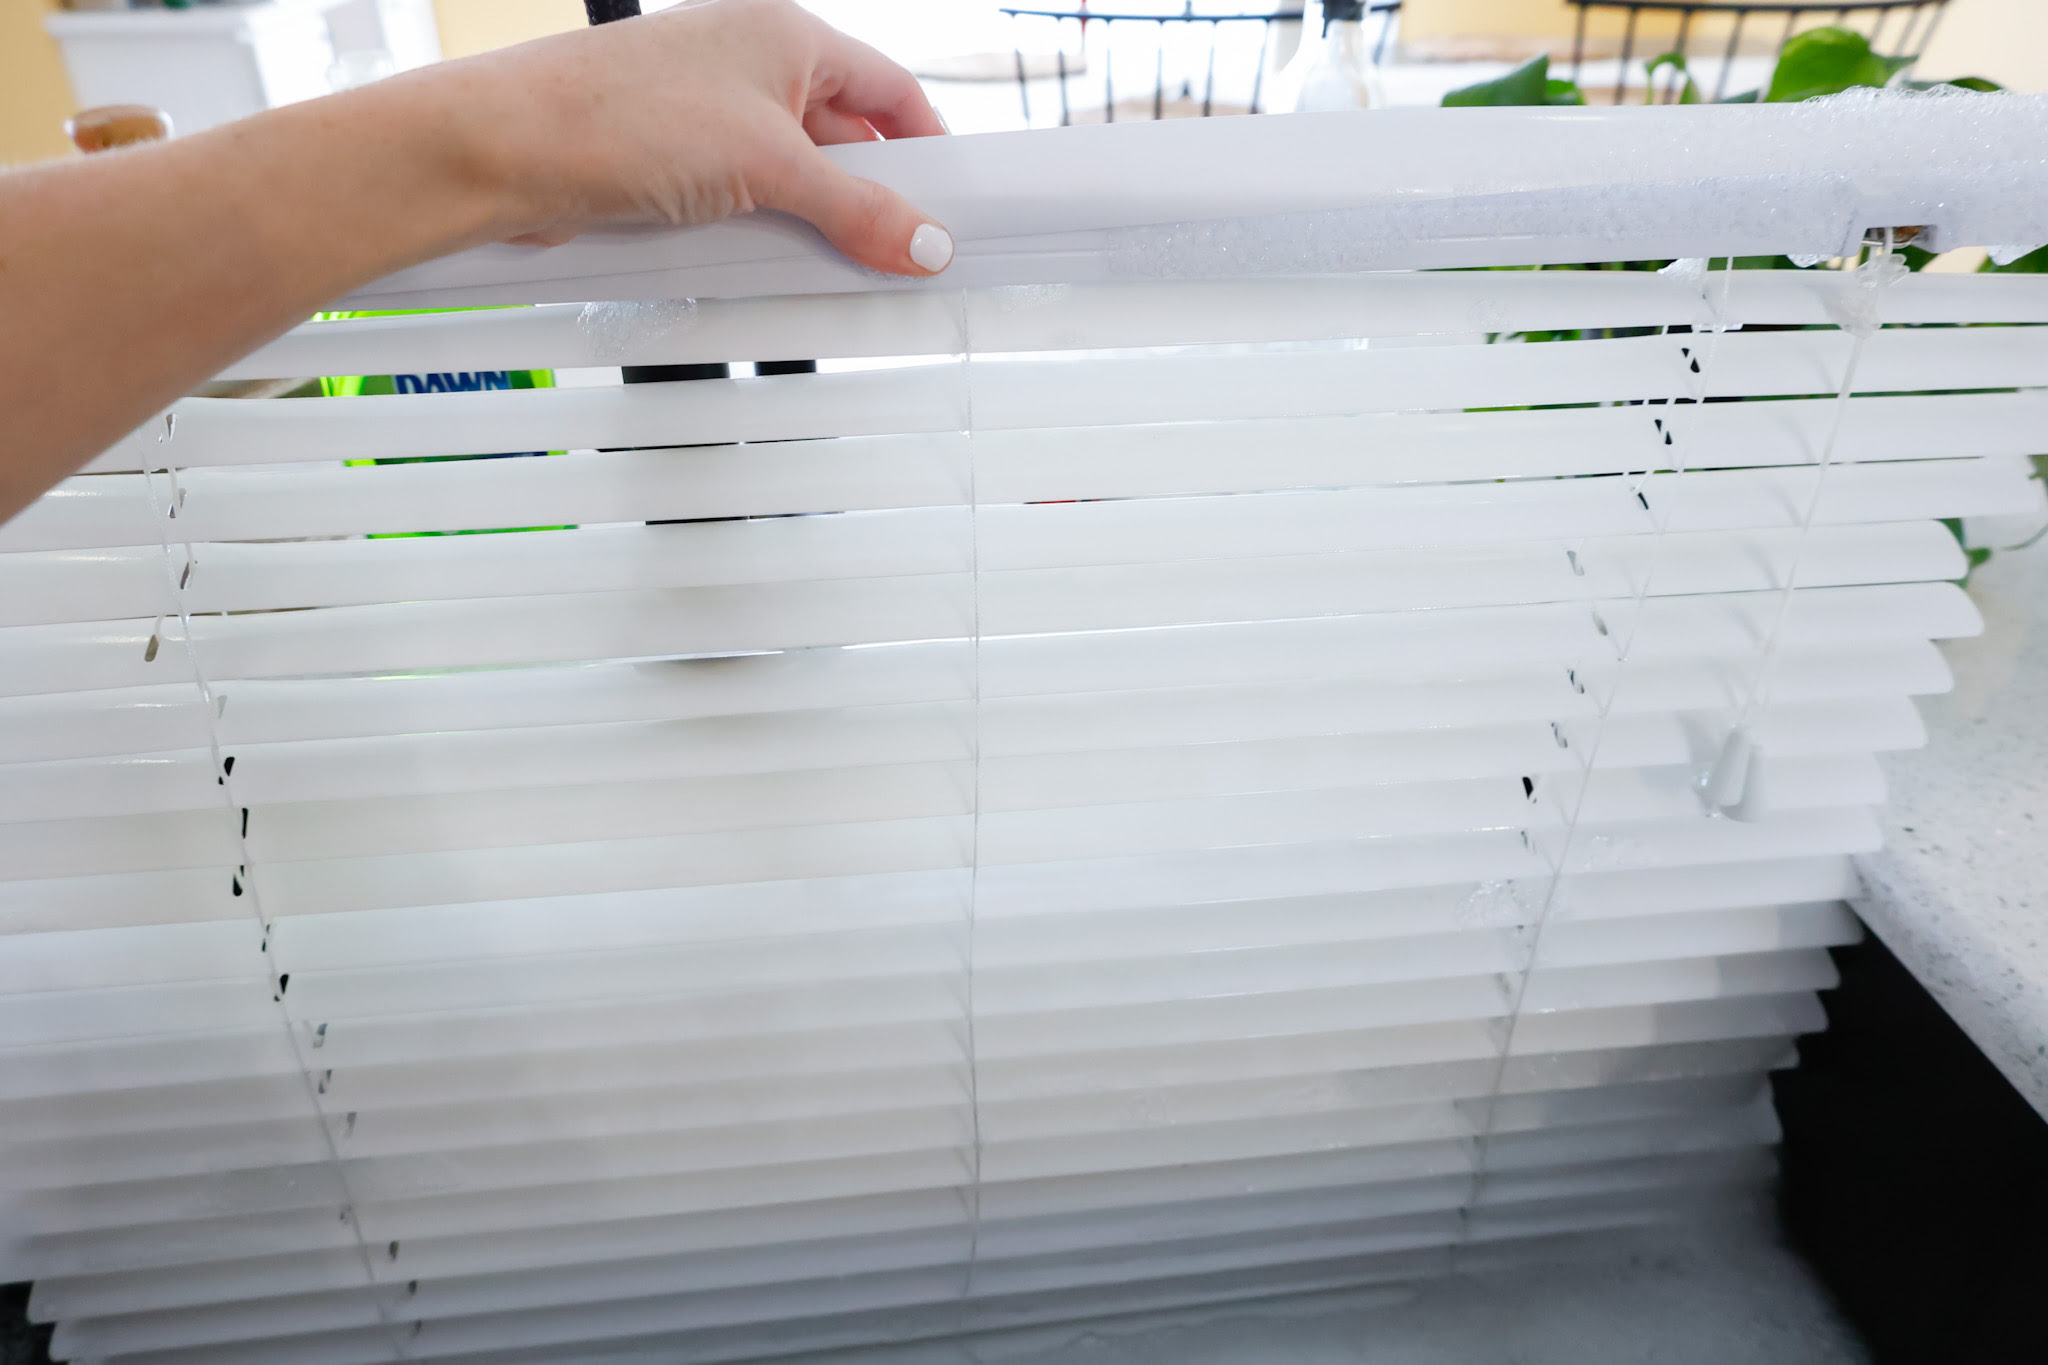
Step 2: Remove the blind slats
With your tools at the ready, it’s time to start removing the blind slats. This step is important because it allows you to work with a lighter and more manageable blind when it comes time to remove the brackets. Here’s how to remove the blind slats:
- Start by fully extending the blinds downwards so that all the slats are flat.
- Locate the plastic tabs or buttons that secure the slats. These are typically located on the bottom of each slat.
- Press or slide the tabs or buttons to release the slats from the ladder cords or string. You may need to use a small amount of force to separate them.
- Once released, carefully lift each slat upward and out of the ladder cords or string. Be sure to hold onto the slats tightly to avoid any accidental dropping or damage.
- Continue removing the slats one by one until you have cleared the entire blind.
Remember to place the removed slats in a safe and designated area to prevent any damage or loss. Keep them organized if you plan on reinstalling them later.
With the slats removed, you are ready to move on to the next step: removing the brackets.
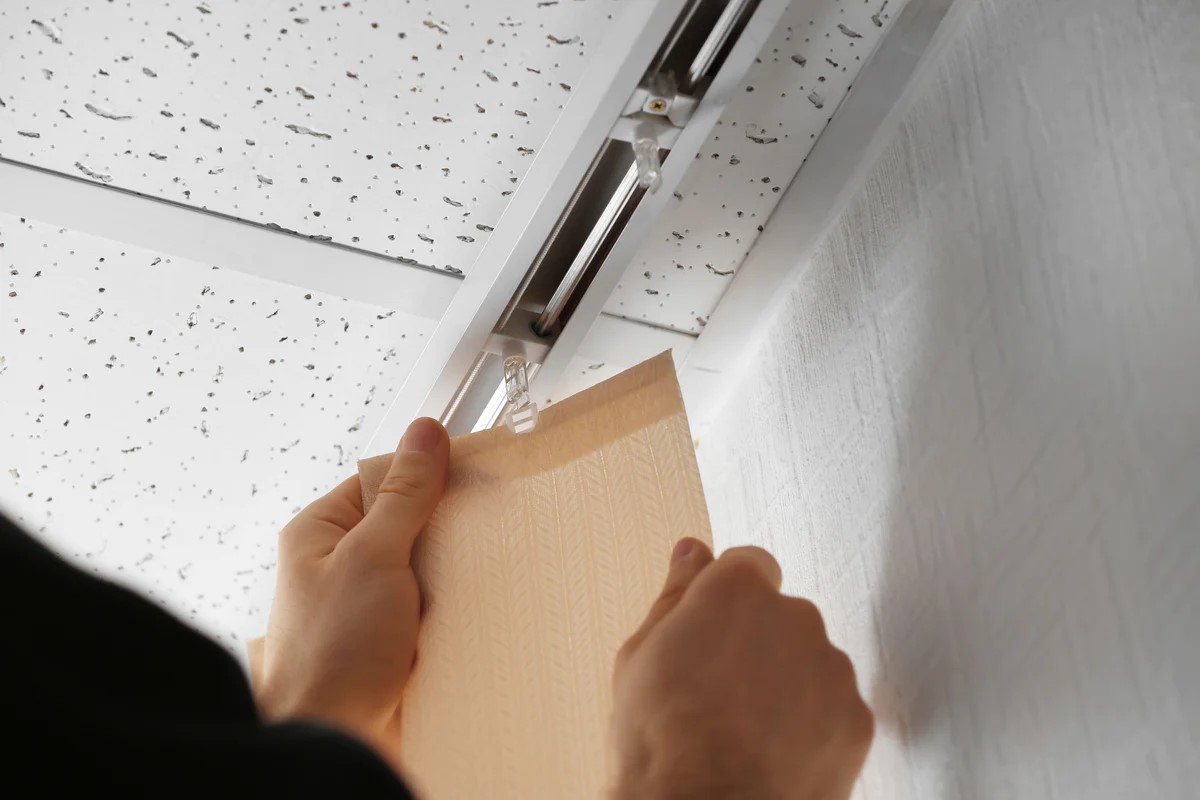
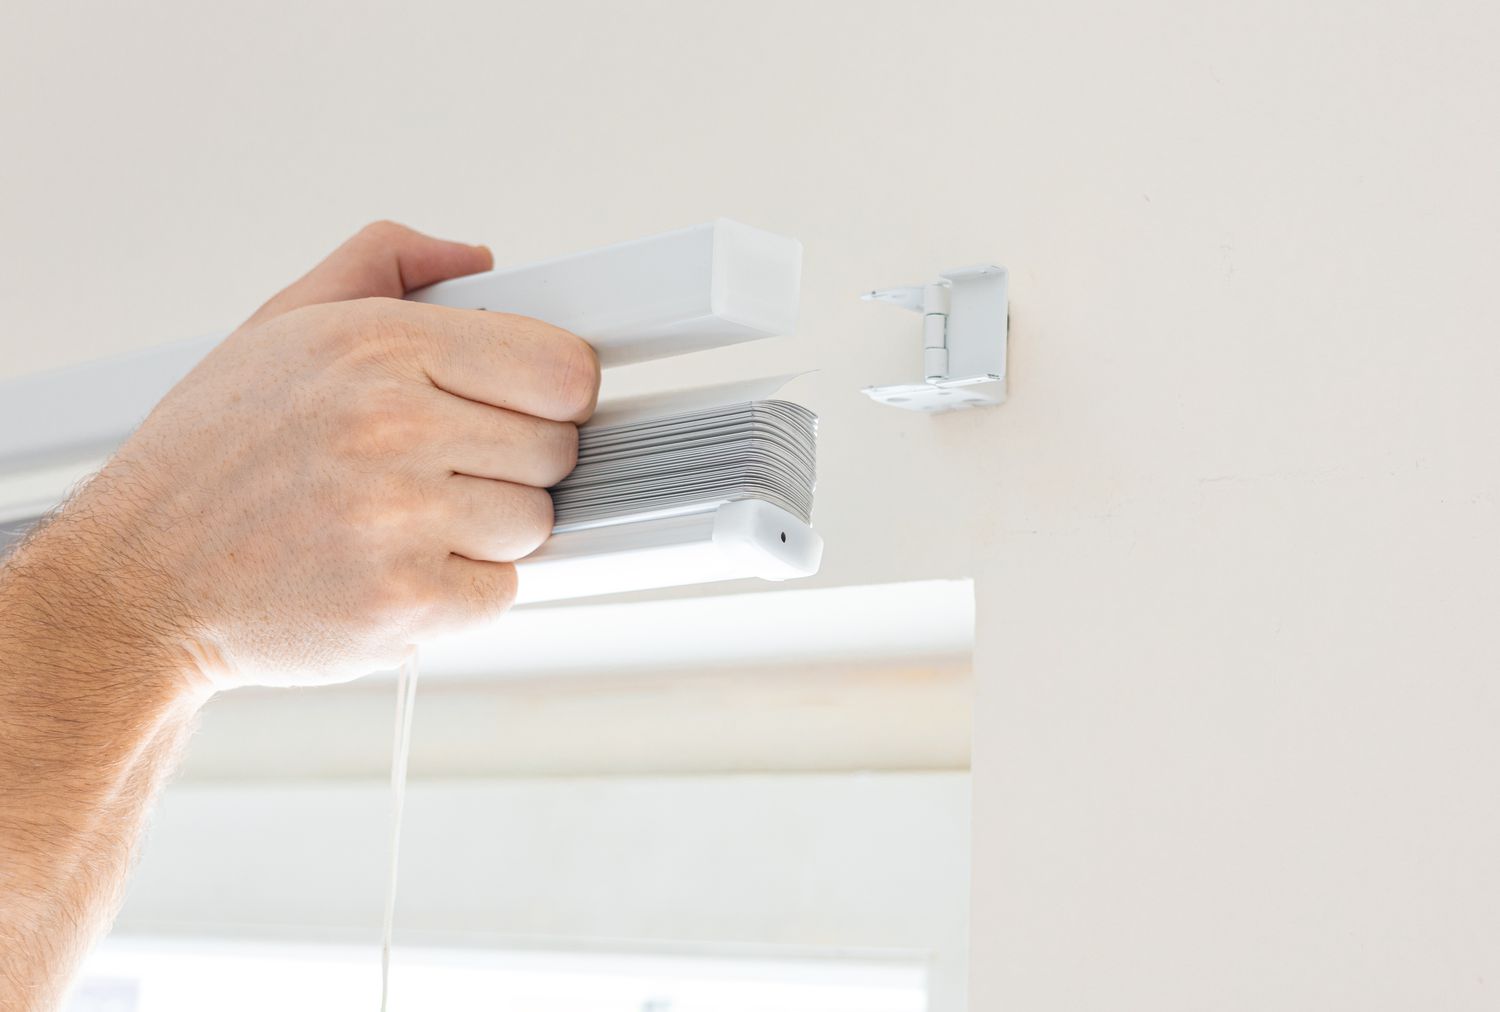
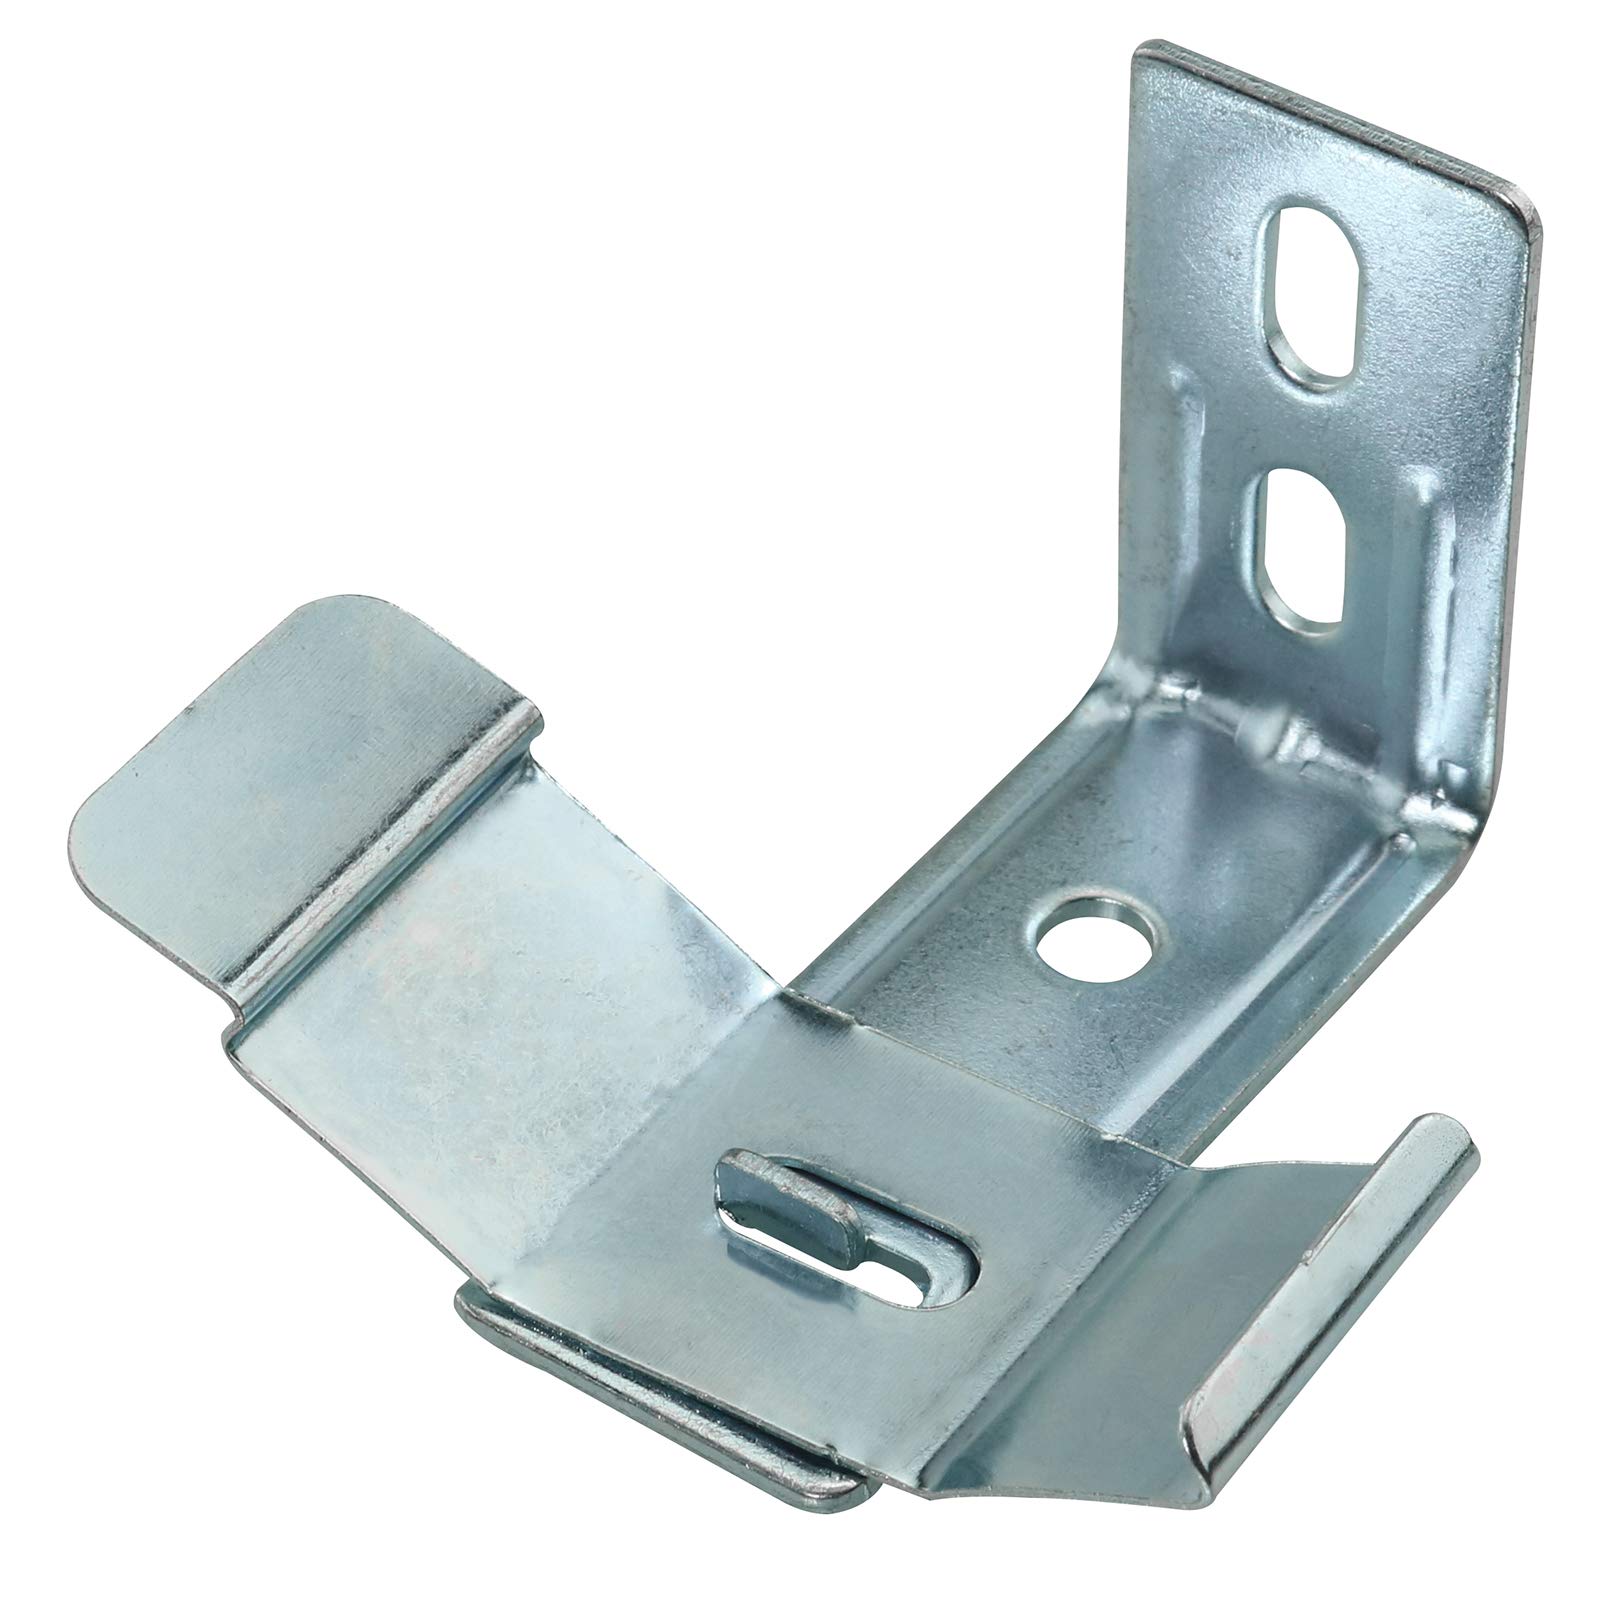
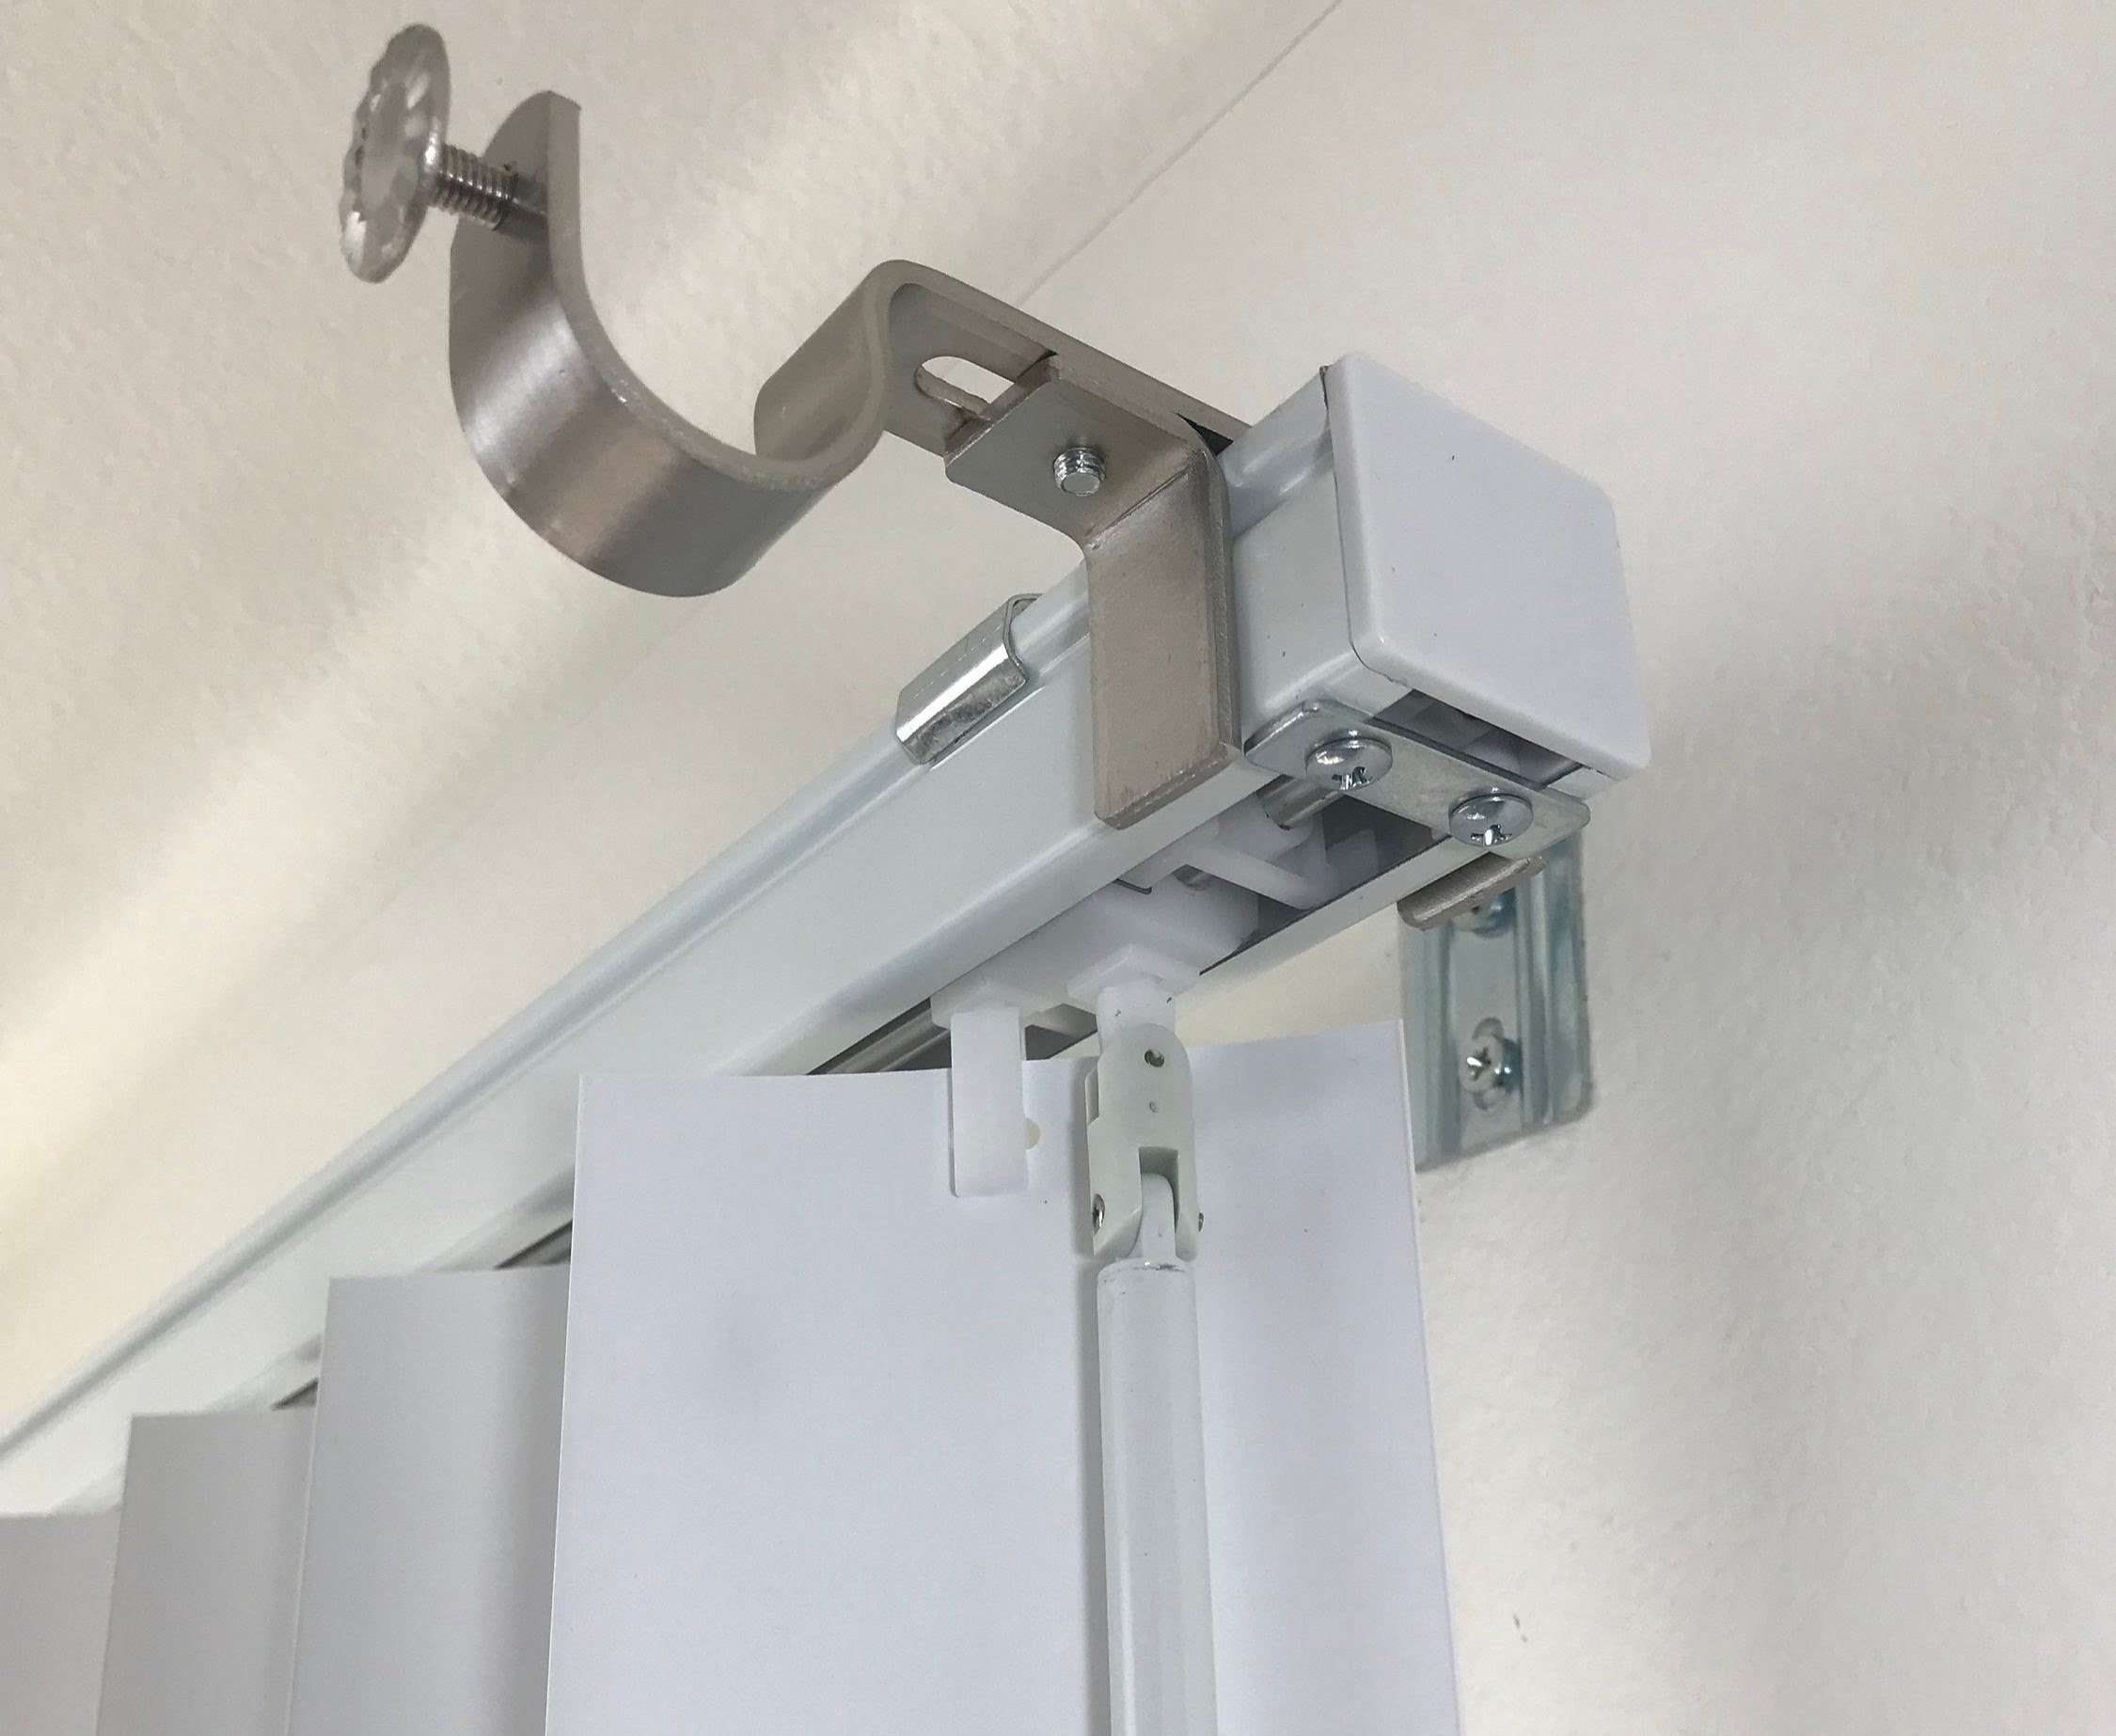
Step 3: Unscrew the bracket screws
Now that you have removed the blind slats, it’s time to focus on removing the brackets from the wall. This step requires a screwdriver and careful attention to avoid any damage to your walls or window frames. Here’s how to unscrew the bracket screws:
- Locate the bracket screws. These are typically located on the sides or top of the brackets.
- Using a screwdriver (either Phillips or flathead, depending on the type of screws), turn the screws in a counterclockwise direction to loosen them.
- Continue unscrewing the screws until they are fully removed from the brackets.
- Once the screws are removed, gently pull the brackets away from the wall, ensuring not to force or apply excessive pressure.
- If the brackets are firmly attached and difficult to remove, use a gentle twisting motion while pulling to loosen them.
- Repeat the process for each bracket until all brackets are successfully removed.
It’s important to note that some brackets may be secured with additional screws or adhesive. In such cases, carefully examine the brackets to ensure all securing elements are accounted for before attempting to remove them.
With the brackets removed, you can now proceed to the final step: patching any holes or marks left behind.
When taking down blinds with brackets, start by removing the valance if there is one. Then, use a screwdriver to loosen the screws on the brackets and carefully lift the blinds out of the brackets. Be sure to support the blinds as you remove them to avoid any damage.
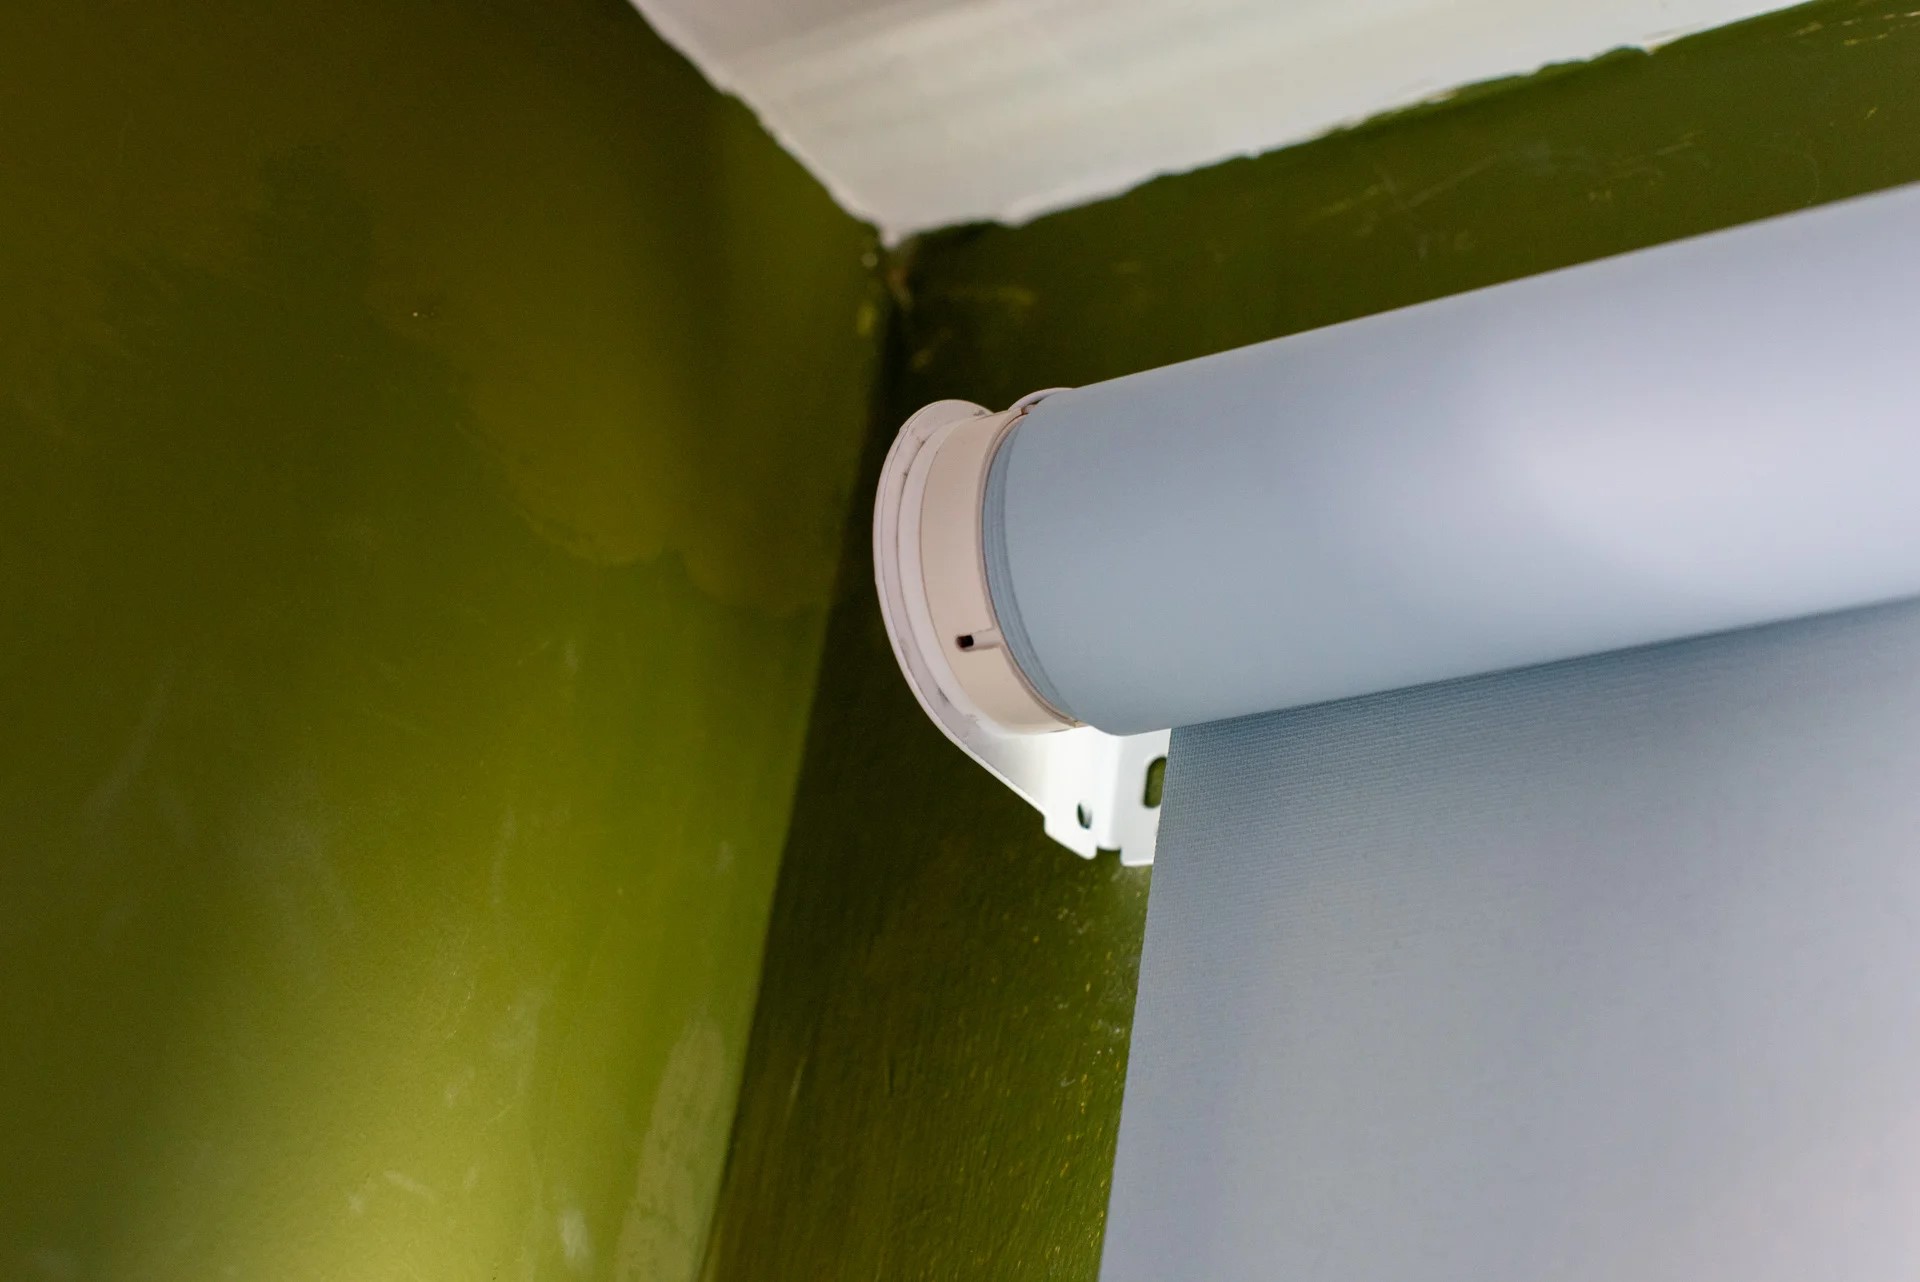
Step 4: Remove the brackets from the wall
After unscrewing the bracket screws, it’s time to remove the brackets from the wall. This step is crucial to ensure a clean and seamless removal process. Here’s how to remove the brackets:
- Gently pull the brackets away from the wall. If the brackets resist, use a twisting motion while applying gradual pressure to loosen them.
- As you remove each bracket, be mindful of any cords or strings that may be attached to them. Carefully detach the cords or strings from the brackets, taking care not to damage them.
- Inspect the wall surface for any adhesive residue or marks left behind by the brackets. If there are any, use a mild adhesive remover or rubbing alcohol to clean the area. Allow the surface to dry thoroughly before proceeding.
Removing the brackets may reveal small holes or indentations in the wall where the screws were secured. If you don’t plan on reinstalling blinds in the same spot, you can move on to the next step. However, if you do plan on reinstalling blinds in the same location, you can skip Step 5 and proceed with reinstallation.
With the brackets successfully removed, you can now move on to the final step: patching any holes or marks left behind.
Read more: What Is A Hold Down Bracket For Blinds
Step 5: Patch any holes or marks left behind
After removing the brackets, it’s common to have small holes or marks in the wall from the screws or adhesive. Patching these holes and marks is essential to restore the wall’s appearance and ensure a clean finish. Here’s how to patch any holes or marks left behind:
- Start by cleaning the area around the holes or marks with a dry cloth to remove any dust or debris.
- If you have small nail holes, you can use spackle or putty to fill them. Take a small amount of spackle or putty on a putty knife and apply it directly to the hole, smoothing it out until it’s flush with the wall surface. Allow it to dry according to the product’s instructions.
- If there are larger holes or marks, you may need to use a wall patch kit or drywall compound. Follow the instructions on the kit or compound to fill the holes, ensuring a smooth and even surface.
- Once the patched areas are dry, use a fine-grit sandpaper or sanding block to gently sand the patched spots until they are smooth and blend seamlessly with the surrounding wall.
- Wipe away any dust left from sanding and inspect the patched areas. If necessary, apply another thin coat of spackle or compound and repeat the sanding process until you achieve a seamless finish.
- When you’re satisfied with the patching, wipe the wall surface with a damp cloth to remove any remaining dust or residue.
After patching, the wall should be restored to its original condition, ready for painting or to be left as is, depending on your preference.
With Step 5 complete, you have successfully removed the blinds with brackets and finished all the necessary steps. Congratulations!
Conclusion
Taking down blinds with brackets may seem like a daunting task at first, but by following the step-by-step guide outlined in this article, you can easily and safely remove them without any hassle. By gathering the necessary tools, removing the blind slats, unscrewing the bracket screws, removing the brackets from the wall, and patching any holes or marks left behind, you can complete the process smoothly and efficiently.
Remember, it’s important to take your time and handle the blinds and brackets with care, ensuring that you avoid any damage to your walls or window frames. By following these steps, you can confidently remove blinds with brackets and prepare for whatever comes next, whether it’s cleaning, repairs, or installing new blinds.
As a final tip, always remember to keep your tools organized, and consider labeling or storing the brackets and slats in a safe place if you plan to reuse them in the future. And if you encounter any difficulties along the way, don’t hesitate to seek professional assistance.
We hope this comprehensive guide has been helpful to you. Now, armed with the knowledge of how to take down blinds with brackets, you can confidently tackle this task and enjoy a clutter-free space or prepare for your next home improvement project.
Remember, safety first and happy blind removal!
Frequently Asked Questions about How To Take Down Blinds With Brackets
Was this page helpful?
At Storables.com, we guarantee accurate and reliable information. Our content, validated by Expert Board Contributors, is crafted following stringent Editorial Policies. We're committed to providing you with well-researched, expert-backed insights for all your informational needs.