Articles
How To Remove Slats From Blinds
Modified: December 7, 2023
Learn how to remove slats from blinds with our informative articles. Step-by-step guides and useful tips to help you easily replace or clean your blinds.
(Many of the links in this article redirect to a specific reviewed product. Your purchase of these products through affiliate links helps to generate commission for Storables.com, at no extra cost. Learn more)
Introduction
Welcome to this step-by-step guide on how to remove slats from blinds. Whether you are looking to replace damaged slats, adjust the length of your blinds, or simply want to update the look of your window treatments, knowing how to remove slats from blinds can be a valuable skill. By following these easy instructions, you’ll be able to remove and replace slats with confidence, giving your blinds a fresh new appearance.
Before we dive into the process, let’s take a look at the tools and materials you’ll need for this project.
Key Takeaways:
- Master the art of removing and replacing slats from blinds with ease by following these step-by-step instructions. Whether it’s for repairs or a fresh new look, this valuable skill will give your window treatments a whole new vibe.
- With the right tools and know-how, you can confidently tackle any slat removal project. Embrace your DIY spirit and transform your blinds into a stylish focal point, knowing you have the skills to make it happen.
Read more: How To Replace Slats On Blinds
Tools and Materials Needed
Before you begin removing slats from your blinds, it’s important to gather the necessary tools and materials. Here’s what you’ll need:
- Phillips screwdriver
- Flathead screwdriver
- Pliers
- Replacement slats (if needed)
Make sure to have these tools readily available before you start the process. Now, let’s move on to the step-by-step instructions.
Step 1: Gather necessary tools
Before you begin removing slats from your blinds, it’s important to gather the necessary tools. Here’s a recap of what you’ll need:
- Phillips screwdriver
- Flathead screwdriver
- Pliers
- Replacement slats (if needed)
Having these tools readily available will make the process smoother and more efficient. Once you have them, you’re ready to move on to the next step: preparing the blinds for slat removal.
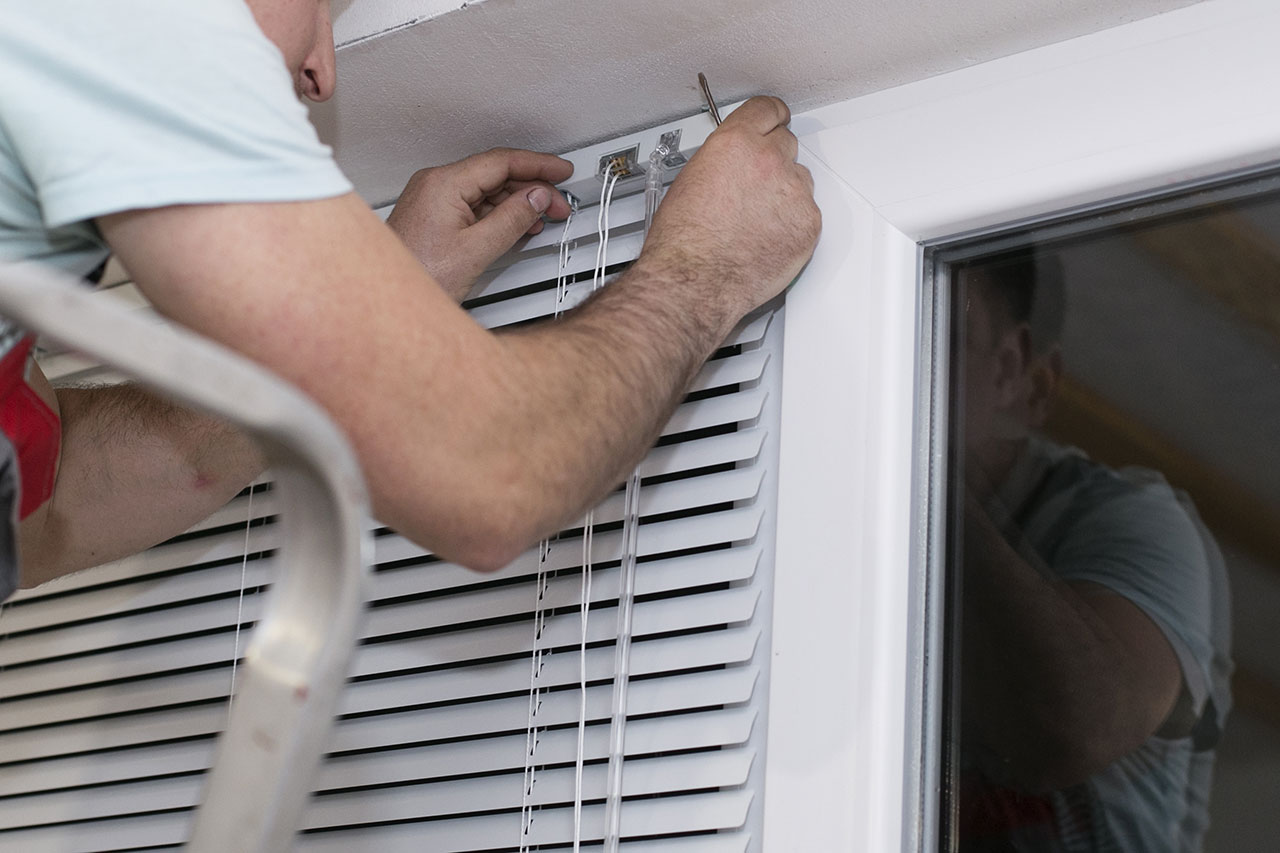
Step 2: Prepare the blinds for slat removal
Before you can begin removing the slats from your blinds, you’ll need to prepare them for the process. Here’s how:
- Ensure that the blinds are fully extended and in the open position. This will make it easier to access the components that need to be removed.
- If your blinds have a decorative valance, gently remove it by either sliding it off or carefully unscrewing it from the brackets. Set the valance aside in a safe place.
- Next, locate the end caps at the bottom of the blinds. These are usually found on each side and can be removed by prying them off with a flathead screwdriver. Be careful not to damage the blinds or the end caps in the process.
- Once the end caps are removed, you should be able to see the tilt rod. This is the long, horizontal rod that controls the opening and closing of the slats. Take note of its position and any screws or brackets holding it in place. You’ll need to remove these later.
- Lastly, locate the ladder strings that run vertically through the blinds. These are the strings that support and connect the individual slats. Identify the knots or connectors holding the ladder strings in place, as you’ll need to release them to remove the slats.
By following these steps, you’ll ensure that your blinds are properly prepared for slat removal. Now, you’re ready to move on to the next step: removing the end caps.
Step 3: Remove the end caps
Now that the blinds are prepared, it’s time to remove the end caps. Follow these steps:
- Using a flathead screwdriver, gently pry off the end caps located at the bottom of the blinds. Be careful not to damage the blinds or the end caps in the process.
- If the end caps are secured with screws, use a Phillips screwdriver to unscrew them and remove the end caps.
- Set the end caps aside in a safe place, as you may need to reattach them later.
By removing the end caps, you’ll be able to access the components necessary for slat removal. Now, let’s move on to the next step: unscrewing the tilt rod.
To remove slats from blinds, start by lowering the blinds completely. Then, gently push the bottom rail away from the brackets to release the slats. Finally, slide the slats out one by one.
Read more: What Are Privacy Slats On Blinds
Step 4: Unscrew the tilt rod
With the end caps removed, it’s time to unscrew the tilt rod. Follow these steps:
- Locate the tilt rod, which is the long, horizontal rod that controls the opening and closing of the blinds.
- Take note of any screws or brackets that are holding the tilt rod in place.
- Using a Phillips screwdriver, carefully unscrew the screws or brackets that secure the tilt rod.
- Once the screws or brackets are removed, gently slide or lift the tilt rod out from the blinds.
By unscrewing the tilt rod, you’ll be able to release the slats and remove them from the blinds. Now, let’s move on to the next step: releasing the ladder strings.
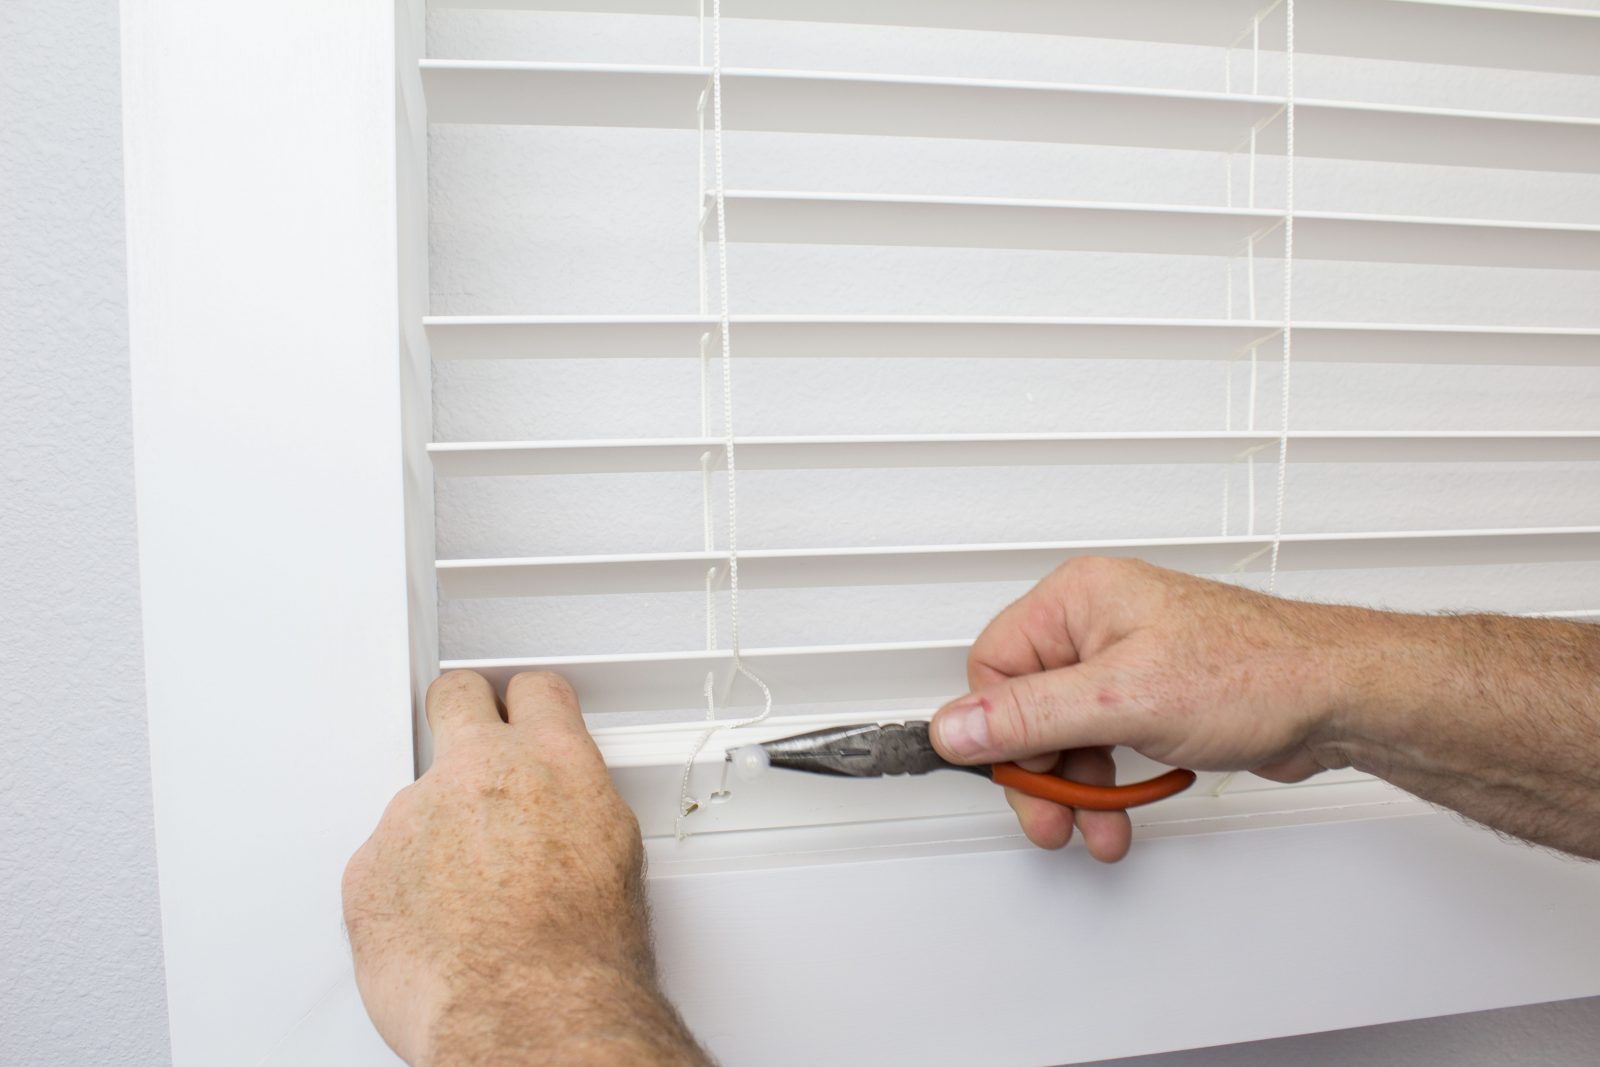
Step 5: Release the ladder strings
With the tilt rod removed, it’s time to release the ladder strings. Follow these steps:
- Locate the ladder strings, which are the vertical strings that run through the blinds and hold the slats in place.
- Identify the knots or connectors that are holding the ladder strings in place.
- Using pliers or your fingers, carefully release the knots or disconnect the connectors to loosen the ladder strings.
- Once the ladder strings are loosened, you should be able to slide them out from the blinds.
By releasing the ladder strings, you’ll be able to detach the slats from the blinds. Now, let’s move on to the next step: removing the slats.
Step 6: Remove the slats
With the ladder strings loosened, it’s time to remove the slats from the blinds. Follow these steps:
- Start at the top of the blinds and gently slide out the first slat from its position.
- Continue sliding out each slat one by one, being careful not to bend or damage them in the process.
- If you only need to remove a few slats, carefully slide out the desired slats and leave the rest in place.
- If you want to remove all the slats, continue sliding them out until the blinds are empty.
By removing the slats, you’ll be able to replace damaged ones, adjust the length of your blinds, or update the look of your window treatments. Now, let’s move on to the final step: reassembling the blinds.
Step 7: Reassemble the blinds
Now that the slats have been removed, it’s time to reassemble the blinds. Follow these steps:
- If you have removed all the slats and want to reattach them, start at the bottom and slide each slat back into its original position.
- If you only removed a few slats and want to leave the rest in place, carefully slide the desired slats back into the blinds.
- Make sure the slats are evenly spaced and aligned to ensure a uniform appearance.
- Next, reinstall the ladder strings by sliding them back through the holes in each slat.
- Use pliers or your fingers to reattach the ladder strings to their respective knots or connectors.
- Slide the tilt rod back into the blinds and secure it with the screws or brackets that you removed earlier.
- If you had a decorative valance, reattach it by sliding it back into place or screwing it back onto the brackets.
- Finally, replace the end caps by gently sliding them back onto the ends of the blinds or securing them with screws.
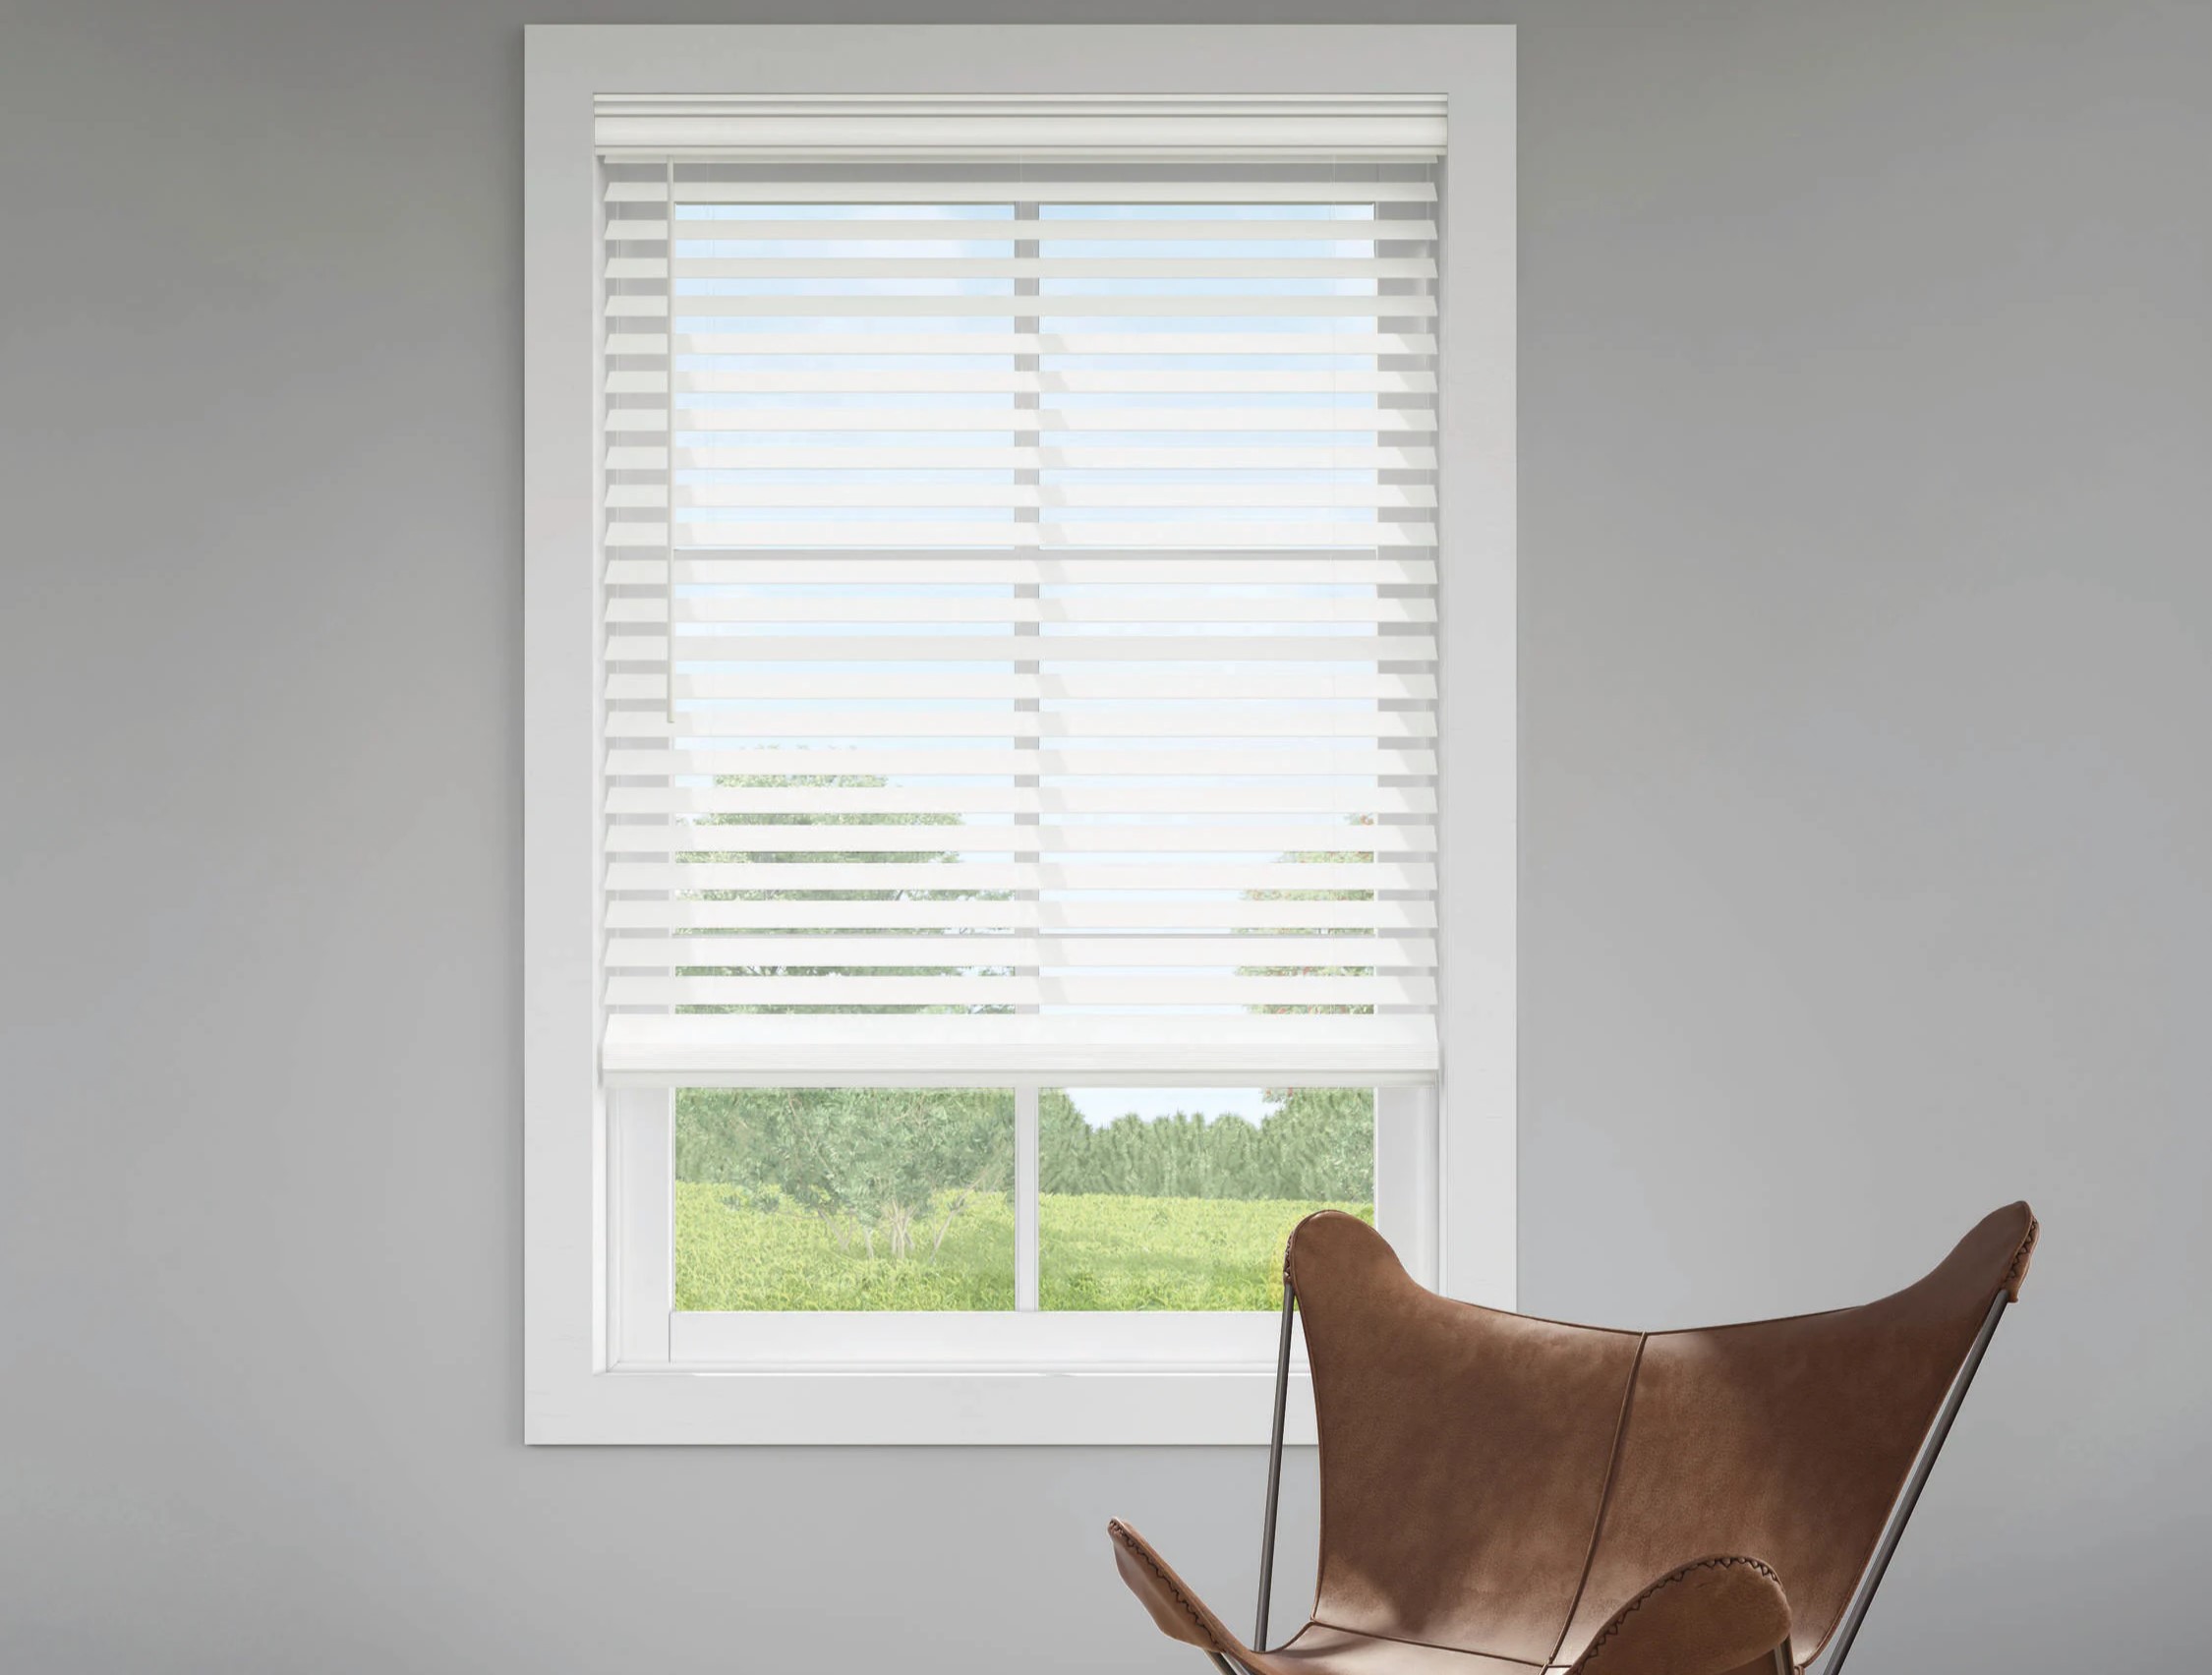
By following these steps, you will successfully reassemble your blinds and have them ready for use once again.
With the blinds reassembled, you can now enjoy your updated window treatments or repaired blinds. Whether you replaced damaged slats, adjusted the length of your blinds, or simply wanted to refresh their look, knowing how to remove slats from blinds is a valuable skill for any homeowner. Now go ahead and admire your improved window coverings!
Read more: How To Remove Paint From Blinds
Conclusion
Removing slats from blinds can be a simple and straightforward process when you have the right tools and follow the correct steps. Whether you want to replace damaged slats, adjust the length of your blinds, or update the look of your window treatments, knowing how to remove slats is a valuable skill to have.
In this guide, we covered the step-by-step process of removing slats from blinds, from gathering the necessary tools to reassembling the blinds. By following these instructions, you can confidently remove and replace slats with ease, giving your blinds a fresh new appearance.
Remember to gather the necessary tools, prepare the blinds for slat removal, remove the end caps, unscrew the tilt rod, release the ladder strings, remove the slats, and then reassemble the blinds. Taking the time to properly remove and replace slats will ensure that your blinds function properly and maintain their aesthetic appeal.
With your newly acquired knowledge, you can now tackle any slat removal project with confidence. Whether you are a DIY enthusiast or simply want to maintain and update your blinds, knowing how to remove slats will come in handy.
So go ahead and give your blinds a refreshing update or make the necessary repairs. Don’t be afraid to get creative and experiment with different slat designs and colors, transforming your window treatments into a focal point of your space.
Remember, practice makes perfect. The more you work with blinds, the more comfortable you will become with the process of removing and replacing slats.
Now it’s time to put your newfound knowledge into action and enjoy the benefits of well-maintained and customizable blinds!
Frequently Asked Questions about How To Remove Slats From Blinds
Was this page helpful?
At Storables.com, we guarantee accurate and reliable information. Our content, validated by Expert Board Contributors, is crafted following stringent Editorial Policies. We're committed to providing you with well-researched, expert-backed insights for all your informational needs.


0 thoughts on “How To Remove Slats From Blinds”