
Articles
How To Remove Hunter Douglas Honeycomb Blinds
Modified: August 23, 2024
Looking for articles on how to remove Hunter Douglas honeycomb blinds? Check out our step-by-step guide for easy and efficient removal instructions.
(Many of the links in this article redirect to a specific reviewed product. Your purchase of these products through affiliate links helps to generate commission for Storables.com, at no extra cost. Learn more)
Introduction
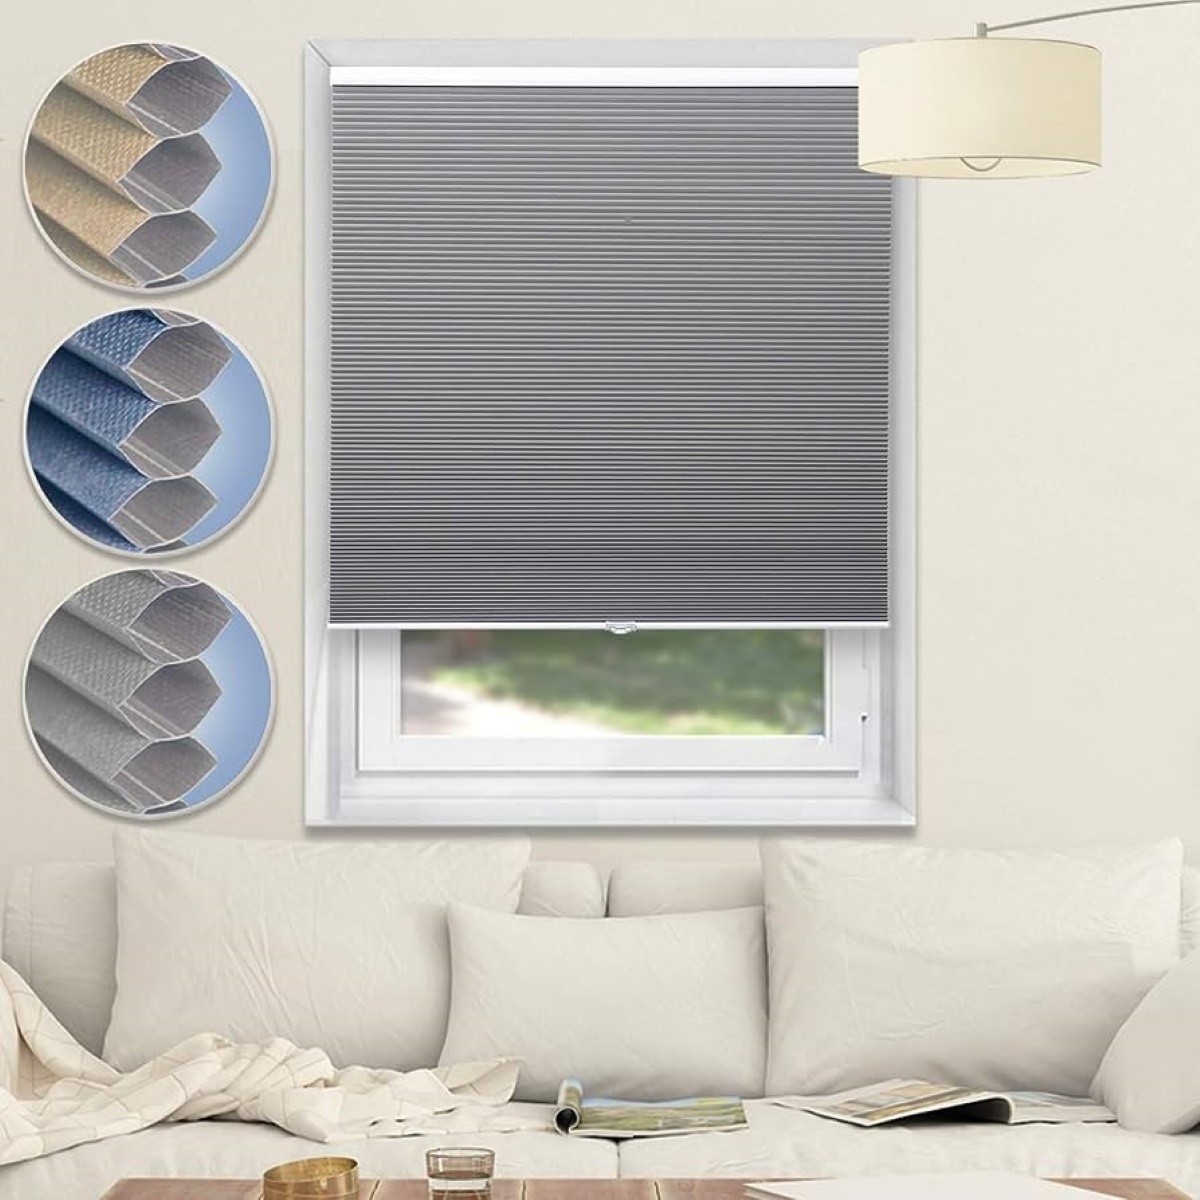
Welcome to our comprehensive guide on how to remove Hunter Douglas honeycomb blinds. Whether you are looking to clean your blinds, replace them, or simply want to switch up your window treatments, knowing how to properly remove your blinds is the first step.
Hunter Douglas honeycomb blinds are known for their energy-efficient design and stylish aesthetic. However, at some point, you may need to remove them for cleaning, repairs, or renovations. Removing these blinds can seem daunting at first, but with the right tools and steps, it can be a straightforward process.
In this article, we will walk you through the step-by-step process of removing your Hunter Douglas honeycomb blinds. We will cover everything from the tools and materials you’ll need to the proper techniques for safely and effectively taking down your blinds. So let’s dive in and get started!
Key Takeaways:
- Properly removing Hunter Douglas honeycomb blinds requires preparation, the right tools, and a methodical approach. By following the step-by-step process, you can safely and effectively take down your blinds for cleaning, repairs, or replacement.
- After removing the blinds, take the opportunity to thoroughly clean your windows before deciding whether to reinstall the existing blinds or replace them with new ones. This process ensures a fresh and pristine look for your windows.
Tools and Materials Needed
Before you begin removing your Hunter Douglas honeycomb blinds, it’s important to gather all the necessary tools and materials. Having everything prepared ahead of time will make the process smoother and more efficient. Here are the tools and materials you will need:
- Screwdriver: Choose a screwdriver with the appropriate head size for the screws holding your blinds in place.
- Pliers: Pliers can be useful for gripping and loosening small components, such as cord locks or brackets.
- Step ladder: Depending on the height of your blinds, you may need a step ladder to safely reach and remove them.
- Soft cloth or microfiber duster: To clean the blinds before reinstalling them, gather a soft cloth or a microfiber duster.
- Cleaning solution: If you plan on cleaning your blinds while they are removed, gather a mild cleaning solution suitable for the material of your blinds.
These are the basic tools and materials you will need to remove your Hunter Douglas honeycomb blinds. It’s always a good idea to double-check to ensure you have everything you need before getting started.
Once you have gathered all the necessary tools and materials, you are ready to move on to the next step: preparation.
Step 1: Preparation
Before you begin removing your Hunter Douglas honeycomb blinds, it’s important to prepare the area and take some precautions to ensure a smooth and safe process.
First, make sure to clear any nearby furniture or obstructions that may hinder your access to the blinds. This will give you ample space to work and prevent any accidental damage.
Next, ensure your step ladder is stable and secure. Place it in a position that allows you to comfortably reach the blinds without straining or overextending yourself.
If you are working with corded blinds, it’s essential to ensure that the cords are fully extended and free from tangles or knots. This will prevent any unnecessary complications during removal.
Additionally, consider wearing protective gloves to safeguard your hands from potential injuries, especially if there are sharp or protruding components on your blinds.
Lastly, familiarize yourself with the blinds’ operation and mechanisms. Take note of any clips, brackets, or other attachments that hold the blinds in place. This will aid you in the subsequent steps of the removal process.
By taking these preparatory measures, you will create a safe and organized working environment, ensuring a smoother removal process for your Hunter Douglas honeycomb blinds.
Once you have taken these precautions and made the necessary preparations, you can proceed to the next step: releasing the bottom rail.
Step 2: Release the Bottom Rail
The bottom rail of your Hunter Douglas honeycomb blinds is typically held in place by brackets. To begin the removal process, you will need to release the bottom rail from these brackets.
Start by locating the brackets at the bottom of the blinds. These brackets are usually attached to the window frame or the wall. Use a screwdriver to remove any screws that secure the brackets in place.
Once the screws are removed, gently pull the bottom rail away from the brackets. Be cautious not to apply too much force to avoid damaging the blinds or the brackets.
If your blinds have a cord lock mechanism, you may need to unlock it before being able to remove the bottom rail. Locate the cord lock and follow the instructions provided by Hunter Douglas to disengage the lock.
As you remove the bottom rail, be mindful of any cords or strings attached to it. Hold them securely to prevent them from tangling or getting caught during the removal process.
With the bottom rail released, set it aside in a safe place where it won’t get damaged. This step allows you to detach the rest of the blinds from the brackets and move on to the next step.
Now that the bottom rail is removed, you are ready to tackle the next step: removing the cord lock.
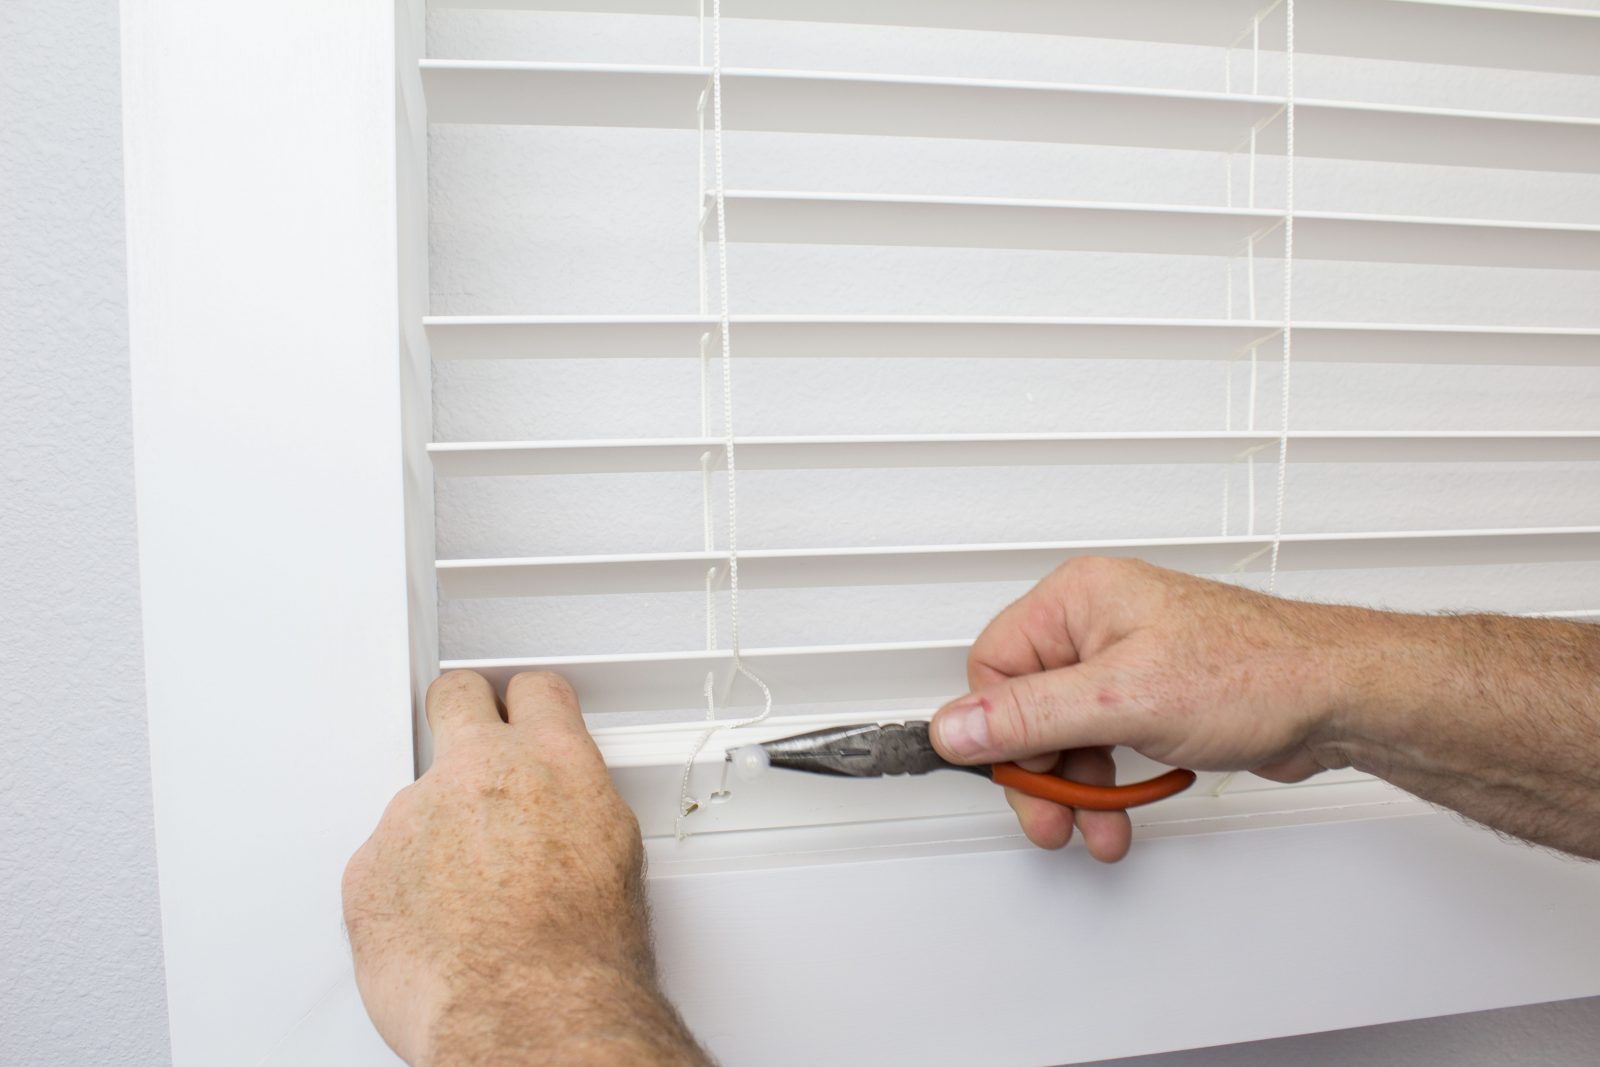
Step 3: Remove the Cord Lock
Removing the cord lock is an essential step in the process of removing your Hunter Douglas honeycomb blinds. The cord lock is responsible for securing the blinds in place and controlling their movement. To proceed with the removal, follow these steps:
- Locate the cord lock mechanism. This is usually located at the top of the blinds, near the headrail.
- Depending on the specific model of your Hunter Douglas blinds, the cord lock may have a release button or lever. Press or move the release button or lever to unlock the cord lock.
- Once the cord lock is unlocked, gently pull the cords through the lock, allowing the blinds to loosen.
- Continue pulling the cords until the blinds are fully loosened and free from the cord lock mechanism.
- Securely hold the cords to prevent them from retracting back into the cord lock.
With the cord lock removed, the blinds should be free and able to move more easily. Be careful not to let the blinds snap back into place as you continue with the removal process.
Now that the cord lock is removed, you can proceed to the next step: detaching the brackets.
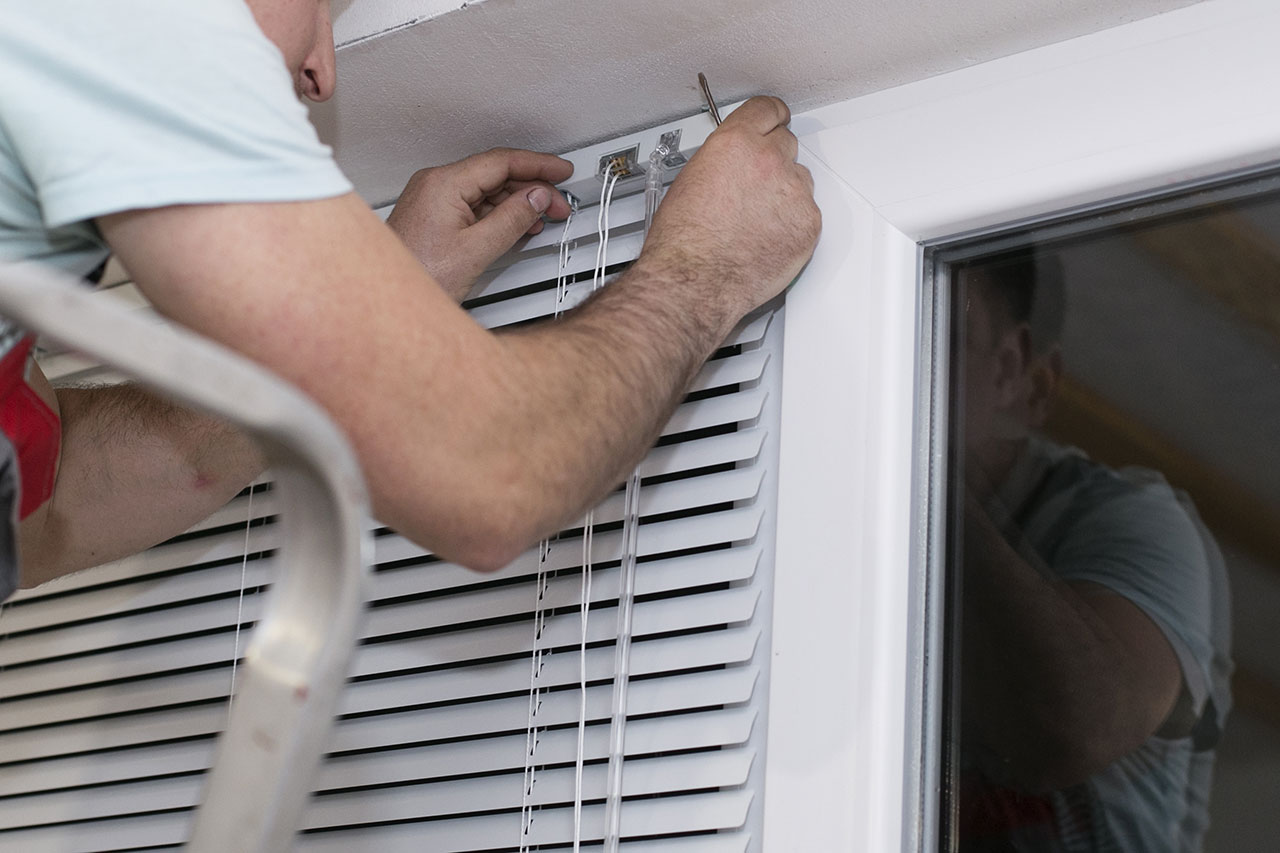
When removing Hunter Douglas honeycomb blinds, start by raising the blinds to the fully open position. Then, locate the release tab on the headrail and gently push it to release the blinds from the mounting brackets.
Read more: How To Mount Hunter Douglas Blinds
Step 4: Detach the Brackets
Now that the bottom rail and cord lock are removed, it’s time to detach the brackets that hold your Hunter Douglas honeycomb blinds in place. Follow these steps to safely remove the brackets:
- Locate the brackets on either side of the blinds. There may be one or multiple brackets depending on the size and weight of your blinds.
- Using a screwdriver, carefully remove any screws that secure the brackets to the window frame or wall.
- Once the screws are removed, gently pull the brackets away from the window frame or wall. If the brackets are firmly attached, use a combination of gentle force and wiggling to loosen them.
- Pay attention to any cords or strings that may be attached to the brackets. Hold them securely to prevent them from tangling or getting caught during removal.
As you detach the brackets, be cautious of any sharp edges or protruding components to avoid injuries. Take your time and ensure that all screws are removed before attempting to remove the brackets completely.
Once the brackets are detached, set them aside in a safe place for reinstallation or storage, if needed.
With the brackets removed, you are one step closer to removing your Hunter Douglas honeycomb blinds completely. The next step is to take down the blinds from the window.
Step 5: Take Down the Blinds
Now that the brackets are detached, it’s time to take down your Hunter Douglas honeycomb blinds from the window. Follow these steps to safely remove the blinds:
- Gently grasp the headrail of the blinds, which is the top portion that contains the cords or strings.
- Slowly and carefully lift the blinds upward, guiding them out of the window frame.
- As you lift the blinds, be mindful of any obstructions or fixtures near the window that may interfere with the blinds’ movement. Tilt the blinds slightly if necessary to navigate around any obstacles.
- If the blinds are too large or heavy to lift on your own, enlist the help of a friend or family member to provide assistance.
- Once the blinds are fully lifted out of the window, set them aside in a safe location where they won’t get damaged.
While taking down the blinds, it’s crucial to handle them with care to avoid bending or damaging the delicate pleats or fabric. Avoid yanking or pulling forcefully to prevent any mishaps or accidents during removal.
After taking down the blinds, your window will be free and clear, ready for cleaning or other treatments. Speaking of cleaning, it’s a good opportunity to move on to the next step: cleaning the windows.
Step 6: Clean the Windows
Now that your Hunter Douglas honeycomb blinds are removed, it’s a great opportunity to give your windows a thorough cleaning. Follow these steps to clean your windows effectively:
- Start by dusting off the window sills and frames using a soft cloth or a microfiber duster. Remove any loose dirt, debris, or cobwebs.
- Prepare a cleaning solution by mixing a mild detergent or glass cleaner with warm water in a spray bottle.
- Spray the cleaning solution onto the window surface, covering the entire area to be cleaned.
- Use a clean, lint-free cloth or a squeegee to wipe the windows in a circular or back-and-forth motion, ensuring that you cover all areas.
- Pay special attention to any stubborn spots or streaks. You can use a glass cleaner specifically formulated for tough stains or follow up with a vinegar-water solution for added cleansing power.
- Dry the windows thoroughly using a clean, lint-free cloth or paper towels to prevent streaks or water spots.
- Take this opportunity to also clean the window tracks, if necessary. Use a small brush or a toothbrush to remove dirt and debris from the tracks, then wipe them clean with a damp cloth.
Once the windows are clean and dry, you can proceed to the next step: reinstallation or replacement of your Hunter Douglas honeycomb blinds.
By cleaning your windows as part of the removal process, you ensure a fresh and pristine surface for your blinds to be reinstalled, enhancing the overall look of your windows.
Step 7: Reinstall or Replace the Blinds
Now that your windows are clean and ready, it’s time to decide whether you want to rehang your Hunter Douglas honeycomb blinds or replace them with new ones. Here are the steps for reinstalling or replacing the blinds:
Reinstalling the Blinds:
- Start by locating the brackets that were previously removed from the window frame or wall.
- Hold the headrail of the blinds and align it with the brackets.
- Gently slide the headrail into the brackets, making sure it sits securely.
- Once the headrail is in place, use a screwdriver to reattach the brackets to the window frame or wall. Ensure the screws are tightly secured.
- If your blinds have a cord lock mechanism, reengage the lock following the manufacturer’s instructions.
- Lower the blinds by pulling on the cords or using the controls provided, ensuring that they operate smoothly.
Replacing the Blinds:
- If you have chosen to replace your Hunter Douglas honeycomb blinds, start by measuring your window frame to determine the appropriate size for the new blinds.
- Select the desired style and color of the new blinds that will complement your interior décor.
- Follow the manufacturer’s instructions for installation, which may vary depending on the specific blinds you have chosen.
- Attach the brackets to the window frame or wall, aligning them with the measurements and following the provided guidelines.
- Place the headrail of the new blinds into the brackets, ensuring a secure fit.
- Use a screwdriver to fasten the brackets and secure the headrail in place.
- Make necessary adjustments to ensure smooth operation of the blinds, adjusting the tension as needed.
Whether you choose to reinstall your existing blinds or replace them with new ones, take the time to ensure that they are properly installed and functioning correctly.
Congratulations! You have successfully completed the process of removing and rehanging, or replacing, your Hunter Douglas honeycomb blinds. Enjoy your refreshed windows and the renewed functionality of your blinds!
Read more: How To Close Hunter Douglas Blinds
Conclusion
Removing Hunter Douglas honeycomb blinds may initially seem like a daunting task, but with the right knowledge and tools, it can be a straightforward process. By following the step-by-step guide outlined in this article, you can safely and effectively remove your blinds for cleaning, repairs, or replacement.
Remember to gather all the necessary tools and materials before getting started to ensure a smooth removal process. Take the time to properly prepare the area and familiarize yourself with the blinds’ operation and mechanisms to avoid any unnecessary complications.
Throughout the removal process, prioritize safety by handling the blinds and using tools with care. Be mindful of any sharp edges or protruding components that may cause injury.
Once the blinds are removed, take advantage of the opportunity to clean your windows thoroughly. Clearing away dust, dirt, and smudges will enhance the overall appearance of your windows.
Finally, you have the choice to reinstall your existing blinds or replace them with new ones. Whichever option you choose, make sure to follow the manufacturer’s instructions and ensure proper installation to achieve optimal functionality.
Removing and reinstalling Hunter Douglas honeycomb blinds is a great way to refresh the look of your windows and maintain the efficiency of your window treatments. By following these steps, you can confidently and efficiently complete the process, allowing you to enjoy clean, functional blinds that enhance the beauty of your space.
Remember to take your time, exercise caution, and don’t hesitate to seek professional help if needed. With the knowledge gained from this guide, you are well-equipped to embark on the process of removing your Hunter Douglas honeycomb blinds with confidence.
Frequently Asked Questions about How To Remove Hunter Douglas Honeycomb Blinds
Was this page helpful?
At Storables.com, we guarantee accurate and reliable information. Our content, validated by Expert Board Contributors, is crafted following stringent Editorial Policies. We're committed to providing you with well-researched, expert-backed insights for all your informational needs.


0 thoughts on “How To Remove Hunter Douglas Honeycomb Blinds”