Articles
How To Put Up Blinds With Brackets
Modified: September 1, 2024
Learn how to install blinds with brackets in this step-by-step guide. Find articles and tips on measuring, drilling, and attaching blinds to create a stylish window treatment.
(Many of the links in this article redirect to a specific reviewed product. Your purchase of these products through affiliate links helps to generate commission for Storables.com, at no extra cost. Learn more)
Introduction
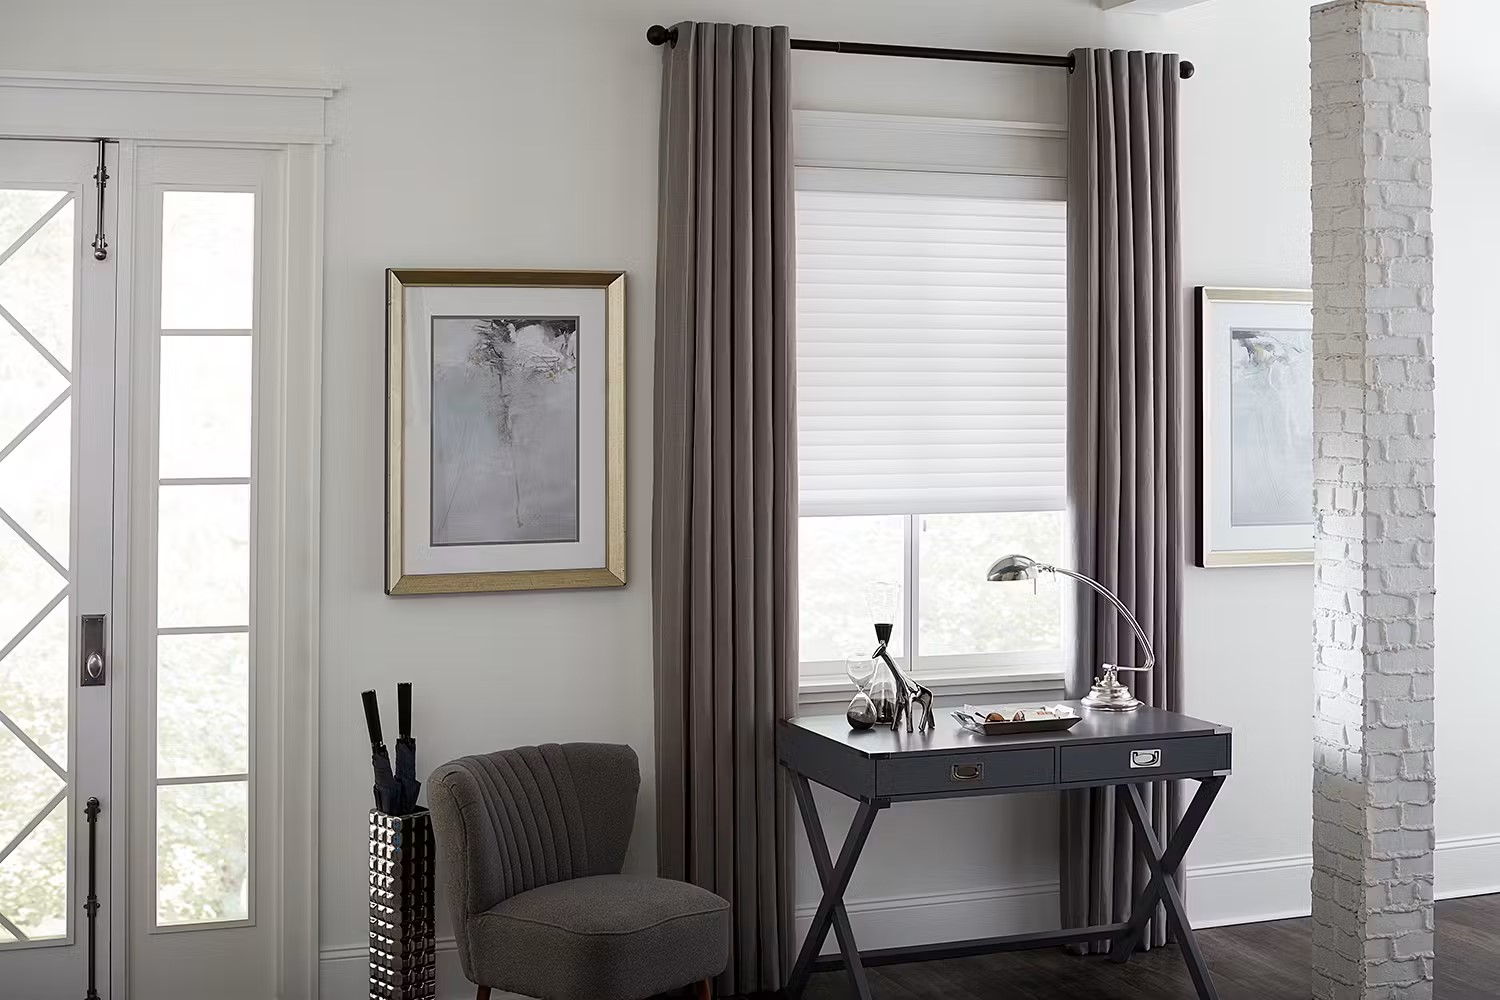
Welcome to our step-by-step guide on how to put up blinds with brackets. Blinds are a versatile and practical window treatment option that can enhance the look and functionality of any room. Whether you’re a seasoned DIY enthusiast or a newbie to home improvement projects, installing blinds with brackets is a relatively simple task that can be completed in just a few easy steps.
In this guide, we’ll walk you through each step of the process, from gathering the necessary materials to the finishing touches. By following our instructions, you’ll have your blinds securely installed and ready to enjoy in no time.
So let’s get started and bring some style and privacy to your windows!
Key Takeaways:
- Installing blinds with brackets is a straightforward DIY project that can elevate the look and functionality of your windows, providing privacy, light control, and a touch of personal style to any room.
- Attention to detail, from accurate measurements to testing the operation of the blinds, ensures a successful installation. The finishing touches, such as attaching valances and organizing cords, add the final polished look to your window treatment.
Read more: How To Put Up Roller Blinds
Step 1: Gather Materials
Before you begin installing your blinds, it’s important to gather all the necessary materials. Here’s a list of items you’ll need for the installation:
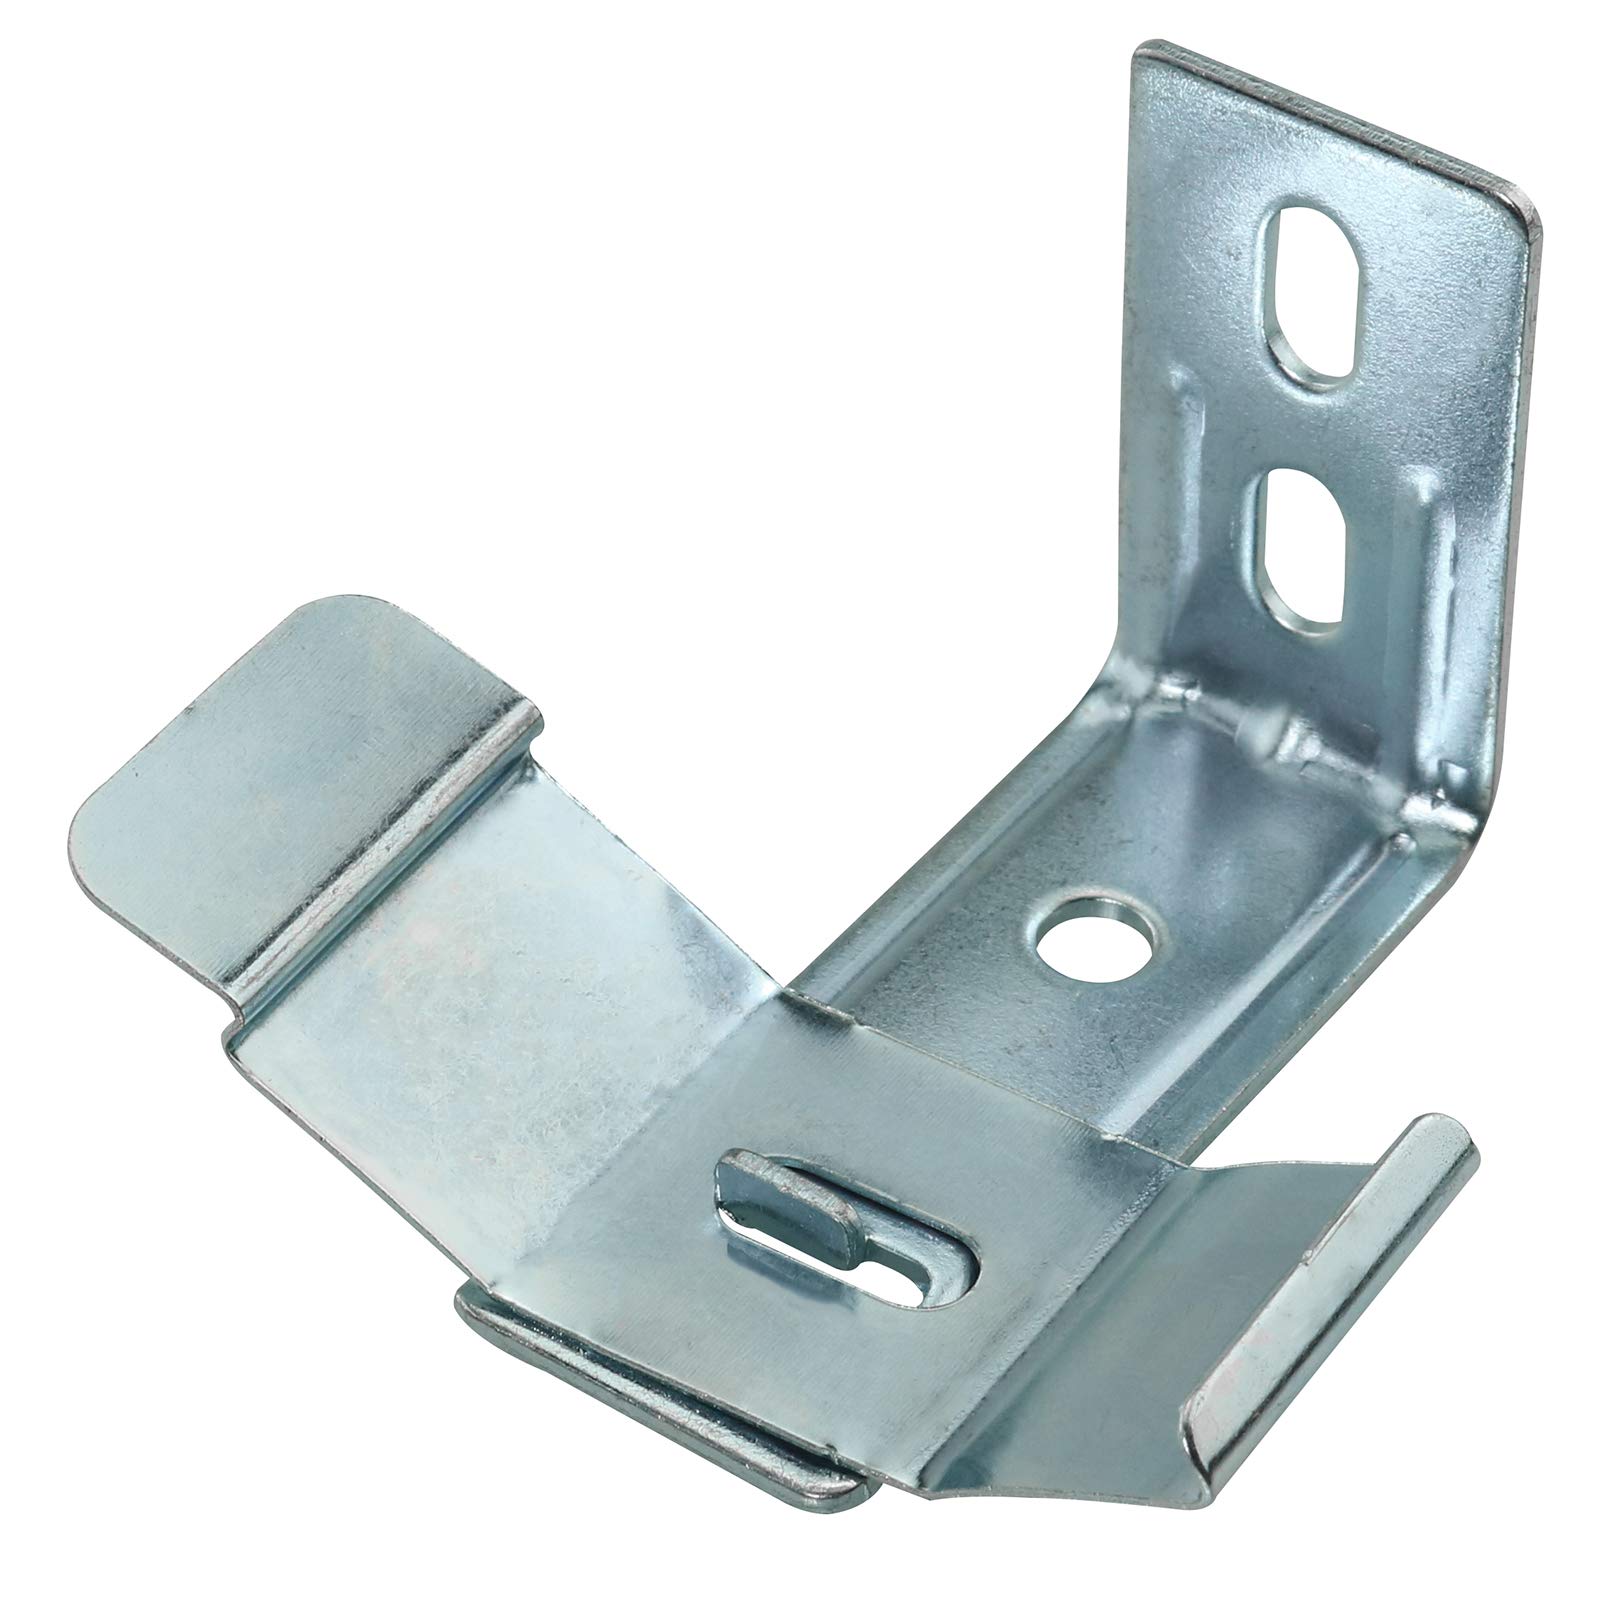
- Blinds with brackets: Make sure you have the correct size and type of blinds with the accompanying brackets. The brackets will vary depending on the style and brand of the blinds you’re installing.
- Tape measure: This will be used to accurately measure your window dimensions and determine the placement of the brackets.
- Pencil or marker: You’ll need a writing instrument to mark the placement points for the brackets on your window frame or wall.
- Screwdriver or drill: Depending on the type of screws provided with your blinds, you’ll need either a screwdriver or a drill with the appropriate bit size.
- Level: Using a level will ensure that your blinds are straight and properly aligned.
- Wall anchors (if necessary): If you’re mounting the brackets on drywall or a plaster surface, you may need wall anchors to provide additional support.
- Screws: Ensure you have the correct type and size of screws that are suitable for the material you’re mounting the brackets onto.
- Step ladder: Depending on the height of your windows, a step ladder may be necessary to safely reach and install the blinds.
Once you have gathered all the materials, double-check that you have everything you need before proceeding to the next step. Having everything on hand will make the installation process more efficient and prevent any unnecessary delays.
Now that you’re equipped with the necessary tools and materials, it’s time to move on to the next step: measuring and marking the installation points.
Step 2: Measure and Mark
Once you have gathered all the materials, the next step in installing blinds with brackets is to measure and mark the installation points. Follow these steps to ensure accurate measurements:
- Start by measuring the width of your window. Use a tape measure to determine the exact width from one side to the other. Note down this measurement as it will be helpful when positioning the brackets.
- Next, measure the height of your window. Again, use the tape measure to determine the exact height from the top to the bottom of the window frame. Make a note of this measurement as well.
- Based on the width measurement, divide it evenly to determine the distance between the two brackets. Typically, blinds are positioned about 2-3 inches away from the sides of the window frame. Use a pencil or marker to make small marks on the window frame or wall where the brackets will be placed.
- Using the height measurement, decide the position of the top bracket. Most blinds are mounted with the top of the brackets sitting slightly above the window frame. Ensure that the placement of the top bracket allows for smooth operation of the blinds and enough clearance at the bottom for the blinds to hang freely.
- With the marks in place, use a level to ensure that they are perfectly horizontal or vertical, depending on the orientation of your blinds. Adjust the position of the marks if necessary.
Once you have accurately measured and marked the installation points, you’re ready to move on to the next step: attaching the brackets.
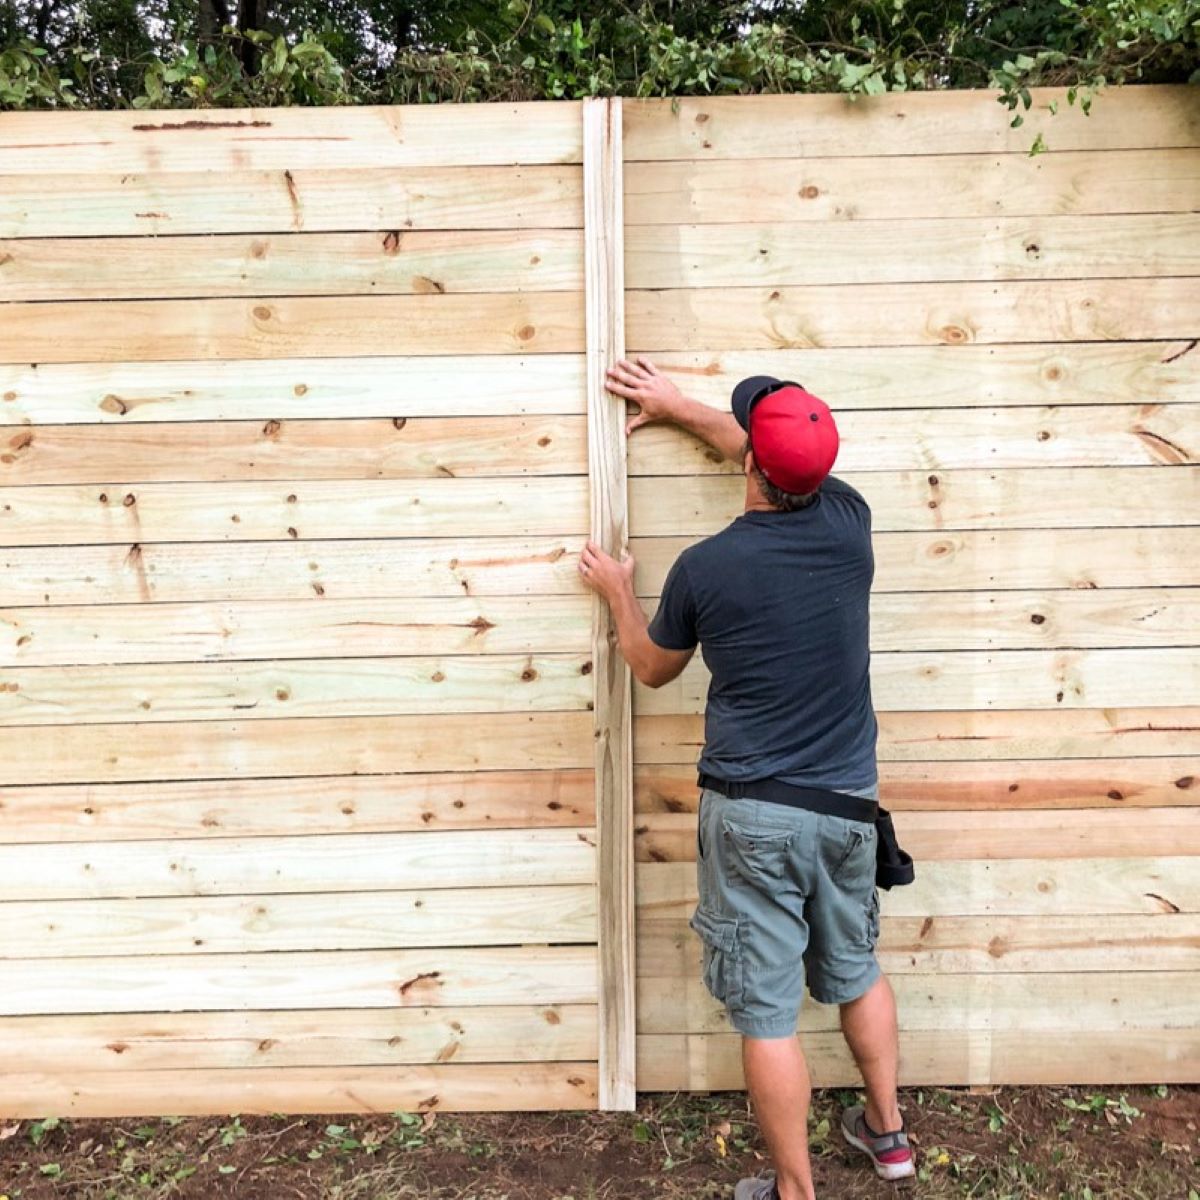
Step 3: Attach Brackets
Now that you have measured and marked the installation points for your blinds, it’s time to attach the brackets. Here’s how to do it:
- Start by holding one bracket against the mark you made on the window frame or wall. Make sure the bracket is aligned with the mark and level.
- Using a pencil or marker, mark the screw holes on the window frame or wall through the holes in the bracket. This will serve as a guide for drilling or screwing in the screws later.
- If necessary, pre-drill pilot holes using a drill with the appropriate bit size. This step is particularly important if you’re mounting the brackets on harder materials such as wood or metal.
- Align the bracket with the pilot holes and use a screwdriver or drill to secure it in place. Make sure the screws are tightened securely, but be careful not to over-tighten as it could damage the window frame or wall.
- Repeat the process for the second bracket, ensuring that it is aligned with the mark and level.
With both brackets securely attached, give them a gentle tug to ensure they are firmly in place. If there is any movement or instability, double-check the alignment and secure the brackets further if needed.
It’s important to note that some blinds may require different bracket configurations, such as center support brackets or side brackets for wider blinds. Always refer to the manufacturer’s instructions for specific guidelines on bracket placement for your blinds.
Now that the brackets are securely attached, you’re ready for the next step: inserting the blinds into the brackets.
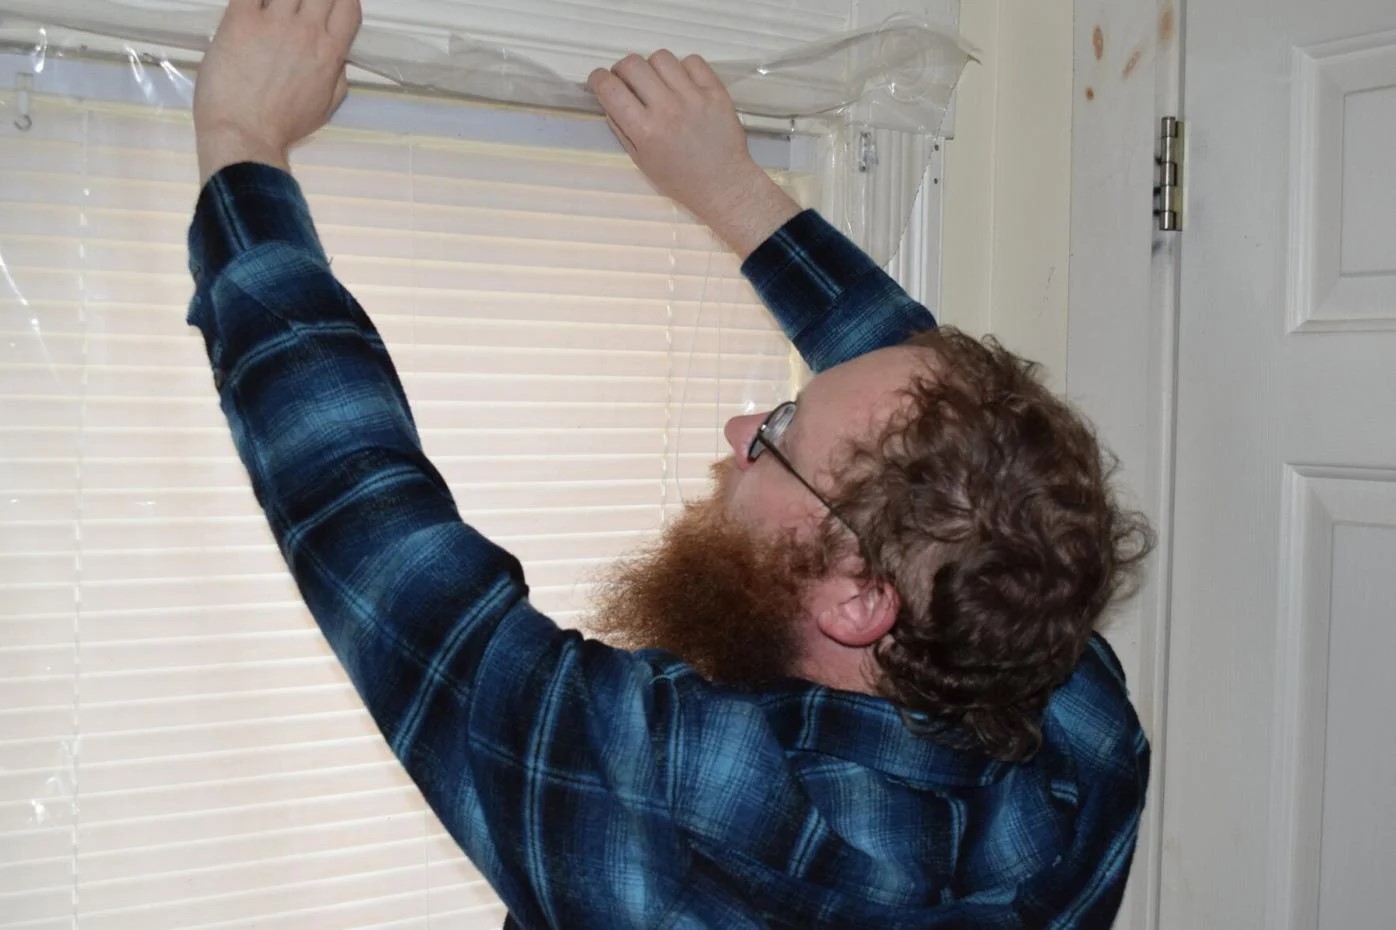
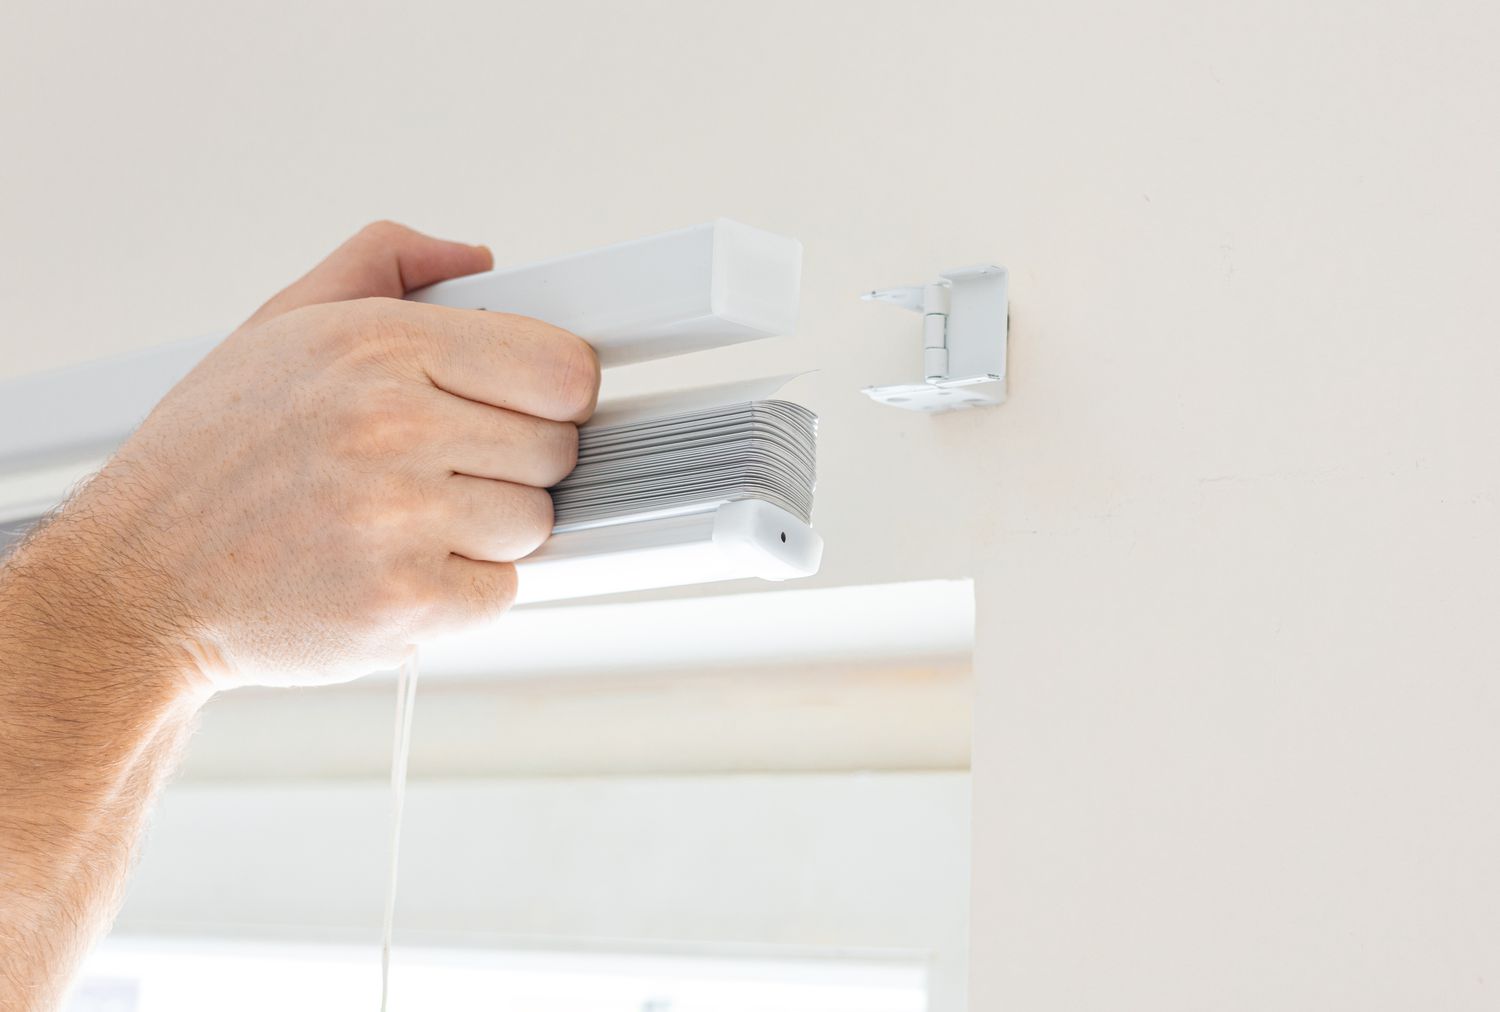
Step 4: Insert Blinds into Brackets
With the brackets securely attached, it’s time to insert the blinds and secure them in place. Follow these steps to ensure smooth installation:
- Hold the headrail of the blinds, which is the top part that contains the mechanism and slats, and position it between the two brackets.
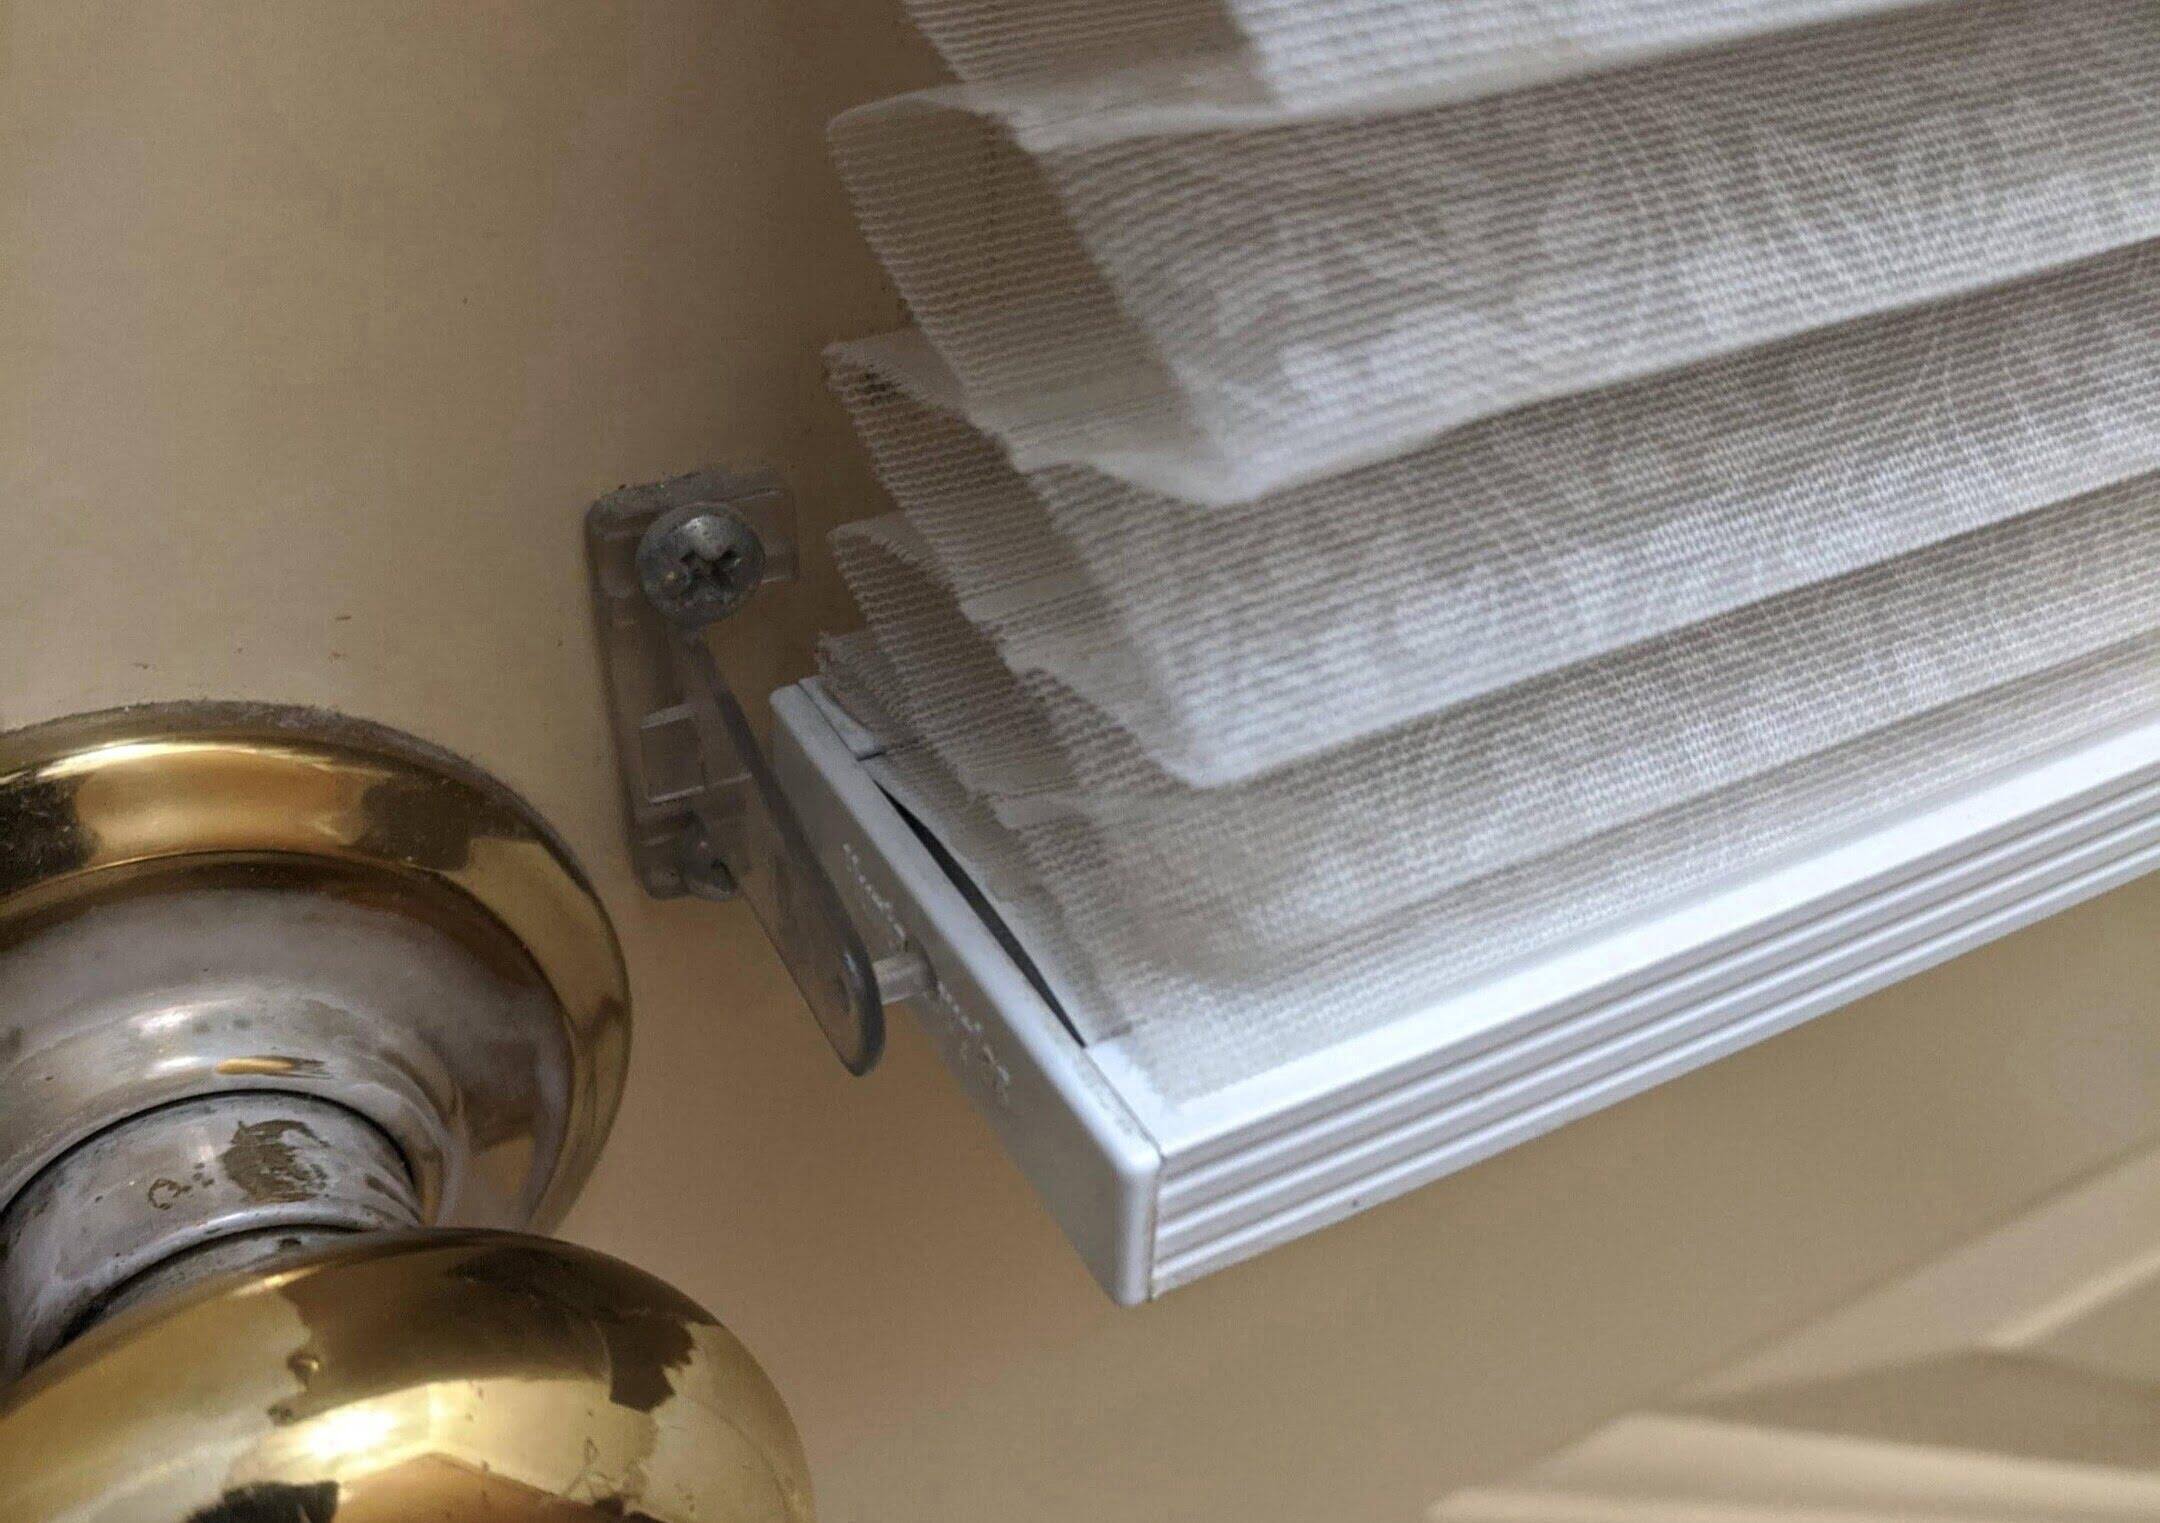
- Align the holes in the headrail with the brackets’ tabs or hooks. Depending on the type of blinds you have, the method of attachment may vary.
- Slide the headrail into the brackets, applying gentle pressure until it clicks or locks into place. You may need to wiggle or adjust the blinds slightly to ensure a proper fit.
- Once the blinds are inserted into the brackets, give them a gentle tug or shake to ensure they are securely held in place. They should not move or come loose.
- If your blinds have a valance or cornice, attach it according to the manufacturer’s instructions. This decorative piece will provide a finished look to your blinds.
It’s important to note that different blinds may have specific installation instructions or variations in the attachment method. Always refer to the manufacturer’s guidelines for proper installation of your particular blinds.
Now that your blinds are securely in place, you’re ready to move on to the next step: adjusting and securing the blinds.
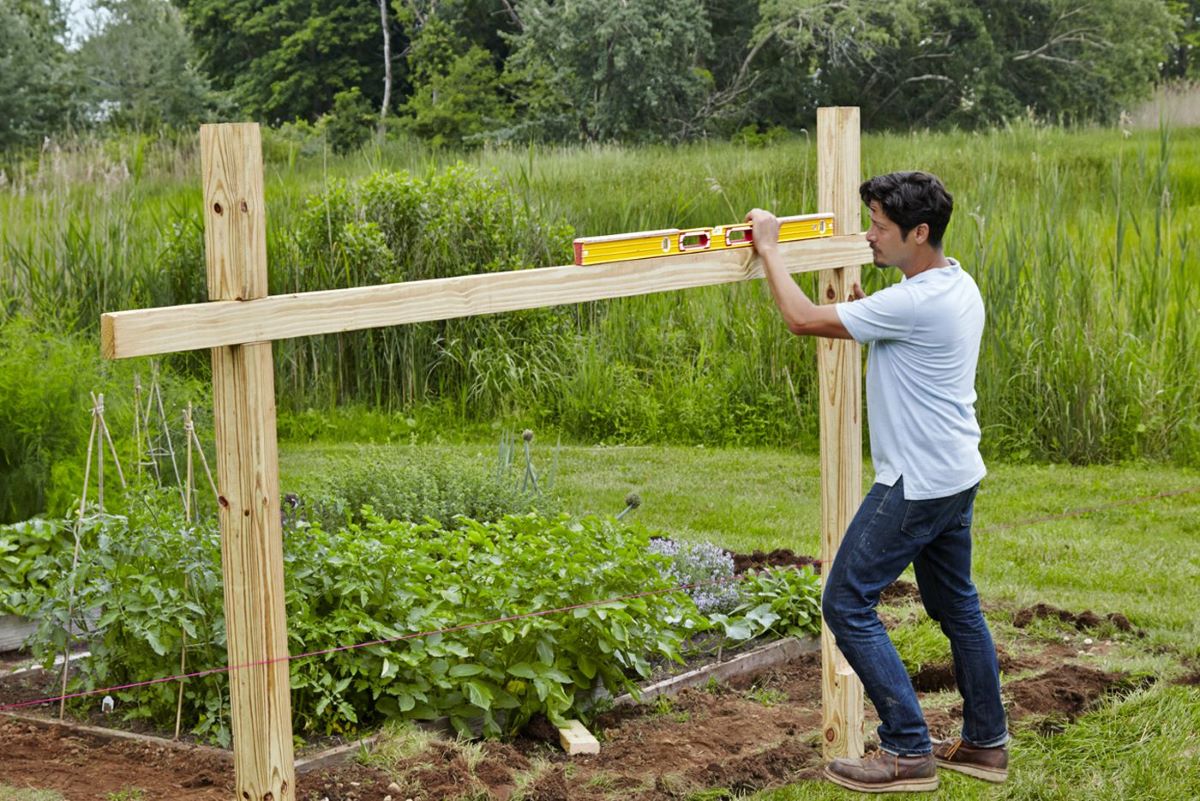
When putting up blinds with brackets, make sure to measure and mark the placement of the brackets accurately before drilling. Use a level to ensure the brackets are straight for a professional finish.
Read more: How Do You Put Up Blinds
Step 5: Adjust and Secure
After inserting the blinds into the brackets, it’s time to adjust them to ensure they are level and functioning properly. Here’s what you need to do:
- Check the levelness of the blinds by using a level. Place the level on top of the headrail to ensure that it is straight and aligned with the window frame. If necessary, make any adjustments to level the blinds by slightly tilting or repositioning them within the brackets.
- Test the operation of the blinds by pulling on the cords or using the control mechanism, depending on the type of blinds you have. Make sure they open and close smoothly without any obstructions or resistance.
- If your blinds have a wand or cord tilt mechanism, adjust it to ensure the slats tilt properly to control the amount of light and privacy.
- Secure any loose cords or strings to the wall or window frame using cord cleats or cord tensioners. This will prevent them from becoming a safety hazard, especially if you have children or pets in the house.
Take your time to adjust and fine-tune the position and operation of the blinds. It’s important to ensure they are level, functional, and aesthetically pleasing.
Lastly, double-check the bracket screws to make sure they are tightened securely. If you notice any signs of instability, tighten the screws further or consider adding additional support, such as using wall anchors for extra stability.
Now that your blinds are adjusted and secure, it’s time for the final step: testing the operation of the blinds.
Step 6: Test Operation
Before considering your blind installation complete, it’s important to thoroughly test the operation of your blinds to ensure that they are working smoothly and as intended. Here’s how:
- First, test the raising and lowering mechanism of the blinds. Gently pull down on the control cord or use the control wand to raise the blinds to their full height. Then, release the control cord or wand to allow the blinds to lower back down. The blinds should move up and down effortlessly without any obstructions or sticking points.
- Next, test the tilting mechanism of the blinds. Depending on the type of blinds you have, this can be done with either a cord, tilt wand, or a tilt rod. Adjust the tilt functionality to ensure that the slats tilt smoothly and evenly, allowing you to control the amount of light and privacy in the room.
- During the testing process, listen for any unusual sounds or noises. The blinds should operate quietly without any squeaks or creaks. If you notice any unusual sounds, check for loose or misaligned components that may need tightening or adjustment.
- Take note of any areas where the blinds may be catching or sticking. Smoothly operate the blinds multiple times to ensure they glide smoothly along the brackets and do not get stuck or jammed at any point.
- Lastly, test the stopping mechanism of any cord-operated blinds to make sure they stop at the desired height without slipping or falling. This is important for ensuring the safety of young children and pets.
By thoroughly testing the operation of your blinds, you can identify and address any issues or concerns before completing the installation process. It’s essential to have blinds that function properly and offer hassle-free operation.
If you encounter any difficulties or notice any issues during the testing phase, refer to the manufacturer’s instructions for troubleshooting steps or consider seeking professional assistance if needed.
Once you are satisfied with the operation of your blinds, you’re ready for the final step: adding the finishing touches.
Step 7: Finishing Touches
Congratulations! You’re in the final step of installing blinds with brackets. The finishing touches will add the final touches to your window treatment and ensure a polished and cohesive look. Here’s what you need to do:
- If your blinds come with a valance or cornice, attach it according to the manufacturer’s instructions. The valance will cover the headrail and brackets, providing a seamless and attractive finish to your blinds.
- Make sure all cords and strings are neatly organized and secured. Use cord cleats or cord tensioners to keep them out of reach of children and pets, ensuring a safe environment.
- Inspect the overall appearance of your blinds and adjust any misaligned slats. Use your hand or a flat object to carefully straighten any slats that may have shifted during the installation process.
- Clean the blinds and window area. Dust off the blinds using a soft cloth or duster, or use a vacuum cleaner with a brush attachment to remove any dirt or debris. Wipe down the surrounding window frame or wall to ensure a clean and fresh look.
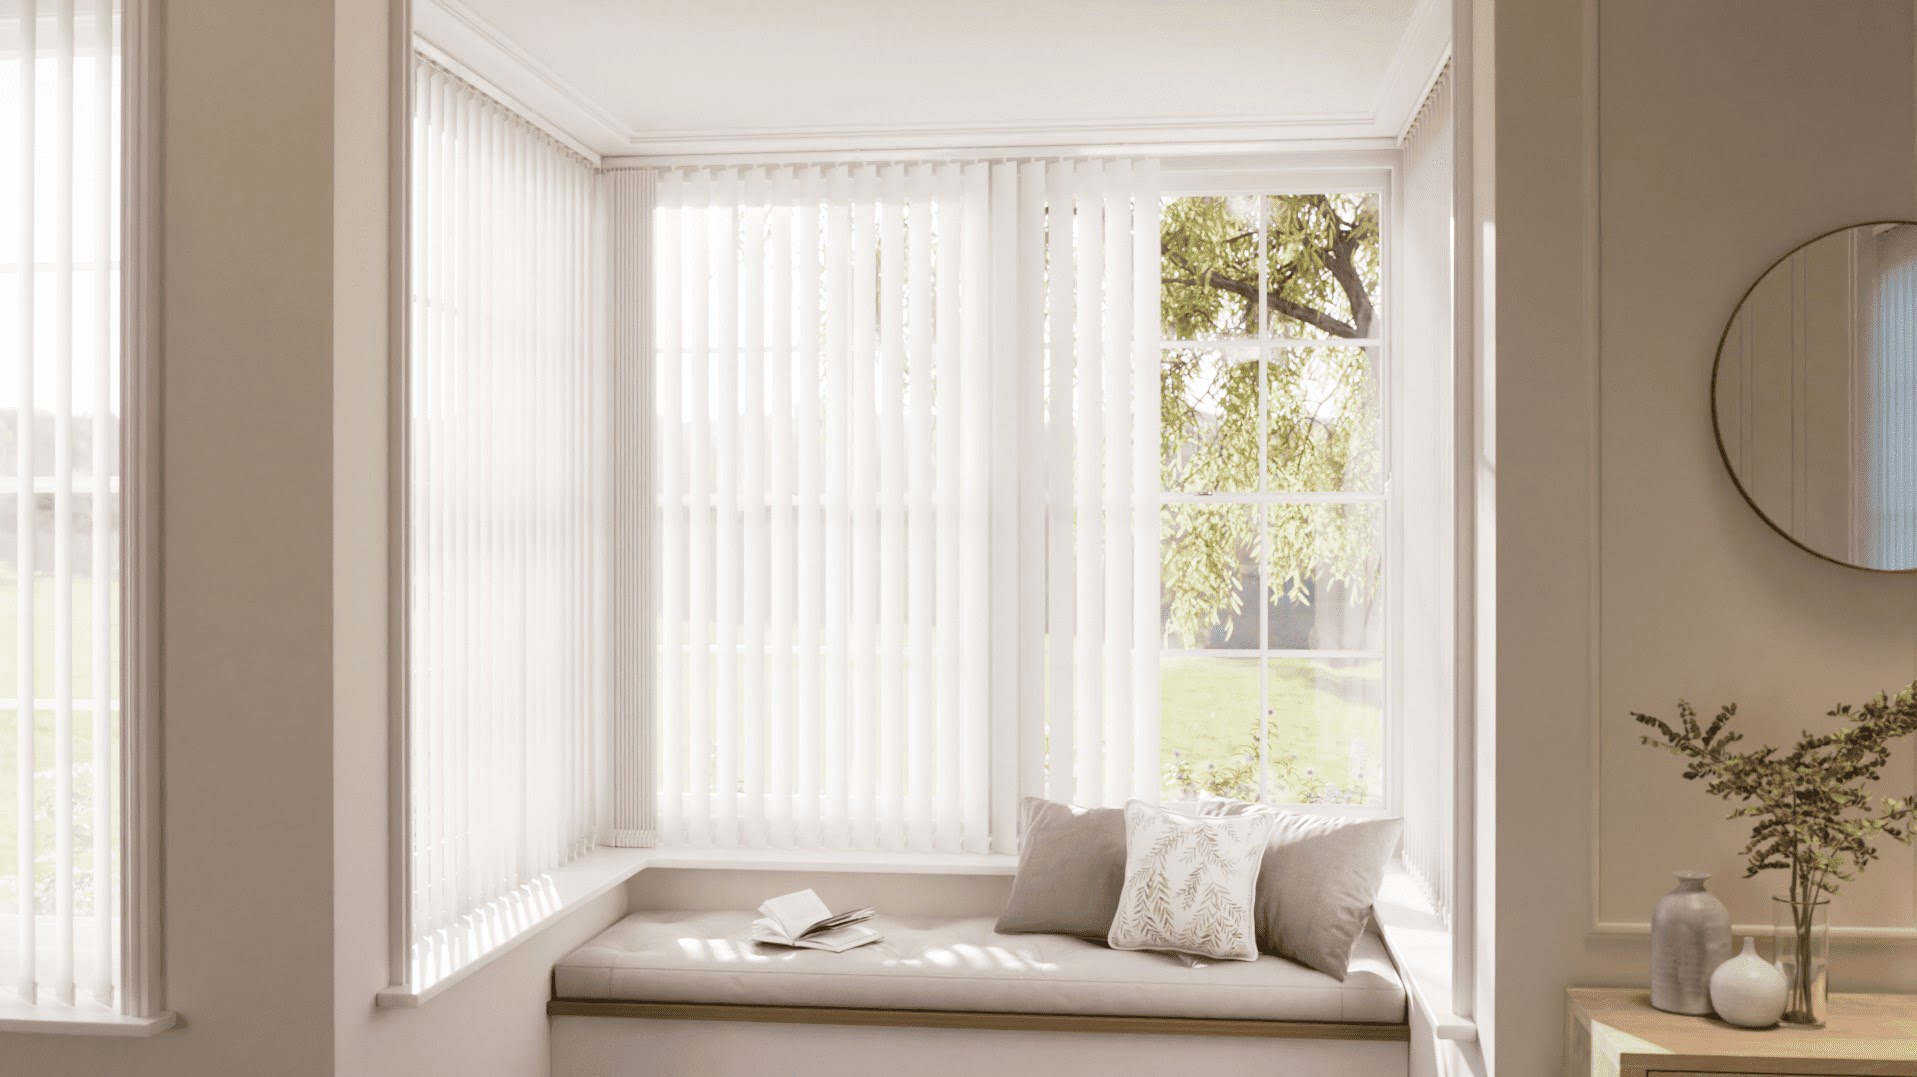
- Stand back and admire your newly installed blinds! Take a moment to appreciate the improved aesthetics, privacy, and light control that they provide to your space.
With these finishing touches, your blinds installation is complete. Enjoy the enhanced functionality and style that these window treatments bring to your home or office.
Remember to periodically clean and maintain your blinds to keep them in optimal condition. Follow the manufacturer’s instructions for cleaning recommendations and care guidelines specific to your blinds’ material and type.
Thank you for following this step-by-step guide on how to put up blinds with brackets. We hope you found it helpful and that you are now able to enjoy the benefits of your newly installed blinds. Happy decorating!
Conclusion
Installing blinds with brackets is a manageable and gratifying DIY project that can transform the look and functionality of your windows. By following the step-by-step guide provided, you can confidently complete the installation process and enjoy the benefits of stylish and functional blinds in your space.
From gathering the necessary materials to adjusting and securing the blinds, each step plays a crucial role in ensuring a successful installation. Taking the time to measure accurately, mark the installation points, and attach the brackets securely will ensure a strong and stable foundation for your blinds.
Testing the operation of the blinds is an essential step to verify that they raise, lower, and tilt smoothly, allowing for optimal light control and privacy. Paying attention to any unusual sounds, catching points, or cord safety will guarantee a safe and functional window treatment.
Don’t forget about the finishing touches, such as attaching valances, organizing cords, and cleaning the blinds and surrounding area. These details will add the final touches to your installation, creating a polished and cohesive look for your windows.
By completing the installation of blinds with brackets, you have not only accomplished a practical home improvement project but also enhanced the overall aesthetics of your space. The addition of blinds provides privacy, light control, and a touch of personal style to any room.
Remember to regularly clean and maintain your blinds to prolong their lifespan and ensure their optimal performance. Refer to the manufacturer’s instructions for specific care guidelines for your blinds’ material and type.
Thank you for following this comprehensive guide on how to put up blinds with brackets. We hope this has empowered you to successfully install blinds and enjoy the benefits they bring to your home or office. Now, sit back, relax, and bask in the beauty and functionality of your newly installed blinds!
Frequently Asked Questions about How To Put Up Blinds With Brackets
Was this page helpful?
At Storables.com, we guarantee accurate and reliable information. Our content, validated by Expert Board Contributors, is crafted following stringent Editorial Policies. We're committed to providing you with well-researched, expert-backed insights for all your informational needs.