Articles
How To Remove A Hunter Ceiling Fan
Modified: October 20, 2024
Learn how to remove a Hunter ceiling fan with our comprehensive articles.
(Many of the links in this article redirect to a specific reviewed product. Your purchase of these products through affiliate links helps to generate commission for Storables.com, at no extra cost. Learn more)
Introduction
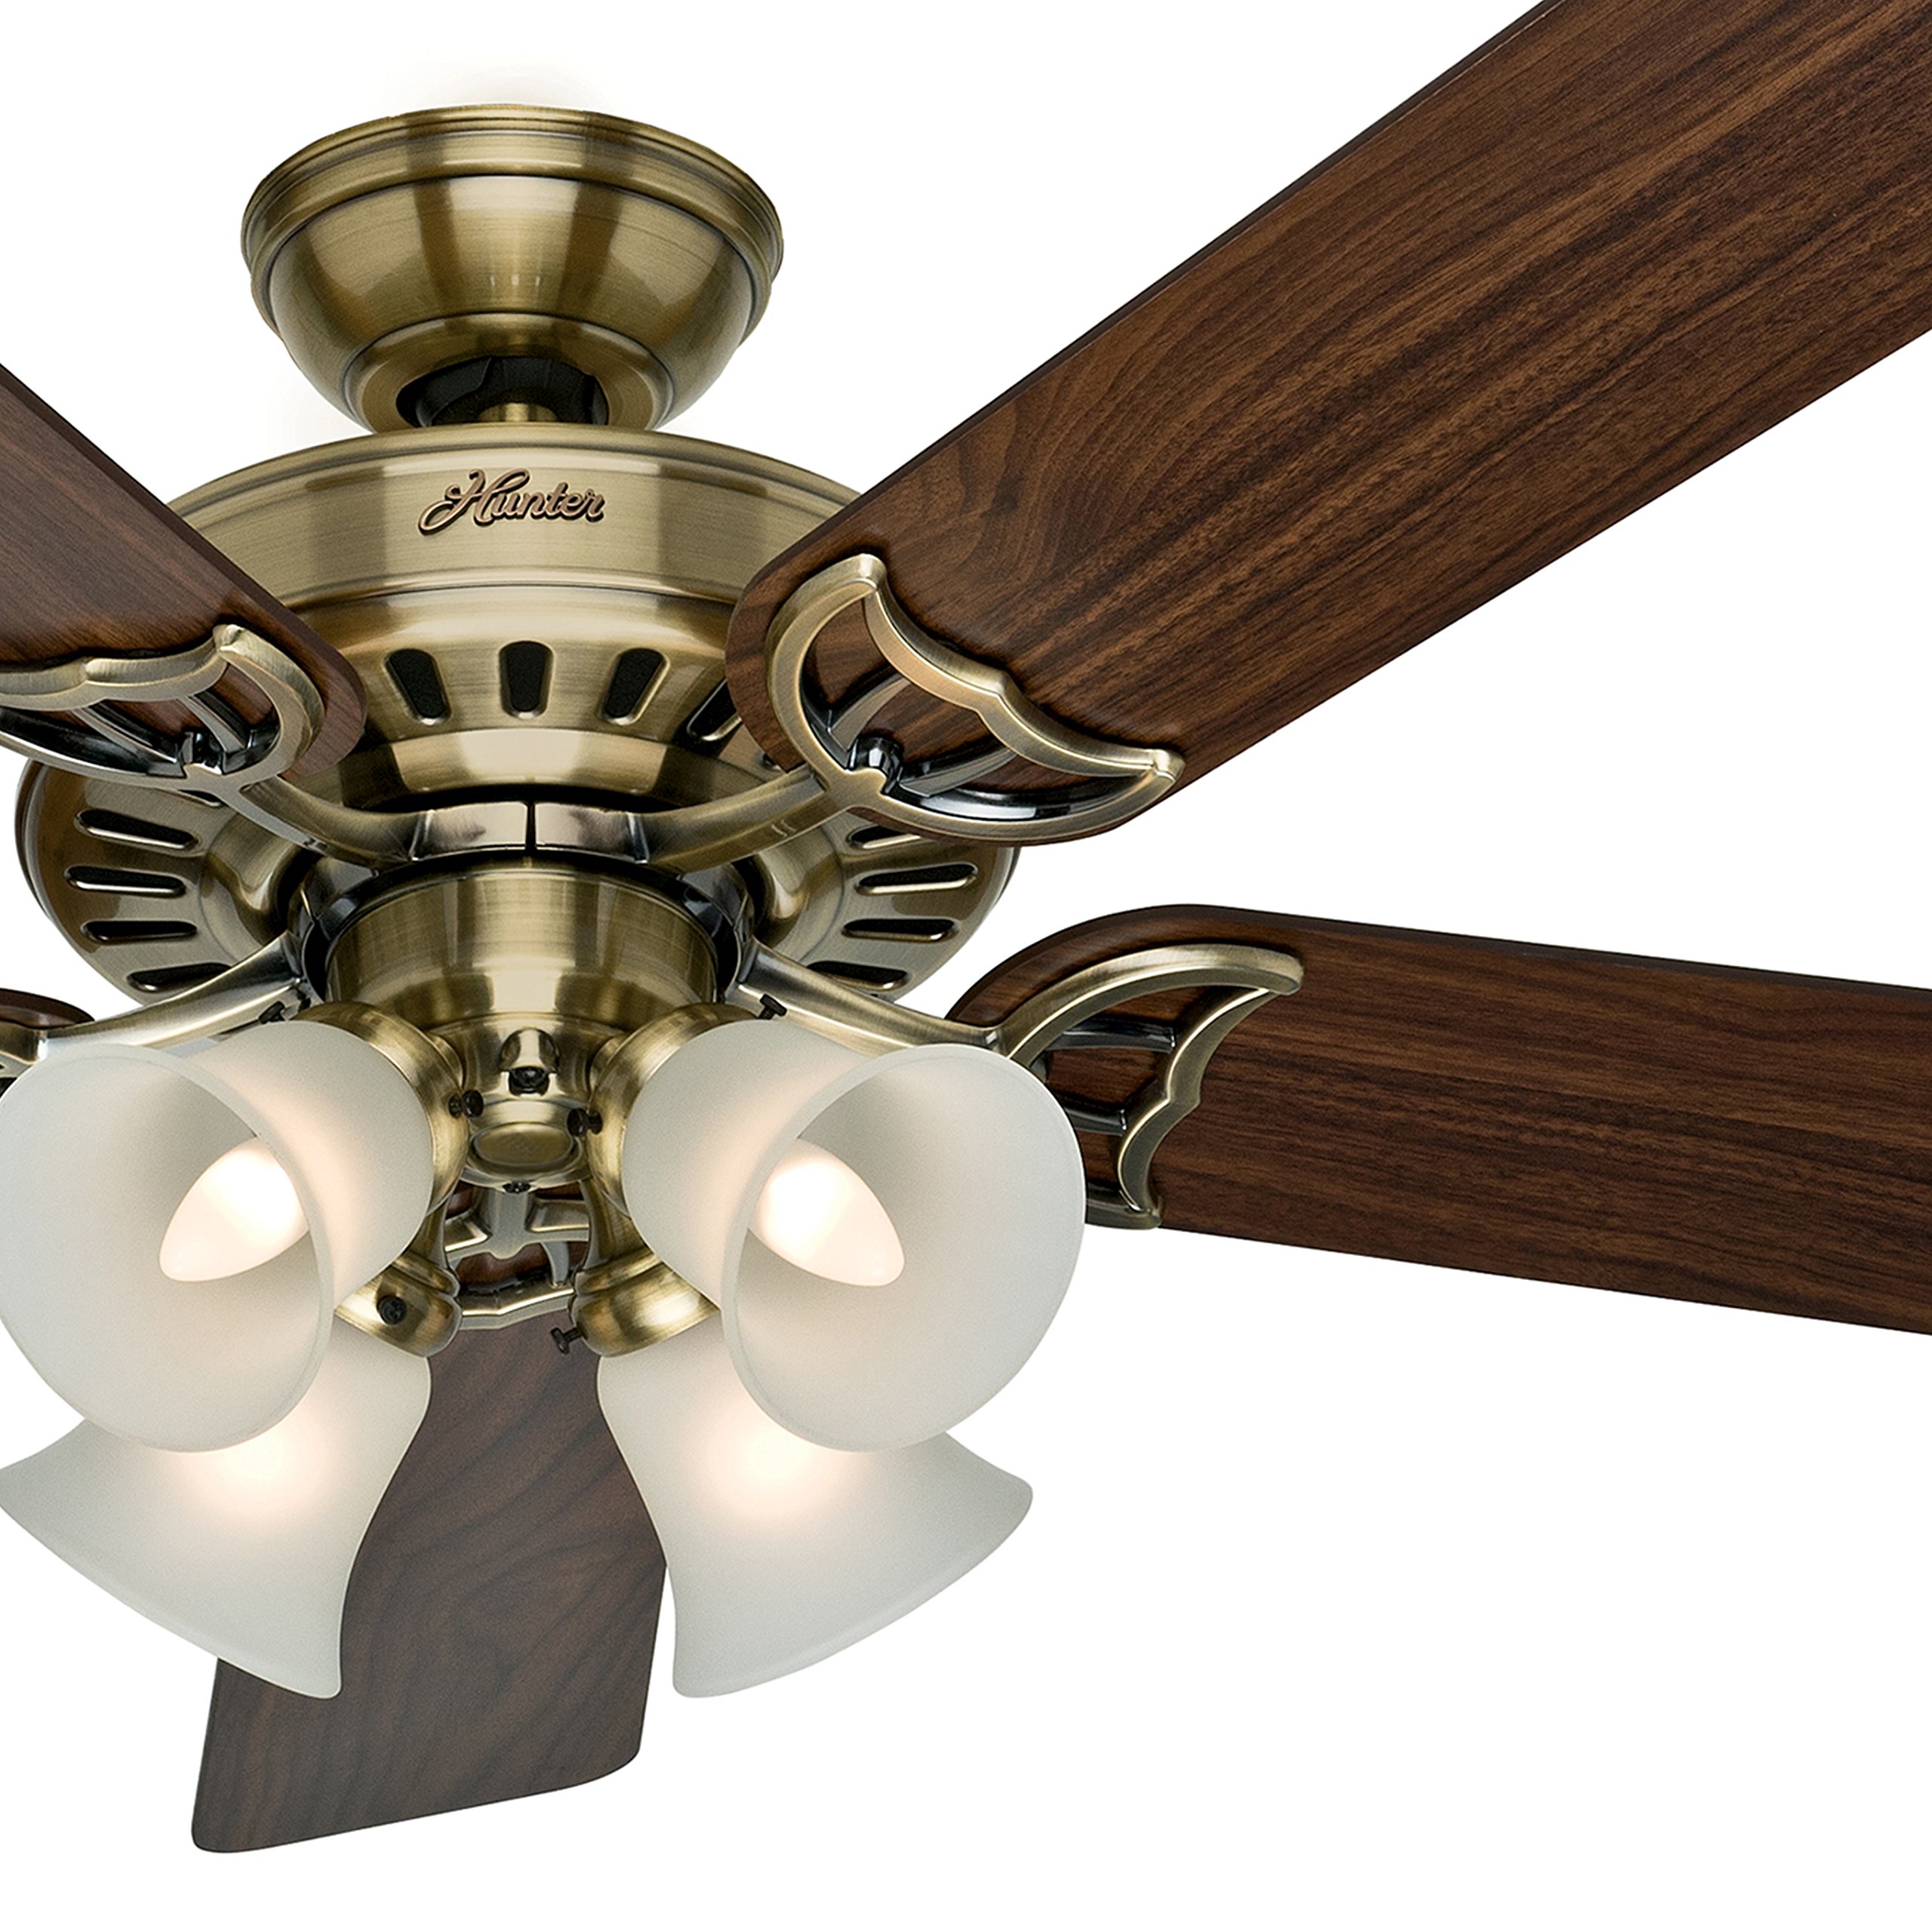
A Hunter ceiling fan can provide comfort and beauty to any room, but there may come a time when you need to remove it. Whether you want to replace it with a new fan or just need to take it down for maintenance or repair, knowing how to properly remove a Hunter ceiling fan is essential.
While the process may seem daunting at first, especially if you’re not familiar with electrical work, with the right tools and a little know-how, you can successfully remove your Hunter ceiling fan without any major issues.
In this article, we will walk you through the step-by-step process of how to remove a Hunter ceiling fan. We’ll provide detailed instructions along the way, ensuring that you can tackle this task with confidence and ease.
Key Takeaways:
- Safely and confidently remove your Hunter ceiling fan by following step-by-step instructions, prioritizing safety, and gathering necessary tools for a smooth removal process.
- Consider patching and painting the ceiling or installing a new fan after removing your Hunter ceiling fan to personalize and enhance your space.
Read more: How To Wire Hunter Ceiling Fan
Step 1: Turn off the power
Before you begin any work on your Hunter ceiling fan, it’s crucial to turn off the power to the fan and the room it’s located in. This step ensures your safety and prevents any potential accidents or electrical shocks.
Start by locating the circuit breaker for the room that the ceiling fan is installed in. Open the electrical panel and find the corresponding breaker switch. Flip the switch to the “off” position to cut off power to the fan.
Once the power is turned off, it’s a good idea to verify that it’s truly shut off. You can do this by using a voltage tester. Simply hold the voltage tester against the wiring or the light switch to confirm that there’s no electrical current running through. Remember to follow proper safety precautions when working with electricity.
Turning off the power is a critical step that should never be skipped. It ensures your safety and prevents any potential damage to the fan or electrical system while you’re working on it.
Now that you’ve taken the necessary precautions, you’re ready to move on to the next step: gathering the necessary tools.
Step 2: Gather necessary tools
Before you begin removing your Hunter ceiling fan, it’s important to gather all the necessary tools and equipment. Having everything you need on hand will streamline the process and make it much easier for you to complete the task.
Here’s a list of tools you’ll likely need:
- Screwdriver (either a flathead or Phillips head, depending on the fan’s screws)
- Pliers
- Wire stripper
- Wire nuts
- Step ladder or sturdy stool
- Voltage tester
- Masking tape
- Zip ties or cable clips (for organizing wires)
Having these tools readily available will save you time and frustration during the removal process. Make sure they are in good condition and within reach before you start. If you don’t have these tools on hand, you can typically find them at a local hardware store or online.
Once you have gathered all the necessary tools, you’re ready to move on to the next step: removing the fan blades.
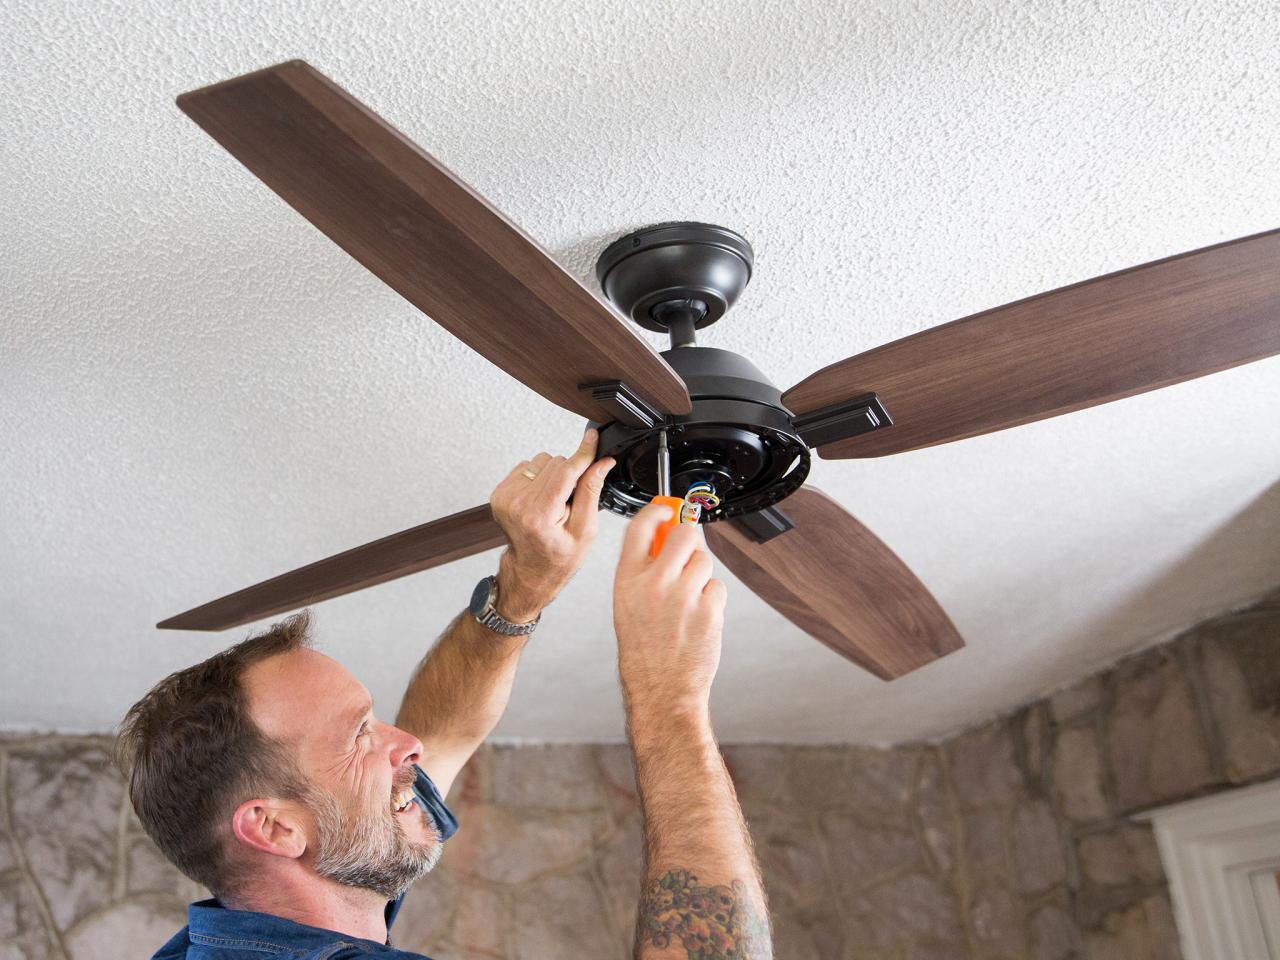
Step 3: Remove the fan blades
With the power turned off and the necessary tools gathered, it’s time to start removing the fan blades from your Hunter ceiling fan. Removing the blades is usually a straightforward process, but it may vary slightly depending on the model of your fan.
Here’s a general guide to help you remove the fan blades:
- Locate the screws connecting the fan blades to the motor housing. These screws are usually located on the top of the blade near the center.
- Using a screwdriver, begin by loosening the screws on one of the fan blades. Keep a hand on the blade to prevent it from falling.
- Once the screws are loose, fully remove them and set them aside in a safe place.
- Gently lift the blade away from the motor housing and set it aside.
- Repeat this process for each fan blade until they are all removed.
It’s important to note that some fan blades may have a clip or locking mechanism instead of screws. In such cases, refer to the manufacturer’s instructions for specific removal steps.
As you remove each blade, it can be helpful to label them or make a note of their positions. This will make it easier to reassemble the fan later on. You can use masking tape and a marker to label each blade with its corresponding position.
Once all the blades are removed, you can move on to the next step: disconnecting the electrical connections.
Step 4: Disconnect the electrical connections
Now that the fan blades have been removed, it’s time to disconnect the electrical connections of your Hunter ceiling fan. This step involves disconnecting the wiring that supplies power to the fan.
Follow these steps to safely disconnect the electrical connections:
- Locate the wire nuts connecting the fan’s electrical wires to the house wiring. These wire nuts are typically found in the electrical box in the ceiling.
- Use pliers to twist and loosen the wire nuts in a counterclockwise direction. This will disconnect the wires.
- Once the wire nuts are loose, separate the fan’s wires from the house wiring.
- Take note of the color-coded wires for future reference. In most cases, the wires will be labeled with colors such as black, white, and green. The black wire represents the power supply, the white wire is the neutral wire, and the green wire is the ground wire.
- If the wires are not color-coded, it’s important to mark them using masking tape and a marker. Label each wire with its corresponding function (power, neutral, ground) to ensure proper reconnection later on.
Once the electrical connections are safely disconnected, it’s a good practice to use zip ties or cable clips to organize and secure the loose wires. This will help prevent tangling and make the reinstallation process easier.
With the electrical connections disconnected, you can now proceed to the next step: removing the mounting bracket.
Read more: How To Reverse Hunter Ceiling Fan
Step 5: Remove the mounting bracket
After disconnecting the electrical connections, the next step in removing your Hunter ceiling fan is to remove the mounting bracket. The mounting bracket is responsible for securing the fan to the ceiling.
Follow these steps to remove the mounting bracket:
- Locate the screws or bolts that attach the mounting bracket to the ceiling. These screws or bolts are usually located on the outer edge of the bracket.
- Using a screwdriver or wrench, carefully loosen and remove the screws or bolts from the bracket. Make sure to support the bracket as you remove the hardware to prevent it from falling.
- Once the screws or bolts are removed, carefully detach the mounting bracket from the ceiling. Keep in mind that the bracket may still be connected to the electrical box in the ceiling.
- Lower the mounting bracket gently to the ground, ensuring that it doesn’t damage any surrounding objects.
If the mounting bracket is attached to the electrical box with screws or bolts, you will need to remove these as well. Use a screwdriver or wrench to loosen and remove the screws or bolts, carefully detaching the bracket from the electrical box.
After removing the mounting bracket, set it aside in a safe place. You may need it later if you plan to install a new ceiling fan.
With the mounting bracket removed, you can now proceed to the next step: taking down the motor housing.
Before removing a Hunter ceiling fan, make sure to turn off the power at the circuit breaker. Use a ladder to access the fan, and carefully disconnect the wiring. Then, unscrew the mounting bracket and carefully lower the fan down.
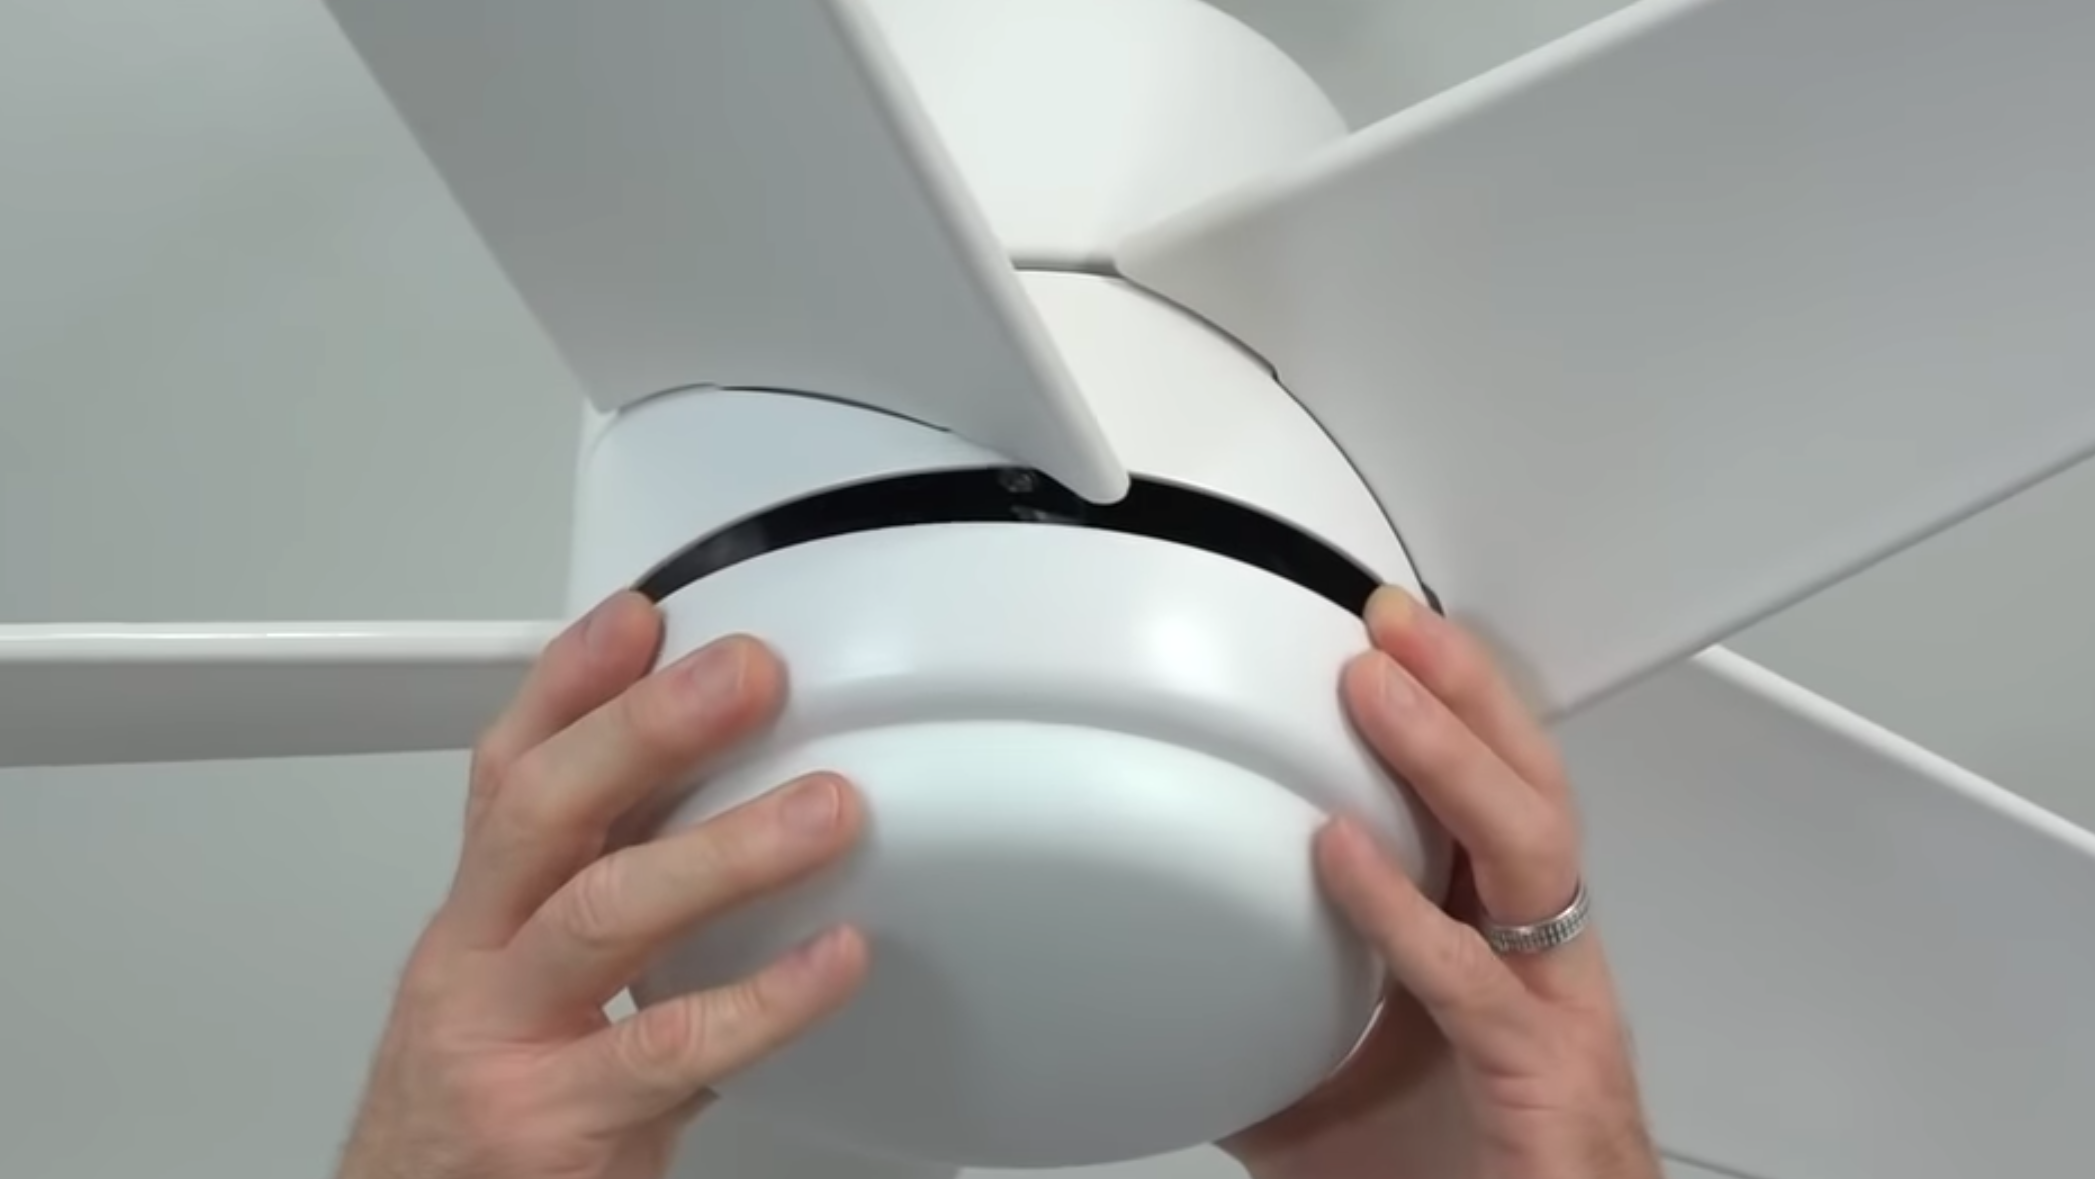
Step 6: Take down the motor housing
Now that the mounting bracket has been removed, it’s time to take down the motor housing of your Hunter ceiling fan. The motor housing is the part of the fan that encloses the motor and connects it to the ceiling.
Follow these steps to safely take down the motor housing:
- Locate the screws or bolts that secure the motor housing to the ceiling bracket. These screws or bolts are usually located on the bottom of the housing.
- Using a screwdriver or wrench, carefully loosen and remove the screws or bolts from the motor housing. These screws or bolts may be long, so be sure to hold onto the housing as you remove them to prevent it from falling.
- Once the screws or bolts are removed, gently lower the motor housing, taking care not to damage any surrounding objects.
Depending on the design of your Hunter ceiling fan, the motor housing may have tabs or clips that needs to be released. If this is the case, refer to the manufacturer’s instructions or user manual for specific steps on how to release the housing.
Set the motor housing aside in a safe area where it won’t get damaged. The housing may be bulky, so make sure to handle it with care.
With the motor housing removed, you can now proceed to the next step: unscrewing the ceiling fan canopy.
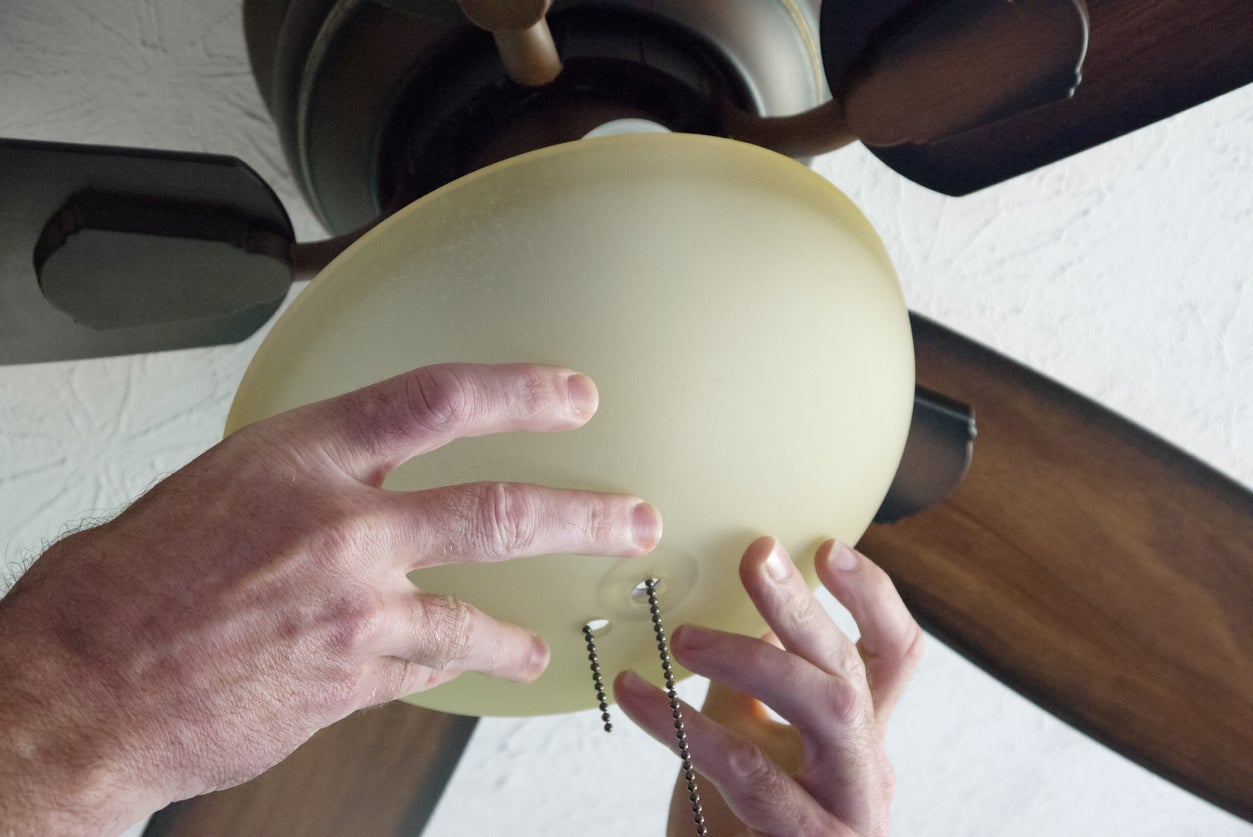
Step 7: Unscrew the ceiling fan canopy
After removing the motor housing, the next step in removing your Hunter ceiling fan is to unscrew the ceiling fan canopy. The canopy is the decorative cover that conceals the electrical wires and the mounting bracket on the ceiling.
Follow these steps to unscrew the ceiling fan canopy:
- Locate the screws or bolts that secure the ceiling fan canopy to the mounting bracket. These screws or bolts are usually located at the top of the canopy.
- Using a screwdriver or wrench, carefully loosen and remove the screws or bolts from the canopy. As you unscrew them, make sure to support the canopy to prevent it from falling.
- Once the screws or bolts are removed, gently lower the canopy from the mounting bracket. Be cautious as there may still be wires attached to the canopy.
In some cases, the ceiling fan canopy may have a twist-lock mechanism instead of screws or bolts. If this is the case for your fan, refer to the manufacturer’s instructions or user manual for specific steps on how to detach the canopy.
After removing the canopy, set it aside in a safe place. Take note of the electrical wires that are now exposed. They were previously hidden by the canopy and will need to be addressed in the next step.
With the ceiling fan canopy unscrewed, you can now proceed to the next step: removing the hanging bracket.
Step 8: Remove the hanging bracket
After unscrewing the ceiling fan canopy, the next step in removing your Hunter ceiling fan is to remove the hanging bracket. The hanging bracket is the piece that connects the fan to the electrical box in the ceiling.
Follow these steps to remove the hanging bracket:
- Locate the screws or bolts that attach the hanging bracket to the electrical box. These screws or bolts are usually located on the sides or bottom of the bracket.
- Using a screwdriver or wrench, carefully loosen and remove the screws or bolts from the hanging bracket. Make sure to support the bracket as you remove the hardware to prevent it from falling.
- Once the screws or bolts are removed, detach the hanging bracket from the electrical box.
Depending on the design of your Hunter ceiling fan, the hanging bracket may be secured with clips or hooks. If this is the case, carefully release these attachments according to the manufacturer’s instructions or user manual.
After removing the hanging bracket, inspect the electrical box to ensure it’s in good condition. If there are any issues or damages, it’s advisable to consult a professional electrician for assistance.
Set the hanging bracket aside in a safe place. You may need it later if you decide to install a new ceiling fan.
With the hanging bracket removed, you can now proceed to the next step: patching and painting the ceiling (optional).
Read more: How To Oil A Hunter Ceiling Fan
Step 9: Patch and paint the ceiling (optional)
Once you have removed the hanging bracket, you have the option to patch and paint the ceiling where the Hunter ceiling fan was installed. This step is optional and depends on your preference and the condition of the ceiling.
If the removal of the fan has left any visible holes, marks, or damage on the ceiling, patching and painting can help restore the surface to its original state. It’s especially important if you don’t plan to install a new ceiling fan or if you want a fresh look in the room.
Follow these steps to patch and paint the ceiling (if desired):
- Inspect the ceiling for any holes, cracks, or damage. Use spackling compound or putty to fill in any small holes or cracks. For larger holes, you may need to use a patch kit or consult a professional for more extensive repairs.
- Allow the spackling compound or putty to dry according to the manufacturer’s instructions.
- Once the patched areas are dry, sand them lightly with fine-grit sandpaper to create a smooth surface.
- Clean the ceiling to remove any dust or debris from the patching process.
- If you wish to change the color of the ceiling, select a high-quality ceiling paint in the color of your choice. Apply one to two coats of paint, following the manufacturer’s instructions and ensuring even coverage.
- Allow the paint to dry completely before moving on to the next step.
This optional step of patching and painting the ceiling helps to ensure a seamless and polished look after removing the Hunter ceiling fan. It can enhance the overall aesthetic of the room and provide a fresh canvas for any future changes or decoration.
With the patching and painting completed (if chosen), you can now move on to the final step: installing a new ceiling fan (if desired) or concluding the process of removing the Hunter ceiling fan.
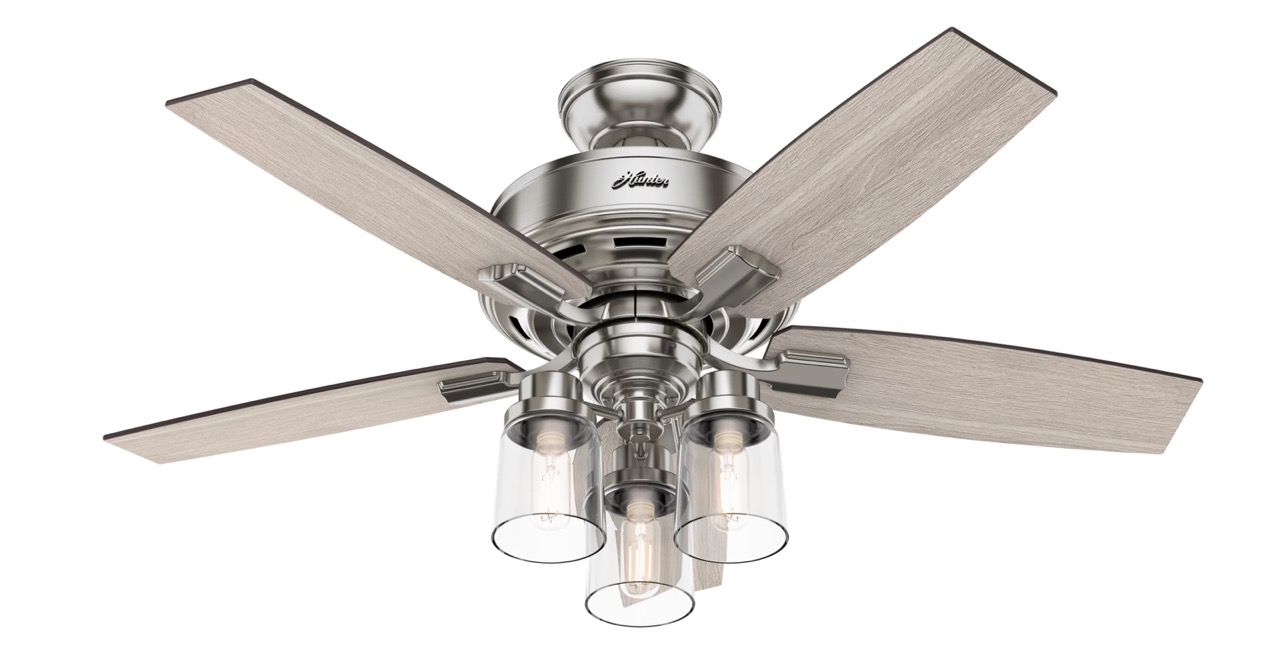
Step 10: Install a new ceiling fan (if desired)
If you’ve decided to replace your Hunter ceiling fan with a new one, this step will guide you through the process of installing the new fan. If you’re satisfied with the removal of the Hunter ceiling fan and don’t wish to install a new one, you can simply skip this step and consider the process complete.
Follow these steps to install a new ceiling fan:
- Refer to the manufacturer’s instructions and gather all the necessary tools and components for the installation of the new ceiling fan.
- Align the new mounting bracket with the electrical box in the ceiling. Secure it in place by screwing or bolting it to the electrical box.
- Follow the manufacturer’s instructions to connect and secure the new fan’s motor housing to the mounting bracket. Make sure it is firmly attached and stable.
- Connect the electrical wires of the new fan to the corresponding wires in the electrical box. Use wire nuts to secure the connections. Refer to the manufacturer’s instructions for proper wiring instructions.
- Attach the new fan blades to the motor housing, ensuring that they are securely fastened.
- Install the new ceiling fan canopy by aligning it with the mounting bracket and screwing it into place.
- Turn on the power to the fan and test its functionality. Ensure that it is working properly and the fan blades are spinning in the intended direction.
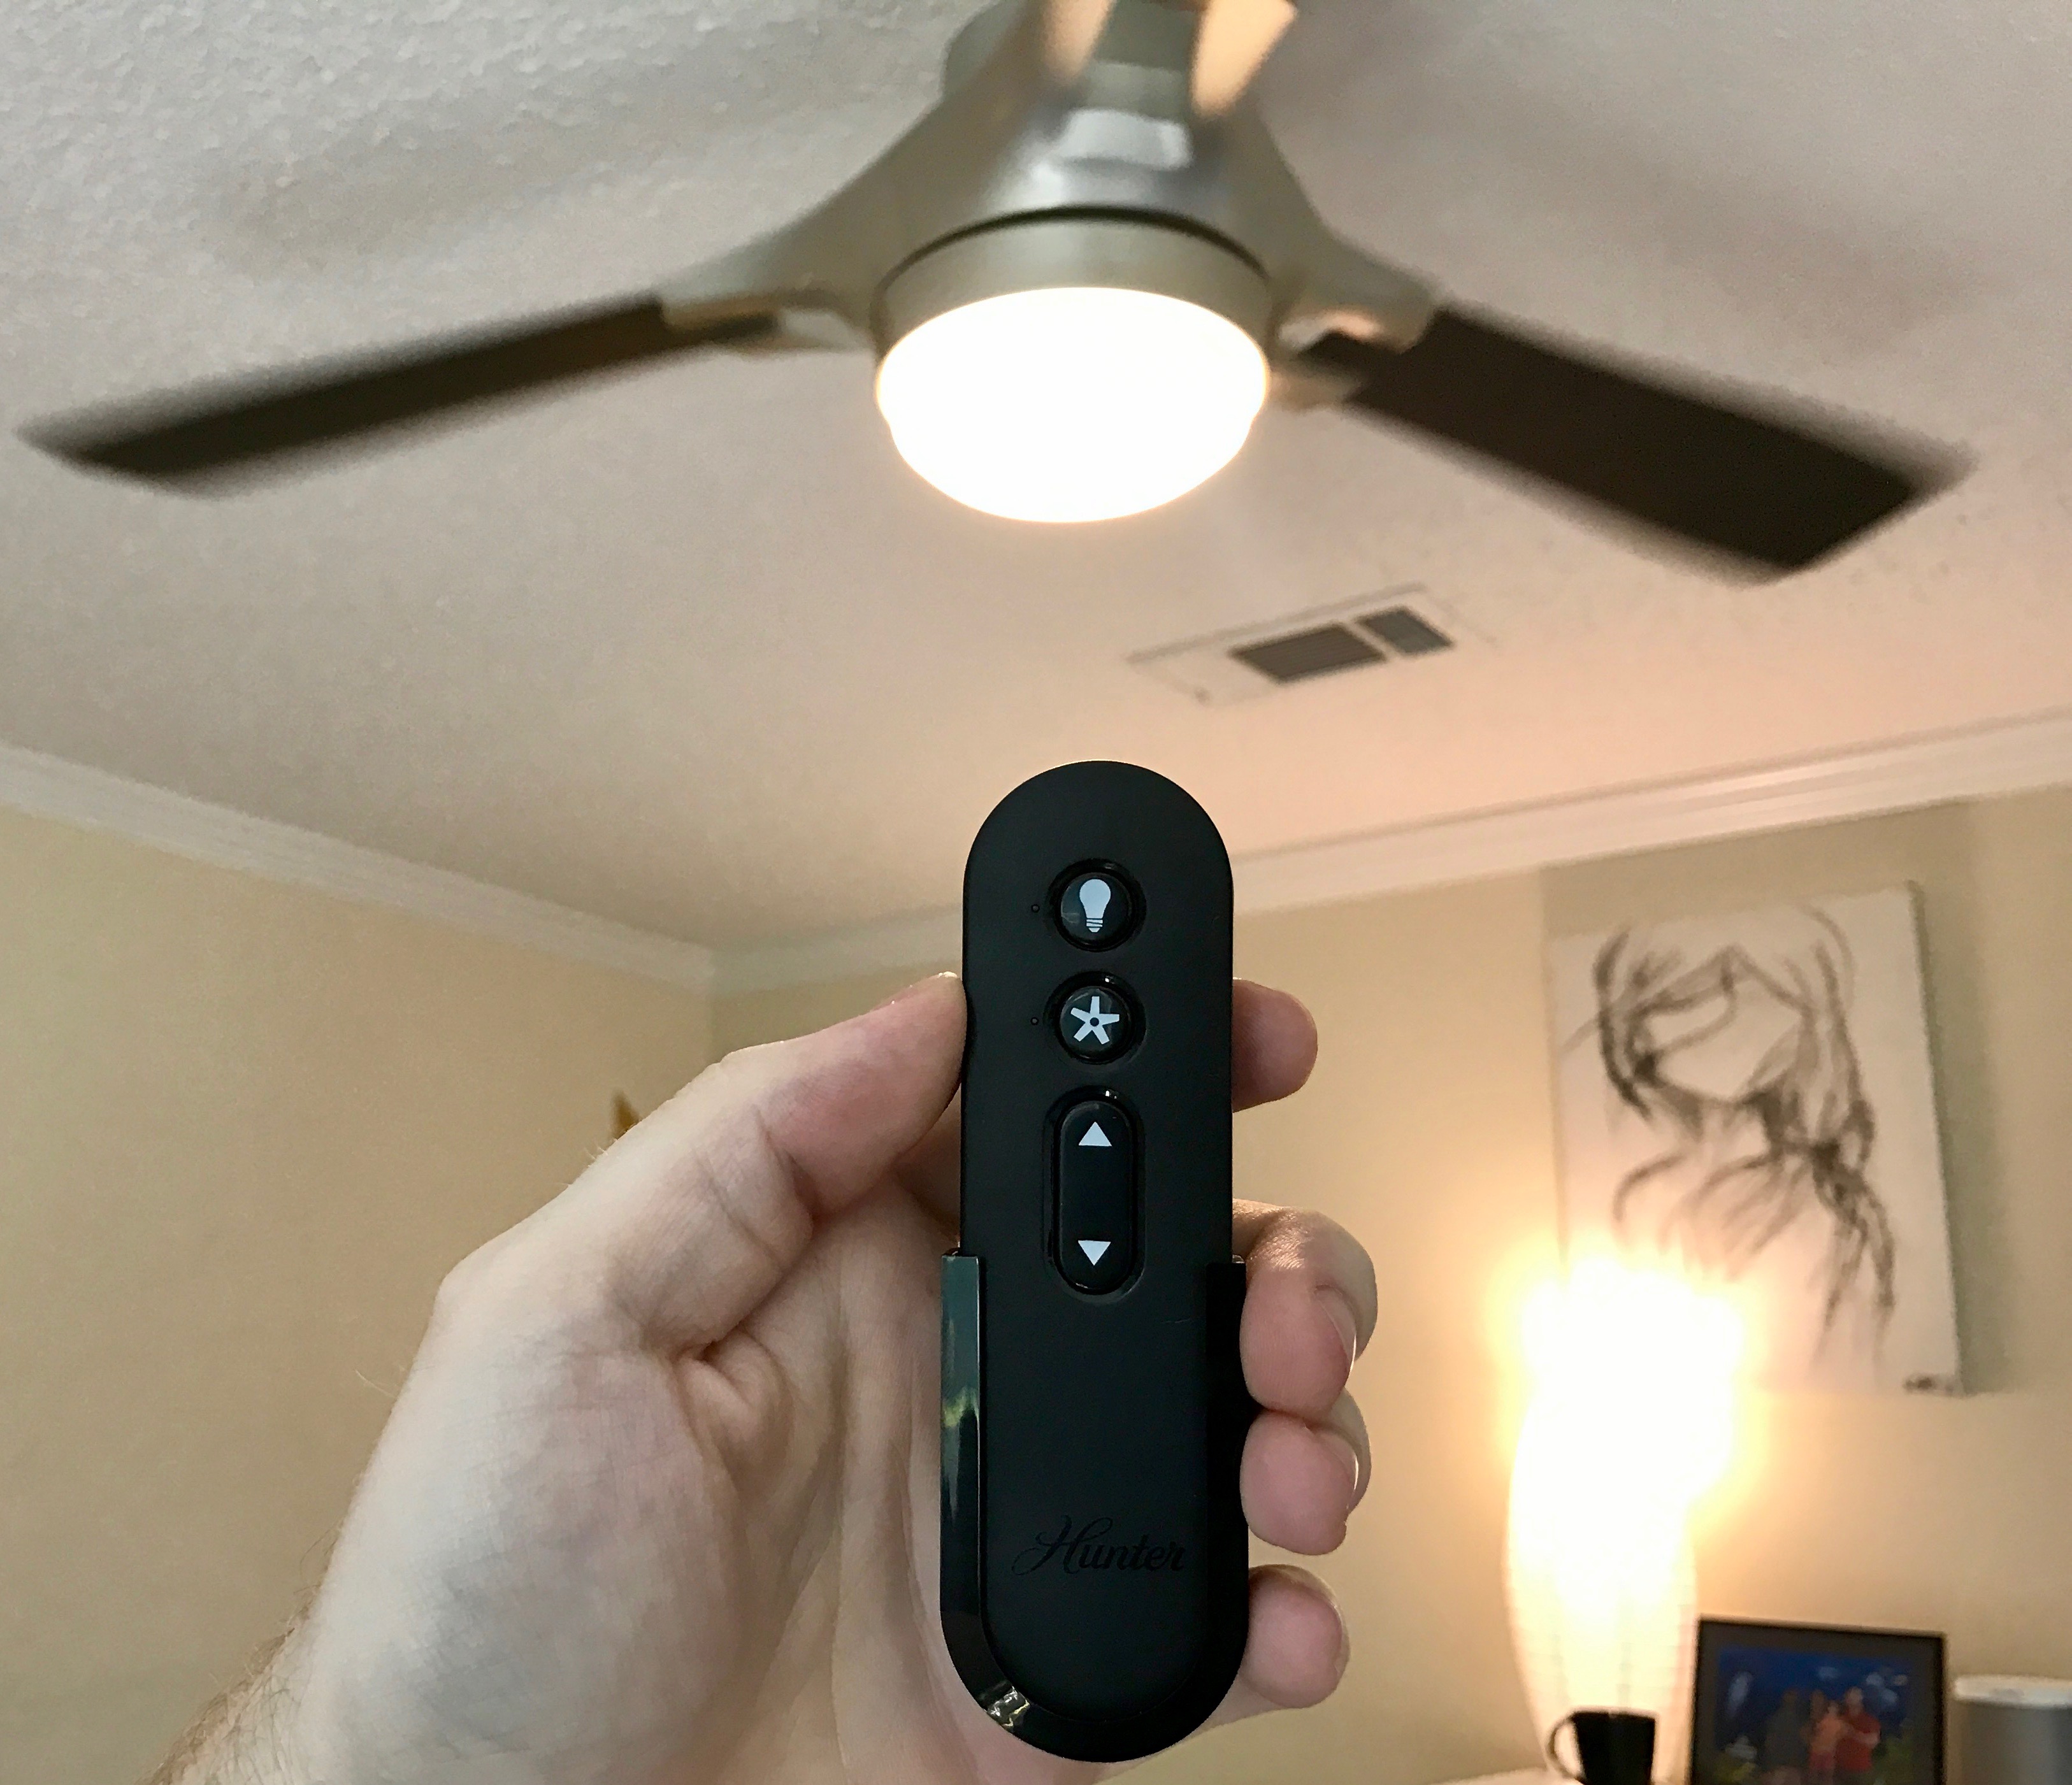
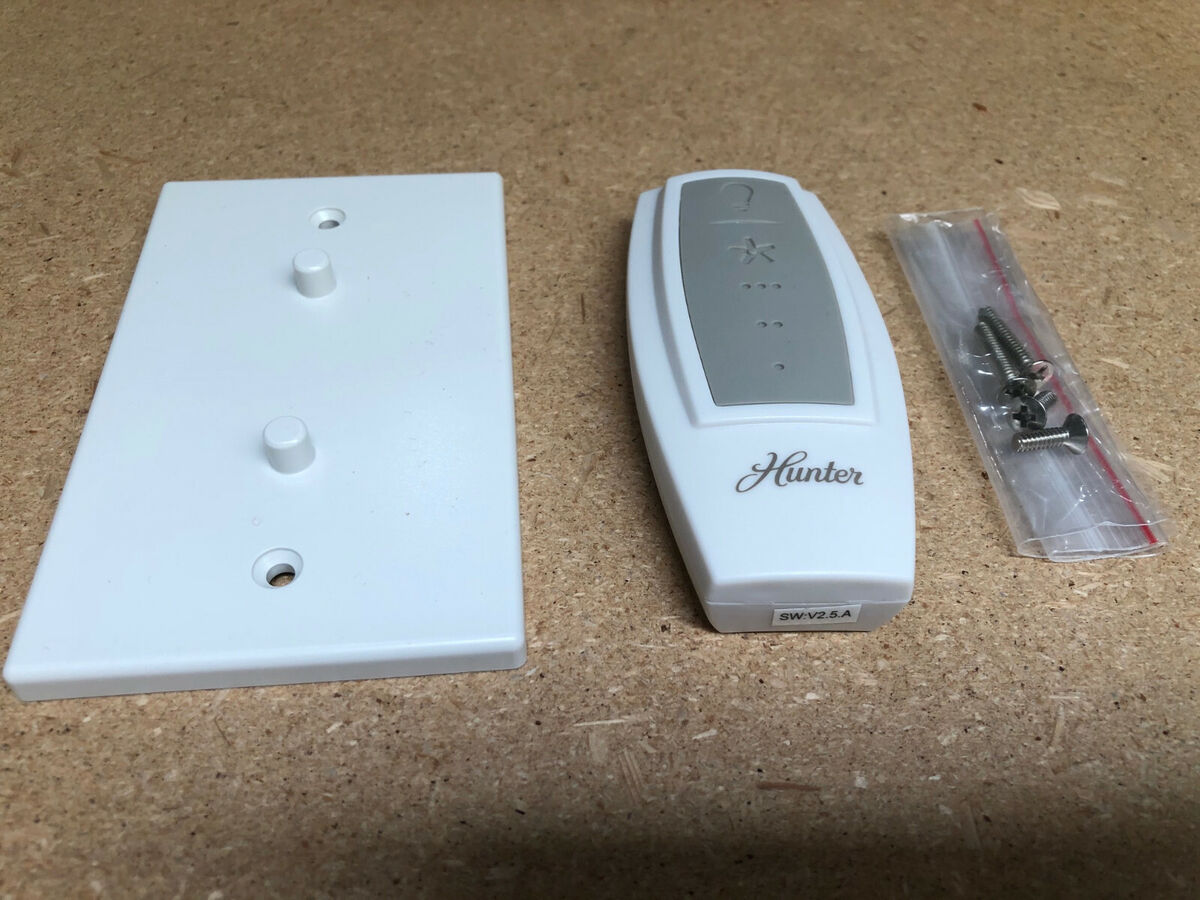
- Make any necessary adjustments or fine-tuning to the fan’s settings, such as adjusting the fan speed or installing a remote control (if applicable).
Following these steps and any additional instructions provided by the manufacturer will help you successfully install your new ceiling fan. It’s crucial to follow safety guidelines and ensure all electrical connections are secure before powering on the fan.
By completing this step, you have successfully installed a new ceiling fan to replace the Hunter fan. Enjoy the improved comfort and aesthetic it brings to your space!
Concluding the process of removing a Hunter ceiling fan, whether you choose to install a new fan or not, marks the completion of the task. You can now enjoy your space without the old fan or embrace the new one that you’ve installed.
Conclusion
Removing a Hunter ceiling fan may seem like a daunting task, but with the right knowledge and tools, it can be a straightforward process. Whether you’re removing the fan for maintenance, repair, or replacing it with a new one, following the step-by-step instructions outlined in this guide will ensure a successful removal.
Throughout the process, it’s crucial to prioritize safety by turning off the power and following proper electrical precautions. Gathering the necessary tools before you begin will save time and frustration, ensuring a smooth removal process.
From disconnecting the electrical connections to removing the fan blades, motor housing, and canopy, each step builds upon the previous one, gradually dismantling the Hunter ceiling fan. Optional steps, such as patching and painting the ceiling or installing a new fan, provide you with the opportunity to personalize your space further.
Remember to consult the manufacturer’s instructions for specific details about your Hunter ceiling fan model, as the exact steps may vary slightly. Additionally, seeking the assistance of a professional electrician or handyman is always recommended if you’re unfamiliar with electrical work or encounter any challenges during the removal process.
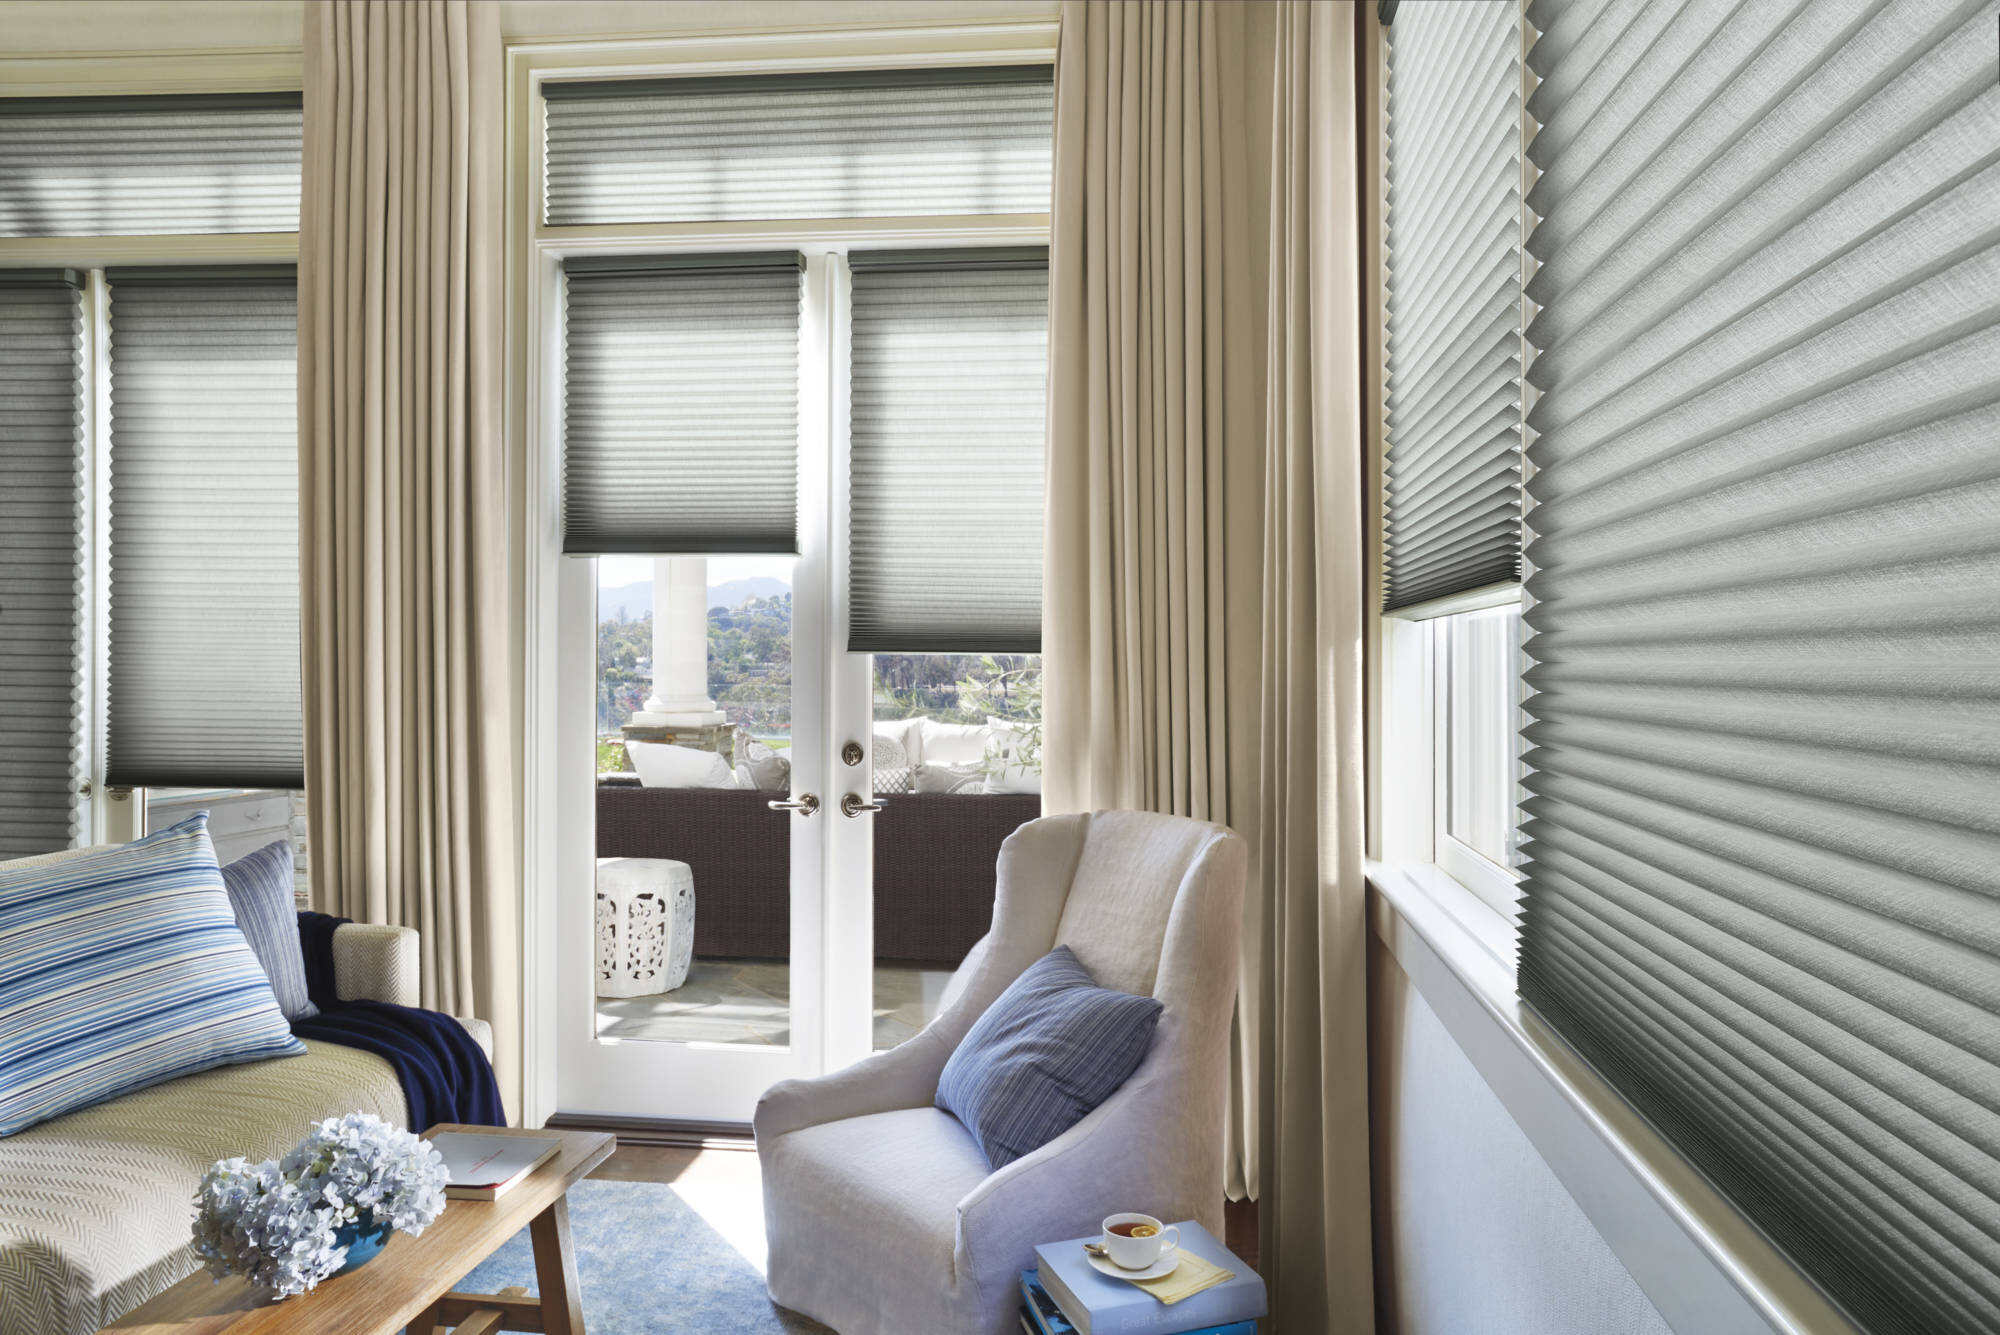
By following these steps and taking appropriate safety measures, you can successfully remove your Hunter ceiling fan and either enjoy the open space or prepare for the installation of a new fan. With the old fan removed, you can now explore different lighting options, enhance the airflow, or update the aesthetic of your room to perfectly suit your style and needs.
Good luck with your Hunter ceiling fan removal project, and may your space be transformed into a comfortable and attractive area!
Now that you've mastered removing a Hunter ceiling fan, why not broaden your DIY horizons? Our next guide focuses on another popular model. If you found this walkthrough helpful, you'll definitely want to check out our detailed instructions on removing a Harbor Breeze ceiling fan. This guide is just as straightforward and filled with practical steps to ensure you can tackle the task with confidence.
Frequently Asked Questions about How To Remove A Hunter Ceiling Fan
Was this page helpful?
At Storables.com, we guarantee accurate and reliable information. Our content, validated by Expert Board Contributors, is crafted following stringent Editorial Policies. We're committed to providing you with well-researched, expert-backed insights for all your informational needs.


0 thoughts on “How To Remove A Hunter Ceiling Fan”