Articles
How To Mount Hunter Douglas Blinds
Modified: January 19, 2024
Learn how to mount Hunter Douglas blinds with our informative articles. Find step-by-step guides and tips to easily install your blinds for a seamless window treatment solution.
(Many of the links in this article redirect to a specific reviewed product. Your purchase of these products through affiliate links helps to generate commission for Storables.com, at no extra cost. Learn more)
Introduction
Welcome to this comprehensive guide on how to mount Hunter Douglas blinds. Whether you’re a seasoned DIY enthusiast or a beginner looking to embark on your first home improvement project, this article will provide you with step-by-step instructions on how to properly install Hunter Douglas blinds.
Hunter Douglas is a leading company in the window treatment industry, renowned for its high-quality blinds that offer both functionality and style. Mounting blinds may seem like a daunting task, but with the right tools and guidance, you can achieve professional results.
Before we dive into the installation process, let’s talk about the importance of measuring your windows accurately. Taking precise measurements ensures that your blinds will fit snugly, allowing for smooth operation and optimal light control.
Now, let’s gather the tools and materials you will need for this project.
Key Takeaways:
- Properly measuring your windows and selecting the right mounting method are crucial for a successful Hunter Douglas blinds installation. Attention to detail and precision ensure a professional-looking result.
- Testing and adjusting the blinds after installation is essential for smooth operation and optimal functionality. Don’t hesitate to seek assistance if you encounter any challenges during the process.
Read more: How To Close Hunter Douglas Blinds
Tools and Materials Needed
Before you begin installing your Hunter Douglas blinds, make sure you have the following tools and materials:
- Measuring tape or ruler: This will be used to measure your windows accurately.
- Pencil: You’ll need this to mark the measurements on your window frame.
- Screwdriver: Depending on your blinds’ mounting style, you may need a flathead or Phillips screwdriver.
- Power drill: If you’re installing blinds on a hard surface, such as concrete or metal, a drill will be necessary.
- Level: This tool ensures that your blinds are mounted straight.
- Stud finder: If you’re attaching the blinds to a wall, a stud finder will help you locate the wall studs for secure installation.
- Mounting brackets: These come with your Hunter Douglas blinds and will be used to attach the blinds to the window frame or wall.
- Screws: The blinds’ mounting brackets usually come with screws, but it’s good to have some extras on hand, just in case.
- Blinds headrail: This is the top portion of the blinds that houses the mechanism for opening and closing the slats.
- Blinds slats: These are the individual pieces that make up the body of the blinds.
Before starting the installation process, ensure that you have all the necessary tools and materials readily available. This will make the installation smoother and more efficient.
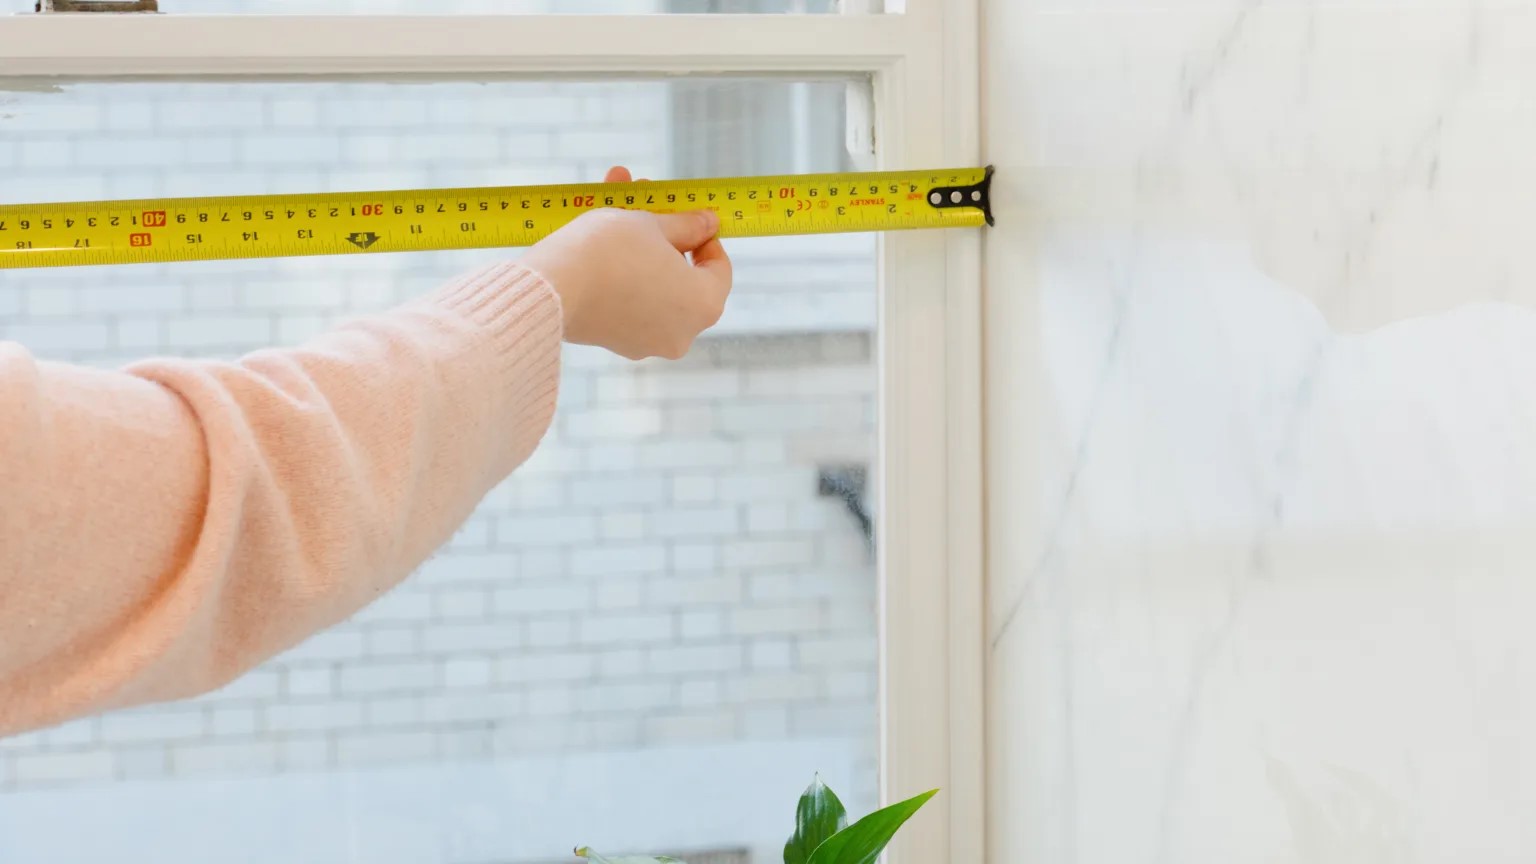
Step 1: Measure the Window
The first step in mounting your Hunter Douglas blinds is to measure the window accurately. This ensures that your blinds will fit properly and deliver the desired result. Follow these steps:
- Start by measuring the width of the window opening. Use a measuring tape or ruler and measure from inside edge to inside edge. Take three measurements: at the top, middle, and bottom of the window. Note down the smallest measurement as the window’s width.
- Next, measure the height of the window opening. Again, use a measuring tape or ruler and measure from the top edge to the bottom edge. Take three measurements: on the left side, middle, and right side of the window. Note down the smallest measurement as the window’s height.
- If you’re mounting the blinds inside the window frame, subtract a small amount from the width and height measurements to allow for clearance. Typically, subtract 1/4 inch to 1/2 inch from each side.
- If you’re mounting the blinds outside the window frame, add a few inches to the width and height measurements to ensure proper coverage and light control.
Take precise measurements, as even a small error can affect the fit and function of your blinds. Double-check your measurements to ensure accuracy before proceeding to the next step.
Pro tip: If you’re unsure about how to measure your windows or require assistance, check Hunter Douglas’ official website for detailed measurement guides or consult with a professional window treatment installer.
Step 2: Select the Mounting Method
Once you have measured your window, the next step is to determine the mounting method for your Hunter Douglas blinds. There are two primary options:
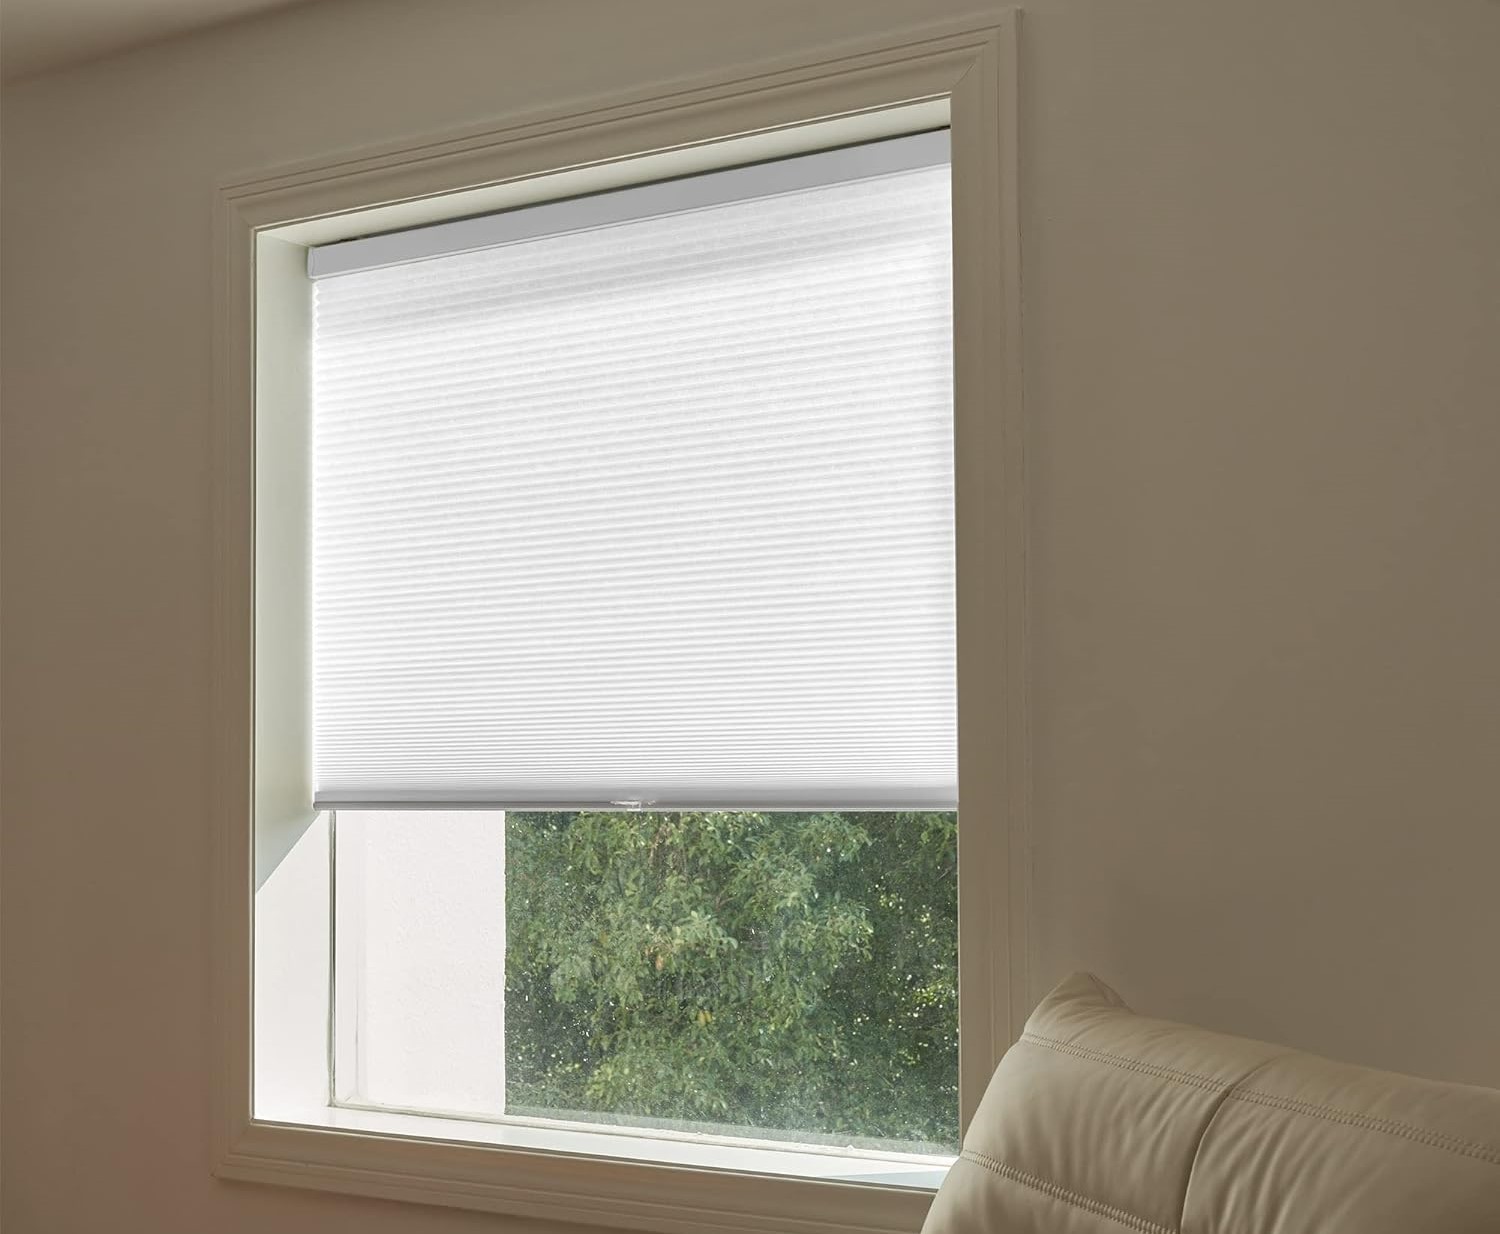
- Inside Mount: This method involves installing the blinds inside the window frame, creating a sleek and integrated look. It works best when you have enough depth in the window frame to accommodate the blinds.
- Outside Mount: With this method, the blinds are mounted outside the window frame, covering a larger area and providing maximum light control and privacy. It is suitable for windows with insufficient depth or when you want to visually extend the size of the window.
Consider your specific needs, window design, and personal preference when selecting the mounting method. Take into account factors such as the depth of the window frame, type of window treatments, and the overall aesthetic you wish to achieve.
Pro tip: If you opt for an inside mount, ensure that there is enough clearance within the window frame for the blinds to operate smoothly. Measure the depth and compare it to the headrail’s size to ensure a proper fit.
Once you have chosen the mounting method, you can proceed to the next step of attaching the mounting brackets.
Step 3: Attach the Mounting Brackets
Now that you have selected the mounting method for your Hunter Douglas blinds, it’s time to attach the mounting brackets. Follow these steps:
- Hold the first mounting bracket against the top corner of the window frame or wall, depending on your chosen mounting method. Ensure that it is level.
- Using a pencil, mark the screw holes on the window frame or wall through the bracket’s mounting holes.
- Repeat the process for the remaining mounting brackets, spacing them evenly along the width of the window.
- If you’re mounting the blinds inside the window frame, ensure that the brackets are positioned at the proper depth to allow the blinds to fit snugly.
- Once you have marked all the screw holes, set aside the brackets and grab your screwdriver or power drill.
- Start by drilling pilot holes at the marked locations. This will prevent the wood or drywall from splitting when you insert the screws.
- Align the mounting brackets with the pilot holes and screw them into place using the provided screws.
- Double-check that the brackets are securely attached and level.
Pro tip: If you’re mounting the blinds outside the window frame, measure the distance from the bracket to the edge of the window frame to ensure equal spacing on both sides.
Once the mounting brackets are securely in place, you’re ready to install the headrail of your Hunter Douglas blinds in the next step.
When mounting Hunter Douglas blinds, be sure to measure and mark the exact placement before drilling. Use a level to ensure they are straight for a professional finish.
Read more: Who Carries Hunter Douglas Blinds
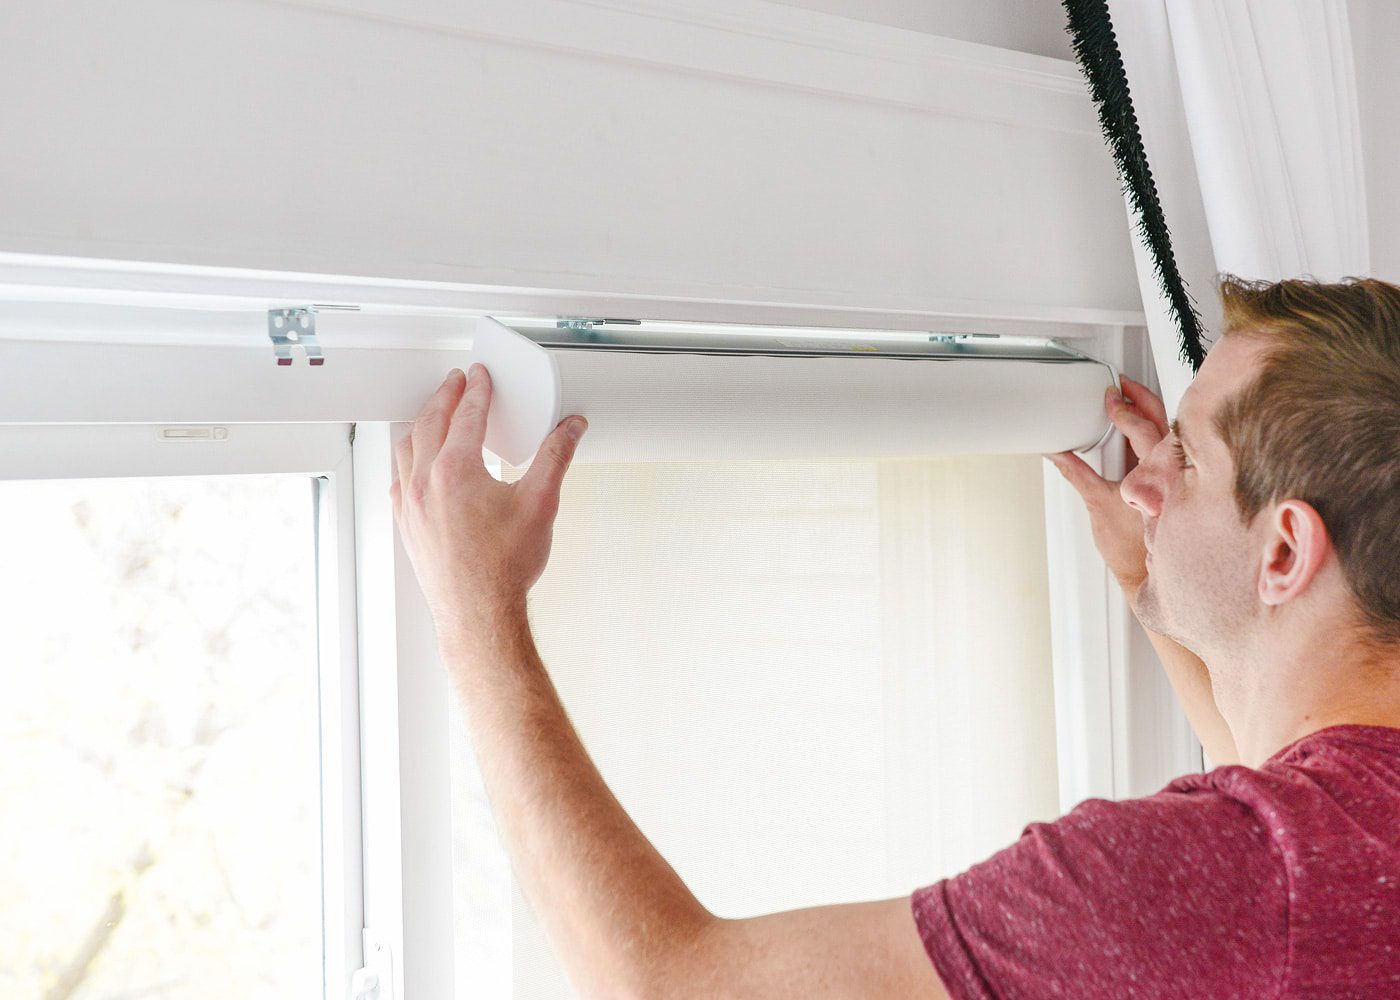
Step 4: Install the Headrail
With the mounting brackets securely attached, it’s time to install the headrail of your Hunter Douglas blinds. Follow these steps:
- Place the headrail into the mounting brackets, ensuring that it is level and aligned properly.
- If necessary, adjust the position of the brackets to ensure a snug fit.
- Slide the headrail into the brackets, making sure it locks securely in place.
- Give the headrail a gentle tug to ensure it is firmly seated in the brackets.
- If your blinds have a valance or cornice, attach it to the headrail according to the manufacturer’s instructions.
- Check again to ensure that the headrail is level and centered within the window frame or wall.
Pro tip: Some Hunter Douglas blinds come with an automatic tensioning system. If your blinds have this feature, make sure it is engaged to maintain proper tension and smooth operation.
Once the headrail is installed, you’re ready to move on to the next step of inserting the blinds into the headrail.
Step 5: Insert the Blinds into the Headrail
Now that the headrail is securely installed, it’s time to insert the blinds into the headrail of your Hunter Douglas blinds. Follow these steps:
- Hold the blinds’ bottom rail and tilt the slats open to a 45-degree angle.
- Position the blinds’ top rail in front of the headrail, aligning the holes or slots on the top rail with the corresponding hooks or tabs on the headrail.
- Slide the top rail into the headrail, ensuring that the hooks or tabs lock the blinds into place.
- Gently lower the blinds and release the tilt mechanism to adjust the slats to the desired position.
- Test the blinds by operating the tilt and lift mechanisms to ensure smooth and unrestricted movement.
- Make any necessary adjustments to the blinds to ensure proper operation and alignment.
Pro tip: If you have corded blinds, ensure that the cords are properly threaded through the holes or slots in the slats.
Once the blinds are securely inserted into the headrail and functioning correctly, you’re almost done. Just a few more steps to go!
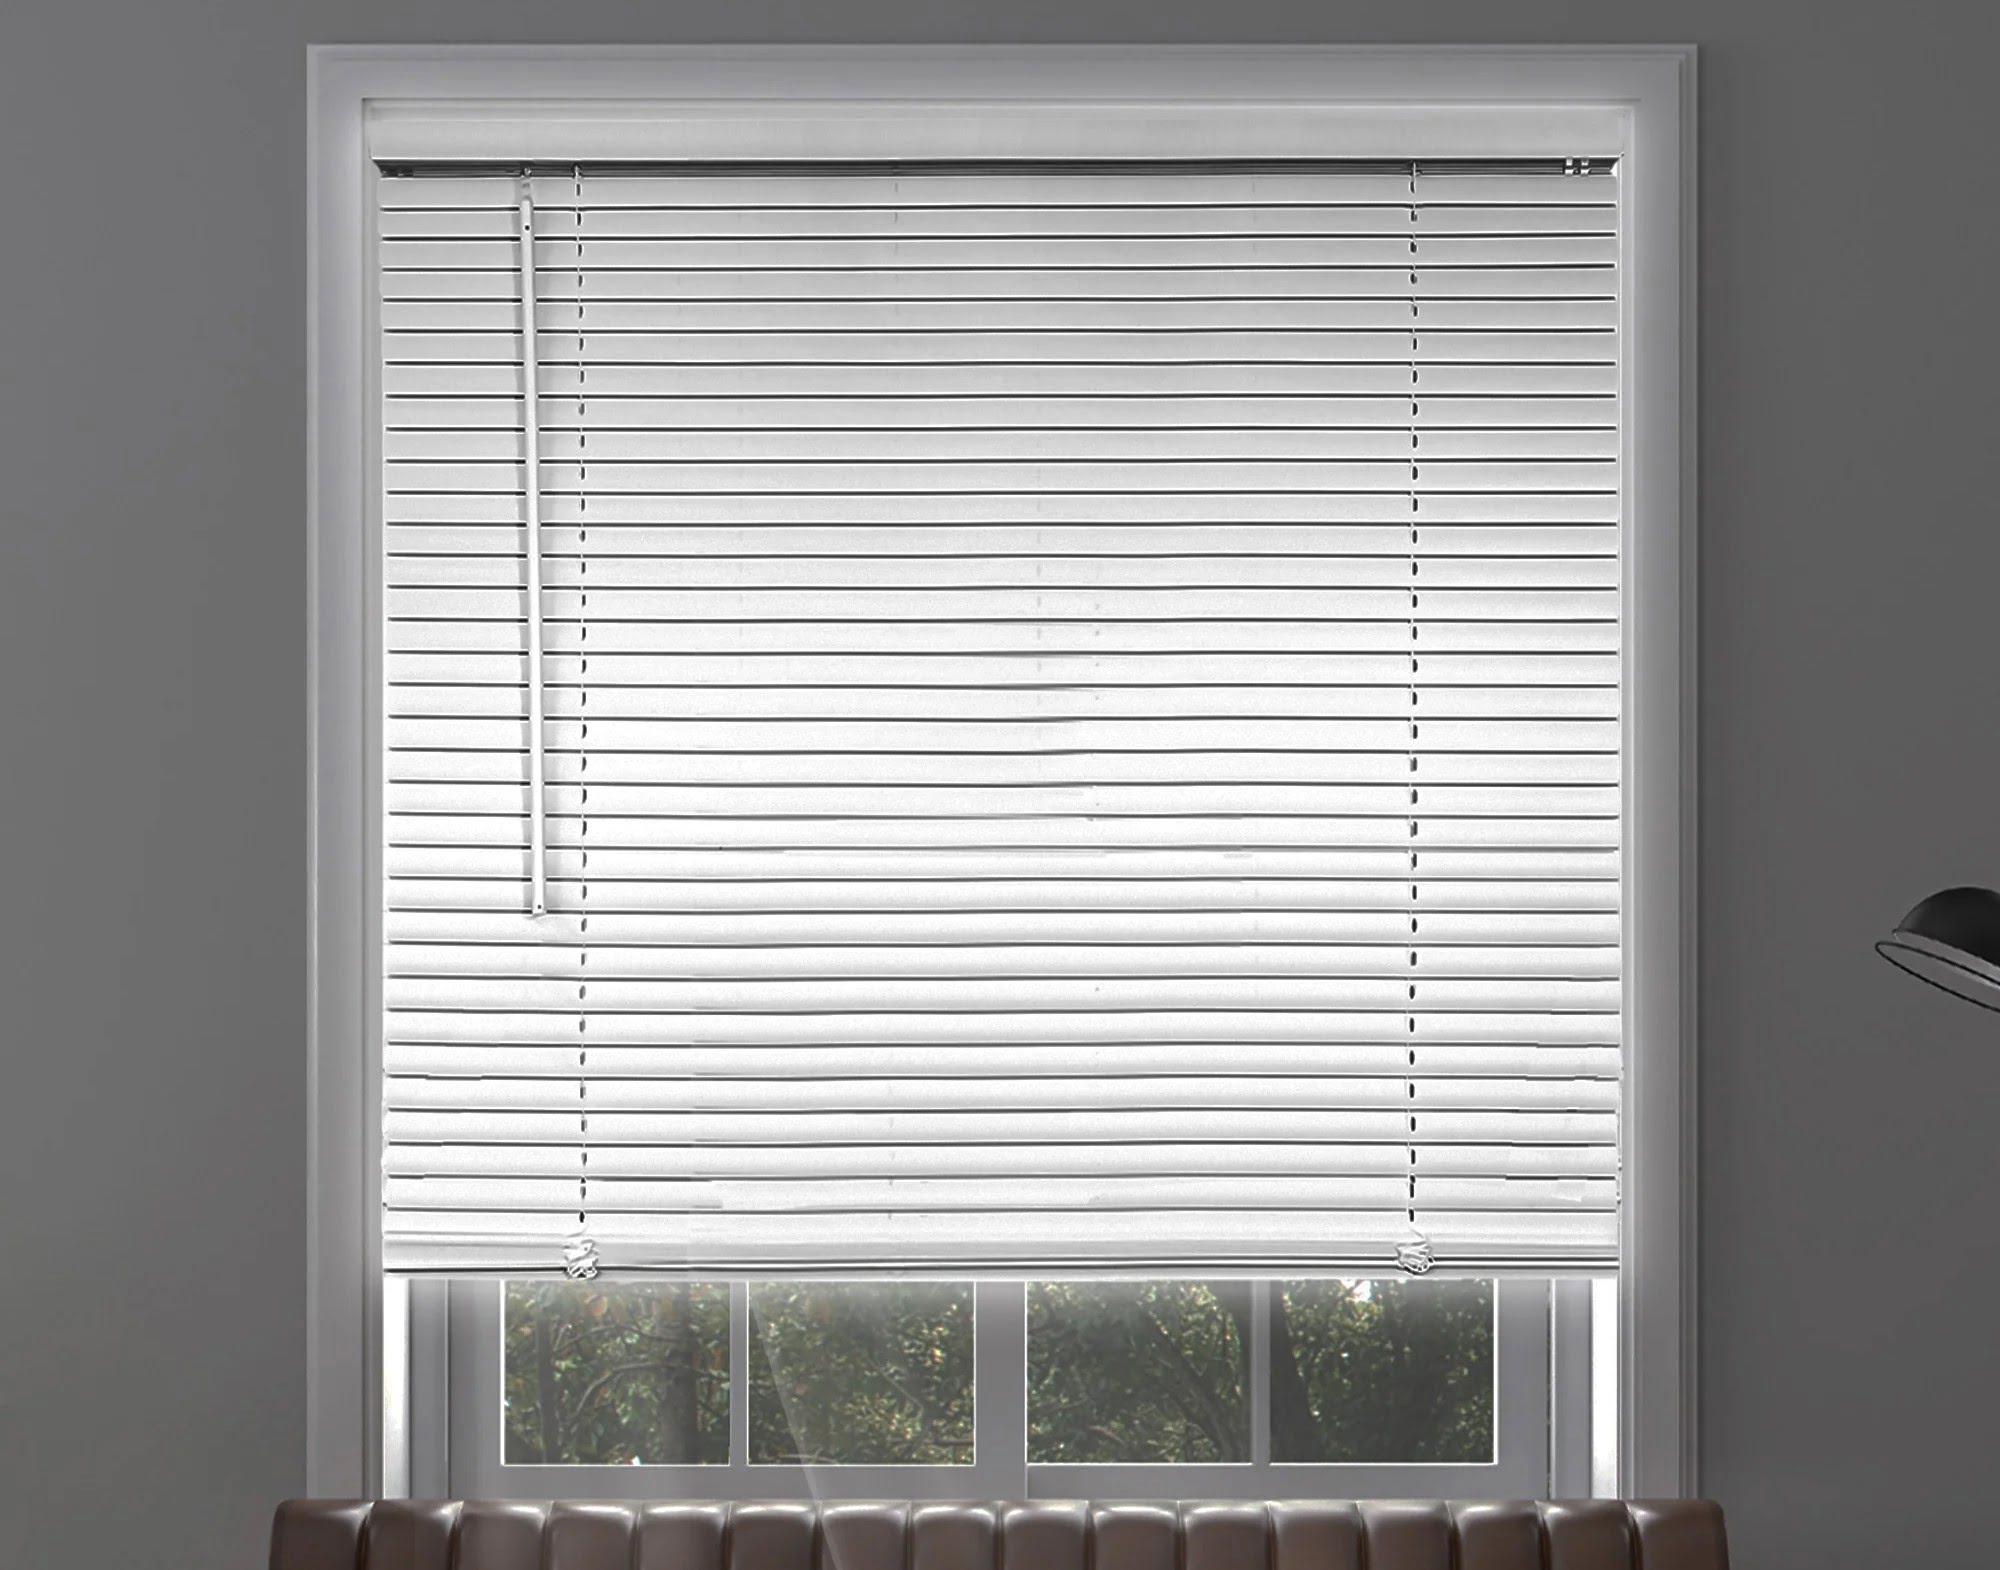
Step 6: Test and Adjust the Blinds
Now that your Hunter Douglas blinds are installed, it’s important to test and adjust them to ensure smooth operation and optimal functionality. Follow these steps:
- Operate the lift mechanism to raise and lower the blinds. Make sure they move up and down without any obstruction or resistance.
- Test the tilt mechanism to open and close the slats. Ensure that the slats tilt evenly and smoothly.
- If you notice any issues with the blinds’ movement or alignment, adjust the tension or position of the mounting brackets as needed.
- Check for any gaps or spaces between the blinds and the window frame. If necessary, make slight adjustments to ensure a proper fit.
- Ensure that the blinds hang straight and level. Make adjustments to the position of the brackets or the headrail if needed.
- Take a step back and observe the overall appearance and functionality of your new blinds. Make any additional adjustments as necessary to achieve the desired look and operation.
Pro tip: If you’re not satisfied with the performance or appearance of your blinds, refer to the manufacturer’s instructions or contact Hunter Douglas customer support for further assistance.
Congratulations! You have successfully installed and tested your Hunter Douglas blinds. Now you can sit back, relax, and enjoy the beauty and functionality they bring to your window.
Conclusion
Installing Hunter Douglas blinds doesn’t have to be a daunting task. With the right tools, materials, and step-by-step guidance, you can mount your blinds with confidence and achieve professional-looking results.
In this comprehensive guide, we covered everything you need to know about mounting Hunter Douglas blinds. From measuring your windows accurately to selecting the right mounting method, attaching the mounting brackets, installing the headrail, and inserting the blinds, each step was outlined to ensure a successful installation process.
Remember to take your time and double-check your measurements and adjustments along the way. Attention to detail is key to achieving a perfect fit and smooth operation. Don’t hesitate to refer to the manufacturer’s instructions or seek assistance if you encounter any challenges during the installation process.
Now that your Hunter Douglas blinds are installed, take a moment to admire the transformation they bring to your space. Enjoy the enhanced privacy, light control, and aesthetic appeal they provide. And, of course, don’t forget to regularly clean and maintain your blinds to keep them looking their best.
Thank you for following this guide and for choosing Hunter Douglas blinds. We hope this article has empowered you to take on this home improvement project and enjoy the benefits of beautifully mounted blinds for years to come!
Frequently Asked Questions about How To Mount Hunter Douglas Blinds
Was this page helpful?
At Storables.com, we guarantee accurate and reliable information. Our content, validated by Expert Board Contributors, is crafted following stringent Editorial Policies. We're committed to providing you with well-researched, expert-backed insights for all your informational needs.