Home>Articles>How To Remove Ice Maker From Jenn Air Refrigerator
Articles
How To Remove Ice Maker From Jenn Air Refrigerator
Modified: February 28, 2024
Learn how to remove the ice maker from your Jenn Air refrigerator with our step-by-step articles. Simplify the process and ensure optimal performance.
(Many of the links in this article redirect to a specific reviewed product. Your purchase of these products through affiliate links helps to generate commission for Storables.com, at no extra cost. Learn more)
Introduction
Welcome to this comprehensive guide on how to remove the ice maker from your Jenn Air refrigerator. Ice makers are a convenient feature found in many modern refrigerators, but there may come a time when you need to remove or replace the ice maker unit. Whether you’re looking to troubleshoot a problem, perform maintenance, or upgrade to a newer model, this step-by-step guide will walk you through the process with ease.
Before you begin, it’s important to gather the necessary tools to ensure a smooth removal process. You’ll need a screwdriver, a pair of pliers, and possibly an adjustable wrench, depending on the specific model of your Jenn Air refrigerator. It’s always a good idea to consult your refrigerator’s user manual for any manufacturer-specific instructions or precautions.
Before getting started, make sure to unplug the refrigerator from the power source. This will prevent any accidental electric shocks or damage during the removal process. Safety should always be a top priority when working with electrical appliances.
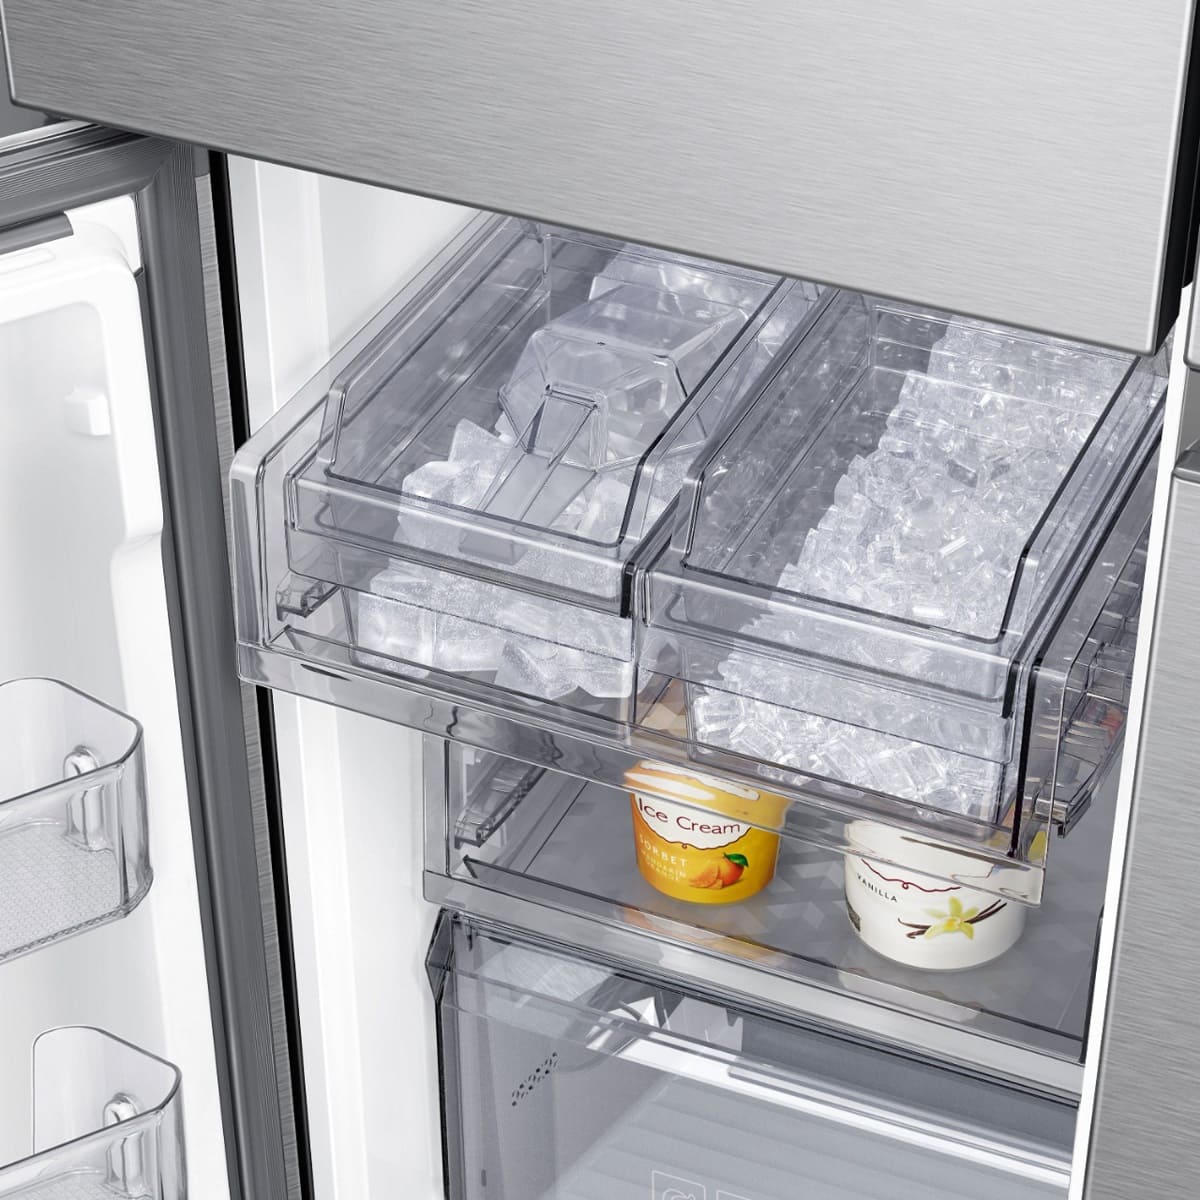
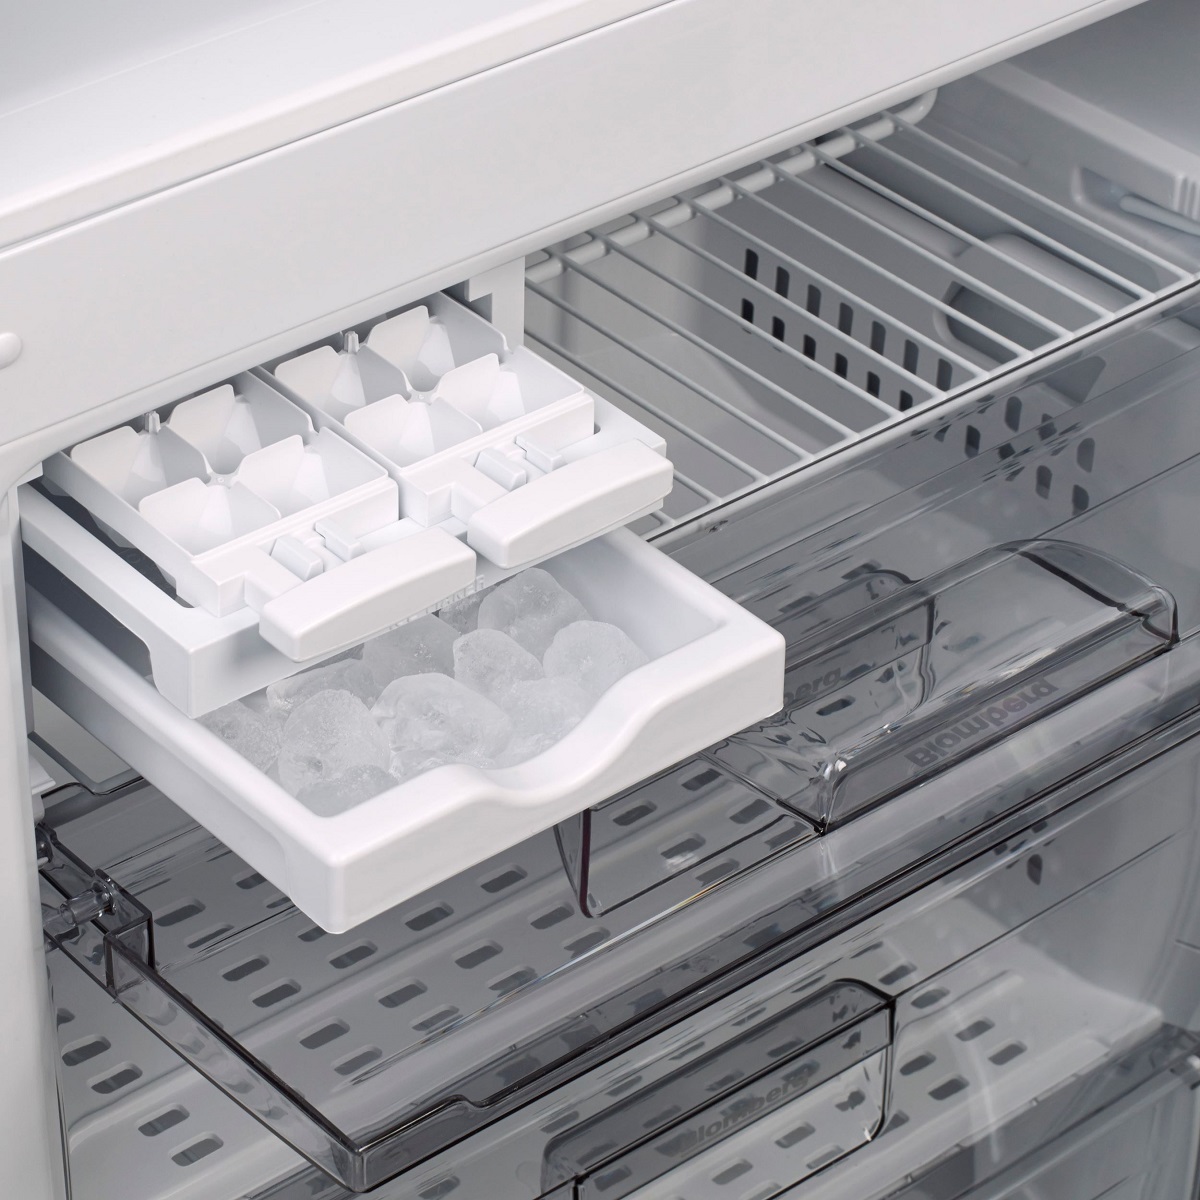
Now that you’re prepared, let’s move on to the next step: locating the ice maker unit within your Jenn Air refrigerator. The exact placement may vary slightly depending on the model, but it’s typically located near the top, inside the freezer compartment. Look for a rectangular or square-shaped device with a metal or plastic cover.
With the ice maker located, the next step is to disconnect the water supply. This is crucial to ensure that water doesn’t leak during the removal process. Look for the water supply line attached to the back of the ice maker unit. Use your pliers or adjustable wrench to loosen the connection and carefully remove the water supply line.
Key Takeaways:
- Safely and effectively remove the ice maker from your Jenn Air refrigerator by following step-by-step instructions, ensuring a smooth process and prioritizing safety.
- Clean the area and optionally reinstall or replace the ice maker, enjoying the convenience of a properly functioning ice maker for chilling beverages and hosting gatherings.
Step 1: Gather necessary tools
Before you begin the process of removing the ice maker from your Jenn Air refrigerator, it’s essential to gather all the necessary tools. Having the right tools on hand will make the removal process much smoother and more efficient. Here are the tools you will need:
- Screwdriver: You’ll need a screwdriver to loosen and remove any screws or fasteners holding the ice maker in place.
- Pliers: Pliers will come in handy for disconnecting any water supply lines or electrical connections.
- Adjustable wrench (optional): Depending on the specific model of your Jenn Air refrigerator, you may need an adjustable wrench to loosen and disconnect the water supply line.
Make sure to have these tools readily available before you start the removal process. It’s always a good idea to have different sizes of screwdrivers and pliers on hand to cater to various fasteners and connections that you may encounter.
You can find these tools at a local hardware store or online. If you already have a well-stocked toolbox, you may have these tools readily available. It’s important to use proper tools to avoid damaging the ice maker or any other components of your refrigerator.
Additionally, it’s always a good idea to consult your Jenn Air refrigerator’s user manual or product documentation. The manufacturer may provide specific instructions or recommend additional tools for the ice maker removal process.
Once you have gathered all the necessary tools, you can proceed to the next step: unplugging the refrigerator to ensure your safety during the removal process.
Step 2: Unplug the refrigerator
Before starting the process of removing the ice maker from your Jenn Air refrigerator, it is crucial to ensure your safety by properly unplugging the refrigerator from the power source. This step will prevent any potential electrical shocks or damages during the removal process.
Locate the power cord of your refrigerator. It is usually situated at the back, near the bottom of the appliance. Gently pull the plug out from the socket or use the switch on the wall to cut off the power supply.
Unplugging the refrigerator serves two purposes. First, it eliminates the risk of electrical shocks while handling any electrical components during the ice maker removal process. Second, it prevents any accidental activation of the ice maker or other functions, which might interfere with the removal process or cause water leakage.
While unplugging the refrigerator, it might be a good idea to disconnect any other appliances or devices that are connected to the same power source. This ensures that there are no potential power surges or disturbances that could affect the removal process.
Remember, safety should always be a top priority when working with electrical appliances. By unplugging the refrigerator, you are taking an important precautionary measure to ensure a safe and successful ice maker removal.
Once you have unplugged the refrigerator, you can proceed to the next step: locating the ice maker unit within your Jenn Air refrigerator.
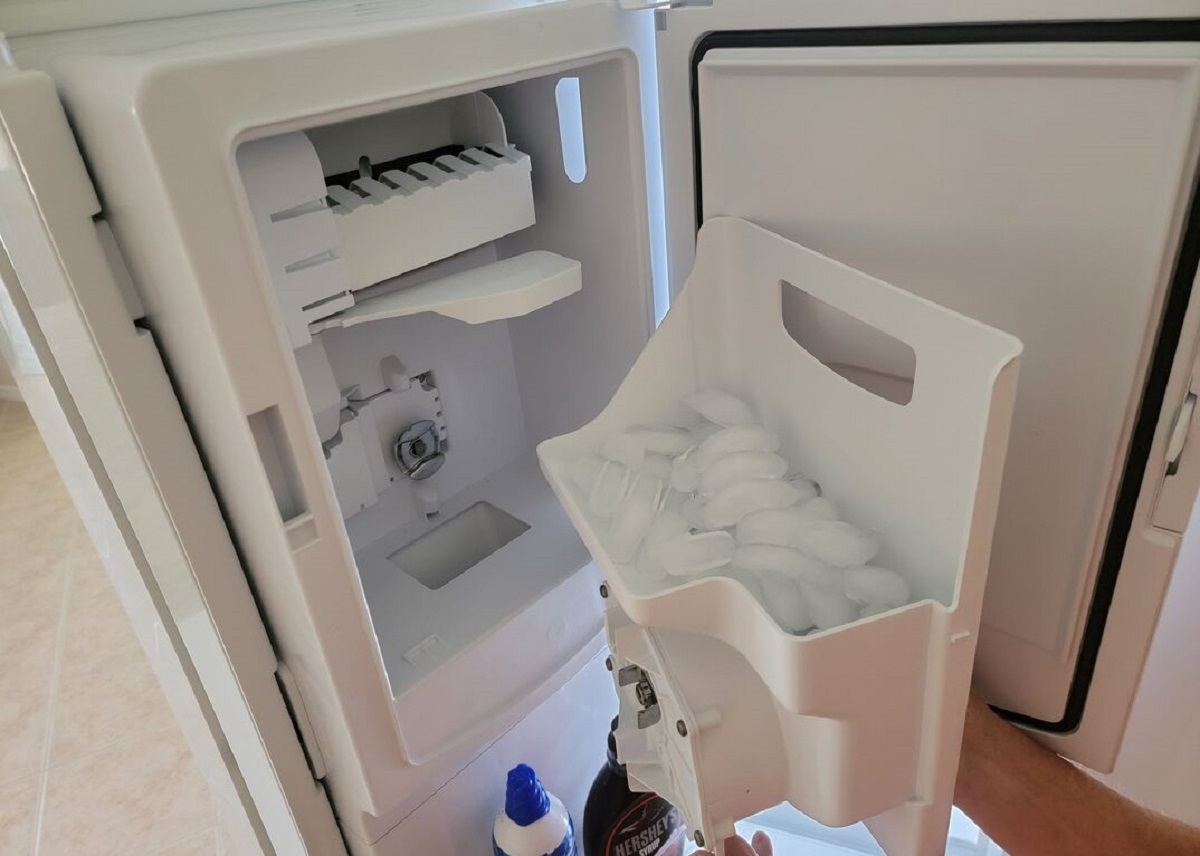
Step 3: Locate the ice maker
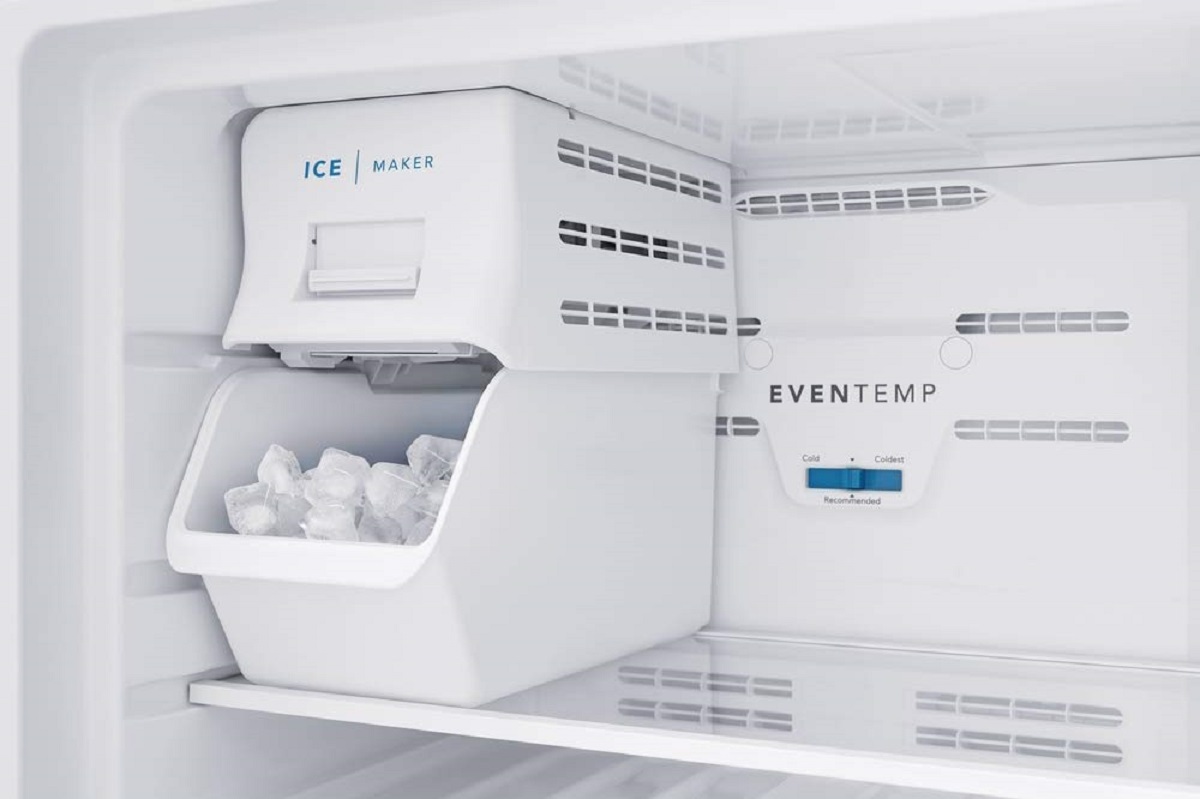
Now that you have unplugged the refrigerator, you can move on to locating the ice maker within your Jenn Air refrigerator. The exact placement of the ice maker may vary slightly depending on the model, but it is typically found near the top of the appliance, inside the freezer compartment.
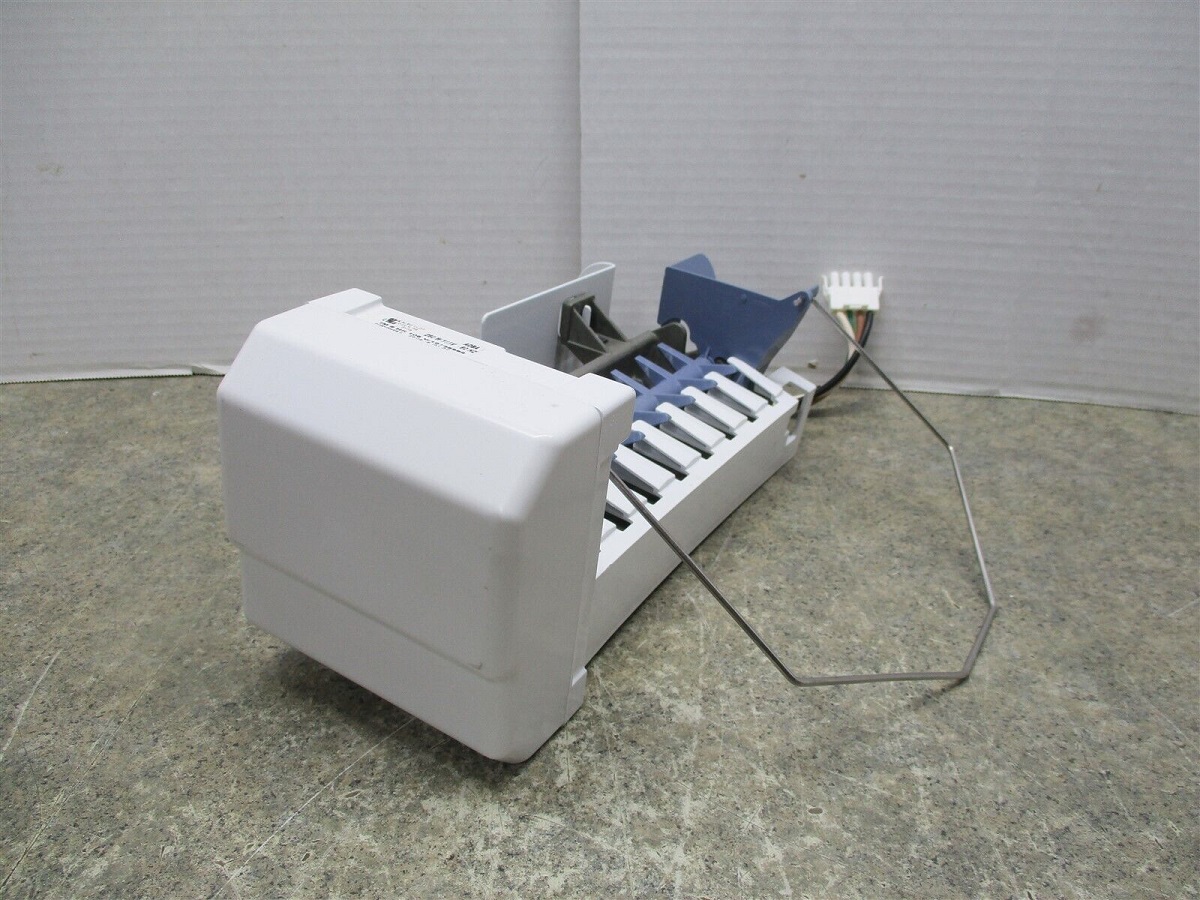
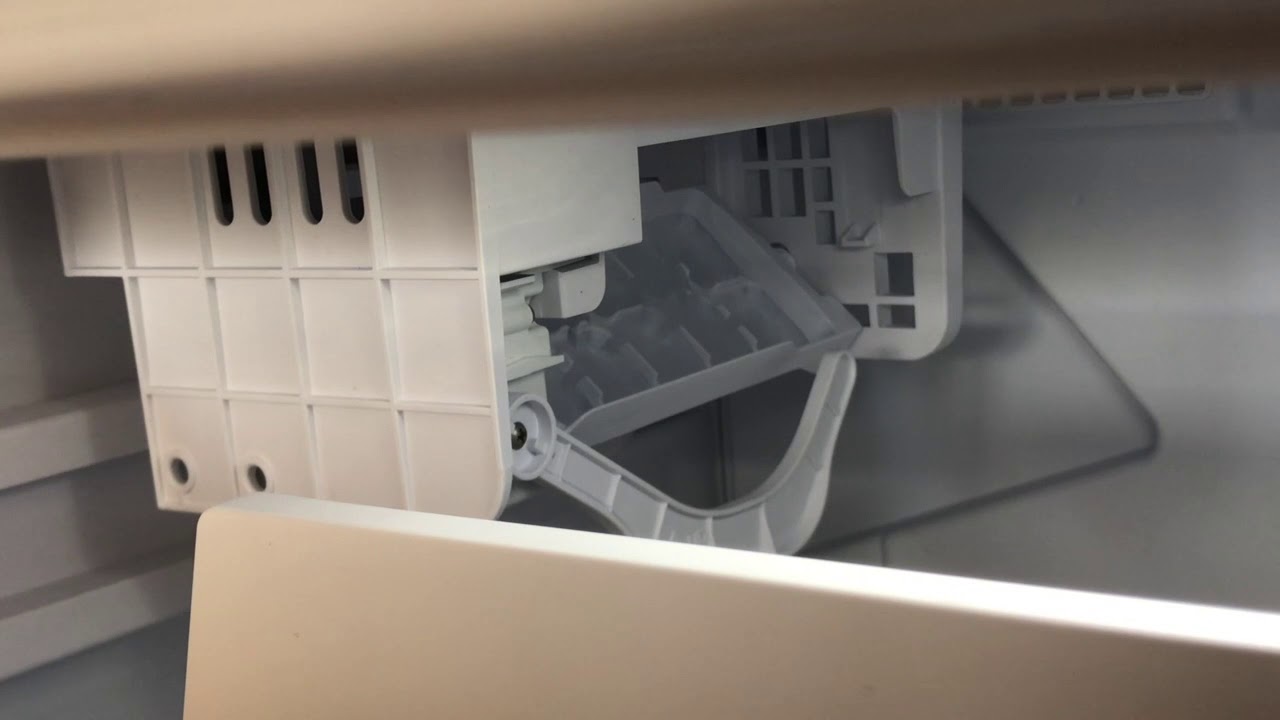
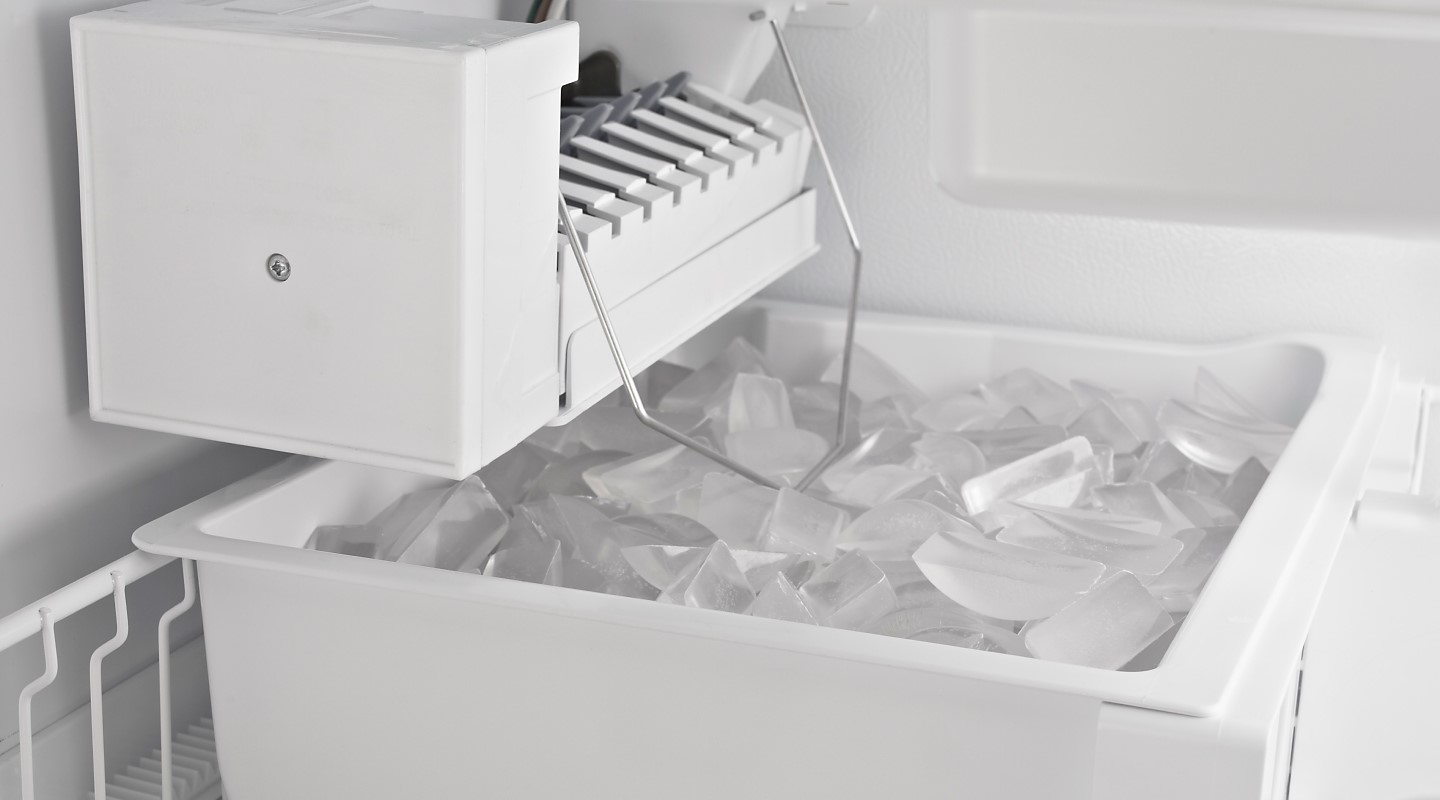
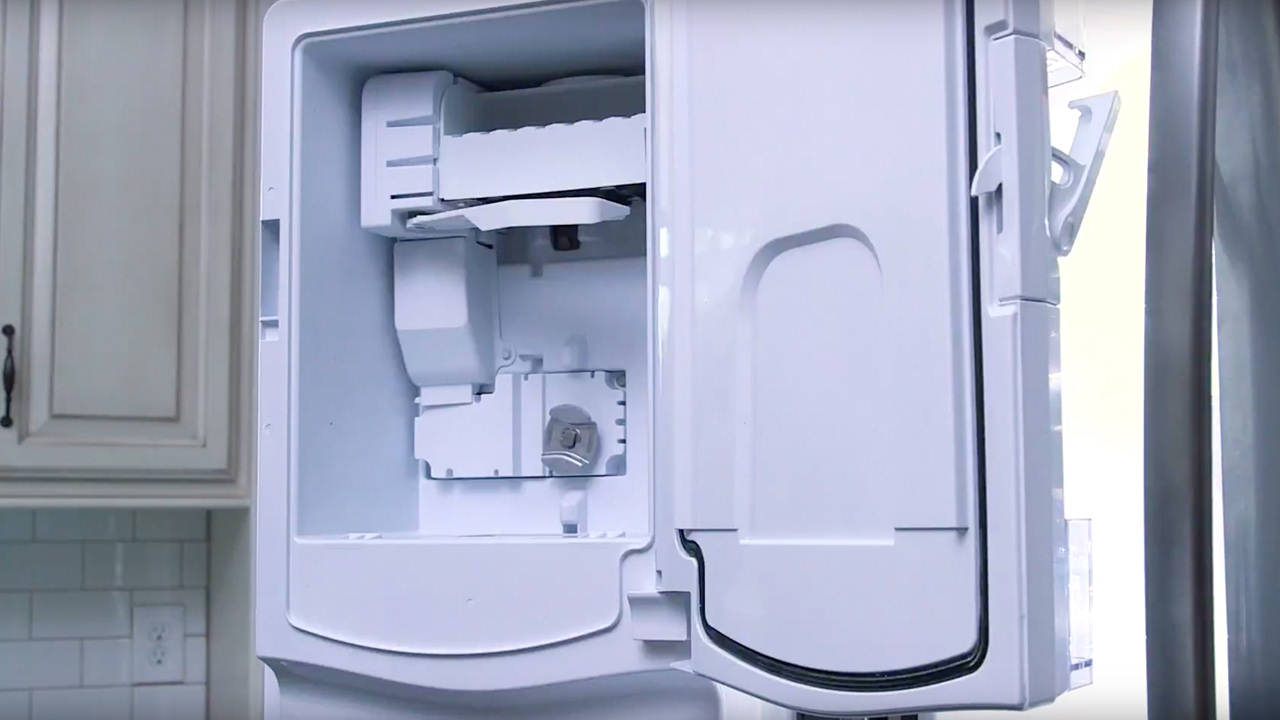
Open the freezer door and take a look at the upper portion of the compartment. You should see a rectangular or square-shaped device with a metal or plastic cover. This is the ice maker assembly.
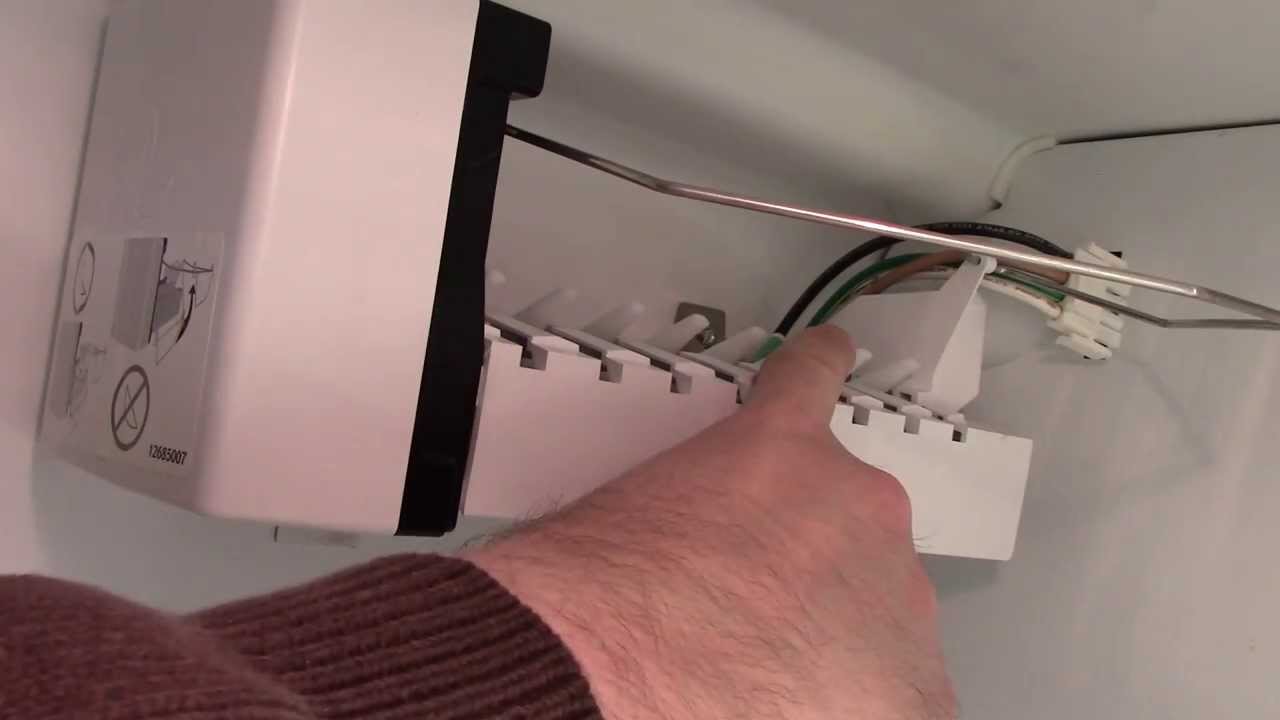
Pay close attention to any additional components or attachments connected to the ice maker. Some models may have an ice bin or an auger motor installed, which can affect the removal process. Take note of any screws, clips, or fasteners securing the ice maker in place, as you will need to remove these in the following steps.
If you are unsure about the location of the ice maker, consult your Jenn Air refrigerator’s user manual or refer to the manufacturer’s documentation. These resources can provide you with specific instructions and diagrams for locating the ice maker in your particular model.
It’s important to familiarize yourself with the ice maker and its components before proceeding further. This will give you a better understanding of how the ice maker is installed in your refrigerator and what needs to be done to remove it properly.
Once you have located the ice maker, you are ready to move on to the next step: disconnecting the water supply.
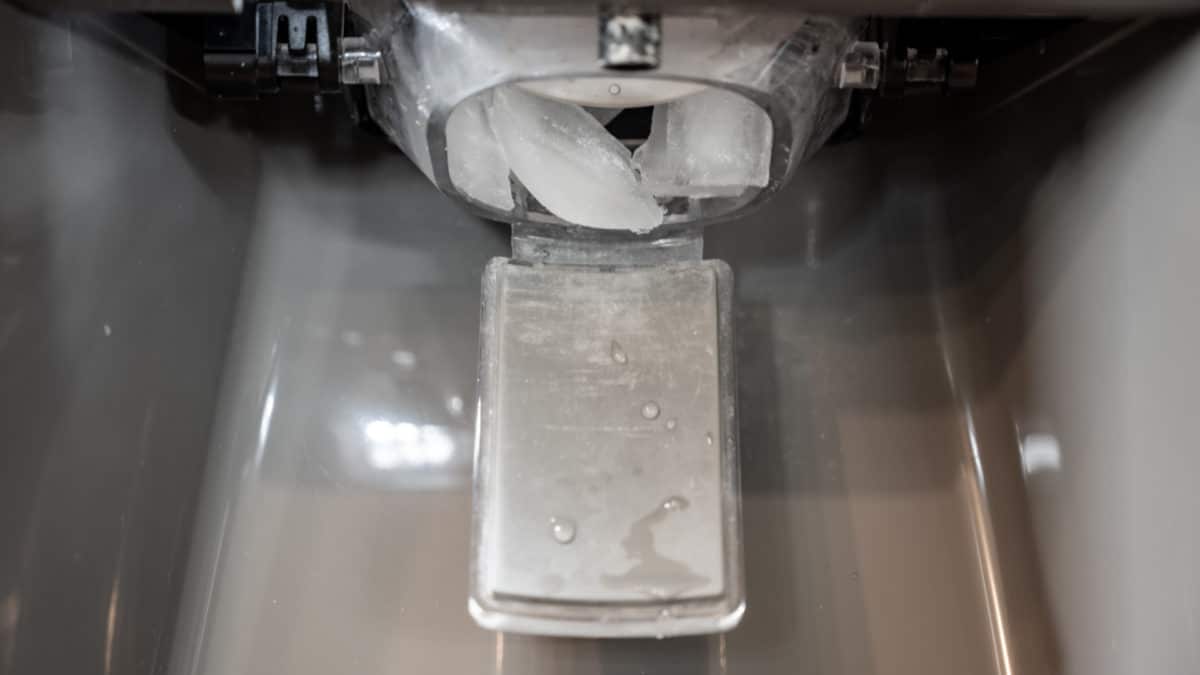
Step 4: Disconnect water supply
Before removing the ice maker from your Jenn Air refrigerator, it is crucial to disconnect the water supply. This step is necessary to prevent any water leakage during the removal process.
Locate the water supply line connected to the back of the ice maker unit. It is typically a flexible plastic tube or a metal tubing. Take a moment to examine the connection and the type of fitting used.
If the water supply line uses compression fittings, you will need a pair of pliers to loosen and disconnect the fittings. Grip the nut of the fitting with the pliers and turn it counterclockwise to loosen it. Once loosened, gently pull the water supply line out of the fitting.
If the water supply line is secured with a push-in fitting, it can usually be disconnected by pressing down on the collar or ring surrounding the fitting. While pressing down, firmly pull the water supply line out of the fitting. Some push-in fittings may require an additional release tool to disconnect the water supply line, so consult your Jenn Air refrigerator’s user manual for specific instructions.
Be prepared for a small amount of water to drip out of the water supply line after disconnecting it from the ice maker. Have a towel or a bucket handy to catch any water that may be released.
After disconnecting the water supply line, inspect it for any signs of damage or wear. If necessary, replace the water supply line before reinstalling the ice maker.
Remember to follow any additional instructions or precautions provided in your Jenn Air refrigerator’s user manual. Some models may have specific guidelines for disconnecting the water supply line, so it’s always best to refer to the manufacturer’s documentation.
With the water supply line disconnected, you are now ready to proceed to the next step: removing the ice maker unit from your Jenn Air refrigerator.
Before removing the ice maker from your Jenn Air refrigerator, make sure to unplug the appliance and turn off the water supply. Follow the manufacturer’s instructions for removing the ice maker, which may involve unscrewing mounting screws and disconnecting the wiring harness. Be sure to handle the ice maker carefully to avoid damaging any components.
Step 5: Remove the ice maker unit
Now that you have disconnected the water supply line, it’s time to remove the ice maker unit from your Jenn Air refrigerator. This step will involve loosening and removing any fasteners or screws that are securing the ice maker in place.
Start by examining the ice maker assembly for any visible screws or fasteners. These may be located on the sides, top, or bottom of the assembly. Use a screwdriver to carefully remove these screws, taking care not to strip them.
In some models, there may be a mounting bracket holding the ice maker in place. If this is the case, you may need to remove additional screws or clips securing the bracket. Once the bracket is removed, you can easily lift the ice maker unit out of its position.
As you remove the screws or fasteners, be sure to keep them in a safe place. You will need them later if you plan to reinstall the ice maker or replace it with a new unit.
After removing the fasteners, gently tilt the ice maker unit forward and lift it out of the mounting brackets or slots. Be cautious as you handle the ice maker, as it may be heavy or have sharp edges.
Once the ice maker is completely detached from the refrigerator, set it aside in a safe location. Take this opportunity to inspect the ice maker for any signs of damage or wear. If there are any issues, you may choose to replace the ice maker or perform any necessary repairs.
With the ice maker removed, you can proceed to the next step: cleaning the area where the ice maker was installed.
Step 6: Clean the area
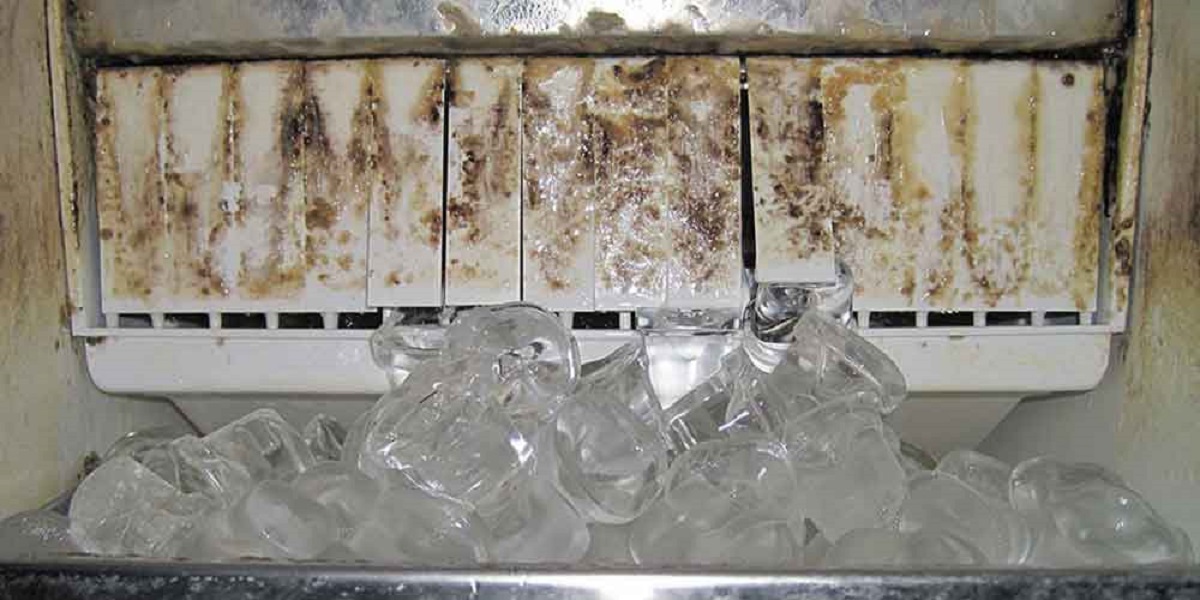
Now that you have removed the ice maker unit from your Jenn Air refrigerator, it’s important to take the time to clean the area where the ice maker was installed. This step ensures that the space is free from any dirt, debris, or buildup that may have accumulated over time.
Start by examining the mounting brackets or slots where the ice maker was attached. Use a damp cloth or sponge to wipe away any dust or residue that may have accumulated in these areas. Pay special attention to any corners or crevices where debris may be hiding.
Next, clean the inside of the freezer compartment where the ice maker was located. Use a mild detergent or a mixture of water and vinegar to wipe down the walls and shelves. This will help remove any food particles, spills, or stains that may have accumulated over time.
If you notice any stubborn stains or buildup, you can create a paste using baking soda and water. Apply the paste to the affected areas and gently scrub with a soft brush or sponge. Rinse the area thoroughly with clean water and dry it with a clean cloth.
While cleaning, take the opportunity to inspect the water inlet valve located behind the ice maker assembly. Ensure that it is clean and free from any blockages or debris. If necessary, use a small brush to clean the inlet valve and remove any buildup that may interfere with the water supply.
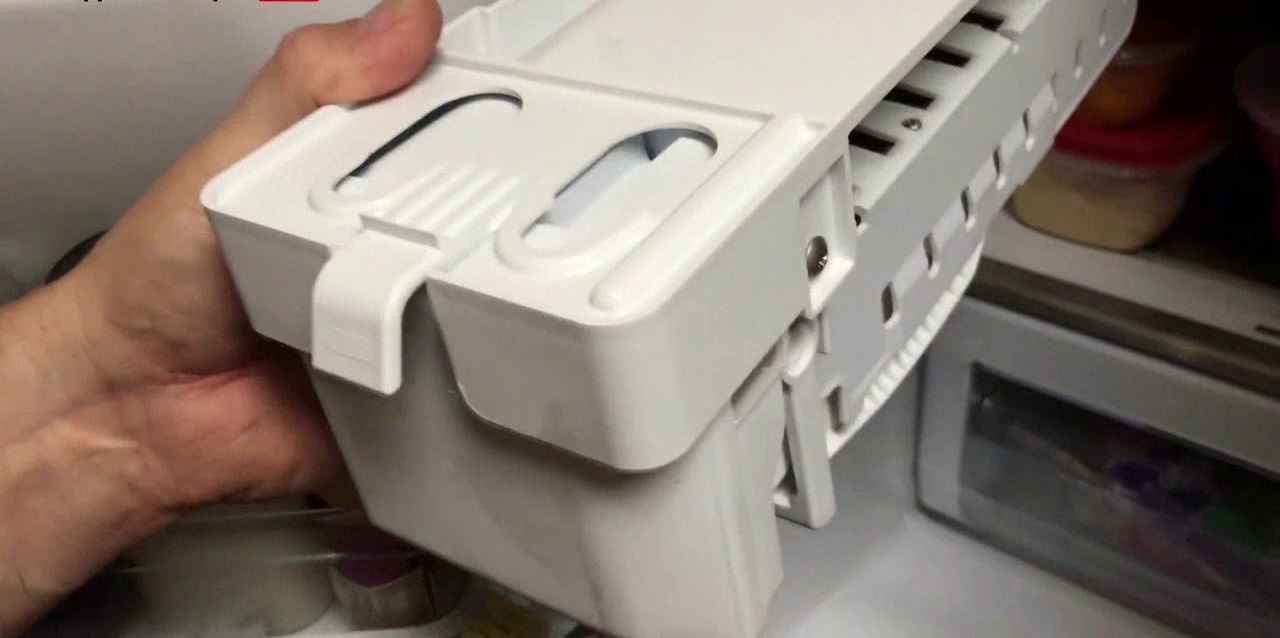
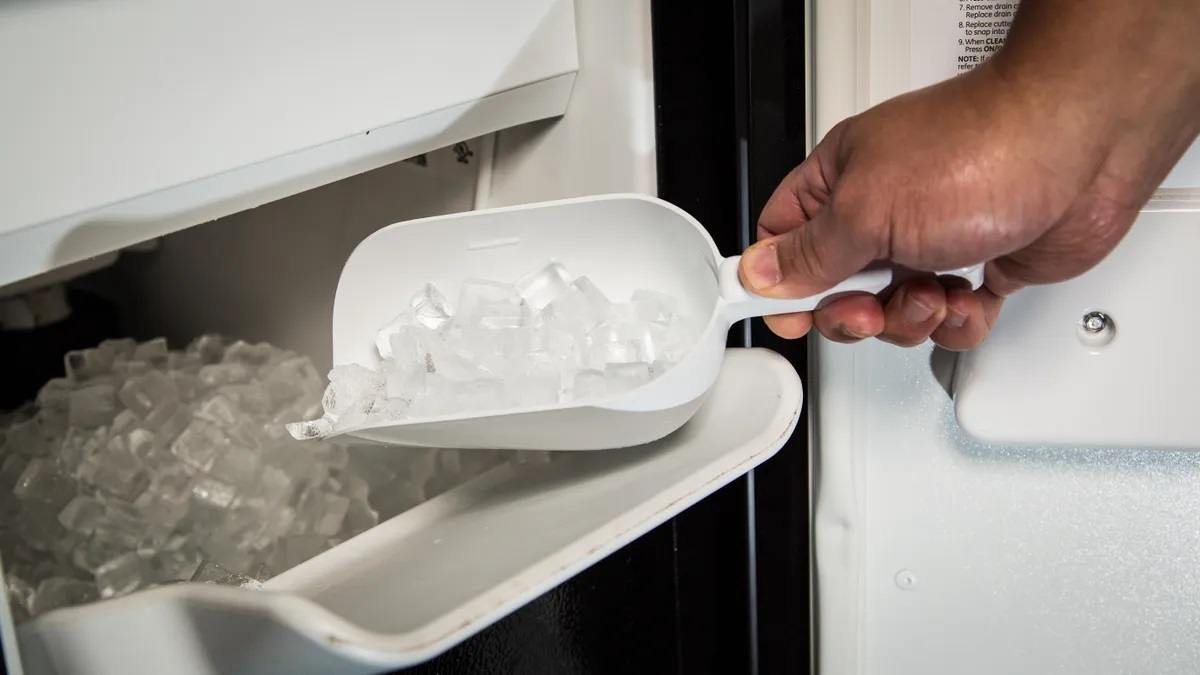
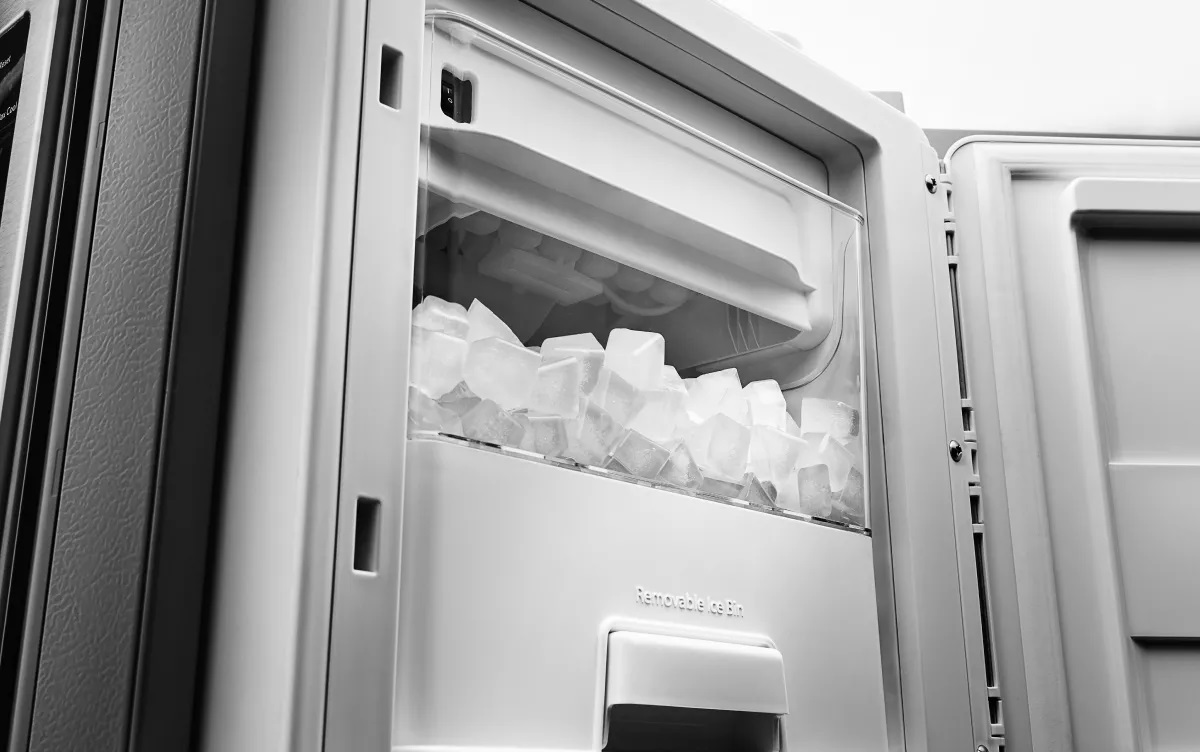
Finally, take a moment to clean the ice bin or storage compartment that was part of the ice maker assembly. Remove any leftover ice and wash the bin with warm soapy water. Rinse it thoroughly and dry it before reinstalling it or storing it separately.
By cleaning the area where the ice maker was located, you are ensuring a fresh and sanitary environment for future use. It also helps prepare the space for the next step: reinstalling or replacing the ice maker (optional).
Step 7: Reinstall or replace the ice maker (optional)
After cleaning the area where the ice maker was installed, you have the option to either reinstall the ice maker or replace it with a new unit. This step is entirely dependent on your specific needs and preferences.
If you choose to reinstall the ice maker, carefully position it back into the mounting brackets or slots. Make sure it is level and securely in place. Use the screws or fasteners that were removed earlier to reattach the ice maker assembly to the refrigerator. Tighten the screws, ensuring that they are secure but not overly tightened.
Once the ice maker is reinstalled, reconnect the water supply line. If the water supply line uses compression fittings, hand-tighten the nut onto the fitting. If it has a push-in fitting, firmly push the water supply line into the fitting until it clicks into place.
After reconnecting the water supply line, double-check that there are no leaks. Monitor the connection for a few minutes while observing any signs of water leakage or dripping. If you notice any leakage, turn off the water supply and recheck the connections, making sure they are properly secured.
If you choose to replace the ice maker, follow the manufacturer’s instructions for installing the new unit. These instructions may vary depending on the make and model of the ice maker you have purchased.
Remember to refer to your Jenn Air refrigerator’s user manual or any accompanying documentation for specific instructions or recommendations regarding ice maker installation. These resources will provide you with important information to ensure proper functionality and compatibility with your refrigerator.
Once the ice maker is either reinstalled or replaced, plug the refrigerator back into the power source. This will restore power to the refrigerator and allow the ice maker to start functioning again. Give the ice maker some time to produce ice, as it may take a few hours for the first batch to be ready.
That’s it! You have successfully completed the process of removing, cleaning, and reinstalling or replacing the ice maker in your Jenn Air refrigerator. Enjoy the convenience of having a properly functioning ice maker once again.
If you have any concerns or encounter any difficulties during the ice maker removal and installation process, it is always recommended to consult a professional technician or contact the manufacturer’s customer support for assistance.
Finally, remember to refer to your refrigerator’s user manual for any specific maintenance or troubleshooting tips to ensure the optimal performance and longevity of your ice maker and refrigerator.
Conclusion
Removing the ice maker from your Jenn Air refrigerator may seem like a daunting task, but with the right tools and guidance, it can be a straightforward process. This step-by-step guide has provided you with the necessary instructions to safely and effectively remove the ice maker unit.
By following these steps, you have learned how to gather the necessary tools, unplug the refrigerator, locate the ice maker, disconnect the water supply, remove the ice maker unit, clean the area, and optionally reinstall or replace the ice maker.
During the removal process, it’s essential to prioritize your safety by unplugging the refrigerator and taking caution when handling electrical components. Moreover, by properly disconnecting the water supply, you prevent any potential leaks or damage.
Cleaning the area where the ice maker was installed ensures a clean and sanitary environment for future use. Whether you choose to reinstall the ice maker or replace it with a new unit, following the manufacturer’s instructions will ensure compatibility and proper functioning.
Remember to consult your Jenn Air refrigerator’s user manual or manufacturer’s documentation for any specific instructions or precautions related to your specific model.
With a properly functioning ice maker, you can enjoy the convenience of having ice readily available whenever you need it. Whether it’s for chilling beverages or hosting gatherings, your ice maker will continue to serve you well.
Should you require any further assistance or run into any issues, it is always best to consult a professional technician or contact the manufacturer’s customer support for expert guidance.
Thank you for following this comprehensive guide on how to remove the ice maker from your Jenn Air refrigerator. We hope this information has been helpful and that you can successfully complete the task with confidence.
Frequently Asked Questions about How To Remove Ice Maker From Jenn Air Refrigerator
Was this page helpful?
At Storables.com, we guarantee accurate and reliable information. Our content, validated by Expert Board Contributors, is crafted following stringent Editorial Policies. We're committed to providing you with well-researched, expert-backed insights for all your informational needs.
0 thoughts on “How To Remove Ice Maker From Jenn Air Refrigerator”