Home>Articles>How To Remove Ice Maker From Amana Refrigerator
Articles
How To Remove Ice Maker From Amana Refrigerator
Modified: August 30, 2024
Learn how to remove the ice maker from your Amana refrigerator with this helpful step-by-step guide. Find more informative articles on home appliances and repairs.
(Many of the links in this article redirect to a specific reviewed product. Your purchase of these products through affiliate links helps to generate commission for Storables.com, at no extra cost. Learn more)
Introduction
Having an ice maker in your Amana refrigerator can be convenient for keeping your beverages cool and refreshing. However, there may come a time when you need to remove the ice maker, either for cleaning or troubleshooting purposes. While it may seem like a daunting task, removing the ice maker from your Amana refrigerator is actually a fairly simple process. In this article, we will guide you through the step-by-step process of removing the ice maker from an Amana refrigerator, ensuring that you can easily perform this task without any hassle.
Before we begin, it is important to note that the specific steps may vary slightly depending on the model of your Amana refrigerator. Therefore, it is always recommended to consult the user manual that came with your appliance for any model-specific instructions. Additionally, ensure that you have the necessary tools handy before starting the process. With that said, let’s dive into the steps to remove the ice maker from your Amana refrigerator.
Key Takeaways:
- Easily remove the ice maker from your Amana refrigerator using simple tools like a flathead screwdriver and adjustable wrench. Follow the step-by-step guide for safe and hassle-free removal.
- Prioritize safety by unplugging the refrigerator before removing the ice maker. Carefully disconnect the water line and electrical connections, and keep track of screws and brackets for easy reinstallation.
Read more: How To Remove Ice Maker From Fridge?
Tools Required
Before you start removing the ice maker from your Amana refrigerator, make sure you have the following tools ready:
- Flathead screwdriver: This tool will be used to disconnect any screws or brackets holding the ice maker in place.
- Adjustable wrench: You will need this tool to disconnect the water line from the ice maker.
- Container or towel: It’s a good idea to have a container or a towel handy to catch any water that may spill when disconnecting the water line.
- User manual: As mentioned earlier, it is always helpful to refer to the user manual that came with your Amana refrigerator for any model-specific instructions or precautions.
By having these tools ready, you will be well-equipped to remove the ice maker from your Amana refrigerator efficiently and effectively. Now that you have your tools prepared, let’s move on to the step-by-step process of removing the ice maker.
Step 1: Unplug the refrigerator
The first step in removing the ice maker from your Amana refrigerator is to ensure that the appliance is completely powered off and unplugged. This precaution is necessary to avoid any risk of electric shock during the removal process.
To unplug the refrigerator, locate the power cord at the back of the appliance. It is usually located near the bottom. Gently pull the cord from the electrical outlet, making sure to avoid any unnecessary tugging or force that may damage the cord or outlet.
Once the refrigerator is unplugged, it is recommended to wait for a few minutes to allow the internal components to cool down. This will ensure a safer and more comfortable removal process.
Unplugging the refrigerator not only ensures your safety but also prevents any accidental activation of the ice maker while you are removing it.
Now that the refrigerator is safely unplugged, we can move on to the next step, which involves locating the ice maker assembly within the Amana refrigerator.
Step 2: Locate the ice maker assembly
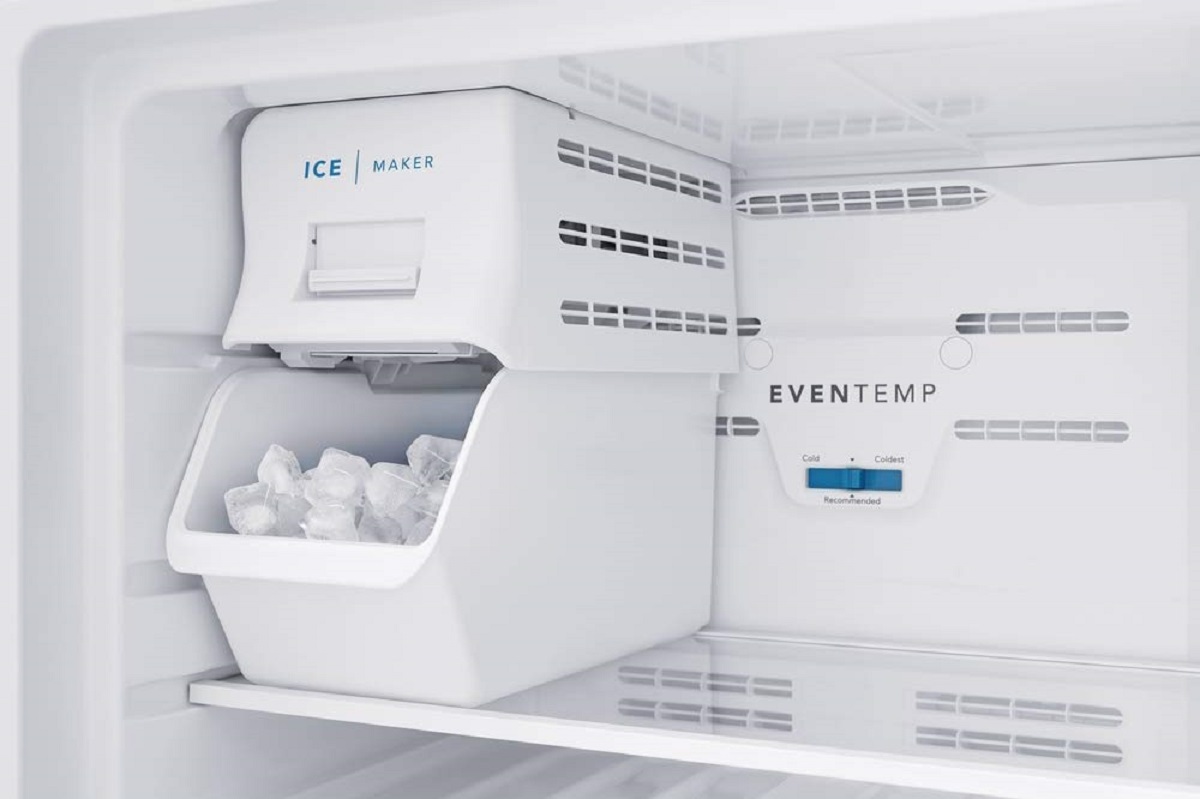
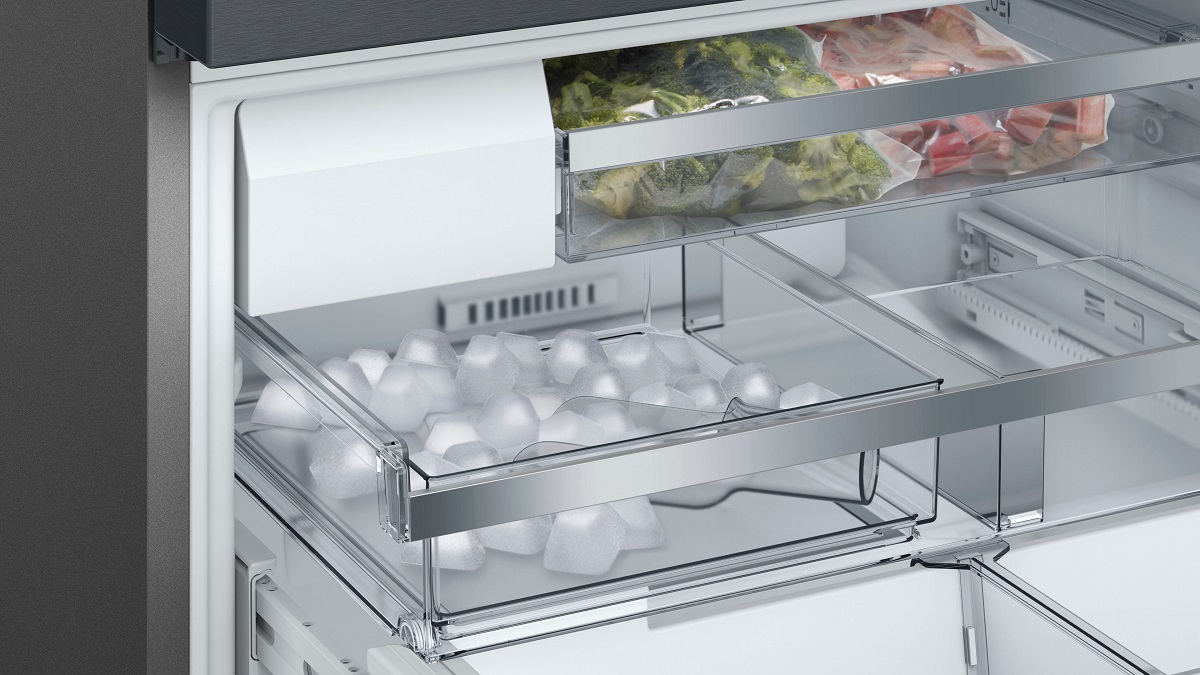
After ensuring that the refrigerator is unplugged, the next step is to locate the ice maker assembly within your Amana refrigerator. The location of the ice maker assembly may vary depending on the model of your refrigerator. However, in most Amana refrigerators, you can find the ice maker assembly in the freezer compartment.
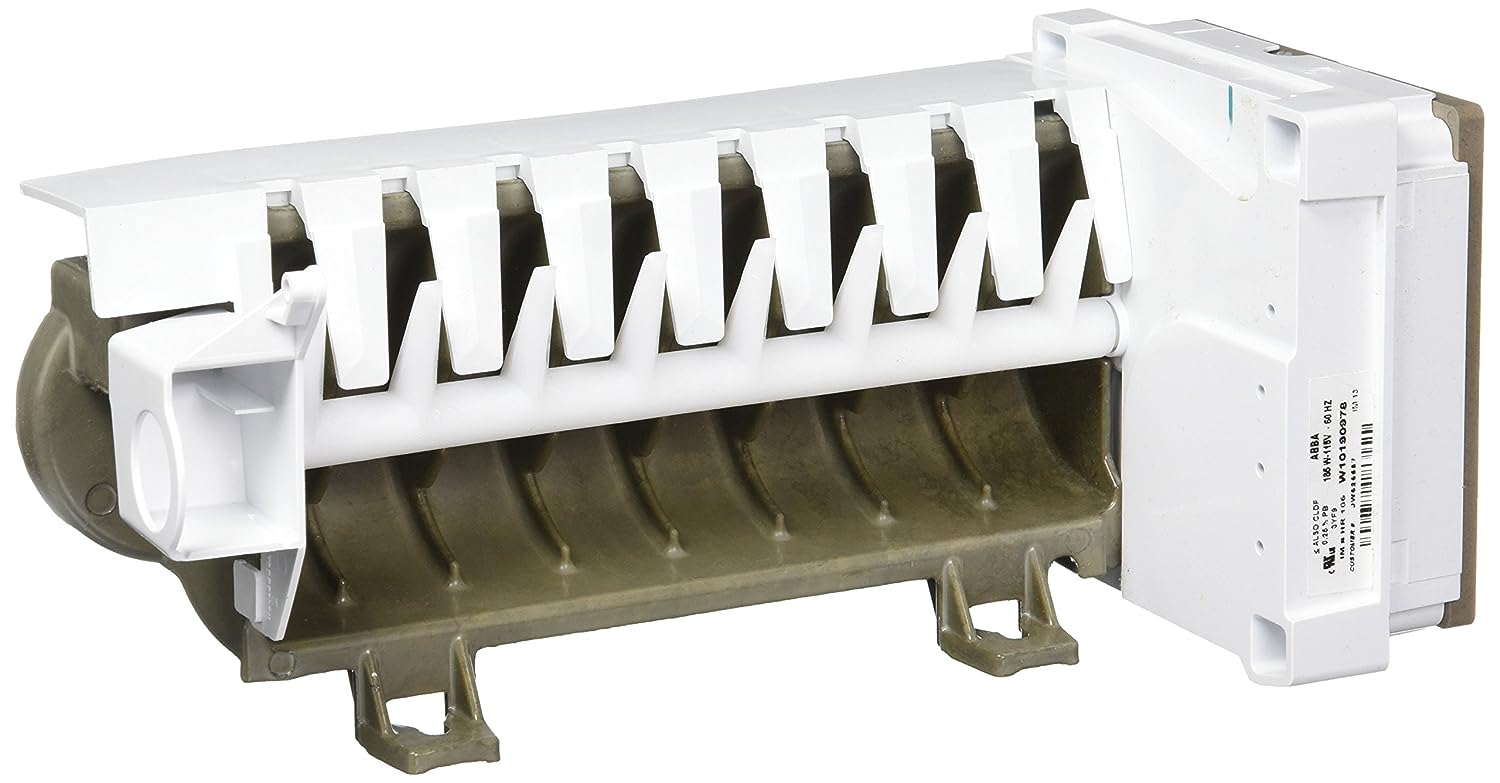
Open the freezer door and look for the ice bin or ice storage unit. The ice maker assembly is usually attached to or located near the ice bin. It is a small rectangular or square-shaped unit with electrical connections and a water line attached to it.
If you are having trouble locating the ice maker assembly, refer to the user manual that came with your Amana refrigerator. The manual will provide specific instructions and diagrams to help you locate the ice maker assembly for your particular model.
Once you have identified the ice maker assembly, you are ready to proceed to the next step, which involves removing the ice bin.
Step 3: Remove the ice bin
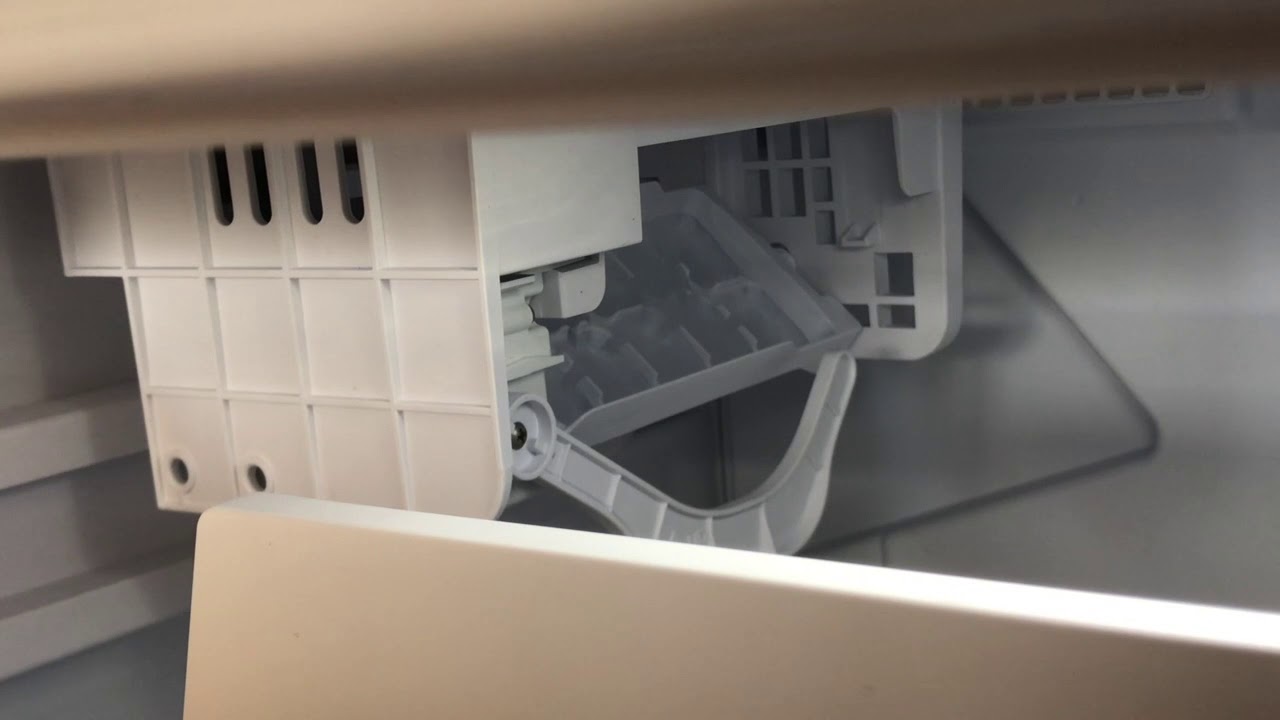
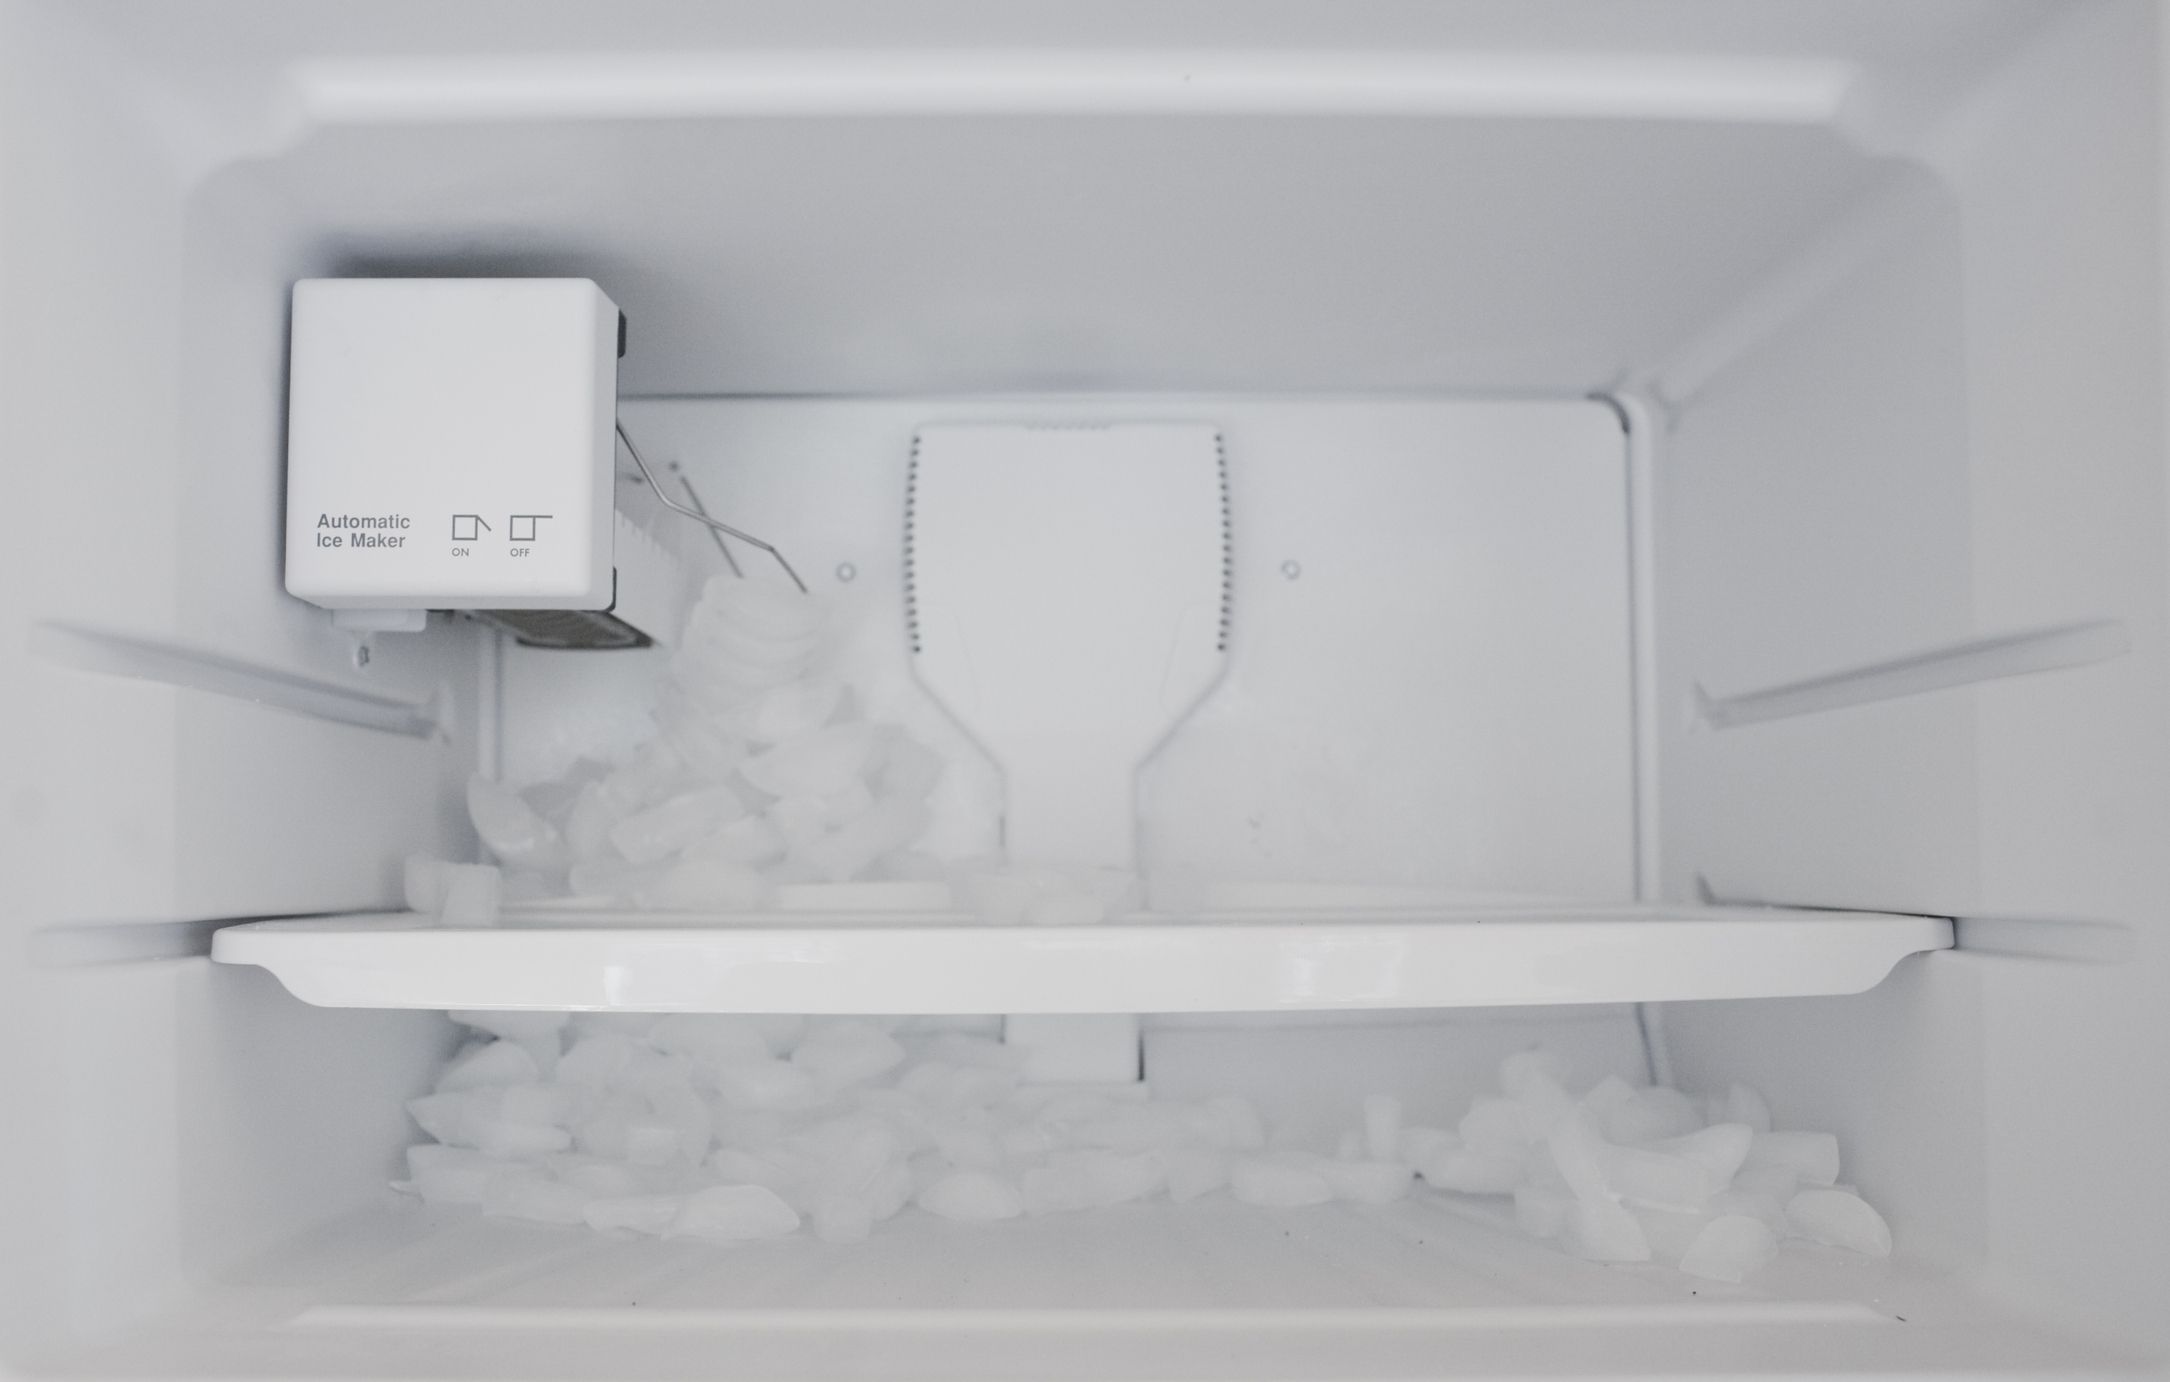
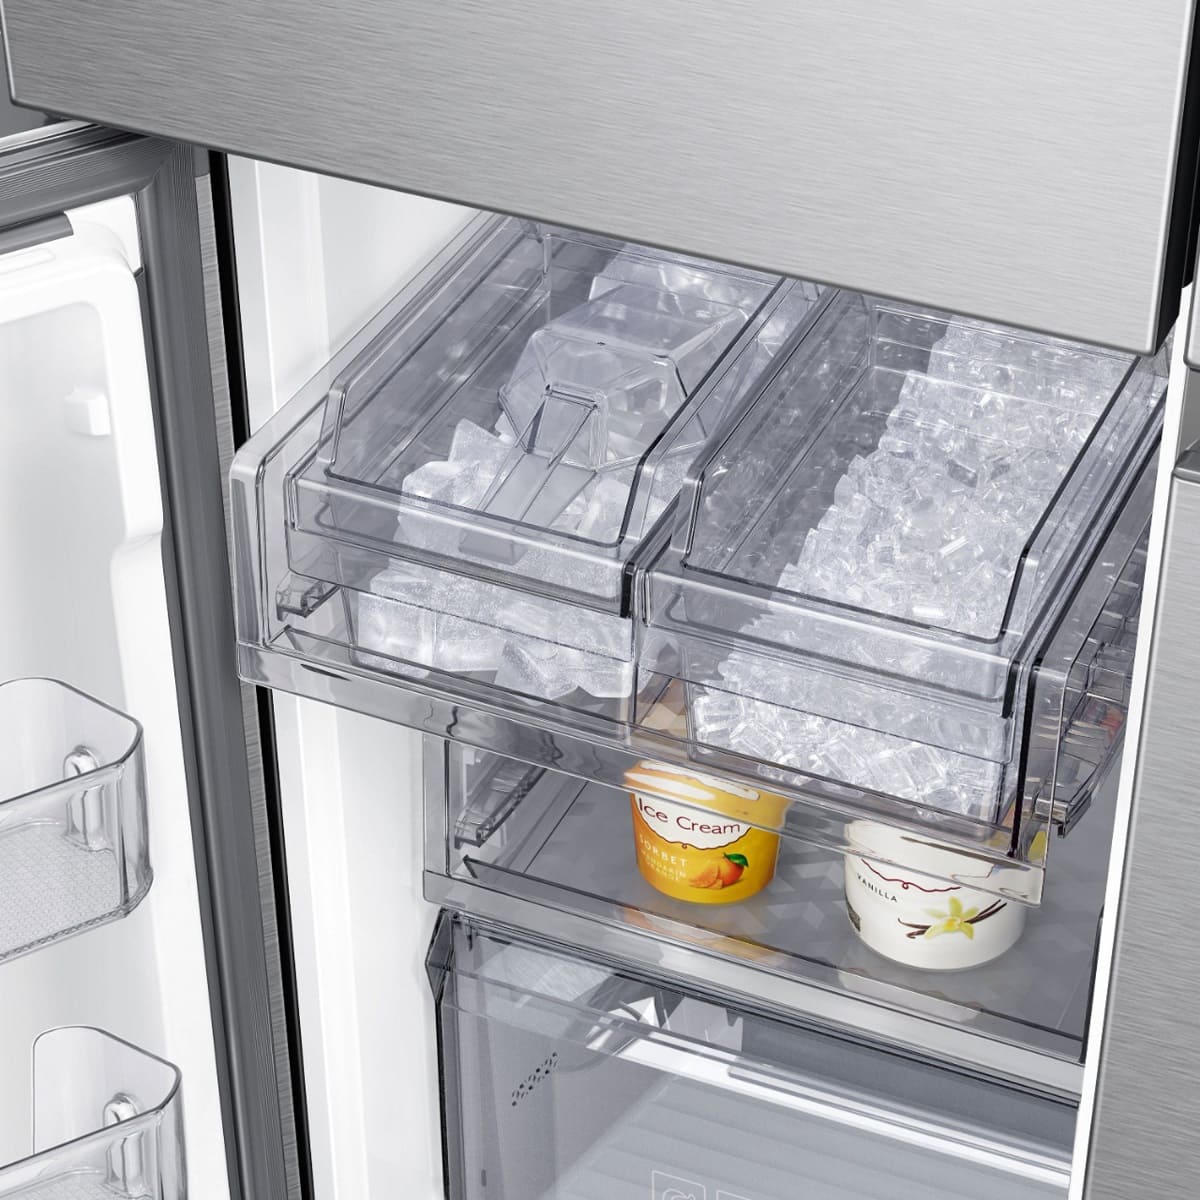
With the ice maker assembly located in your Amana refrigerator’s freezer compartment, the next step is to remove the ice bin. The ice bin is the container that collects and stores the ice produced by the ice maker.
To remove the ice bin, follow these steps:
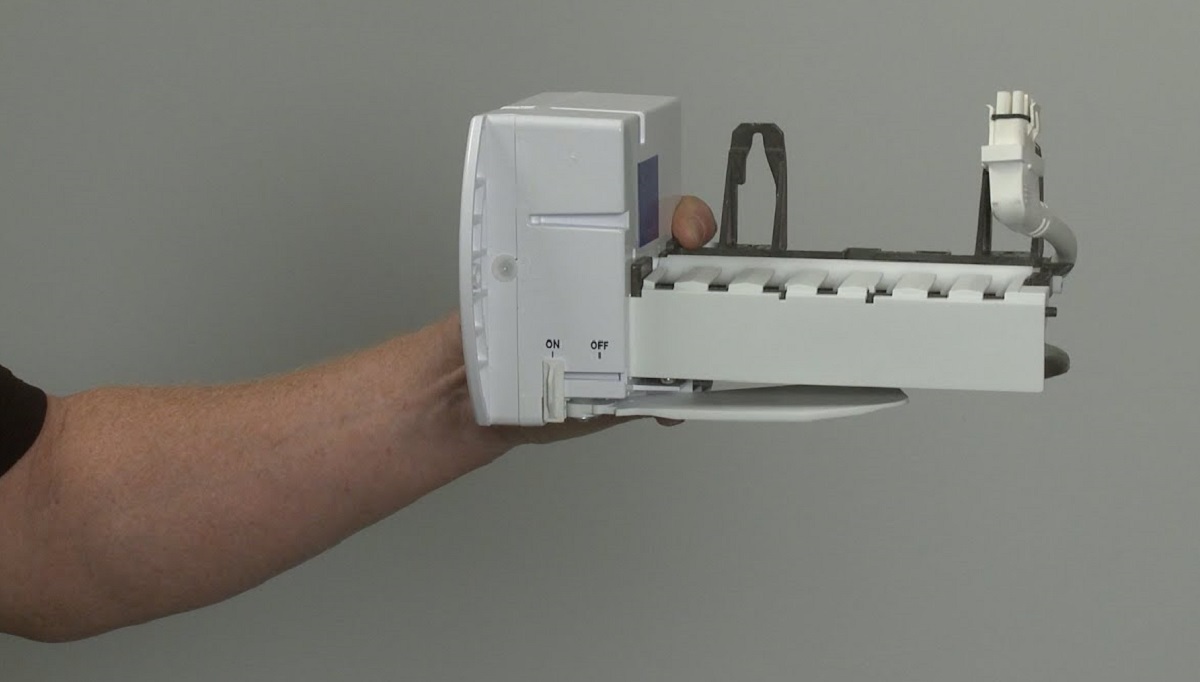
- Ensure that the ice maker is turned off. Some Amana refrigerator models have a switch or button to turn off the ice maker. Check the user manual for instructions on how to do this.
- Grasp the handle or lip of the ice bin firmly.
- Gently pull the ice bin towards you, sliding it out of the freezer compartment. If the ice bin feels stuck, give it a slight wiggle or twist to loosen it.
- Place the ice bin on a sturdy surface, such as a countertop or sink, to prevent it from falling or spilling any residual ice or water.
Removing the ice bin will provide you with better access to the ice maker assembly, making it easier to proceed with the removal process. With the ice bin safely removed, you can now move on to the next step, which involves disconnecting the water line.
Read more: How To Remove Odor From Ice Maker
Step 4: Disconnect the water line
When removing the ice maker from your Amana refrigerator, it is important to disconnect the water line that supplies water to the ice maker. This ensures that there is no water flowing while you work on removing the ice maker assembly.
Follow these steps to disconnect the water line:
- Locate the water line connection on the back of the freezer compartment. This is usually at the top or bottom of the ice maker assembly.
- Using an adjustable wrench, loosen the compression nut that connects the water line to the ice maker assembly. Turn the nut counterclockwise to loosen it.
- Once the compression nut is loose, carefully pull the water line away from the ice maker assembly. Be prepared for any water that may be present in the line to drip out.
- If necessary, place a container or towel beneath the water line connection to catch any water that may spill out.
It is important to handle the water line with care to avoid causing any damage. Keep in mind that the water line may be under pressure, so take caution while disconnecting it to prevent any accidents or water damage.
With the water line safely disconnected, you can now proceed to the next step, which involves removing any mounting screws or brackets that secure the ice maker assembly in place.
Before removing the ice maker from an Amana refrigerator, make sure to unplug the refrigerator and shut off the water supply. Then, carefully follow the manufacturer’s instructions for removing the ice maker to avoid damaging any components.
Step 5: Remove mounting screws or brackets
In order to remove the ice maker assembly from your Amana refrigerator, you will need to detach any mounting screws or brackets that are holding it in place. These screws or brackets secure the ice maker assembly to the freezer compartment.
Follow these steps to remove the mounting screws or brackets:
- Inspect the ice maker assembly for any visible mounting screws or brackets. These are typically located on the sides or top of the assembly.
- Using a flathead screwdriver, carefully loosen and remove the mounting screws. If there are brackets, use the screwdriver to unclip or release them.
- Place the screws or brackets in a safe location, as you will need them when reinstalling the ice maker assembly.
It is important to be careful when removing the mounting screws or brackets to avoid causing any damage to the ice maker assembly or freezer compartment. Take your time and ensure that all screws or brackets are fully removed before proceeding to the next step.
With the mounting screws or brackets removed, you can now move on to the next step, which involves sliding out the ice maker assembly.
Step 6: Slide out the ice maker assembly
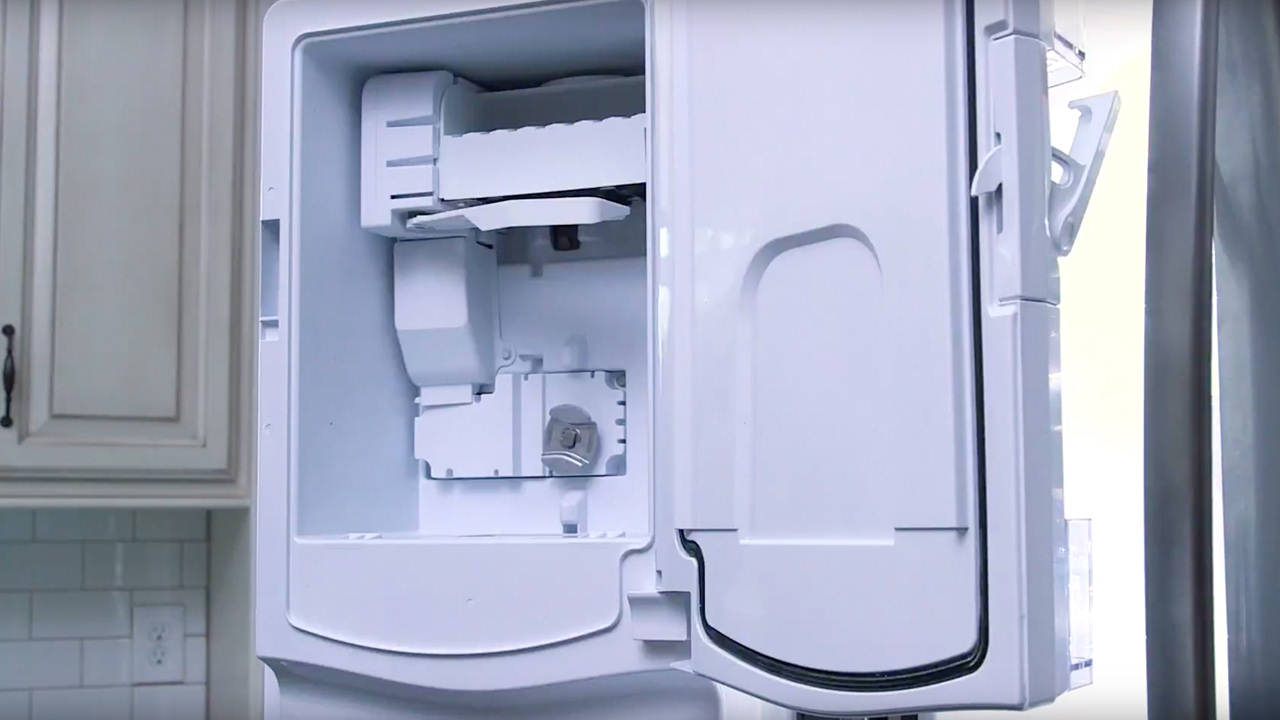
Now that the mounting screws or brackets have been removed, you can proceed to slide out the ice maker assembly from the freezer compartment of your Amana refrigerator. This step will allow you to fully detach the ice maker assembly from the refrigerator.
Follow these steps to slide out the ice maker assembly:
- Gently grasp the ice maker assembly on both sides.
- Using a steady and controlled motion, pull the ice maker assembly towards you.
- Slide the assembly out of the freezer compartment, being mindful of any electrical or water connections that may still be attached.
- Set the ice maker assembly aside on a stable surface, taking care not to damage any of the components.
The ice maker assembly may slide out easily, or it may require some gentle wiggling or rocking to detach it completely. Be patient and avoid applying excessive force to prevent any damage.
With the ice maker assembly now removed from the freezer compartment, you can proceed to the next step, which involves disconnecting any remaining electrical connections.
Step 7: Disconnect electrical connections
Before completely removing the ice maker assembly from your Amana refrigerator, it is important to disconnect any remaining electrical connections that are still attached. These electrical connections provide power to the ice maker and control its functions.
Follow these steps to disconnect the electrical connections:
- Locate the electrical connections on the back of the ice maker assembly. These connections are typically small plugs or wires.
- Gently grasp the plug or wire, and carefully disconnect it from its corresponding socket or terminal on the ice maker assembly. Pull straight out to avoid damaging the connections.
- Repeat this process for any additional electrical connections that may be present.
It is important to handle the electrical connections with care to prevent any damage. Take note of the arrangement and orientation of the connections so that you can easily reconnect them when reinstalling the ice maker assembly.
Once all the electrical connections are safely detached, you can proceed to the final step, which involves removing the ice maker assembly from the refrigerator.
Read more: How To Remove Mold From Ice Maker
Step 8: Remove the ice maker assembly from the refrigerator
Now that you have disconnected all the electrical connections, it’s time to completely remove the ice maker assembly from your Amana refrigerator. This step will allow you to safely take out the assembly for cleaning, repair, or replacement.
Follow these steps to remove the ice maker assembly:
- Gently lift the ice maker assembly up and away from its mounting location in the freezer compartment.
- Ensure that there are no remaining connections or obstructions that may prevent the assembly from being fully removed.
- Set the ice maker assembly aside in a secure location, taking care not to damage any of the components.
With the ice maker assembly successfully removed from the refrigerator, you can now proceed with any necessary cleaning, repair, or replacement. If you plan to reinstall the ice maker assembly, make sure to keep it in a safe place until you are ready to do so.
In concluding the removal process, be sure to follow the reverse order of these steps when reassembling the ice maker. Take your time to ensure that all connections are securely reattached and any mounting screws or brackets are properly fastened.
By successfully removing the ice maker assembly from your Amana refrigerator, you have gained the ability to maintain and troubleshoot the ice maker conveniently. Remember to consult the user manual or seek professional assistance if you encounter any difficulties or uncertainties.
Conclusion
Removing the ice maker from your Amana refrigerator may seem like a daunting task, but with the right tools and step-by-step instructions, it can be a straightforward process. By following the eight steps outlined in this guide, you can easily remove the ice maker assembly for cleaning, repair, or replacement.
Remember to always prioritize your safety by unplugging the refrigerator before beginning the removal process. Take your time, be careful with the water line and electrical connections, and keep track of any screws or brackets that need to be removed.
Once you have successfully removed the ice maker assembly from your Amana refrigerator, you can proceed with any necessary maintenance or repairs. Whether you need to clean the assembly, replace a faulty component, or troubleshoot an issue, having easy access to the ice maker will make the process more convenient.
When you are ready to reinstall the ice maker assembly, simply follow the steps in reverse order. Ensure that all electrical connections are securely attached and any screws or brackets are properly fastened.
By taking the time to learn how to remove and reinstall the ice maker from your Amana refrigerator, you are empowering yourself to effectively maintain and troubleshoot this essential appliance component. As always, refer to your Amana refrigerator’s user manual for any model-specific instructions or precautions.
With proper care and maintenance, your Amana refrigerator’s ice maker will continue to provide you with an abundance of refreshing ice cubes for many years to come.
Now that you've mastered removing the ice maker from your Amana refrigerator, keep your appliance in tip-top shape with our next guide. Maintaining your refrigerator's ice maker is crucial for ensuring it operates smoothly and efficiently. Our upcoming article provides easy-to-follow instructions on cleaning and upkeep that will help extend your device's life and performance. Don't miss out on these essential tips for optimal refrigerator maintenance.
Frequently Asked Questions about How To Remove Ice Maker From Amana Refrigerator
Was this page helpful?
At Storables.com, we guarantee accurate and reliable information. Our content, validated by Expert Board Contributors, is crafted following stringent Editorial Policies. We're committed to providing you with well-researched, expert-backed insights for all your informational needs.

0 thoughts on “How To Remove Ice Maker From Amana Refrigerator”