
Articles
How To Remove Old Attic Insulation
Modified: February 24, 2024
Looking for articles on how to remove old attic insulation? Check out our expert tips and step-by-step guide to get the job done efficiently and safely.
(Many of the links in this article redirect to a specific reviewed product. Your purchase of these products through affiliate links helps to generate commission for Storables.com, at no extra cost. Learn more)
Introduction
Welcome to the world of home improvement! If you are considering removing old attic insulation, you have come to the right place. Whether you are looking to upgrade to more energy-efficient insulation or need to address issues such as mold contamination, removing old insulation is an important step in maintaining a healthy and comfortable home.
While attic insulation is crucial for keeping your home properly insulated and reducing energy costs, it can degrade over time due to moisture, pests, or wear and tear. Removing old insulation and replacing it with new, high-quality materials can greatly improve the efficiency of your home’s insulation system.
In this article, we will guide you through the step-by-step process of removing old attic insulation. From safety precautions to disposing of the insulation, we’ve got you covered. Before we dive into the details, it’s important to note that attic insulation removal can be a physically demanding task, so make sure to take breaks and stay hydrated throughout the process.
Now, let’s get started on the journey to a well-insulated and healthier attic space!
Key Takeaways:
- Prioritize safety and proper insulation assessment are crucial for a successful attic insulation removal. Gathering the right tools and following proper removal techniques are essential for a smooth and efficient process.
- Addressing mold contamination and disposing of old insulation properly are key steps in ensuring a clean and healthy attic space. Thoroughly cleaning and preparing the attic for new insulation or upgrades is the final step in the process.
Read more: How To Remove Blown-in Insulation In Attic
Step 1: Safety Precautions
Before you begin removing old attic insulation, it’s crucial to prioritize safety. Attics can be hazardous environments, so taking proper precautions will help ensure your well-being throughout the process. Here are some important safety measures to keep in mind:
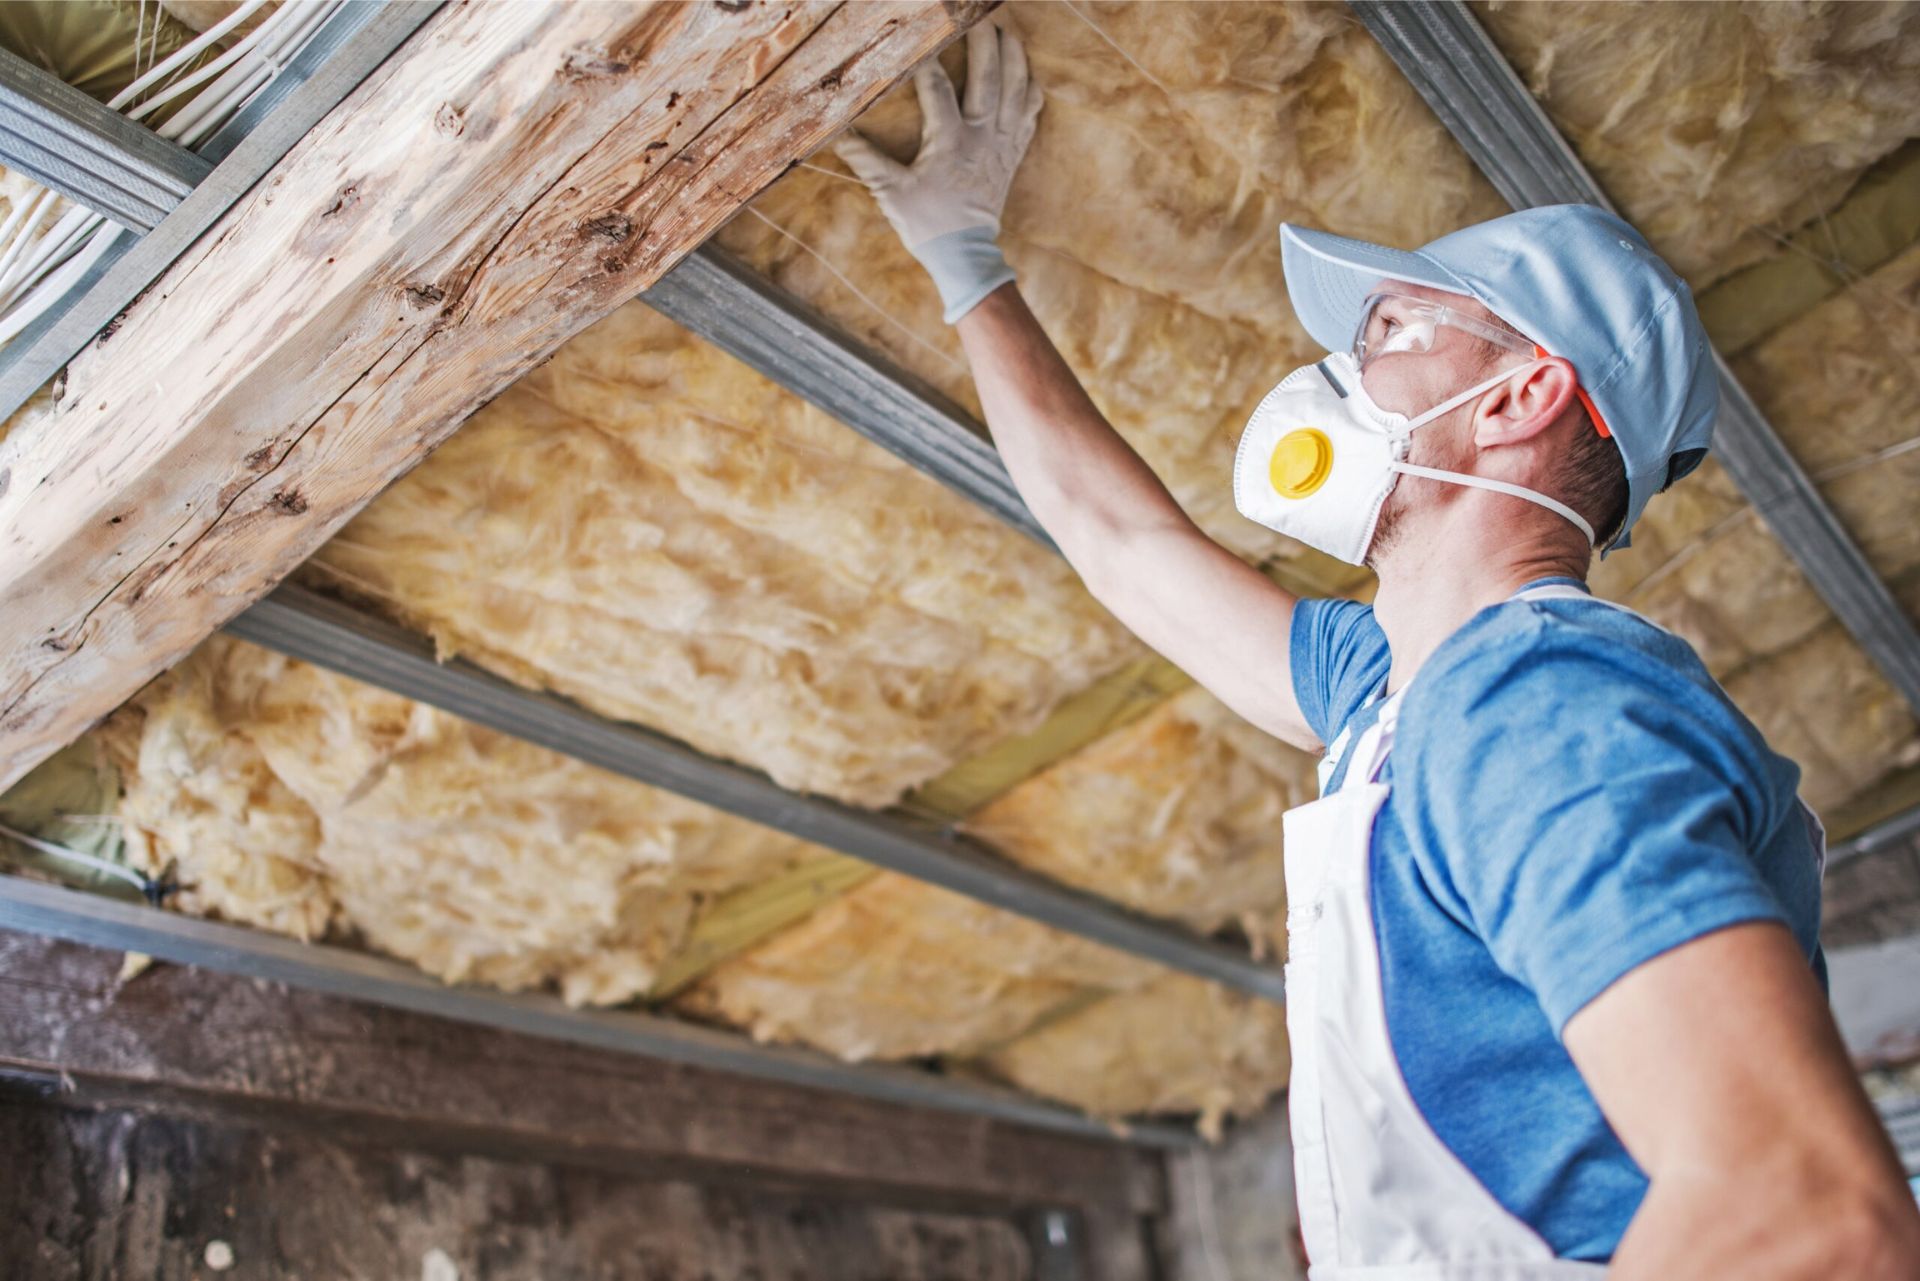
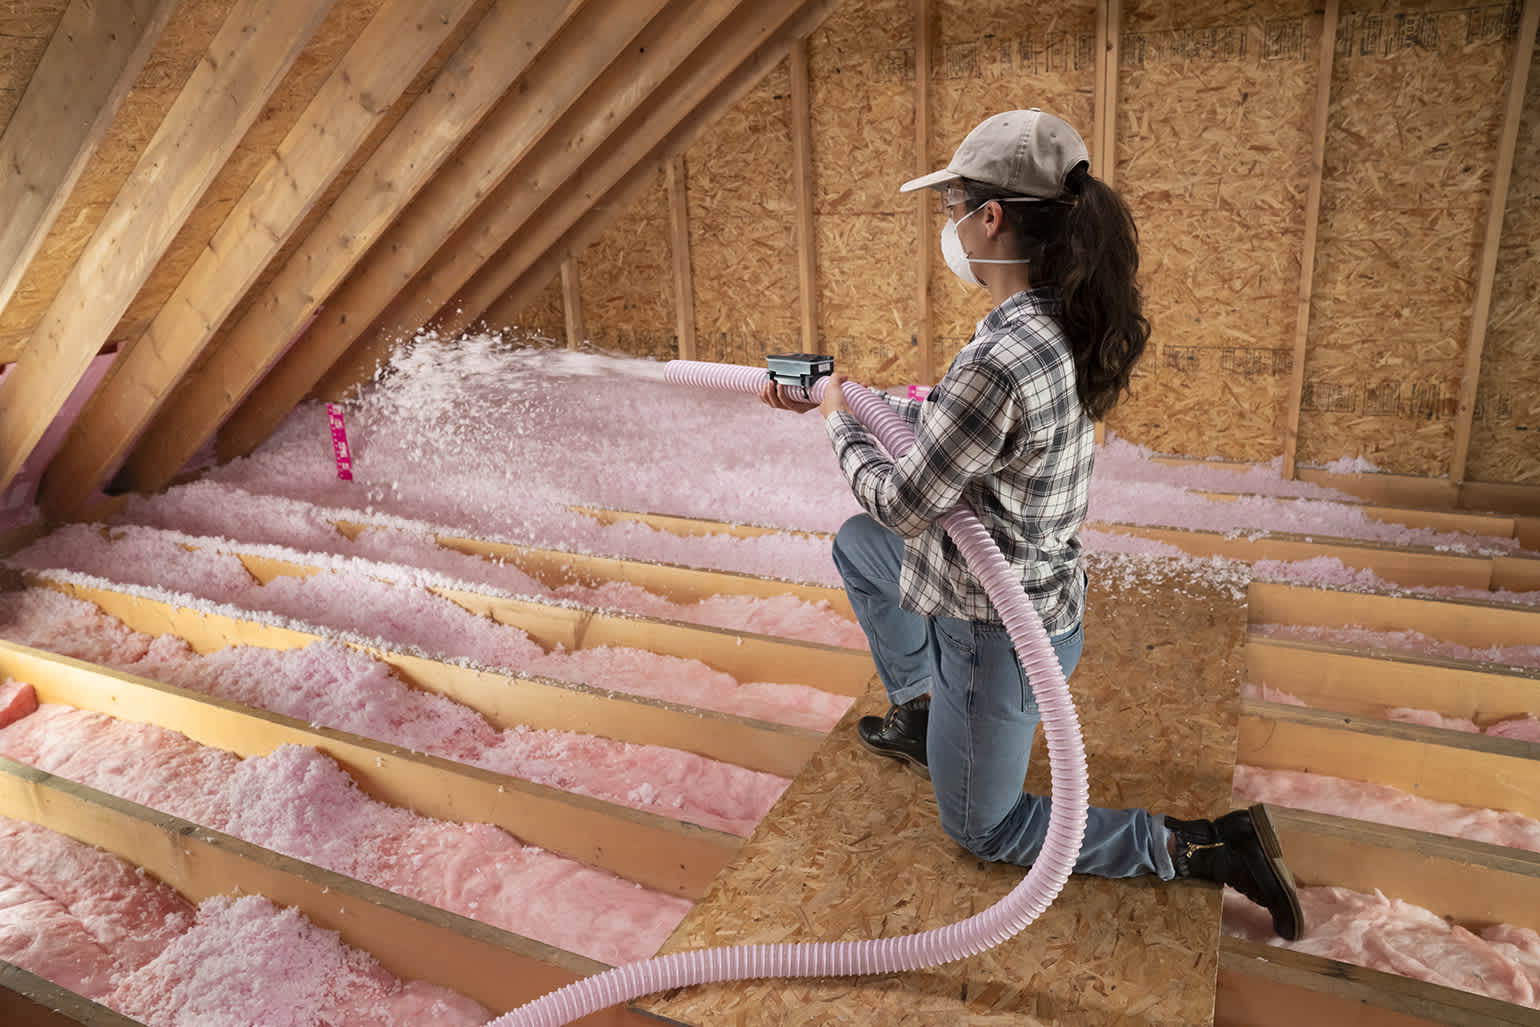
- Wear Protective Gear: Start by wearing appropriate safety gear, including goggles, gloves, a dust mask, and long-sleeved clothing. This will protect you from potential hazards such as insulation fibers, dust, and mold.
- Turn off Electrical Power: Make sure to turn off the electrical power to the attic to prevent any potential electrical hazards. This will also help reduce the risk of accidentally cutting or damaging wires during the insulation removal process.
- Ensure Proper Ventilation: Attics can be poorly ventilated spaces, so it’s essential to ensure proper ventilation. Open windows, use fans or exhaust vents, and consider using a respirator with an appropriate filtration system to minimize exposure to dust and contaminants.
- Use a Headlamp or Portable Lighting: Attics can be dimly lit, so having adequate lighting is crucial for your safety. Ensure you have a headlamp or portable lighting to navigate the attic space easily and avoid any potential accidents or tripping hazards.
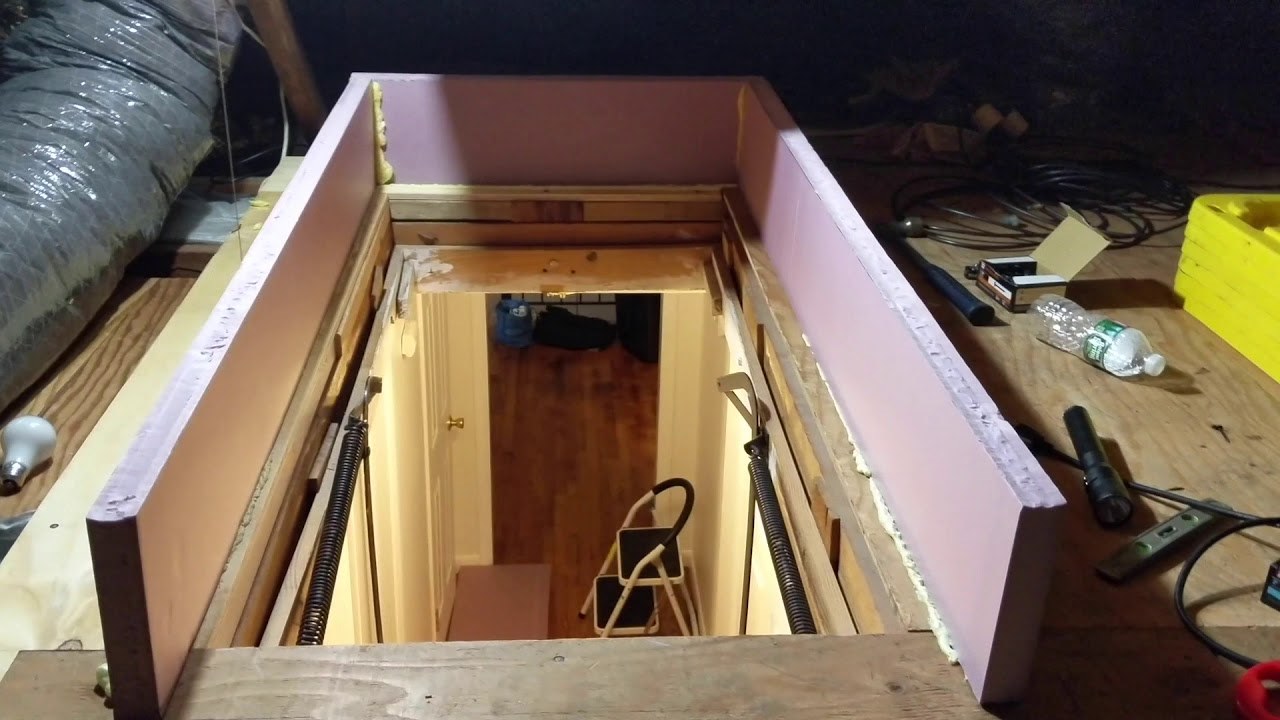
- Secure the Attic Entrance: Secure the attic entrance to prevent anyone from accidentally entering the area while you are working. This will minimize the risk of falls or injuries from people unexpectedly entering the space.
- Beware of Pests and Wildlife: Attics can become home to pests and wildlife, so be cautious when removing insulation. Wear thick gloves and be prepared for any potential encounters with rodents, insects, or other animals that may have taken up residence in the attic.
- Have a First Aid Kit On Hand: Accidents can happen, so it’s important to have a fully stocked first aid kit easily accessible in case of minor injuries. This will allow you to quickly address any cuts, scrapes, or other injuries that may occur during the insulation removal process.
By implementing these safety precautions, you can have peace of mind knowing that you are taking the necessary steps to protect yourself while removing old attic insulation. Your safety is of utmost importance, so don’t rush through this step and ensure that you have all the necessary safety measures in place before proceeding to the next steps.
Step 2: Assessing the Insulation
Before you dive into removing the old attic insulation, it’s important to assess the condition and type of insulation you have. This will help you determine the appropriate method for removal and disposal. Here are the key factors to consider when assessing your attic insulation:
- Inspect for Moisture Damage: Check for any signs of moisture damage, such as water stains, mold growth, or a musty smell. If you notice any indications of moisture, it’s important to address the underlying issue before removing the insulation to prevent further damage.
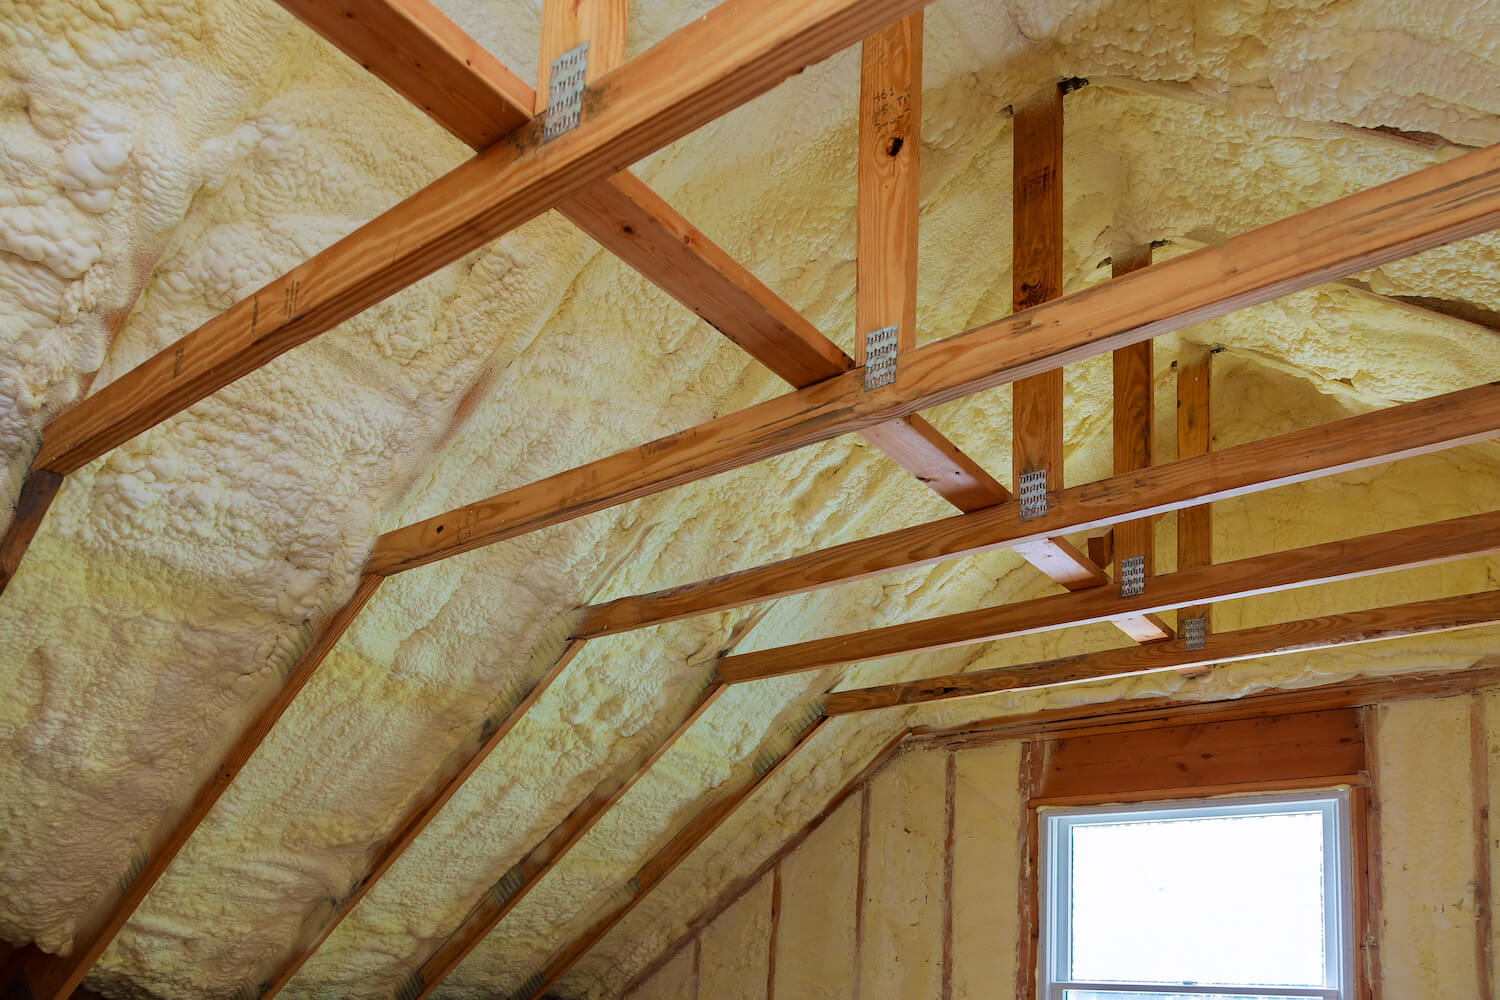
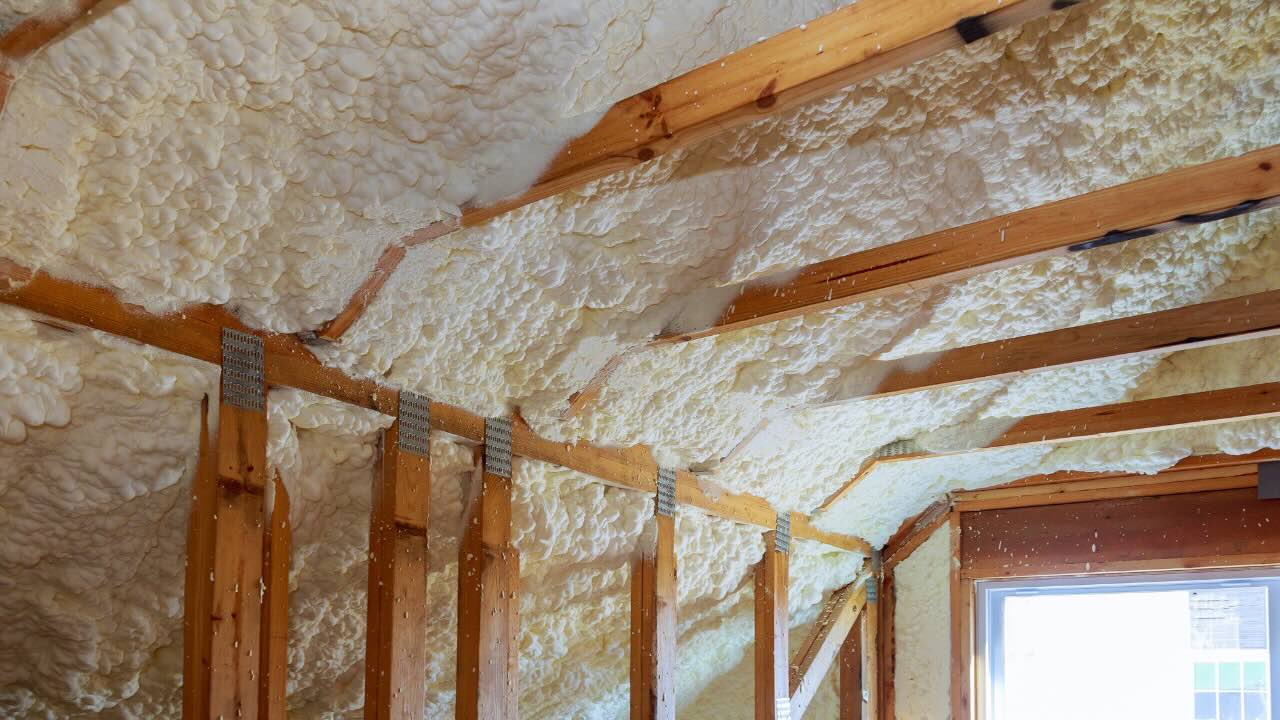
- Determine the Insulation Type: Different types of insulation require different removal methods. Common attic insulation types include fiberglass batts, cellulose, and spray foam. Determine the specific insulation type in your attic to determine the appropriate removal technique.
- Measure the Insulation Depth: Use a ruler or tape measure to measure the depth of the insulation. This will help you determine if you have enough insulation or if you need to add more after removing the old insulation. The recommended insulation depth varies depending on your location and climate.
- Check for Contaminants: Insulation in older homes may contain hazardous materials such as asbestos. If you suspect that your insulation contains asbestos, do not disturb it yourself. Contact a professional asbestos removal company for proper testing and removal.
- Assess the Condition: Inspect the insulation for signs of damage such as tears, compression, or uneven distribution. Damaged or compressed insulation may not provide effective thermal protection and should be removed and replaced.
- Evaluate Energy Efficiency: Consider the energy efficiency of your current insulation. Older insulation materials may not provide adequate thermal resistance. Removing and replacing old insulation with newer, more efficient options can help improve energy efficiency in your home.
By thoroughly assessing the condition and type of insulation in your attic, you will be better equipped to plan the removal process. Take note of any necessary repairs or updates you may need to make, and be prepared to adapt your approach based on the specific condition of your attic insulation. This careful assessment will ensure that you perform a thorough and efficient removal.
Step 3: Gathering the Necessary Tools and Equipment
Now that you have assessed your attic insulation and are ready to proceed with the removal process, it’s time to gather the necessary tools and equipment. Having the right tools on hand will make the job easier and more efficient. Here are the essential tools and equipment you will need:
- Protective Gear: As mentioned earlier, safety should be a priority. Make sure you have goggles, gloves, a dust mask, and long-sleeved clothing to protect yourself from insulation fibers, dust, and potential contaminants.
- Ladder: A sturdy ladder is essential to access and navigate the attic space. Make sure the ladder is stable and securely placed before climbing up to the attic.
- Headlamp or Portable Lighting: Adequate lighting is crucial in the dimly lit attic. A headlamp or portable lighting will help you see clearly and navigate the space safely while working on the insulation.
- Insulation Removal Bags: Use heavy-duty plastic bags to collect and dispose of the removed insulation. These bags should be durable enough to hold the insulation without tearing and should be properly sealed to prevent dust or debris from escaping.
- Insulation Removal Vacuum: Consider using a vacuum specifically designed for insulation removal. These vacuums have filters to prevent insulation particles from entering the motor, ensuring safe and efficient removal.
- Insulation Removal Rake or Shovel: A rake or shovel designed for insulation removal will help you loosen and remove loose or compressed insulation materials more easily. These tools have specialized designs to minimize damage to the attic structure.
- Trash Bags or Containers: Besides the insulation removal bags, you will need additional trash bags or containers to discard any other debris or waste accumulated during the process.
- Duct Tape or Zip Ties: Use duct tape or zip ties to secure the filled insulation removal bags and prevent any leaks or spills during disposal.
- Cleaning Supplies: After removing the insulation, you will need cleaning supplies to tidy up the attic space. This may include brooms, mops, disinfectants, and garbage bags to discard any remaining dust or debris.
- Waste Disposal Plan: Before you begin, make sure you have a waste disposal plan in place. Contact your local waste management facility to determine the proper disposal procedures for old insulation materials.
Having these tools and equipment ready will ensure that you can efficiently and safely remove the old attic insulation. By being prepared ahead of time, you can streamline the process and minimize interruptions during the removal and disposal steps.
Step 4: Removing Loose Insulation
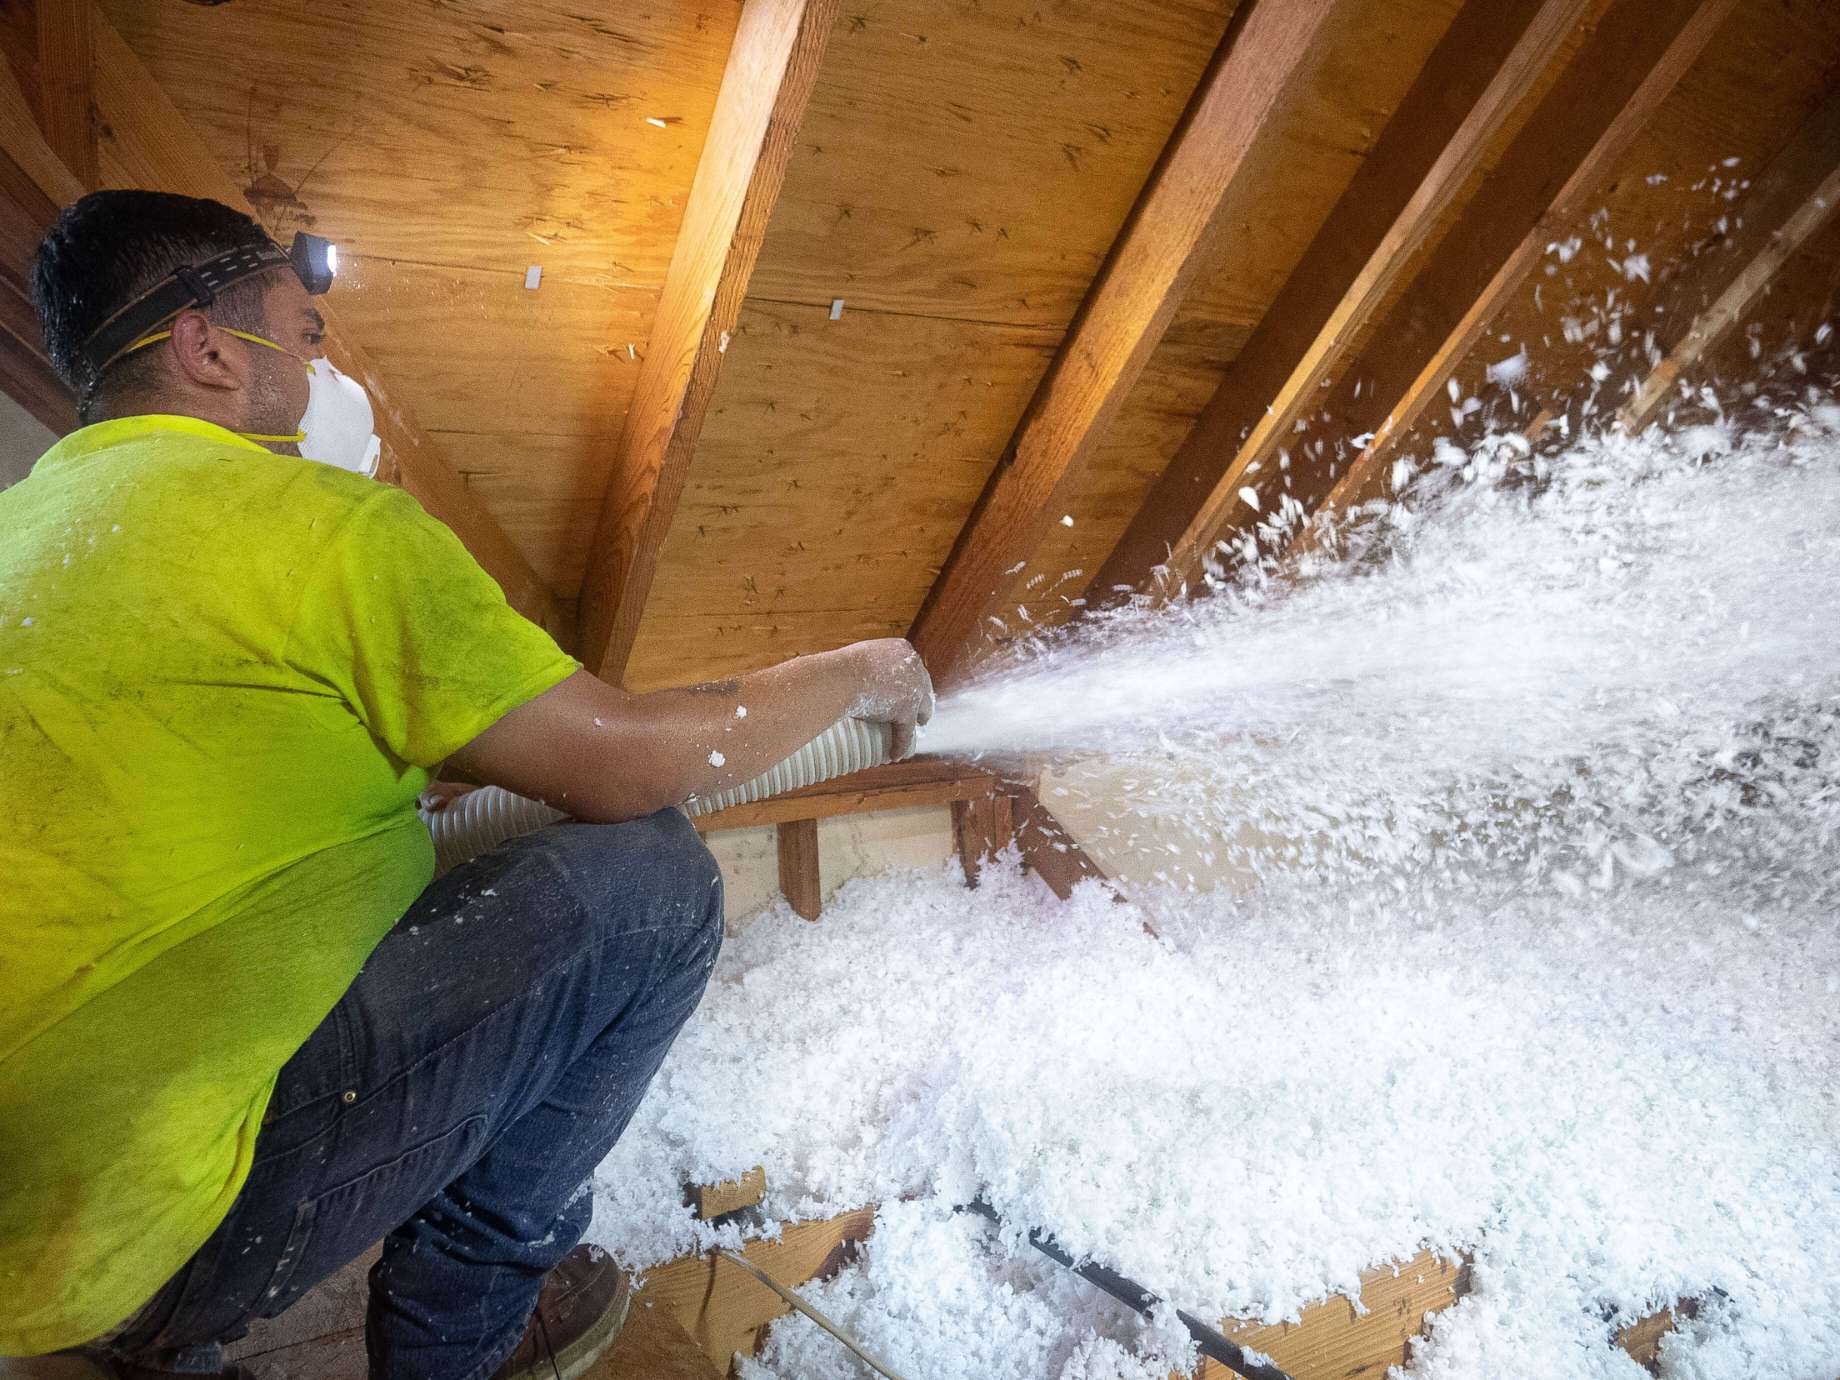
With the necessary tools and equipment in hand, it’s time to tackle the task of removing loose attic insulation. Loose insulation refers to materials that are not tightly secured or bound together, such as blown-in insulation or fiberglass batts that have become dislodged. Here’s how to remove loose insulation effectively:
- Put on Protective Gear: Before you begin, make sure you are wearing all the necessary protective gear, including goggles, gloves, and a dust mask. This will help protect you from insulation fibers, dust, and potential allergens.
- Clear the Work Area: Clear the area around the loose insulation by removing any obstacles, debris, or stored items. This will provide you with a clear and safe working space.
- Work in Sections: It’s best to work in smaller sections of the attic to avoid overwhelming yourself and to maintain a systematic removal process. Start at one end of the attic and gradually work your way towards the exit.
- Use an Insulation Removal Rake or Shovel: Use an insulation removal rake or shovel to loosen and collect the loose insulation. Gently rake or shovel the insulation towards you, being careful not to damage wiring, pipes, or other components in the attic space.
- Collect the Loose Insulation in Bags: As you remove the loose insulation, collect it in heavy-duty plastic bags designed for insulation removal. Be mindful of the weight limit of the bags and avoid overfilling to prevent tearing or spills.
- Seal and Label the Bags: Once a bag is filled, tightly seal it with duct tape or secure it with zip ties. Clearly label the bags as “old insulation” for easy identification during disposal.
- Continue the Removal Process: Repeat the process of raking or shoveling the loose insulation and collecting it in bags until you have cleared the entire attic space.
- Dispose of the Bags Properly: Follow the proper waste disposal procedures for disposing of the bags filled with old insulation. Contact your local waste management facility to determine the specific guidelines and locations for disposal.
Removing loose insulation can be a physically demanding task, so remember to take breaks and stay hydrated. Pace yourself and work methodically to ensure an efficient and thorough removal process. By following these steps, you’ll have a clear and clean attic ready for the next stage of insulation improvement.
Read more: How To Remove Vermiculite Attic Insulation
Step 5: Vacuuming Insulation Dust and Debris
Once you have removed the loose insulation from your attic, it’s time to tackle the task of vacuuming up any remaining dust and debris. Vacuuming ensures a clean and dust-free environment, preparing the space for new insulation or other necessary repairs. Here’s how to effectively vacuum insulation dust and debris:
- Switch to a High-Quality Vacuum: Use a vacuum cleaner equipped with a HEPA filter to effectively capture fine particles, including insulation dust. A HEPA filter is designed to trap even the smallest particles, ensuring thorough cleaning.
- Put on Protective Gear: Before you begin vacuuming, don’t forget to put on your protective gear, including goggles, gloves, and a dust mask. This will help protect you from any remaining dust or allergens.
- Attach the Appropriate Attachment: Choose a brush or hose attachment suitable for cleaning in tight spaces, corners, and hard-to-reach areas of the attic. This will allow you to effectively clean all surfaces in the attic space.
- Start from the Highest Point: Begin vacuuming from the highest point in the attic, working your way down towards the exit. This will prevent any settled dust or debris from getting stirred up and recirculating in the cleaned areas.
- Vacuum all Surfaces: Vacuum all surfaces, including walls, beams, and the attic floor, paying close attention to areas where insulation fibers may have accumulated. Move the vacuum slowly and methodically to ensure thorough cleaning.
- Empty and Clean the Vacuum Regularly: Regularly check and empty the vacuum bag or canister to maintain optimum suction power. Clean the vacuum’s filter according to the manufacturer’s instructions to prevent clogs and maintain efficient performance.
- Dispose of Vacuumed Debris Properly: Use a separate sealed bag or container to collect the debris and insulation particles that are vacuumed up. Dispose of them according to the waste management guidelines provided by your local authorities.
- Perform a Final Inspection: Once you have finished vacuuming, perform a final inspection to ensure that all dust and debris have been effectively removed. Take a moment to appreciate your clean and dust-free attic space.
Properly vacuuming the insulation dust and debris is an important step to ensure a clean and healthy attic environment. The removal of this remaining dust and debris will prevent it from settling on new insulation or circulating throughout your home’s HVAC system. By following these steps, you’ll achieve a clean and dust-free attic ready for the next stage of improvement.
Before removing old attic insulation, make sure to wear protective gear such as gloves, a mask, and goggles to avoid any potential health hazards. Additionally, consider renting a insulation removal vacuum to make the process more efficient.
Step 6: Removing Insulation Batts or Rolls
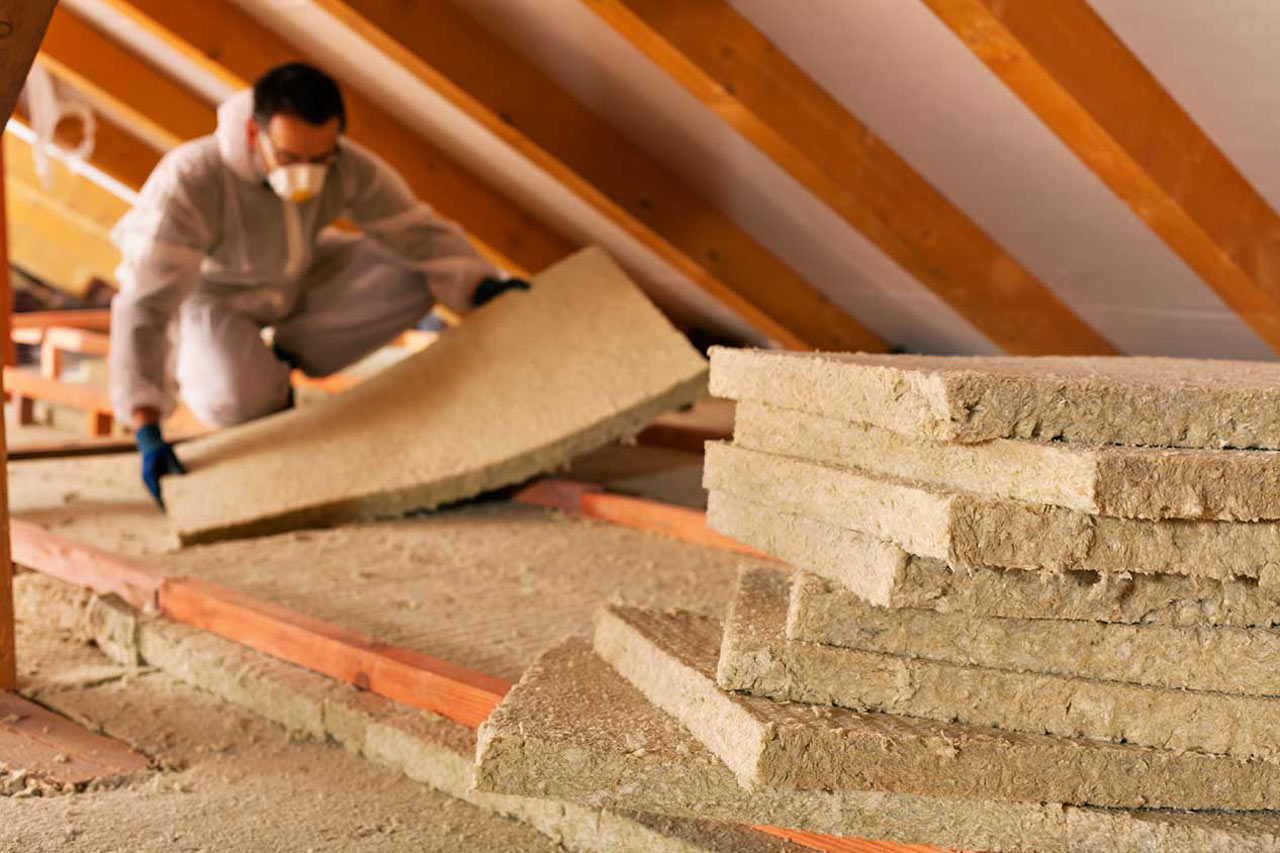
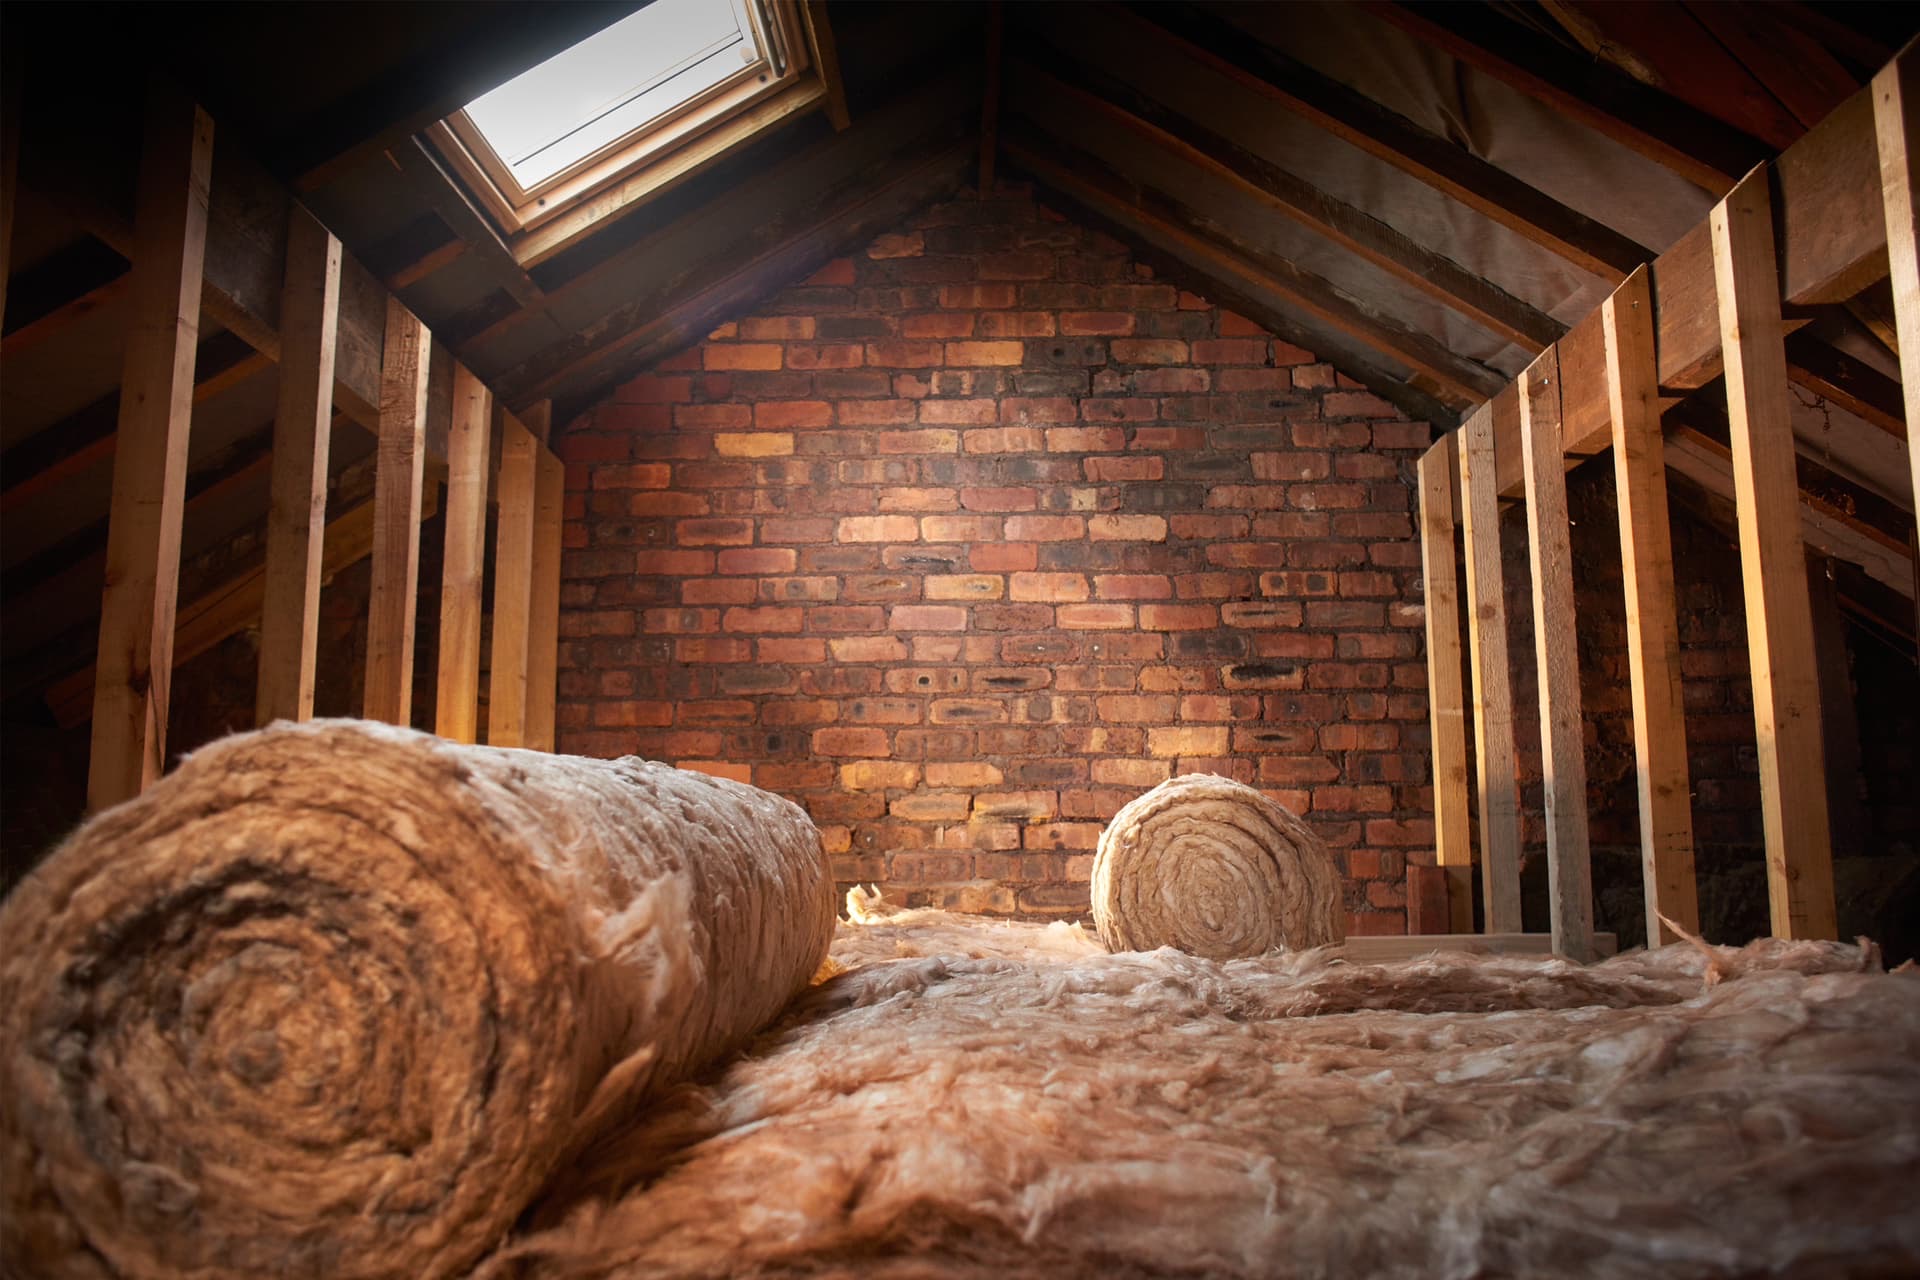
If your attic has insulation in the form of batts or rolls, it’s important to remove them properly to ensure a clean and efficient insulation replacement. Insulation batts or rolls are typically secured with staples or adhesive materials. Here’s how to effectively remove this type of insulation:
- Put on Protective Gear: As always, start by wearing proper protective gear, including goggles, gloves, and a dust mask, to protect yourself from insulation fibers and other potential hazards.
- Clear the Work Area: Create a clear working area in the attic by removing any obstructions, debris, or stored items that might be in the way of removing the insulation batts or rolls.
- Locate the Fasteners: Identify the locations of the fasteners that hold the insulation in place. Typically, these fasteners are staples or adhesive strips used to secure the insulation to the attic structure.
- Use a Staple Remover: If the insulation batts or rolls are secured with staples, use a staple remover to carefully remove them. Take care not to damage the underlying attic structure.
- Peel or Unroll the Insulation: Start at one end of the insulation and gently peel it away from the surface or unroll it, exposing the adhesive or staples as you go along.
- Remove the Adhesive: If the insulation is secured with adhesive, use a putty knife or scraper to carefully remove any adhesive residue from the attic surface. Take caution to prevent any damage to the structure.
- Collect the Insulation: As you remove the insulation, collect it in heavy-duty plastic bags for proper disposal. Ensure that the bags are sealed tightly to prevent any dust or debris from escaping.
- Label and Dispose of the Bags: Label the bags containing the old insulation clearly and follow the proper waste management guidelines for disposal. Contact your local waste management facility for guidance on disposal methods and locations.
- Clean Up the Attic Space: Once all the insulation batts or rolls have been removed, take the time to clean up the attic space. Vacuum any remaining dust or debris and dispose of it properly.
Removing insulation batts or rolls may require some patience and attention to detail, but with the right approach, you can remove them effectively and efficiently. By following these steps, you’ll ensure a clean slate for installing new insulation or addressing other attic improvements.
Step 7: Handling Mold Contamination (if applicable)
If you discover mold growth in your attic during the insulation removal process, it’s crucial to address it promptly and effectively. Mold can pose health risks and compromise the structural integrity of your home if left untreated. Here’s how to handle mold contamination in your attic:
- Identify the Mold: Determine the extent of the mold contamination and identify the type of mold present, if possible. This will help you understand the potential risks and determine the appropriate course of action.
- Consult with a Professional: Mold remediation can be complex and hazardous, so it’s advisable to consult with a professional mold remediation specialist. They have the expertise and equipment to handle mold safely and effectively.
- Contain the Area: Isolate the mold-contaminated area to prevent the spread of mold spores to unaffected areas. Close off the attic space using plastic sheeting, creating a barrier to contain the contamination.
- Observe Safety Precautions: Wear personal protective equipment, including gloves, goggles, and a respirator, to protect yourself during mold removal. Make sure to follow the safety protocols recommended by the mold remediation specialist.
- Remove Mold-Infested Materials: Remove and discard any mold-infested insulation, taking care to bag it securely for proper disposal. Additionally, check for any other materials, such as wood or drywall, that may be affected and arrange for their removal as well.
- Clean the Attic Space: Thoroughly clean the attic space using appropriate cleaning solutions recommended for mold remediation. Scrub the affected surfaces, ensuring that all visible mold is removed.
- Address the Underlying Cause: It’s crucial to identify and address the underlying cause of the mold growth in your attic. Whether it’s a roof leak, inadequate ventilation, or high humidity levels, fixing the root cause is essential to prevent future mold problems.
- Consider Professional Remediation: Depending on the extent of the mold contamination and the advice of the mold remediation specialist, professional mold remediation may be necessary. They have the knowledge and equipment to ensure thorough mold removal and prevent future growth.
- Monitor for Mold Reoccurrence: After mold remediation, monitor your attic space regularly for any signs of mold reoccurrence. Keep an eye out for moisture issues, leaks, or any conditions that could contribute to mold growth.
Mold contamination in your attic requires immediate attention and professional involvement to ensure a safe and effective removal process. By following these steps and seeking the guidance of a mold remediation specialist, you’ll be able to eliminate mold and create a healthier environment in your attic.
Step 8: Disposing of Old Attic Insulation
Proper disposal of old attic insulation is essential to ensure environmental responsibility and comply with waste management regulations. Depending on the type of insulation, you may need to follow specific guidelines for disposal. Here’s how to dispose of old attic insulation:
- Check Local Waste Disposal Regulations: Contact your local waste management facility or visit their website to determine the specific guidelines and regulations for disposing of old insulation. Different areas may have different regulations regarding the disposal of insulation materials.
- Separate Insulation from Other Waste: Keep the old insulation separate from other household waste materials. This will make it easier for waste management personnel to identify and handle the insulation properly.
- Bag and Seal the Insulation: Place the old insulation in heavy-duty plastic bags designed for insulation removal. Ensure that the bags are sealed tightly with duct tape or secure them with zip ties to prevent any dust or debris from escaping.
- Label the Bags: Clearly label the bags as “old insulation” to inform waste management personnel about the contents. This will help facilitate proper handling and disposal.
- Follow Waste Management Guidelines: Adhere to the specific waste management guidelines provided by your local authorities. This may include dropping off the bags at designated locations or scheduling a pick-up service for bulk waste.
- Arrange for Professional Disposal (if needed): If your old insulation contains hazardous materials, such as asbestos, it is important to engage the services of a professional asbestos removal company for proper testing and disposal. They have the expertise and equipment to handle the disposal safely and legally.
- Keep Records of Disposal: Keep a record of the disposal process, including dates, locations, and any relevant documents or receipts. This will serve as documentation for proper waste disposal and can be helpful for future reference.
- Consider Recycling: If feasible, explore recycling options for the old insulation. Some insulation materials, such as fiberglass, may be recyclable. Check with local recycling facilities to see if they accept insulation materials for recycling.
- Prioritize Environmental Responsibility: Dispose of the old insulation responsibly and prioritize environmental sustainability. Proper disposal ensures that the insulation materials do not end up in landfills or cause harm to the environment.
By following these steps and adhering to the waste management regulations in your area, you can responsibly dispose of your old attic insulation. Whether through authorized disposal methods or recycling, you’ll contribute to a cleaner and healthier environment.
Step 9: Cleaning Up the Attic Space
After removing the old attic insulation and disposing of it properly, it’s time to clean up the attic space to prepare for any further improvements or the installation of new insulation. Here’s how to effectively clean up the attic space:
- Remove Dust and Debris: Use a broom or vacuum cleaner to remove any remaining dust, debris, or insulation particles from the attic surfaces. Pay special attention to corners, crevices, and hard-to-reach areas.
- Clean Attic Walls and Beams: Inspect the attic walls and beams for any dirt, stains, or mold growth. Clean them thoroughly using appropriate cleaning solutions and tools. If mold is present, refer to the proper mold remediation procedures outlined earlier.
- Check for Pest Activity: Look for signs of pests, such as rodents or insects, in the attic space. Clear out any nests, droppings, or traces of infestation and take necessary measures to address the problem, such as sealing entry points or contacting pest control professionals.
- Inspect and Repair Attic Vents: Check the attic vents to ensure they are clean and free from any obstructions. Clear out any debris or blockages that may hinder proper ventilation in the attic.
- Check for Water Leaks: Inspect the attic space for signs of water leaks or moisture issues. Look for water stains, damp spots, or any signs of water infiltration. Address any leaks or moisture sources promptly to prevent further damage.
- Seal Air Gaps: Identify and seal any air gaps or holes in the attic that could compromise insulation efficiency. Use caulk or weatherstripping to seal gaps around windows, pipes, electrical wiring, and other potential entry points for air infiltration.
- Consider Applying a Mold Inhibitor: If you had mold contamination or want to prevent future mold growth, you may consider applying a mold inhibitor to the attic surfaces. Follow the manufacturer’s instructions and recommendations for proper application.
- Prepare for Insulation Replacement: If you plan to install new insulation or make other attic improvements, this is the time to prepare for those activities. Ensure that the attic space is clean, dry, and ready for the installation process.
- Dispose of Cleaning Materials: Properly dispose of any used cleaning materials, dust bags, or vacuum filters according to local waste management guidelines. Keep in mind the environmental impact and prioritize responsible disposal.
By following these steps, you can clean up your attic space effectively, ensuring a clean and stable environment for future insulation or other improvements. A well-maintained attic will contribute to the overall comfort, energy efficiency, and longevity of your home.
Conclusion
Congratulations! You have successfully navigated the process of removing old attic insulation. By following the steps outlined in this guide, you have taken important steps towards improving the energy efficiency, comfort, and overall health of your home. Here are the key takeaways from this process:
1. Prioritize Safety: Throughout the insulation removal process, make sure to prioritize your safety with the proper protective gear and following safety precautions.
2. Assess the Insulation: Take the time to assess the condition, type, and depth of your attic insulation. This will help you determine the appropriate methods for removal and plan for insulation replacement if necessary.
3. Gather the Right Tools: Having the necessary tools and equipment on hand will make the insulation removal process much smoother and more efficient. Make sure to gather the right tools, including protective gear, insulation removal bags, vacuum cleaners, and disposal containers.
4. Follow Proper Removal Techniques: Whether you are removing loose insulation or insulation batts or rolls, follow the recommended procedures to ensure a thorough and effective removal process. Take care not to damage any wiring, pipes, or the attic structure in the process.
5. Address Mold Contamination: If you encounter mold during the insulation removal, take the necessary steps to address it promptly and safely. Consult with a mold remediation specialist if needed to ensure proper handling and remediation.
6. Dispose of Old Insulation Properly: Always follow local waste management regulations when disposing of old insulation. Separate the insulation from other waste, label the bags clearly, and contact waste management facilities for proper disposal methods and locations.
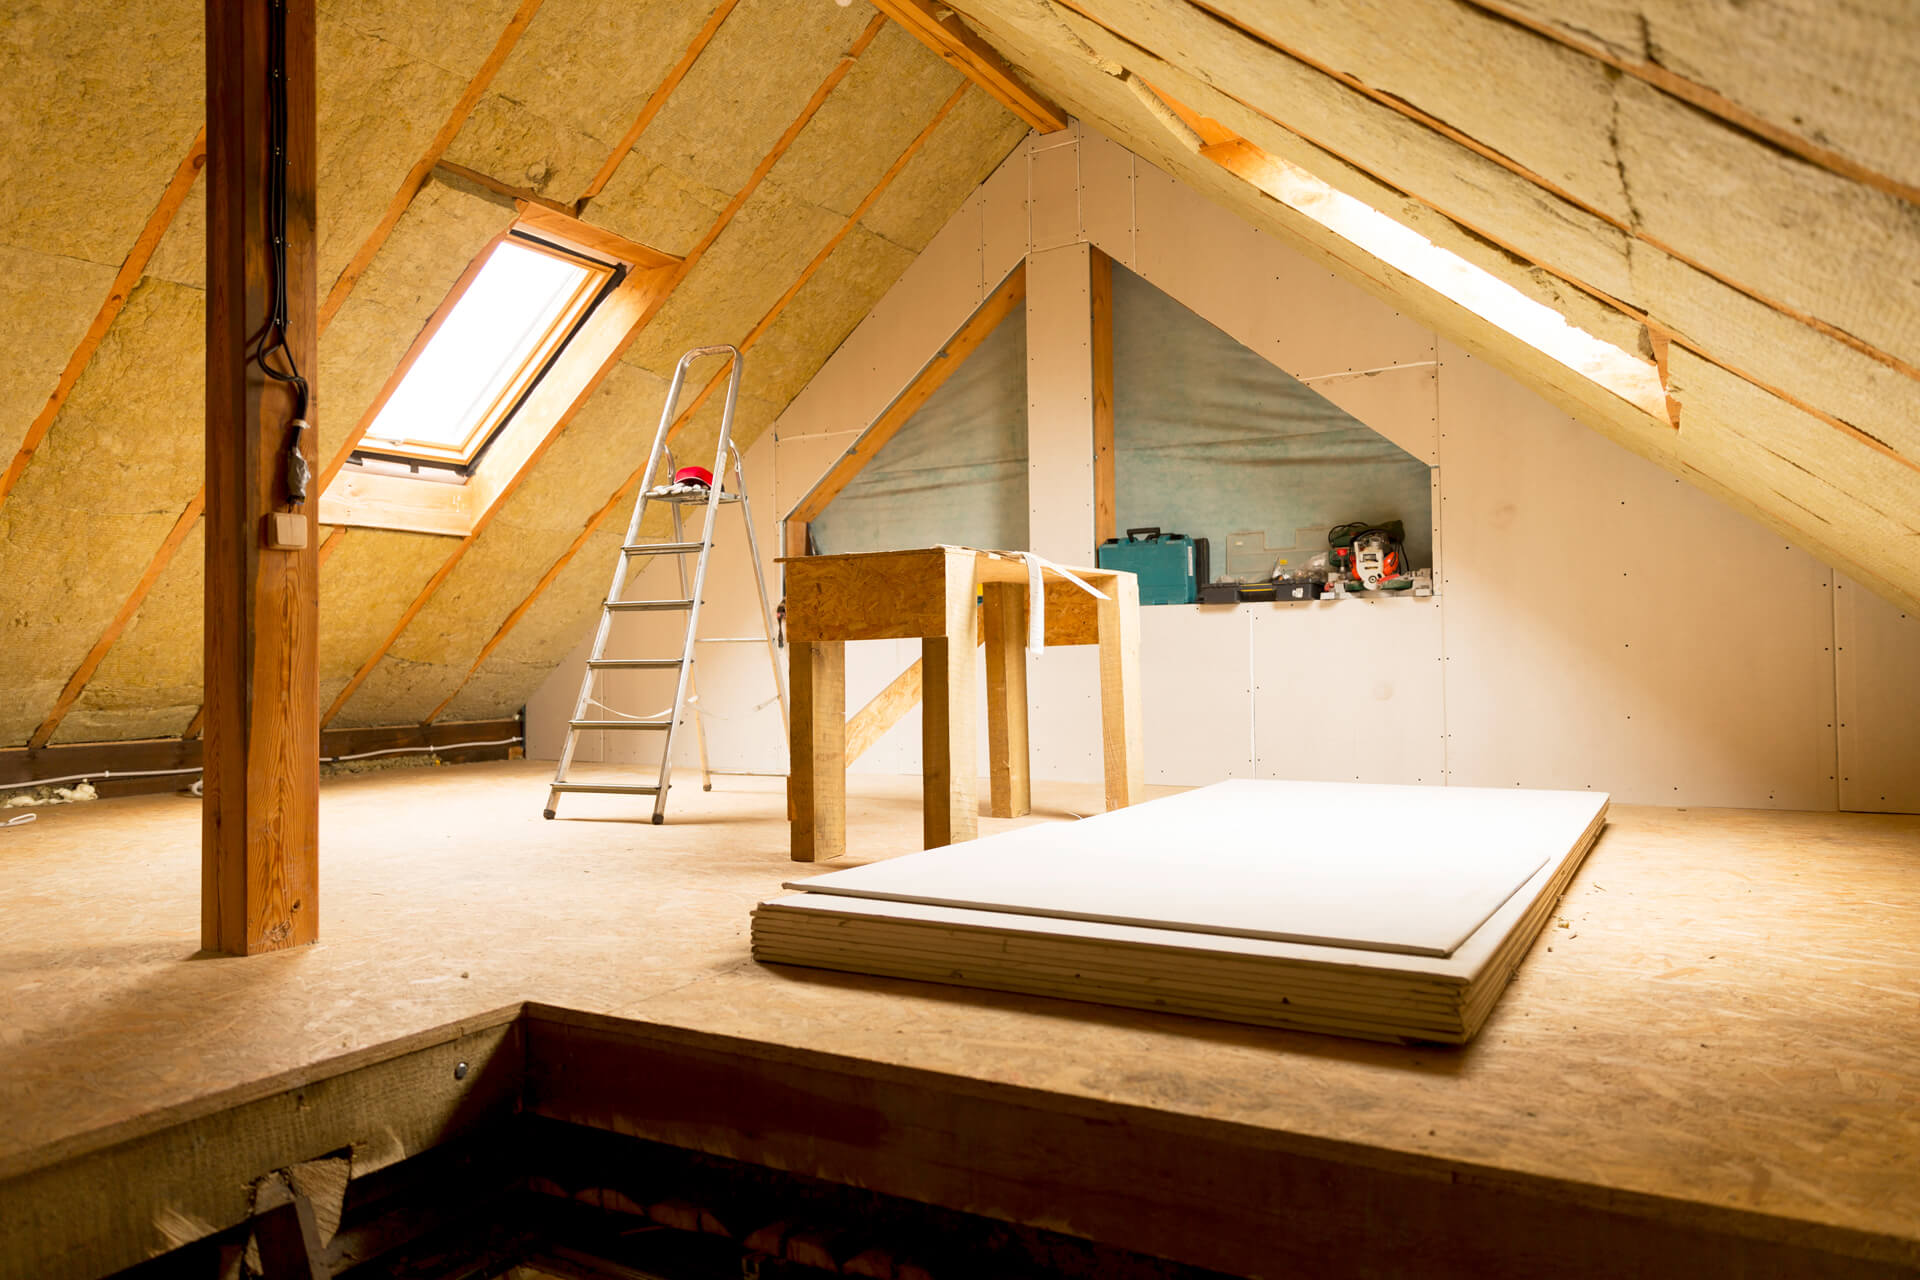
7. Clean and Prepare the Attic Space: The final step is to thoroughly clean the attic space, removing any remaining dust, debris, or mold growth. Inspect the attic for any repairs or improvements needed, such as sealing air gaps or addressing water leaks, and prepare the space for the installation of new insulation or other upgrades.
By following these steps, you have taken a significant step towards maintaining a healthier, more energy-efficient home. Remember, if you are unsure about any part of the process or encounter significant issues, do not hesitate to consult with professionals who can provide expert guidance and assistance.
Enjoy the benefits of a well-insulated attic and the peace of mind that comes with knowing that your home is a safe and comfortable place for you and your family.
Frequently Asked Questions about How To Remove Old Attic Insulation
Was this page helpful?
At Storables.com, we guarantee accurate and reliable information. Our content, validated by Expert Board Contributors, is crafted following stringent Editorial Policies. We're committed to providing you with well-researched, expert-backed insights for all your informational needs.



0 thoughts on “How To Remove Old Attic Insulation”