Articles
How To Insulate HVAC Ducts In An Attic
Modified: October 20, 2024
Learn effective techniques and tips to properly insulate HVAC ducts in your attic with our informative articles. Stay comfortable and save energy!
(Many of the links in this article redirect to a specific reviewed product. Your purchase of these products through affiliate links helps to generate commission for Storables.com, at no extra cost. Learn more)
Introduction
In any home, the heating, ventilation, and air conditioning (HVAC) system plays a crucial role in maintaining a comfortable indoor environment. However, if the HVAC ducts in your attic are not properly insulated, you may face several issues such as energy loss, decreased efficiency, and temperature inconsistency. Insulating your HVAC ducts in the attic is a worthwhile investment that can help improve the overall performance of your system and save on energy costs.
In this article, we will walk you through the step-by-step process of insulating HVAC ducts in the attic. We will cover everything from assessing insulation requirements to securing the insulation properly. By following these guidelines, you can ensure that your HVAC system operates at its best, providing optimal comfort and energy efficiency.
Before we dive into the details, it is important to note that insulating HVAC ducts in the attic can be a challenging task, especially if you are not familiar with construction or HVAC systems. If you feel unsure or uncomfortable performing these steps on your own, it is always best to consult a professional HVAC contractor for assistance.
Now, let’s get started with the first step: determining the insulation requirements for your HVAC ducts in the attic.
Key Takeaways:
- Properly insulating HVAC ducts in the attic is essential for improving energy efficiency, maintaining temperature consistency, and reducing utility costs. It also contributes to a more sustainable and comfortable living environment.
- Regular monitoring and maintenance of the insulated ducts, along with considering professional assistance if needed, are crucial for maximizing the long-term benefits of enhanced energy efficiency and indoor comfort.
Read more: How To Clean HVAC Ducts
Step 1: Determine the Insulation Requirements
Before you begin insulating your HVAC ducts in the attic, it is important to assess the insulation requirements. Proper insulation will depend on factors such as the climate in your area, the type of HVAC system you have, and the duct material used.
To determine the insulation requirements, you can follow these steps:
- Check local building codes: Consult your local building codes or contact a professional to understand the specific insulation requirements for HVAC ducts in your area. Building codes can vary, and it is important to comply with regulations to ensure safety and efficiency.
- Inspect the existing insulation: If you already have insulation on your HVAC ducts in the attic, check its condition and effectiveness. Insulation can degrade over time, and if it is damaged, worn out, or improperly installed, it may need to be replaced or supplemented.
- Determine the R-value: The R-value measures the insulation’s resistance to heat flow. The higher the R-value, the better the insulation’s performance. Research the recommended R-values for HVAC duct insulation in attics based on your area’s climate. This information can help you choose the appropriate insulation material and thickness.
- Evaluate duct location: Take note of the location of the HVAC ducts in your attic. Are they exposed to extreme temperatures? Are they near any potential sources of damage? Identifying any vulnerable areas will help you prioritize insulation and take necessary precautions.
- Consider energy efficiency: Insulating your HVAC ducts in the attic not only helps maintain consistent temperatures but also improves energy efficiency. Proper insulation can prevent air leaks and heat loss, reducing your energy consumption and utility bills. Evaluate your energy-saving goals and choose insulation materials accordingly.
By carefully determining the insulation requirements, you can make informed decisions about the type and amount of insulation needed for your HVAC ducts in the attic. Once you have gathered this information, you can proceed to the next step: gathering the necessary materials and tools.
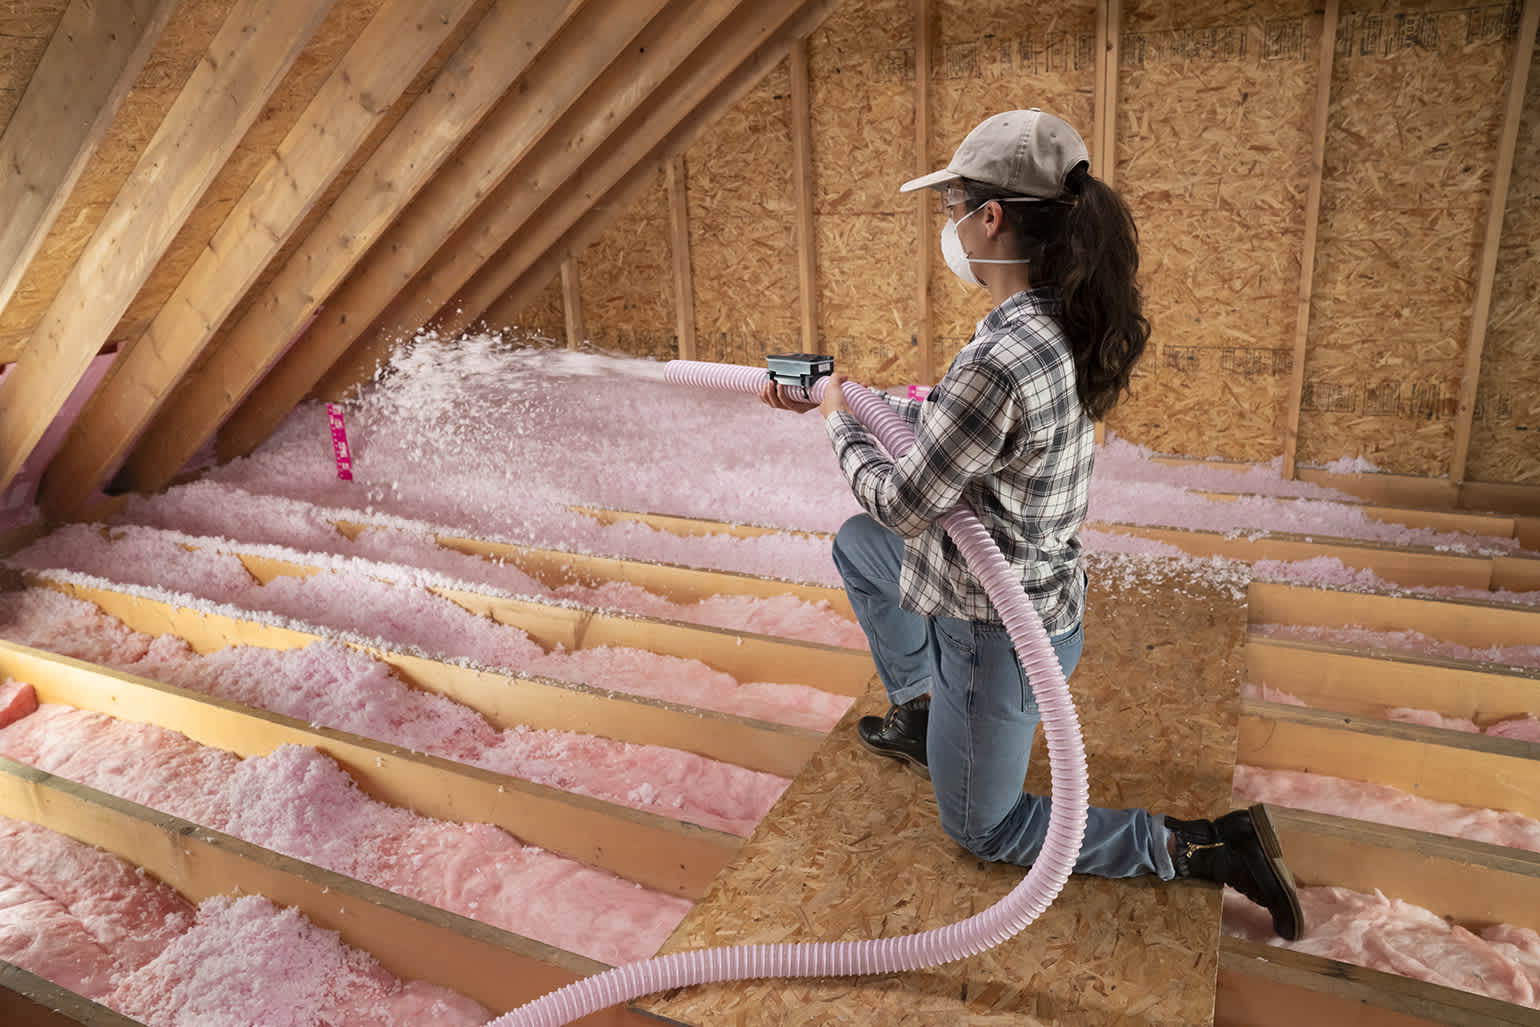
Step 2: Gather Necessary Materials and Tools
Before you can start insulating your HVAC ducts in the attic, it’s essential to gather all the necessary materials and tools. Having everything in place will ensure a smooth and efficient process. Here’s a list of items you’ll likely need:
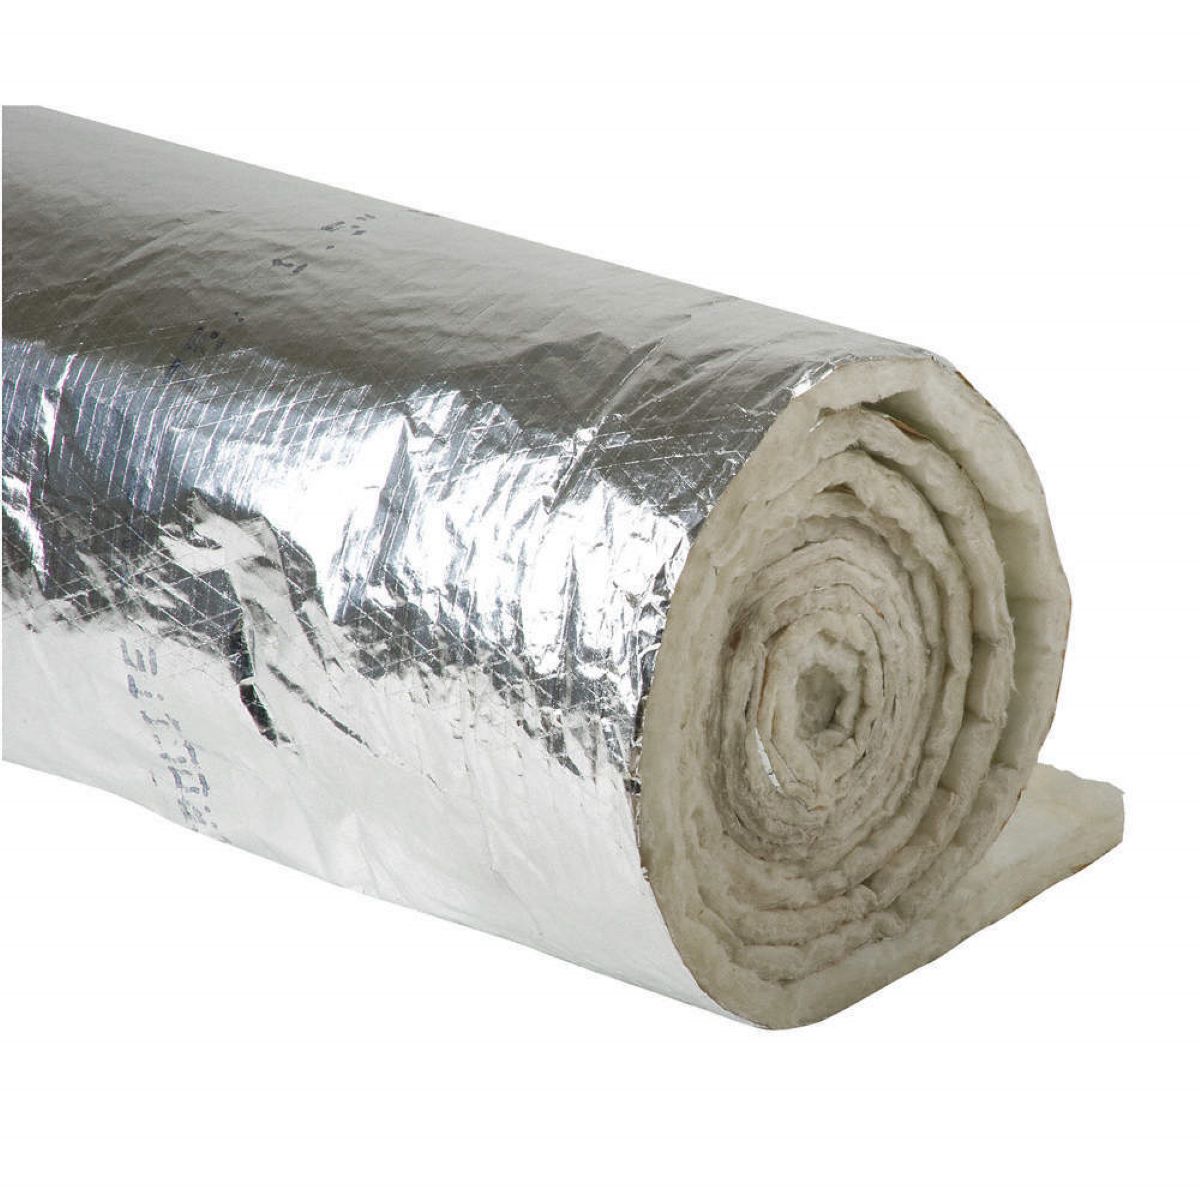
- Insulation material: Choose an insulation material that is suitable for HVAC ducts. Common options include fiberglass insulation, foam board insulation, and reflective insulation. Consider factors such as R-value, fire resistance, and moisture control when selecting the right insulation material for your specific needs.
- Insulation sleeves or wraps: Insulation sleeves or wraps are designed to fit around the HVAC ducts, providing a layer of insulation. These are available in various sizes and types, such as self-adhesive, snap-on, or spiral wraps. Ensure that you choose sleeves or wraps that are compatible with the dimensions of your ducts.
- Fasteners and adhesive: Depending on the insulation material and sleeves you choose, you may need fasteners like screws, nails, or zip ties to secure them in place. Additionally, consider using HVAC-approved adhesive to provide extra stability and ensure a proper bond between the insulation and ducts.
- Protective gear: Insulating HVAC ducts in the attic can be dusty and may expose you to potentially harmful particles. It is essential to protect yourself by wearing safety goggles, gloves, a dust mask, and long sleeves to prevent skin irritation or respiratory issues.
- Tape or sealant: Duct tape or specialized HVAC foil tape can be used to seal any gaps or joints in the ductwork. This will prevent air leaks and improve the efficiency of your HVAC system. Choose a tape or sealant that is specifically designed for duct sealing.
- Utility knife and scissors: These tools will come in handy for cutting the insulation material and sleeves to the desired lengths and shapes. Ensure that you have a sharp utility knife and a sturdy pair of scissors for precise cutting.
- Ladder or scaffolding: Since you’ll be working in the attic, make sure you have a stable ladder or scaffolding to safely access the HVAC ducts. Choose a ladder or scaffolding that is appropriate for the height and weight requirements of your attic space.
By gathering all these materials and tools ahead of time, you’ll be well-prepared to proceed to the next step: preparing the attic for insulation.
Step 3: Prepare the Attic for Insulation
Before you can start insulating the HVAC ducts in your attic, it’s crucial to properly prepare the space. Preparing the attic ensures a smooth and efficient insulation process and helps maintain safety. Here are the steps to prepare your attic for insulation:
- Clean the area: Start by removing any debris, dust, or obstructions from the attic. Sweep or vacuum the attic floor and clear away any objects that may interfere with the insulation process. This will provide a clean and clutter-free workspace.
- Inspect the ducts: Take a close look at the HVAC ducts in your attic. Look for any signs of damage, loose connections, or leaks. If you notice any issues, address them before proceeding with the insulation. Repairing or sealing any ductwork problems will ensure that the insulation is effective and that you’re not wasting energy.
- Seal air leaks: Properly sealing air leaks in your attic is essential for energy efficiency. Inspect the area around the HVAC ducts, as well as any other openings or gaps in the attic. Use caulk, weatherstripping, or expanding foam to seal any gaps or cracks. This will prevent air leakage and ensure that the insulation works optimally.
- Provide access: Ensure that there is adequate access to the HVAC ducts for insulation. Move any obstacles or stored items that may hinder your access to the ductwork. Clearing the path will make it easier to install the insulation and ensure complete coverage.
- Address moisture issues: Before insulating, check for any signs of moisture or water damage in the attic. Address any leaks or moisture problems to prevent further damage and mold growth. Proper ventilation and moisture control are important to maintain the integrity of the insulation and preserve the efficiency of your HVAC system.
- Create a safe work environment: Attics can be tight spaces with limited lighting and challenging accessibility. Ensure that you have sufficient lighting, comfortable clothing, and proper safety gear. Set up a workspace with a stable ladder or scaffold and make sure to follow all safety guidelines while working in the attic.
By taking the time to thoroughly prepare your attic, you’ll ensure a smooth and successful insulation process. Once you’ve completed these steps, you’re ready to move on to the next step: insulating the HVAC ducts in the attic.
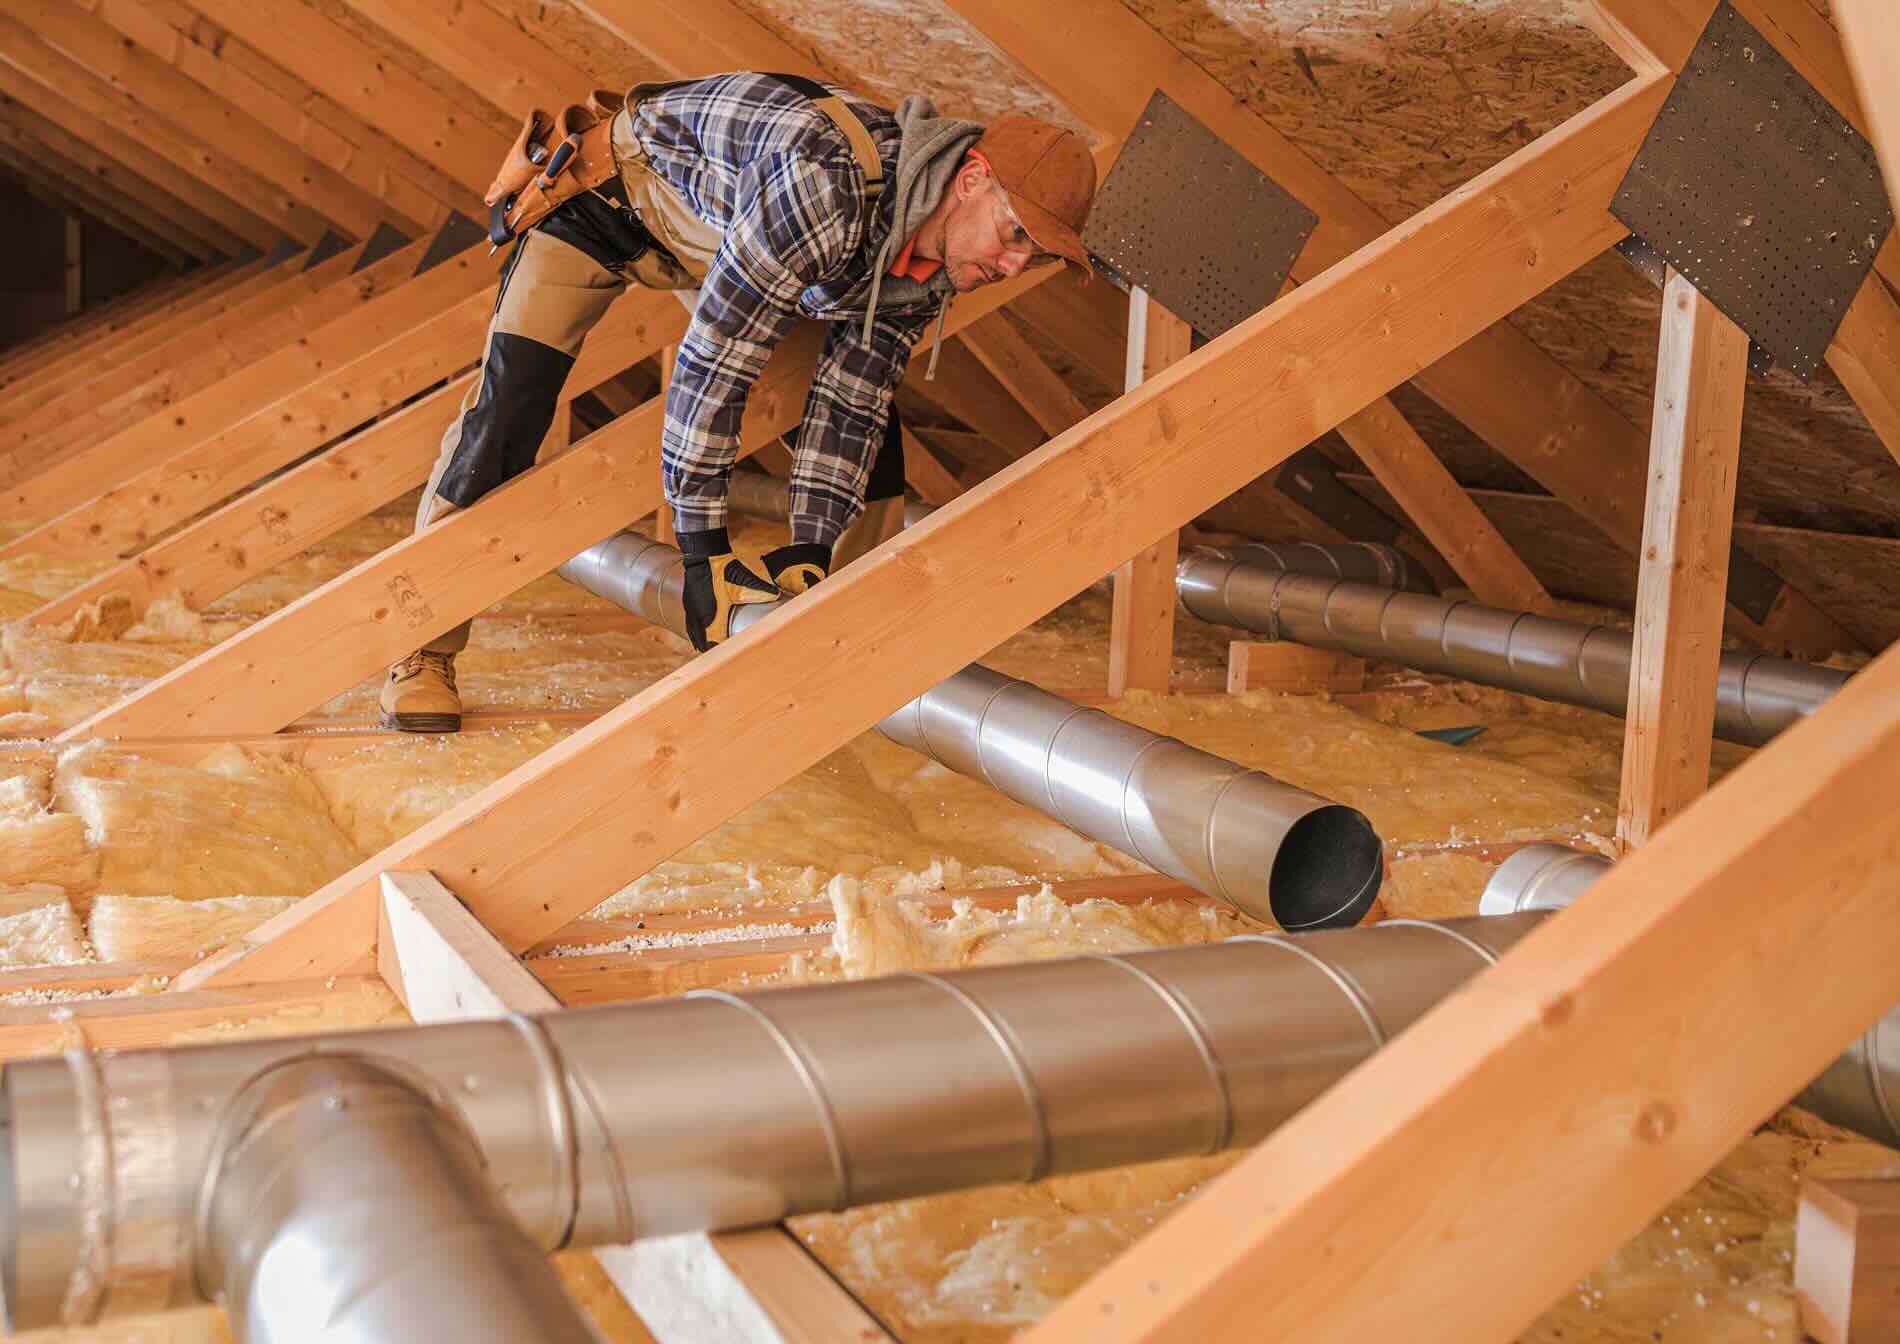
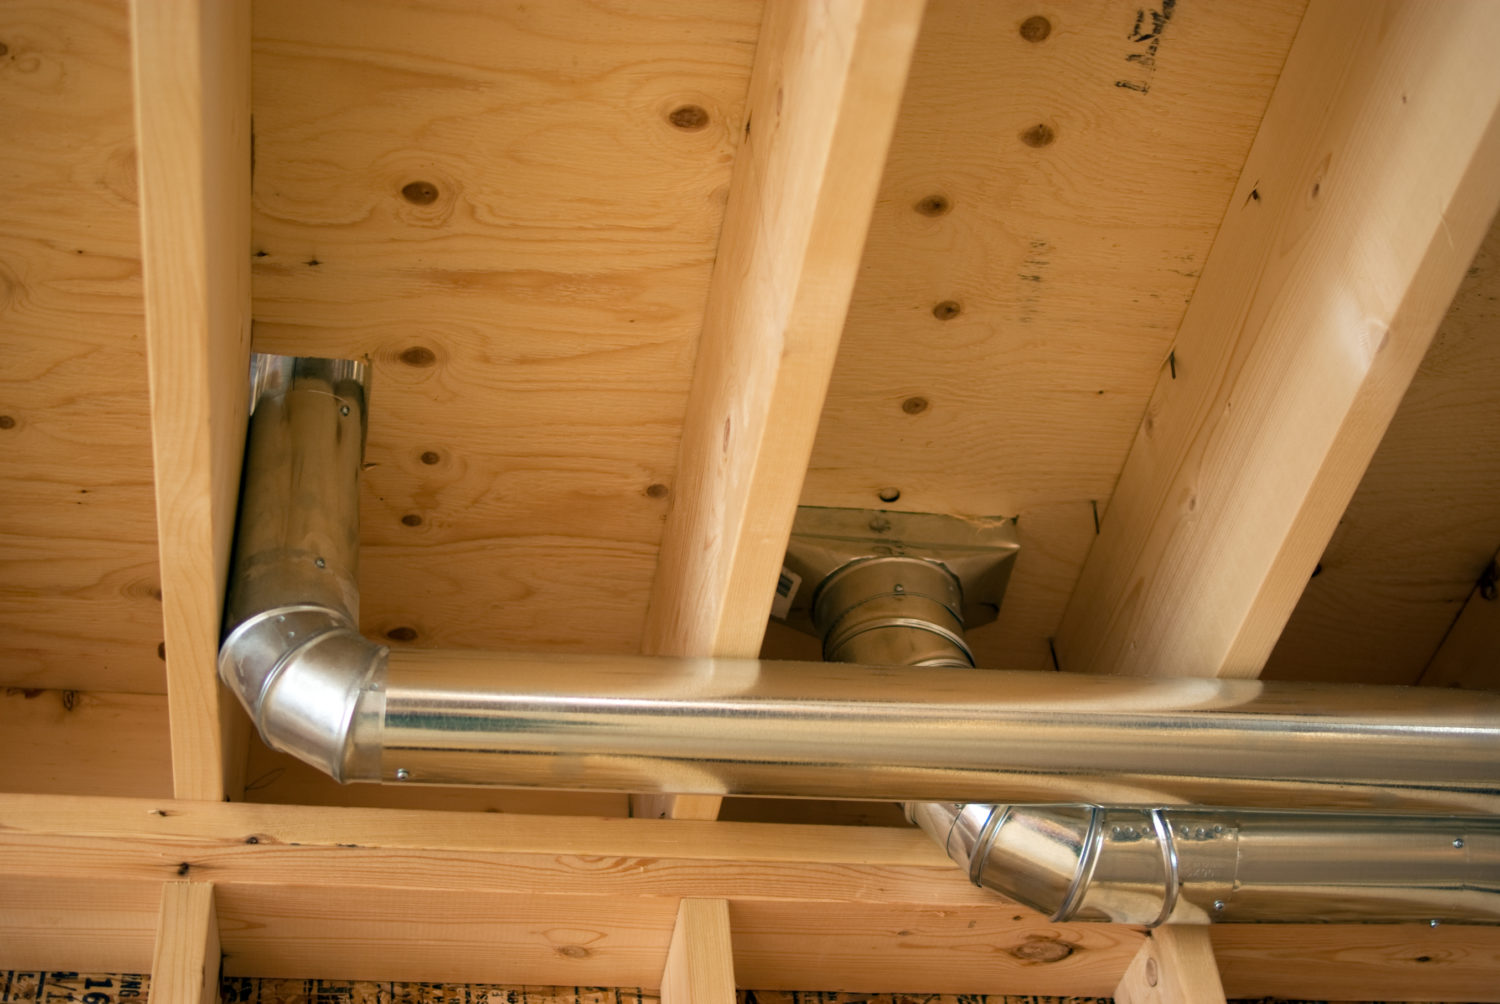
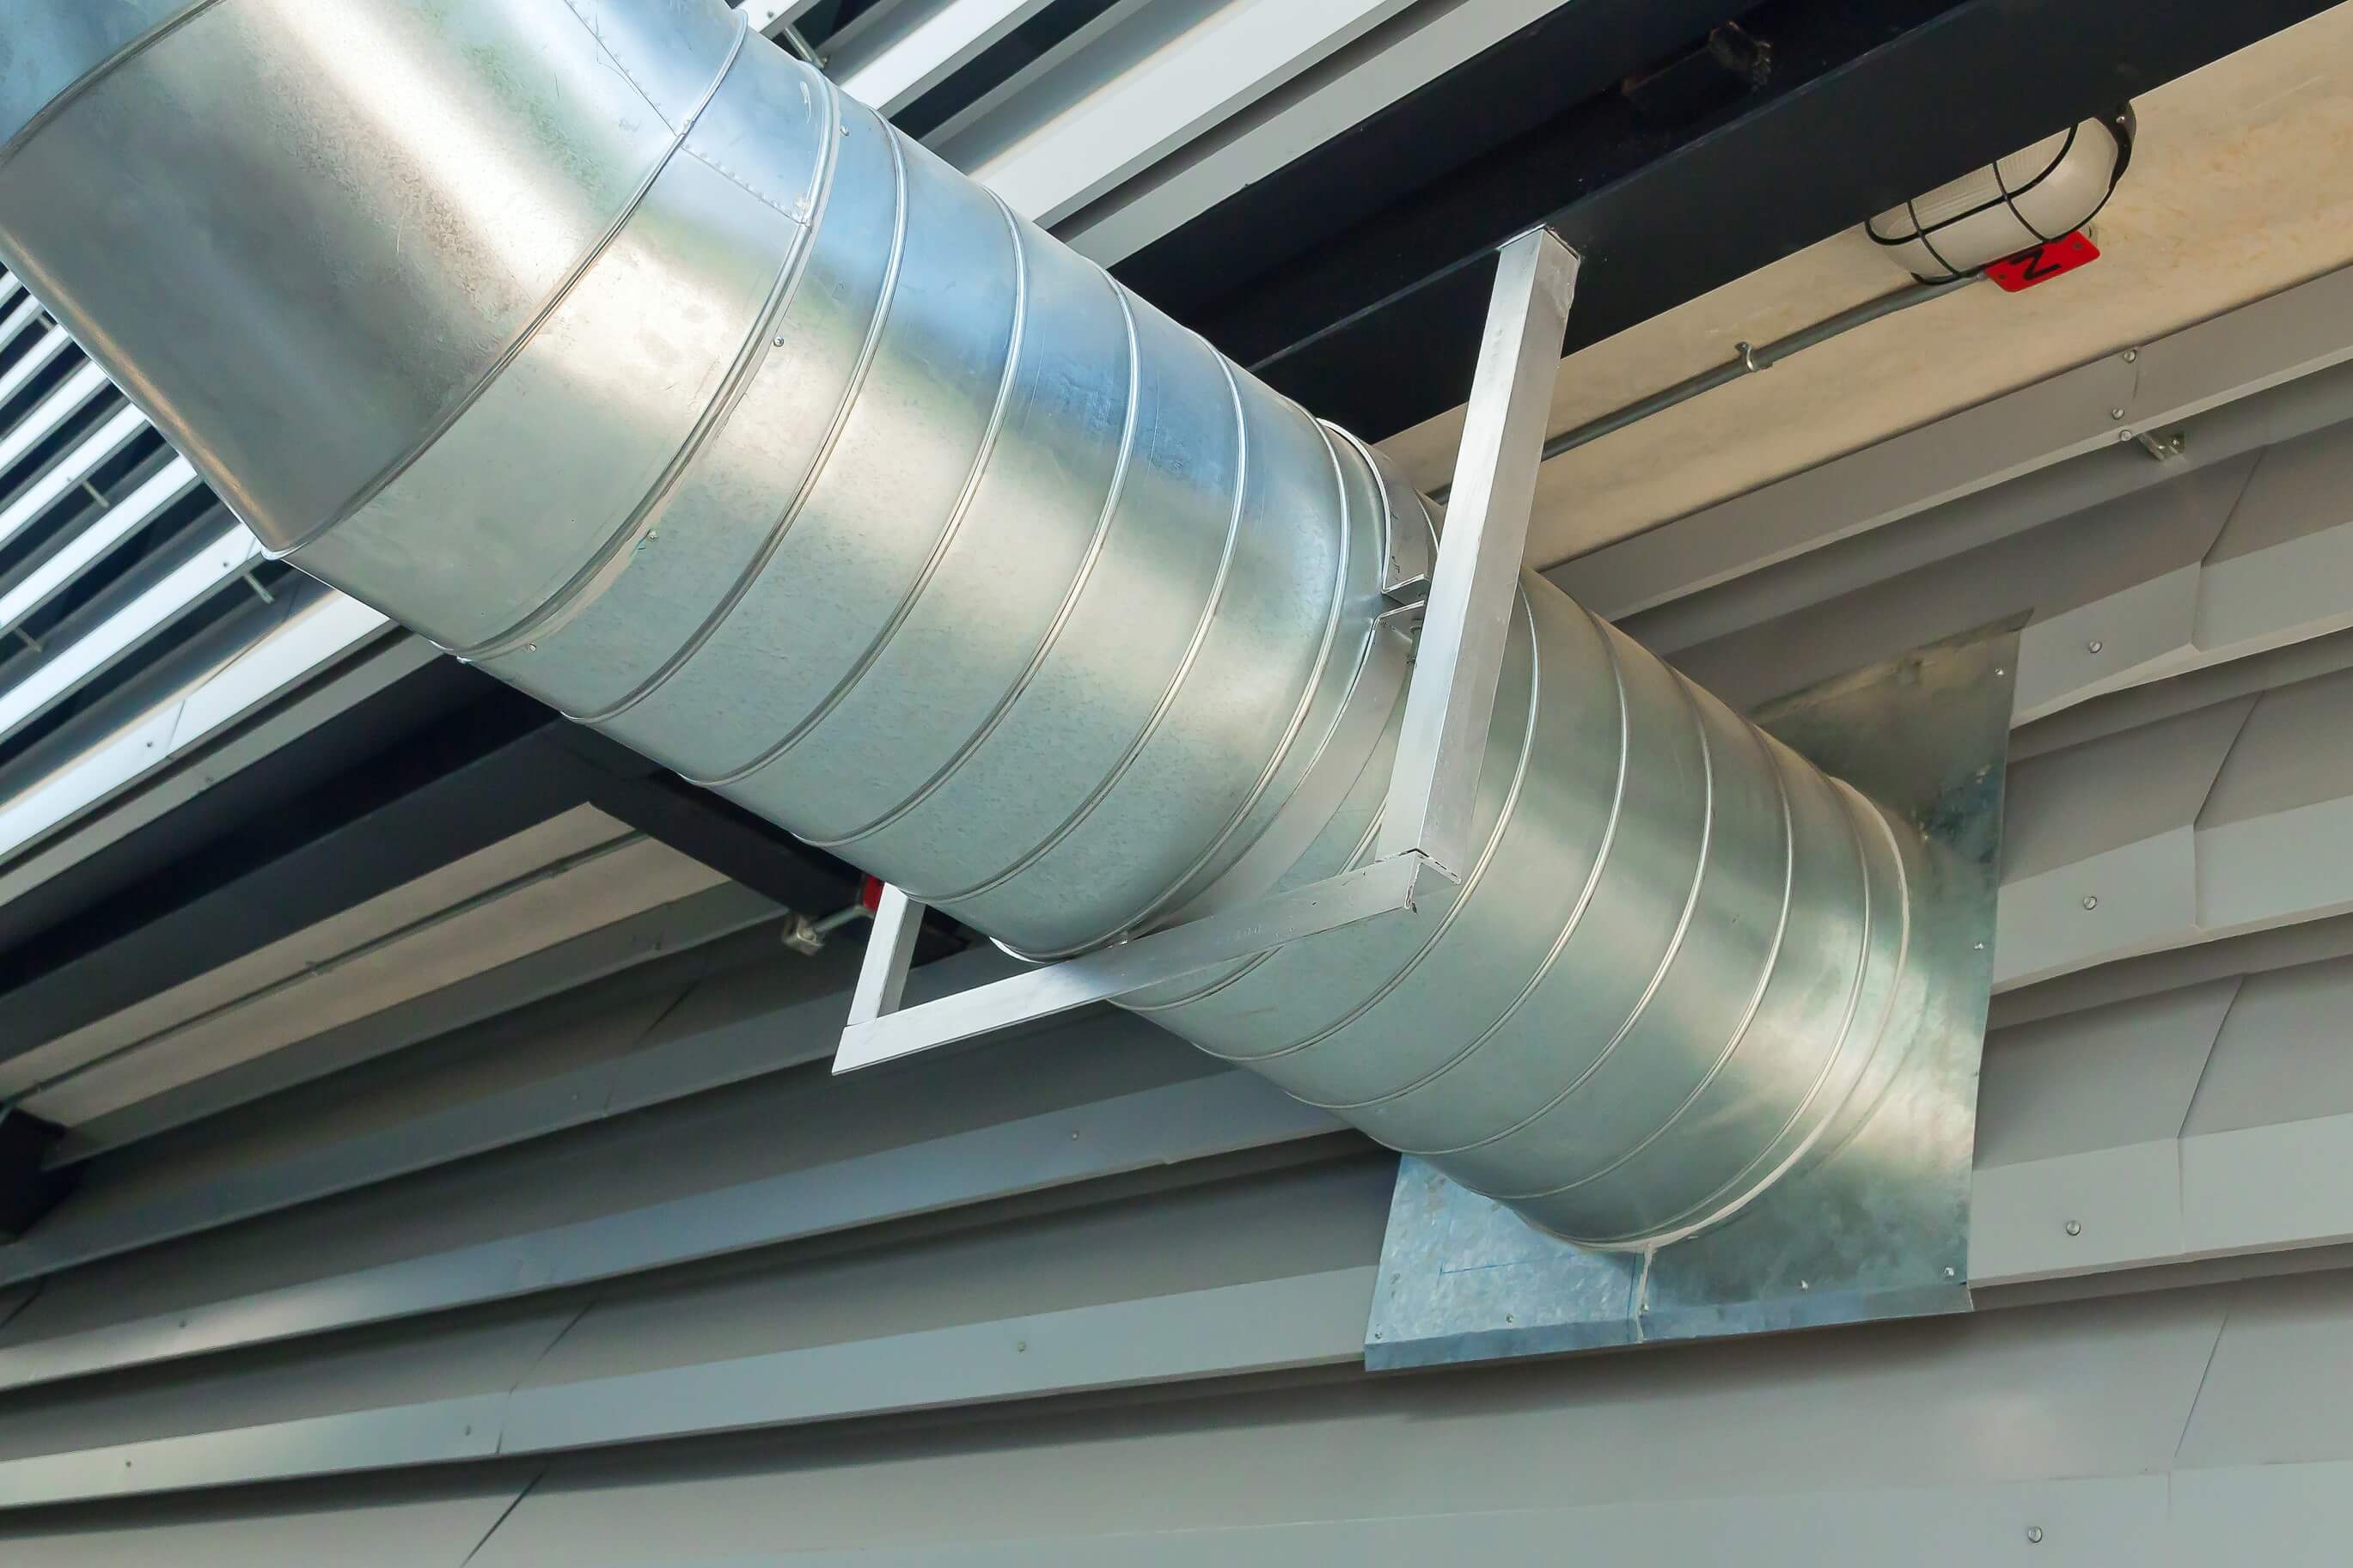
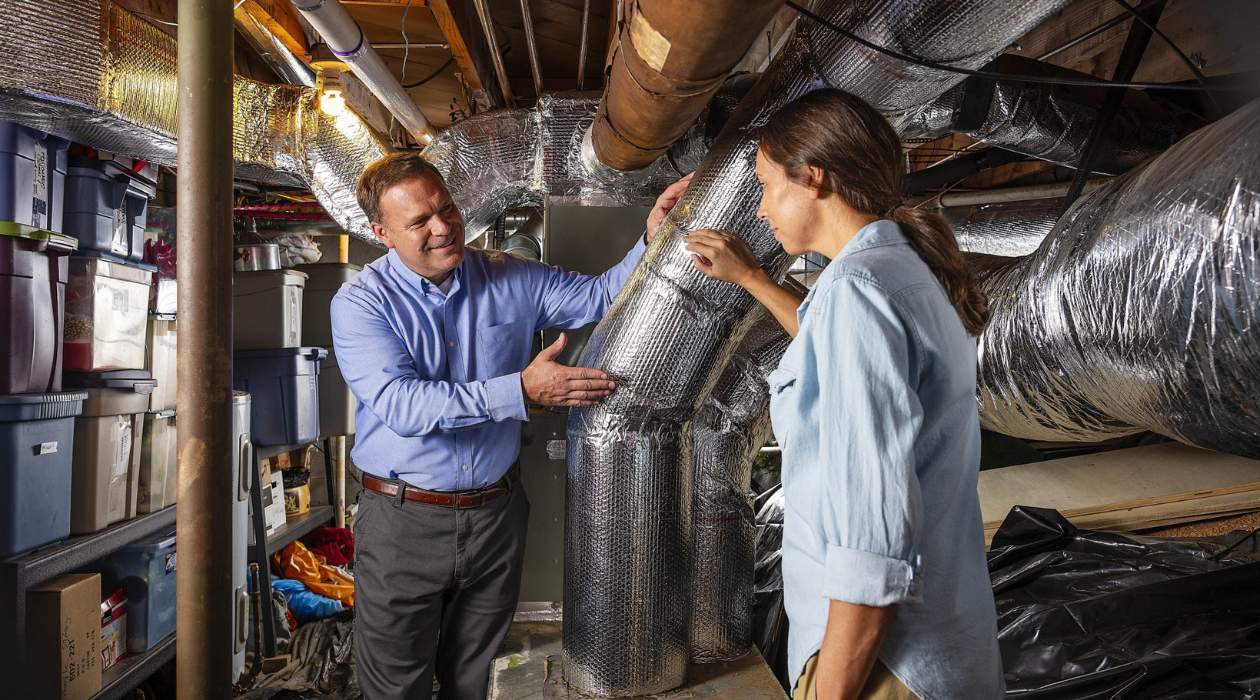
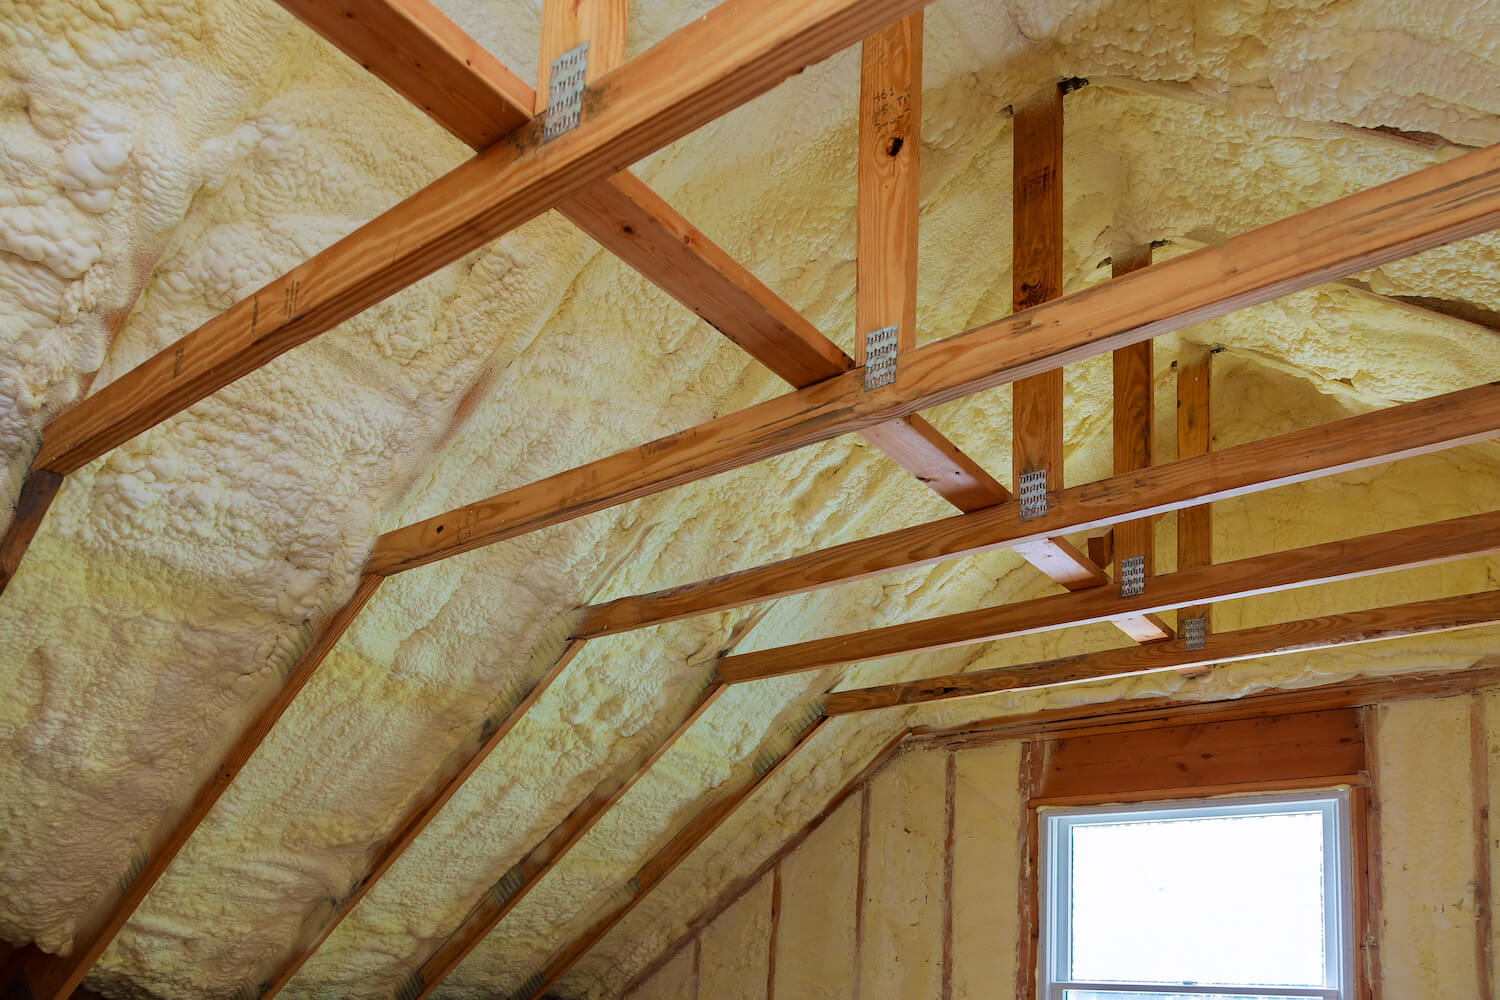
Step 4: Insulate the HVAC Ducts
Now that you have determined the insulation requirements, gathered the necessary materials and tools, and prepared the attic, it’s time to insulate the HVAC ducts in your attic. Insulating the ductwork will help prevent heat loss or gain and ensure efficient air distribution. Here’s how to proceed:
- Measure and cut: Measure the length and diameter of each HVAC duct to determine the appropriate size of insulation sleeves or wraps. Use a sharp utility knife or scissors to carefully cut the insulation material to the required lengths. Make sure to cut the insulation with precision to ensure a proper fit.
- Wrap the ducts: Starting from one end of the duct, wrap the insulation around it, ensuring that it covers the entire length. Secure the insulation sleeve or wrap in place using the recommended fasteners or adhesive. Make sure that the insulation is snug and there are no gaps or loose ends.
- Repeat for all ducts: Proceed to insulate each HVAC duct in the attic, following the same process of measuring, cutting, and wrapping with insulation material. Pay attention to any bends, joints, or connections in the ductwork and ensure that they are properly insulated as well.
- Seal gaps and joints: Once the insulation is in place, check for any gaps or joints in the ductwork. Use HVAC-approved tape or sealant to seal any gaps or joints to prevent air leakage. Ensure a tight seal to maintain the insulation’s effectiveness and improve energy efficiency.
- Insulate at air handler: If your HVAC system has an air handler unit in the attic, insulate the ducts connecting to the air handler as well. This will ensure consistent insulation throughout the system and prevent energy loss or heat gain at the connection point.
- Consider reflective insulation: In addition to insulating the ductwork, you may also opt for reflective insulation to further improve energy efficiency. Reflective insulation contains a reflective coating that helps bounce back heat or cold, reducing the transfer of thermal energy. Install reflective insulation around the HVAC ducts to enhance their insulation properties.
Take your time to carefully and securely insulate each HVAC duct in the attic. Pay close attention to details to ensure complete coverage and a tight seal. Once you have finished insulating the ductwork, move on to the next step: securing the insulation properly.
Use foil-faced insulation wrap to cover HVAC ducts in the attic. Seal all seams and joints with foil tape to prevent air leakage and improve energy efficiency.
Read more: How To Replace Air Ducts In The Attic
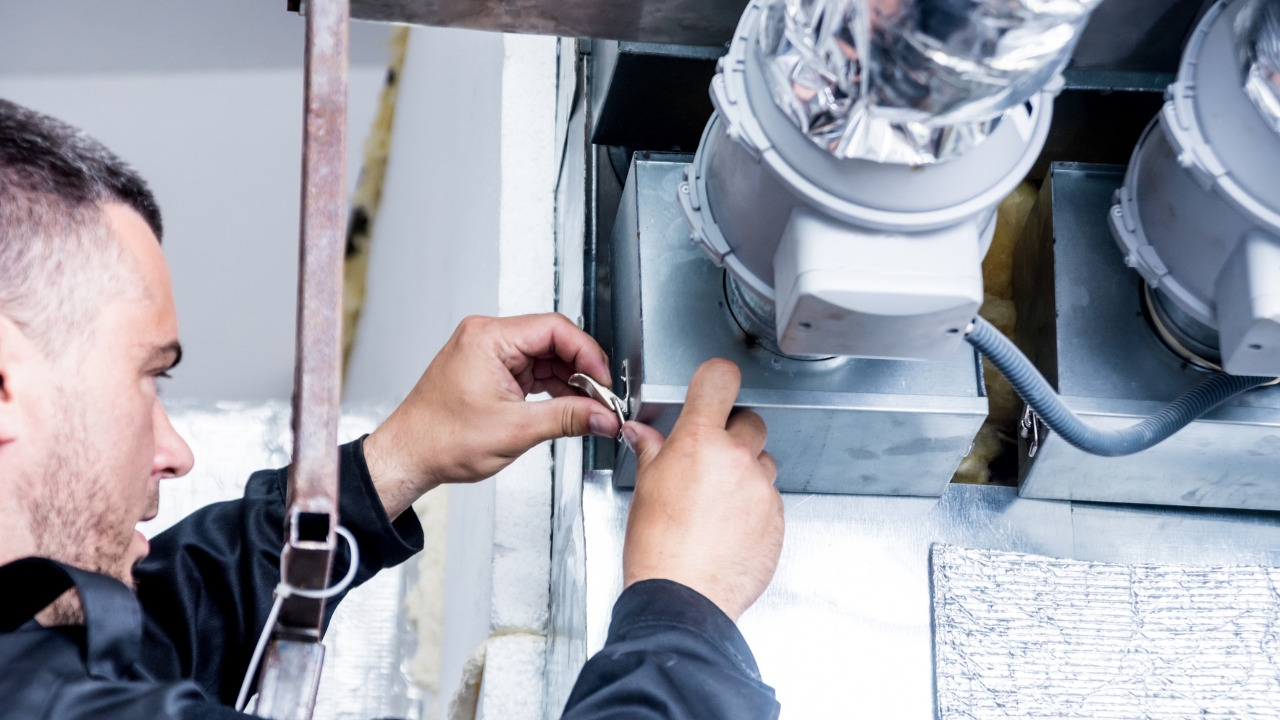
Step 5: Secure the Insulation Properly
Ensuring that the insulation on your HVAC ducts in the attic is securely fastened is essential for its efficiency and longevity. Properly securing the insulation will prevent it from becoming loose or falling off over time. Here are the steps to securely fasten the insulation:
- Check the manufacturer’s instructions: Consult the manufacturer’s instructions for the insulation material and sleeves you’ve chosen. They may provide specific guidelines on how to properly secure the insulation. Follow these instructions to ensure that you are using the recommended fasteners and techniques.
- Use appropriate fasteners: Depending on the insulation type, you’ll need the appropriate fasteners to secure it in place. Screw or nail the insulation sleeves or wraps if the material allows for it. Alternatively, use zip ties or specialized fasteners designed for insulation. Make sure to space the fasteners evenly and securely to avoid any sagging or gaps.
- Apply adhesive: If recommended by the manufacturer, apply HVAC-approved adhesive to the insulation’s seams and edges. This will help create a strong bond and ensure that the insulation stays in place over time. Apply the adhesive sparingly and follow the manufacturer’s instructions for proper application and curing time.
- Check for gaps or loose ends: Once the insulation is secured, inspect it for any gaps or loose ends. Use additional tape or sealant to seal any gaps or joints that may have been overlooked during the installation process. Properly sealing the insulation will prevent air leakage and maintain its effectiveness.
- Consider insulation hangers: If you’re using fiberglass insulation, you may consider using insulation hangers. These metal rods with hooks are inserted into the insulation and attached to the ductwork, providing additional support and preventing sagging. Insulation hangers can help maintain the insulation’s integrity and improve its overall performance.
- Double-check the insulation’s integrity: Before moving on to the next step, double-check the insulation’s overall integrity. Make sure that it is securely fastened, without any gaps, and completely covering the ductwork. This will ensure that your insulation will effectively provide the desired thermal performance and energy efficiency.
By properly securing the insulation on your HVAC ducts in the attic, you will ensure its durability and effectiveness in providing insulation and energy efficiency. Once you have completed this step, move on to the next one: ensuring proper airflow.
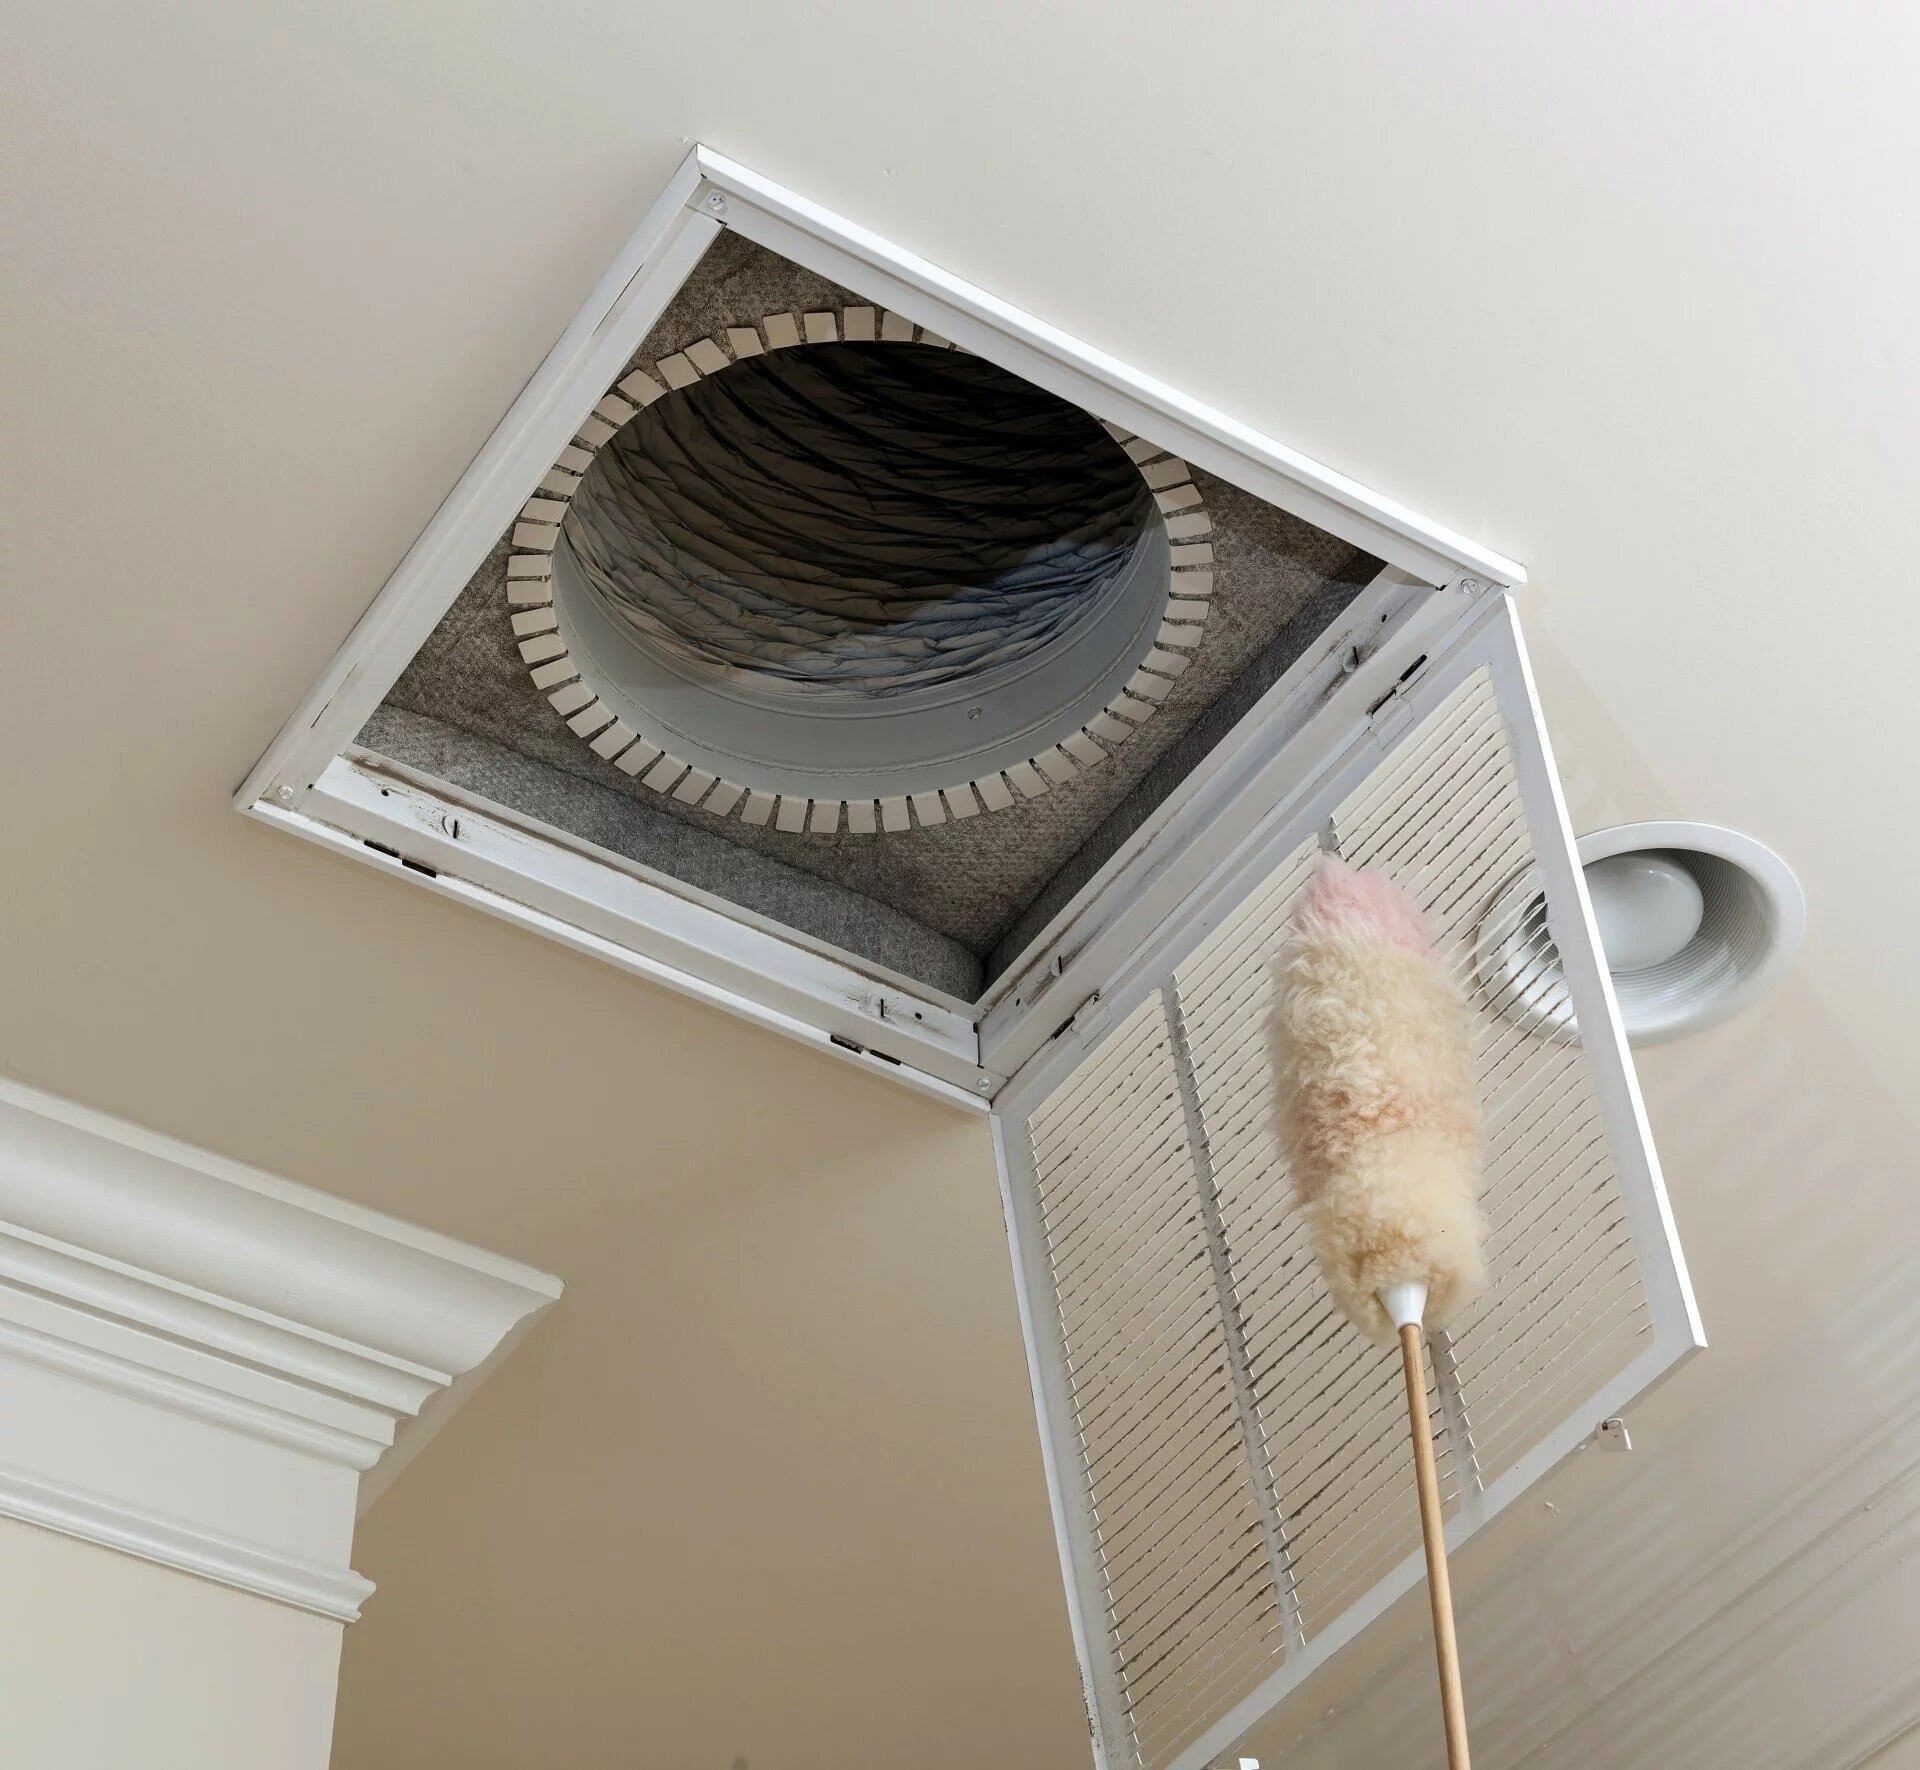
Step 6: Ensure Proper Airflow
Proper airflow is essential for the optimal functioning of your HVAC system. Once you have insulated the HVAC ducts in your attic, it’s important to ensure that the airflow is unobstructed and unrestricted. Here are some steps to ensure proper airflow:
- Clear obstructions: Remove any objects or debris that may be blocking the airflow around your HVAC system. Ensure that there are no boxes, furniture, or other items placed in front of vents or return air registers. Clearing obstructions will allow air to freely flow through the ducts and into your living spaces.
- Inspect and clean the air filters: Check the air filters in your HVAC system and replace or clean them as necessary. Clogged or dirty filters can restrict airflow and decrease the system’s efficiency. Regularly cleaning or replacing the air filters will ensure a steady flow of clean air throughout your home.
- Check for leaks: Inspect the HVAC ductwork for any leaks or loose connections. Leaks in the ducts can lead to energy loss and reduced airflow. Use HVAC-approved tape or sealant to seal any visible leaks or loose joints. Properly sealing the ductwork will improve airflow and prevent hot or cold air from escaping.
- Verify dampers are open: If your HVAC system has dampers, ensure that they are open and not obstructing the airflow. Dampers are devices that control the flow of air to specific areas of your home. Make sure they are properly adjusted to allow the airflow to reach all the rooms effectively.
- Consider professional inspection: If you are uncertain about the condition of your HVAC system or if you suspect any airflow issues, it may be beneficial to schedule a professional inspection. An HVAC technician can assess the system, identify any potential airflow problems, and make recommendations for improvement.
- Maintain regular system maintenance: To ensure continued proper airflow, it’s important to have regular maintenance performed on your HVAC system. This includes cleaning the ductwork, lubricating moving parts, inspecting electrical connections, and checking refrigerant levels. Regular maintenance will help keep your system running efficiently and prevent any airflow issues in the long term.
By taking these steps to ensure proper airflow, you can maximize the efficiency of your HVAC system and maintain a consistent and comfortable indoor environment. Once you have completed this step, you can move on to the final step: considering additional tips and considerations for insulating HVAC ducts in the attic.
Step 7: Additional Tips and Considerations
When it comes to insulating HVAC ducts in the attic, there are a few additional tips and considerations that can enhance the effectiveness and longevity of the insulation. Here are some important points to keep in mind:
- Maintain proper insulation thickness: Ensure that the insulation material you choose meets the recommended thickness for your climate and ductwork. Insufficient insulation thickness can result in energy loss and reduced insulation performance.
- Check for potential sources of damage: Inspect your attic regularly for potential sources of damage that can compromise the integrity of the insulation. Look for signs of pests, water leaks, or physical damage to the insulation or ductwork. Address any issues promptly to maintain the insulation’s effectiveness.
- Consider professional installation: If you feel unsure about insulating the HVAC ducts in your attic or if you have a complex ductwork system, it may be wise to hire a professional HVAC contractor. They have the expertise and experience to ensure correct installation and optimal insulation performance.
- Regularly monitor energy consumption: Once you have insulated your HVAC ducts in the attic, keep track of your energy consumption. Compare it to previous periods or similar times to assess the impact of the insulation. Monitoring energy usage can help you evaluate the effectiveness and cost-saving benefits of the insulation.
- Consider overall attic insulation: Insulating just the HVAC ducts is a great step, but consider insulating the entire attic to maximize energy efficiency and indoor comfort. Consult with an insulation professional to determine the most effective insulation strategy for your specific attic space.
- Ensure proper ventilation: In addition to insulation, it’s important to have adequate attic ventilation. Proper ventilation helps prevent moisture buildup and promotes the longevity of insulation and other components in the attic. Consult with a professional to ensure that your attic has the right ventilation system in place.
- Maintain regular inspections: Regularly inspect the HVAC ducts, insulation, and attic space for any signs of damage, wear, or issues. Addressing problems early on can prevent further damage and ensure that your insulation continues to perform optimally.
By keeping these additional tips and considerations in mind, you can enhance the insulation’s effectiveness and prolong its lifespan. Remember to continuously monitor and maintain your insulation to enjoy the benefits of energy efficiency and a comfortable indoor environment.
With Step 7 complete, you have successfully completed all the necessary steps to insulate HVAC ducts in the attic. By following this comprehensive guide, you have taken a significant step toward improving the efficiency and performance of your HVAC system.
Stay proactive in maintaining your insulation and other HVAC components to ensure continued energy efficiency and a comfortable living space. Regular inspections, proper maintenance, and addressing any issues promptly will go a long way in maximizing the benefits of your insulated HVAC ducts in the attic.
Remember, if you ever feel unsure or uncomfortable performing any of these tasks, it’s always best to consult a professional HVAC contractor who can provide guidance and expertise to ensure a successful insulation project.
Now, enjoy the energy savings and comfortable indoor environment provided by your well-insulated HVAC ducts!
Conclusion
Insulating HVAC ducts in the attic is a valuable investment that can significantly improve the efficiency and performance of your heating and cooling system. By following the step-by-step guide outlined in this article, you have learned how to properly determine insulation requirements, gather the necessary materials and tools, prepare the attic, insulate the ducts, secure the insulation, ensure proper airflow, and consider additional tips and considerations.
Properly insulating your HVAC ducts in the attic prevents energy loss, improves temperature consistency, and reduces utility costs. It also helps extend the lifespan of your HVAC system and ensures a comfortable indoor environment for you and your family.
Remember to check local building codes, assess existing insulation, and determine the appropriate R-value for your climate. Gather the necessary materials and tools, prepare the attic by cleaning and sealing gaps, and take steps to ensure proper airflow. Secure the insulation properly, regularly inspect for damage or obstructions, and consider professional assistance if needed.
Through these efforts, you can enjoy the benefits of enhanced energy efficiency, reduced environmental impact, and improved indoor comfort. Regular monitoring and maintenance of your HVAC system, including the insulated ducts, are key to maximizing these benefits in the long term.
By insulating your HVAC ducts in the attic, you are taking a proactive step toward a more sustainable and cost-effective home. The time and effort invested in this insulation project will not only improve your living environment but also contribute to a greener future by reducing energy consumption.
Don’t hesitate to consult with professionals or seek assistance if needed, as they have the knowledge and expertise to ensure the insulation is correctly installed and maximizes its effectiveness.
So go ahead and start insulating your HVAC ducts in the attic, confident in the knowledge that you are making a positive impact on your home’s energy efficiency and comfort. Enjoy the benefits of a well-insulated HVAC system and embrace the savings and environmental benefits it offers.
Frequently Asked Questions about How To Insulate HVAC Ducts In An Attic
Was this page helpful?
At Storables.com, we guarantee accurate and reliable information. Our content, validated by Expert Board Contributors, is crafted following stringent Editorial Policies. We're committed to providing you with well-researched, expert-backed insights for all your informational needs.


0 thoughts on “How To Insulate HVAC Ducts In An Attic”