
Articles
How To Assemble A Nostalgia Kegerator
Modified: February 27, 2024
Learn how to assemble your own Nostalgia kegerator with our step-by-step articles. Create a nostalgic atmosphere at home and enjoy your favorite draft beers.
(Many of the links in this article redirect to a specific reviewed product. Your purchase of these products through affiliate links helps to generate commission for Storables.com, at no extra cost. Learn more)
Introduction
Welcome to the world of homebrewing! Whether you’re a beer enthusiast or looking to add a unique element to your parties, a kegerator is a fantastic addition to your home bar. Not only does it allow you to dispense your favorite draft beer, but it also adds a touch of nostalgia and sophistication to your space.
In this article, we’ll guide you through the process of assembling a nostalgia kegerator, ensuring that you have all the necessary tools and materials at hand. We’ll cover each step in detail so that you can set up your kegerator with ease and start enjoying the perfect pint at home.
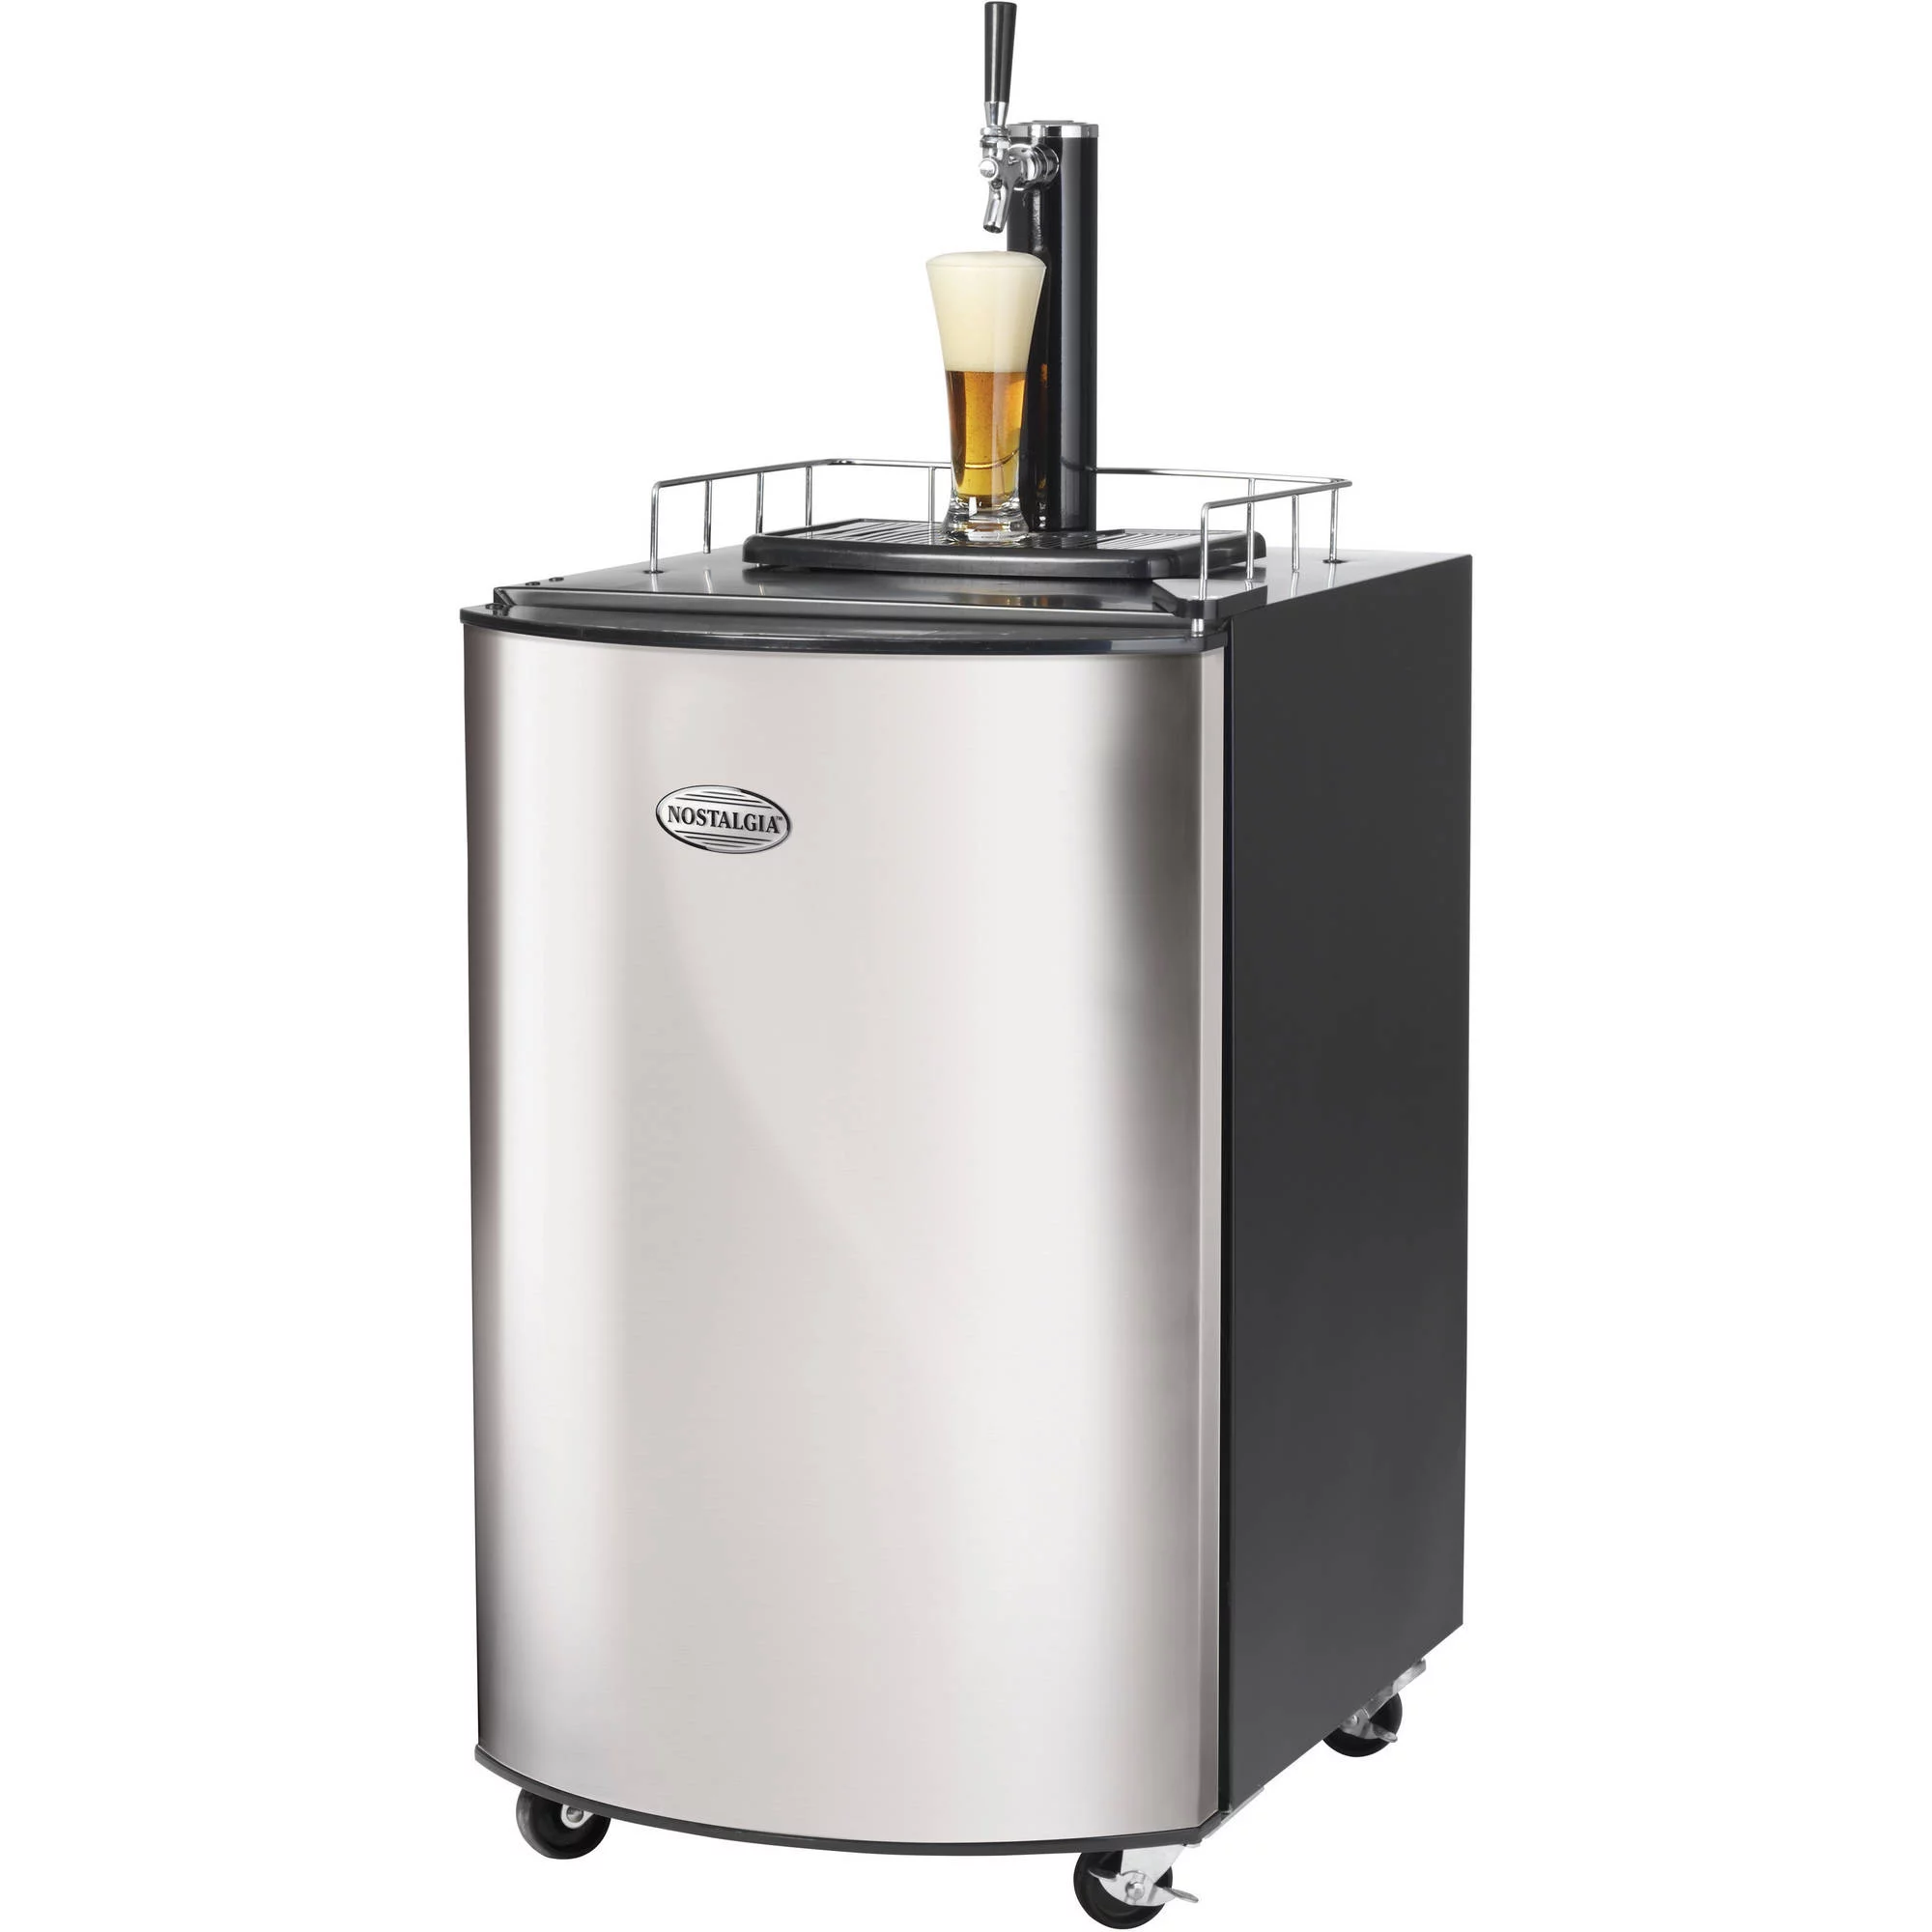
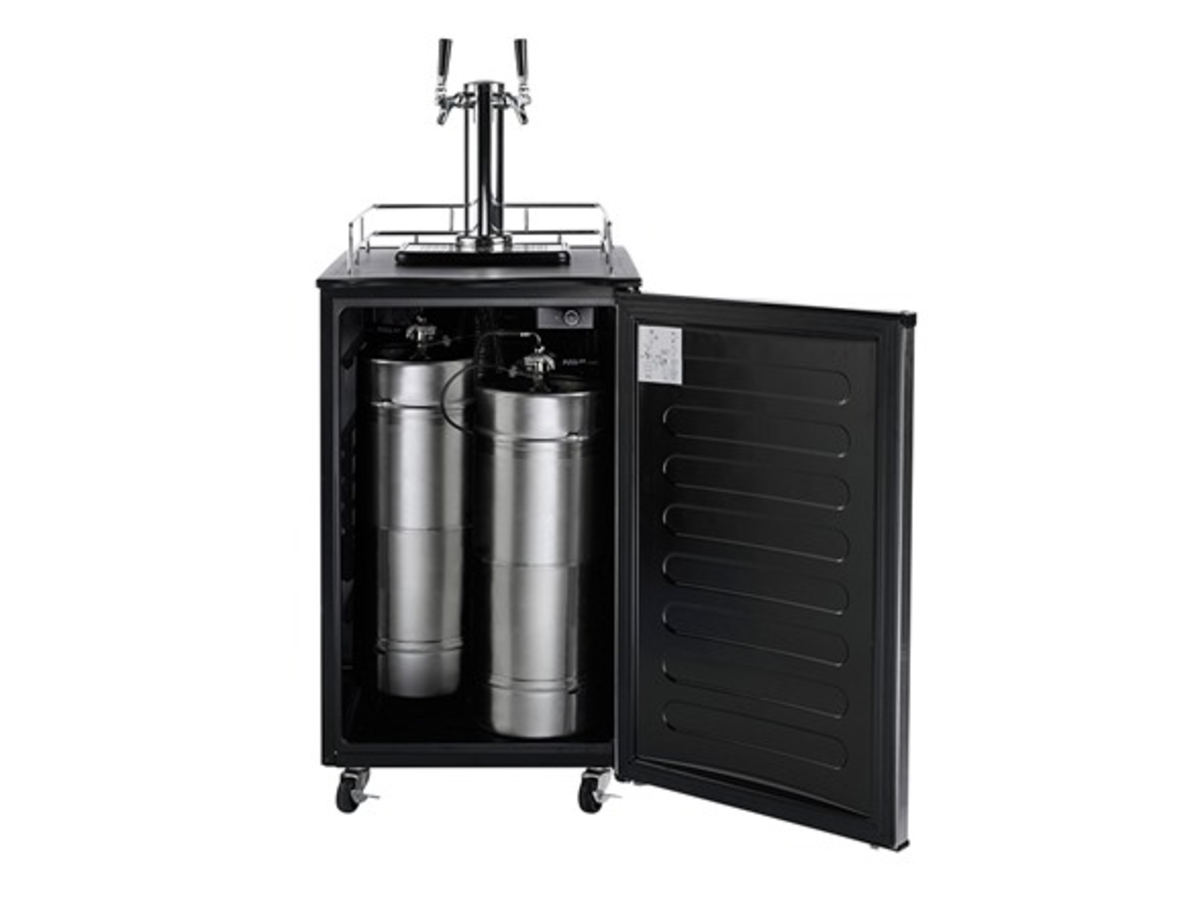
Before we dive into the assembly process, let’s quickly go over what a kegerator is. Simply put, a kegerator is a refrigerator that has been modified to store and dispense kegs of beer. It consists of a cooling unit, a dispensing tower, a CO2 tank and regulator, and various connecting lines and fittings.
Now, let’s gather the tools and materials needed to begin the assembly process.
Key Takeaways:
- Assembling a nostalgia kegerator is a fun and rewarding process that brings the joy of draft beer into your home, creating a pub-like experience at your convenience.
- Following the step-by-step guide ensures a seamless setup, allowing you to enjoy perfectly poured pints and create memorable moments with friends and loved ones.
Read more: How To Assemble A Kegerator
Tools and Materials Needed
Before you start assembling your nostalgia kegerator, make sure you have the following tools and materials readily available:
- Phillips head screwdriver
- Adjustable wrench
- Teflon tape
- Drill (if drilling holes is required)
- Measuring tape or ruler
- Level
- Power drill (if necessary)
- Nostalgia kegerator kit (including cooling unit, dispensing tower, and components)
- CO2 tank
- CO2 regulator
- Beer line
- Faucet
- Keg of beer
Having these tools and materials ready will ensure a smooth and efficient assembly process. Take some time to gather everything before you start, so you won’t have to pause midway to search for missing items.
Now that you have everything you need, let’s move on to the first step: unboxing and prepping the nostalgia kegerator.
Step 1: Unboxing and Prepping the Nostalgia Kegerator
Now that you have your tools and materials ready, it’s time to unbox and prep your nostalgia kegerator. Follow these steps to get started:
- Find a suitable location: Choose a spot in your home where you want to place your kegerator. Make sure it’s a stable surface and has enough clearance around it for ventilation.
- Unbox the kegerator: Carefully unpack the kegerator and remove any packaging materials. Set aside the various components, such as the cooling unit, dispensing tower, and accessories.
- Clean the interior: Use a solution of mild soap and water to clean the interior of the kegerator. Wipe down all surfaces to remove any dust or debris that may have accumulated during shipping.
- Attach the leveling feet: Most kegerators come with adjustable leveling feet. Attach them to the bottom of the unit to ensure stability and balance.
- Install the drip tray: Locate the drip tray and position it on the front of the kegerator, just below the dispensing tower. Use the provided screws to secure it in place.
- Check the temperature controls: Locate the temperature control dial or digital display on the kegerator. Ensure it is set to the desired temperature for storing and dispensing your beer.
Once you’ve completed these steps, your nostalgia kegerator is now prepped and ready for assembly. Next, we’ll move on to assembling the dispensing tower.
Step 2: Assembling the Dispensing Tower
Now that you have prepped your nostalgia kegerator, it’s time to assemble the dispensing tower. Follow these steps:
- Attach the mounting plate: Take the mounting plate and align it with the pre-drilled holes on top of the kegerator. Secure it in place using the provided screws.
- Insert the beer line: Take the beer line and feed it through the hole in the center of the mounting plate. Make sure it extends into the kegerator’s interior.
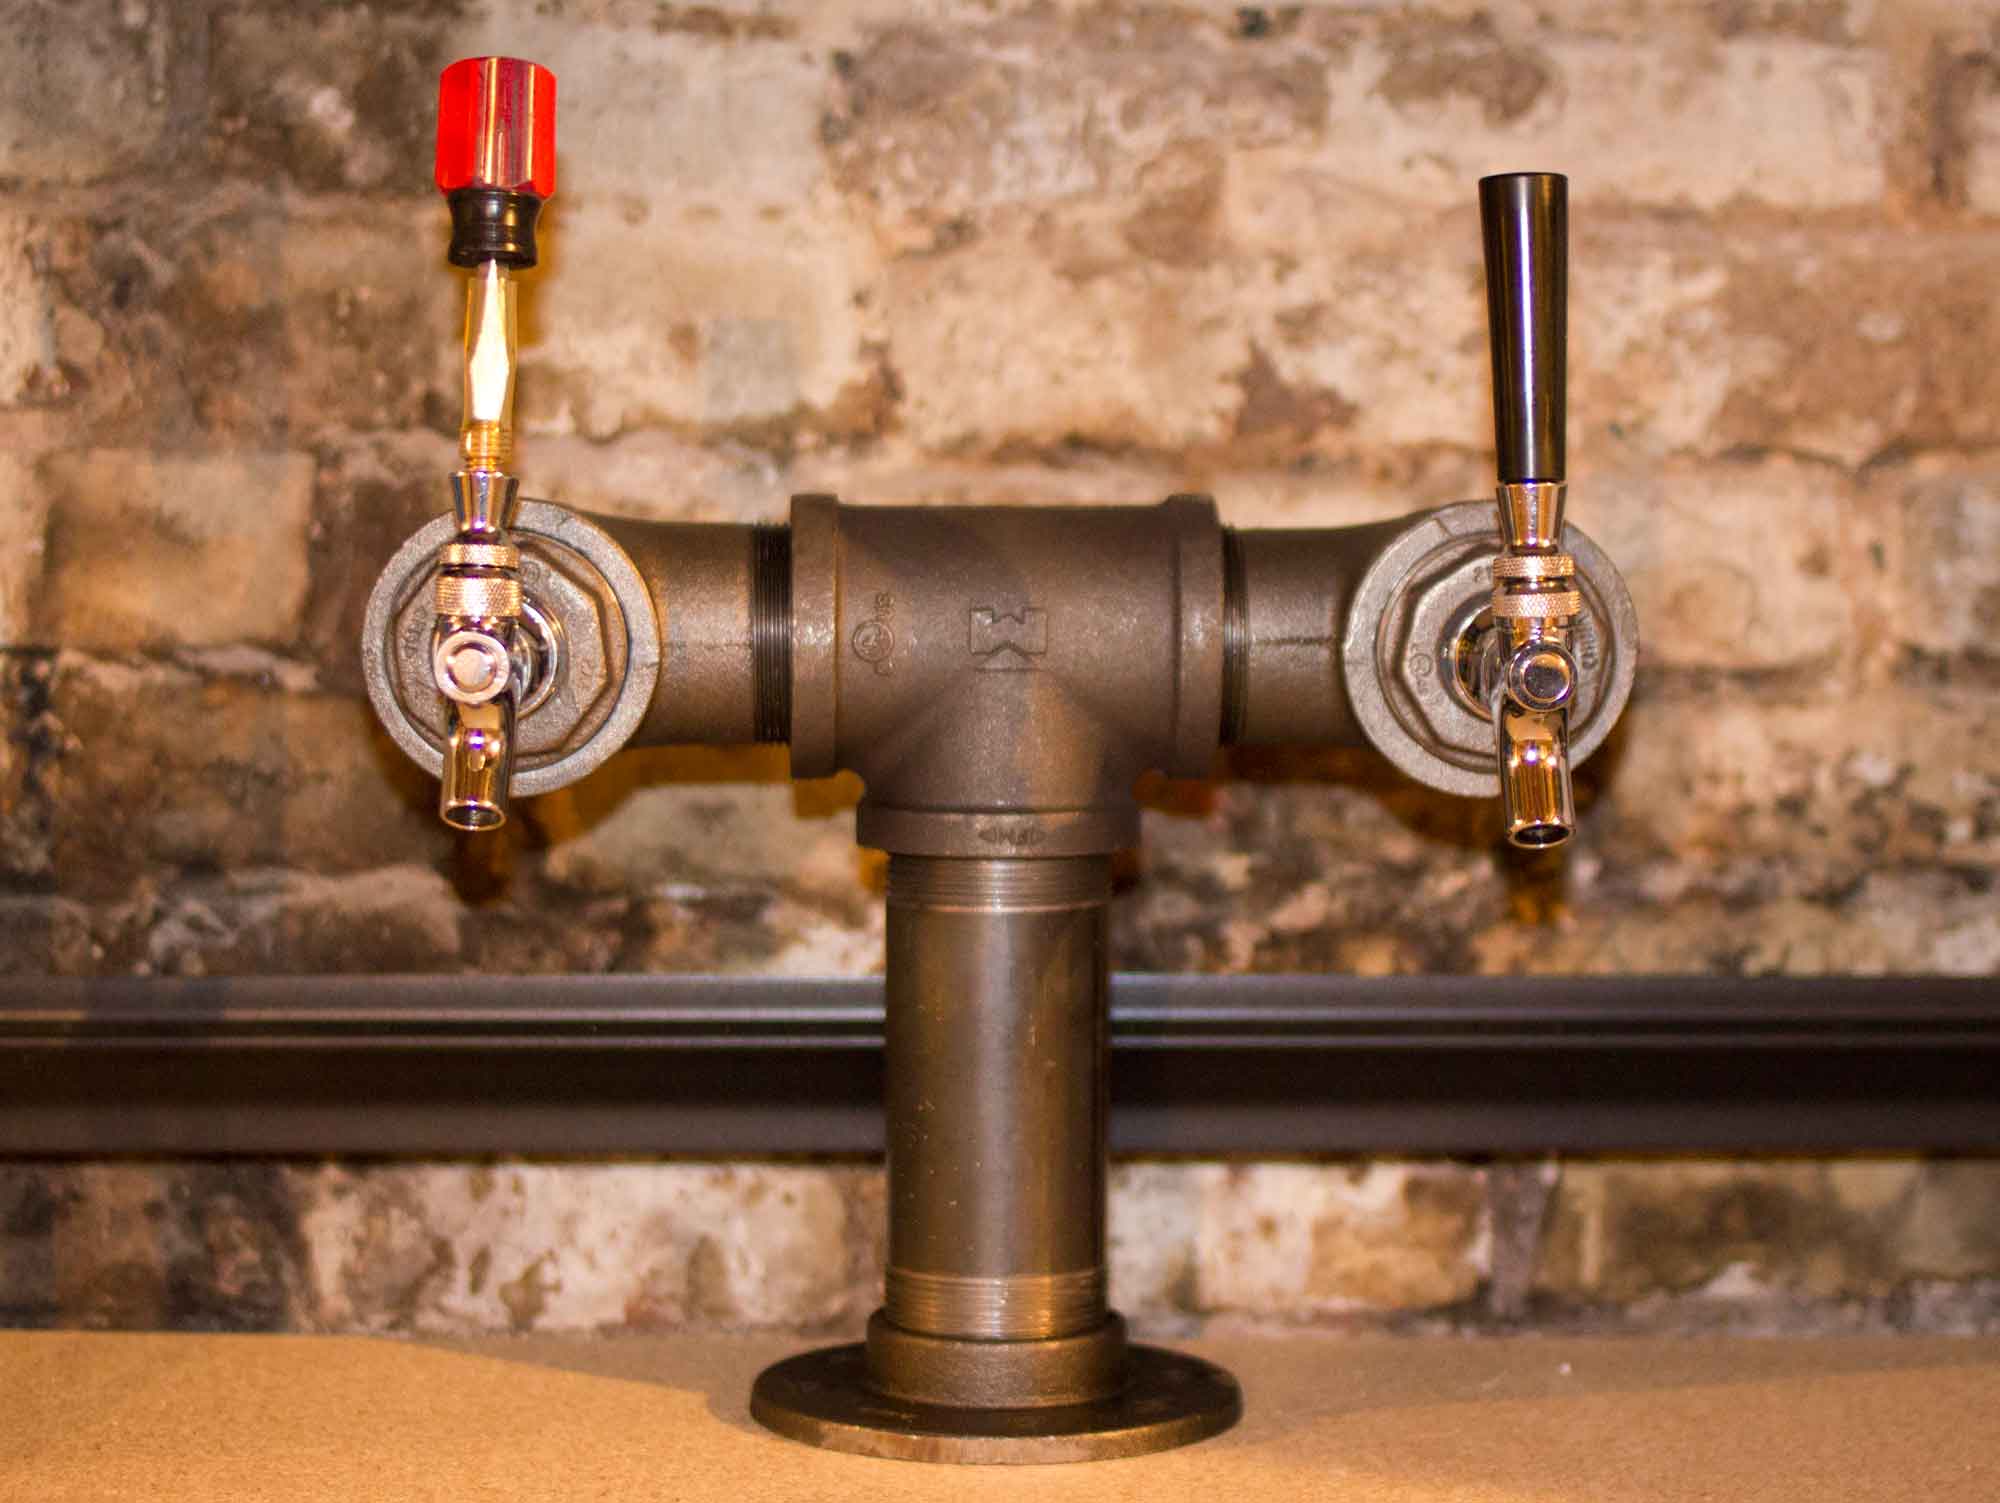
- Attach the tower shank: Take the tower shank and insert it into the mounting plate. Use the provided screws to securely fasten it in place, ensuring a tight fit.
- Connect the beer line: Connect the loose end of the beer line to the barbed connector on the tower shank. Use a hose clamp to secure it tightly in place.
- Attach the faucet handle: Take the faucet handle and slide it onto the faucet shank. Tighten the set screw to ensure a secure fit.
- Install the faucet: Attach the faucet to the front of the tower shank. Use a wrench to tighten it, making sure it’s snug and in the desired position.
Once you’ve completed these steps, your dispensing tower is now assembled and securely attached to the nostalgia kegerator. It’s time to move on to the next step: installing the CO2 tank and regulator.
When assembling a Nostalgia kegerator, make sure to carefully follow the manufacturer’s instructions to ensure proper installation and functionality. Pay close attention to the placement of components and the connections to avoid any issues with the unit.
Step 3: Installing the CO2 Tank and Regulator
Now that you have assembled the dispensing tower, it’s time to install the CO2 tank and regulator. Follow these steps:
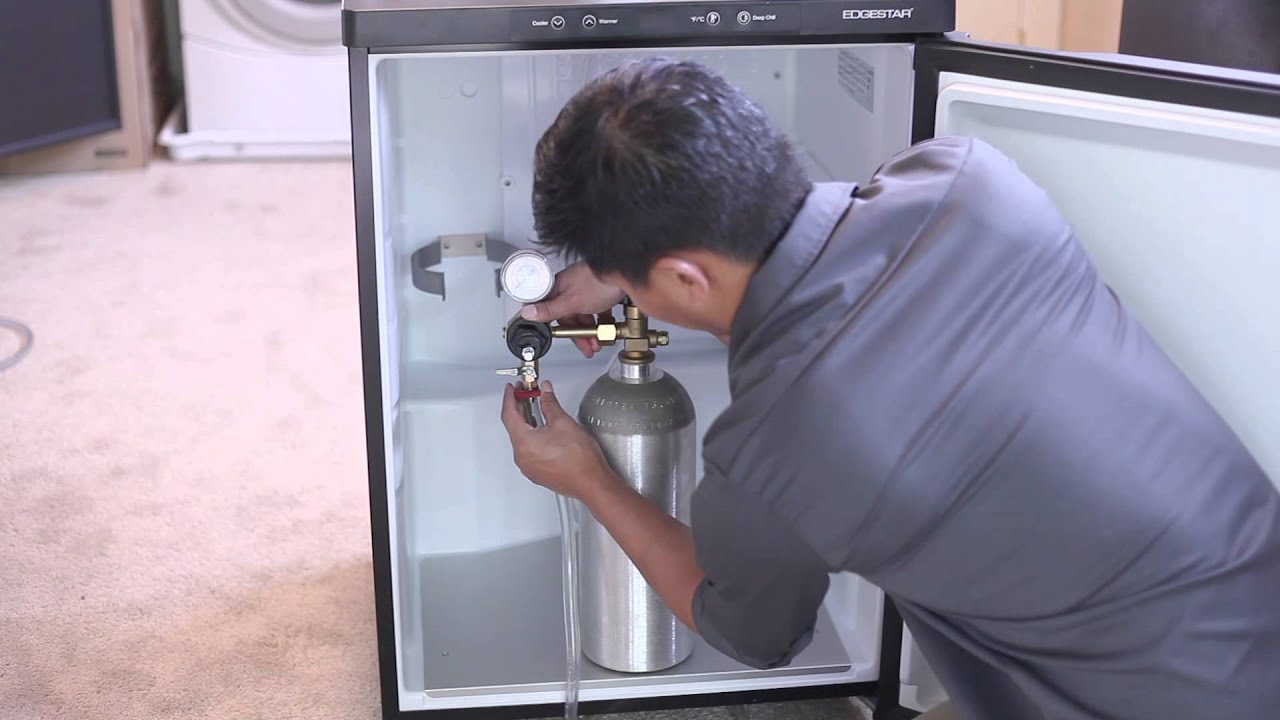
- Locate the CO2 tank holder: Most nostalgia kegerators come with a designated holder or bracket for the CO2 tank. Find this holder and ensure it is securely attached to the back of the kegerator.
- Insert the CO2 tank: Place the CO2 tank into the holder, ensuring it sits upright and is secure. Consult the kegerator’s manual for specific instructions on how to safely attach the tank.
- Attach the regulator: Take the CO2 regulator and align it with the opening on top of the CO2 tank. Slowly turn it clockwise to secure it in place, ensuring a tight seal.
- Connect the CO2 line: Locate the CO2 line and connect it to the outlet port on the CO2 regulator. Use a wrench to tighten the connection, ensuring there are no leaks.
- Adjust the regulator pressure: Use the pressure adjustment knob on the CO2 regulator to set the desired pressure for carbonation. Consult the beer manufacturer’s guidelines for the recommended pressure.
Once you’ve completed these steps, your nostalgia kegerator is now equipped with CO2 for carbonation and dispensing. Next, let’s move on to connecting the beer line and faucet.
Read more: How To Remove Tap Nostalgia Kegerator
Step 4: Connecting the Beer Line and Faucet
With the CO2 tank and regulator in place, it’s time to connect the beer line and faucet. Follow these steps:
- Locate the end of the beer line: Find the loose end of the beer line that you previously connected to the tower shank.
- Connect the beer line to the keg coupler: Take the other end of the beer line and connect it to the appropriate port on the keg coupler. Make sure it is securely fastened.
- Connect the keg coupler to the keg: Take the keg coupler and align it with the keg’s valve. Push down firmly and twist clockwise to lock it in place. Ensure a tight seal between the keg coupler and keg valve.
- Check for any leaks: Once everything is connected, inspect all the connections for any signs of leaks. Tighten any loose fittings and use Teflon tape to secure them if necessary.
- Open the CO2 valve: Slowly open the valve on the CO2 tank to allow the gas to flow into the keg. Monitor the pressure gauge on the regulator to ensure it reaches the desired carbonation level.
With the beer line connected, you’re now ready to tap into your keg and pour yourself a refreshing glass of draft beer. But before that, let’s move on to the final step: testing and troubleshooting.
Step 5: Testing and Troubleshooting
Now that everything is set up, it’s time to test your nostalgia kegerator and address any potential issues. Follow these steps:
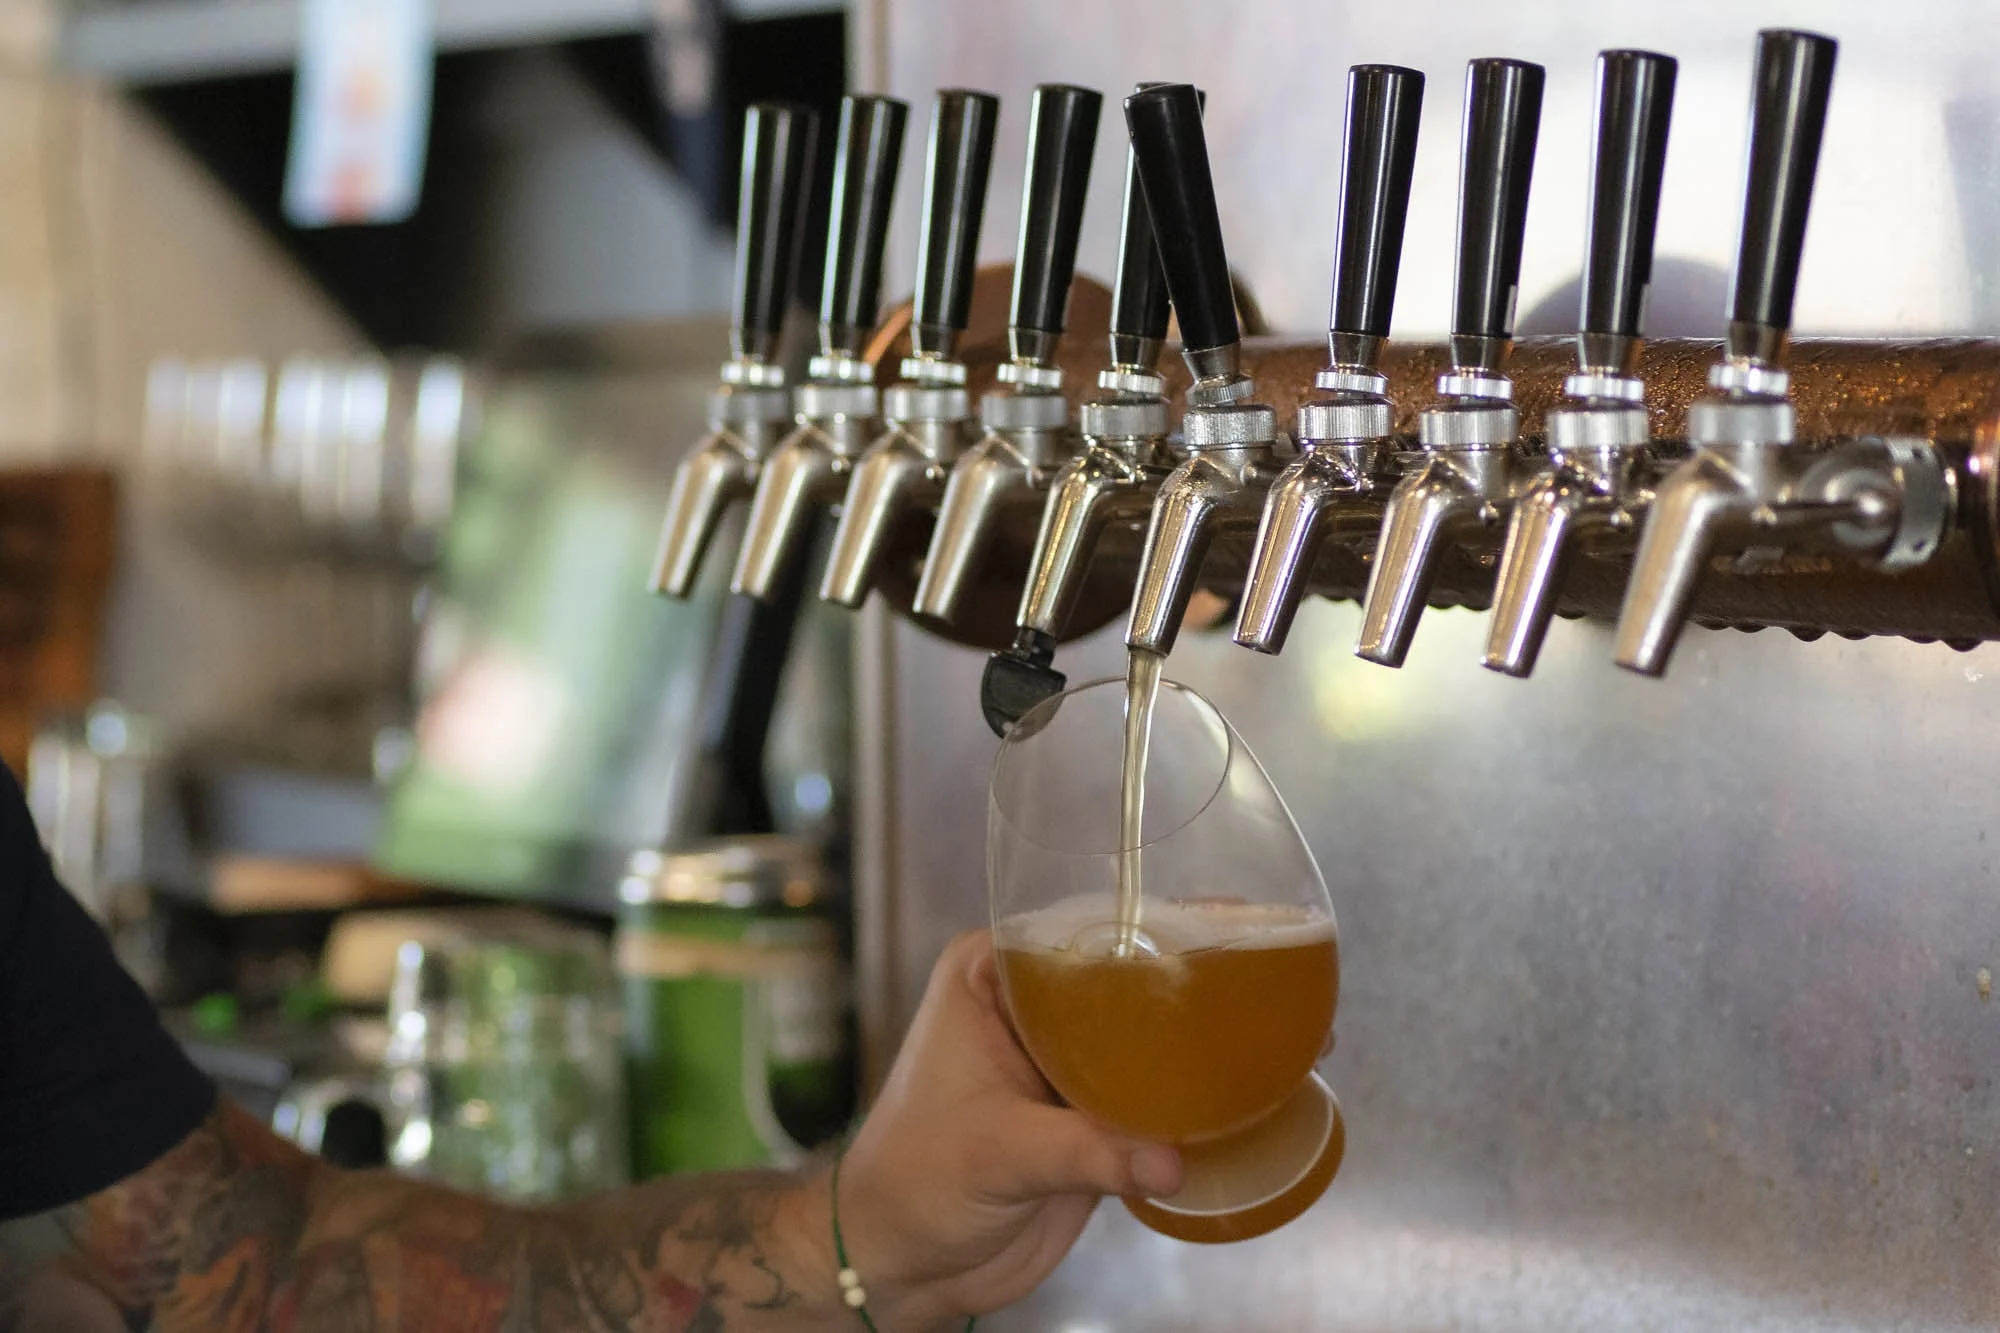
- Check for proper dispensing: Pull the tap handle forward to open the faucet and allow the beer to flow. Ensure that the beer is dispensing smoothly without any leaks or excessive foam.
- Adjust the temperature: Monitor the temperature inside the kegerator and adjust the temperature control dial if needed to maintain the optimal temperature for your beer.
- Inspect for leaks: Examine all connections and fittings for any signs of leaks. If you notice any leaks, tighten the fittings or use Teflon tape to create a tight seal.
- Adjust the CO2 pressure: If the beer is pouring with too much foam, reduce the pressure on the CO2 regulator. If it’s pouring with little to no carbonation, increase the pressure slightly.
- Ensure cleanliness: Regularly clean the dispensing system, keg coupler, and faucet to maintain the quality and taste of your beer. Follow the manufacturer’s instructions for cleaning and sanitizing these components.
If you encounter any issues during the testing process or throughout your kegerator’s lifespan, consult the user manual, or reach out to the manufacturer’s customer support for troubleshooting assistance.
Congratulations! You have successfully assembled your nostalgia kegerator and are now ready to enjoy the convenience and pleasure of pouring your favorite draft beer at home. Cheers to many happy moments of savoring perfectly poured pints!
Remember to always drink responsibly and ensure the legal drinking age in your area. Enjoy your newfound kegerator experience!
Conclusion
Assembling a nostalgia kegerator is an exciting endeavor that allows you to bring the joy of draft beer into your own home. By following the step-by-step guide outlined in this article, you can confidently set up your kegerator with ease and begin enjoying the pub-like experience at your convenience.
We started by unboxing and prepping the kegerator, ensuring that it is clean and properly positioned. Then, we moved on to assembling the dispensing tower, connecting the beer line and faucet for a seamless pour. Next, we installed the CO2 tank and regulator to provide the necessary carbonation for your draft beer.
After the physical setup, it’s crucial to test your kegerator and address any troubleshooting issues that may arise. Checking for proper dispensing, adjusting the temperature and CO2 pressure, and ensuring cleanliness are key steps in maintaining a smooth and enjoyable pouring experience.
Remember to always follow the manufacturer’s instructions and consult the user manual for specific details about your nostalgia kegerator. Safety and cleanliness should be a priority to maintain the quality of your beer and the longevity of your kegerator.
Now, it’s time to kick back, relax, and enjoy the convenience and satisfaction of pouring your favorite draft beer in the comfort of your own home. Cheers to creating memorable moments with friends and loved ones, indulging in the nostalgia and delight of a perfectly poured pint!
Drink responsibly, savor the flavors, and embrace the endless possibilities that a nostalgia kegerator brings to your home bar setup. Whether you’re a beer enthusiast or simply enjoy hosting gatherings, this timeless appliance is sure to enhance your beer-drinking experience for years to come.
Frequently Asked Questions about How To Assemble A Nostalgia Kegerator
Was this page helpful?
At Storables.com, we guarantee accurate and reliable information. Our content, validated by Expert Board Contributors, is crafted following stringent Editorial Policies. We're committed to providing you with well-researched, expert-backed insights for all your informational needs.




0 thoughts on “How To Assemble A Nostalgia Kegerator”