Home>Gardening & Outdoor>Outdoor Structures>How To Build Roof Trusses For A Shed
Outdoor Structures
How To Build Roof Trusses For A Shed
Modified: April 22, 2024
Learn how to build roof trusses for a shed and create sturdy outdoor structures with our step-by-step guide. Master the art of constructing durable trusses for your outdoor projects.
(Many of the links in this article redirect to a specific reviewed product. Your purchase of these products through affiliate links helps to generate commission for Storables.com, at no extra cost. Learn more)
**
Introduction
**
When it comes to constructing a sturdy and reliable shed, the importance of a well-designed roof truss cannot be overstated. Roof trusses are an essential component of any shed, providing crucial support and stability to the structure. In this comprehensive guide, we will delve into the process of building roof trusses for a shed, covering everything from understanding the basics to the practical steps of construction. Whether you are a seasoned DIY enthusiast or a novice builder, mastering the art of constructing roof trusses will empower you to create a durable and functional shed that stands the test of time.
Throughout this guide, we will explore the fundamental principles behind roof trusses, the essential materials and tools required for the task, as well as the precise measurements and calculations needed to ensure a perfect fit. Additionally, we will provide a step-by-step walkthrough of the construction process, accompanied by practical tips and insights to streamline the building process. By the end of this journey, you will have the knowledge and confidence to tackle the construction of roof trusses for your shed with precision and skill.
So, let's embark on this enlightening exploration of roof truss construction, equipping you with the expertise to elevate your shed-building endeavors to new heights.
Key Takeaways:
- Building roof trusses for a shed requires precise measurements, quality materials, and careful assembly to ensure a durable and stable structure that can withstand the test of time.
- Installing roof trusses onto the shed’s framework demands attention to detail, proper alignment, and reinforcement to create a resilient and enduring roof structure that provides steadfast support.
Read more: How To Build Gambrel Shed Roof Truss
Understanding Roof Trusses
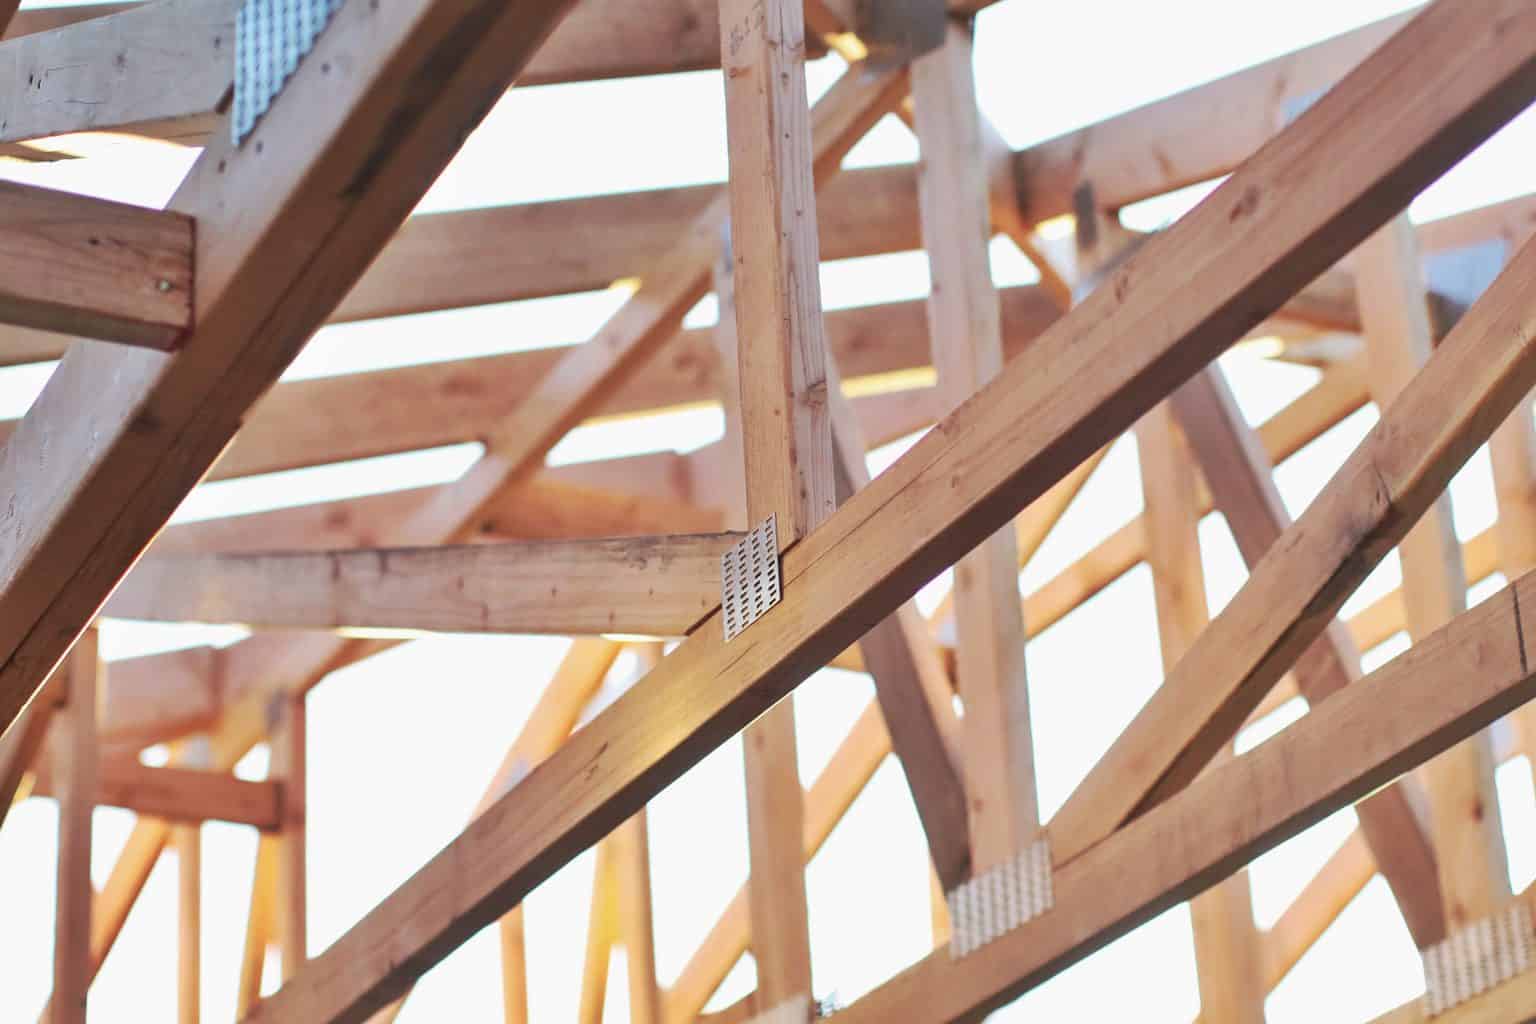
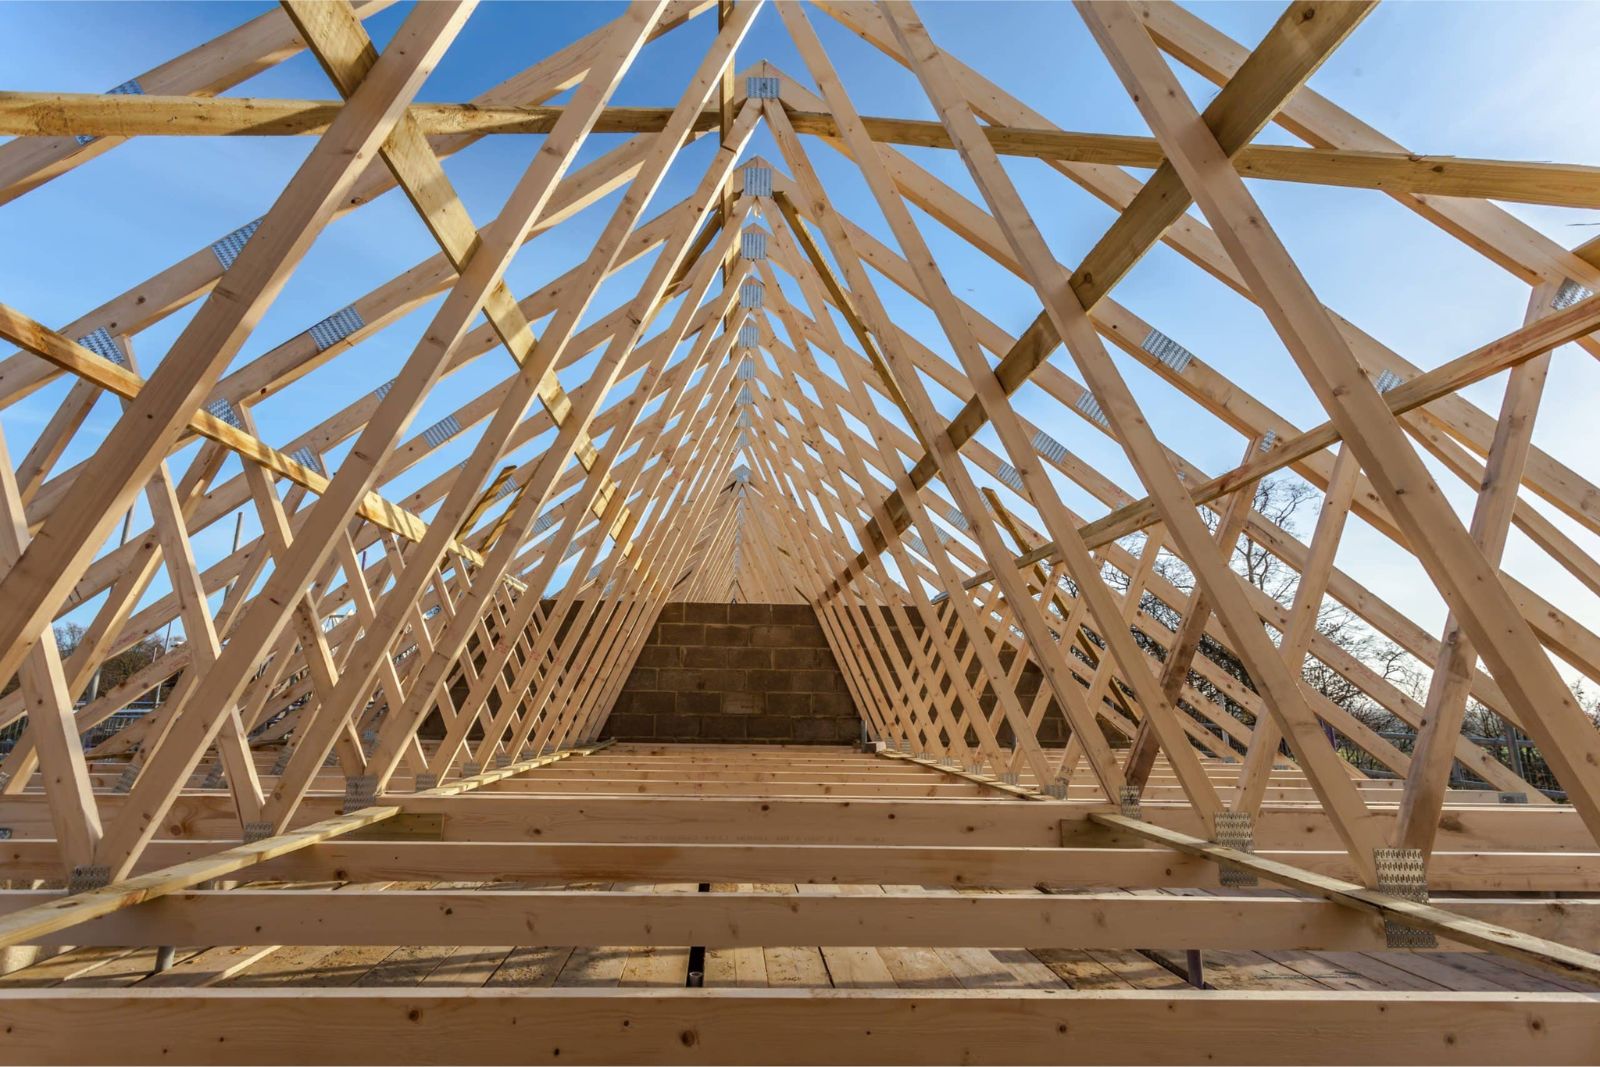
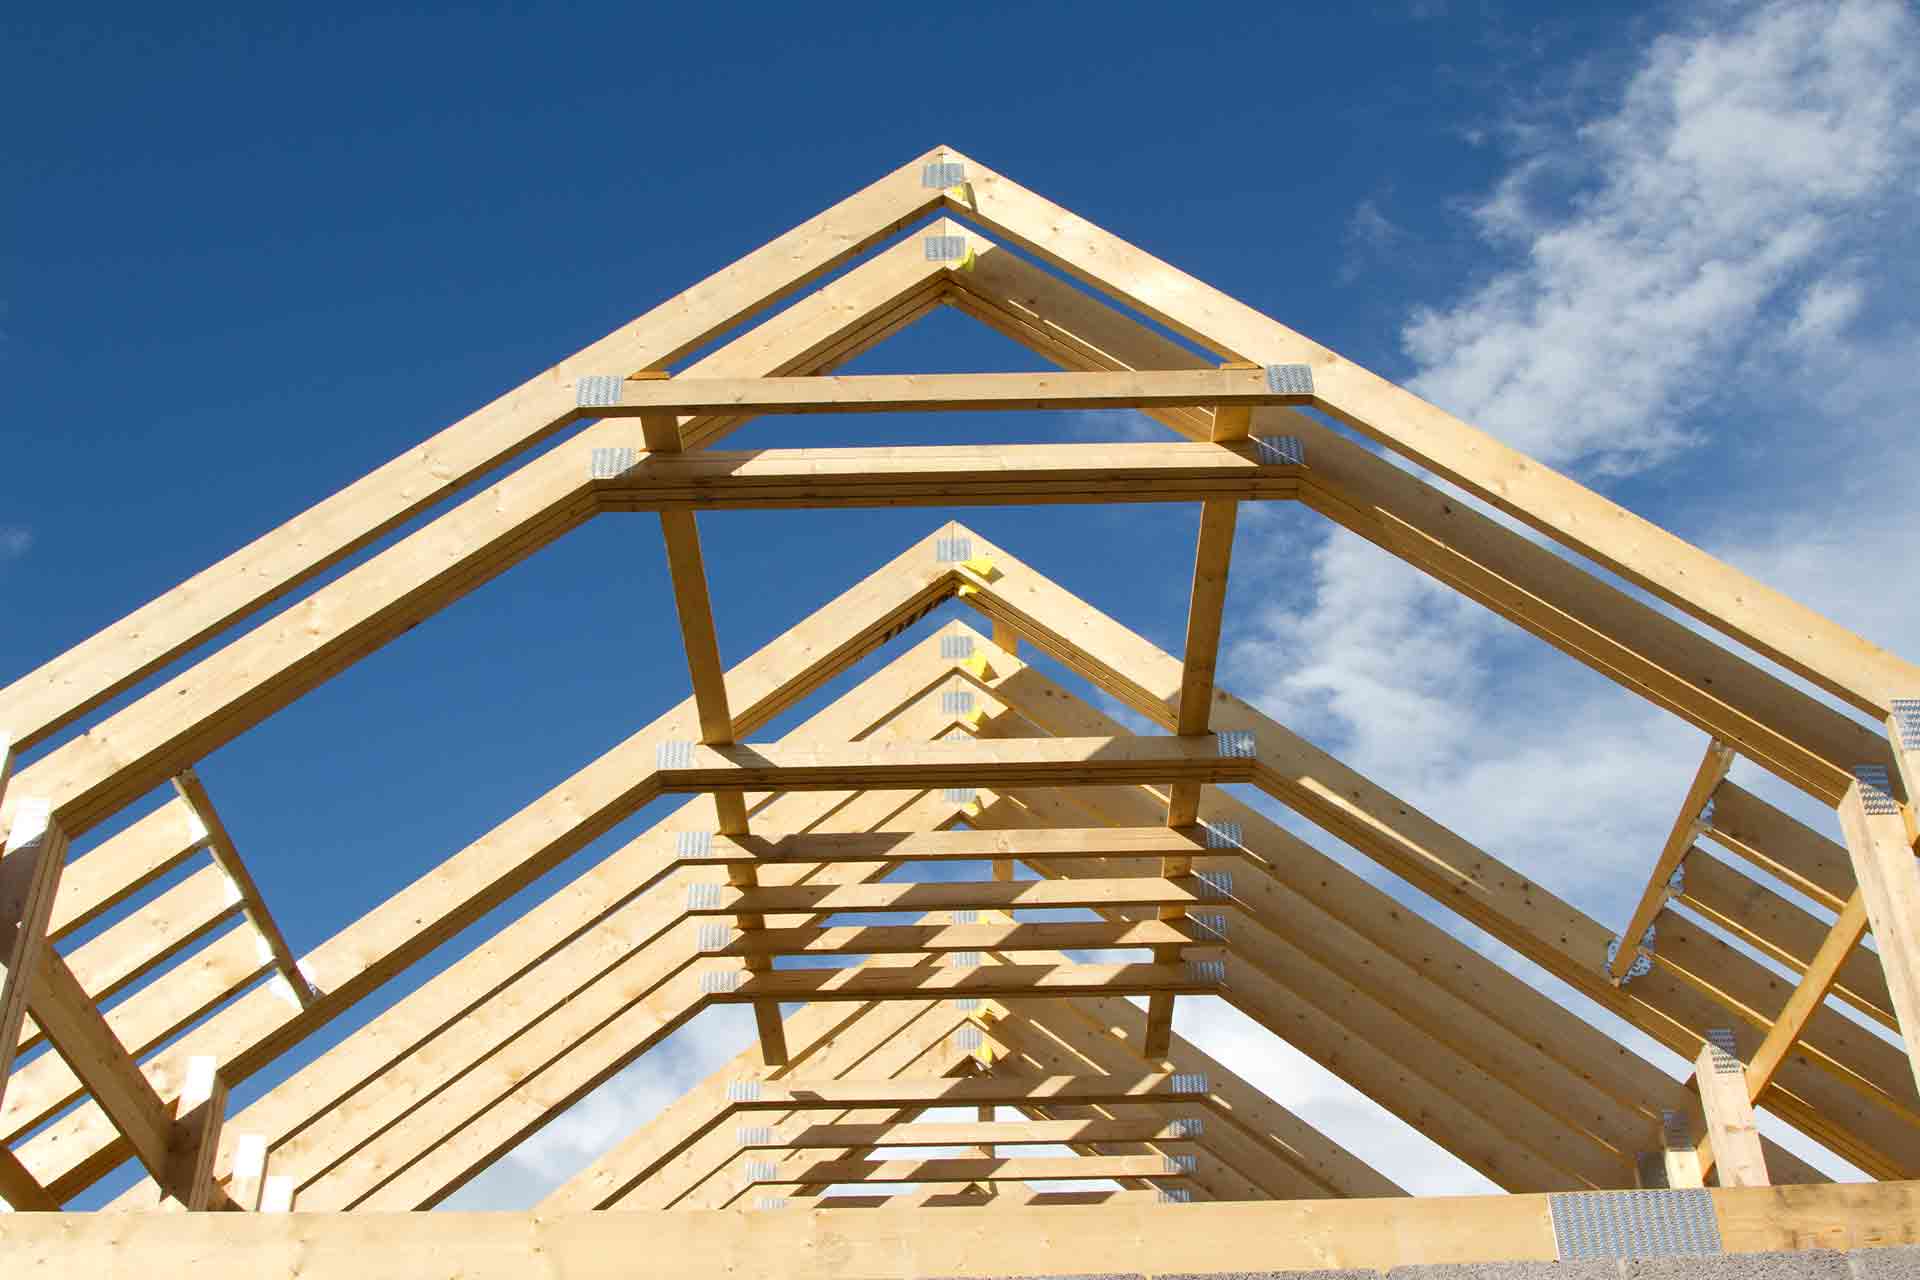
Before diving into the construction process, it is essential to grasp the significance of roof trusses and their role in providing structural integrity to a shed. Roof trusses are framework structures designed to support the roof and distribute its weight evenly throughout the building. They consist of interconnected, triangular units that efficiently bear the load, making them a popular choice for shed construction due to their strength and stability.
One of the key advantages of roof trusses lies in their ability to span a considerable distance without the need for internal support, maximizing the usable space within the shed. Additionally, they offer versatility in design, allowing for various roof shapes and configurations to suit different aesthetic preferences and functional requirements.
When planning the construction of roof trusses, it is crucial to consider factors such as the pitch of the roof, the anticipated snow load, and the overall dimensions of the shed. These considerations will influence the design and specifications of the trusses, ensuring that they are tailored to withstand the specific environmental and structural demands of the shed.
Furthermore, understanding the basic anatomy of a roof truss is integral to the construction process. The components typically include top and bottom chords, web members, and gusset plates, all working in harmony to form a robust framework that can endure the elements and provide enduring support for the shed’s roof.
By comprehending the principles and benefits of roof trusses, you will be well-equipped to embark on the construction journey with a clear understanding of their functional significance and the critical role they play in ensuring the long-term durability and stability of your shed.
Materials and Tools Needed
Embarking on the construction of roof trusses for a shed requires a comprehensive array of materials and tools to facilitate the process effectively. Ensuring that you have the necessary supplies on hand will streamline the construction and contribute to the precision and quality of the trusses. Here’s a rundown of the essential materials and tools you’ll need:
Materials:
- Lumber: Select high-quality, structural-grade lumber such as 2×4 or 2×6 boards, depending on the design specifications and load requirements of the shed.
- Gusset Plates: These metal plates are crucial for connecting the structural members of the truss securely. They are available in various sizes and configurations to accommodate different truss designs.
- Wood Screws or Nails: Choose appropriate fasteners to secure the components of the trusses firmly in place.
- Wood Glue: Utilize wood glue to reinforce the connections and enhance the overall stability of the truss assembly.
Tools:
- Circular Saw: A reliable circular saw will be indispensable for accurately cutting the lumber to the required dimensions, ensuring precision in the construction process.
- Power Drill: A power drill equipped with the necessary drill bits will facilitate the assembly of the trusses by allowing for precise and secure fastening of the components.
- Measuring Tape and Carpenter’s Square: These measuring tools are essential for ensuring accurate dimensions and angles during the cutting and assembly of the trusses.
- Clamps: Utilize clamps to hold the truss components together during assembly, promoting stability and alignment.
- Safety Gear: Prioritize safety by equipping yourself with protective gear, including goggles, gloves, and hearing protection, to safeguard against potential hazards during the construction process.
By gathering these materials and tools before commencing the construction of the roof trusses, you will set the stage for a seamless and efficient building experience, empowering you to execute the construction with precision and confidence.
Measurements and Calculations
Precision is paramount when it comes to constructing roof trusses for a shed. Accurate measurements and meticulous calculations form the foundation of a well-crafted truss assembly, ensuring that it seamlessly integrates with the shed’s structure and provides the necessary support for the roof. Here’s a comprehensive overview of the crucial measurements and calculations involved in the process:
Span and Overhang: Begin by determining the span of the trusses, which corresponds to the distance between the exterior walls of the shed. Additionally, calculate the desired overhang, which extends beyond the walls and contributes to the shed’s aesthetics and protection from the elements.
Pitch and Rise: The pitch of the roof defines the slope and incline of the trusses, impacting the shed’s drainage and overall appearance. The rise, or vertical height, of the trusses is derived from the pitch and span, and it plays a pivotal role in shaping the shed’s interior space and structural stability.
Bottom Chord and Web Member Lengths: Calculate the precise lengths of the bottom chords and web members based on the span, overhang, pitch, and rise of the trusses. These measurements are crucial for ensuring that the truss components align seamlessly and contribute to the structural integrity of the assembly.
Load Considerations: Factor in the anticipated snow load and any additional weight requirements based on the shed’s intended use. This information will influence the design and dimensions of the trusses, ensuring that they can withstand the imposed loads without compromising their stability.
Utilizing the measurements and calculations as a blueprint for the construction process will set the stage for the seamless assembly of robust and precisely tailored roof trusses. By meticulously attending to these essential details, you will lay the groundwork for a shed that not only exudes structural integrity but also stands the test of time with unwavering resilience.
When building roof trusses for a shed, make sure to use a sturdy and straight lumber to ensure the trusses are strong and stable. Additionally, double-check all measurements and angles to ensure a proper fit.
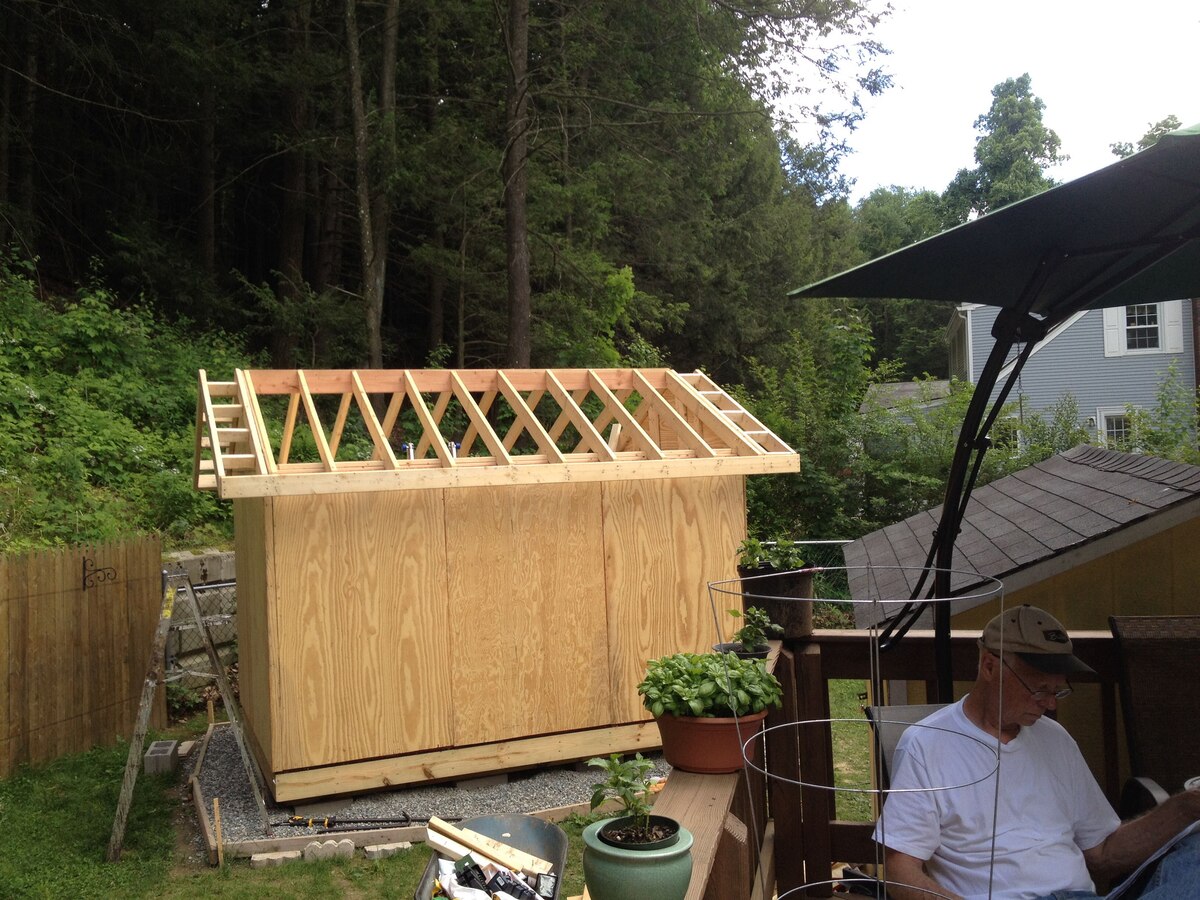
Building the Trusses
As you embark on the construction of roof trusses for your shed, a methodical approach and attention to detail will be instrumental in ensuring the structural integrity and longevity of the truss assembly. Here’s a step-by-step guide to building the trusses with precision and expertise:
1. Cutting the Lumber: Begin by using a circular saw to cut the lumber to the precise lengths required for the bottom chords, top chords, and web members. Adhering to the measurements and calculations established earlier is crucial for achieving a seamless and structurally sound truss assembly.
2. Assembling the Components: Lay out the cut lumber according to the truss design, ensuring that the components align accurately. Use a carpenter’s square to verify the angles and maintain the desired pitch and rise of the trusses. Secure the connections with wood glue and fasteners, such as wood screws or nails, to reinforce the structural integrity of the truss assembly.
3. Installing Gusset Plates: Position the gusset plates at the joint intersections of the truss components and secure them firmly in place. The gusset plates play a pivotal role in connecting the structural members and distributing the load evenly, contributing to the stability and resilience of the truss assembly.
4. Quality Assurance: Conduct a thorough inspection of the completed trusses, ensuring that all connections are secure, the angles are precise, and the components are aligned according to the design specifications. This meticulous attention to detail will safeguard against potential structural issues and ensure that the trusses meet the highest standards of craftsmanship.
By methodically following these steps and exercising precision and care throughout the construction process, you will be poised to produce a set of roof trusses that epitomize durability, reliability, and structural excellence. With the trusses meticulously crafted and ready for installation, the vision of a robust and resilient shed is well within reach.
Read more: How To Build Roof Trusses
Installing the Trusses
With the meticulously constructed roof trusses at the ready, the installation phase marks a pivotal juncture in the shed construction process. Proper installation is essential to ensuring that the trusses seamlessly integrate with the shed’s framework, providing steadfast support for the roof and fortifying the overall structure. Here’s a comprehensive guide to installing the trusses with precision and proficiency:
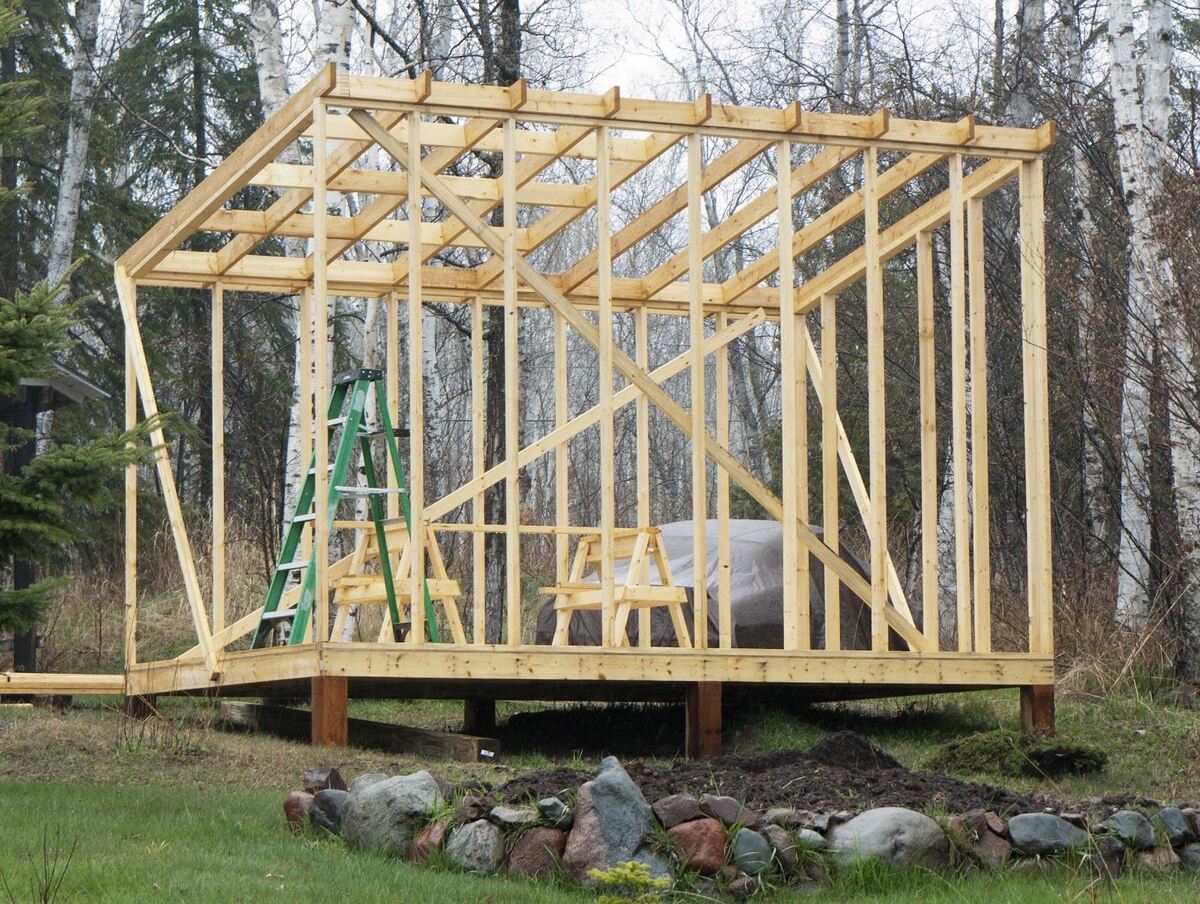
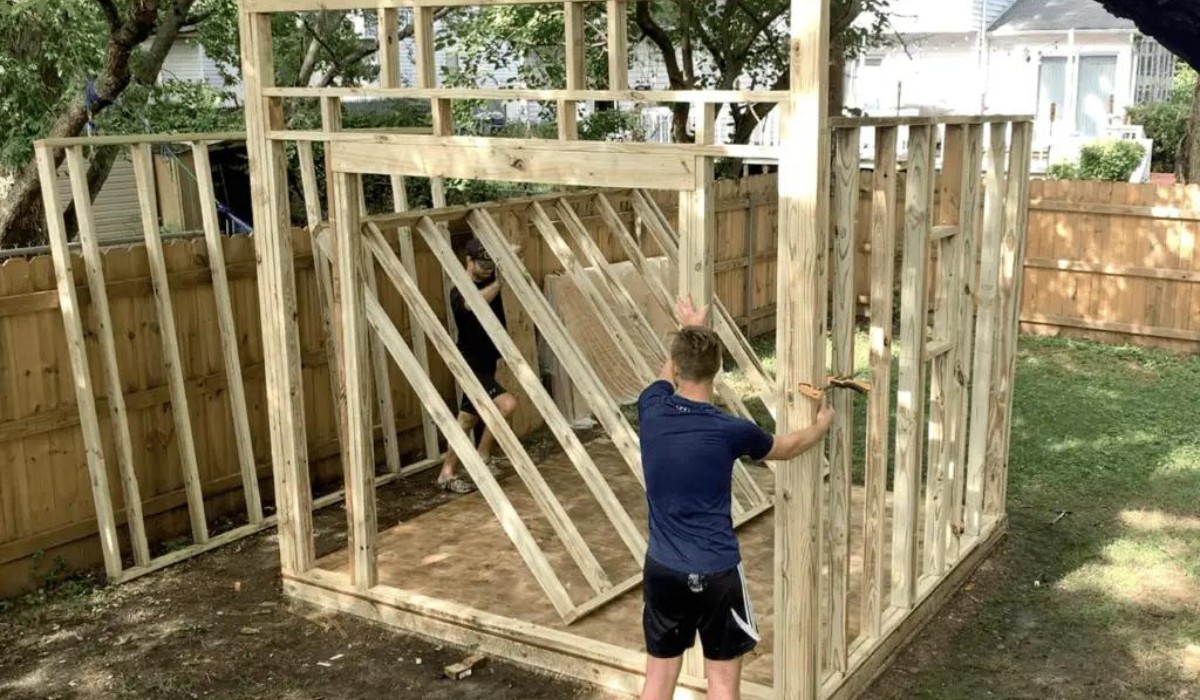
1. Preparing the Shed Framework: Prior to truss installation, assess the shed’s framework to ensure that it is structurally sound and capable of accommodating the trusses. Clear any obstructions and verify that the top plate is level and securely anchored to the walls, providing a stable foundation for the truss placement.
2. Lifting and Positioning: Enlist the assistance of capable individuals to aid in lifting and positioning the trusses onto the shed’s framework. Exercise caution and utilize appropriate lifting equipment to ensure the safety of all individuals involved in the installation process.
3. Alignment and Fastening: Once the trusses are in position, meticulously align them according to the layout and design specifications, ensuring that they are evenly spaced and parallel to one another. Secure the trusses to the shed framework using appropriate fasteners, such as metal hangers or brackets, to establish a robust and steadfast connection.
4. Bracing and Reinforcement: Implement temporary bracing to stabilize the trusses and prevent any lateral movement during the installation process. This additional reinforcement will contribute to the structural integrity of the trusses and safeguard against potential displacement until the roof sheathing and other roofing materials are added.
5. Quality Assurance and Adjustment: Conduct a thorough inspection of the installed trusses, verifying that they are securely fastened, properly aligned, and structurally sound. Make any necessary adjustments to ensure that the trusses conform to the design specifications and contribute to a level and stable framework for the shed’s roof.
By methodically following these steps and exercising precision and care throughout the installation process, you will seamlessly integrate the meticulously crafted trusses with the shed’s framework, laying the groundwork for a resilient and enduring roof structure. With the trusses securely installed, the vision of a robust and reliable shed is one step closer to realization.
Conclusion
Congratulations on completing the journey of constructing roof trusses for your shed! The meticulous planning, precise measurements, and skilled craftsmanship have culminated in the creation of a robust and reliable framework that will support and safeguard your shed for years to come. As you reflect on this transformative process, it’s essential to recognize the significance of your efforts and the enduring impact they will have on the structural integrity of your shed.
By delving into the intricacies of roof truss construction, you have not only acquired practical skills but also cultivated a profound understanding of the fundamental principles that underpin sound structural design. The ability to conceptualize, calculate, and fabricate roof trusses represents a valuable asset, empowering you to undertake future construction endeavors with confidence and proficiency.
Furthermore, the journey of building roof trusses serves as a testament to the fusion of artistry and engineering, where precision and craftsmanship converge to create a functional and visually striking component of your shed. Your dedication to precision, attention to detail, and commitment to quality craftsmanship have undoubtedly left an indelible mark on the very framework that will shelter and protect your belongings for years to come.
As you admire the completed trusses and envision the shed taking its final form, take pride in the knowledge that you have harnessed the power to shape your surroundings and manifest your vision through the art of construction. The trusses stand as a testament to your ingenuity and determination, embodying the resilience and strength that define your commitment to excellence.
With the trusses in place, the vision of a steadfast and enduring shed is no longer a distant aspiration but a tangible reality. As you proceed to complete the roofing and finalize the construction, the trusses will stand as a testament to your dedication to craftsmanship and your unwavering pursuit of structural excellence.
Embrace this transformative achievement with the knowledge that the trusses you have meticulously crafted will serve as the cornerstone of a resilient and enduring shed, embodying the essence of precision, durability, and unwavering strength.
Frequently Asked Questions about How To Build Roof Trusses For A Shed
Was this page helpful?
At Storables.com, we guarantee accurate and reliable information. Our content, validated by Expert Board Contributors, is crafted following stringent Editorial Policies. We're committed to providing you with well-researched, expert-backed insights for all your informational needs.


0 thoughts on “How To Build Roof Trusses For A Shed”