
Articles
How To Repair A Kitchen Faucet
Modified: August 17, 2024
Learn how to repair a kitchen faucet with our helpful articles. Find step-by-step guides and tips on fixing common faucet issues.
(Many of the links in this article redirect to a specific reviewed product. Your purchase of these products through affiliate links helps to generate commission for Storables.com, at no extra cost. Learn more)
Introduction
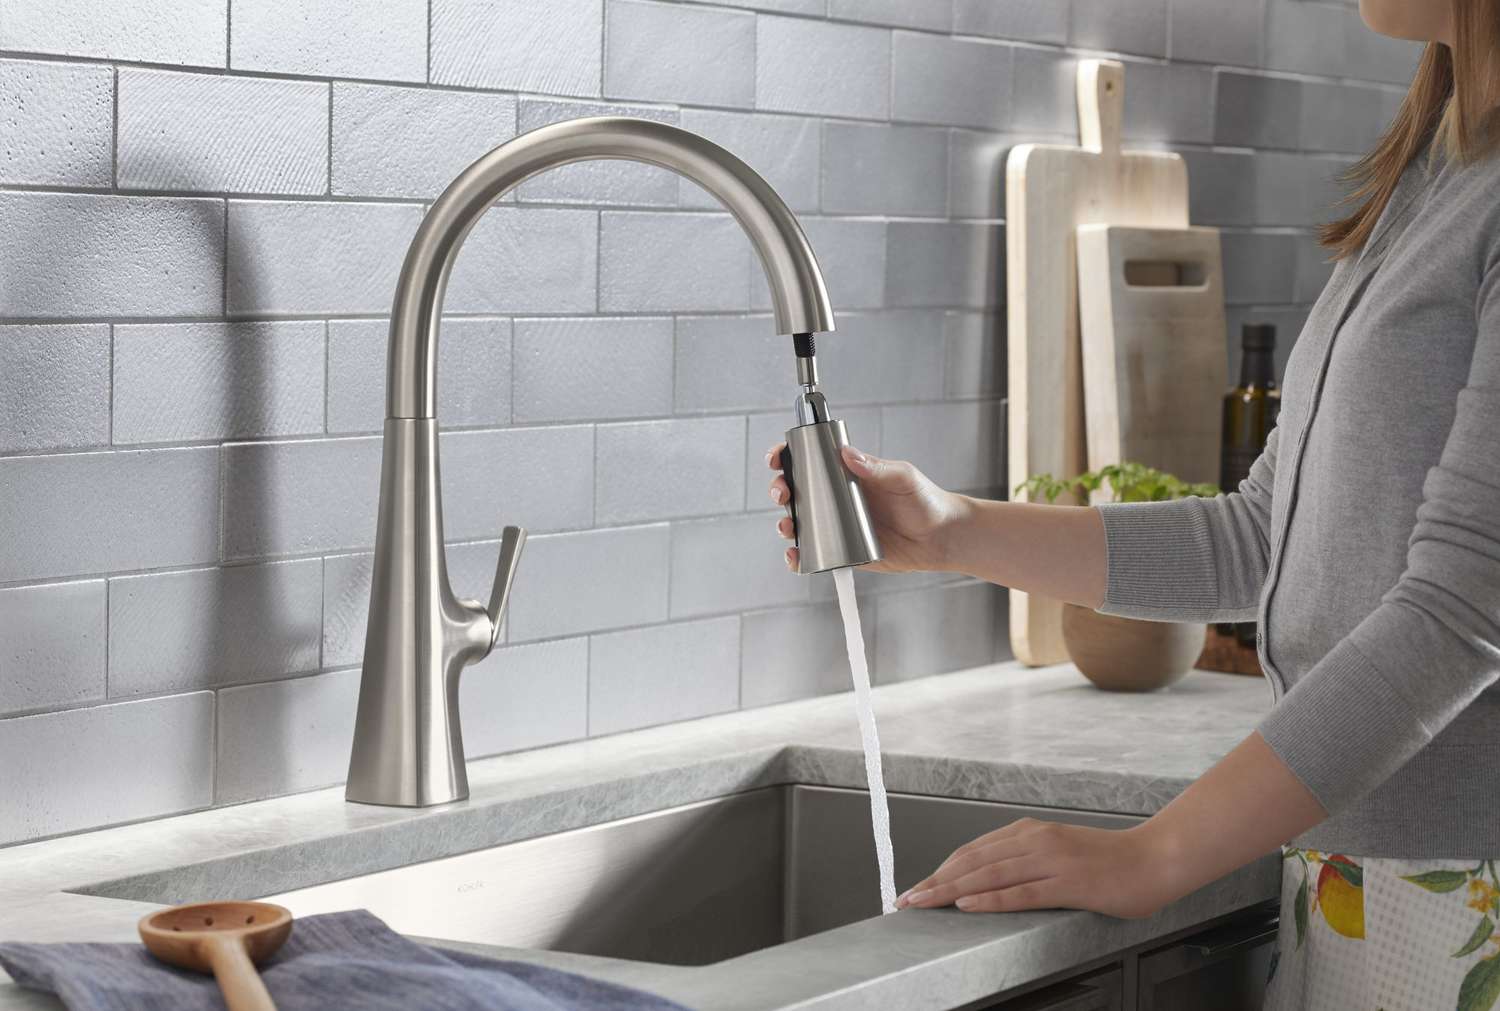
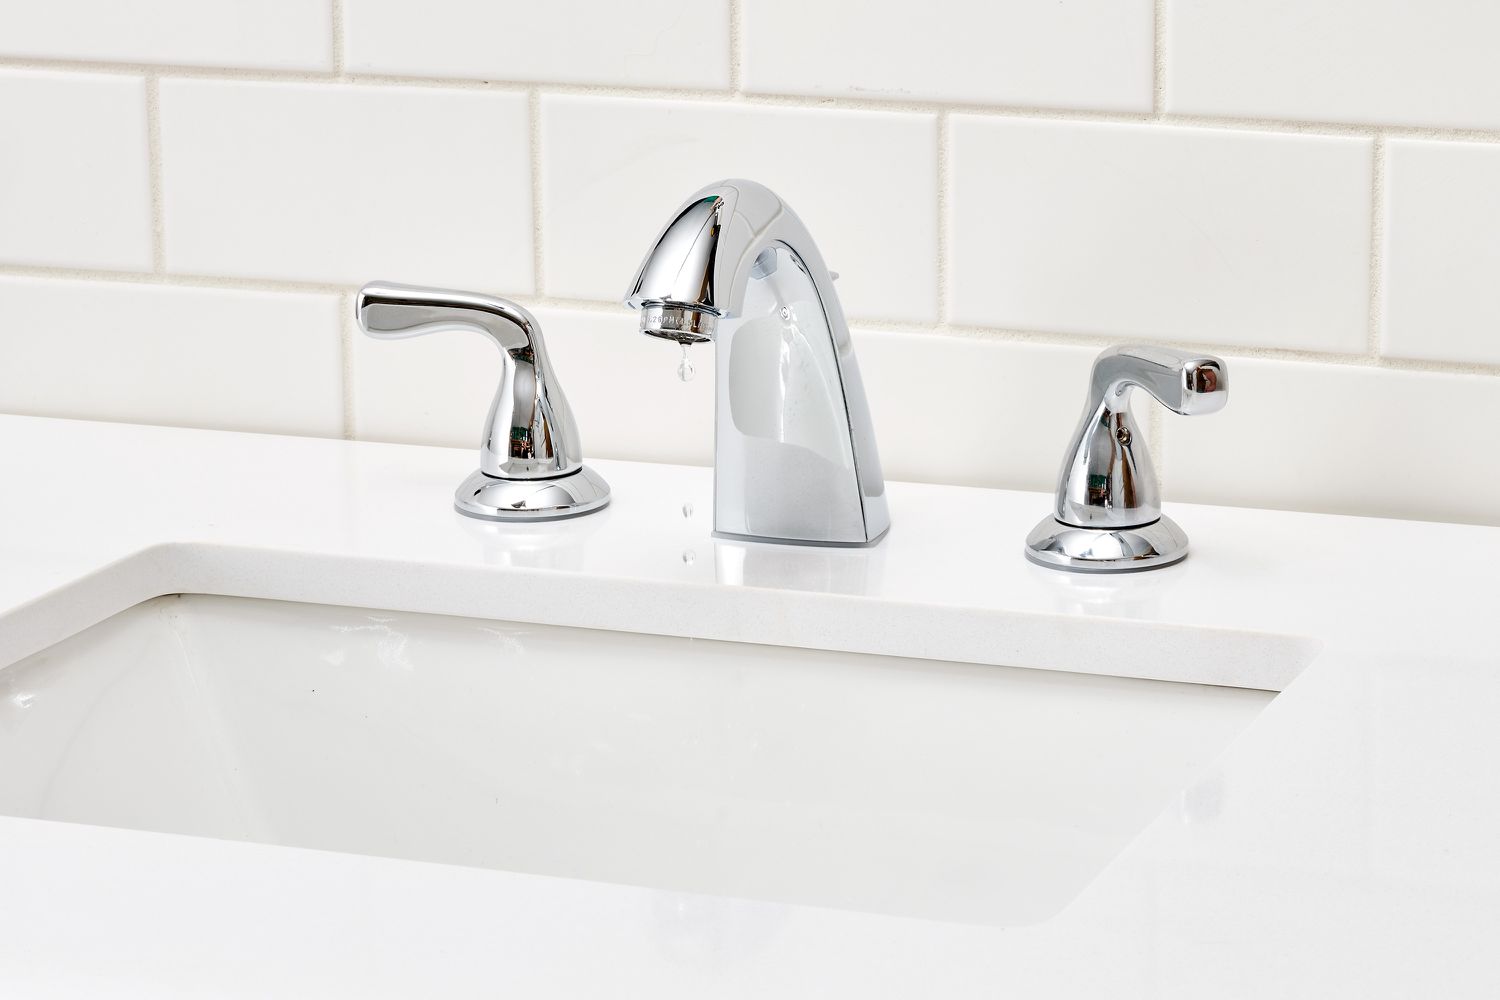
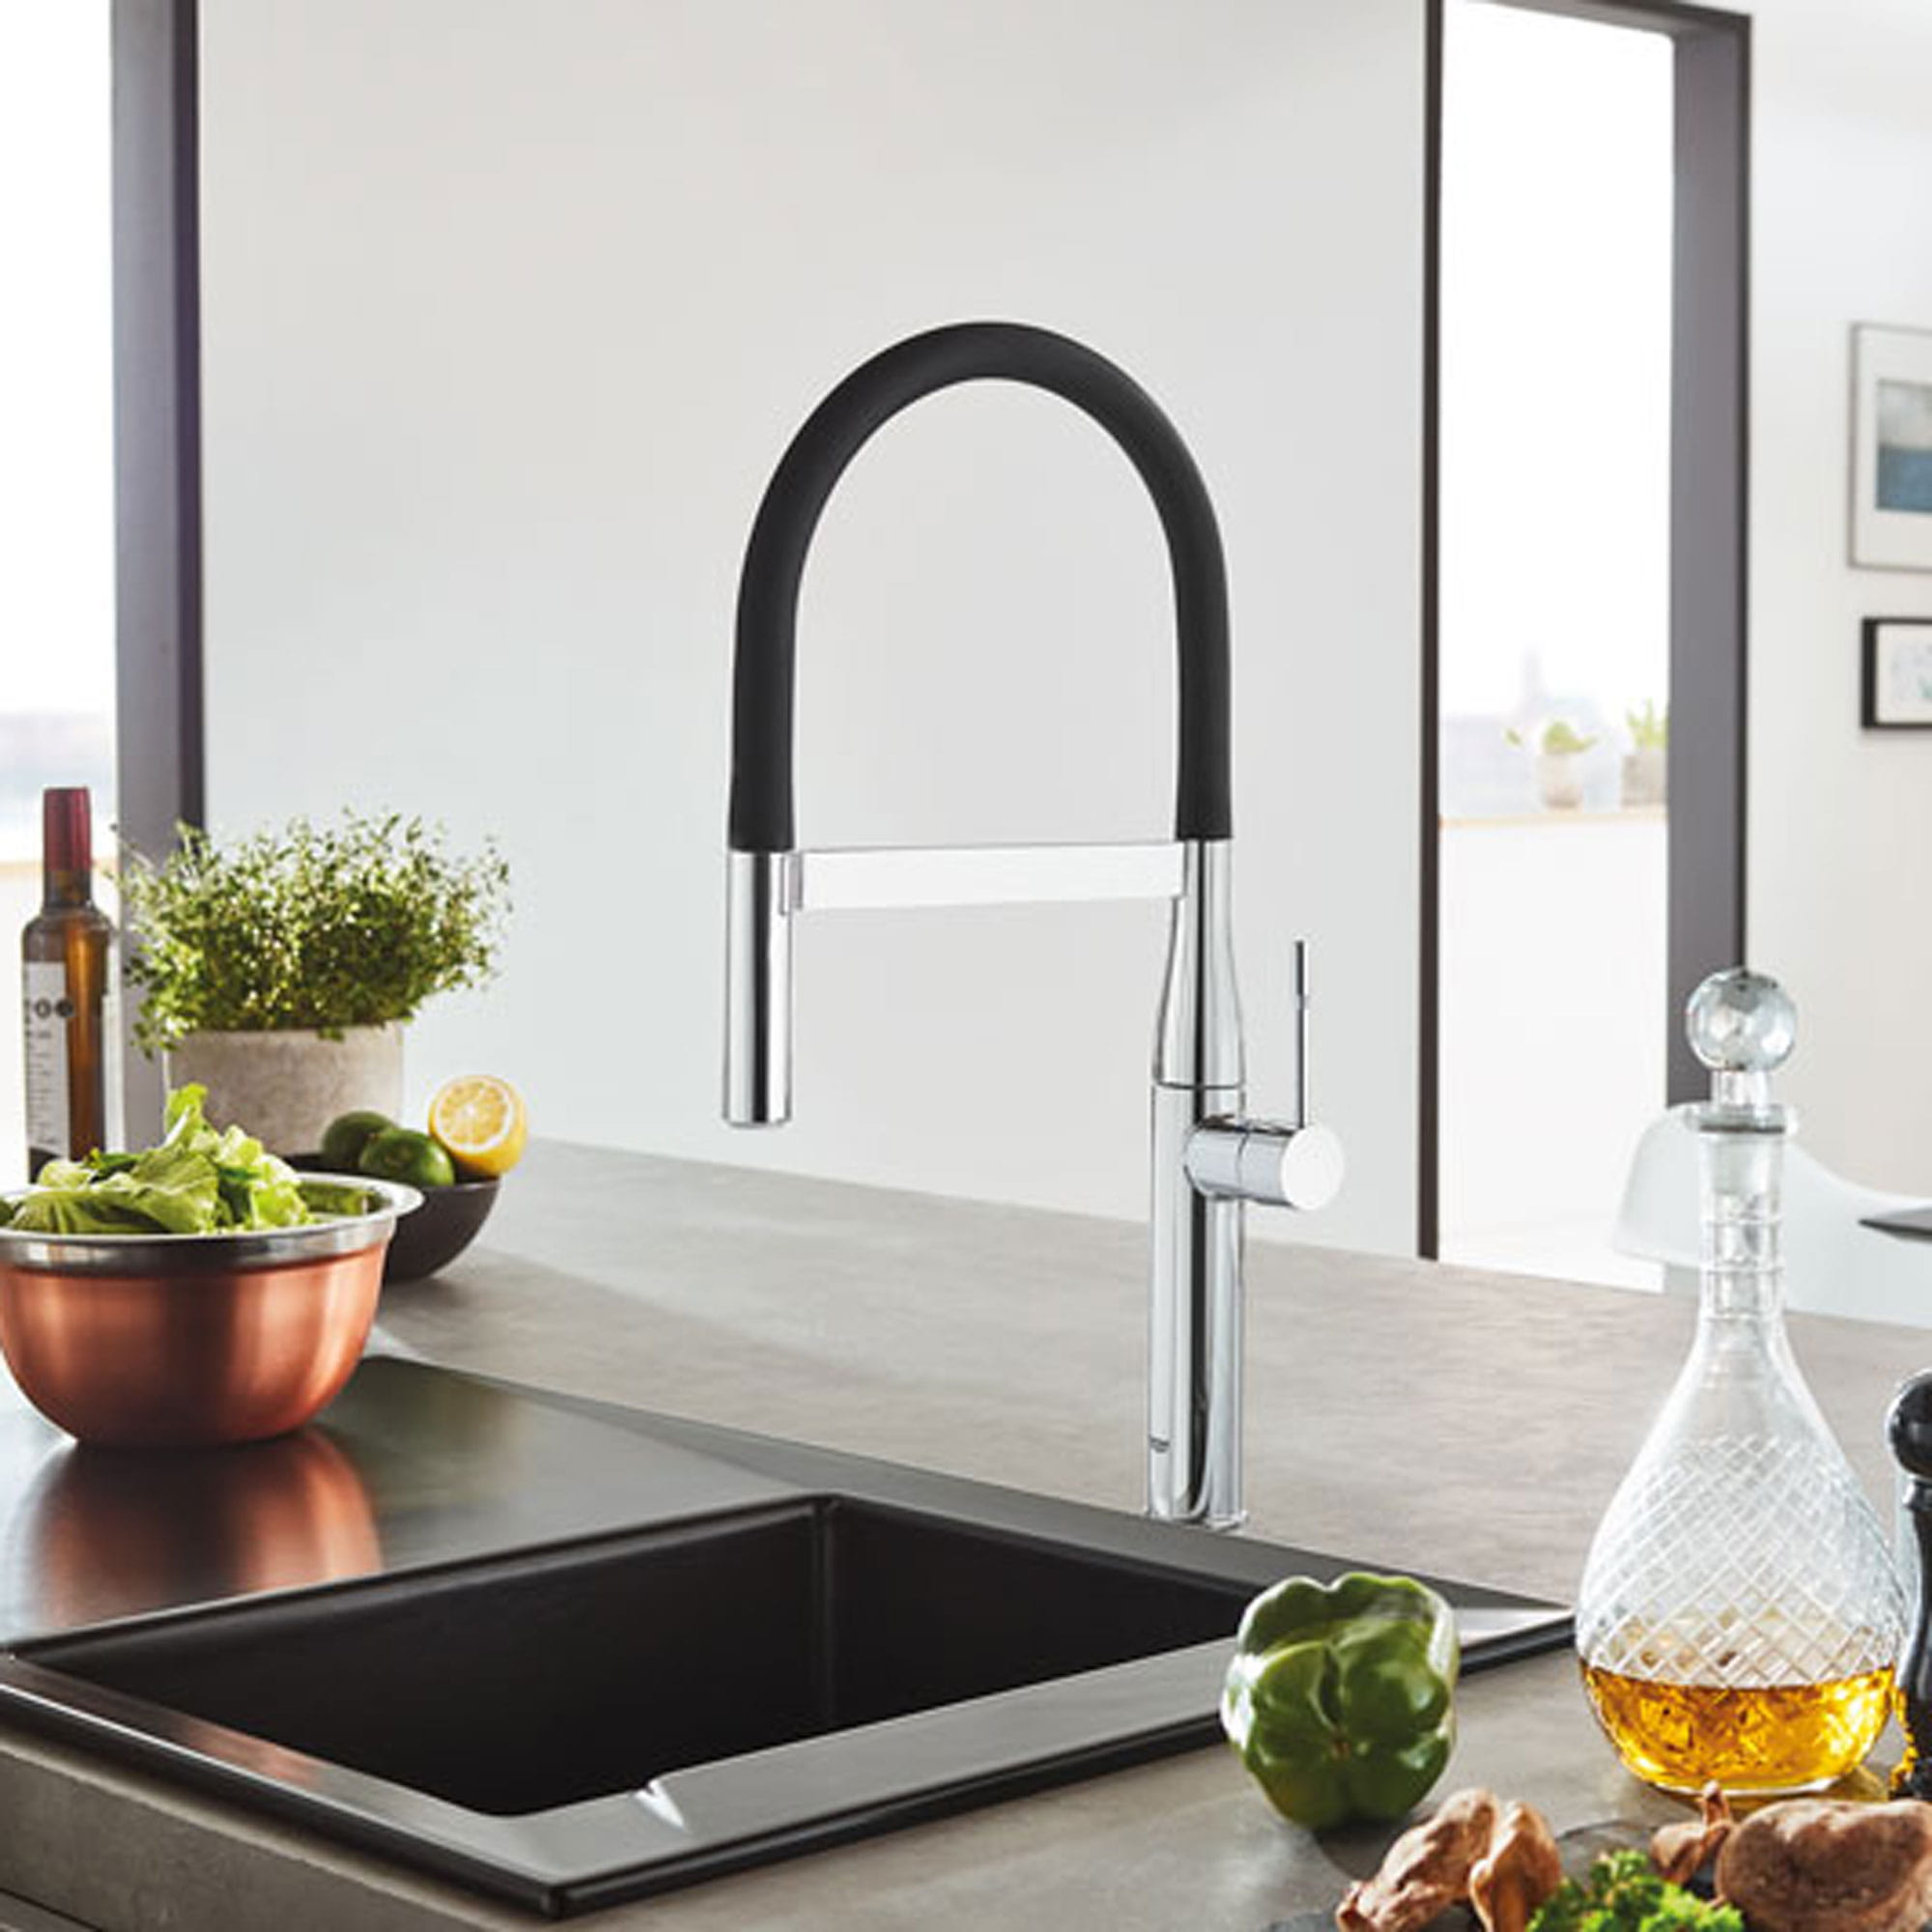
Having a functional kitchen faucet is essential for any home. It allows you to easily access clean water for cooking, cleaning, and other everyday tasks. However, like any plumbing fixture, kitchen faucets can experience issues over time, such as leaks, low water pressure, or a dripping handle. While it may be tempting to call a professional plumber to fix these problems, many faucet repairs can be done by homeowners with just a few tools and some basic knowledge.
In this article, we will guide you through the process of repairing a kitchen faucet, step by step. Whether you are dealing with a leaky faucet, a loose handle, or any other common issue, our instructions will help you tackle the problem and restore your faucet to full functionality.
To successfully repair your kitchen faucet, you will need a few tools and materials. These may include an adjustable wrench, pliers, screwdrivers, a bucket or towel to catch water, and replacement parts if necessary. It’s important to gather all the necessary items before you start working to avoid any unnecessary delays.
Now let’s dive into the step-by-step process of repairing a kitchen faucet so you can regain control over your water flow and enjoy a fully functioning kitchen fixture once more.
Key Takeaways:
- Takeaway 1: DIY Kitchen Faucet Repair
With basic tools and step-by-step guidance, homeowners can easily repair common kitchen faucet issues, saving time and money while regaining full functionality. - Takeaway 2: Preventative Maintenance
Regular checks and proactive maintenance can prevent future faucet problems, ensuring a continuous supply of clean water for cooking and cleaning.
Read more: How Much To Replace Bathroom Faucet
Tools and Materials Needed
Before you begin repairing your kitchen faucet, make sure you have the following tools and materials on hand:
- Adjustable wrench
- Pliers
- Screwdrivers (Phillips and flathead)
- Bucket or towel
- Replacement parts (if needed)
The adjustable wrench will come in handy for loosening and tightening various fittings, while pliers can be used to grip onto small parts and provide additional leverage if needed. The screwdrivers are necessary for removing screws that hold the faucet together, so make sure you have both a Phillips and a flathead screwdriver available.
It’s also a good idea to have a bucket or towel nearby to catch any water that may spill during the repair process. This will help prevent unnecessary mess and water damage in your kitchen.
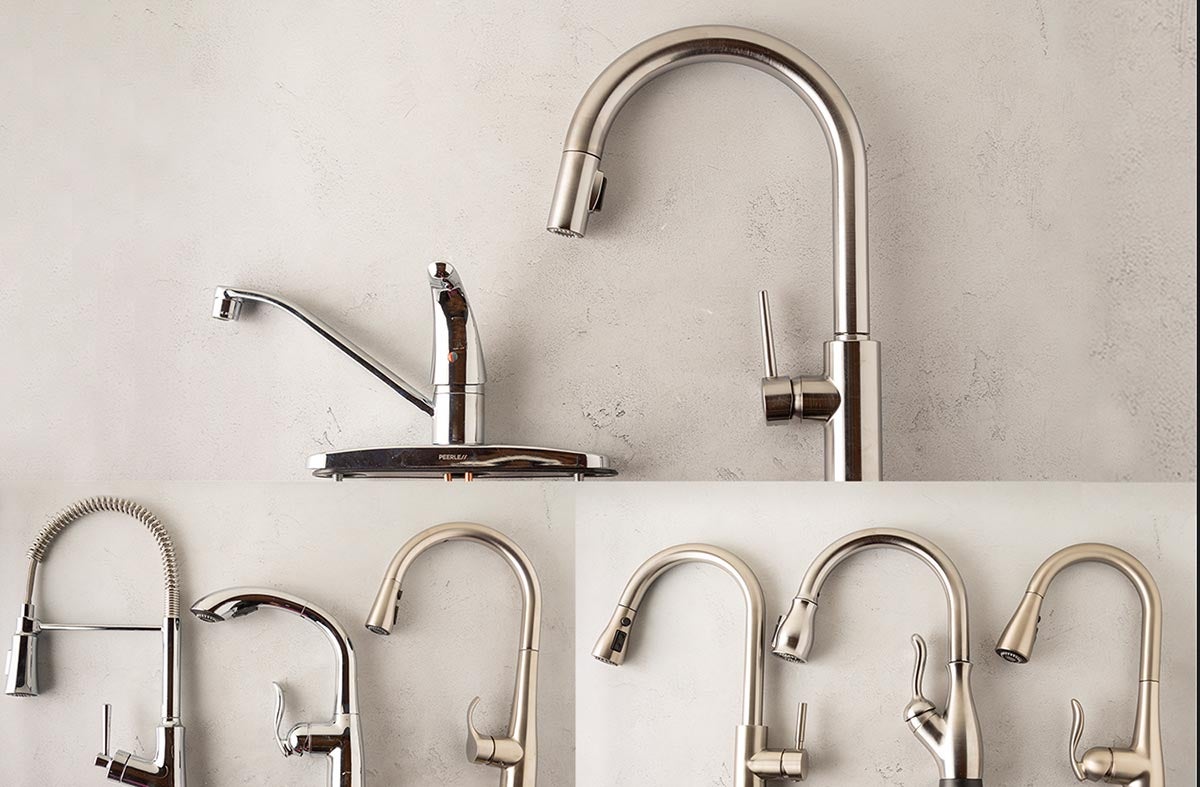
Lastly, depending on the specific issue with your faucet, you may need replacement parts. This could include things like new washers, O-rings, cartridges, or even a complete faucet repair kit. It’s a good idea to identify the parts you may need before you begin the repair process, so you don’t have to make multiple trips to the hardware store.
Once you have gathered all the necessary tools and materials, you will be ready to move on to the next steps in the kitchen faucet repair process.
Step 1: Turn Off the Water Supply
Before you start working on your kitchen faucet, it’s crucial to turn off the water supply to prevent any potential leaks or water damage. The shut-off valves for your faucet are typically located beneath the sink, near the waterlines.
Begin by locating the hot and cold water supply lines under the sink. These lines typically have small valve handles that you can turn to shut off the water. Rotate these handles clockwise until they are fully closed.
If you can’t find individual shut-off valves for your faucet, you may need to shut off the main water supply to your home. Locate the main shut-off valve, which is usually located near your water meter or where the water enters your home. Turn the valve clockwise to shut off the water supply.
Once the water supply is turned off, test the faucets in your kitchen to make sure the water is fully shut off. If no water comes out, you can proceed with confidence knowing that the water supply is safely turned off.
Remember, it’s always a good idea to double-check that the water is shut off before proceeding with any repairs. This will help prevent any potential accidents or water damage during the repair process.
With the water supply turned off, you’re now ready to move on to the next step of repairing your kitchen faucet.
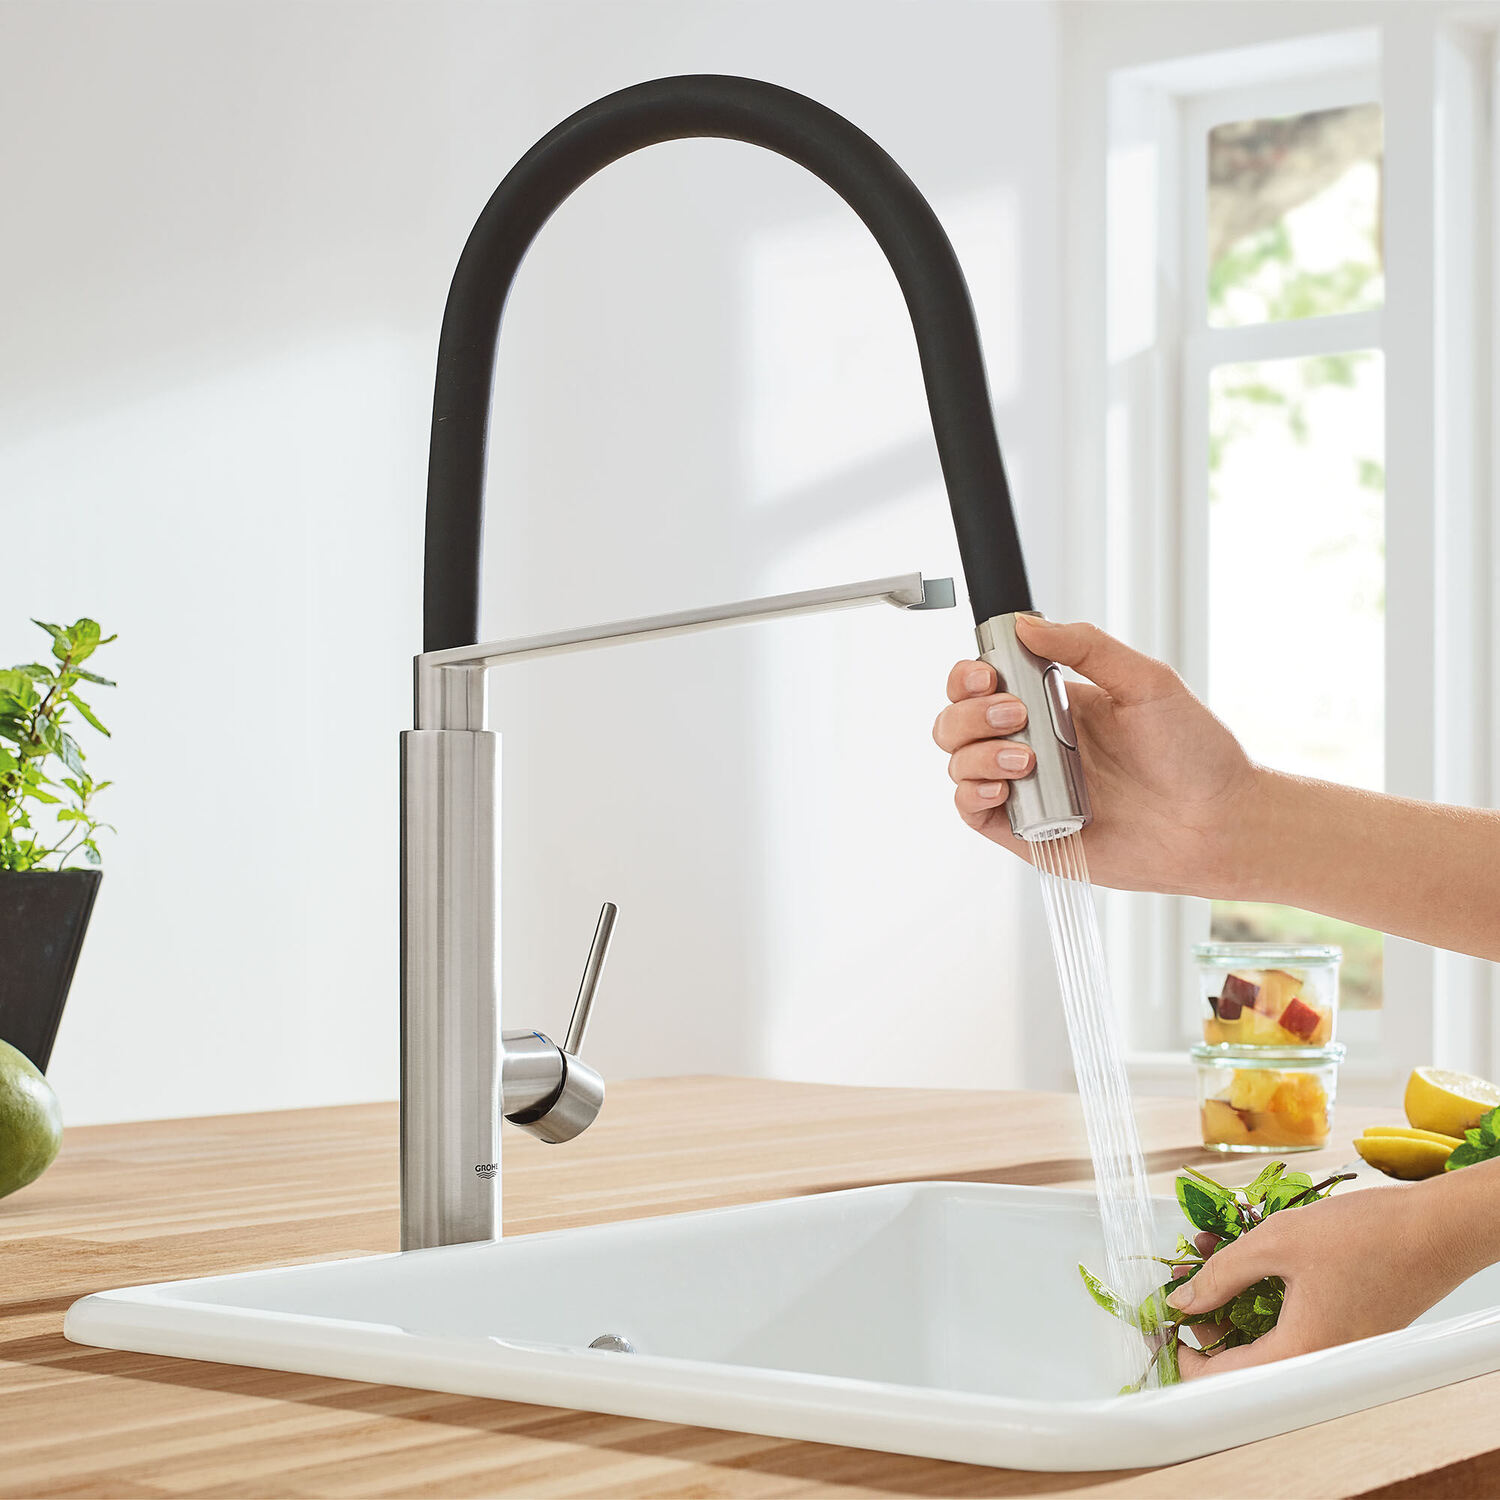
Step 2: Remove the Handle
Once the water supply is turned off, the next step in repairing your kitchen faucet is to remove the handle. The handle is typically held in place by a screw or a small cap that needs to be accessed and removed.
Start by examining the handle for any visible screws or caps. If you see a screw, use a screwdriver to remove it by turning it counterclockwise. Set aside the screw in a safe place so it doesn’t get lost.
If your handle has a cap, gently pry it off using a flathead screwdriver or your fingernail. Be careful not to scratch or damage the surface of the cap. Once the cap is removed, you may find a screw underneath that needs to be loosened or removed.
With the screw or cap removed, you should now be able to lift and remove the handle. Gently wiggle it back and forth if needed to loosen it from the stem.
Once the handle is removed, set it aside and take a moment to inspect it for any damage or signs of wear. If necessary, this may be a good time to consider replacing the handle or any faulty parts.
Removing the handle will give you access to the inner workings of the faucet and allow you to proceed with the necessary repairs. With the handle out of the way, you’re ready to move on to the next step in fixing your kitchen faucet.
Step 3: Take Apart the Faucet
Now that you have removed the handle of your kitchen faucet, it’s time to take apart the faucet itself. This step will give you access to the inner components that may need to be repaired or replaced to fix any issues you’re experiencing.
Start by examining the faucet body and look for any visible screws or clips that are holding it together. Use a screwdriver or pliers to remove these screws or clips, taking care not to damage the surrounding area.
Once the screws or clips are removed, gently separate the faucet body into its individual components. These may include the spout, the cartridge or valve, and any associated washers or O-rings.
As you disassemble the faucet, pay close attention to the order and position of the parts. Take note of how they fit together so you can properly reassemble the faucet later on.
Inspect each component for any signs of damage, wear, or corrosion. Look for worn-out washers, cracked O-rings, or any other faulty parts that may be causing the problem with your faucet.
If you suspect that a specific part is causing the issue, this is the perfect time to remove and replace it. Take note of the make and model of your faucet, and consider purchasing a replacement cartridge or other parts that are specifically designed for your faucet model.
By taking apart the faucet, you’re one step closer to resolving the problem and getting your kitchen faucet back in working order. With a clear understanding of the internal components, you’re now ready to proceed with repairing your kitchen faucet in the next step.
When repairing a kitchen faucet, always turn off the water supply before starting any work to avoid any potential water damage or accidents.
Step 4: Replace Faulty Parts
Now that you’ve taken apart the faucet and identified any faulty components, it’s time to replace them with new parts. Replacing damaged or worn-out parts is often the key to resolving the issues you’re experiencing with your kitchen faucet.
If you’ve noticed that a specific part, such as a washer or an O-ring, is worn or damaged, now is the time to remove and replace it. Carefully remove the old part, taking note of its position and orientation.
Using the make and model of your faucet, you can purchase replacement parts that are specifically designed to fit your faucet model. It’s always best to use genuine manufacturer parts whenever possible to ensure proper fit and performance.
Once you have the new parts, carefully install them by following the manufacturer’s instructions. Make sure to position them correctly and tighten them securely to avoid any leaks or complications. Be gentle when handling the new parts to prevent damage or misalignment.
If you’re unsure about which parts to replace or how to install them, consult the manufacturer’s documentation or consider seeking guidance from a plumbing professional.
It’s important to note that not all faucet issues can be resolved by replacing individual parts. In some cases, a faulty cartridge or valve may need to be replaced entirely. If you suspect that the cartridge is the culprit, consider replacing it with a new one that is compatible with your faucet model.
By replacing faulty parts with new ones, you’re addressing the root cause of the issue and ensuring that your kitchen faucet will function properly once again. With the new parts in place, you’re now ready to move on to the next step of reassembling the faucet.
Step 5: Reassemble the Faucet
With the faulty parts replaced, it’s time to reassemble your kitchen faucet. Reassembling the faucet correctly is important to ensure that all the components fit together tightly and that there are no leaks once the water supply is turned back on.
Start by carefully aligning the individual components of the faucet that you disassembled earlier. Ensure that any washers, O-rings, or other small parts are in their correct positions.
Gently insert the cartridge or valve back into its designated slot, making sure it fits snugly. Pay attention to any markings or indications on the cartridge or valve that indicate the correct orientation or position.
Once all the components are in place, begin reattaching the faucet body to its base or mounting surface. Use the screws or clips that were removed earlier to secure the faucet body in place.
Tighten the screws or clips firmly, but be careful not to overtighten and inadvertently damage the faucet or its components.
As you reassemble the faucet, refer to any notes or photographs you took during the disassembly process. This will help guide you in properly aligning the parts and ensuring that everything is in the correct position.
Once the faucet is reassembled, take a moment to visually inspect the connections and ensure that everything appears secure and properly aligned.
With the faucet reassembled, you’re now ready to move on to the final step of the repair process.
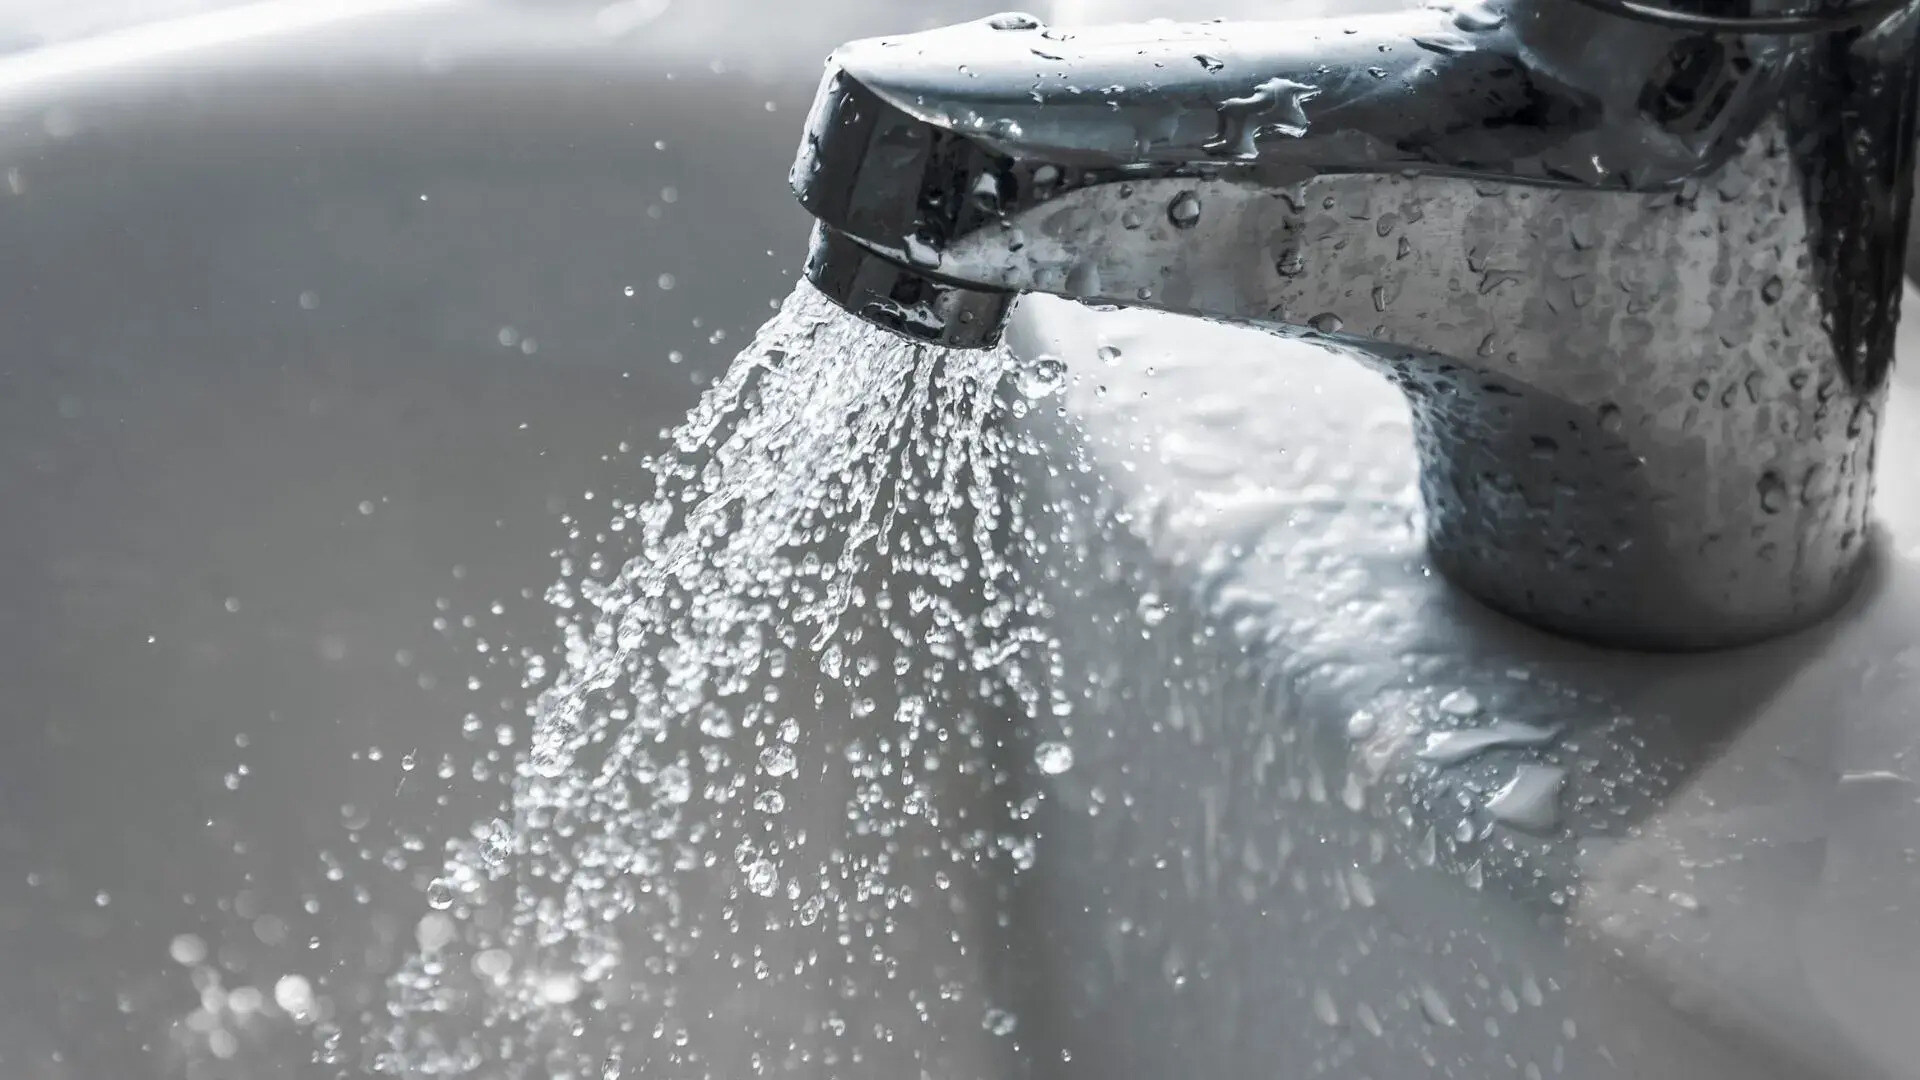
Step 6: Test for Leaks
After reassembling your kitchen faucet, the final step is to test for any potential leaks. This step is crucial to ensure that your faucet repair was successful and that there are no water escape points that could lead to further damage or wasted water.
Before turning the water supply back on, inspect all the connections and joints of your faucet. Look for any potential areas where leaks could occur, such as around the base of the faucet or where the water supply lines meet the faucet body.
If you notice any loose or improperly aligned connections, tighten them using the appropriate tools. Double-check that all the screws and clips are securely fastened to prevent any potential leaks.
Once you’re confident that everything is properly aligned and tightened, it’s time to turn the water supply back on. Slowly open the shut-off valves beneath the sink or the main water supply valve if necessary.
As the water supply is restored, carefully observe the faucet for any signs of leakage. Check for drips, water pooling around the base, or any other indications of leaks.
If you notice any leaks, turn off the water supply immediately and identify the source of the problem. It’s possible that a connection may still need tightening or that a particular component needs further examination or replacement.
If no leaks are detected, run the faucet for a few minutes to flush out any air or debris that may have accumulated during the repair process. Check the flow of both hot and cold water to ensure they are operating correctly with good pressure.
Congratulations! If there are no leaks and the water flow is restored without any issues, you have successfully repaired your kitchen faucet.
Remember, regular maintenance and periodic checks can help prevent faucet problems in the future. Being proactive in identifying and resolving issues can save you time, money, and the hassle of dealing with a malfunctioning faucet.
Now you can enjoy the convenience and efficiency of a fully functioning kitchen faucet once again!
Conclusion
Repairing a kitchen faucet may seem like a daunting task, but with the right tools, materials, and guidance, it is a manageable DIY project for any homeowner. By following the step-by-step process outlined in this article, you can successfully fix common issues with your kitchen faucet and restore it to full functionality.
We started by emphasizing the importance of turning off the water supply before beginning any repairs. This step ensures your safety and prevents any potential water damage during the process.
We then discussed the tools and materials you will need, including an adjustable wrench, pliers, screwdrivers, a bucket or towel, and replacement parts if necessary. Having these items on hand will make the repair process much smoother.
Next, we walked through the step-by-step process of removing the handle and disassembling the faucet. Removing the handle gives you access to the internal components, allowing you to identify any faulty parts that need replacing.
Once you identified the faulty parts, we discussed the importance of replacing them with new, compatible parts. This helps to address the root cause of the issue and ensures the proper functioning of your kitchen faucet.
After replacing the faulty parts, we covered the process of reassembling the faucet, taking care to align the components properly and secure all the connections.
Finally, we emphasized the importance of testing for leaks before considering the repair process complete. Checking for leaks helps to ensure that your repair was successful and that there are no hidden issues that could lead to further problems.
By following these steps, you can save time and money by repairing your kitchen faucet yourself. However, if you encounter any difficulties or feel unsure about any aspect of the repair, it is always wise to consult a professional plumber for assistance.
Remember, regular maintenance and periodic checks can help prevent faucet issues in the future. Taking care of your kitchen faucet will ensure it continues to provide you with clean water for cooking and cleaning for years to come.
With your newly repaired and fully functional kitchen faucet, you can now enjoy the convenience and efficiency it brings to your daily life.
Frequently Asked Questions about How To Repair A Kitchen Faucet
Was this page helpful?
At Storables.com, we guarantee accurate and reliable information. Our content, validated by Expert Board Contributors, is crafted following stringent Editorial Policies. We're committed to providing you with well-researched, expert-backed insights for all your informational needs.


0 thoughts on “How To Repair A Kitchen Faucet”