
Articles
How To Fix A Leaky Single Handle Faucet
Modified: October 19, 2024
Learn how to fix a leaky faucet with a single handle by following our step-by-step articles. Stop the annoying drip and save water today!
(Many of the links in this article redirect to a specific reviewed product. Your purchase of these products through affiliate links helps to generate commission for Storables.com, at no extra cost. Learn more)
Introduction
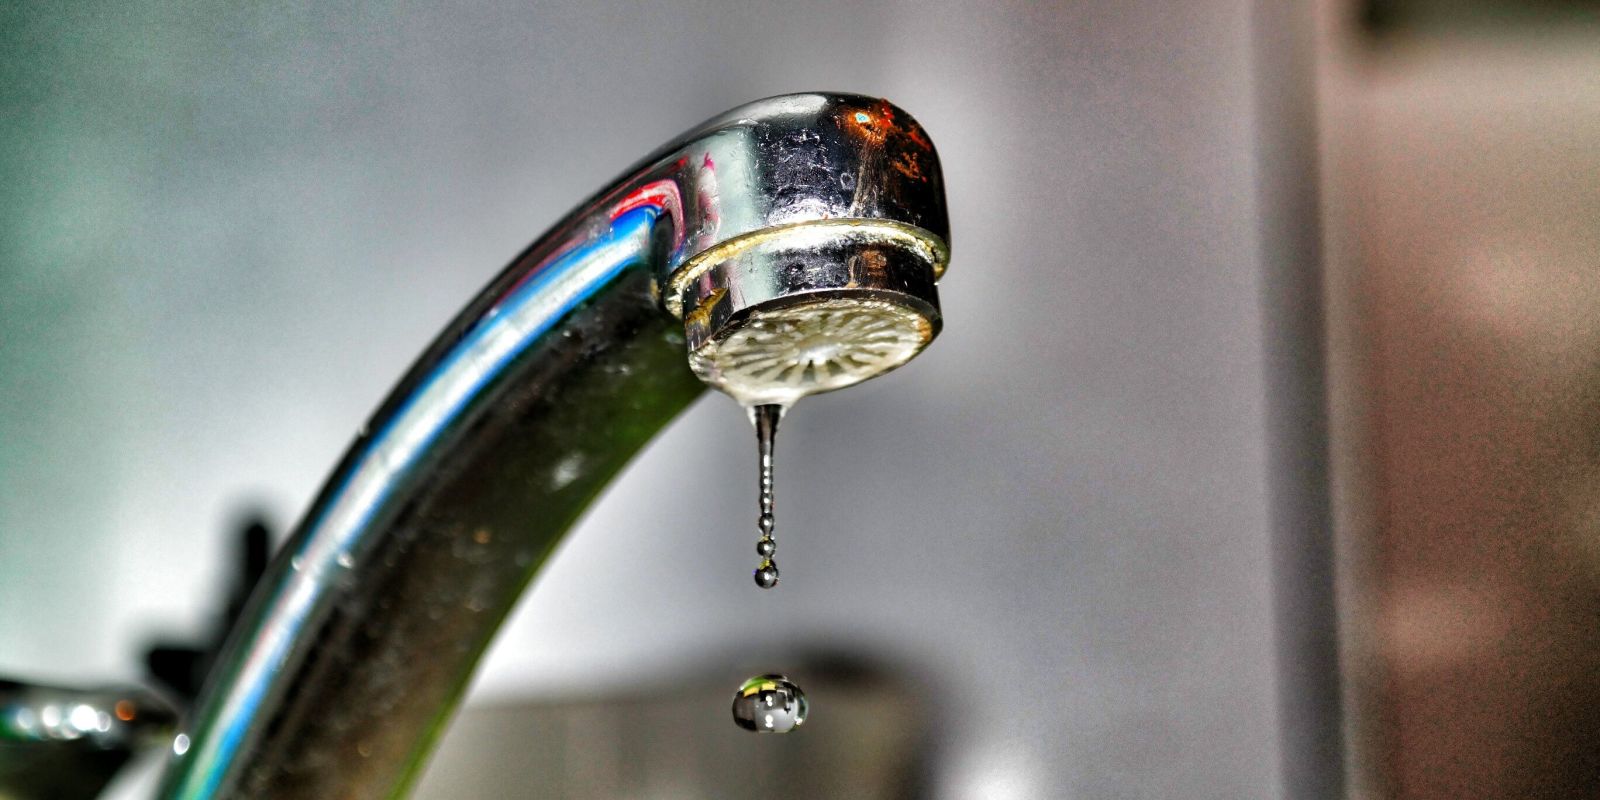
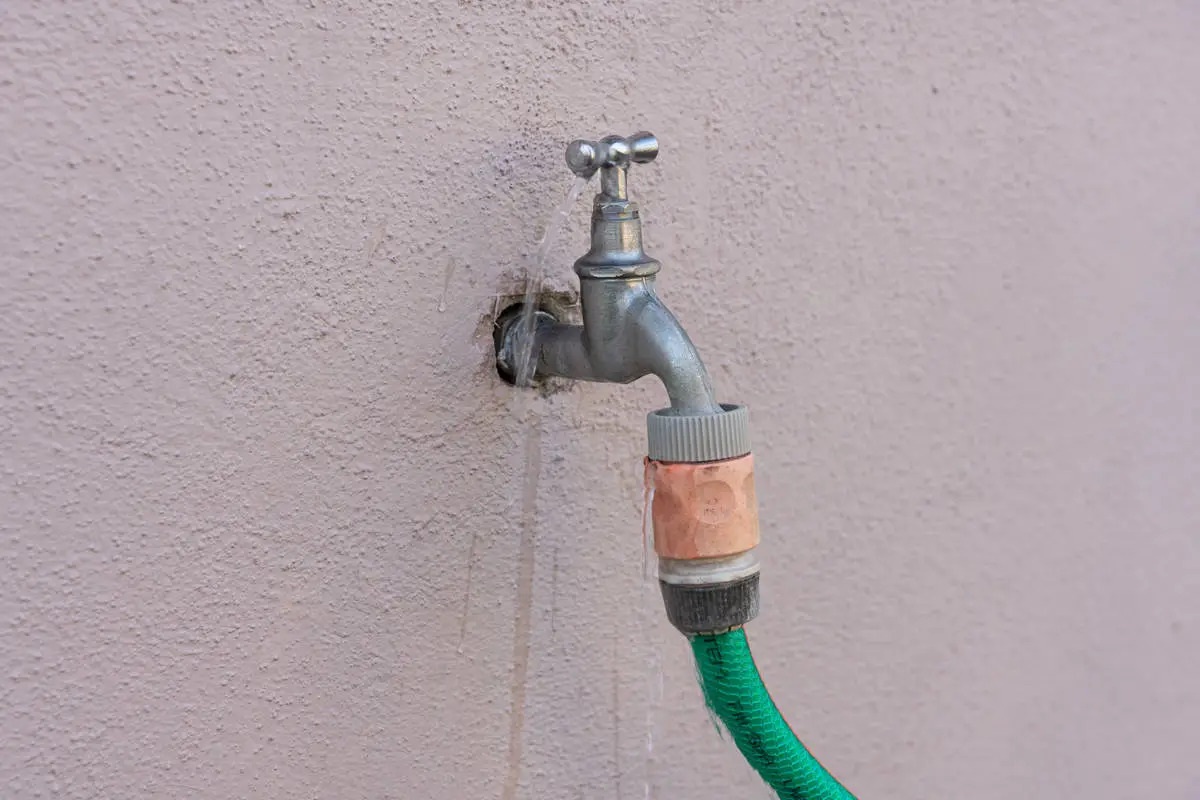
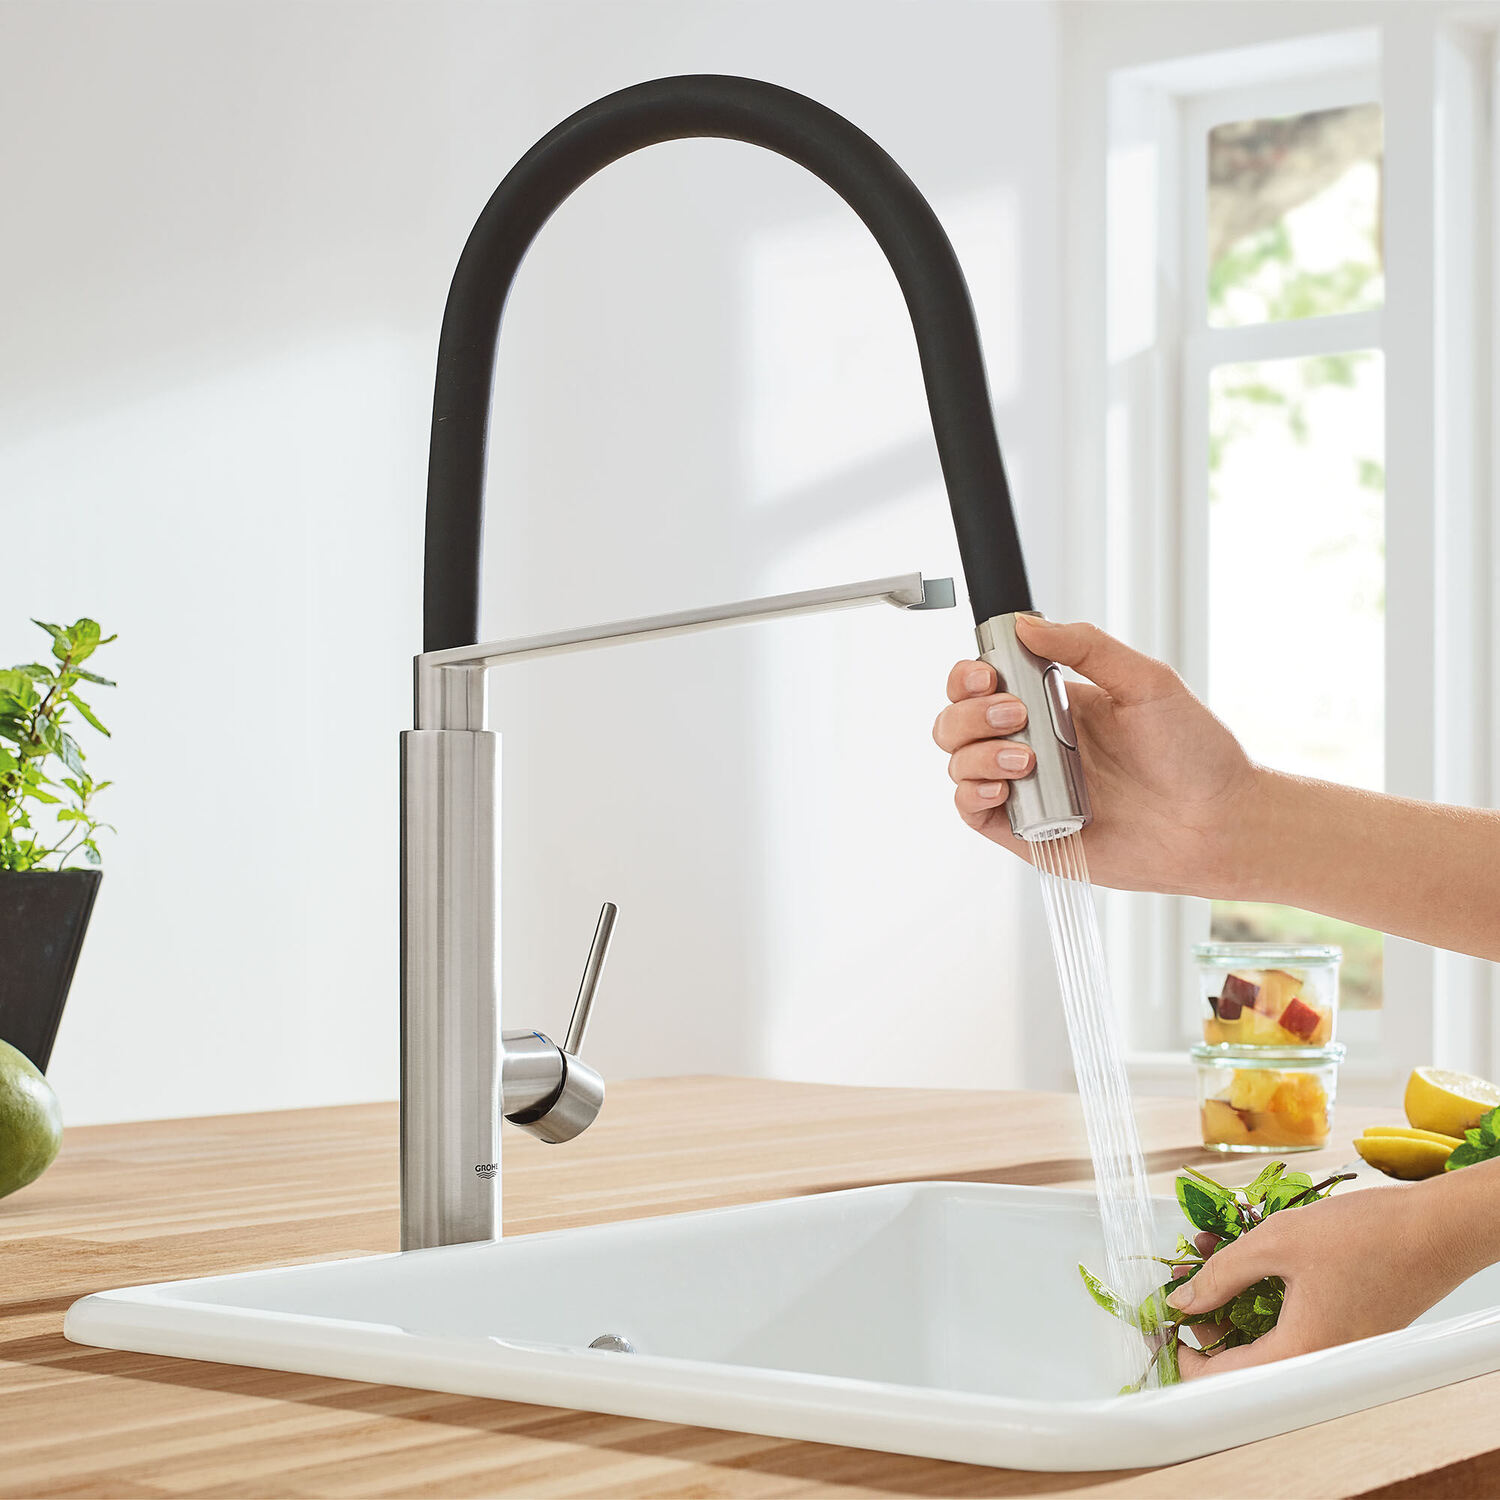
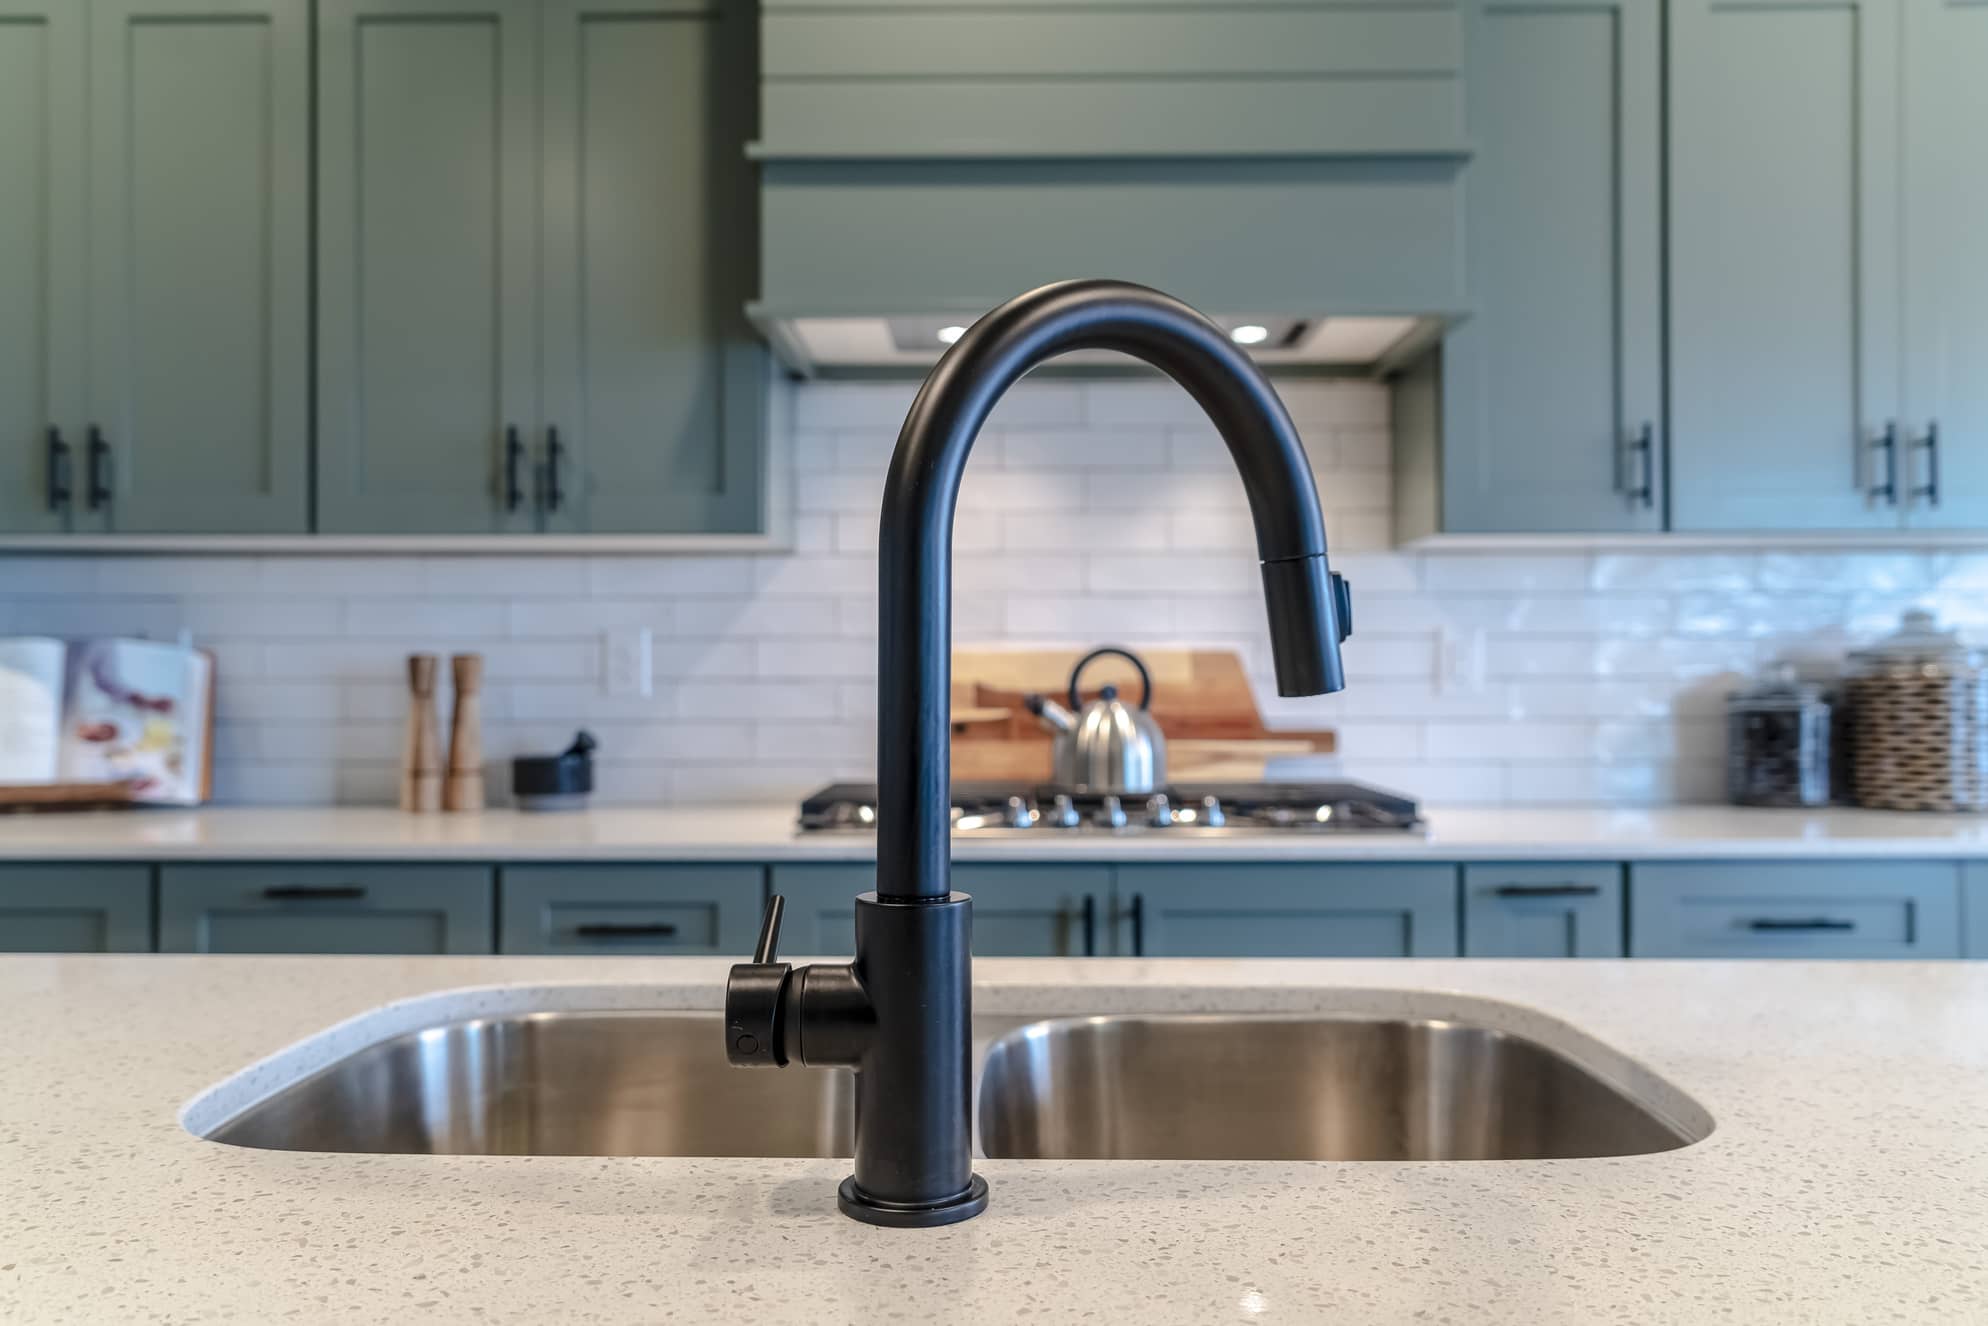
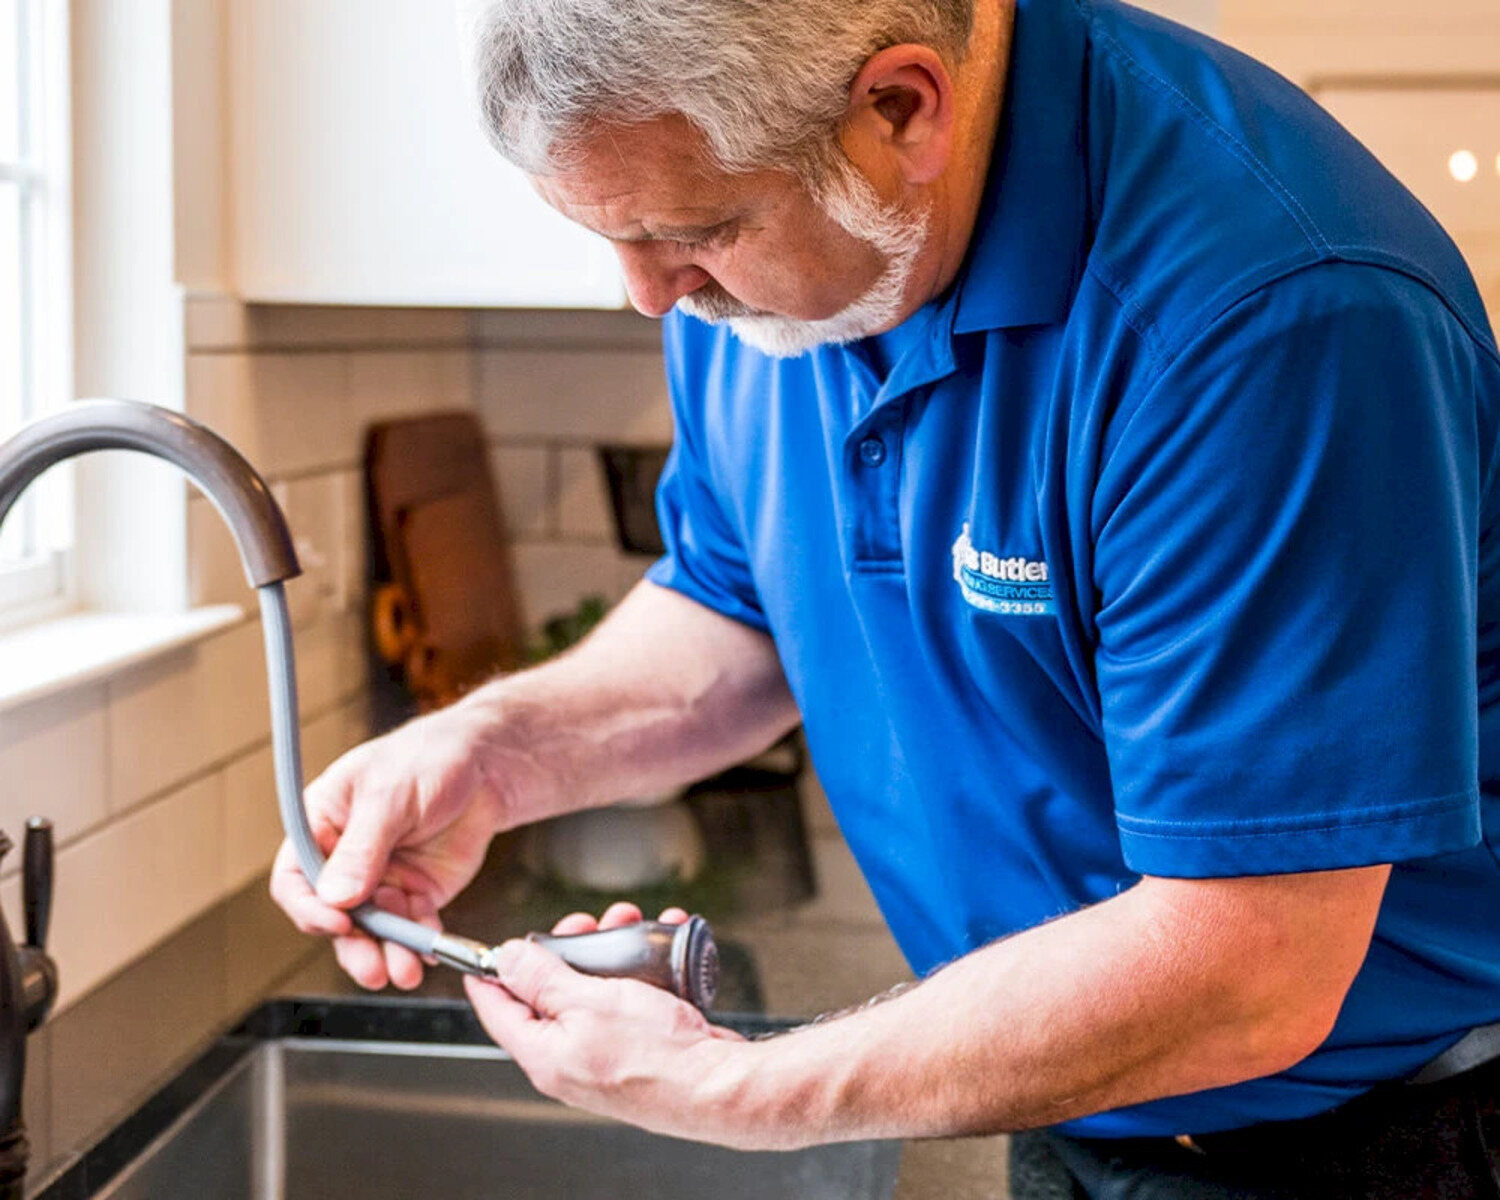
A leaky faucet can be a frustrating and costly problem to deal with, especially if you’re constantly dealing with water wastage and high utility bills. Fortunately, fixing a leaky faucet single handle doesn’t have to be an intimidating task. With the right tools and a little bit of know-how, you can easily tackle this common plumbing issue and restore your faucet to its former leak-free glory.
In this article, we’ll guide you through the step-by-step process of fixing a leaky faucet single handle. We’ll cover everything from turning off the water supply to identifying the source of the leak and replacing any faulty parts. So grab your tools and let’s get started on banishing that drip!
Before we begin, it’s important to note that the specific steps may vary depending on the type and brand of your faucet. It’s always a good idea to consult the manufacturer’s instructions or seek professional advice if you’re uncertain. With that said, let’s dive into the tools and materials you’ll need to have on hand.
Key Takeaways:
- Save money and water by fixing a leaky faucet single handle with basic tools and know-how. Follow the step-by-step process to identify and replace faulty parts, and enjoy a leak-free faucet once again.
- Turn off the water supply, identify the source of the leak, and replace the faulty O-ring or cartridge to fix a leaky faucet single handle. Test for leaks and enjoy the savings on utility bills.
Tools and Materials Needed
Before you start fixing a leaky faucet single handle, it’s important to gather all the necessary tools and materials. Here’s a list of what you’ll need:
- Adjustable wrench
- Phillips head screwdriver
- All-purpose lubricant
- Replacement O-ring or cartridge
- Plumber’s tape
- Clean cloth or rag
- Bucket or basin
Having these tools and materials ready will not only make the repair process smoother but also ensure that you have everything you need to complete the job without any delays.
Now that we have everything we need, let’s move on to the step-by-step process of fixing a leaky faucet single handle.
Step 1: Turn Off the Water Supply
Before you begin working on the faucet, it’s crucial to turn off the water supply. This will prevent any accidental water flow while you’re making repairs, making the process safer and less messy.
Locate the shut-off valves under the sink. These valves are usually found on the water pipes leading to the faucet. Turn the valves clockwise to shut off the water supply. If your faucet doesn’t have individual shut-off valves, you may need to turn off the main water supply for your home.
Once the water supply is turned off, relieve any remaining water pressure in the faucet by turning it on and letting the water flow until it stops. This will prevent any sudden surges of water when you begin disassembling the faucet.
Now that the water supply is off, you can move on to the next step – removing the faucet handle.
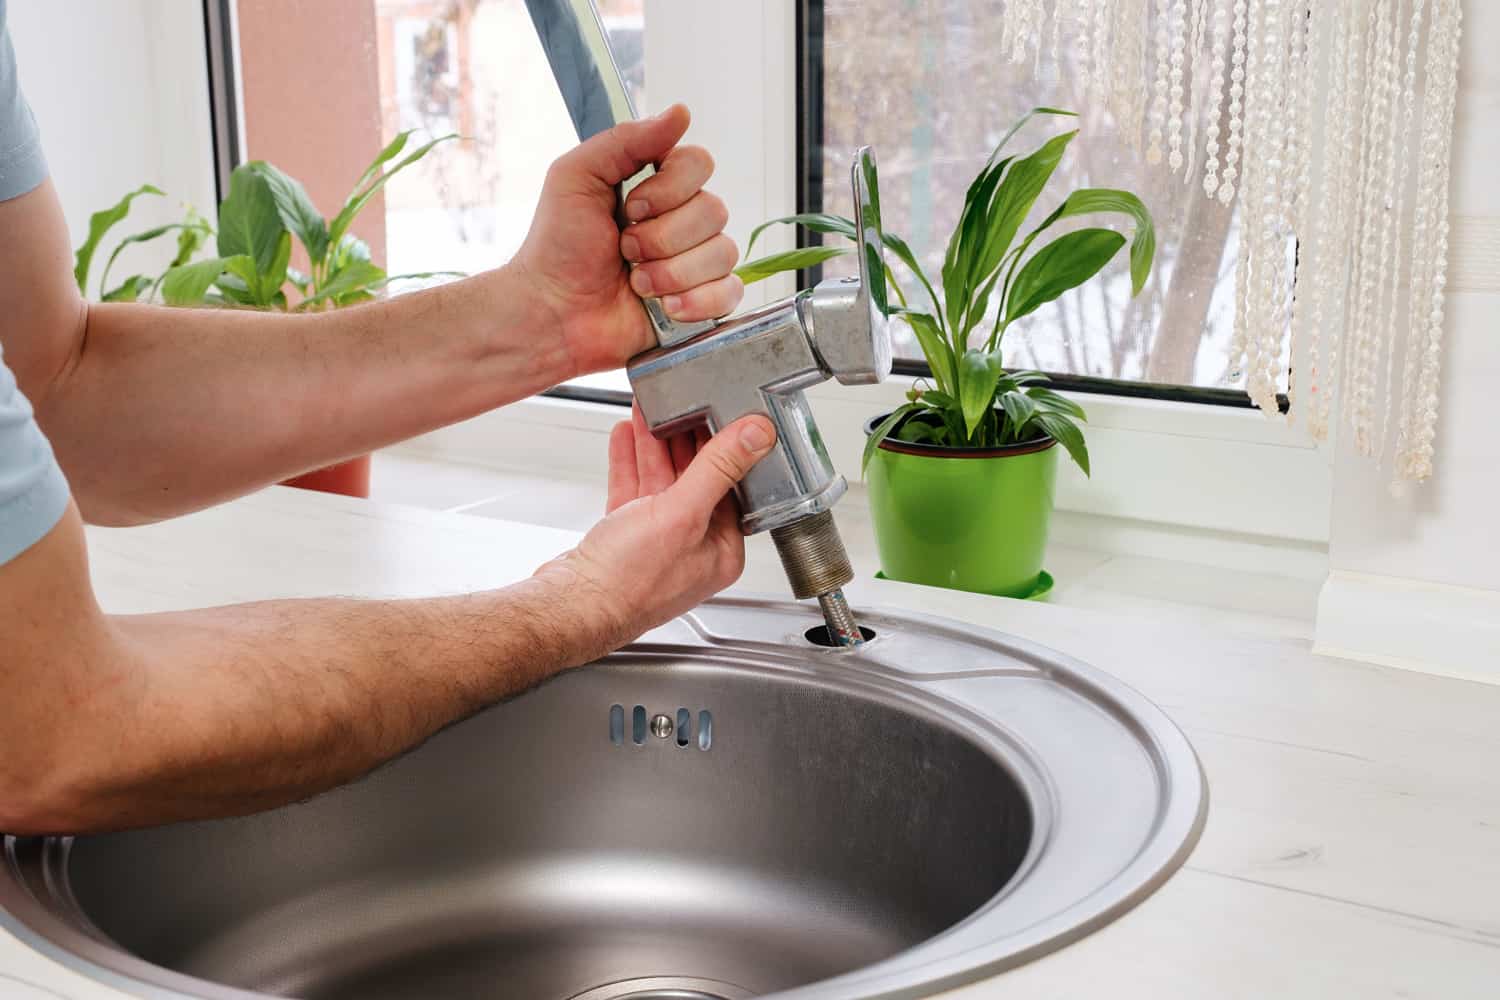
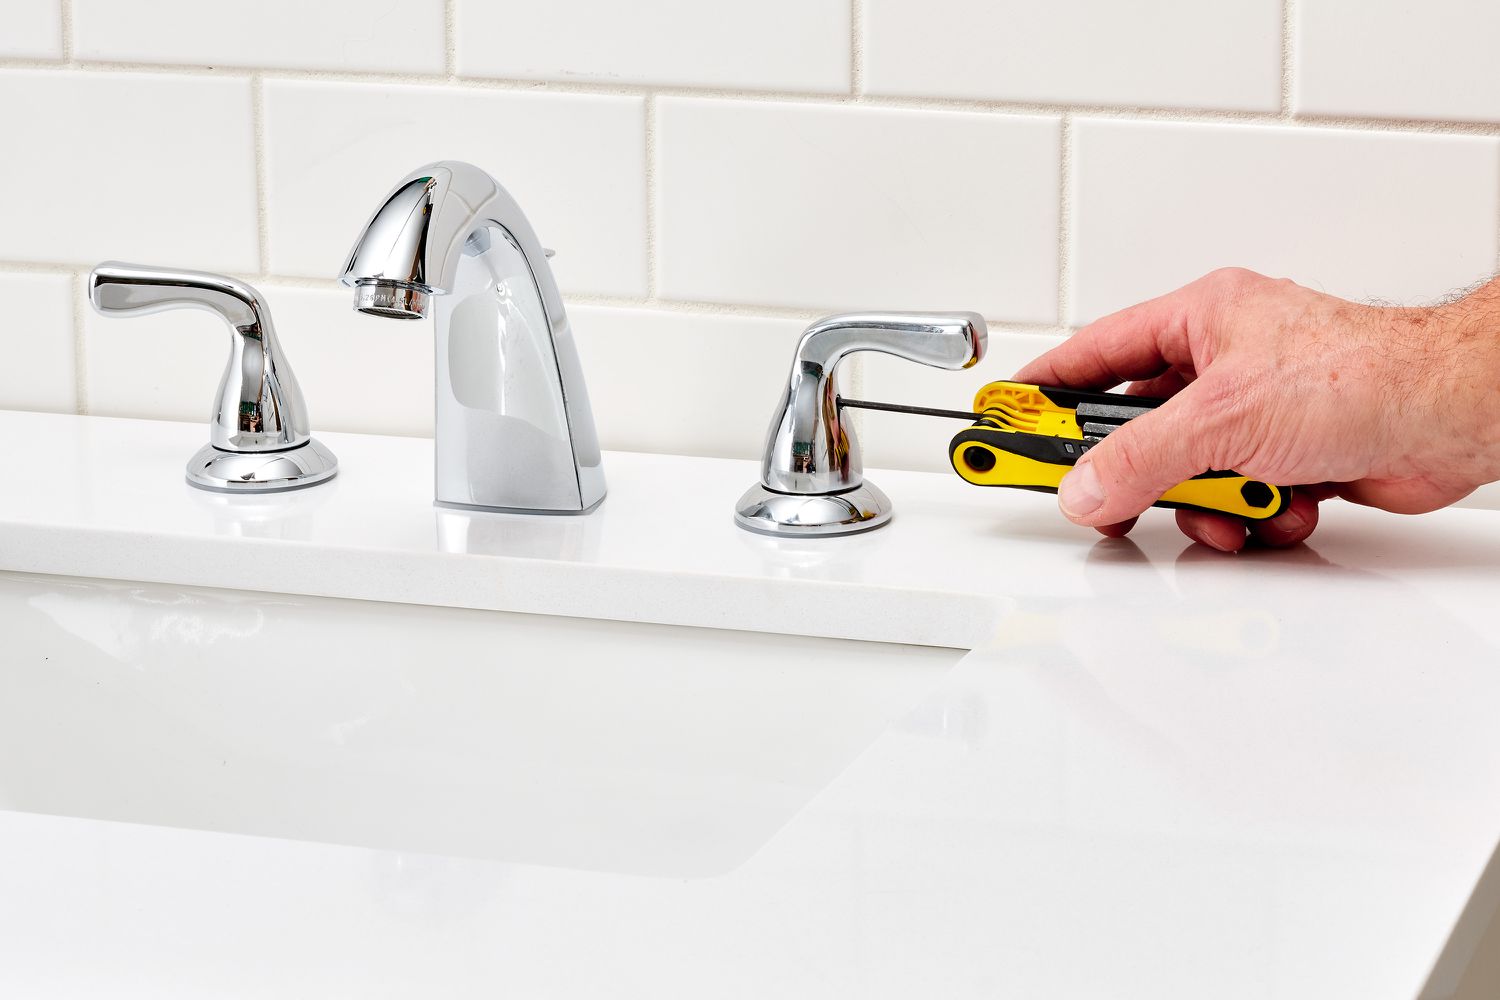
Step 2: Remove the Faucet Handle
After turning off the water supply, the next step is to remove the faucet handle. The handle is usually attached with screws or a decorative cap that needs to be removed before you can access the inner workings of the faucet.
Look for a small hole or slot on the handle, usually located on the underside or behind a decorative cap. Insert a small screwdriver or Allen wrench into the hole and turn it counterclockwise to loosen the screw.
If there is a decorative cap covering the handle screw, use a flathead screwdriver or a knife to carefully pry it off. Be gentle to avoid damaging the cap or the surrounding area.
Once the screw is removed or the cap is off, you should be able to lift the handle off the faucet body. If it’s stuck, try wiggling it gently or giving it a light tap with a rubber mallet to loosen it.
With the handle removed, you’ll have a clear view of the inner mechanisms of the faucet. Now it’s time to move on to the next step – identifying the source of the leak.
Step 3: Identify the Source of the Leak
Now that you have removed the faucet handle, it’s time to identify the source of the leak. There are a few common areas where leaks can occur in a single-handle faucet.
1. O-Ring: The O-ring is a small rubber ring that seals the faucet handle to the faucet body. Over time, the O-ring can wear out or become damaged, leading to leaks. Inspect the O-ring for any signs of wear, cracks, or tears.
2. Cartridge: The cartridge is the central part of the faucet that controls the flow and temperature of the water. If the cartridge is faulty or damaged, it can cause leaks. Check the cartridge for any signs of corrosion or mineral buildup.
3. Valve Seat: The valve seat is the connection point between the faucet and the spout. If the valve seat is worn or corroded, it can cause leaks. Look for any signs of pitting or roughness on the valve seat.
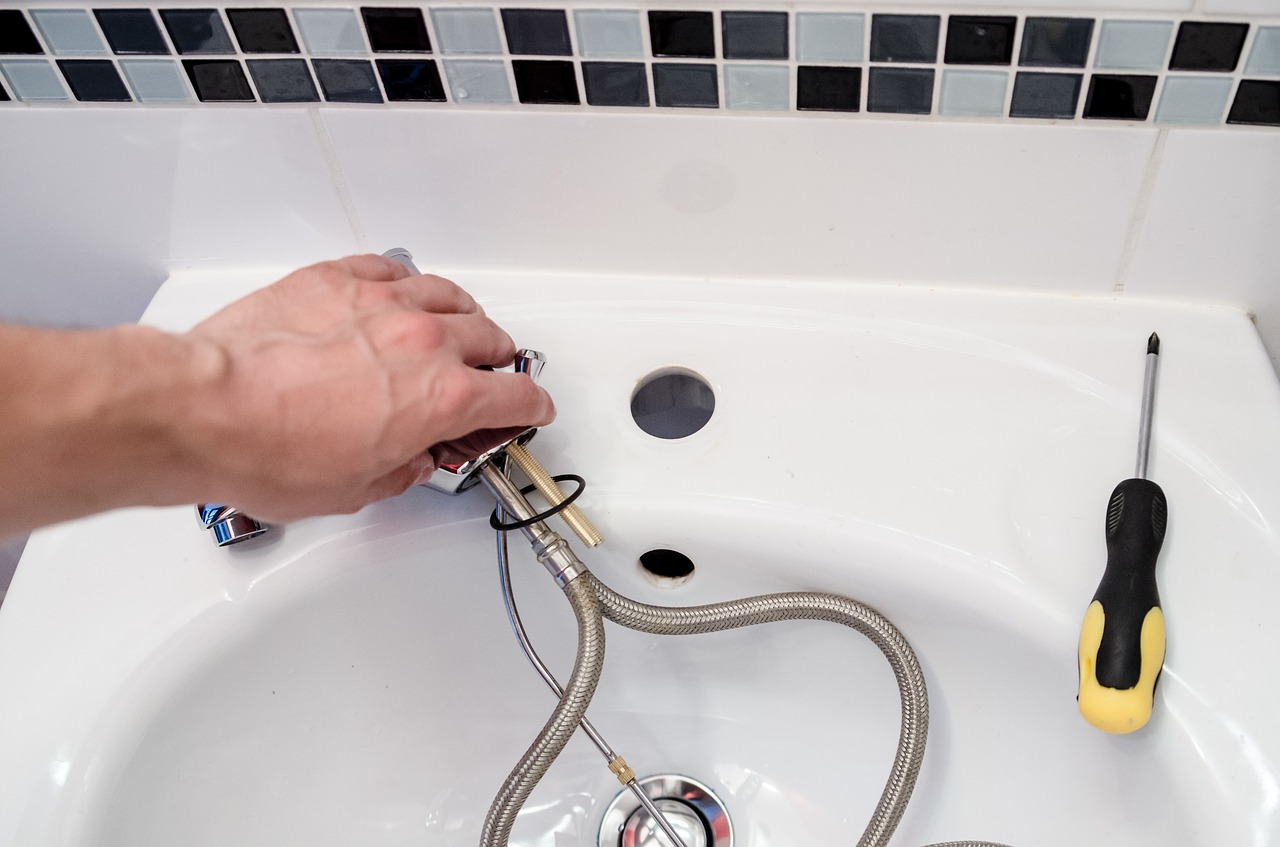
4. Connections: Check the connections between the various parts of the faucet, such as the handle, spout, and body. Tighten any loose connections that may be causing leaks.
By identifying the source of the leak, you will be able to determine the specific parts that need to be repaired or replaced. In the next step, we will focus on replacing the faulty O-ring or cartridge.
To fix a leaky single handle faucet, start by turning off the water supply. Then, disassemble the faucet and replace the cartridge or O-ring to stop the leak.
Read more: How To Fix Leaky Two Handle Shower Faucet
Step 4: Replace the Faulty O-Ring or Cartridge
Now that you have identified the source of the leak, it’s time to replace the faulty O-ring or cartridge. This step will require you to remove the damaged part and install a new one.
If the O-ring is the culprit, remove it by gently prying it off with a flathead screwdriver. Take note of its size and shape so you can find a suitable replacement. Apply a thin layer of plumber’s grease or lubricant to the new O-ring to ensure a proper seal.
If it’s the cartridge that needs to be replaced, carefully remove it by unscrewing it from the faucet body. Again, take note of the make and model of your faucet to find the correct replacement cartridge. Apply plumber’s grease to the new cartridge before installing it.
In some cases, it may be easier to replace both the O-ring and cartridge at the same time to ensure optimal performance and prevent future leaks.
When installing the new O-ring or cartridge, make sure it’s properly aligned and seated. Follow the manufacturer’s instructions for any specific installation steps or precautions.
Once the new part is installed, reassemble the faucet handle by following the reverse steps of removing it. Secure the handle with the screw or decorative cap and make sure it’s tightened properly.
Congratulations! You have successfully replaced the faulty O-ring or cartridge. Now, let’s move on to reassembling the faucet handle in the next step.
Step 5: Reassemble the Faucet Handle
Now that you have replaced the faulty O-ring or cartridge, it’s time to reassemble the faucet handle. This step involves putting the handle back onto the faucet body and securing it in place.
Start by carefully aligning the handle with the faucet body. Make sure the handle is positioned correctly so it can operate smoothly without any obstructions.
If there is a screw that secures the handle, insert it back into the hole and turn it clockwise to tighten it. If there was a decorative cap covering the screw, firmly press it back into place.
Give the handle a gentle twist to ensure it’s securely attached to the faucet body. It should move smoothly without any wobbling or looseness.
With the faucet handle reassembled, we’re almost done. The final step is to test the faucet for any leaks.
Step 6: Test for Leaks
Now that you have reassembled the faucet handle, it’s time to test for leaks to ensure that your repair was successful. Follow these steps to check for any remaining leaks:
- Turn on the water supply by twisting the shut-off valves counterclockwise. If you turned off the main water supply, restore the water flow to your home.
- Turn on the faucet and let the water run for a few moments. Observe the area around the faucet for any signs of leaks.
- Check underneath the sink for any drips or water accumulation. Use a clean cloth or rag to wipe away any moisture.
- Test both the hot and cold water settings to ensure that both sides are functioning properly and not leaking.
If you notice any leaks during the testing process, you may need to retrace your steps and double-check the parts you replaced. Make sure they are properly aligned and tightened. Tighten any loose connections and reapply plumber’s tape if necessary.
If the leaks persist or you’re unsure about the repair, it’s always a good idea to consult a professional plumber for assistance.
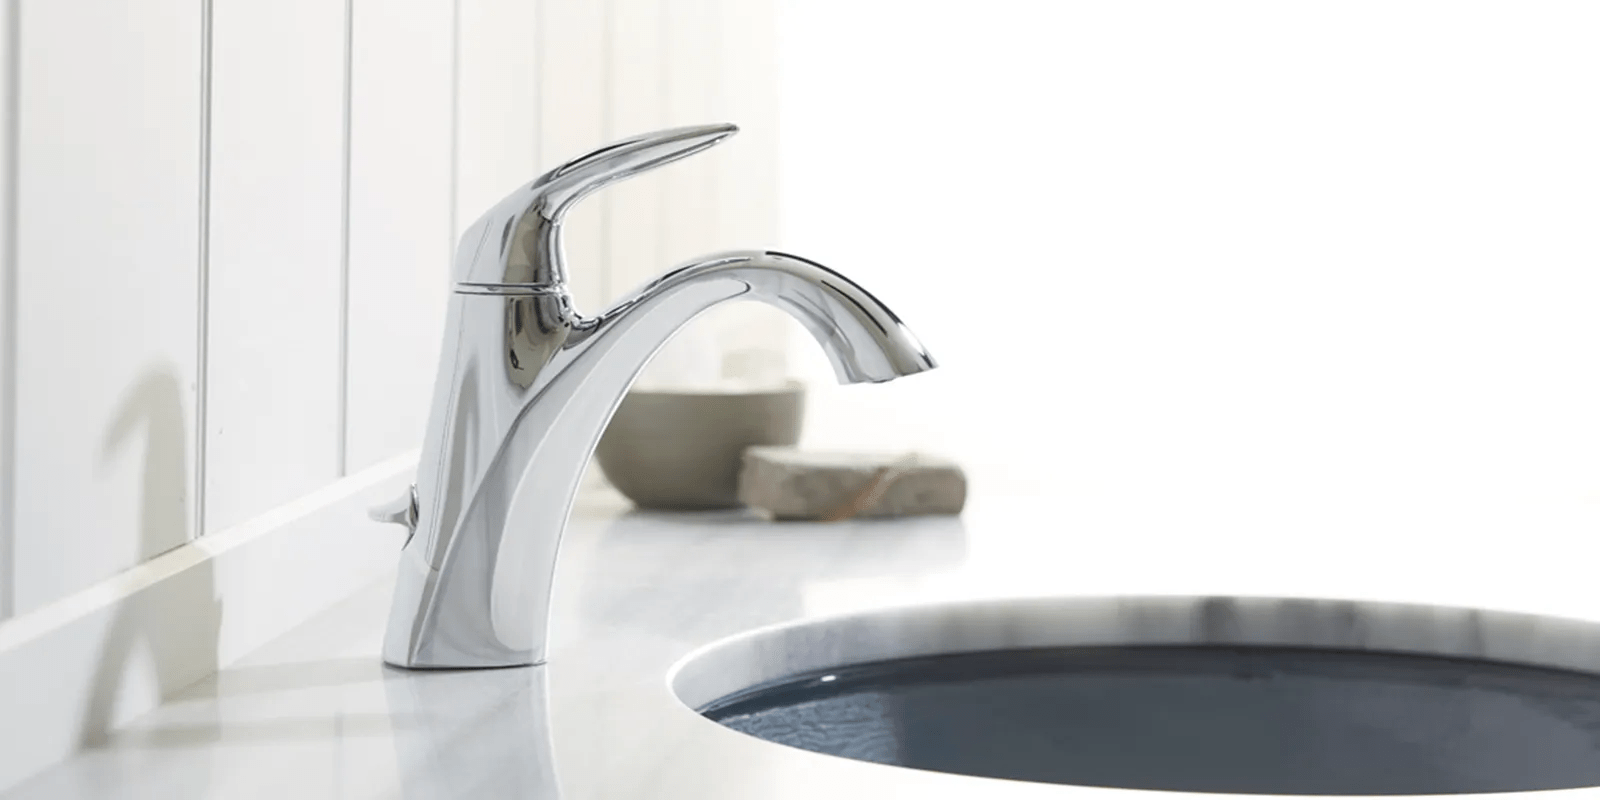
Once you have confirmed that there are no more leaks, congratulations! You have successfully fixed your leaky faucet single handle. It’s time to enjoy your newfound leak-free faucet and the savings in your utility bills!
Conclusion
Fixing a leaky faucet single handle doesn’t have to be a daunting task. By following the step-by-step process outlined in this article and having the right tools and materials on hand, you can easily repair the leak and restore your faucet’s functionality.
Remember to start by turning off the water supply to prevent any further water damage and alleviate any pressure in the faucet. Remove the handle and identify the source of the leak, whether it’s a faulty O-ring, cartridge, valve seat, or loose connection.
Once you have identified the problem, replace the faulty part with a new one, ensuring proper alignment and applying lubrication as necessary. Reassemble the faucet handle, tightening any screws or decorative caps securely.
After reassembly, thoroughly test the faucet for any leaks by turning on the water supply and checking for dripping or accumulation of water. If any leaks persist, revisit the replaced parts and connections to ensure they are properly installed.
By fixing your leaky faucet single handle, you not only save money on water bills but also contribute to water conservation. Every drop counts, and by taking the time to address this common plumbing issue, you’re doing your part in preserving this precious resource.
If you’re unsure about any step or encounter difficulties during the repair process, don’t hesitate to seek the help of a professional plumber. They have the expertise and experience to handle more complex issues and ensure a proper fix.
Now that you have the knowledge and tools, go ahead and fix that leaky faucet single handle. You’ll feel a sense of accomplishment and enjoy the benefits of a fully functional and leak-free faucet once again.
Frequently Asked Questions about How To Fix A Leaky Single Handle Faucet
Was this page helpful?
At Storables.com, we guarantee accurate and reliable information. Our content, validated by Expert Board Contributors, is crafted following stringent Editorial Policies. We're committed to providing you with well-researched, expert-backed insights for all your informational needs.


0 thoughts on “How To Fix A Leaky Single Handle Faucet”