Articles
How To Tighten Moen Bathroom Faucet Handle
Modified: February 22, 2024
Learn how to tighten the handle of your Moen bathroom faucet with our informative articles. Ensure smooth operation and prevent leaks with our step-by-step instructions.
(Many of the links in this article redirect to a specific reviewed product. Your purchase of these products through affiliate links helps to generate commission for Storables.com, at no extra cost. Learn more)
Introduction
Having a loose faucet handle in your bathroom can be frustrating. Not only does it make it difficult to control the water flow, but it can also detract from the overall aesthetics of your bathroom. If you have a Moen bathroom faucet with a loose handle, don’t worry – it’s a common issue that can be easily remedied. In this article, we will guide you through the step-by-step process of tightening the Moen bathroom faucet handle, bringing back the functionality and beauty to your sink.
Before we begin, it’s important to note that this guide is specifically for the Moen bathroom faucet handle. Different faucet brands and models may have slightly different mechanisms, so make sure to consult your manufacturer’s instructions or seek professional assistance if you are unsure. Now, let’s gather the necessary tools and materials to get started.
Key Takeaways:
- Easily tighten your Moen bathroom faucet handle by following simple steps. No need to call a professional – just gather the right tools and materials, and you’re ready to go!
- Remember to exercise caution and not overtighten the handle. Enjoy the improved functionality and stability of your faucet handle, and marvel at the beauty it brings to your bathroom.
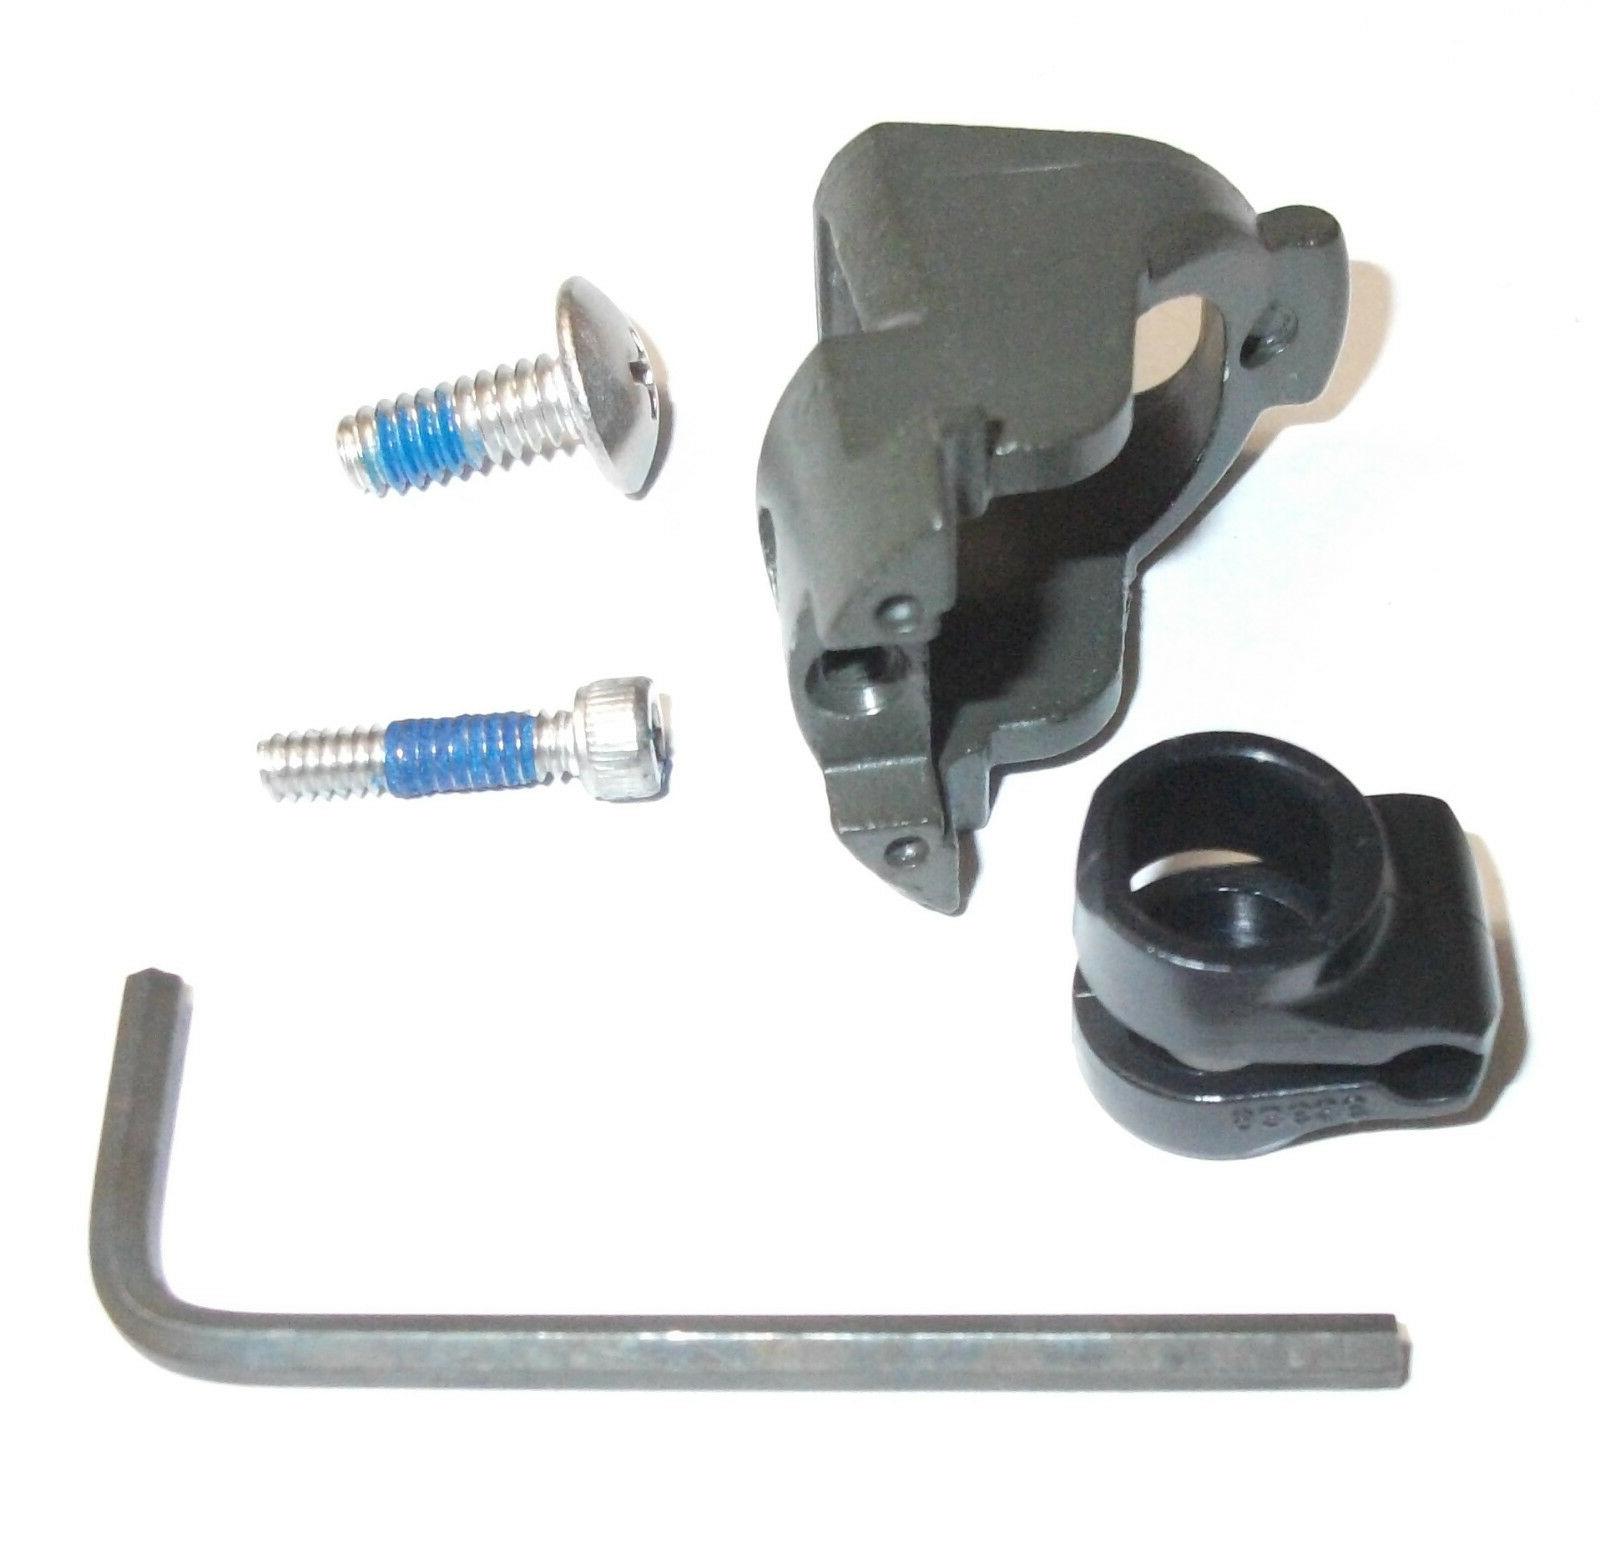
Tools and Materials Required
Before you begin tightening the Moen bathroom faucet handle, make sure you have the following tools and materials handy:
- Adjustable wrench or pliers
- Allen wrench or screwdriver (depending on the type of set screw)
- Towel or cloth
- Replacement set screw (if necessary)
Having these tools and materials ready will ensure a smooth and efficient process. Now that you’re prepared, let’s move on to the step-by-step instructions for tightening the faucet handle.
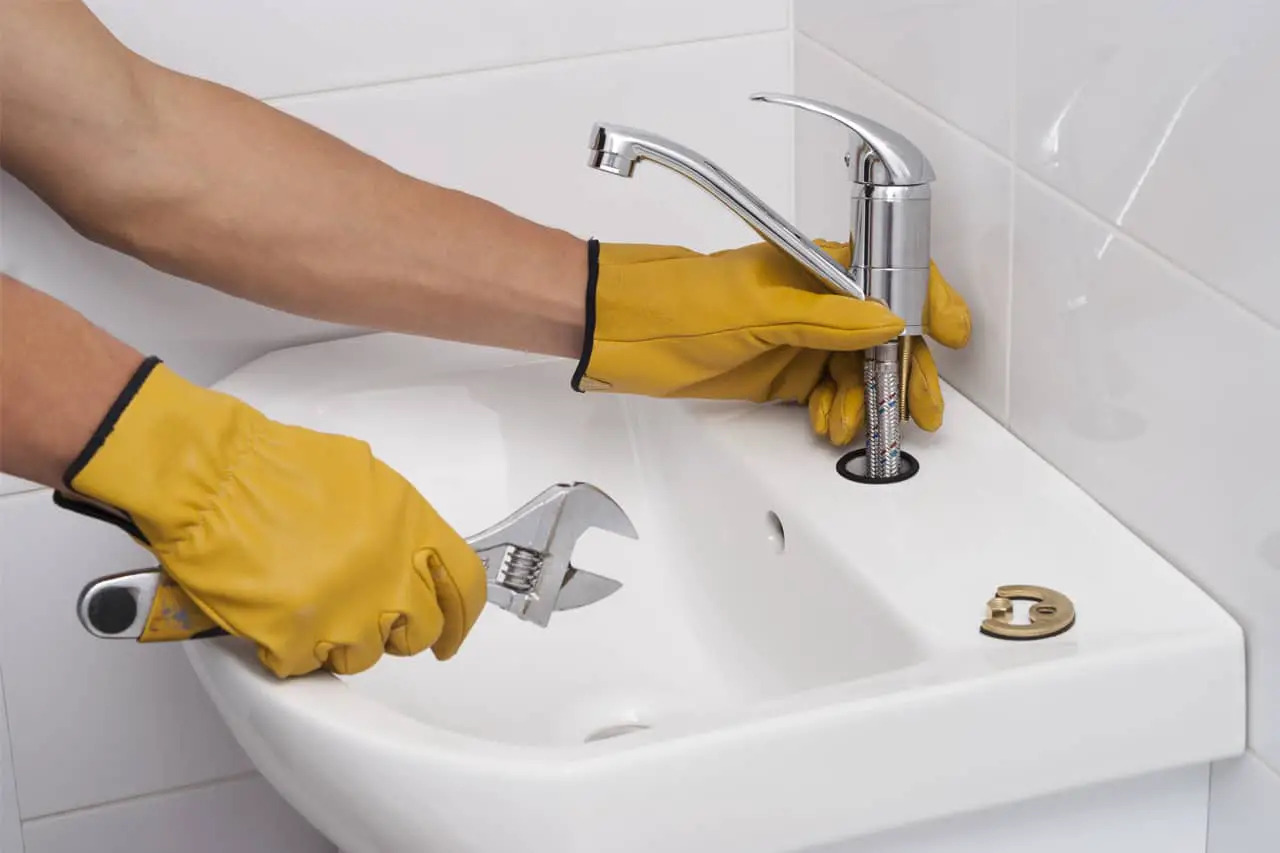
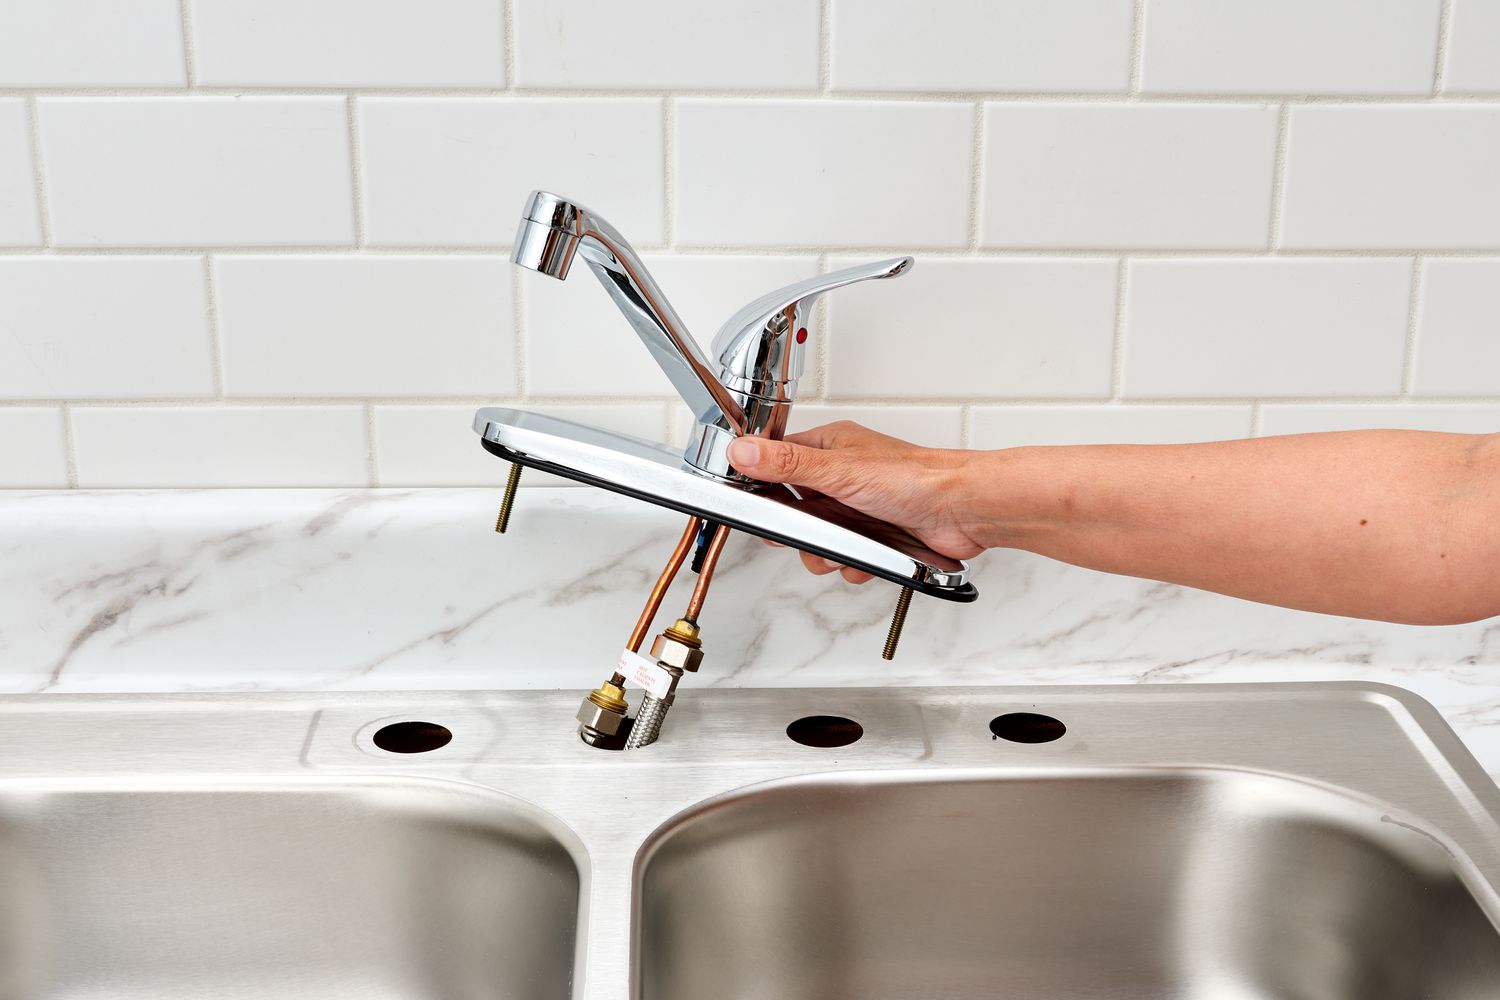
Step 1: Shut off the Water Supply
Before you begin working on your Moen bathroom faucet handle, it’s essential to shut off the water supply to prevent any leaks or accidents. Locate the water shut-off valves underneath your sink. These valves are usually located on the water pipes leading to the faucet.
Once you’ve identified the shut-off valves, turn them clockwise until they are fully closed. This will stop the flow of water to the faucet and ensure that you can safely work on the handle without any water leaking.
After shutting off the water supply, turn on the faucet to release any remaining water in the lines. This will help relieve any pressure in the system and prevent any water from spilling out as you remove the handle. Use a towel or cloth to catch any water that may come out.
With the water supply shut off and any remaining water drained, you can move on to the next step of tightening the Moen bathroom faucet handle.
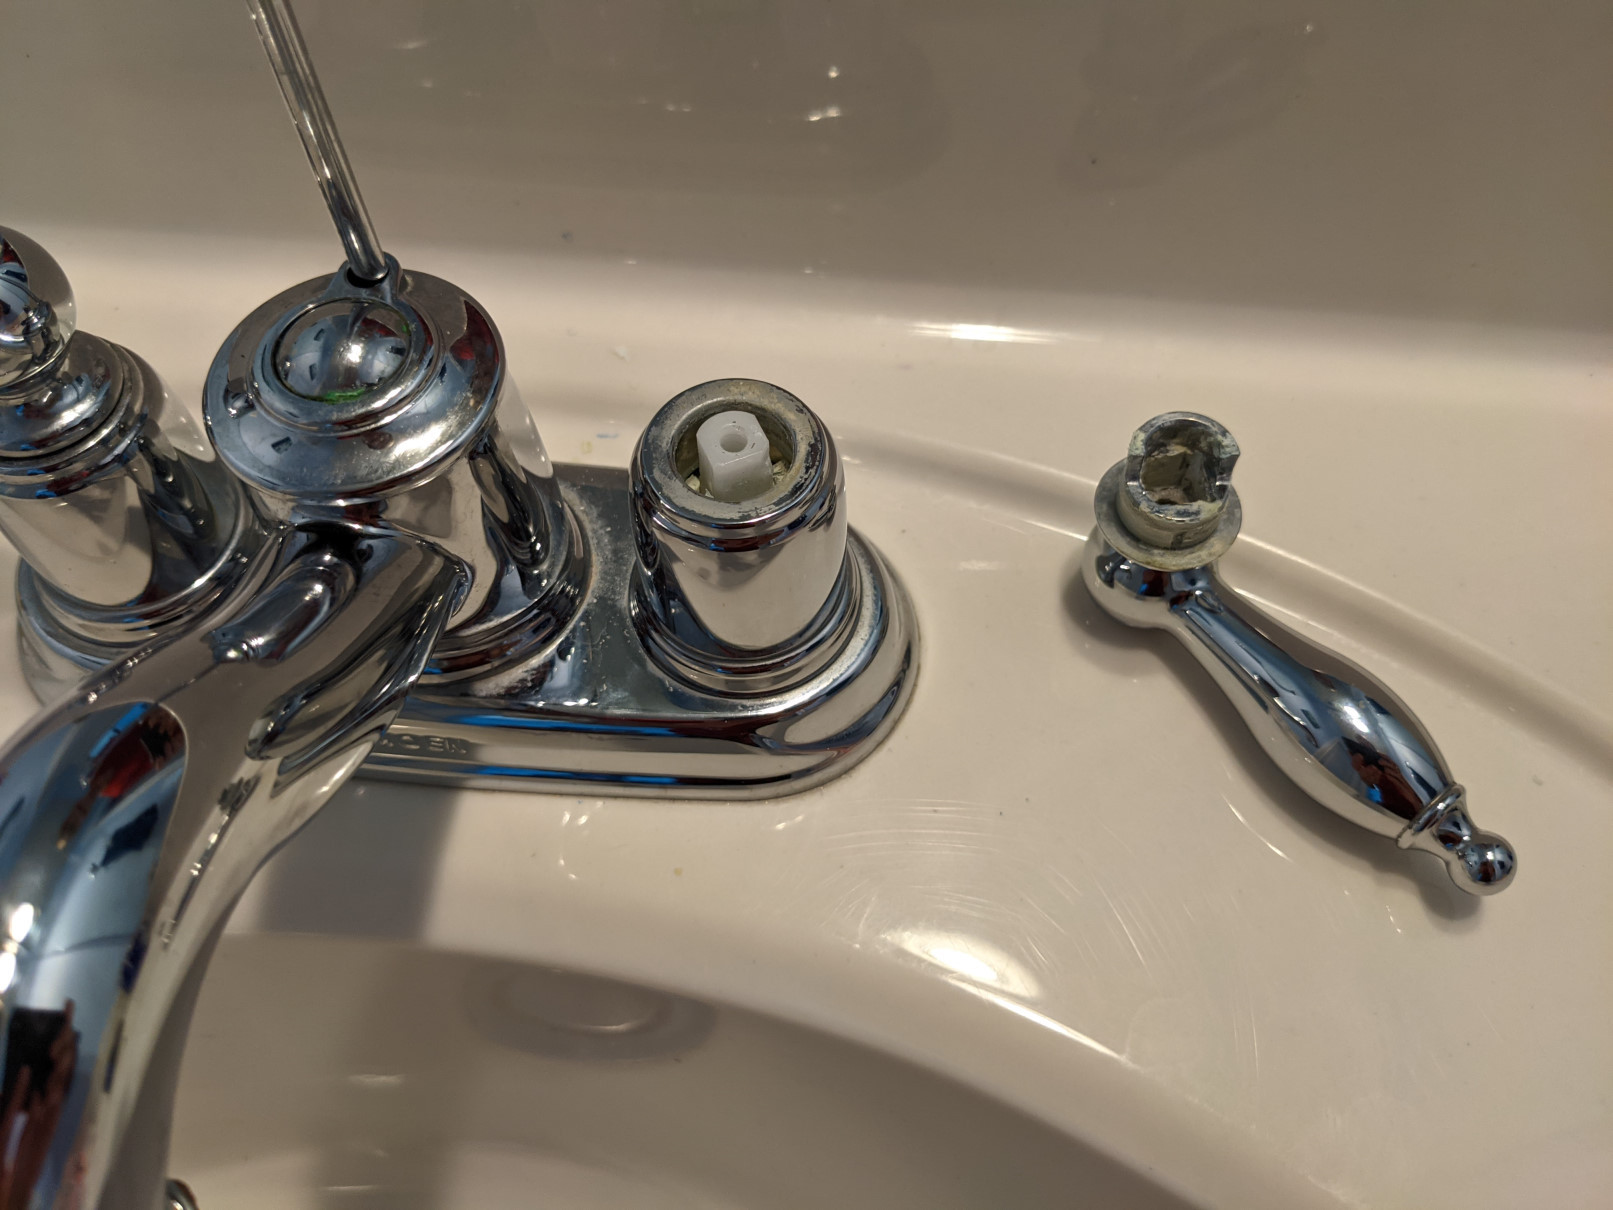
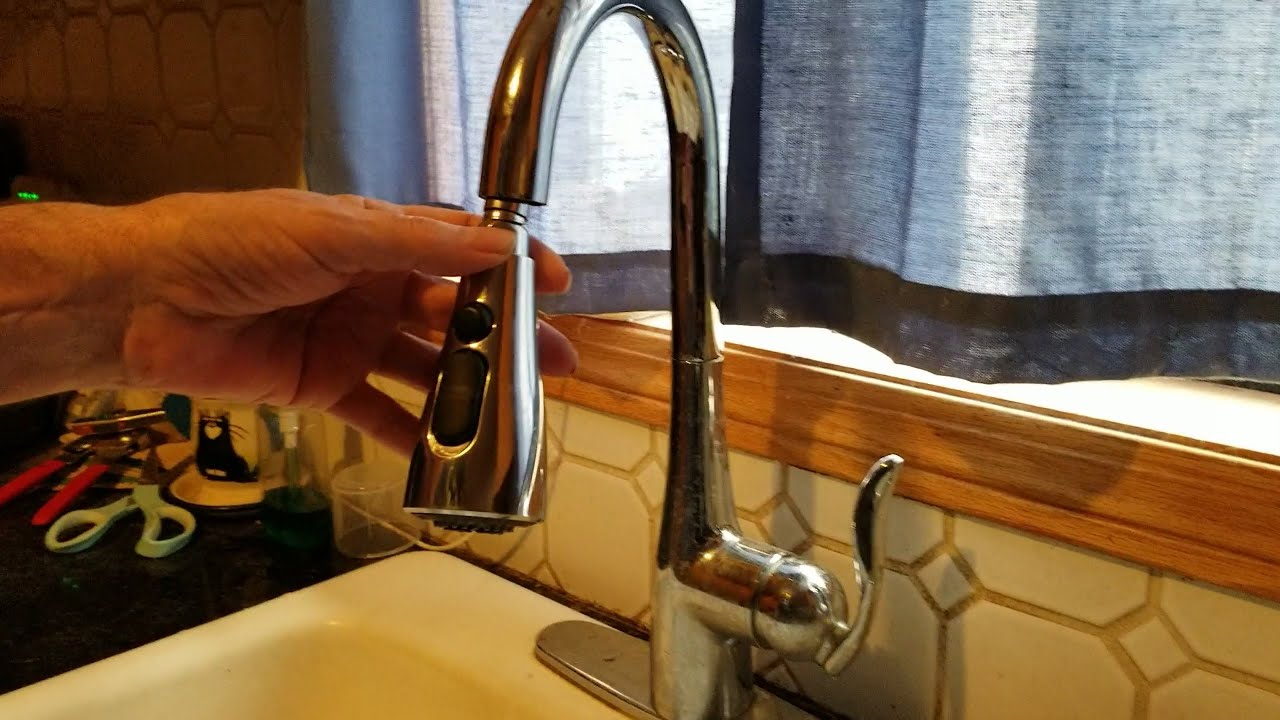
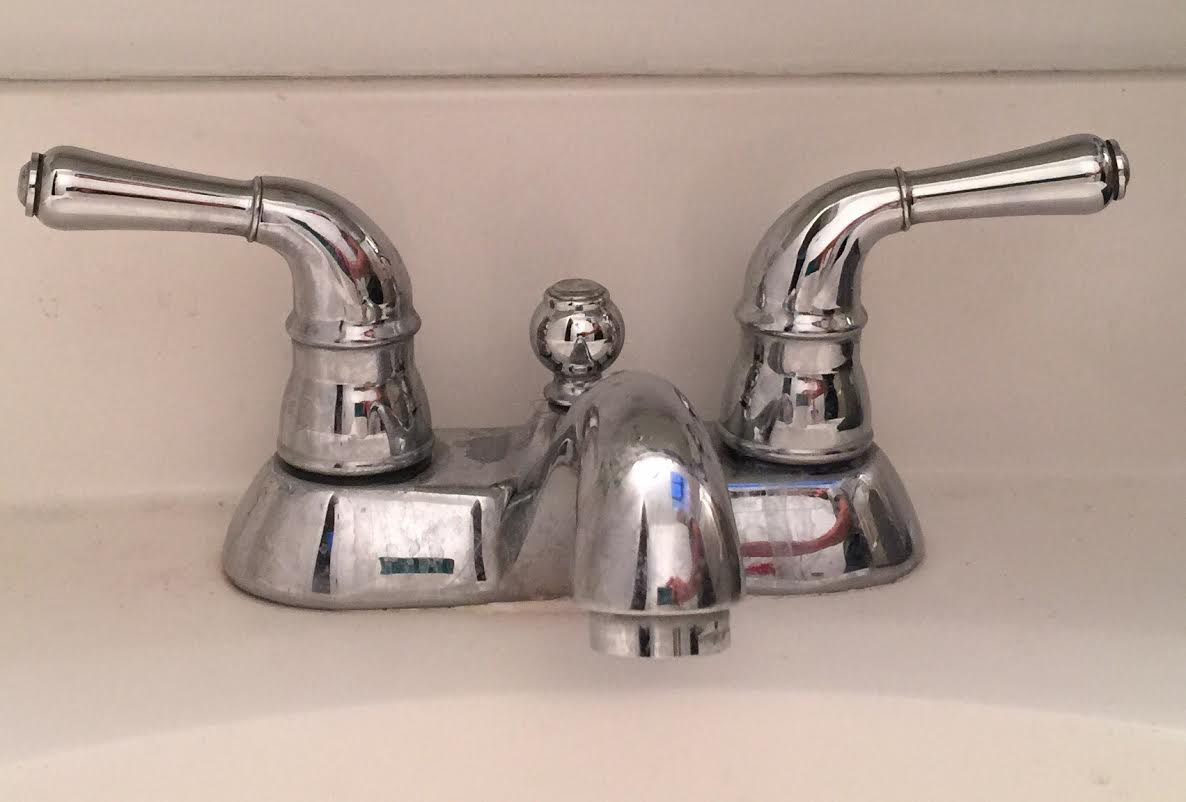
Step 2: Remove the Decorative Cap
Once the water supply has been shut off, it’s time to remove the decorative cap on the Moen bathroom faucet handle. The decorative cap is usually located at the top of the handle and serves as a cover for the set screw.
Start by using your fingers or a flathead screwdriver to gently pry off the decorative cap. Be careful not to damage the cap or scratch the surface of the handle. Applying light pressure and working your way around the edges of the cap should help loosen it.
Some Moen faucet models may have a snap-on decorative cap, while others may have a threaded cap. If you encounter a threaded cap, carefully unscrew it in a counterclockwise direction to remove it.
Once the decorative cap is removed, you will have access to the set screw that holds the handle in place. Proceed to the next step to learn how to loosen the set screw and remove the handle.
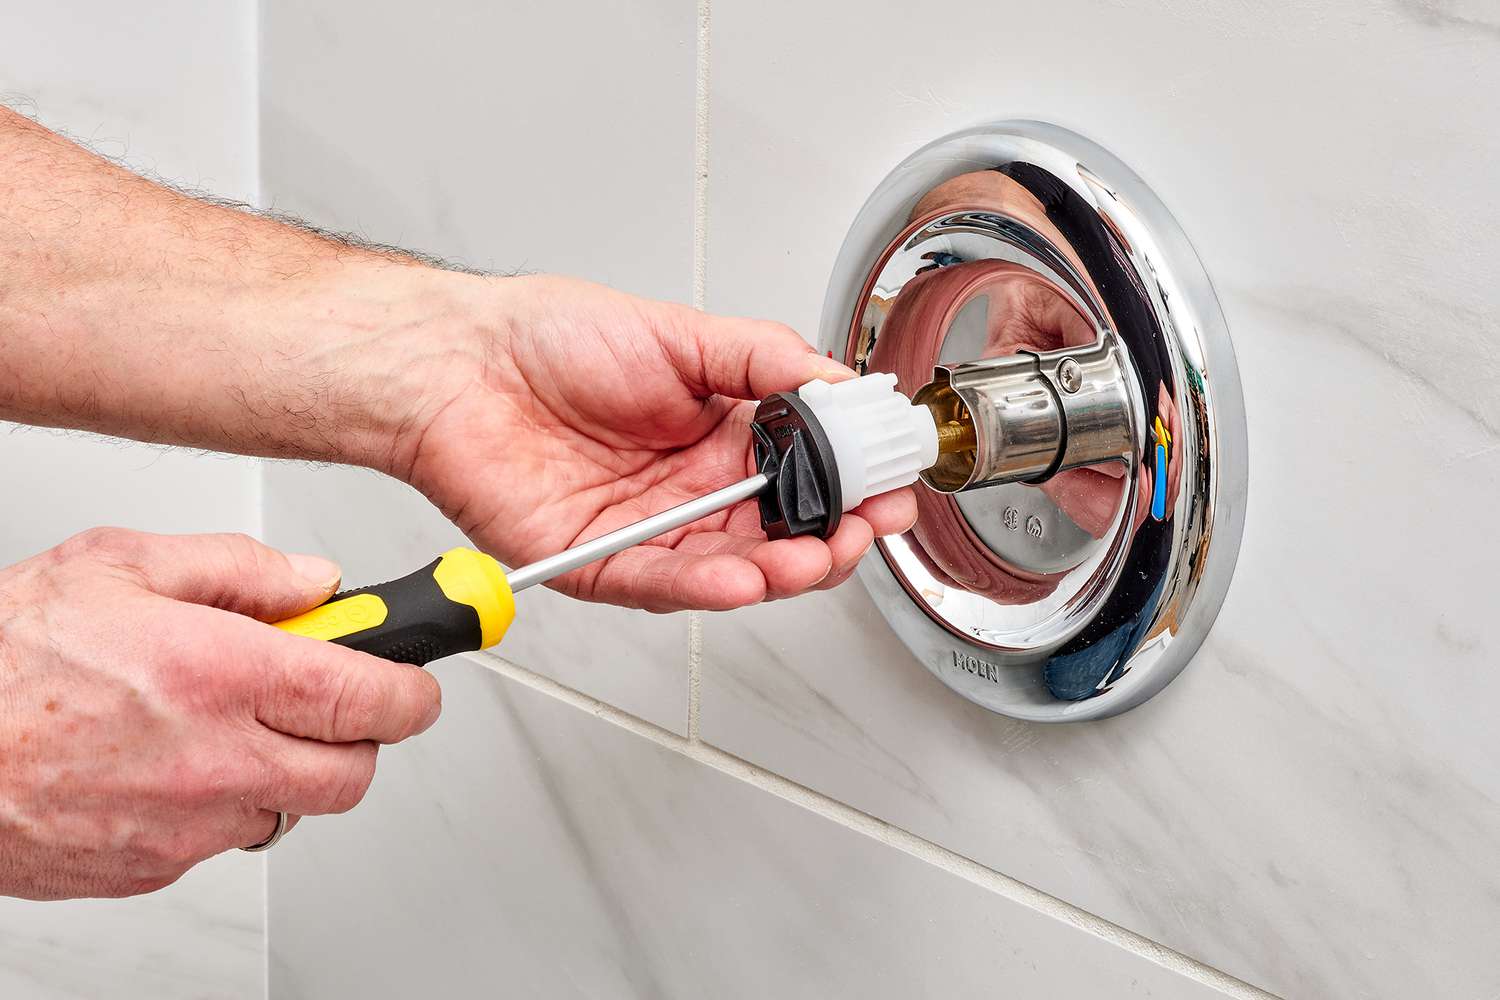
Use an Allen wrench to tighten the set screw located under the handle. Turn the wrench clockwise to secure the handle in place.
Step 3: Loosen the Set Screw
With the decorative cap removed, you can now proceed to loosen the set screw that holds the Moen bathroom faucet handle in place. The set screw is typically located underneath the cap, and it secures the handle onto the cartridge or stem of the faucet.
Using an Allen wrench or a screwdriver (depending on the type of set screw), insert it into the set screw slot and turn it counterclockwise to loosen the screw. Be sure to use the correct size tool to prevent stripping or damaging the screw.
It’s important to note that Moen faucets may have different types of set screws. Some may have traditional slotted or Phillips head screws, while others may have hex or Allen head screws. Make sure you have the appropriate tool for your specific faucet model.
As you loosen the set screw, be mindful of not applying excessive force. Most set screws require only a few turns to become loose. Once the screw is loosened, you can proceed to the next step to tighten the Moen bathroom faucet handle.
Read more: How To Tighten Loose Faucet Handle
Step 4: Tighten the Handle
Now that the set screw is loosened, it’s time to tighten the Moen bathroom faucet handle. This step will secure the handle back onto the cartridge or stem of the faucet, eliminating any wobbling or looseness.
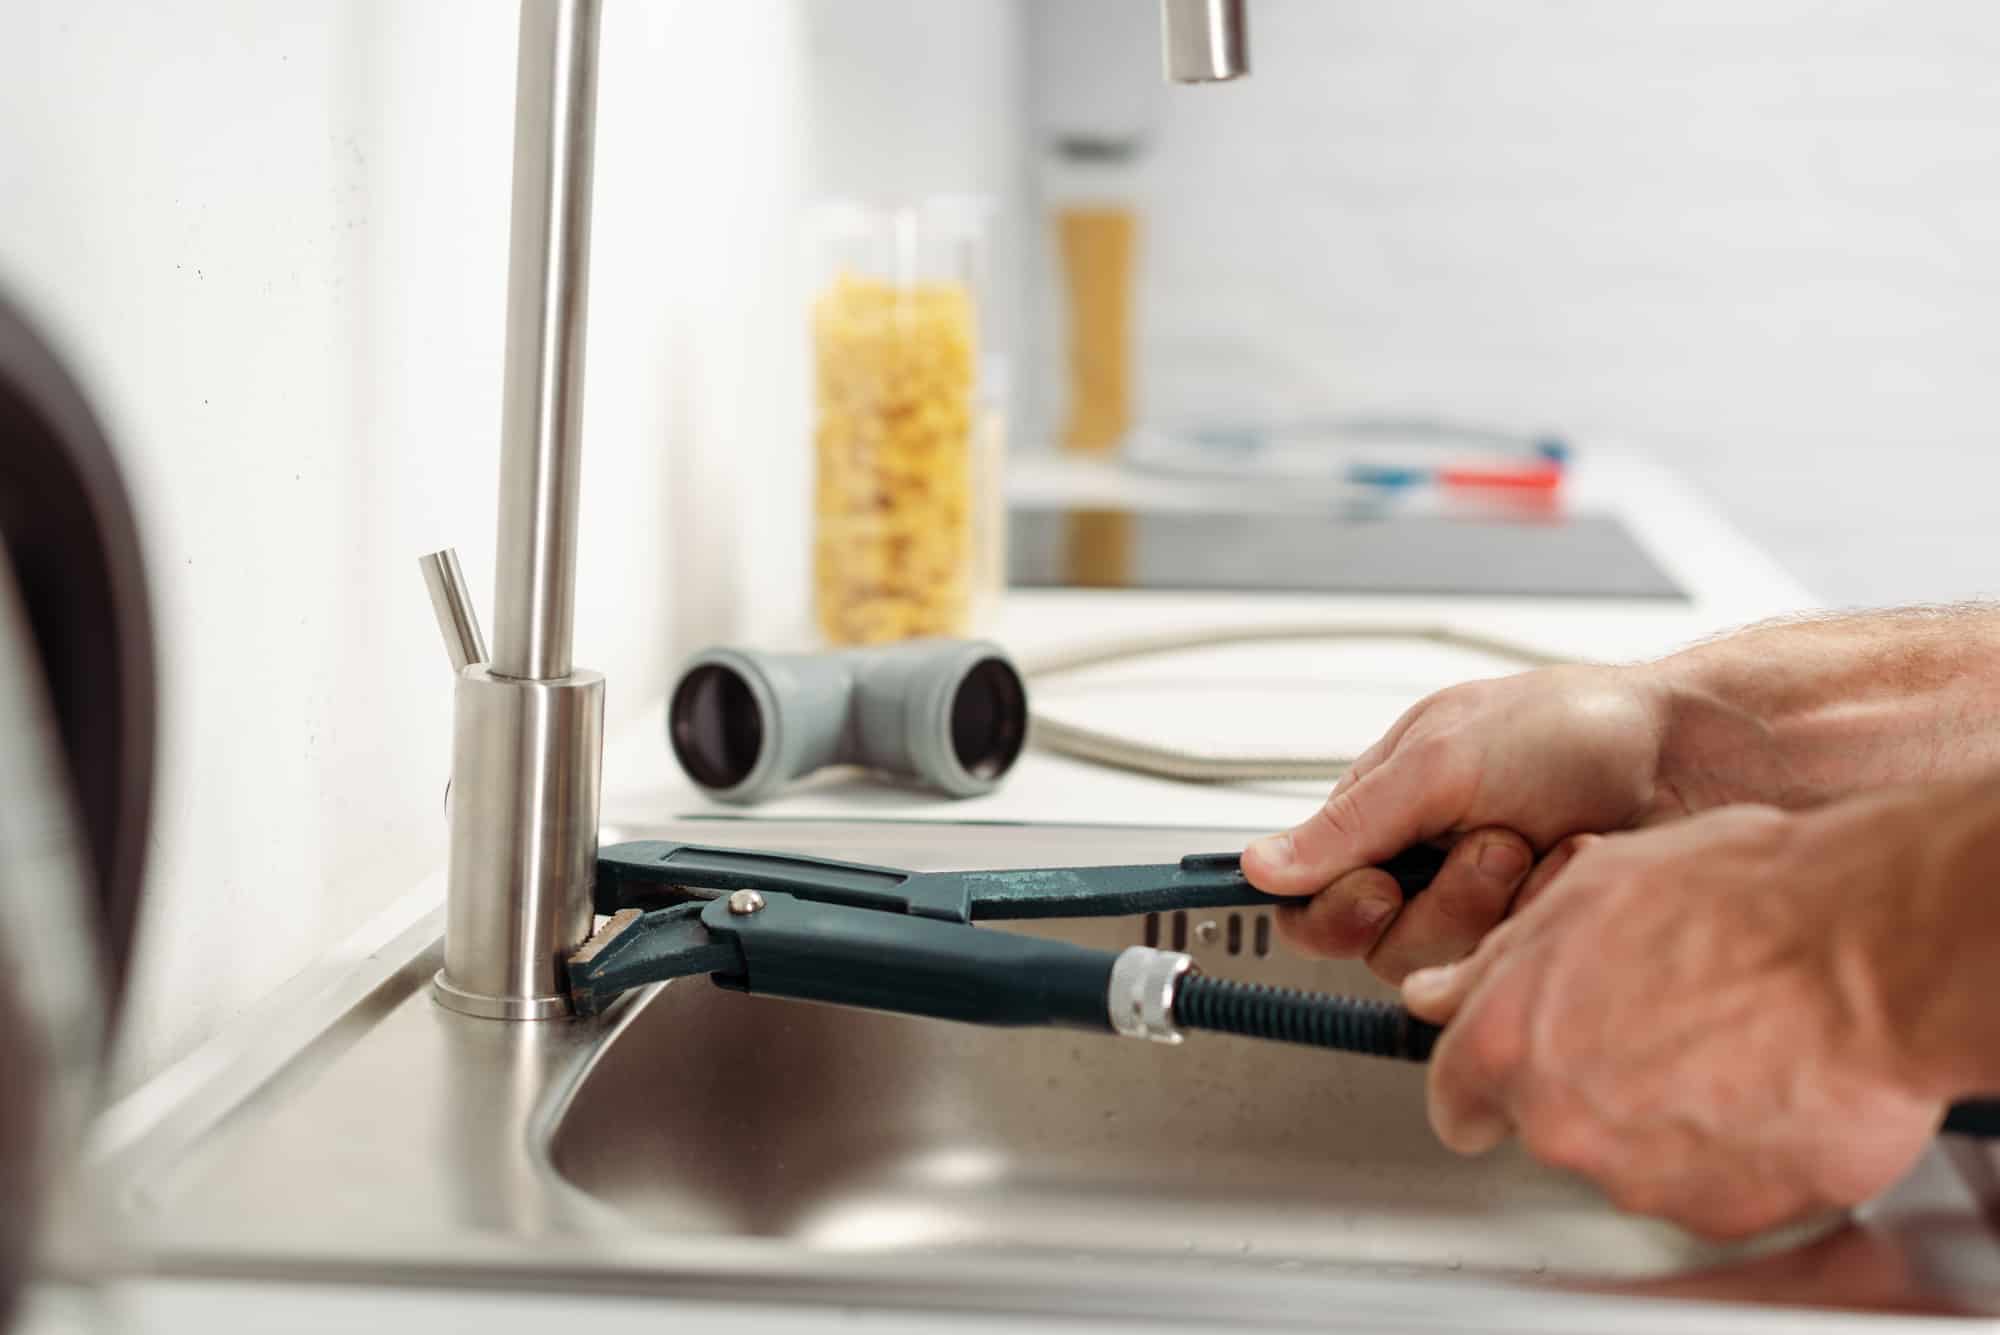
Start by holding the handle firmly with one hand to prevent it from moving. With your other hand, use an adjustable wrench or pliers to grip the base of the handle. Apply gentle pressure and turn the handle clockwise to tighten it onto the cartridge or stem.
Be careful not to overtighten the handle, as this can cause damage to the internal components of the faucet. Tighten it just enough to eliminate any wobbling or movement, ensuring a secure fit.
Once you’re satisfied with the tightness of the handle, double-check that it moves smoothly and doesn’t feel stiff or stuck. If you encounter any difficulties, slightly loosen the handle and adjust its positioning before tightening it again.
With the handle securely tightened, you’re ready to move on to the final step of reassembling the Moen bathroom faucet handle.
Step 5: Reassemble the Faucet Handle
After tightening the Moen bathroom faucet handle, it’s time to reassemble all the components to complete the process. This step will involve putting back the decorative cap and ensuring everything is properly aligned and secured.
Start by placing the decorative cap back onto the handle. If it is a snap-on cap, simply align it with the handle and press it firmly until it snaps into place. If it is a threaded cap, carefully screw it back on in a clockwise direction until it is snug.
Ensure that the decorative cap is positioned correctly and sits flush with the handle, giving it a seamless appearance. Take a moment to inspect the handle and cap to ensure there are no gaps or misalignments.
Once the decorative cap is securely in place, give the handle a gentle twist to test its stability. It should feel firm and not move or wobble. If you notice any issues, double-check the tightness of the handle and make any necessary adjustments.
With the faucet handle reassembled and securely tightened, the final step is to turn on the water supply. Gradually open the shut-off valves underneath the sink in a clockwise direction to restore the water flow to the faucet.
Once the water is flowing, check for any leaks around the handle or base of the faucet. If you notice any leaks, turn off the water supply again and make sure the handle is properly tightened.
Congratulations! You have successfully tightened your Moen bathroom faucet handle. Enjoy the improved functionality and stability of your faucet handle, and marvel at the beauty it brings to your bathroom.
Remember, if you encounter any difficulties or are unsure about any steps, it’s always recommended to consult the manufacturer’s instructions or seek assistance from a professional plumber.
Conclusion
Having a loose faucet handle in your bathroom can be a frustrating experience, but fortunately, tightening a Moen bathroom faucet handle is a relatively simple process. By following the steps outlined in this guide and using the right tools, you can bring back stability and functionality to your faucet handle.
Remember to start by shutting off the water supply to prevent any leaks or accidents. Then, remove the decorative cap and loosen the set screw to detach the handle. Once the handle is loose, use an adjustable wrench or pliers to securely tighten it onto the cartridge or stem. Finally, reassemble the faucet handle by placing the decorative cap back and ensuring a seamless fit.
Throughout the process, it’s important to exercise caution and not overtighten or force any components. Take your time, and if you encounter any difficulties or are unsure about any steps, consult the manufacturer’s instructions or seek assistance from a professional.
By following these simple steps, you can restore the functionality and aesthetic appeal of your Moen bathroom faucet handle. Say goodbye to a loose handle and enjoy the convenience and peace of mind that comes with a securely tightened faucet handle.
Remember, regular maintenance and checking for any signs of wear or damage can help prevent future issues with your faucet handle. Stay proactive and take care of your bathroom fixtures to ensure they continue to serve you well for years to come.
Frequently Asked Questions about How To Tighten Moen Bathroom Faucet Handle
Was this page helpful?
At Storables.com, we guarantee accurate and reliable information. Our content, validated by Expert Board Contributors, is crafted following stringent Editorial Policies. We're committed to providing you with well-researched, expert-backed insights for all your informational needs.


0 thoughts on “How To Tighten Moen Bathroom Faucet Handle”