Home>Renovation & DIY>Tools & Equipment>How To Use Strait-Line Stud Finder
Tools & Equipment
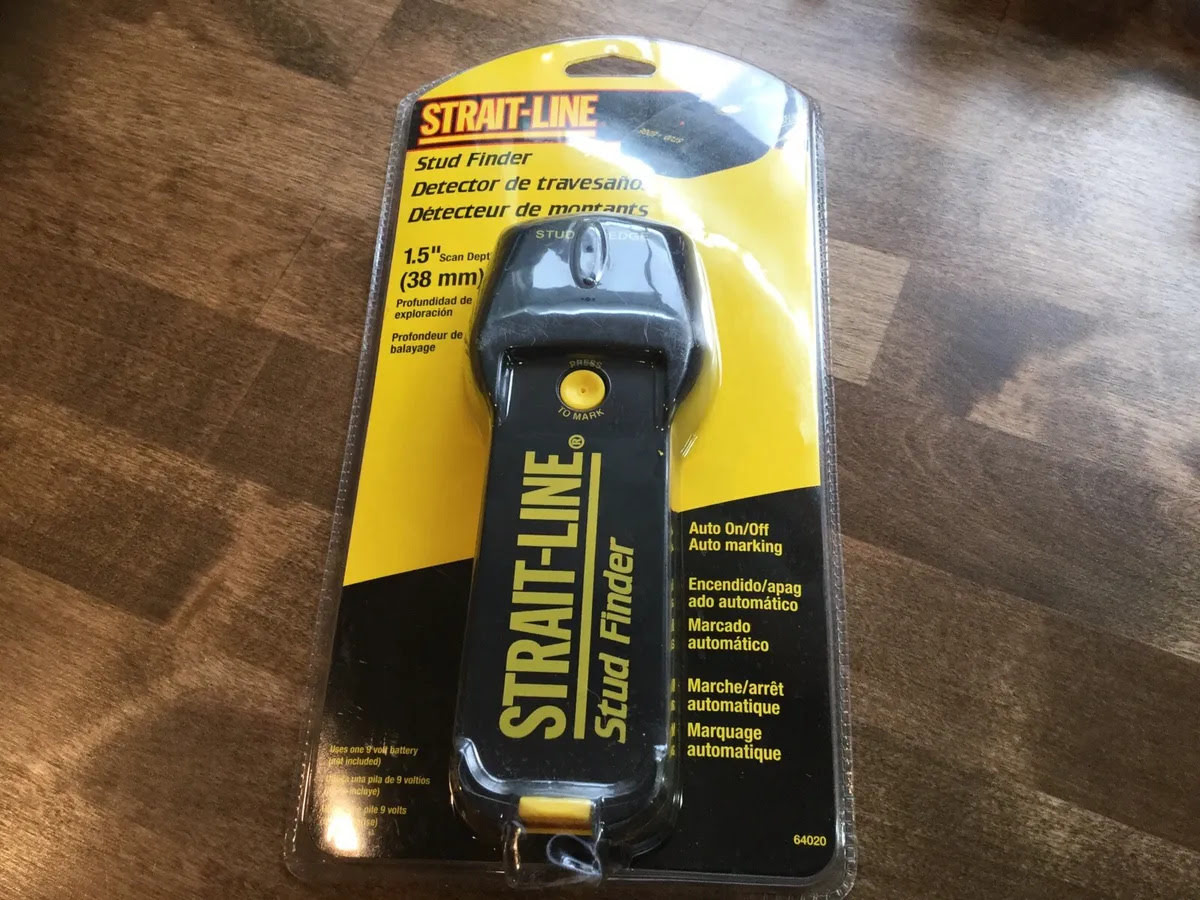
How To Use Strait-Line Stud Finder
Modified: January 4, 2024
Learn how to effectively use the Strait-Line Stud Finder tool to locate studs in your walls. Improve your accuracy and save time with this essential tool for any DIY enthusiast or professional.
(Many of the links in this article redirect to a specific reviewed product. Your purchase of these products through affiliate links helps to generate commission for Storables.com, at no extra cost. Learn more)
Introduction
Welcome to the world of DIY home improvement! Whether you’re a seasoned handyman or someone just starting to dabble in DIY projects, having the right tools is crucial. One such tool that can make your life easier is the Strait-Line stud finder.
A stud finder is a device that helps you locate the wooden beams, or studs, behind your walls. These studs provide structural support and are essential for hanging heavy objects like shelves, cabinets, or mirrors. Without a stud finder, you run the risk of damaging your walls or not securely hanging your items.
In this article, we will guide you on how to effectively use a Strait-Line stud finder. We will cover everything from understanding the device to troubleshooting common issues. So, let’s dive in and discover the world of stud finding!
Key Takeaways:
- Master the art of stud finding with the Strait-Line stud finder to confidently hang heavy objects and avoid damaging your walls. Remember to prepare, scan systematically, and troubleshoot for accurate results.
- Utilize marking methods to easily locate and reference studs for future projects. Overcome common issues by ensuring proper contact, avoiding interference, and understanding indicator signals.
Read more: How To Use Hart Stud Finder
Understanding Strait-Line Stud Finder
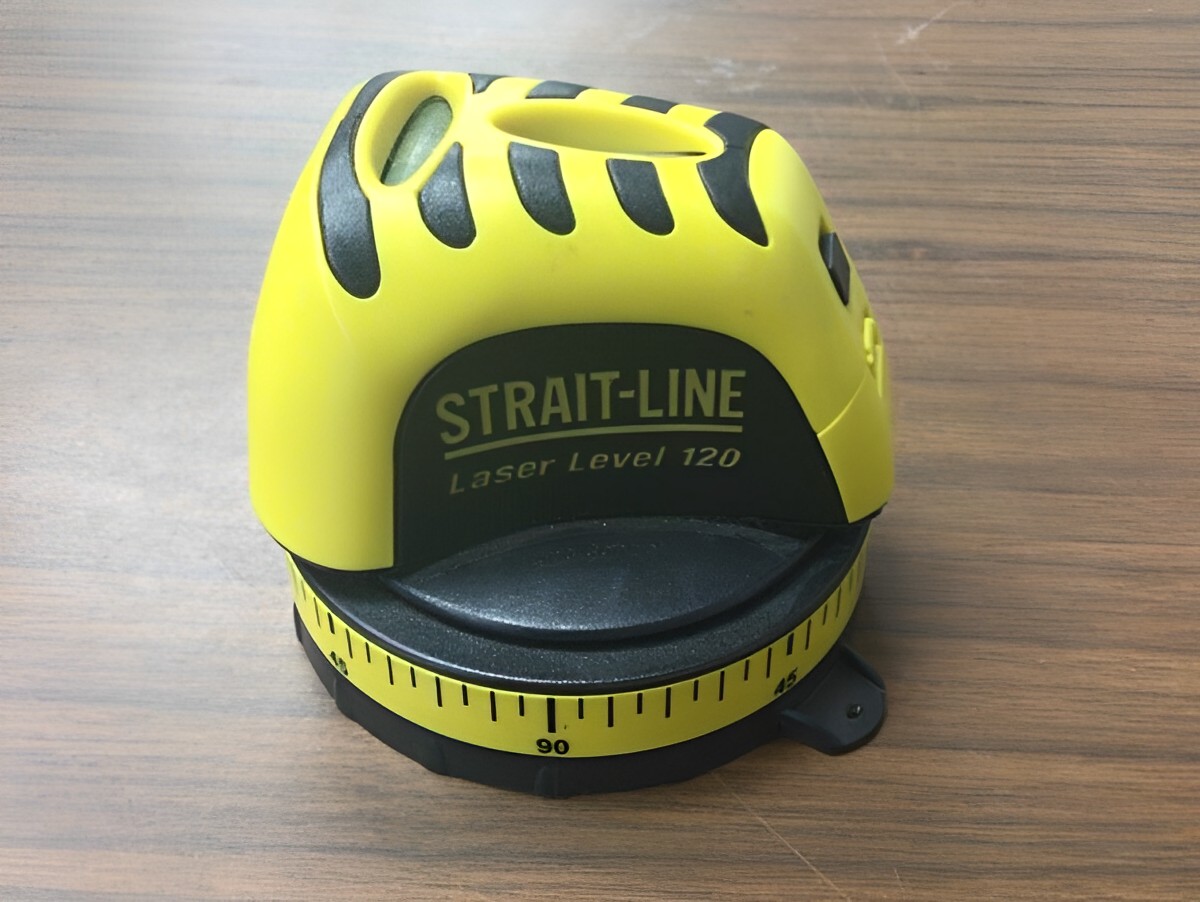
The Strait-Line stud finder is a popular and reliable tool used by both professionals and DIY enthusiasts. It utilizes electronic sensors to detect changes in density behind the walls, indicating the presence of studs. Understanding how the stud finder works will greatly enhance your ability to use it effectively.
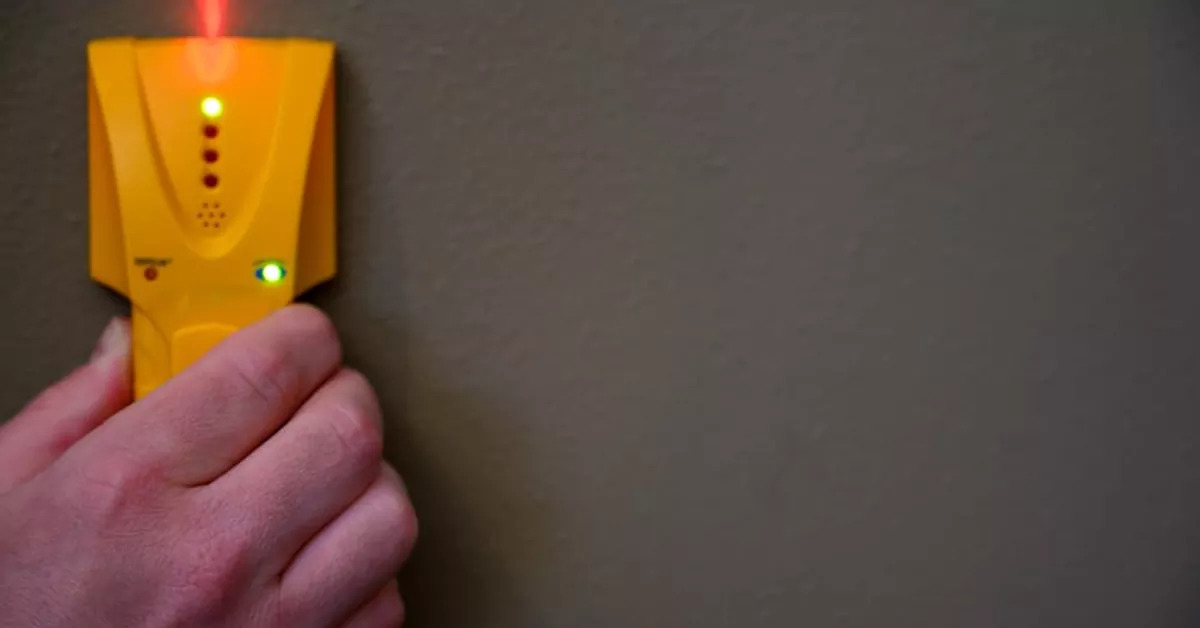
Most stud finders rely on the principles of density and magnetism. The Strait-Line stud finder operates on the density principle. It emits electronic signals into the wall and analyzes the return signal to determine if there is a change in density. When the device detects a change, it alerts you by emitting a beep or illuminating LED lights.
It’s important to note that stud finders are not foolproof and can sometimes give false readings. Factors such as electrical wiring, plumbing, or irregular wall materials can interfere with accurate detection. Therefore, it’s always a good idea to double-check your findings by using other methods like tapping the wall or using a small nail to confirm the presence of a stud.
The Strait-Line stud finder comes with additional features to enhance usability. Some models have built-in levels to help you ensure that your hanging objects are straight. Others have LCD screens that display the stud’s location and width.
Now that you have a basic understanding of how the Strait-Line stud finder works, let’s move on to the next step: preparing for use.
Preparing for Use
Before you start using your Strait-Line stud finder, there are a few steps you need to take to ensure accurate readings and maximize its performance.
- Read the User Manual: Familiarize yourself with the stud finder’s specific instructions and features. This will help you understand the device’s capabilities and any unique operating requirements.
- Charge or Replace the Batteries: Ensure that your stud finder has a sufficient power source. If it uses batteries, make sure they are fully charged or replace them with new ones. A weak battery can affect the accuracy of readings.
- Clear the Wall Area: Remove any objects or decorations hanging on the wall that may obstruct the stud finder’s scanning path. This will allow the device to have better contact with the wall surface and reduce false readings.
- Select the Mode: Some stud finders offer different scanning modes, such as stud scan, deep scan, or AC wire detection. Choose the appropriate mode for your intended use. If you’re unsure, start with the standard stud scan mode.
- Calibrate the Stud Finder: Place the stud finder on a known stud or an area with no obstructions, and calibrate it according to the manufacturer’s instructions. Calibrating ensures accurate detection and reduces the chances of false positives or negatives.
By following these preparation steps, you’ll ensure that your Strait-Line stud finder is ready to provide precise and reliable results. Now, let’s move on to the exciting part: locating studs!
Locating Studs
Now that you’ve prepared your Strait-Line stud finder, it’s time to start locating the studs in your walls. Follow these steps to ensure accurate stud detection:
- Start from an edge: Begin scanning the wall from an edge or corner. This will give you a reference point and help you establish a systematic method of scanning.
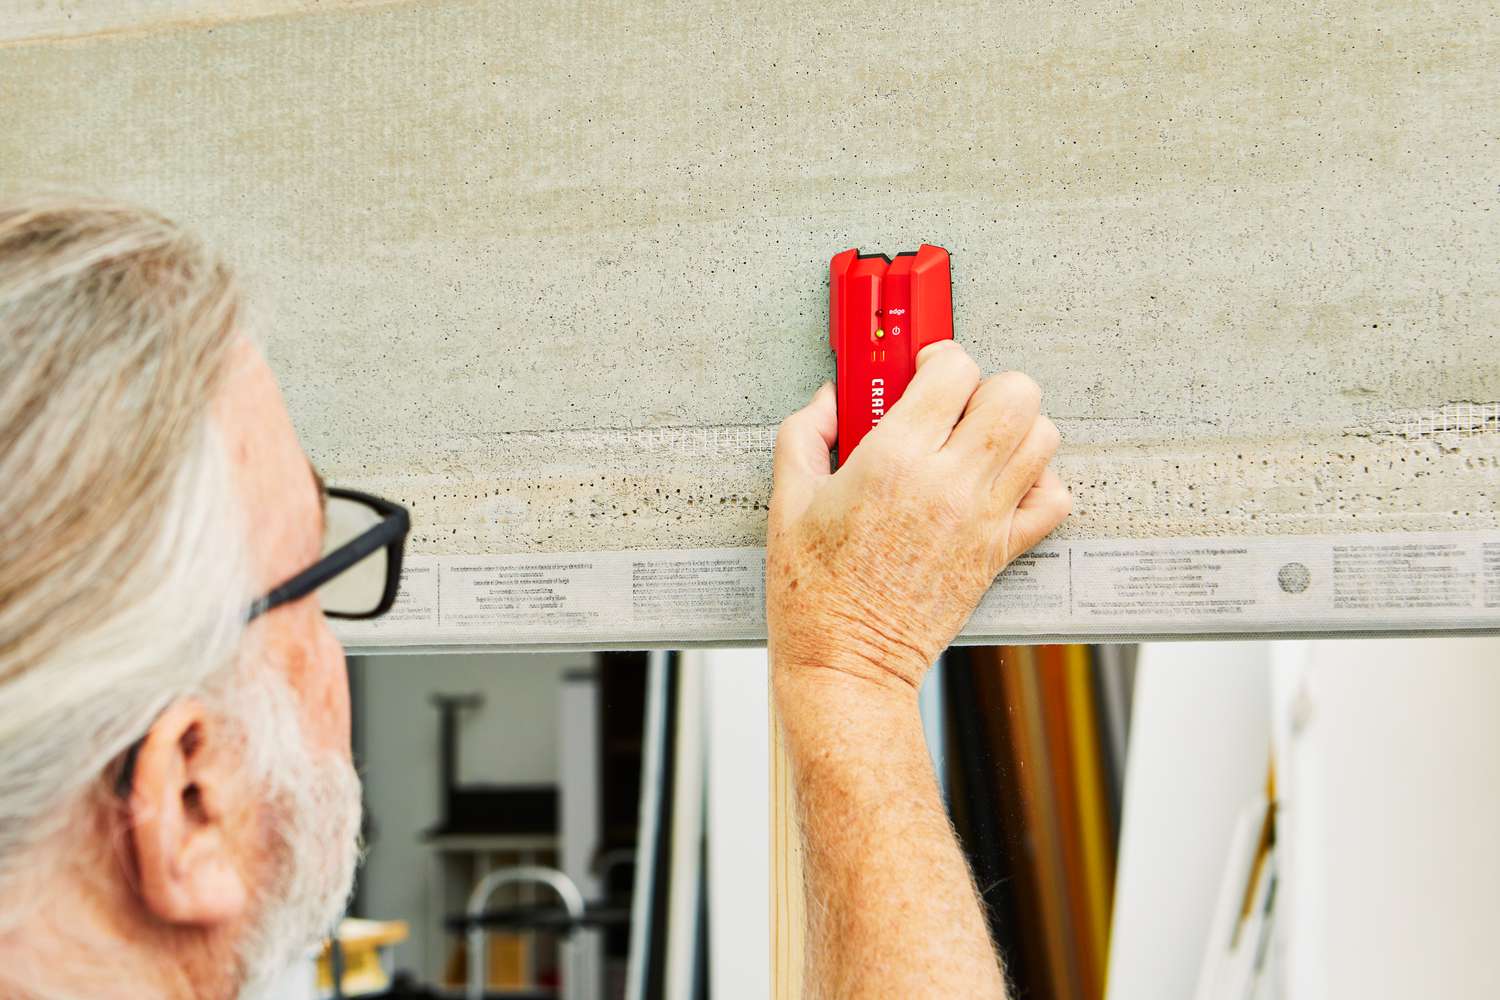
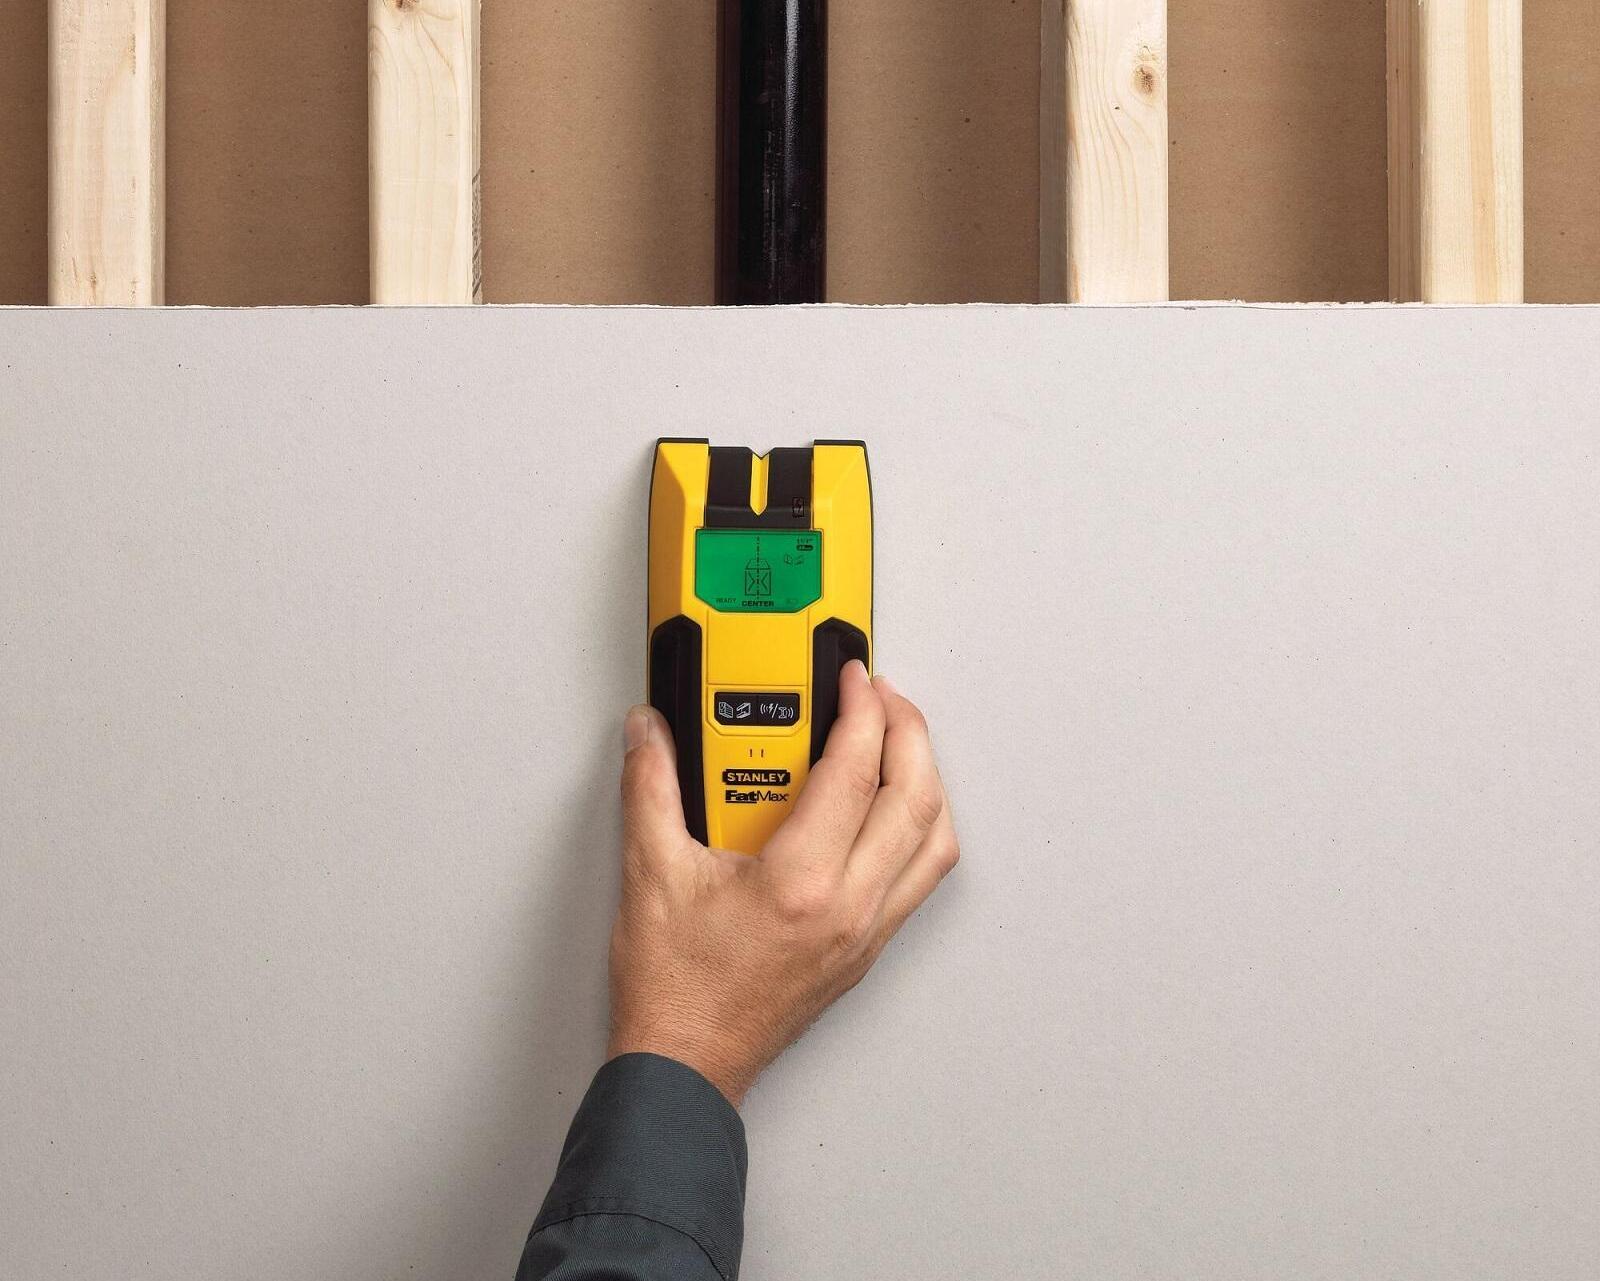
- Hold the stud finder flat against the wall: Place the stud finder firmly against the wall surface. Make sure it is parallel to the floor and held flat against the wall. This will ensure proper contact and accurate readings.
- Move slowly and steadily: Slowly slide the stud finder horizontally across the wall. Maintain a steady pace to allow the device sufficient time to scan and detect changes in density.
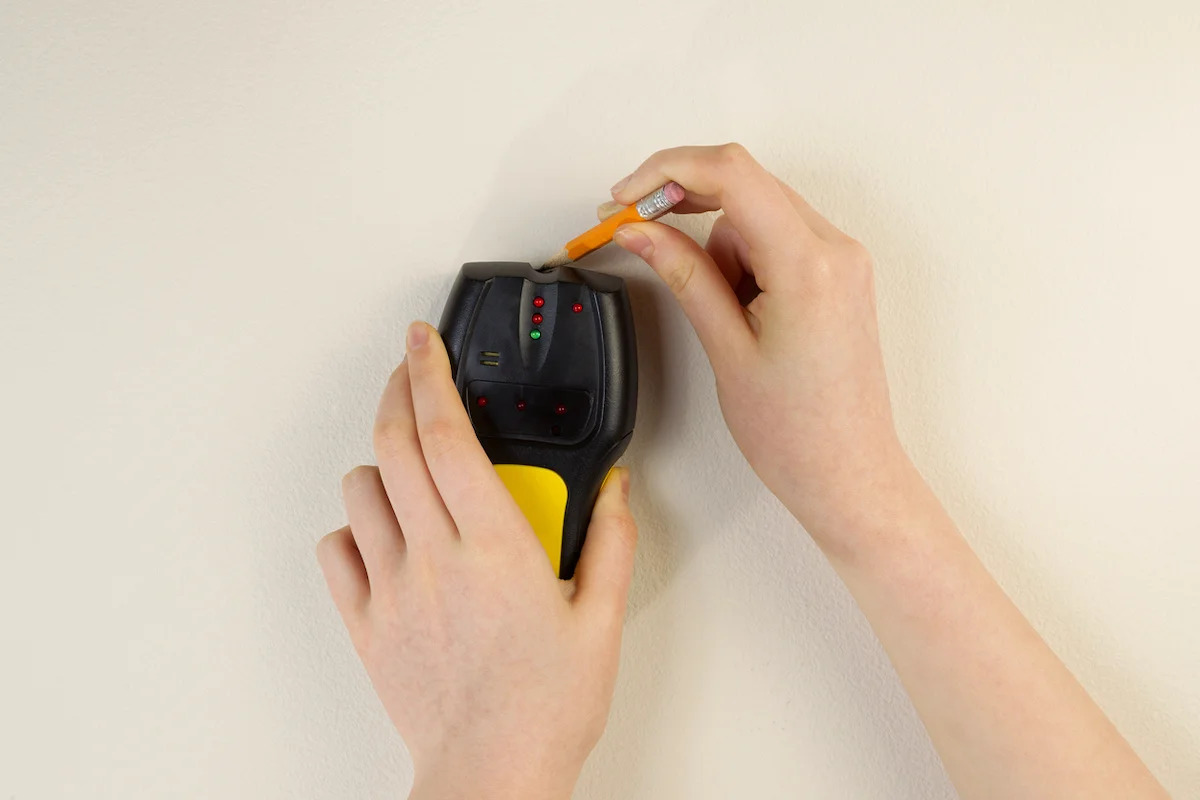
- Pay attention to the alerts: As you move the stud finder, pay attention to the visual or auditory alerts it provides. Most stud finders will emit a beep or light up when a stud is detected. Take note of the signals to mark the location of the stud.
- Repeat the process: Once you have detected one stud, continue scanning the wall to find additional studs. Stagger your scanning pattern to ensure you cover the entire wall surface.
- Make multiple passes: To increase accuracy, make multiple passes over the same area. Stud finders can sometimes miss studs or provide inconsistent readings. By scanning an area multiple times, you can verify the presence and location of the stud.
Remember that stud spacing can vary, but a common measurement is 16 inches on center. Keep this in mind as you locate studs, as it will help you determine the general placement of other studs.
Once you’ve successfully located a stud, it’s time to mark its location.
When using a Strait-Line stud finder, make sure to calibrate it on a clear section of wall before scanning for studs. Move the device slowly and steadily to ensure accurate results.
Marking Stud Locations
After using your Strait-Line stud finder to locate the studs in your walls, it’s important to mark their locations for future reference. This will make it easier to hang objects securely and avoid damaging the walls.
Here are some effective ways to mark stud locations:
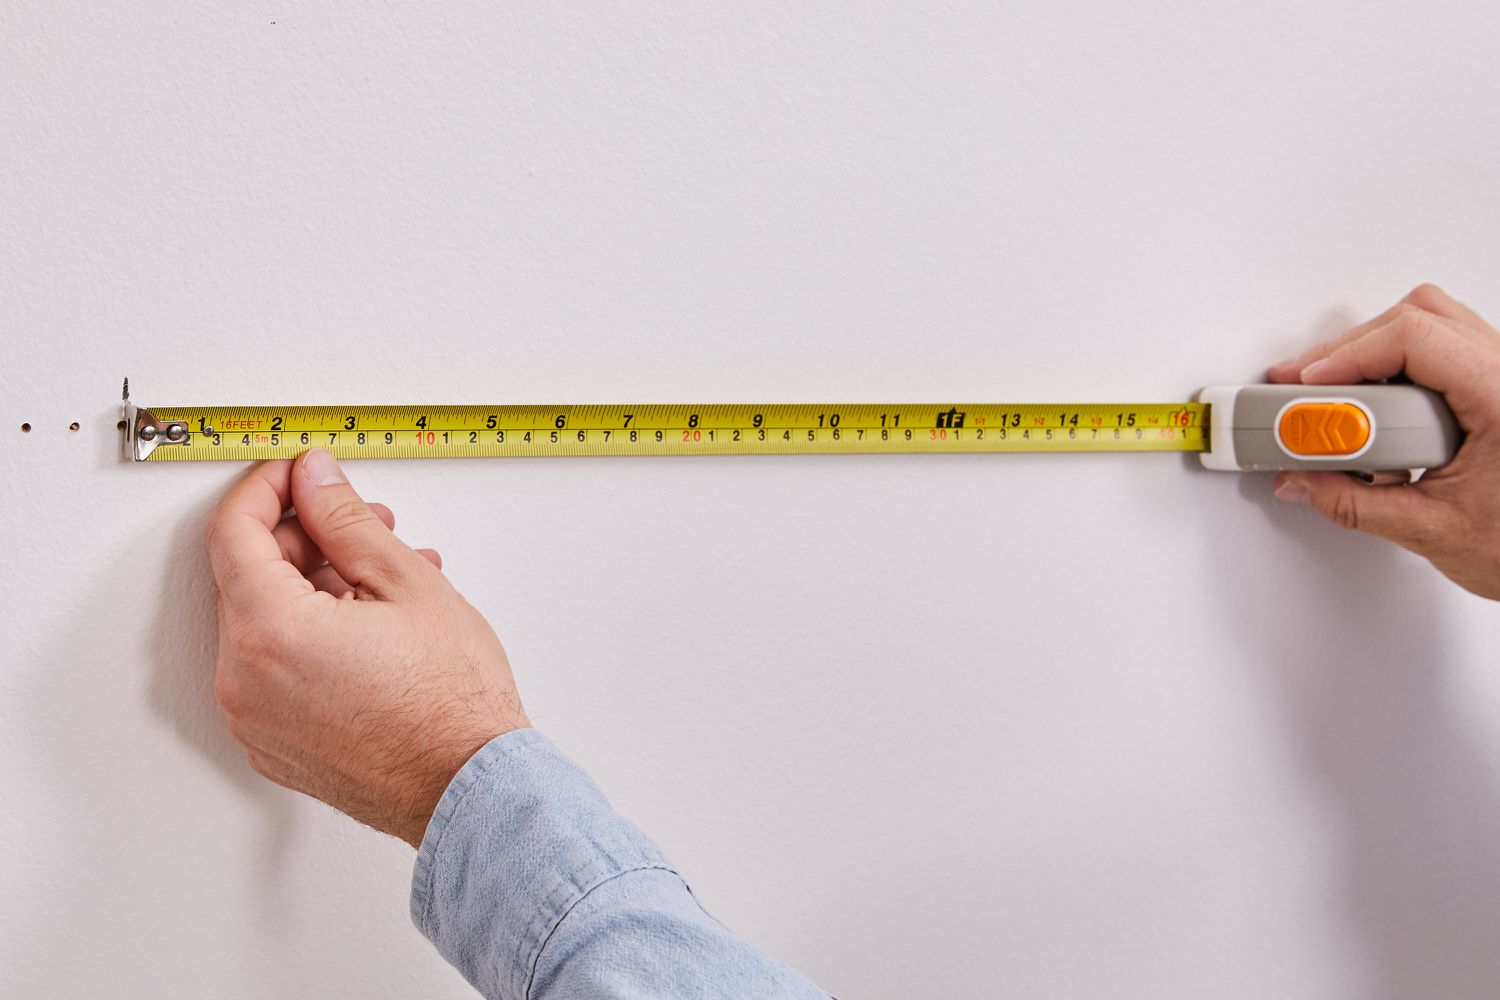
- Use a pencil: The simplest and most common method is to use a pencil and make small marks on the wall. Place the pencil tip at the edge of the stud detection and lightly mark the spots where the stud is located.
- Use masking tape: Another option is to use masking tape. Tear a small piece of tape and place it horizontally or vertically across the stud’s location. This provides a clear visual indicator without leaving pencil marks on the wall.
- Make small holes: For a more permanent marking method, you can use a small nail or pin to create a tiny hole in the wall at the stud’s location. Be careful not to go too deep to avoid damaging the wall. You can fill these holes later if desired.
- Use sticky notes: If you have sticky notes handy, you can write “Stud” on a note and stick it directly on the wall where the stud is located. This method is particularly useful when marking multiple stud locations.
Regardless of the marking method you choose, make sure the marks are easily visible and locate the center of the stud. This will provide a precise reference point when hanging objects or performing any further construction work on the wall.
By marking the stud locations, you’ll save time and effort when it comes to mounting shelves, cabinets, or other heavy items. Now that you’ve marked the studs, it’s time to address any troubleshooting issues you might encounter.
Read more: How To Use Zircon Stud Finder
Troubleshooting Tips
While the Strait-Line stud finder is a reliable tool, you may encounter some common issues or challenges during use. Here are some troubleshooting tips to help you overcome these obstacles and ensure accurate stud detection:
- Ensure proper contact: Make sure the stud finder is in full contact with the wall surface. Any gaps or angles between the device and the wall can result in false readings. Press the stud finder firmly against the wall and keep it parallel to the surface.
- Avoid interference: Electrical wires and pipes behind the walls can interfere with stud detection. To minimize potential interference, try to scan the area away from outlets, switches, and plumbing fixtures. It may also help to turn off nearby electronics that can emit signals.
- Read the indicator carefully: Pay close attention to the indicator on your stud finder, whether it’s a beeping sound, LED lights, or an LCD display. Misinterpreting or not fully understanding the indicator can lead to inaccurate readings. Consult the user manual to familiarize yourself with the specific indicator system of your stud finder.
- Confirm with other methods: If you’re unsure about a particular stud detection, use alternative methods to verify its presence. Tapping the wall gently with your knuckles or using a small nail to probe the suspected stud area can help confirm your findings.
- Keep the stud finder level: Maintaining a level position is crucial for accurate stud detection. Tilting the stud finder too much can result in false readings. Ensure that the device remains parallel to the floor and perpendicular to the wall surface throughout the scanning process.
- Pay attention to wall construction: Different wall constructions, such as plaster, drywall, or paneling, can affect the stud finder’s performance. Adjust the sensitivity settings on your stud finder accordingly or refer to the user manual for specific instructions related to different wall types.
By following these troubleshooting tips, you can overcome common issues and improve the accuracy of your stud detection using the Strait-Line stud finder. Remember, practice makes perfect, so don’t get discouraged if you encounter any challenges. With time, you’ll become more comfortable and efficient in using this valuable tool.
Now that you have a solid understanding of using a Strait-Line stud finder and troubleshooting common issues, you’re ready to embark on your next home improvement project with confidence!
Conclusion
Congratulations! You’ve reached the end of this comprehensive guide on using the Strait-Line stud finder. By understanding how this handy tool works, preparing for its use, locating studs accurately, marking their locations, and troubleshooting any issues, you are now equipped with the knowledge to confidently tackle your DIY projects.
The Strait-Line stud finder is a valuable asset that saves time, efforts, and potential damage to your walls. With its electronic sensing technology, you can easily locate studs and confidently hang heavy objects, secure shelves, or mount cabinets without any concerns.
Remember to always follow the specific instructions provided by the manufacturer and consult the user manual for your stud finder model. This will ensure that you operate the device correctly and get the most accurate results.
While the stud finder is a helpful tool, it’s important to note that it may not be foolproof. Factors like wall construction, electrical wiring, or uneven wall surfaces can interfere with the detection process. Therefore, it’s advisable to use additional methods of confirmation, such as tapping the wall or probing with a small nail, to double-check your findings.
With practice, you’ll become more proficient in using the Strait-Line stud finder and gain a better understanding of your wall’s construction. This will enable you to confidently locate studs and hang objects securely, transforming your space and enhancing both functionality and aesthetics.
So, go ahead and put your newfound knowledge into action! Experience the satisfaction of beautifully hanging artwork, shelves, or mirrors, knowing that they are securely anchored to your walls.
Happy DIYing!
Frequently Asked Questions about How To Use Strait-Line Stud Finder
Was this page helpful?
At Storables.com, we guarantee accurate and reliable information. Our content, validated by Expert Board Contributors, is crafted following stringent Editorial Policies. We're committed to providing you with well-researched, expert-backed insights for all your informational needs.


0 thoughts on “How To Use Strait-Line Stud Finder”