Home>Articles>How To Use Line Laser Level To Layout Ceiling Recessed Lights
Articles
How To Use Line Laser Level To Layout Ceiling Recessed Lights
Modified: October 27, 2024
Discover how to use a line laser level for precise layout of ceiling recessed lights. Read our informative articles for step-by-step instructions and tips.
(Many of the links in this article redirect to a specific reviewed product. Your purchase of these products through affiliate links helps to generate commission for Storables.com, at no extra cost. Learn more)
Introduction
When it comes to lighting design, recessed lights are a popular choice as they provide a sleek and modern look to any space. Properly positioning these lights is crucial in achieving a balanced and well-lit room. One effective tool that can help in this process is a line laser level.
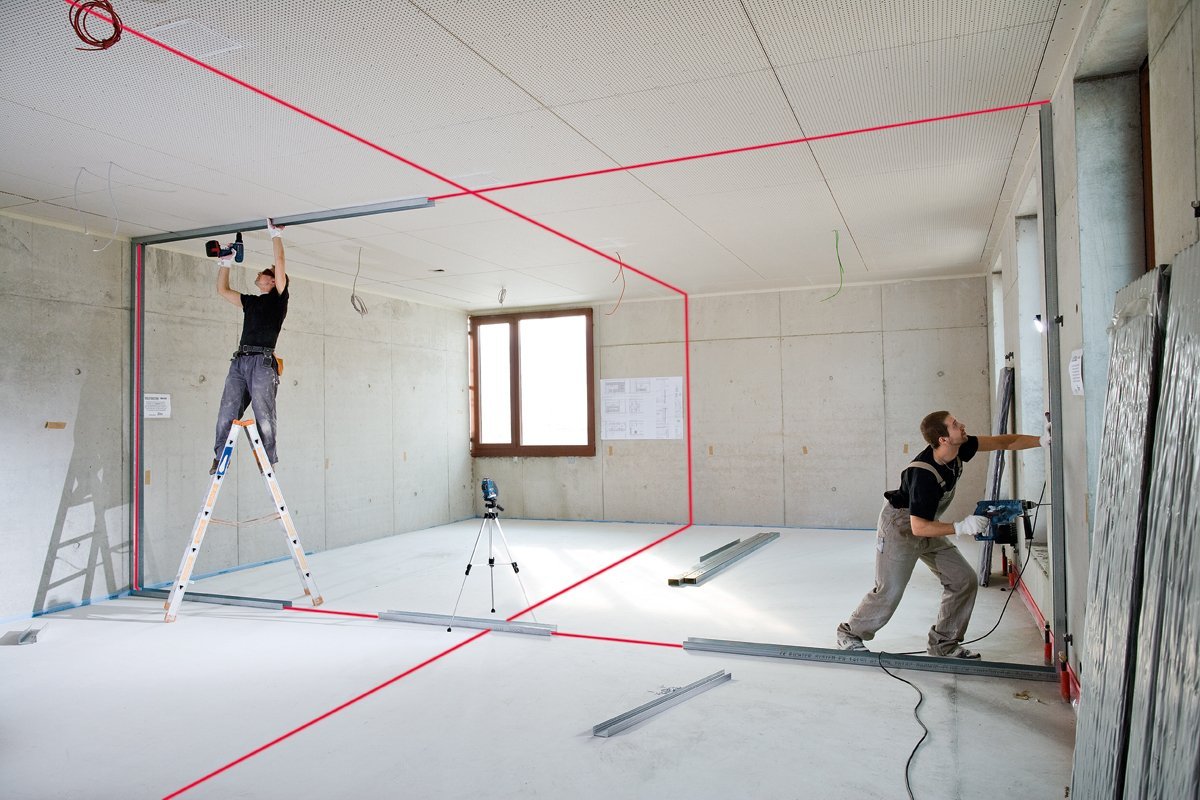
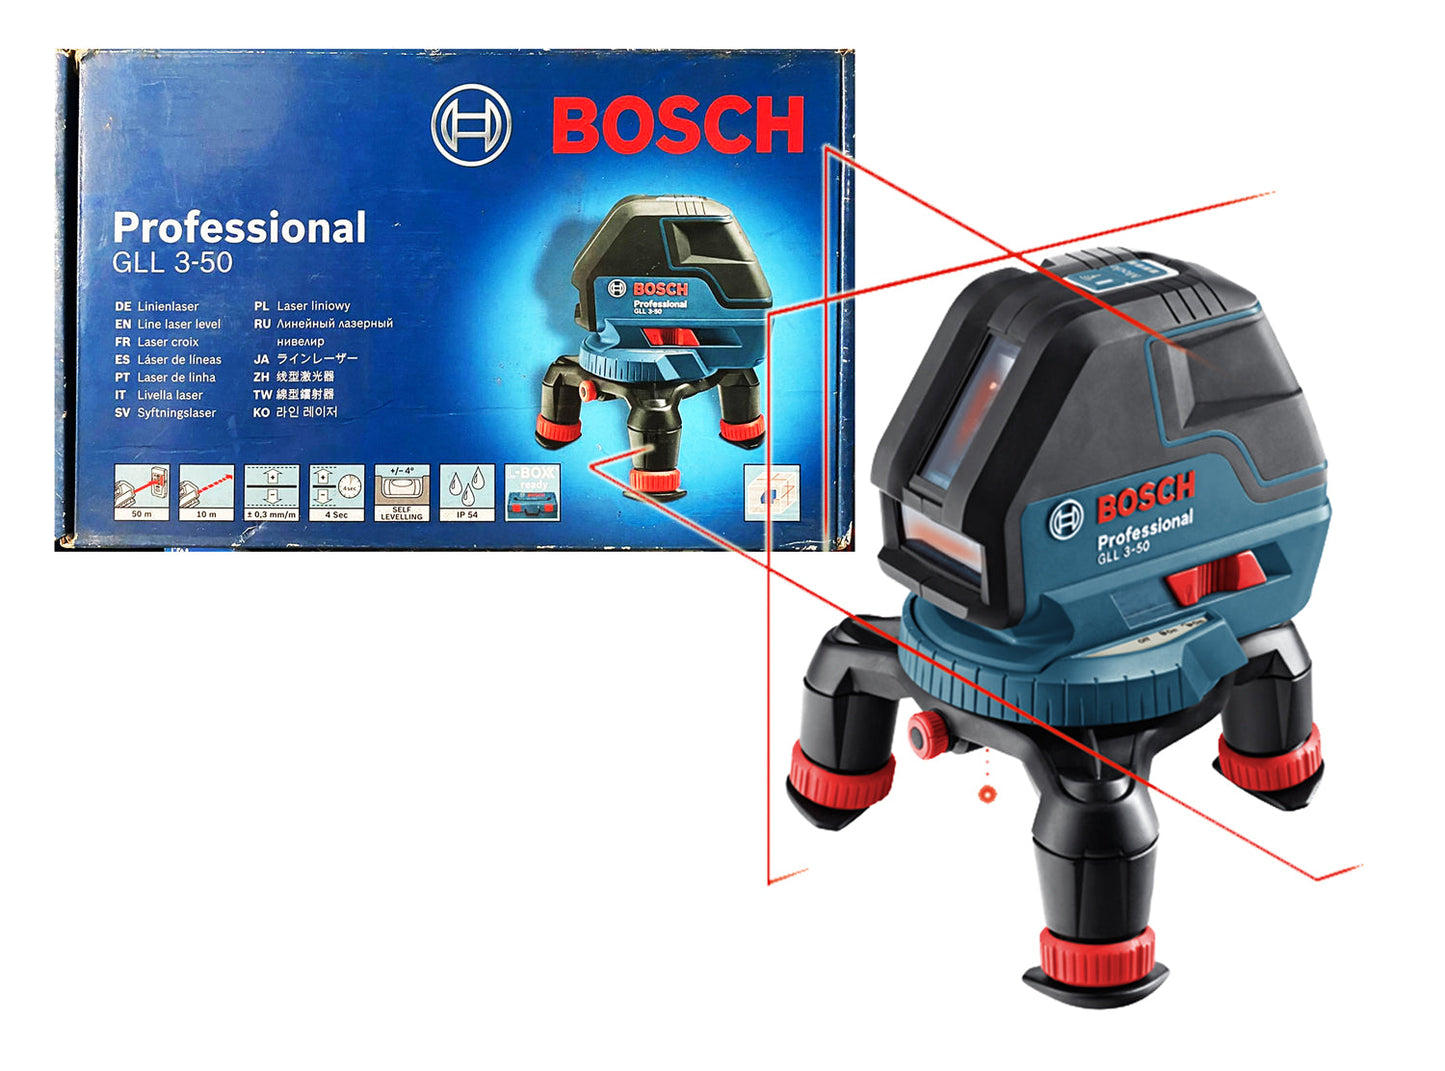
A line laser level is a device that projects a laser beam onto a surface, creating a straight and level line. This makes it incredibly useful when it comes to accurately laying out the placement of recessed lights on a ceiling. By using a line laser level, you can ensure that your lights are properly spaced and aligned, resulting in a professional and visually appealing lighting design.
In this article, we will explore how to effectively use a line laser level to layout ceiling recessed lights. We will cover everything from understanding line laser levels to the step-by-step process of positioning and installing your recessed lights.
To begin, let’s gain a better understanding of line laser levels and the various types available on the market.
Key Takeaways:
- Using a line laser level for laying out ceiling recessed lights ensures precise and visually appealing lighting design. Proper preparation, accurate positioning, and careful installation lead to a professional and well-lit space.
- The process of using a line laser level involves understanding its types, features, and setup, as well as gathering necessary tools and materials. By following step-by-step guidelines, anyone can achieve a seamless and stylish lighting layout.
Read more: How To Use A Laser Level On Ceiling
Understanding Line Laser Levels
Before we dive into using a line laser level for laying out recessed lights, it’s important to have a good grasp of how these devices work and the different types available. This knowledge will help you make an informed decision when selecting the right line laser level for your project.
Types of Line Laser Levels
Line laser levels come in various types, each suited for different applications. The most common types include:
- Single Line Laser Level: This type of line laser level projects a single horizontal or vertical line onto a surface. It is ideal for basic leveling and alignment tasks.
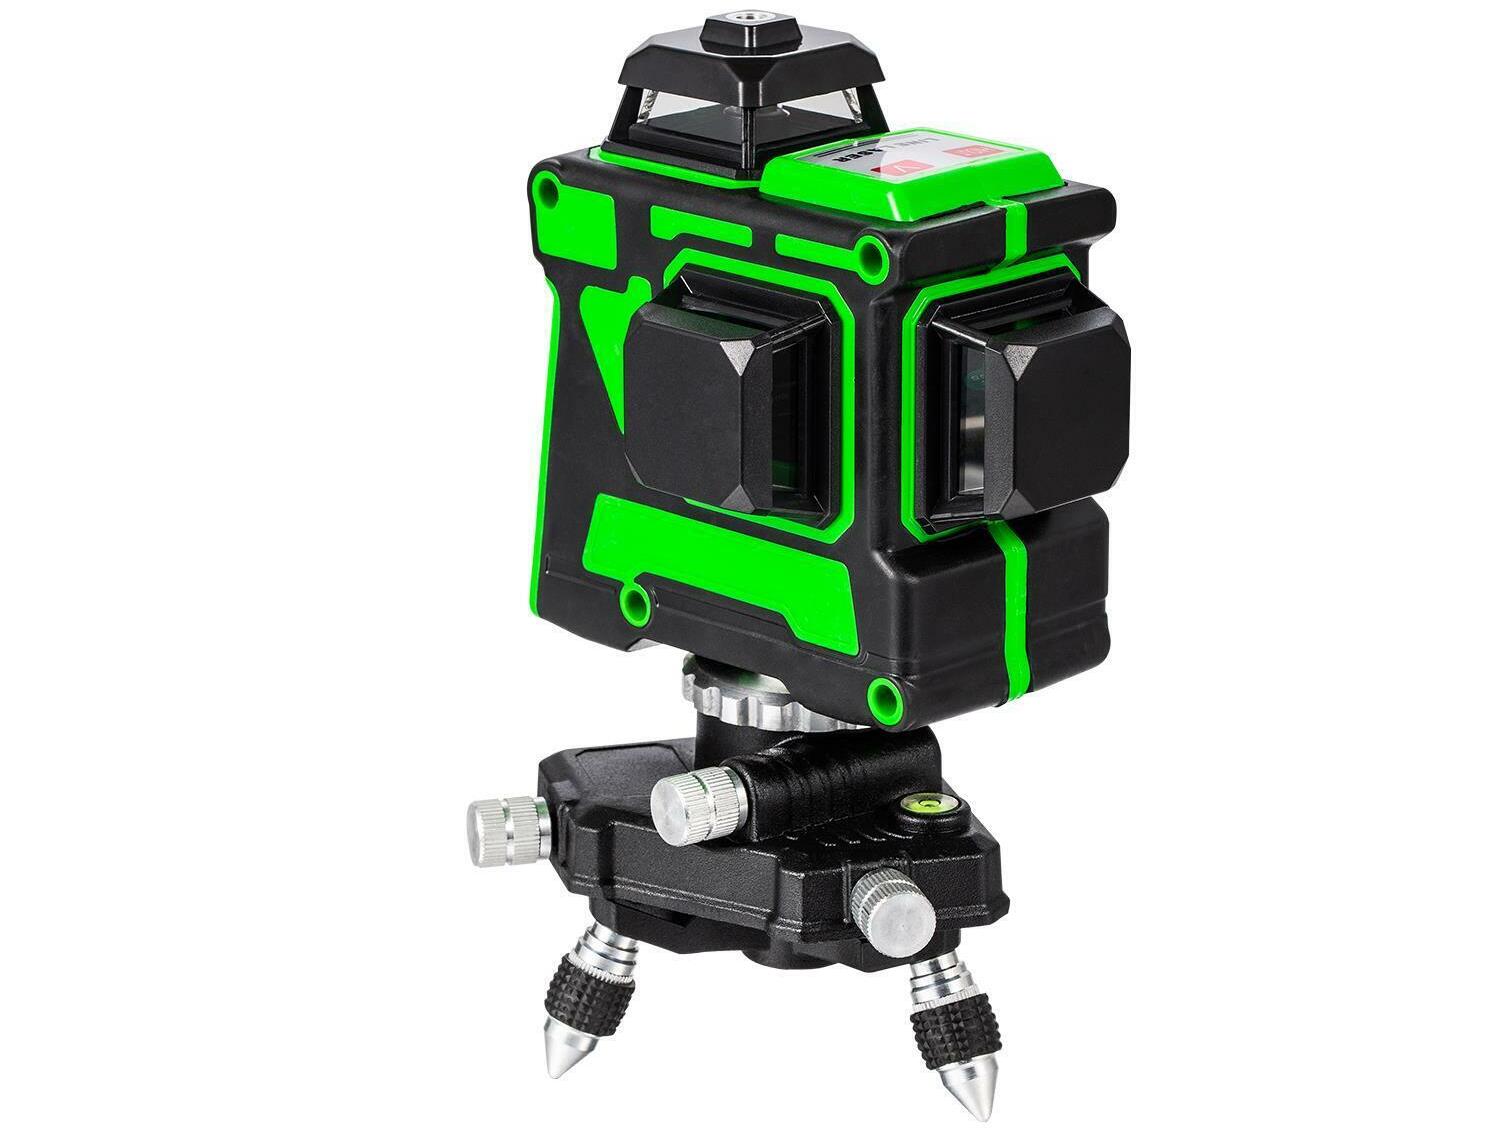
- Multi-Line Laser Level: Unlike the single line laser level, the multi-line laser level projects multiple lines, both horizontal and vertical, at different angles. This type is suitable for more complex layout tasks, such as creating an accurate grid on a wall or ceiling.
- Rotary Laser Level: Rotary laser levels emit a 360-degree laser beam, capable of creating a complete horizontal or vertical plane. They are often used in large construction projects or outdoor settings.
Features and Specifications
When selecting a line laser level, it’s essential to consider the specific features and specifications that will meet your needs.
- Accuracy: Look for a line laser level with a high level of accuracy, typically measured in millimeters per meter. The more accurate the device, the more precise your light layout will be.
- Range: The range of a line laser level determines how far the laser beam can reach. Consider the size of your room or space and choose a device with an adequate range for your project.
- Self-Leveling: Self-leveling line laser levels automatically adjust if they are not perfectly level. This feature saves time and ensures accurate lines without the need for constant adjustments.
- Precision Control: Some line laser levels come with adjustable settings to control the line thickness or brightness. This allows for customization based on project requirements.
Setting Up and Calibration
Prior to using a line laser level, it’s crucial to set it up correctly and calibrate it for accurate measurements.
First, ensure that the device is securely mounted on a stable tripod or attached to a mounting bracket. This will prevent any movement or vibrations that could affect the accuracy of the laser lines.
Next, perform the calibration process according to the manufacturer’s instructions. This typically involves setting the device on a level surface and manually adjusting the leveling screws until the bubble or digital display indicates that it’s perfectly level.
By understanding the different types of line laser levels, considering the necessary features, and properly setting up and calibrating the device, you will be well-prepared to tackle the task of laying out recessed lights on your ceiling using a line laser level.
Read more: How To Use Cross Line Laser Level
Tools and Materials Required
Before you can begin using a line laser level to layout ceiling recessed lights, it’s important to gather the necessary tools and materials. Having everything you need on hand will ensure a smooth and efficient process.
Tools
- Line Laser Level: Of course, the main tool you will need is a line laser level. Make sure you have one that suits your project requirements, whether it’s a single line laser level or a multi-line laser level.
- Tripod or Mounting Bracket: A stable base is crucial for securing the line laser level in place. If your line laser level didn’t come with a tripod or mounting bracket, make sure to have one that is compatible.
- Measuring Tape: Accurate measurements are essential for positioning your recessed lights. A measuring tape will help you determine the distances and create precise light layouts.
- Pencils or Marking Tools: You will need pencils or other marking tools to make reference points on the ceiling for the light placement. It’s best to use non-permanent marking tools that can easily be erased later.
- Hole Saw or Recessed Light Cutter: Depending on the type of recessed lights you are using, you may need a hole saw or recessed light cutter to create the openings in the ceiling.
- Electric Drill: An electric drill will be necessary for making holes or cutting openings in the ceiling to accommodate the recessed lights.
- Wire Strippers and Connectors: If you are installing the recessed lights yourself, you will need wire strippers and connectors to properly connect the electrical wiring.
- Safety Gear: Finally, don’t forget to prioritize safety. Wear safety goggles, gloves, and any other protective gear that may be necessary when using tools or handling electrical components.
Materials
- Recessed Lights: Choose the appropriate number and type of recessed lights for your project. Consider factors such as the size of the room, the desired lighting effect, and the available ceiling space.
- Electrical Wiring: If you are installing the recessed lights yourself, make sure you have the necessary electrical wiring for connecting the lights to the power source. Consult with a licensed electrician if you are unsure about the wiring process.
- Mounting Hardware: Depending on the type of recessed lights and the ceiling material, you may need specific mounting hardware, such as brackets or clips, to secure the lights in place.
- Ceiling Patch or Paint: After installing the recessed lights, you may need ceiling patch or paint to cover any holes or imperfections in the ceiling surface.
By gathering all the required tools and materials beforehand, you will be well-prepared and ready to successfully use your line laser level to layout and install your ceiling recessed lights.
Preparing the Ceiling
Before you can start using your line laser level to layout the recessed lights on the ceiling, it’s important to properly prepare the ceiling surface. This involves marking the center point and determining the placement of the lights.
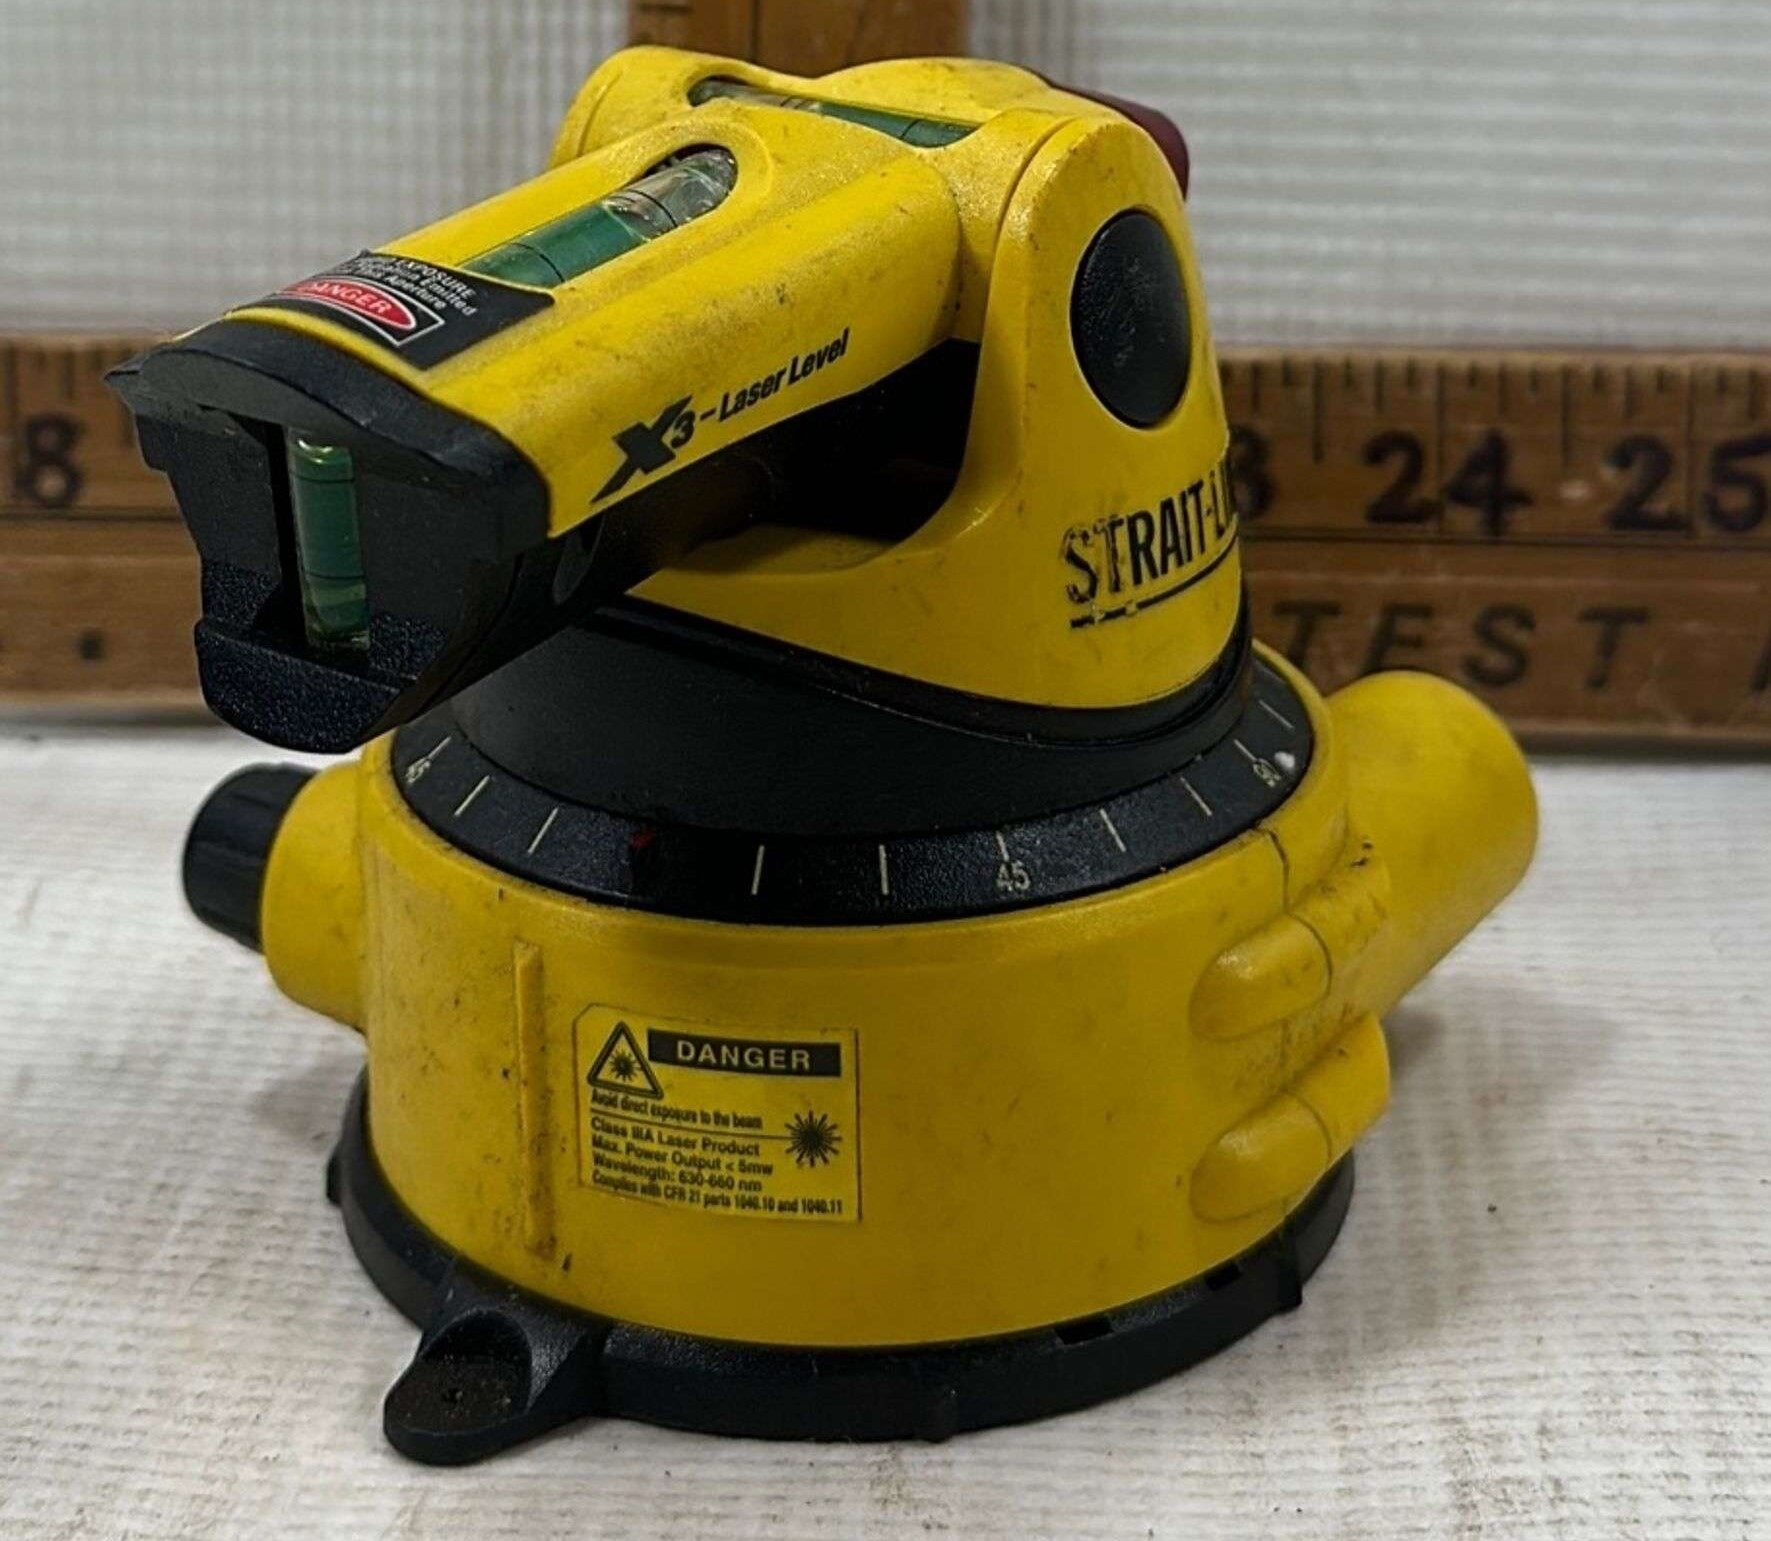
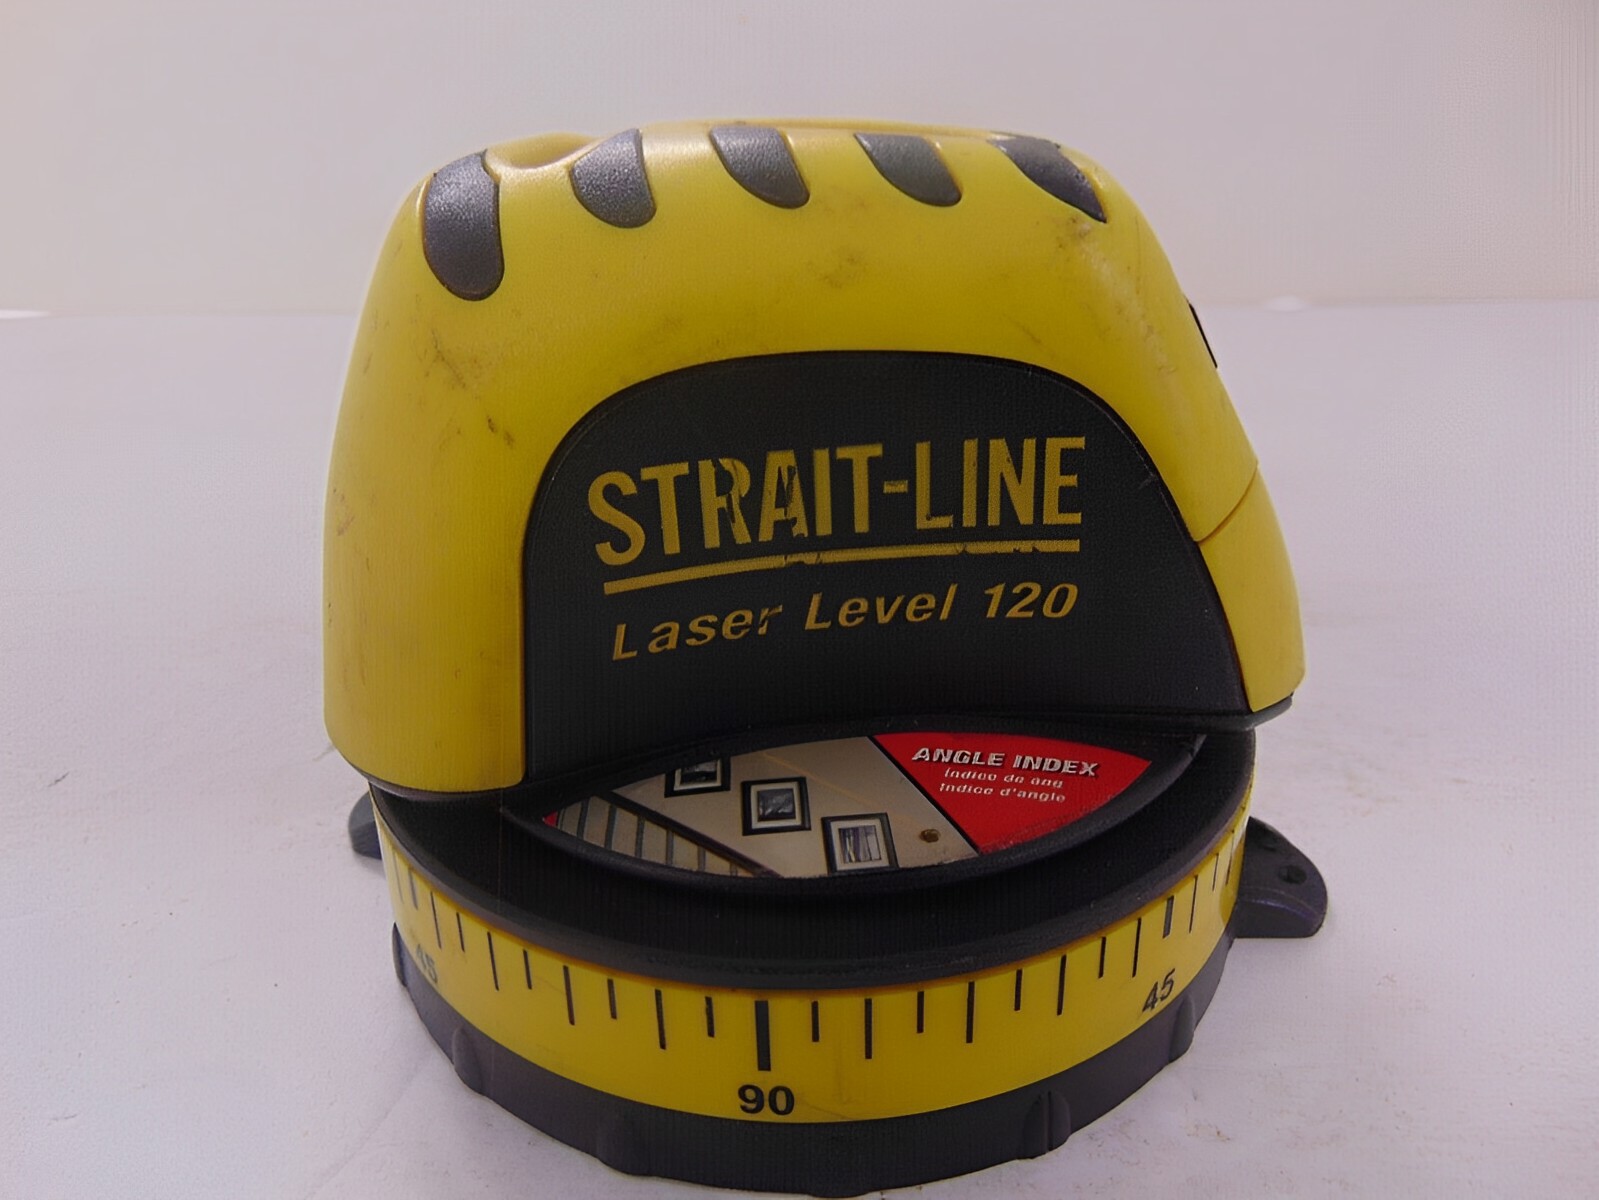
Read more: How To Use A Strait-Line Laser Level 120
Marking the Center Point
The center point of the ceiling will serve as a reference for positioning the first recessed light and establishing the layout. To find the center point, follow these steps:
- Measure the length and width of the ceiling using a measuring tape.
- Add half of the measured width to half of the measured length. This will give you the coordinates of the center point.
- Using a pencil or marking tool, make a small mark at the determined center point on the ceiling.
By marking the center point, you have a starting point for your layout and can ensure that your recessed lights are symmetrically positioned.
Determining Light Placement
After marking the center point, the next step is to determine the placement of the recessed lights. This will depend on various factors, such as the size of the room, the desired lighting effect, and the available ceiling space.
Here are some guidelines to help you with determining light placement:
- Spacing: Generally, recessed lights should be spaced evenly throughout the ceiling, avoiding any clustering or uneven distribution. A common rule of thumb is to place the lights about 4 to 6 feet apart.
- Distance from Walls: Consider the distance between the recessed lights and the walls. Aim to have the lights at an equal distance from the surrounding walls to create a balanced and visually appealing lighting design.
- Furniture and Obstacles: Take into account any furniture, fixtures, or other obstacles in the room that could affect the placement of the recessed lights. Adjust the layout as needed to ensure that the lights are not obstructed or cast shadows in undesirable areas.
- Aesthetics: Pay attention to the overall aesthetics of the room and the desired lighting effect. For example, if you want to highlight a specific area or feature, consider placing additional recessed lights in that area.
By considering these factors and making informed decisions, you can determine the optimal placement of the recessed lights in the ceiling.
Once you have marked the center point and determined the light placement, you are ready to use your line laser level for the actual process of laying out the lights on the ceiling.
Using the Line Laser Level
Now that you have prepared the ceiling by marking the center point and determining the placement of the recessed lights, it’s time to use your line laser level to create the necessary lines for accurate light layout. Here’s a step-by-step guide on how to effectively use the line laser level:
Positioning the Line Laser Level
Start by setting up the line laser level on a stable tripod or mounting bracket. Ensure that it is securely positioned and does not wobble or move during the process. Make sure the laser beam is projected at the desired height and angle.
Read more: How To Use A Five Point Layout Laser Level
Establishing a Horizontal Line
The first step is to establish a horizontal line on the ceiling. This will serve as a reference for aligning the recessed lights and ensuring they are level.
- Turn on the line laser level and adjust its position so that the laser beam creates a clear and straight line across the ceiling.
- Place painter’s tape or masking tape along the path of the laser line. This will help you visualize the line and prevent any accidental smudging or erasure.
- Double-check that the line is level and straight by using a spirit level or by comparing it to reference points, such as the marked center point or existing architectural features.
Creating Vertical Lines
Once the horizontal line is established, you can proceed to create the vertical lines that correspond to the placement of the recessed lights.
- Position the line laser level perpendicular to the established horizontal line.
- Using the laser beam as a guide, project vertical lines on the ceiling where each recessed light will be positioned.
- Make sure the vertical lines are straight and aligned with the horizontal line and each other. Adjust the position of the line laser level if needed.
Checking for Accuracy
After creating the horizontal and vertical lines, it’s important to check for accuracy and make any necessary adjustments before proceeding with the installation of the recessed lights.
- Use a measuring tape to verify that the distances between the vertical lines are consistent and in line with your layout plan.
- Check the alignment of the lines by visually inspecting them from different angles and comparing them to reference points.
- Make any required modifications to the lines, ensuring they are straight, level, and accurately represent the desired light placement.
By following these steps and using your line laser level accurately, you can create precise and reliable lines on the ceiling for the layout of your recessed lights.
Layout and Installation of Recessed Lights
With the lines created using the line laser level as a guide, you are now ready to proceed with the layout and installation of the recessed lights. This involves marking the light positions on the ceiling, cutting holes, wiring the lights, and finally installing them. Follow these steps for a successful installation:
Read more: Why Use A Laser Level For A Drop Ceiling
Marking Light Positions on the Ceiling
Using the vertical lines created by the line laser level, mark the exact positions where the recessed lights will be installed on the ceiling. This will help you ensure that the lights are evenly spaced and aligned with the layout plan.
- Measure the diameter of each recessed light and mark the corresponding size circle on the ceiling using a pencil or marking tool. The center of the circle should align with the marked position on the vertical line.
- Double-check the accuracy of the marked positions and adjust as necessary. Use a measuring tape to ensure consistent spacing between the lights.
Cutting Holes
Once the light positions are marked, it’s time to cut the holes in the ceiling to accommodate the recessed lights. Follow these steps:
- Use a hole saw or a recessed light cutter that matches the diameter of the lights. Position the tool over each marked circle on the ceiling.
- Secure the tool in place and carefully cut through the ceiling material. Follow the manufacturer’s instructions for the specific tool you are using.
- Remove the cutout portion of the ceiling and set it aside.
Wiring the Lights
Before installing the recessed lights, you need to wire them properly to ensure they function correctly. Here’s what you need to do:
- Consult a licensed electrician if you are not familiar with electrical wiring or if local building codes require professional installation.
- Turn off the power to the room at the circuit breaker before working on the electrical wiring. This will ensure your safety.
- Connect the electrical wiring from the ceiling to the wiring in the recessed light fixture. Follow the manufacturer’s instructions and consult an electrician if you are unsure about the wiring process.
- Secure the wiring connections using wire nuts or other appropriate connectors. Make sure they are tight and insulated.
Installing the Lights
With the wiring in place, you can now proceed to install the recessed lights in the cut holes. Here’s how:
- Insert the recessed light fixture into the hole in the ceiling, making sure it fits snugly.
- Follow the manufacturer’s instructions to secure the fixture in place using the provided mounting hardware.
- Attach any additional components, such as trim rings or baffles, to the recessed light fixture according to your desired style and functionality.
Repeat the above steps for each recessed light, ensuring consistency and accuracy in the installation process.
Once all the recessed lights are installed, turn on the power at the circuit breaker and test them to ensure they are functioning properly.
Finally, if there are any gaps or imperfections around the recessed lights, use ceiling patch or paint to cover them and achieve a seamless finish.
With the layout and installation of recessed lights completed, step back and admire the transformed space with its stylish and well-lit ambiance.
Conclusion
Using a line laser level to layout ceiling recessed lights is an efficient and accurate approach to achieving a visually appealing lighting design. By properly understanding the different types of line laser levels, preparing the ceiling, and following the step-by-step process, you can successfully position and install recessed lights with precision.
The line laser level serves as a crucial tool in creating straight and level lines, ensuring that the recessed lights are evenly spaced and aligned. With features like self-leveling and precise control, line laser levels provide the necessary accuracy for professional results.
Before using the line laser level, it is essential to gather the required tools and materials including the line laser level itself, measuring tape, marking tools, hole saw or recessed light cutter, electric drill, wire strippers and connectors, and safety gear. Properly preparing the ceiling by marking the center point and determining light placement is also a critical initial step.
The process of using the line laser level involves positioning it correctly, establishing a horizontal line, creating vertical lines, and checking for accuracy. This ensures that the layout is precise and consistent, guaranteeing a symmetrical and aesthetically pleasing lighting arrangement.
Once the layout is complete, the installation of the recessed lights begins. This includes marking the light positions on the ceiling, cutting holes to accommodate the lights, wiring the lights correctly, and finally installing the fixtures. Following these steps will result in a secure and functional installation.
In conclusion, utilizing a line laser level for laying out ceiling recessed lights simplifies the process and guarantees accurate results. By carefully following the instructions and guidelines throughout, you can create a professionally designed lighting layout that transforms any space into a well-lit and inviting environment.
So, gather your tools, grab your line laser level, and get ready to bring your vision to life with perfectly positioned and installed recessed lights.
Now that you've mastered laying out ceiling recessed lights with a line laser level, why not brighten up your bathroom with some unique lighting solutions? Our guide on bathroom ceiling lighting ideas offers creative ways to illuminate your space, making it more inviting. And if you're itching to tackle more projects around your house, our comprehensive guide on DIY home improvement will get you there. With practical tips and easy-to-follow instructions, you'll be enhancing your home like a pro in no time!
Frequently Asked Questions about How To Use Line Laser Level To Layout Ceiling Recessed Lights
Was this page helpful?
At Storables.com, we guarantee accurate and reliable information. Our content, validated by Expert Board Contributors, is crafted following stringent Editorial Policies. We're committed to providing you with well-researched, expert-backed insights for all your informational needs.


0 thoughts on “How To Use Line Laser Level To Layout Ceiling Recessed Lights”