Articles
How To Repair Chewed Attic Wires
Modified: December 7, 2023
Learn effective techniques for repairing chewed attic wires with our informative articles. Protect your home from electrical hazards and ensure proper functioning of your electrical system.
(Many of the links in this article redirect to a specific reviewed product. Your purchase of these products through affiliate links helps to generate commission for Storables.com, at no extra cost. Learn more)
Introduction
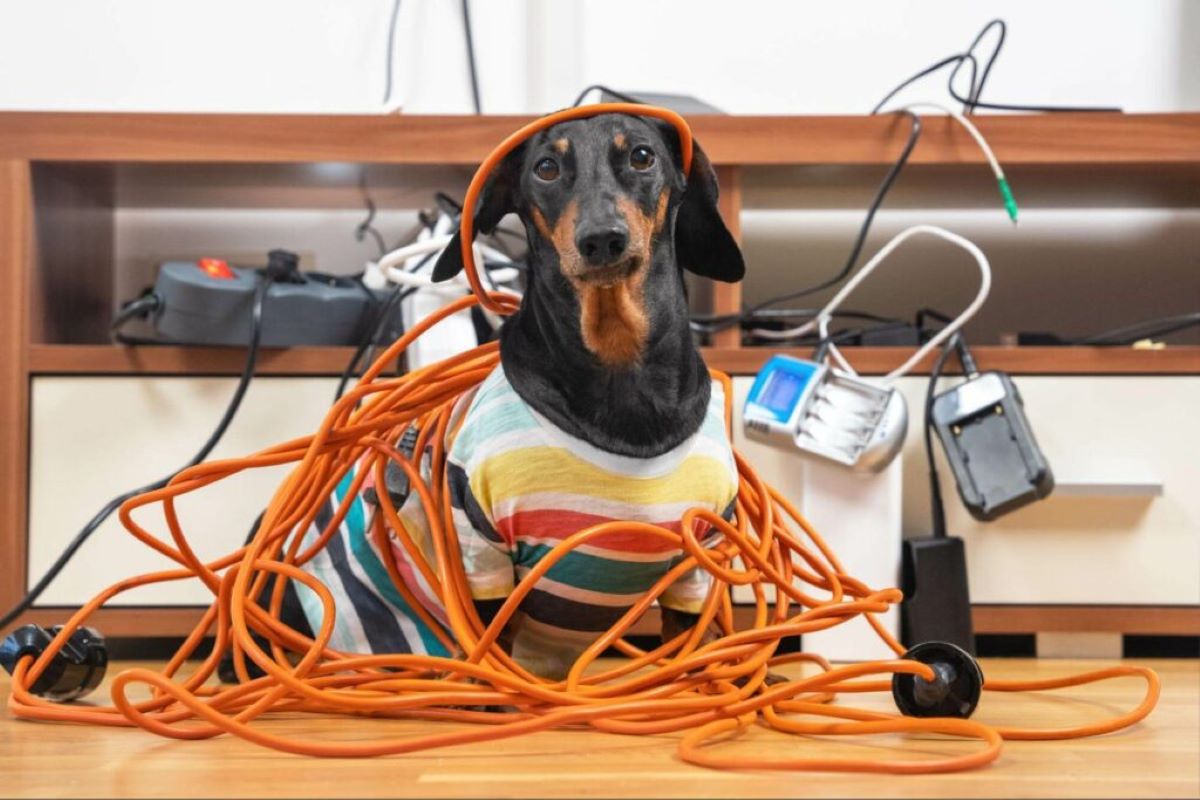
Welcome to our comprehensive guide on how to repair chewed attic wires. If you’ve discovered chewed wires in your attic, it’s crucial to address the problem promptly to avoid potential hazards such as electrical fires or power outages. Whether it was caused by rodents, insects, or any other critter, it is imperative to address the issue swiftly and effectively to ensure the safety and functionality of your electrical system.
In this article, we will provide you with the knowledge and step-by-step instructions you need to repair chewed attic wires. We will also cover safety precautions, material requirements, and tips on preventing future damage.
Before undertaking any electrical repair work, it is essential to emphasize the importance of safety. If you are not comfortable working with electricity, we highly recommend consulting a professional electrician. However, if you feel confident in your abilities and want to tackle the task yourself, we will provide you with the necessary guidance.
So, let’s dive in and learn how to repair those chewed attic wires and restore the electrical integrity of your home!
Key Takeaways:
- Promptly addressing chewed attic wires is crucial to prevent electrical hazards. Follow safety precautions, gather materials, assess damage, and repair wires to ensure a safe and functional electrical system.
- Identifying culprits, splicing wires, and testing repairs are essential steps. Implement preventive measures to avoid future damage, prioritize safety, and seek professional help when needed.
Read more: How To Wire An Attic Fan With Thermostat
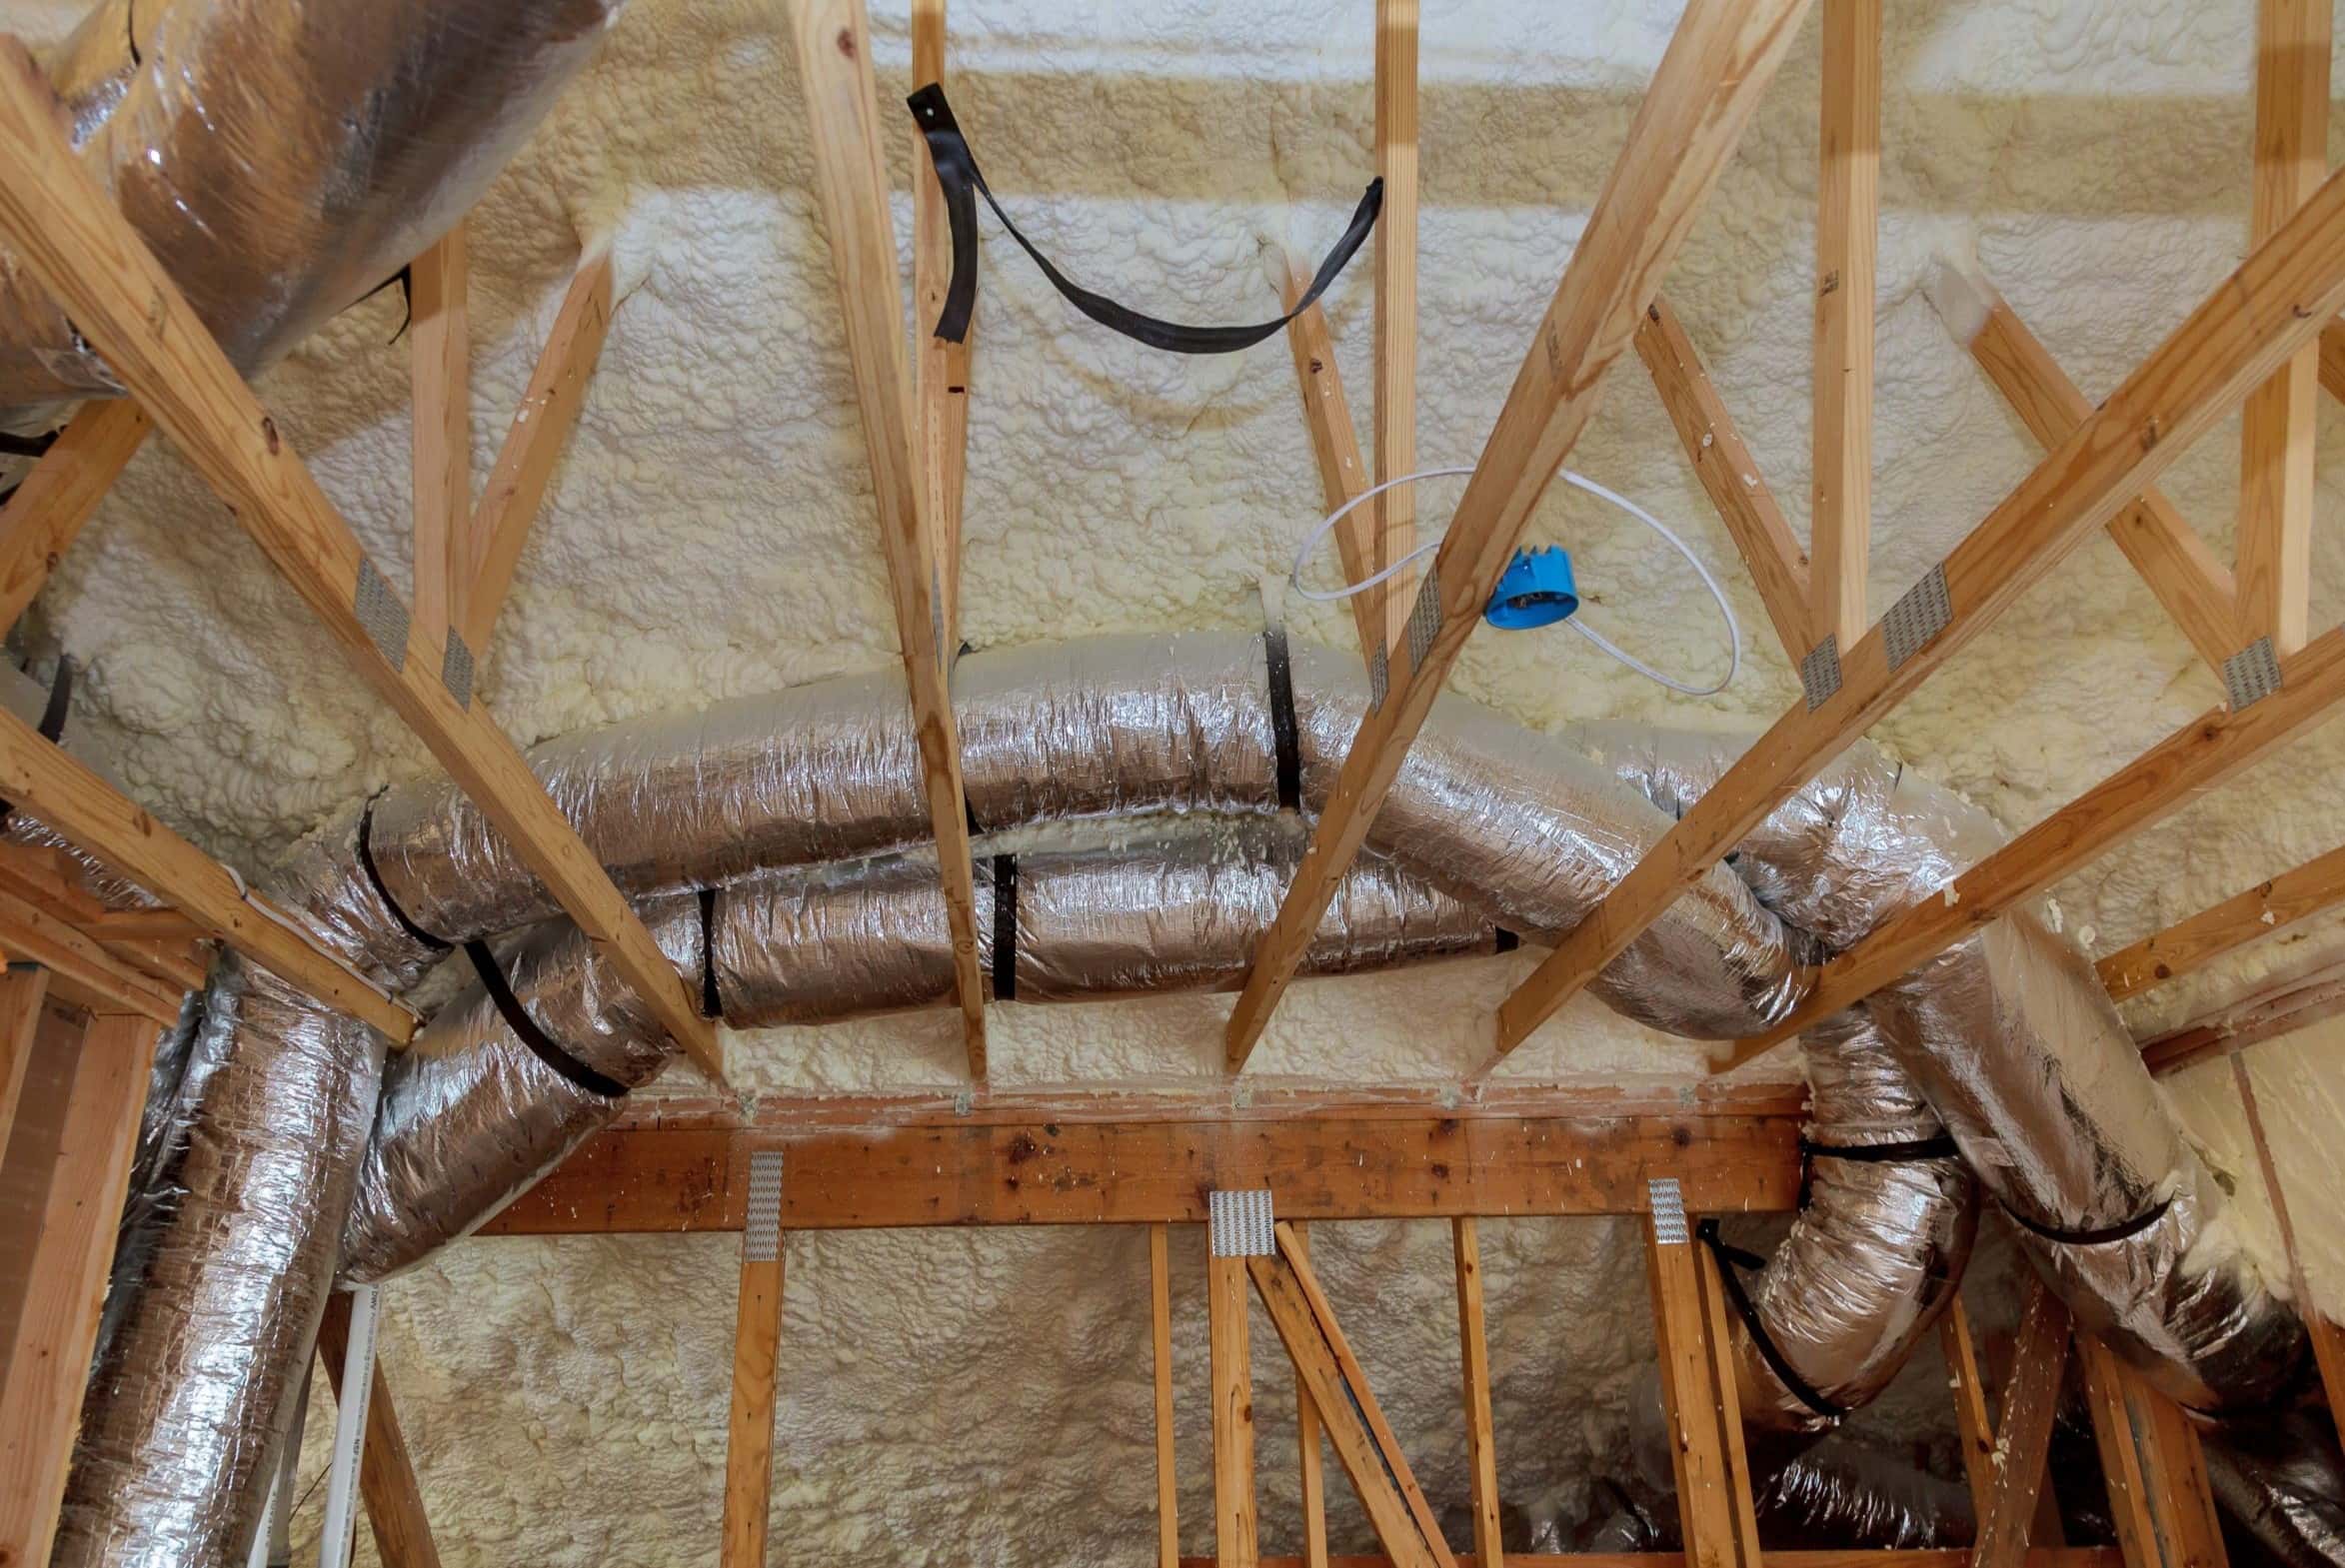
Understanding the Damage from Chewed Attic Wires
When it comes to chewed attic wires, the damage can pose serious risks to your home’s electrical system and overall safety. Animals, especially rodents like mice and rats, have a natural tendency to chew on things, including electrical wires. This destructive behavior puts your home at risk of electrical malfunctions, short circuits, power outages, and even fires.
Chewed wires can result in a variety of issues, depending on the severity of the damage. Some of the common problems include:
- Exposed Conductors: When a wire is chewed, the protective insulation is often stripped away, leaving the conductive material exposed. This exposes the wires to the surrounding environment, making them vulnerable to moisture, corrosion, and other potential causes of electrical failure.
- Wire Breaks: In some cases, the chewed wires can be completely severed, resulting in a complete electrical interruption. This can lead to power outages in specific areas of your home or even affect the entire electrical system.
- Short Circuits: If the chewed wires come into contact with each other or with other conductive surfaces, it can create a short circuit. This can cause sparks, overheating, and pose a significant fire hazard.
- Damage to Other Components: Chewed wires can also damage other electrical components connected to the affected wires, such as switches, outlets, circuit breakers, or appliances. This can lead to malfunctioning or even the permanent damage of these devices.
It is crucial to understand the potential risks associated with chewed attic wires. By recognizing the possible consequences, you can take immediate action to repair the damage and prevent further complications.
Next, we will guide you through the necessary safety precautions to ensure your well-being during the repair process.
Safety Precautions
Repairing chewed attic wires involves working with electrical components, which can be dangerous if proper safety precautions are not followed. To ensure your well-being during the repair process, it is essential to take the following safety precautions:
- Turn Off Power: Before starting any work on the electrical system, make sure to turn off the power supply to the affected area. Locate the circuit breaker that controls the attic and switch it off. Use a voltage tester to double-check that the power is truly off before proceeding.
- Wear Protective Gear: Always wear personal protective equipment (PPE), including safety goggles, gloves, and non-conductive footwear. PPE will safeguard you from potential electrical shocks, cuts, and other hazards.
- Ensure Proper Ventilation: Attics can sometimes have limited ventilation, which can lead to poor air quality. Open windows or use fans to improve ventilation and prevent the accumulation of harmful fumes from soldering or related tasks.
- Work in a Well-Lit Area: Adequate lighting is crucial for performing electrical repairs safely. Ensure that the attic is properly lit before starting any work. Use portable lights or bring a flashlight to improve visibility.
- Avoid Water Sources: Make sure that the attic and the surrounding areas are dry during the repair process. Avoid working on wet surfaces or in rainy conditions, as water can pose a significant electrical hazard.
- Follow Proper Wiring Techniques: When repairing chewed wires, it is important to follow correct wiring techniques. Use insulated connectors, heat shrink tubing, or electrical tape to ensure secure and well-insulated connections.
- Test Before Touching: Once the repairs are complete, double-check your work and test the repaired wires with a voltage tester before touching them. This will help ensure that the power is safely restored.
By adhering to these safety precautions, you can minimize the risks involved in repairing chewed attic wires and ensure your well-being throughout the process. Now that we have covered the necessary safety measures, we can move on to gathering the materials needed for the repair.
Gather Necessary Materials
Before you begin repairing the chewed attic wires, it is essential to gather all the necessary materials and tools. Having everything ready beforehand will streamline the repair process and ensure that you have everything you need at hand. Here are the materials and tools that you will require:
- Electrical Tape: Electrical tape is an essential item for insulating and securing wire connections. Make sure you have a good quality electrical tape that is designed specifically for electrical repairs.
- Wire Strippers: Wire strippers are used to remove the insulation from the wires. They come in various sizes, so make sure to have a pair that is suitable for the gauge of the wires you are working with.
- Wire Connectors: Wire connectors, also known as wire nuts, are used to join wires together securely. They come in different sizes to accommodate various wire gauges, so ensure that you have connectors that are appropriate for your wires.
- Heat Shrink Tubing: Heat shrink tubing provides excellent insulation for wire connections. It shrinks when heat is applied, creating a tight and secure seal. Make sure to have a few sizes of heat shrink tubing available to accommodate different wire diameters.
- Screwdrivers: Depending on the type of electrical connections in your attic, you may need a variety of screwdrivers. It’s a good idea to have a set of both flathead and Phillips head screwdrivers in different sizes.
- Wire Cutters: Wire cutters are essential for cutting wires to the desired lengths. Choose a pair of wire cutters that are durable and have sharp cutting edges.
- Voltage Tester: A voltage tester is used to confirm that the power is off before starting any work on the wires. It ensures your safety by detecting any live electrical currents.
- Soldering Iron and Solder: If the damage to the wires is severe, you may need to solder the wires back together. A soldering iron and solder will be required for this task. Make sure you have experience with soldering before attempting this, or consult a professional if needed.
- Personal Protective Equipment (PPE): Ensure that you have the appropriate personal protective equipment, including safety goggles, gloves, and non-conductive footwear.
Make sure to have all these materials organized and readily accessible before you start repairing the chewed attic wires. Having everything on hand will prevent unnecessary delays and make the repair process smoother.
Now that we have gathered the necessary materials, we can move on to assessing the extent of the damage caused by the chewed wires.
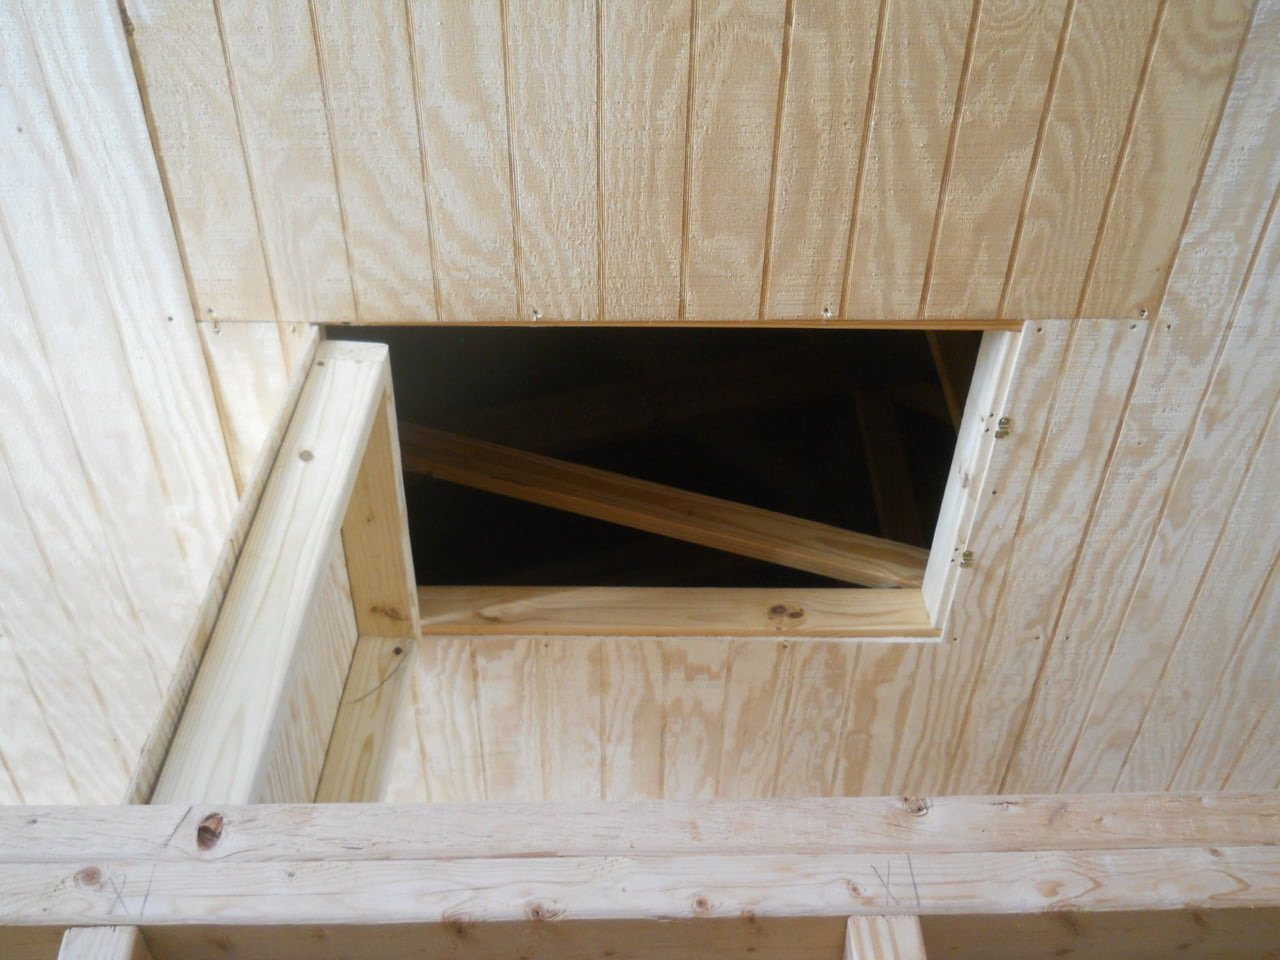
Assessing the Extent of the Damage
Before you can proceed with repairing the chewed attic wires, it is crucial to assess the extent of the damage. This step will help you determine the scope of the repair work required and ensure that you address all affected areas. Here are a few steps to guide you in assessing the damage:
- Inspect the Wires: Begin by carefully examining the chewed wires in your attic. Look for any signs of exposed conductors, wire breaks, or damage to the insulation. Take note of the specific areas where the damage is present.
- Check Surrounding Components: Inspect the surrounding electrical components, such as switches, outlets, and circuit breakers. Look for any signs of damage or discoloration, as chewed wires can affect these components as well.
- Test Functionality: If there are any electrical devices or systems connected to the chewed wires, test their functionality. This will help you determine if there are any additional issues resulting from the damage.
- Map Out the Wiring: If possible, create a diagram or take pictures of the wiring layout in your attic. This will serve as a reference point during the repair process and help identify the correct connections.
- Identify Potential Causes: Try to identify the source of the damage. Look for signs of rodent activity, such as droppings or gnaw marks. This will help you take preventive measures to avoid future damage.
By carefully assessing the extent of the damage, you will have a better understanding of the repair work that needs to be done. Additionally, this assessment will help you gather the necessary materials and plan your repair strategy accordingly.
Next, let’s explore how to identify the culprit responsible for the chewed attic wires.
Read more: How To Extend Electrical Wire In Attic
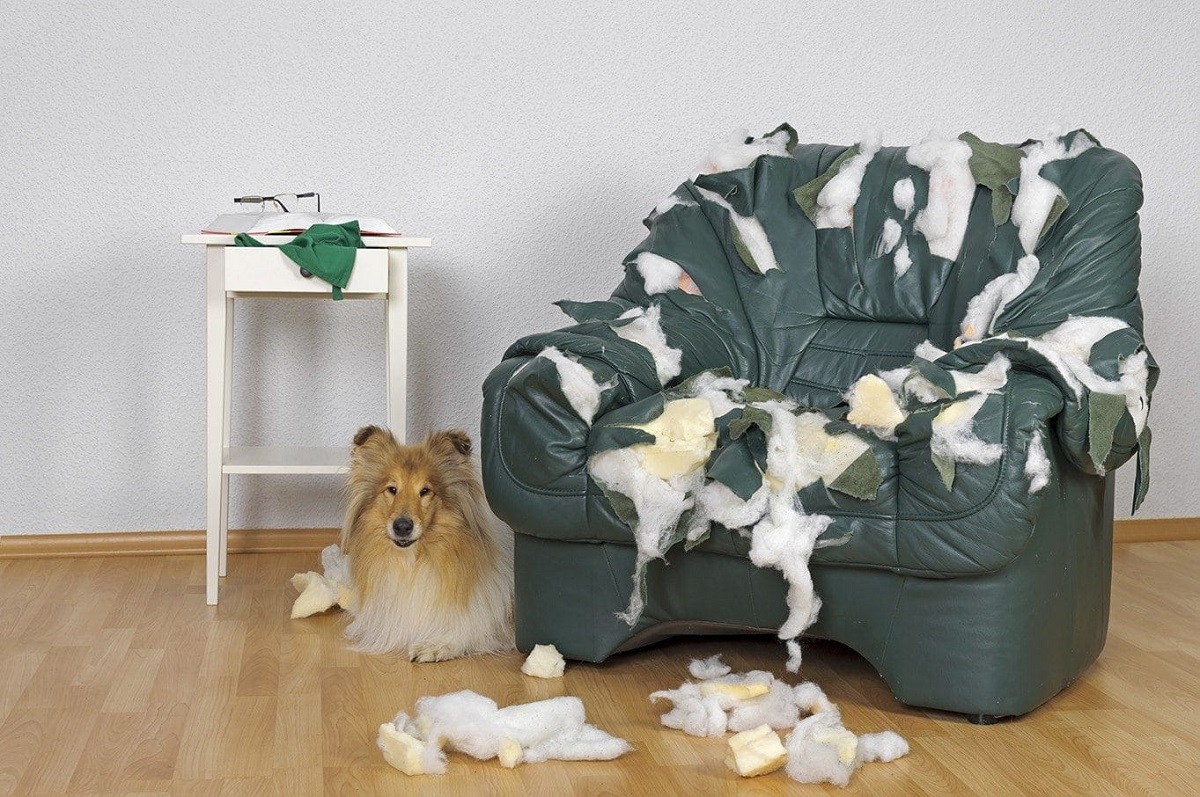
Identifying the Culprit
When you discover chewed attic wires, it’s important to identify the culprit responsible for the damage. Understanding the culprit can help you take appropriate measures to prevent future occurrences. Here are some steps to help you identify the culprit:
- Look for Physical Evidence: Start by examining the area around the chewed wires for any physical evidence left behind. Look for droppings, gnaw marks, or nests. These can provide clues about the type of animal that caused the damage.
- Consider the Location: The location of the chewed wires can also give hints about the culprit. Mice and rats, for example, are known to inhabit attics and crawl spaces.
- Inspect Other Areas: Expand your investigation to other parts of your home. Check for signs of infestation or damage in other areas such as basements, garages, or utility rooms. This can help determine if the issue is localized or if you’re dealing with a larger pest problem.
- Set Up Traps: If you suspect rodents, set up traps in strategic locations to catch the culprits in action. This will help confirm their presence and allow you to take appropriate pest control measures.
- Consult Pest Control Experts: If you’re having trouble identifying the culprit or if the infestation seems severe, it’s advisable to seek professional help from pest control experts. They have the knowledge and tools to assess the situation and implement effective measures to eliminate the pests.
Identifying the culprit responsible for the chewed attic wires is important not only for repairing the damage but also for preventing future occurrences. Once you have identified the culprit, you can take appropriate actions to eliminate the pests and secure your home from further damage.
Now that we have explored how to identify the culprit, let’s proceed to the next step: repairing the chewed attic wires.
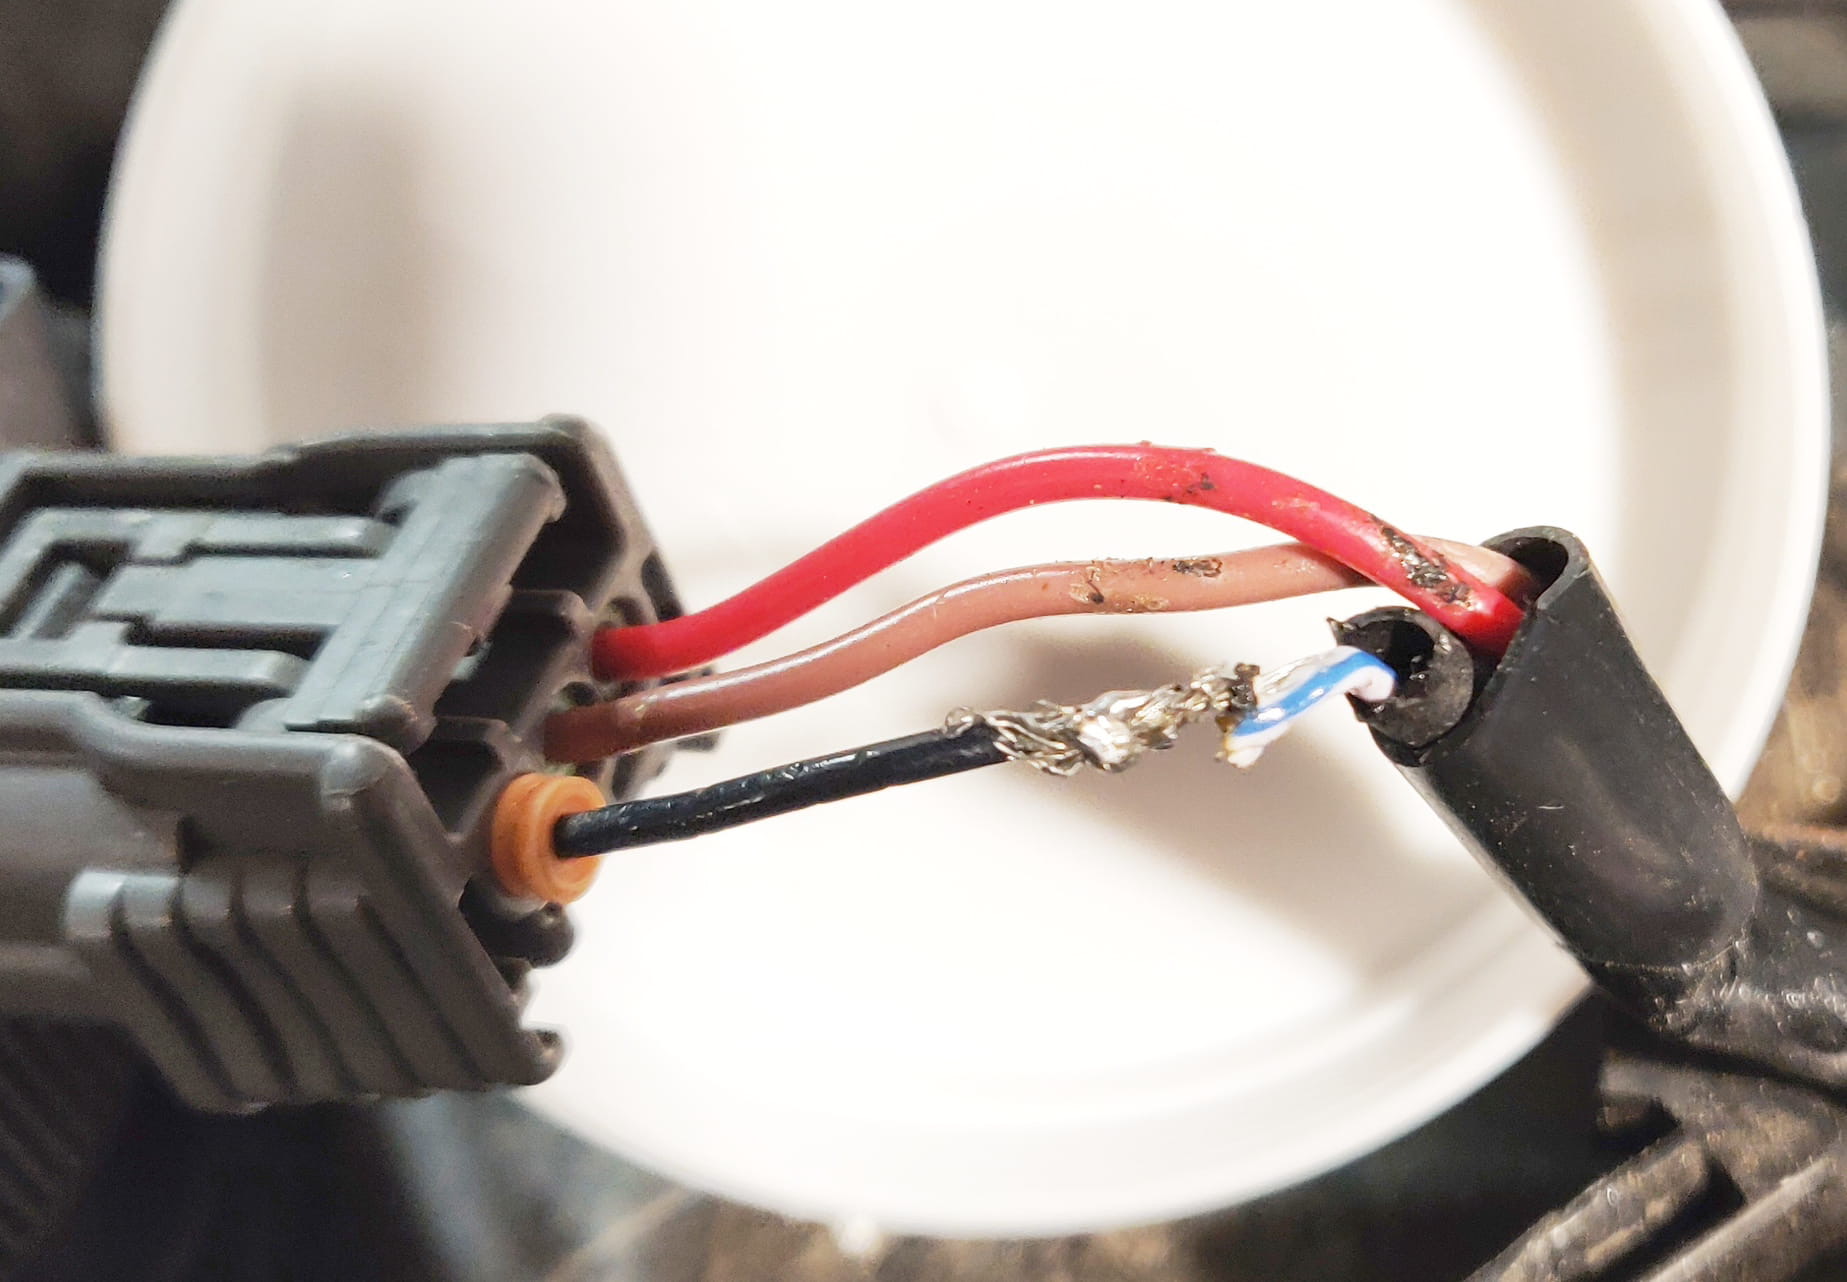
When repairing chewed attic wires, make sure to turn off the power to the affected area before attempting any repairs. Use electrical tape to cover any exposed wires and consider hiring a professional electrician for more extensive damage.
Repairing Chewed Attic Wires
Now that you have assessed the extent of the damage and identified the culprit, it’s time to focus on repairing the chewed attic wires. Follow these step-by-step instructions to restore the integrity of your electrical system:
- Turn Off the Power: Before you begin any repair work, make sure to turn off the power supply to the affected area. Switch off the circuit breaker that controls the attic to ensure your safety.
- Expose the Damaged Area: Carefully remove any damaged or chewed insulation to expose the wires in the affected area. Use wire strippers to remove the insulation from the wire ends, ensuring a clean and smooth surface.
- Cut Out the Damaged Section: If the wire has severe damage or breaks, cut out the damaged section using wire cutters. Make sure to leave enough wire length on both sides for splicing.
- Strip the Wire Ends: Use wire strippers to remove about 0.5 to 1 inch of insulation from the wire ends. This will expose the conductive material for making secure connections.
- Splice the Wires: If the damage is localized and the wires can be spliced, twist the corresponding wires together. Use wire connectors or solder the connections (if you are experienced with soldering) to ensure a strong and reliable joint. Make sure to follow proper wiring techniques and maintain the correct polarity.
- Insulate the Connections: Once the wires are securely spliced, apply electrical tape or use heat shrink tubing to insulate and protect the connections. Ensure that the exposed conductors are completely covered to prevent any future issues.
- Secure the Repaired Wires: Use cable clips or zip ties to secure the repaired wires in place and prevent any strain or movement. This will help maintain the integrity of the connections.
Remember, if you are not comfortable with electrical repairs or if the damage is extensive, it is best to consult a professional electrician to ensure the repairs are done correctly and safely.
With the chewed attic wires now repaired, it’s important to test the connections to ensure they are functioning properly before restoring the power.
Continue reading for a step-by-step guide on how to test the repaired wires and ensure a successful restoration of the electrical system.
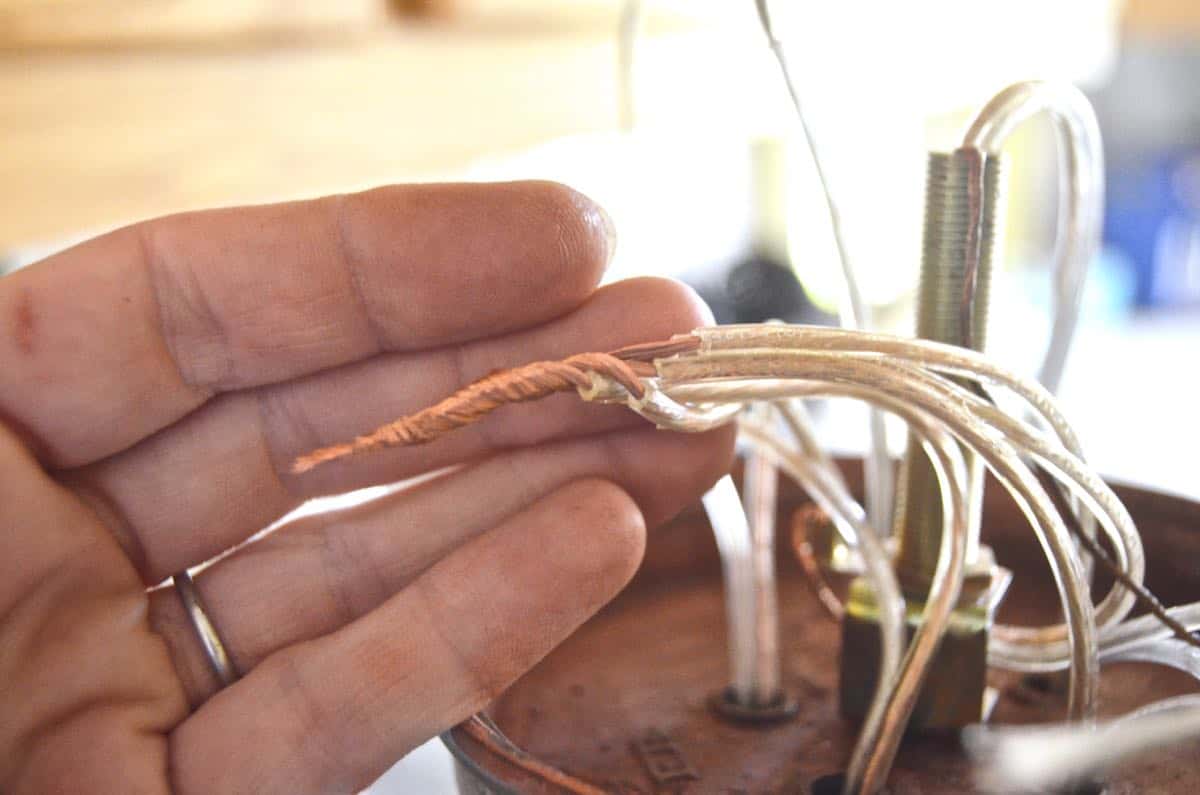
Step-by-Step Guide to Splicing Wires
Splicing wires is a crucial step in repairing chewed attic wires. This ensures a secure and reliable connection, allowing for the restoration of electrical functionality. Here is a step-by-step guide to help you splice wires effectively:
- Prepare the Wires: Strip about 0.5 to 1 inch of insulation from the ends of the wires that need to be spliced. Ensure that the exposed conductors are clean and free from any frayed or damaged strands.
- Twist the Wires: Take the corresponding wires that you want to join together and twist them tightly in a clockwise direction. This will create a snug connection and ensure good conductivity.
- Insert a Wire Connector: Slide a correctly sized wire connector over the twisted wires. Ensure that all the exposed conductors are securely inserted into the connector. The connector should cover the twisted portion and provide a stable connection.
- Tighten the Wire Connector: Using your fingers or pliers, twist the wire connector clockwise until it is firmly secured. This will ensure that the wires are tightly connected and prevent them from coming loose.
- Check the Connection: Give the wires a gentle tug to confirm that they are securely anchored within the wire connector. Ensure that there is no movement or looseness in the connection.
- Insulate the Connection: Once the wires are spliced and securely connected, use electrical tape or heat shrink tubing to insulate the exposed conductors. Wrap the insulation around the connection several times, ensuring that all the exposed areas are covered. This will provide protection against moisture and prevent any potential short circuits.
It is crucial to follow proper wiring techniques and ensure a solid and secure splice. A poorly executed splice can result in a weak connection, electrical faults, or even further damage to the wires.
Remember to test the repaired wires after splicing to ensure they are functioning correctly. Let’s explore how to test the repaired wires in the next section.
Testing the Repaired Wires
Once you have completed the splice and insulation of the repaired wires, it’s important to test them to ensure they are functioning properly and safely. Testing the repaired wires will help confirm that the connection is secure and that electrical power is flowing as intended. Follow these steps to test the repaired wires:
- Turn Off the Power: Before conducting any tests, ensure that the power to the repaired circuit is switched off. This is crucial for your safety and to prevent any damage to the repaired wires.
- Reconnect or Restore the Power: Once the power is turned off, reconnect or restore the power to the repaired circuit by switching on the circuit breaker.
- Perform a Visual Inspection: Inspect the repaired wires and surrounding electrical components for any signs of heat, sparks, smoke, or unusual odors. If you detect any abnormalities, immediately turn off the power and re-evaluate the repair.
- Use a Voltage Tester: Utilize a voltage tester to check the voltage in the repaired wires. Touch the voltage tester to the exposed conductors or the terminals connected to the repaired wires. If the voltage tester does not register any voltage or electrical activity, the repair was successful.
- Test the Functionality: If there are electrical devices or systems connected to the repaired wires, test their functionality. Switch on lights, outlets, or any other electrical components to ensure they are receiving power and operating as expected.
- Monitor for Any Issues: Keep an eye on the repaired wires and the connected components for a period of time to ensure they remain in proper working condition and don’t exhibit any abnormal behavior or malfunctions.
By performing these tests, you can verify that the repaired wires are functioning correctly and that the electrical power is flowing smoothly through the circuit. If any issues, abnormalities, or concerns arise during the testing process, it is crucial to seek professional assistance from a certified electrician to address the problem.
Now that you have successfully repaired and tested the chewed attic wires, it’s important to take measures to prevent future damage. Let’s explore some tips for preventing future occurrences in the next section.
Read more: How To Clean Bat Poop In Attic
Preventing Future Damage
To avoid future damage to your attic wires from chewing critters, it’s important to take preventive measures. By implementing these tips, you can minimize the risk of recurring issues and maintain the integrity of your electrical system:
- Seal Entry Points: Inspect your attic for any openings or gaps that may serve as entry points for pests. Seal these areas using steel wool, caulk, or other appropriate materials. Pay attention to gaps around pipes, vents, and conduits.
- Trim Back Vegetation: Ensure that tree branches, bushes, and shrubs are kept well-trimmed and away from your home’s exterior. Overhanging branches can provide a pathway for pests to access your attic.
- Secure Vent Openings: Install mesh screens or wire grilles over ventilation openings to prevent critters from entering through these openings while still allowing for proper airflow.
- Maintain a Clean Attic: Keep your attic free of clutter and food sources that may attract pests. Regularly inspect and clean the attic to discourage critters from making it their home.
- Store Food Properly: If you store any food items in your attic, ensure they are stored in airtight containers made of durable materials that pests cannot access.
- Use Pest Repellents: Consider using natural or commercial pest repellents that are effective in deterring critters. Additionally, you can install ultrasonic devices that emit high-frequency sound waves, which pests find uncomfortable.
- Consult a Pest Control Expert: If you continue to experience issues with pests in your attic despite implementing preventive measures, it may be necessary to seek professional assistance from a pest control expert. They can assess the situation, recommend targeted solutions, and implement effective pest control measures.
By proactively implementing these preventive measures, you can significantly reduce the likelihood of future damage to your attic wires caused by chewing critters.
To conclude, if you ever encounter chewed attic wires, it is important to address the issue promptly to ensure the safety of your electrical system. Follow the steps outlined in this guide to repair the damaged wires and take necessary precautions to prevent future occurrences.
Remember, electrical repairs can be complex and potentially dangerous. If at any point you feel unsure or uncomfortable, it is recommended to seek professional assistance from a licensed electrician.
With the proper repairs and preventive measures in place, you can rest assured that your attic wires are safe and your electrical system is functioning optimally.
Conclusion
Repairing chewed attic wires is a crucial task that should not be taken lightly. The presence of chewed wires poses significant risks to your home’s electrical system and overall safety. By following the steps outlined in this comprehensive guide, you can effectively repair the damage and ensure the integrity of your electrical system.
Throughout this guide, we covered various important aspects, including understanding the damage caused by chewed attic wires, safety precautions, gathering the necessary materials, assessing the extent of the damage, identifying the culprit, and the step-by-step process of repairing and testing the chewed wires.
It is vital to emphasize the importance of safety when working with electricity. If you are not comfortable or experienced in electrical repairs, it is highly recommended to consult a professional electrician to ensure the job is done correctly and safely.
In addition to repairing the chewed attic wires, we also discussed the importance of preventing future damage. By implementing preventive measures such as sealing entry points, maintaining a clean attic, and using pest repellents, you can minimize the risk of recurring issues.
Remember, the key to preventing further damage lies in regular inspections, timely repairs, and proper maintenance of your attic and electrical system. Stay vigilant and address any signs of damage promptly to maintain the safety and functionality of your home.
We hope that this comprehensive guide has provided you with the knowledge and guidance to confidently repair chewed attic wires and prevent future occurrences. By following the steps outlined in this guide and prioritizing safety, you can ensure a well-maintained and secure electrical system within your home.
If you ever encounter any electrical issues beyond your expertise, do not hesitate to seek assistance from a qualified professional. Your safety and the well-being of your home should always be the top priority.
Thank you for reading, and we wish you success in repairing and maintaining your attic wires!
Frequently Asked Questions about How To Repair Chewed Attic Wires
Was this page helpful?
At Storables.com, we guarantee accurate and reliable information. Our content, validated by Expert Board Contributors, is crafted following stringent Editorial Policies. We're committed to providing you with well-researched, expert-backed insights for all your informational needs.


0 thoughts on “How To Repair Chewed Attic Wires”