Home>Home Security and Surveillance>How To Run Security Camera Wires Through The Attic
Home Security and Surveillance
How To Run Security Camera Wires Through The Attic
Modified: August 28, 2024
Learn how to run security camera wires through your attic for your home security and surveillance needs.
(Many of the links in this article redirect to a specific reviewed product. Your purchase of these products through affiliate links helps to generate commission for Storables.com, at no extra cost. Learn more)
Introduction
When it comes to home security, installing surveillance cameras can be a crucial step in safeguarding your property and loved ones. However, running camera wires through your home can be a challenging task, especially when dealing with hard-to-reach areas like the attic. Luckily, with the right tools and techniques, you can easily run security camera wires through the attic without much hassle.
In this article, we will guide you through the step-by-step process of running security camera wires through the attic. By following these instructions, you can ensure a clean and professional installation while minimizing any potential damage to your home’s structure.
Before we dive into the details, let’s take a look at the tools and materials you will need for this project.
Key Takeaways:
- Plan the camera placement carefully to cover vulnerable areas and determine the type of camera needed for effective surveillance. Consider the camera angle and field of view for comprehensive coverage.
- Prepare the attic space by clearing clutter, checking for obstructions, and creating a clear path for the wires. Measure and cut the wires accurately, and secure them neatly along the attic to ensure a smooth installation process.
Read more: How To Run A Dryer Vent Through The Attic
Tools and Materials Needed
Before you begin running security camera wires through the attic, it’s important to gather all the necessary tools and materials. Here’s a list of items you will need:
- Wire cutters
- Drill with a long drill bit
- Fish tape or fish rods
- Measuring tape
- Staple gun or cable clips
- Screwdriver
- Cable stripper
- Power drill
- Ethernet cables or coaxial cables (depending on your camera system)
- Camera mounting brackets
- Attic access ladder or step ladder
These tools and materials are essential for a successful camera wire installation. Ensure that you have them ready before starting the project to avoid delays or interruptions.
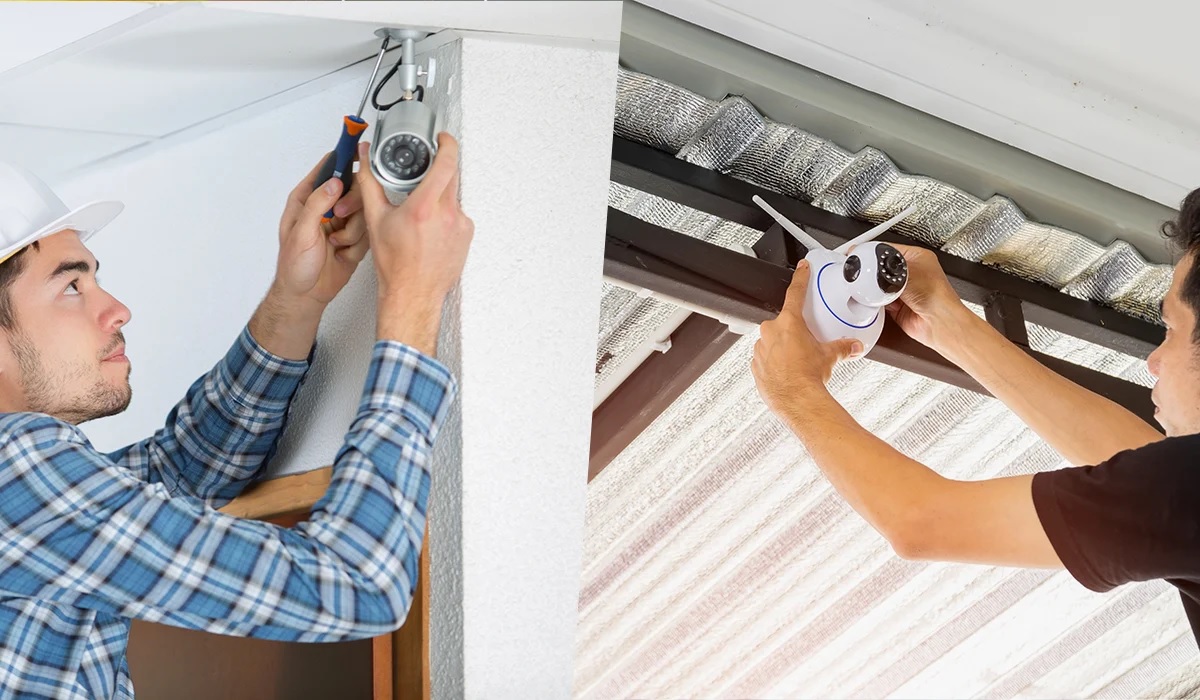
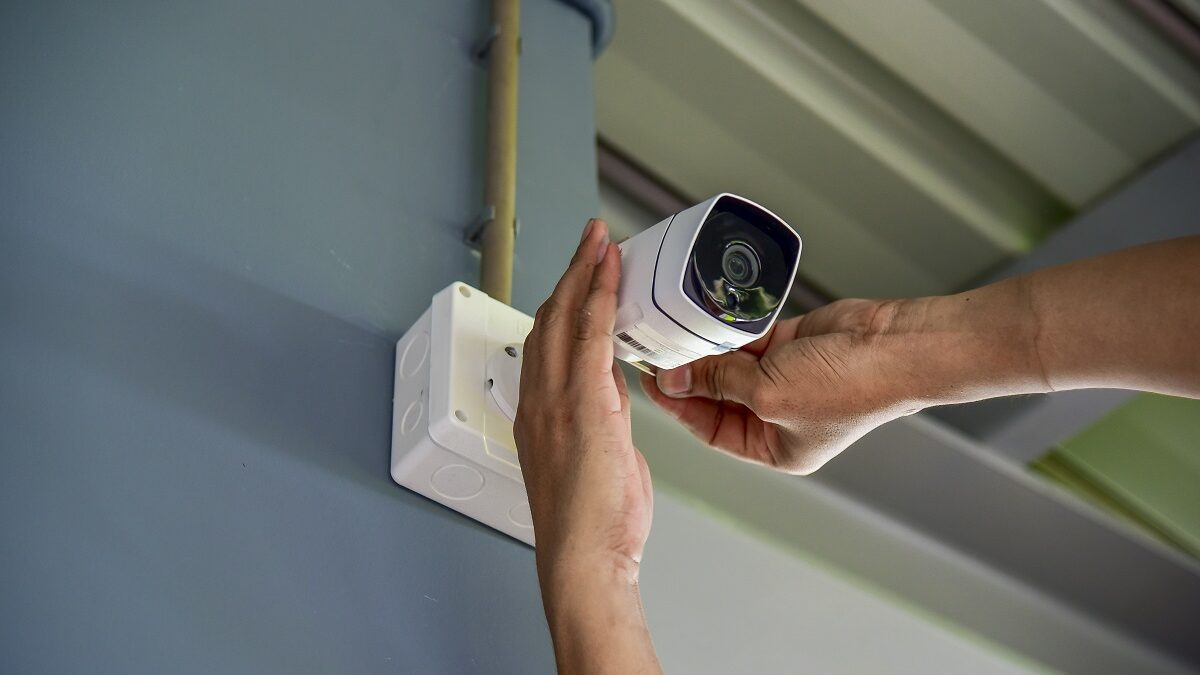
Step 1: Plan the Camera Placement
Before running the camera wires through the attic, it’s crucial to plan the placement of your surveillance cameras. Determine the areas of your property that require monitoring and choose the appropriate camera locations.
Here are a few tips to help you with the camera placement:
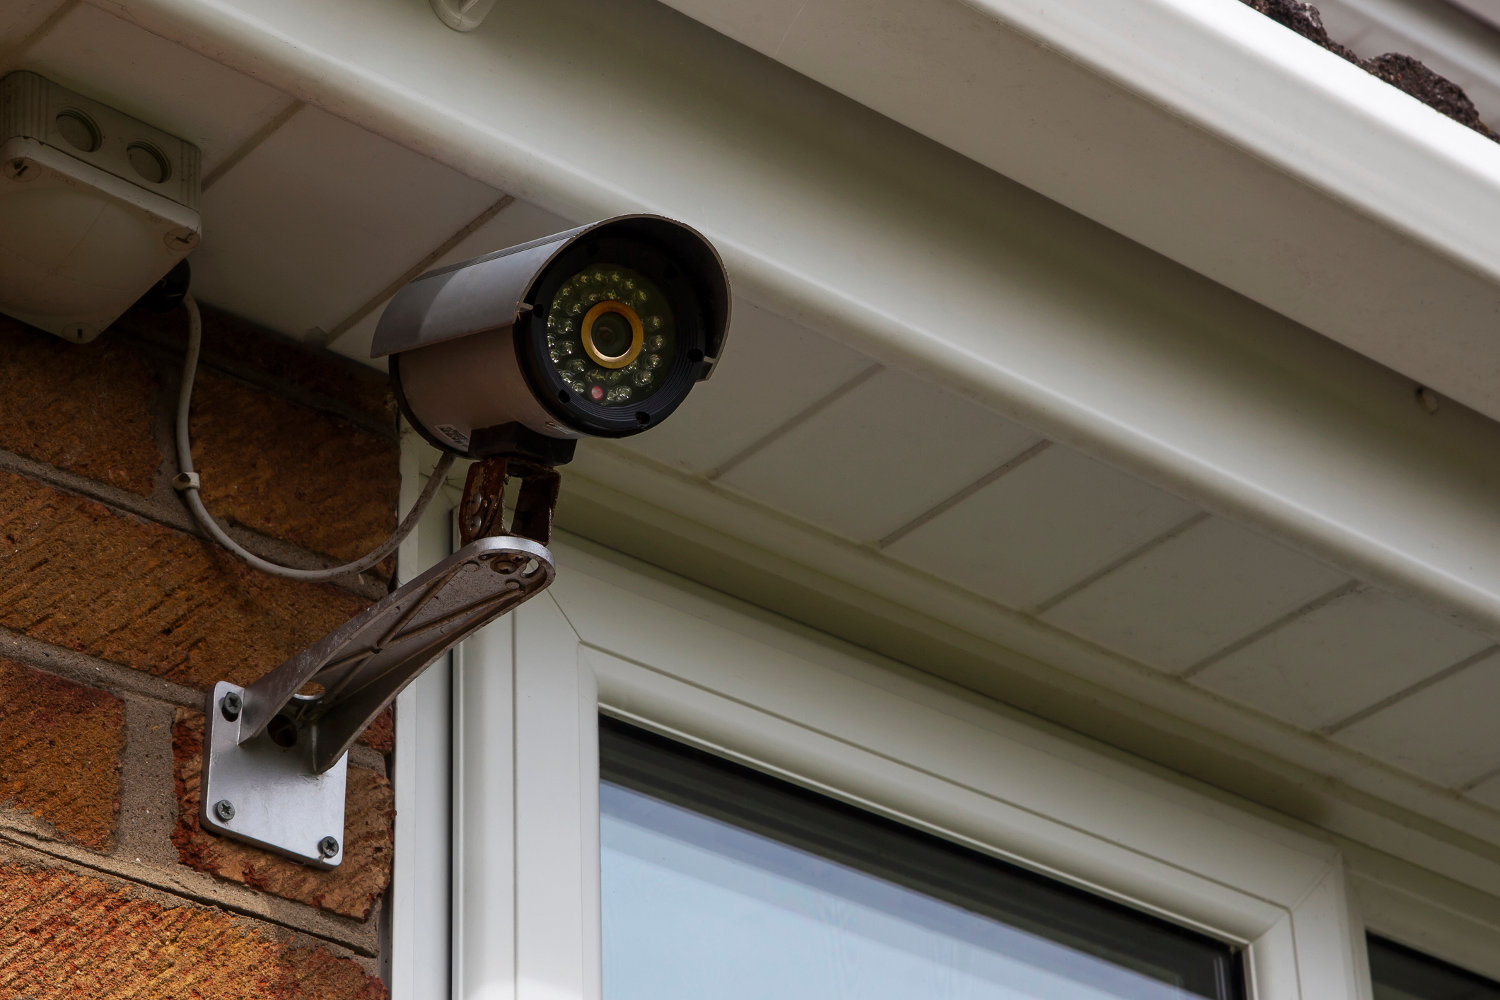
- Identify the vulnerable areas: Think about the entry points and vulnerable areas of your home, such as doors, windows, and blind spots. These are the areas where you need to install cameras for maximum security.
- Determine the camera type: Decide whether you need indoor or outdoor cameras. Outdoor cameras should be weatherproof and have night vision capabilities. Indoor cameras may have less stringent requirements.
- Consider the camera angle and field of view: Ensure that the camera angle covers the desired area effectively and provides a clear view. Adjust the camera’s positioning to avoid obstacles or obstructions.
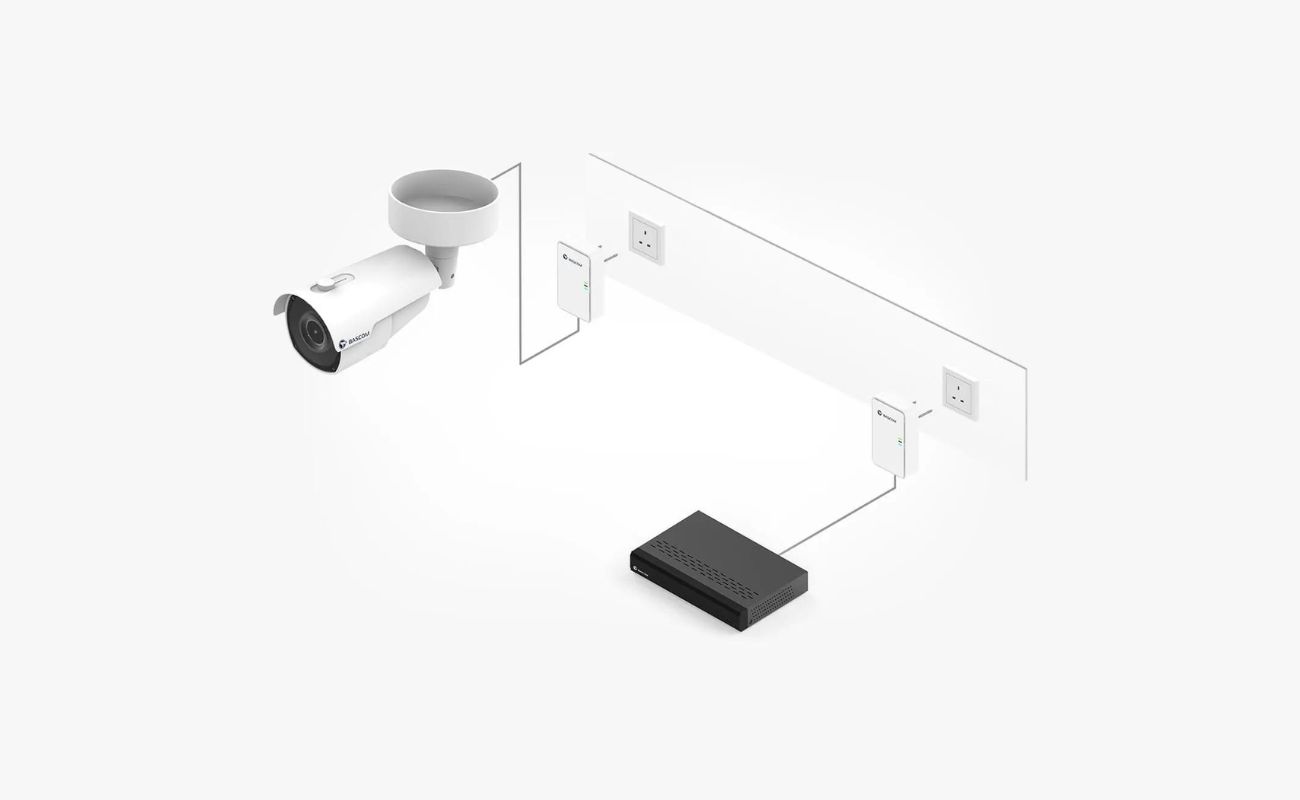
- Check the wiring routes: Take note of the existing wiring routes or potential paths for running wires through the attic. This will help you determine the most efficient and discreet way to connect the cameras to the recorders or monitoring system.
By carefully planning the placement of your cameras, you can maximize their effectiveness and ensure comprehensive coverage of your property.
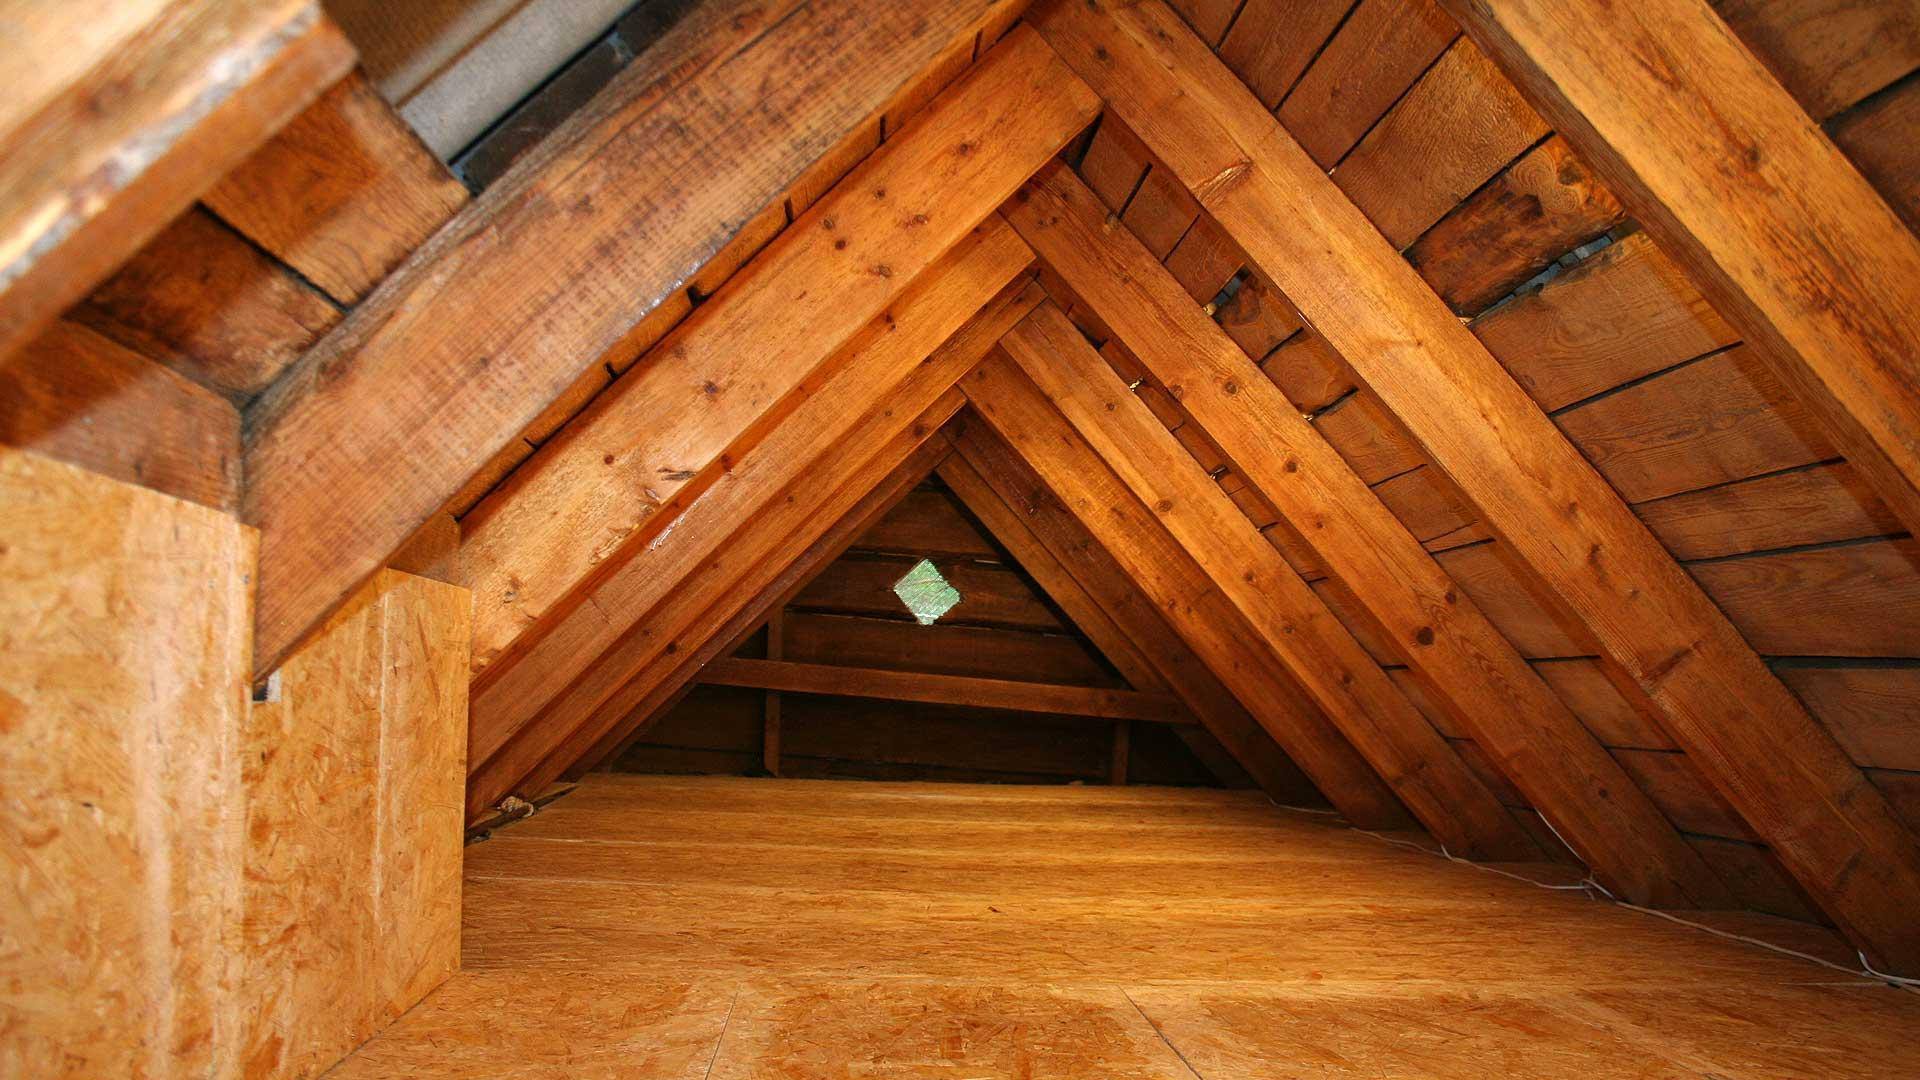
Step 2: Prepare the Attic Space
Now that you have planned the camera placement, the next step is to prepare the attic space for running the security camera wires. Here’s how you can do it:
- Clear the area: Before entering the attic, remove any obstructions or clutter that may hinder your movement. This includes boxes, stored items, and debris. Clearing the space will make it easier for you to navigate and run the wires smoothly.
- Ensure safety: Attics can be cramped and potentially dangerous spaces. Wear appropriate clothing, including long sleeves, pants, and gloves, to protect yourself from sharp objects or insulation. Use knee pads or a kneeling mat to provide comfort and protect your knees while working.
- Check for obstructions: Take a quick look around the attic and identify any potential obstructions that may hinder the path of the camera wires. Look out for beams, pipes, or electrical wiring that may impede the installation process. It’s important to work around these obstacles to avoid any damage or interference.
- Create a clear path: If there are any existing wires or cables running through the attic, ensure there is enough space to accommodate the security camera wires. Move or rearrange any existing cables to create a clear path for running the new wires. This will help prevent tangling or interference with the existing wiring.
- Inspect and repair any damage: While in the attic, take the opportunity to inspect for any signs of damage or deterioration. Look for roof leaks, cracks, or any other issues that may affect the integrity of your home. If you notice any problems, address them promptly before proceeding with the installation.
By preparing the attic space properly, you can ensure a smooth installation process and minimize the risk of encountering any unexpected obstacles along the way.
Step 3: Measure and Cut the Wires
With the attic space prepared, it’s time to measure and cut the security camera wires to the appropriate length. Here’s how you can do it:
- Measure the distances: Start by measuring the distance from the camera location to the recording or monitoring system. Add some extra length to account for any twists, turns, or adjustments that may be required during the installation process. It’s better to have a slightly longer wire than one that falls short.
- Select the wire type: Choose the appropriate wire type for your camera system. Ethernet cables are commonly used for IP cameras, while coaxial cables are often used for analog cameras. Ensure that the wires are of high-quality to ensure optimal performance.
- Cut the wires: Use wire cutters or a cable stripper to cut the wires to the measured lengths. Make sure to cut the wires neatly and straight to ensure proper connectivity later on.
- Label the wires: It’s a good practice to label each wire to keep track of their respective camera locations. Use a marker or labels to identify which wire corresponds to which camera. This will make the installation process more organized and prevent confusion later on.
By measuring and cutting the wires accurately, you can ensure a neat and professional installation. Remember to double-check your measurements before cutting to avoid any unnecessary wastage.
When running security camera wires through the attic, make sure to use plenum-rated cables to meet fire safety codes. Also, secure the cables to the attic joists to prevent them from sagging or getting damaged.
Read more: How To Run Electrical Wire Through Walls
Step 4: Drill Holes for the Wires
Now that you have your wires measured and cut, it’s time to drill holes in the attic to route the wires through. Here’s how you can do it:
- Locate the drilling points: Refer to your camera placement plan and identify the spots where you need to drill the holes. Ideally, you want to drill near the camera location and where the wires will connect to the recording or monitoring system.
- Choose the appropriate drill bit: Select a long drill bit that is suitable for your attic’s construction. For most attics, a wood drill bit should work fine. Ensure that the drill bit is long enough to reach through the ceiling and into the attic space without any issues.
- Mark the drilling points: Use a pencil or marker to mark the exact spots where you will be drilling the holes. Double-check the marks to ensure they align with your camera placement plan.
- Drill the holes: Carefully drill the holes at the marked locations. Start by drilling from the interior side of the ceiling and slowly push the drill through to the attic space. Take your time and be mindful of any electrical wiring, plumbing, or structural components that may be present.
- Clear any debris: Once the holes are drilled, clean up any debris or wood shavings that may have accumulated. You want to ensure that the wires can pass through the holes smoothly without any obstructions.
By drilling the holes precisely, you can create clean and efficient wire paths that will make the installation process much easier and prevent any damage to your home’s structure.
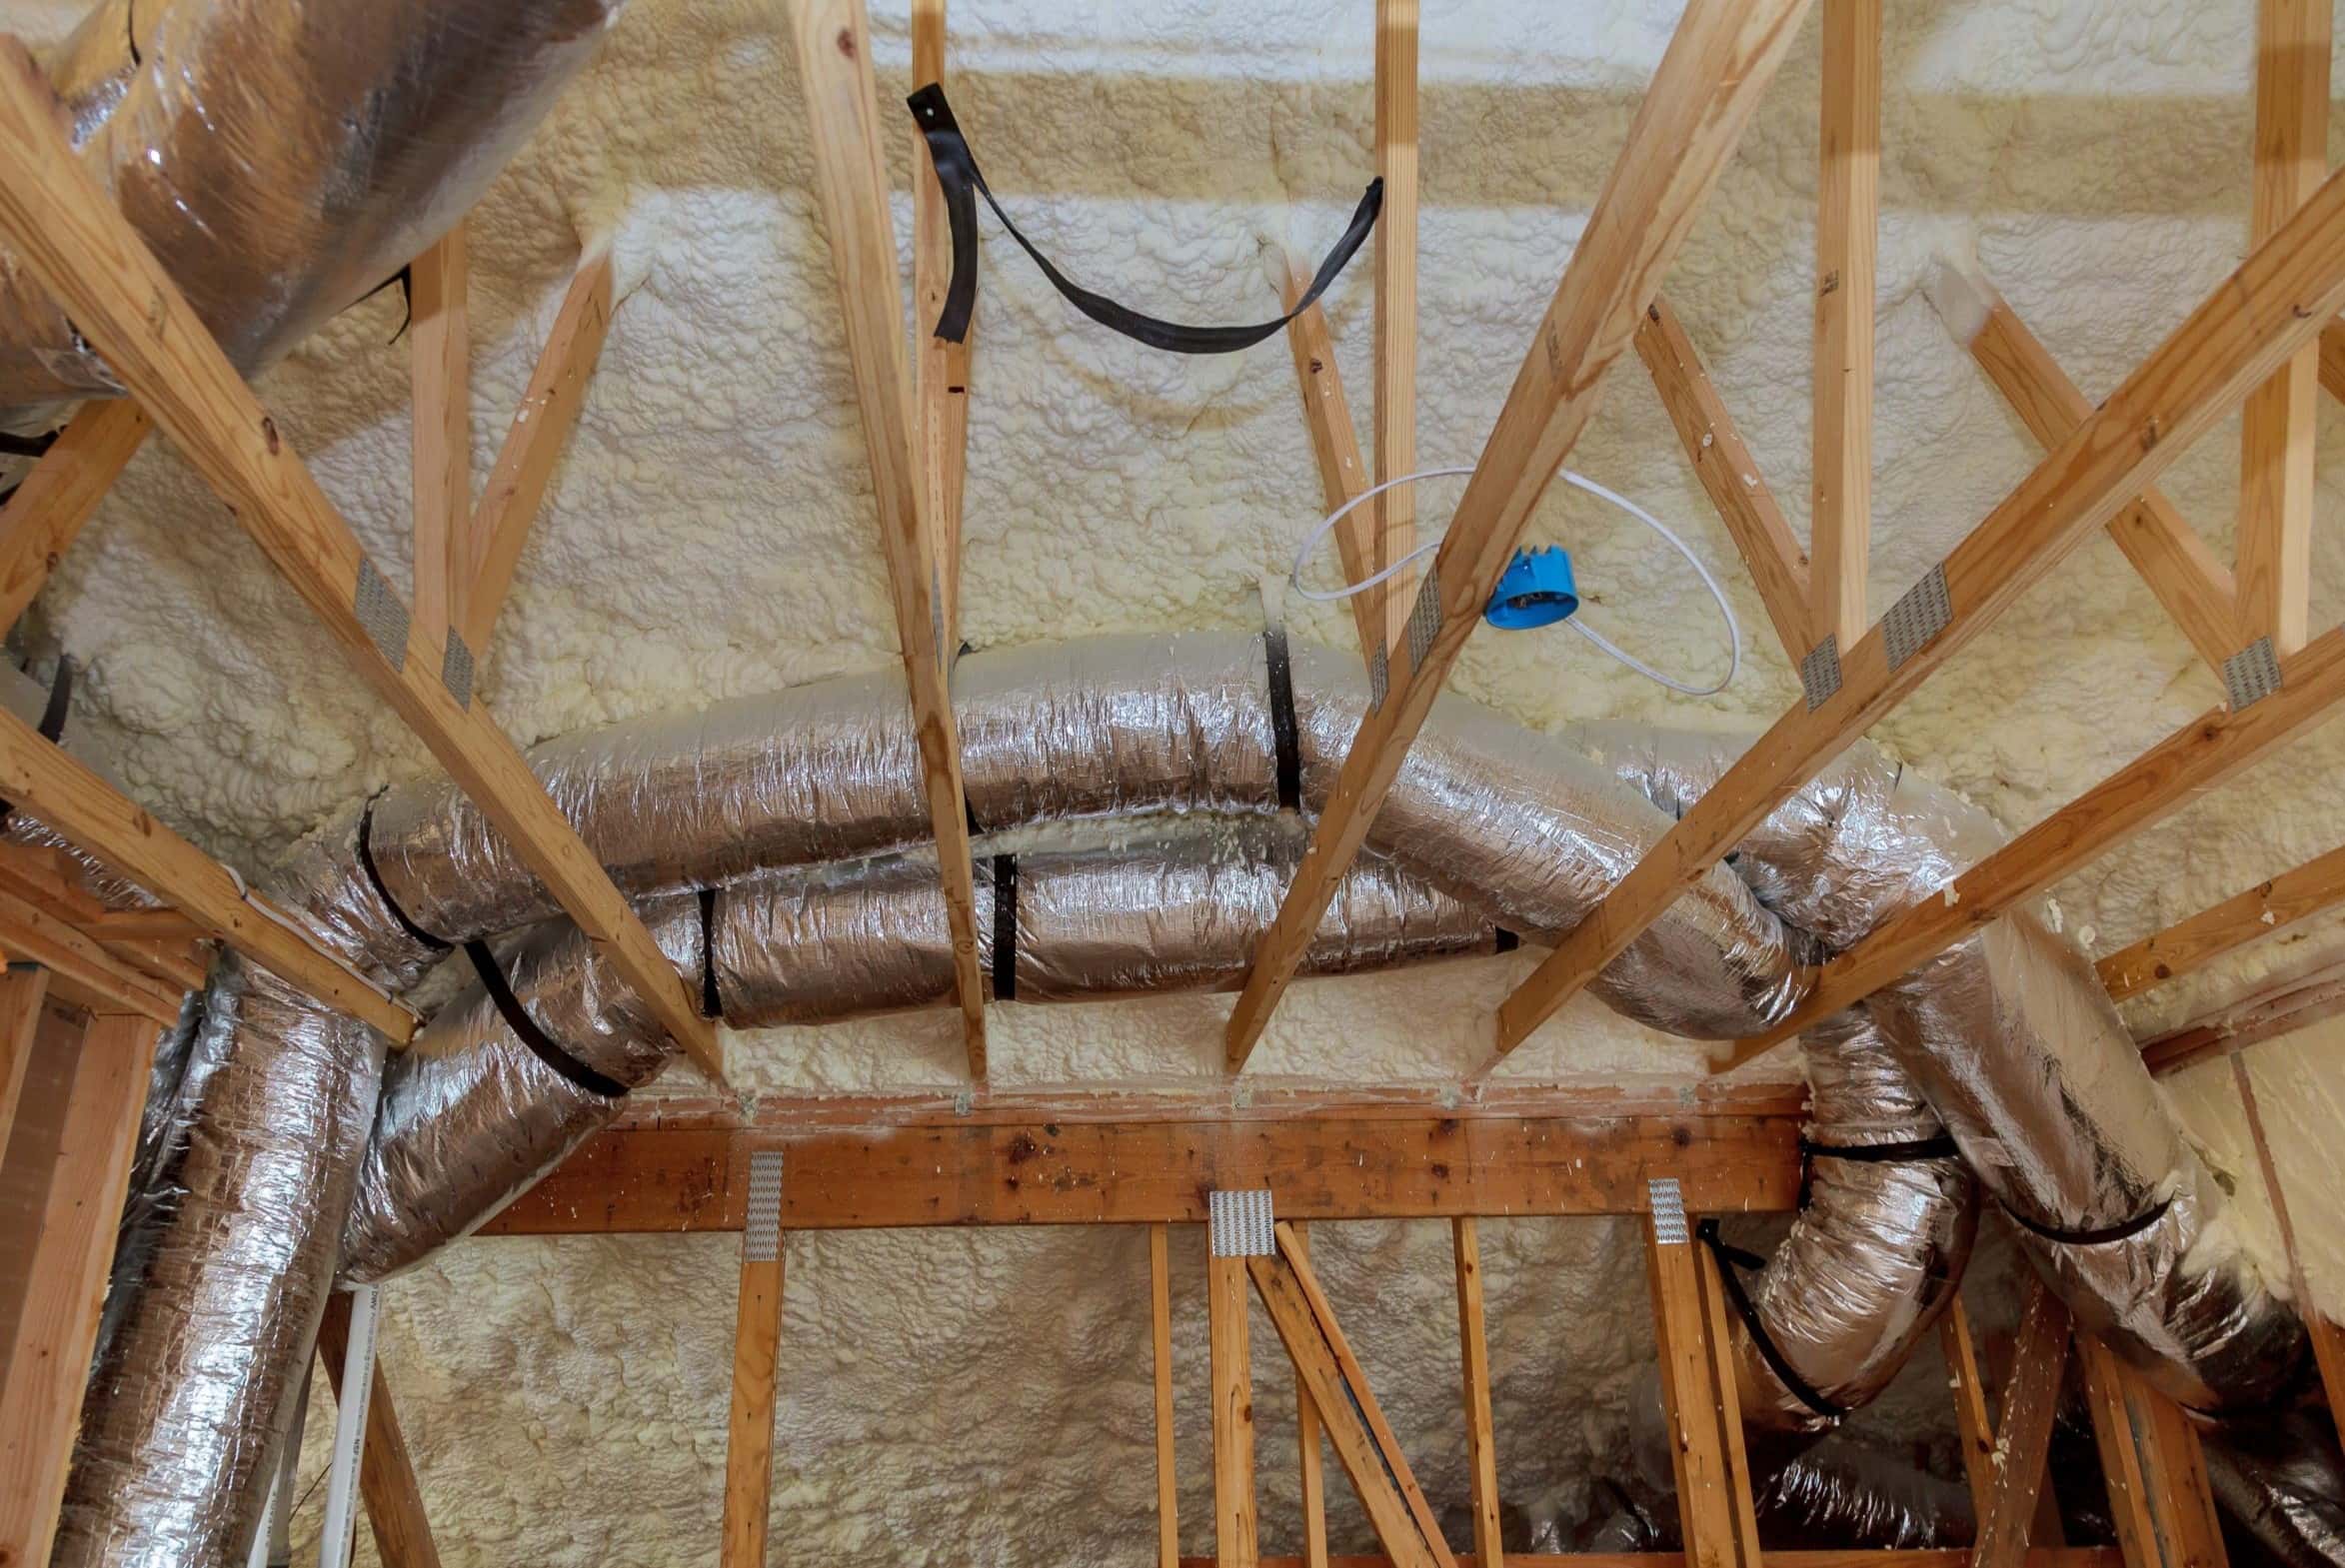
Step 5: Secure the Wires along the Attic
With the holes drilled, it’s time to secure the security camera wires along the attic. This step is crucial to ensure that the wires are neatly organized and protected from any potential damage. Here’s how you can do it:
- Use cable clips or staples: Depending on the layout and structure of your attic, you can use cable clips or staples to secure the wires along the attic beams or walls. These clips or staples will help keep the wires in place and prevent them from dangling or getting tangled.
- Arrange the wires neatly: As you secure the wires, make sure to arrange them in a neat and organized manner. Avoid crossing the wires or creating unnecessary loops that could cause interference or confusion later on.
- Keep the wires away from heat sources: Ensure that the camera wires are kept away from any heat sources in the attic, such as heating ducts or exhaust vents. Elevated temperatures can affect the performance of the wires and potentially damage them over time.
- Route the wires away from electrical lines: It’s crucial to keep the camera wires away from any electrical lines in the attic. Interference from electrical currents can degrade the quality of the camera footage. Make sure to route the wires in locations where they won’t come into contact with any electrical wiring.
- Secure the wires at regular intervals: As you run the wires, secure them at regular intervals using cable clips or staples. This will help prevent them from sagging or drooping and maintain a tidy appearance.
By securing the wires along the attic, you can ensure a clean and organized installation. This step also makes it easier to troubleshoot or make adjustments to the camera system in the future, if needed.
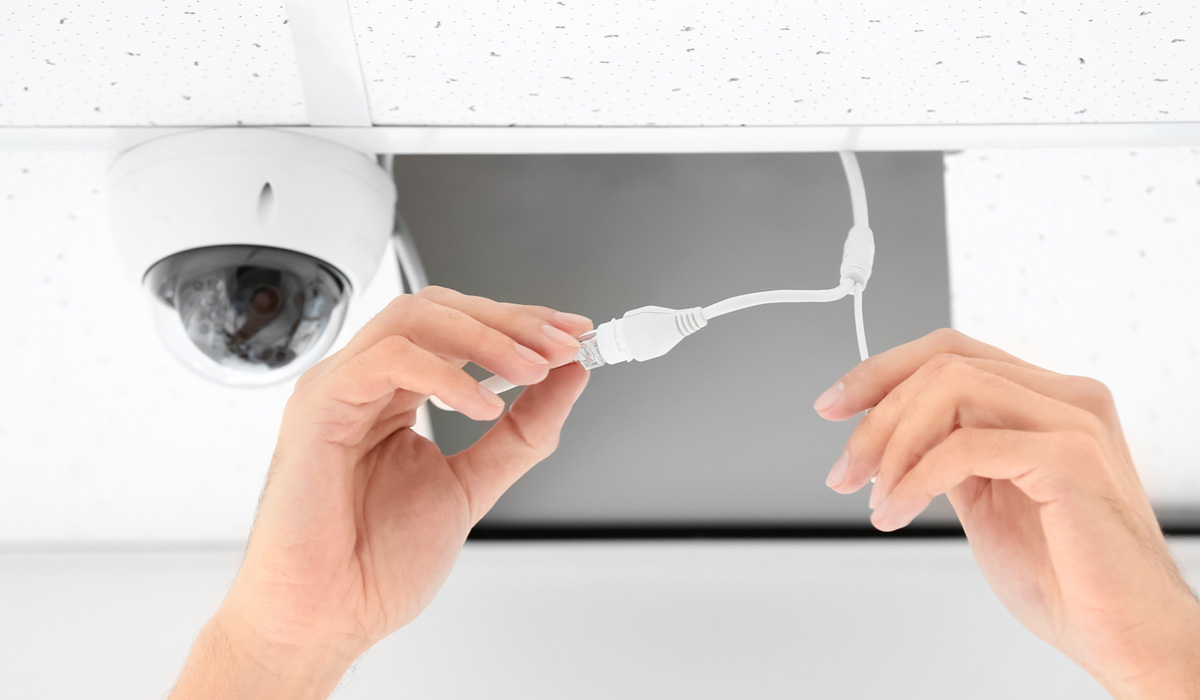
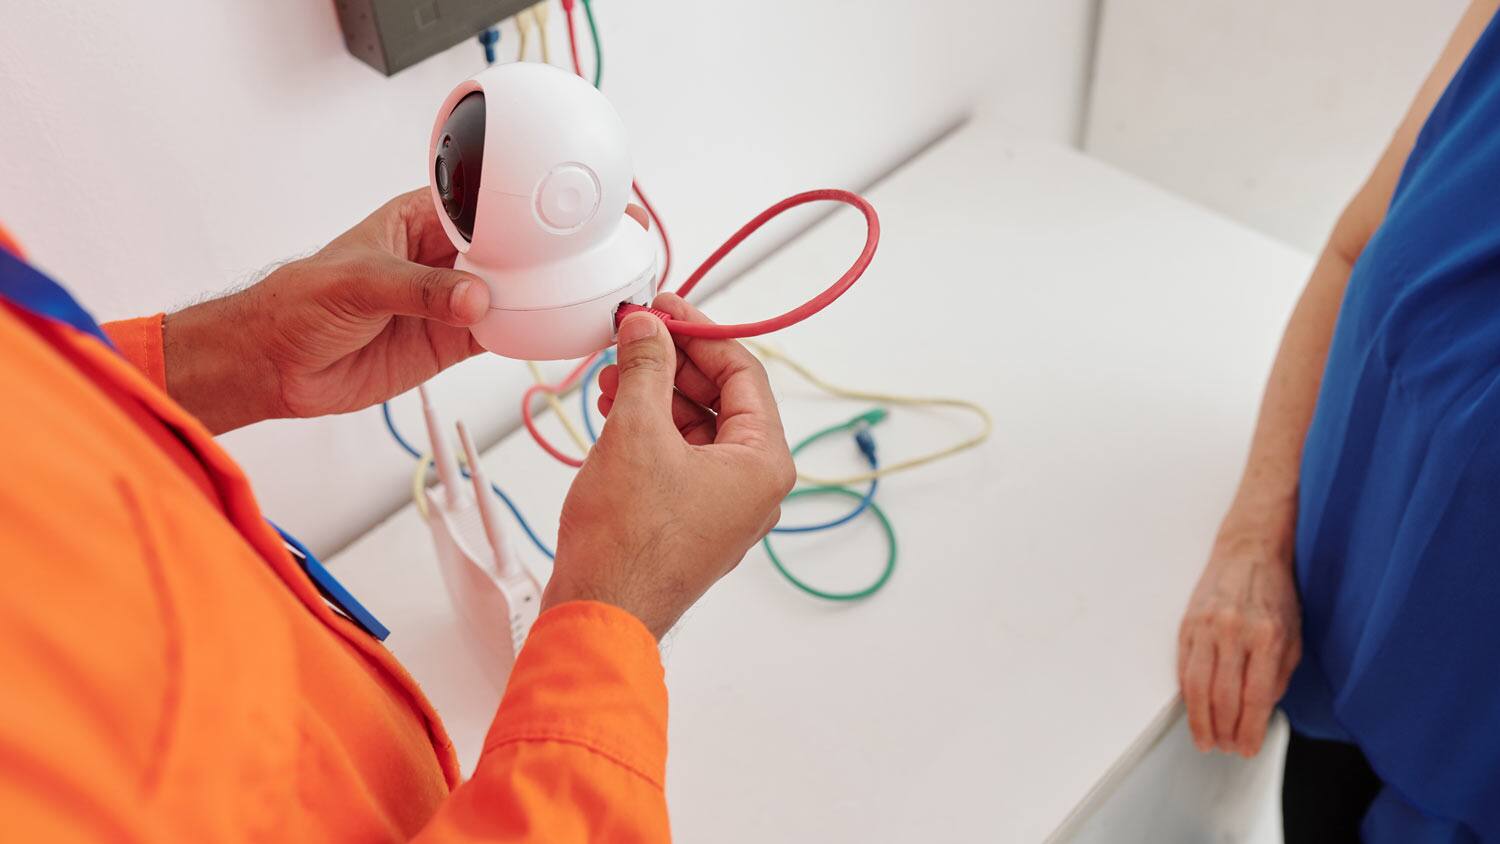
Step 6: Connect the Wires to the Cameras
Now that the wires are securely placed in the attic, it’s time to connect them to the cameras. Proper connection is essential to ensure that the cameras receive power and transmit the video signal effectively. Follow these steps to connect the wires to the cameras:
- Locate the camera connections: Identify the connection points on the cameras where you need to attach the wires. These connection points are typically located at the back or bottom of the cameras.
- Strip the wire insulation: Use a cable stripper or wire cutter to carefully strip off a small portion of the wire insulation, exposing the inner copper wires. Be cautious not to cut or damage the actual wires.
- Connect the wires: Match the color-coded wires from the camera with the corresponding colors of the camera wires you ran through the attic. For example, connect the red wire to the red wire, black to black, and so on. Some cameras may follow different color coding, so make sure to refer to the camera’s user manual for guidance.
- Secure the connections: Use appropriate connectors or screw terminals to secure the wire connections. Make sure the connections are tight and secure to ensure proper transmission of power and video signals.
- Tuck away excess wires: If you have excess wire length, carefully tuck it away behind the camera or secure it using cable clips or staples. This will prevent any loose wires from obstructing the camera view or getting entangled with other components.
- Double-check the connections: Before proceeding, double-check all the wire connections to ensure they are properly secured and in the correct order. A loose or incorrect connection could lead to system malfunctions or poor video quality.
By properly connecting the wires to the cameras, you can ensure that your surveillance system functions smoothly and provides you with reliable footage for monitoring and security purposes.
Step 7: Test the Camera System
After completing the installation and connecting the wires, it’s crucial to test the camera system to ensure that everything is functioning correctly. Here’s how you can test your camera system:
- Power on the cameras: Ensure that all the cameras are properly powered on. Check if the camera LEDs or indicators are illuminated, indicating that they are receiving power.
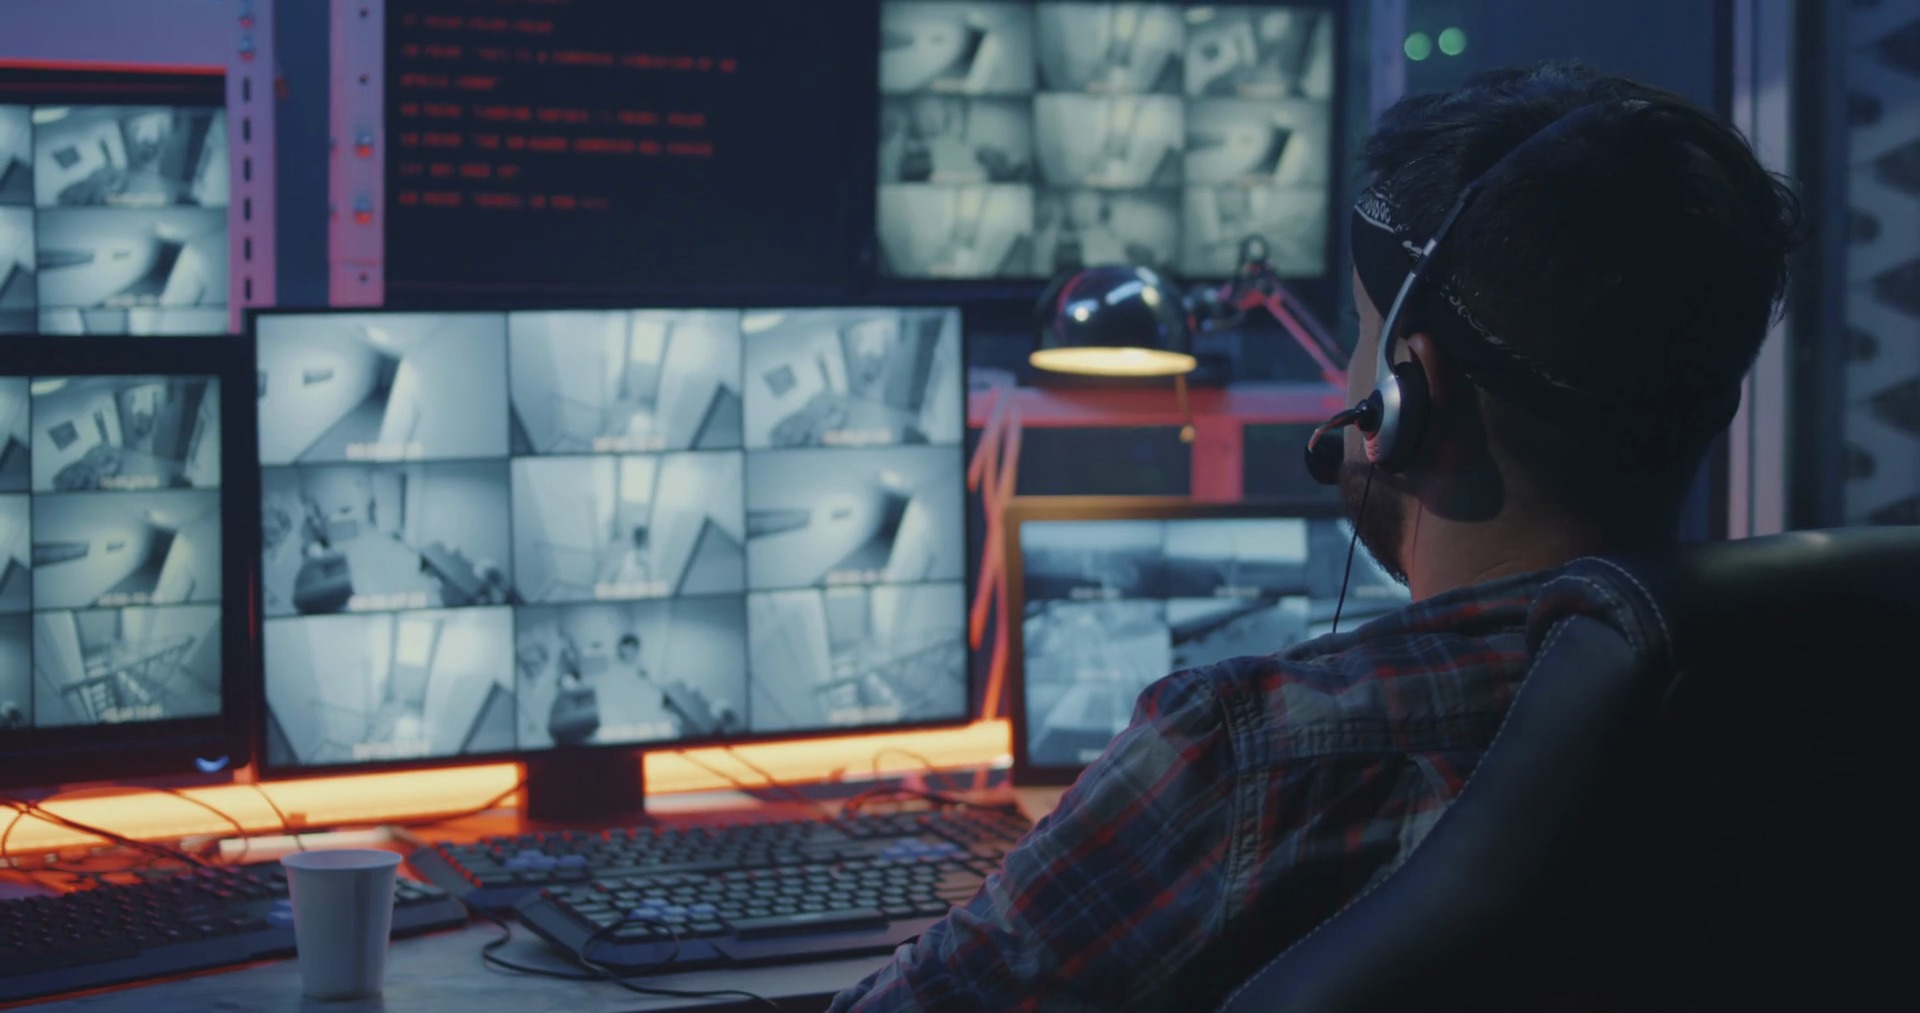
- Verify video feed: Connect the cameras to the monitoring system or video recorder and check if you can see the video feed. Make sure that each camera’s view is clear and properly aligned with the designated areas you want to monitor.
- Check camera angles and focus: Adjust the camera angles and focus if needed. Make sure the cameras are capturing the desired areas and that the video feed is sharp and in focus.
- Test motion detection and other features: If your cameras come with motion detection or other advanced features, test them to ensure they are working correctly. Walk in front of the camera to see if it captures the movement and triggers any alerts or notifications.
- Test remote access: If you plan to access your camera system remotely, whether through a smartphone app or web browser, test the remote access functionality to ensure that you can view the camera feed from anywhere.
- Review footage playback: Record some test footage and play it back to verify that the recorded video is clear and of good quality. This will ensure that you have the necessary footage for review or evidence, if needed.
- Address any issues: If you encounter any issues during the testing phase, troubleshoot to identify the problem. Check the camera connections, power supply, or network settings to resolve any issues that may arise.
By thoroughly testing your camera system, you can have peace of mind knowing that it is fully operational and providing the security surveillance you need for your home or property.
Read more: How To Run Doorbell Wire Through Brick
Conclusion
Running security camera wires through the attic may seem like a daunting task, but with proper planning, preparation, and step-by-step execution, it can be accomplished smoothly. By following the outlined steps in this guide, you can ensure a clean and professional installation while maintaining the integrity of your home’s structure.
Remember to always plan the camera placement to maximize coverage and security. Prepare the attic space by clearing clutter and inspecting for any potential obstructions. Measure and cut the wires accurately, ensuring that they are labeled for easy identification. Drill holes carefully and secure the wires along the attic, keeping them away from heat sources and electrical lines.
Connecting the wires to the cameras requires attention to detail and adherence to color coding. Double-check the connections to ensure they are secure. Finally, test the camera system thoroughly to verify functionality, including video feed, motion detection, remote access, and playback.
By completing these steps, you can enjoy the peace of mind that comes from having a reliable and effective security camera system. You’ll be able to monitor your property, deter potential threats, and provide safety for your loved ones.
Remember, if you encounter any challenges or uncertainties during the installation process, it’s always recommended to consult a professional for assistance. They can provide additional guidance and expertise to ensure a successful installation.
Now that you have the knowledge to run security camera wires through your attic, take the necessary steps to enhance your home security and surveillance system. With proper planning and execution, you can enjoy the benefits of a well-designed and professionally installed camera system for years to come.
Frequently Asked Questions about How To Run Security Camera Wires Through The Attic
Was this page helpful?
At Storables.com, we guarantee accurate and reliable information. Our content, validated by Expert Board Contributors, is crafted following stringent Editorial Policies. We're committed to providing you with well-researched, expert-backed insights for all your informational needs.