Articles
How To Extend Electrical Wire In Attic
Modified: October 20, 2024
Learn how to extend electrical wire in your attic with these helpful articles. Discover tips, techniques, and step-by-step instructions to safely and effectively extend your electrical wiring.
(Many of the links in this article redirect to a specific reviewed product. Your purchase of these products through affiliate links helps to generate commission for Storables.com, at no extra cost. Learn more)
Introduction
Extending electrical wire in the attic is a common task that may arise during home renovations or when adding new fixtures or outlets. It allows you to connect electrical devices or appliances to a power source without the need for complicated wiring installations. However, it is crucial to approach this task with caution and follow the necessary safety precautions to avoid any electrical hazards.
In this article, we will guide you through the step-by-step process of extending electrical wire in the attic. We will provide you with essential safety measures, as well as the tools and materials you will need for a successful undertaking. So, whether you are a DIY enthusiast or simply looking to expand your electrical knowledge, let’s dive into the details and learn how to extend electrical wire in your attic.
Key Takeaways:
- Prioritize safety by turning off the power, wearing protective gear, and using the right tools when extending electrical wire in the attic to ensure a safe and successful project.
- Accurately assess wire length, choose the right wire gauge, and properly prepare and connect wire ends to create a reliable and efficient electrical pathway in your attic.
Read more: How To Extend Electrical Wire In Wall
Safety Precautions
Before you begin extending electrical wire in your attic, it is crucial to prioritize safety. Working with electricity can be dangerous if not done properly, so follow these safety precautions:
- Turn off the power: Before you start any electrical work, turn off the power to the area where you will be working. This can be done by flipping the corresponding circuit breaker in your electrical panel. Use a voltage tester to double-check that the power is indeed off.
- Wear protective gear: Always wear protective gear, including safety glasses, gloves, and non-slip shoes, to minimize the risk of injury.
- Work in a well-ventilated area: Make sure the attic is properly ventilated to avoid heat exhaustion or other health issues.
- Avoid overloading circuits: Make sure not to overload circuits by adding too many devices or appliances on a single circuit. This can lead to overheating and potential fire hazards.
- Use proper tools and equipment: Use insulated tools specifically designed for electrical work to reduce the risk of shock. Inspect your tools regularly for any signs of damage.
- Stay aware of nearby hazards: Be mindful of any nearby water sources, such as plumbing pipes or roof leaks, to prevent electrical shock.
- Ask for assistance if needed: If you are unsure about any aspect of the process or feel uncomfortable, it is always better to seek professional help or consult an electrician.
By following these safety precautions, you can ensure a safe and smooth process when extending electrical wire in your attic. Remember, the well-being of yourself and others should always come first when working with electricity.
Tools and Materials Needed
Before you start extending electrical wire in your attic, gather the following tools and materials:
Tools:
- Screwdriver: Both flathead and Phillips head screwdrivers will be useful for removing electrical outlet covers and connecting wires.
- Wire strippers: These specialized tools will help you properly strip the insulation from the wire ends.
- Wire cutters: These are needed to cut and trim the electrical wire to the desired length.
- Needle-nose pliers: These pliers have a long, narrow tip that makes it easier to twist and manipulate wires.
- Wire connectors: These connectors will be used to join the existing wire and the extension wire.
- Voltage tester: This tool will help you ensure that the power is turned off before you start working on the wires.
- Tape measure: Use a tape measure to measure the length needed for the new wire extension.
- Flexible drill bit: This specialized tool is used to navigate through tight spaces in the attic to run the wire.
Materials:
- Electrical wire: Select the appropriate type and gauge of electrical wire depending on your specific needs and the existing wiring in your home.
- Wire nuts: These are used to secure and insulate the wire connections.
- Electrical tape: Use electrical tape to further insulate and protect the wire connections.
- Wire staples: These are used to secure the electrical wire in place along the attic joists or other structural elements.
- Safety goggles: Protect your eyes from any debris or particles that may be present in the attic.
- Gloves: Wear gloves to protect your hands while working with electrical wires and other materials.
- Ladder: Depending on the location of your attic, you may need a ladder to access it safely.
Having these tools and materials ready before you begin the process will ensure that you have everything you need to successfully extend the electrical wire in your attic.
Read more: How To Extend Chandelier Wire
Step 1: Assessing the Wire Length
Before you start extending the electrical wire in your attic, it’s important to assess the length of wire needed for the extension. This will ensure that you have enough wire to reach the desired location without any shortage or excess.
Here’s how you can accurately assess the wire length:
- Identify the starting and ending points: Determine where the existing wire ends and where you want the extension to reach. This could be a new electrical outlet, light fixture, or any other electrical device that requires power.
- Measure the distance: Use a tape measure to measure the distance between the starting and ending points. Make sure to account for any obstacles or detours the wire may need to take along the way.
- Add additional length: To account for any necessary slack or to allow for future adjustments, it’s a good practice to add a few extra feet to the measured distance. This will prevent any potential issues if you need to reroute the wire or make changes in the future.
- Record the total length: Write down the total length of wire needed for the extension. This will help you when purchasing the appropriate length of wire for the project.
It’s crucial to have an accurate measurement of the wire length to avoid any complications during the project. Having too little wire will require additional splicing or even redoing the entire process, while having too much wire can create unnecessary clutter in the attic.
By assessing and recording the wire length before you start, you will have a clear plan and be well-prepared for the next steps in extending the electrical wire in your attic.
Step 2: Turning off the Power
Before you begin working with electrical wires in your attic, it is crucial to turn off the power to the area in which you will be working. This step ensures your safety and minimizes the risk of electric shock or potential hazards.
Follow these steps to turn off the power:
- Locate the electrical panel: The electrical panel, also known as the circuit breaker box, is usually located in the basement, garage, or utility room of your home. Familiarize yourself with its location if you don’t already know.
- Identify the appropriate circuit breaker: Look for the circuit breaker that controls the specific area or room in which you will be working, such as the attic. The circuit breakers are usually labeled, indicating which area or room they correspond to. If the circuit breaker is not labeled, you can do a trial and error method by turning off one breaker at a time and checking which area loses power.
- Turn off the circuit breaker: Once you have identified the correct circuit breaker, flip it to the “Off” position. This will cut off the power supply to the area where you will be extending the electrical wire.
- Verify the power is off: It is essential to double-check that the power supply is indeed off before proceeding with any work. Use a voltage tester to test the wires in the area to ensure they are not live with electricity. This is important to prevent any accidents or injuries.
By turning off the power, you are taking the necessary precautionary measures to ensure your safety while working with electrical wires in the attic. Remember, it is crucial to handle electrical components with care and avoid any contact with live wires to minimize the risk of electric shock or other hazards.
Step 3: Determining the Wire Gauge
Choosing the right wire gauge is an important step when extending electrical wire in the attic. The wire gauge refers to the thickness or size of the wire, which determines its capacity to carry electrical current safely.
Here’s how you can determine the appropriate wire gauge:
- Consider the existing wire gauge: Before selecting the wire gauge for the extension, take note of the gauge of the existing wire. It is essential to match the gauge of the existing wire to ensure compatibility and avoid any electrical issues.
- Check the electrical load: Determine the electrical load of the devices or appliances that will be connected to the extension wire. This information can usually be found on the device’s label or manual. The electrical load is typically measured in amps.
- Refer to the wire gauge chart: Use a wire gauge chart to find the appropriate wire gauge based on the electrical load and the length of the wire. The chart will provide guidelines on the wire gauge required to handle the specific electrical load at a certain distance without overheating or causing voltage drop.
- Select the appropriate wire gauge: Based on the information gathered, choose the wire gauge that meets the requirements. It’s always better to choose a wire gauge that can handle a slightly higher ampacity than the actual load to ensure safety and avoid potential issues.
Remember that using the wrong wire gauge can lead to performance issues, overheating, or even electrical hazards. By determining the wire gauge accurately, you can ensure that the electrical current flows efficiently and safely through the extended wiring in your attic.
Step 4: Preparing the Wire Connections
Before extending the electrical wire in the attic, it is crucial to properly prepare the wire connections to ensure secure and reliable connections. This step involves removing the insulation from the wire ends and preparing them for connection.
Here’s how you can prepare the wire connections:
- Gather the necessary tools: To prepare the wire connections, you will need wire strippers and wire cutters. These tools will allow you to remove the insulation from the wire ends and trim them to the desired length.
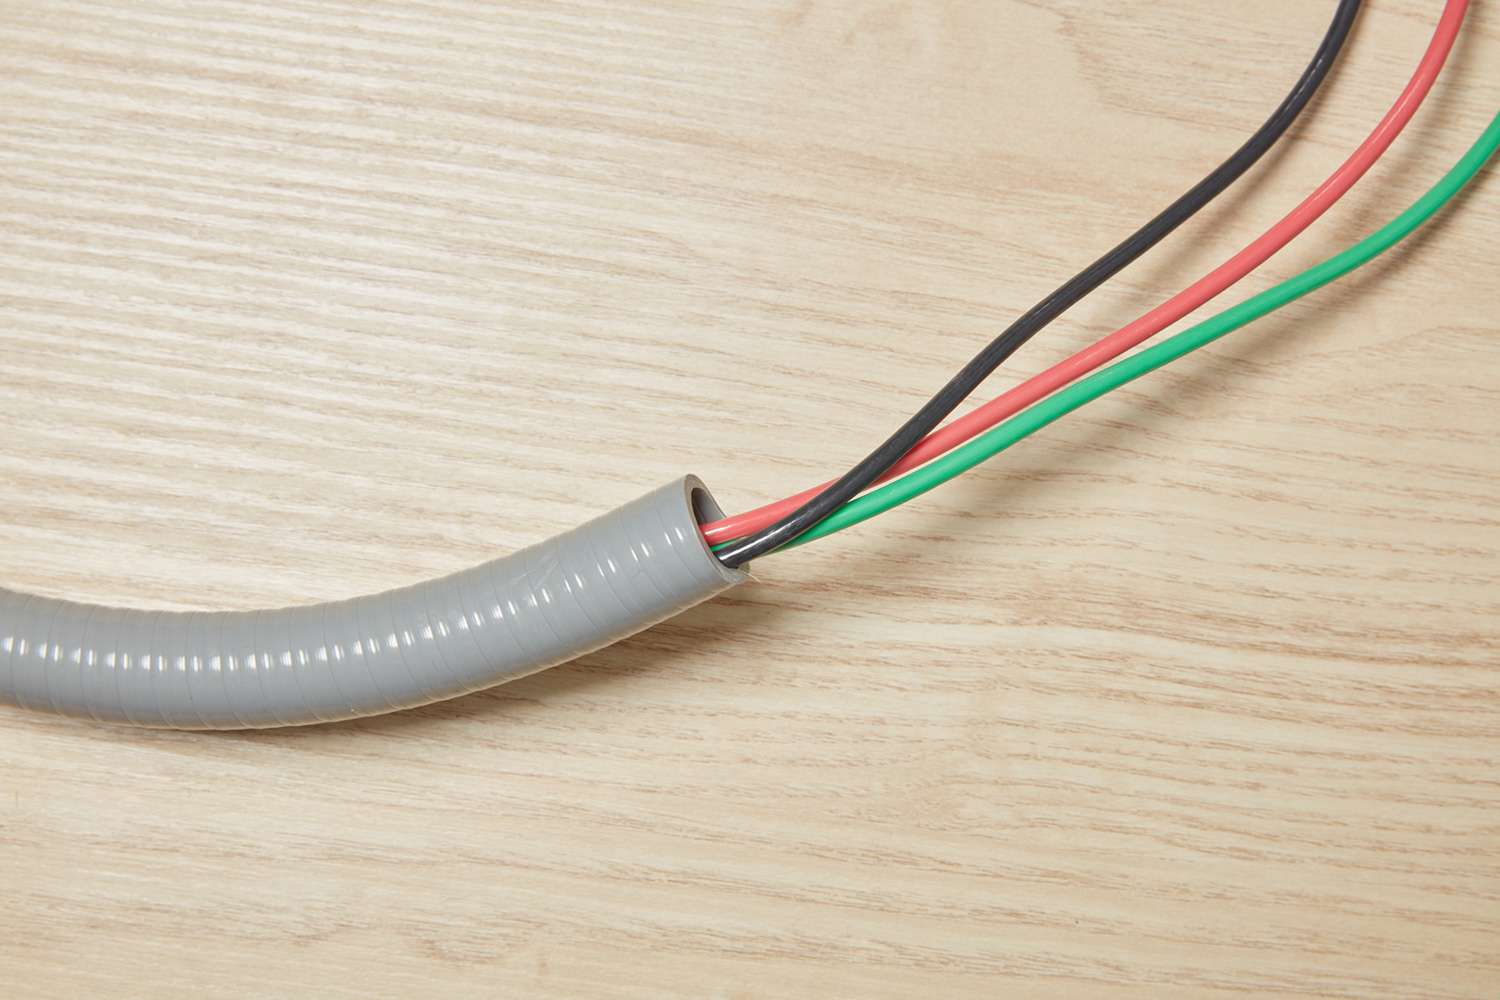
- Strip the wire ends: Using wire strippers, carefully strip off the insulation from the ends of the existing wire and the extension wire. Be sure to follow the instructions on the wire strippers to avoid damaging the wire strands.
- Trim the wire ends: Once the insulation is removed, use wire cutters to trim the wire ends to ensure they are clean, even, and free from any frayed strands. This will help in achieving a more secure connection.
- Twist the wire strands: After trimming the wire ends, twist the individual wire strands together to form a tight bundle. This will make it easier to create a solid connection between the existing wire and the extension wire.
It is important to note that the wire connections must be properly prepared to ensure a secure and reliable electrical connection. Poorly prepared connections can lead to voltage drop, overheating, or even electrical fires. Take your time to carefully strip, trim, and twist the wire ends before moving on to the next step.
By adequately preparing the wire connections, you are laying the foundation for a successful and safe extension of the electrical wires in your attic.
Read more: How To Extend An Electrical Box
Step 5: Extending the Electrical Wire
Now that the wire connections have been prepared, it’s time to extend the electrical wire in the attic to reach the desired location. This step involves running the wire through the attic space and positioning it correctly.
Here’s how you can extend the electrical wire:
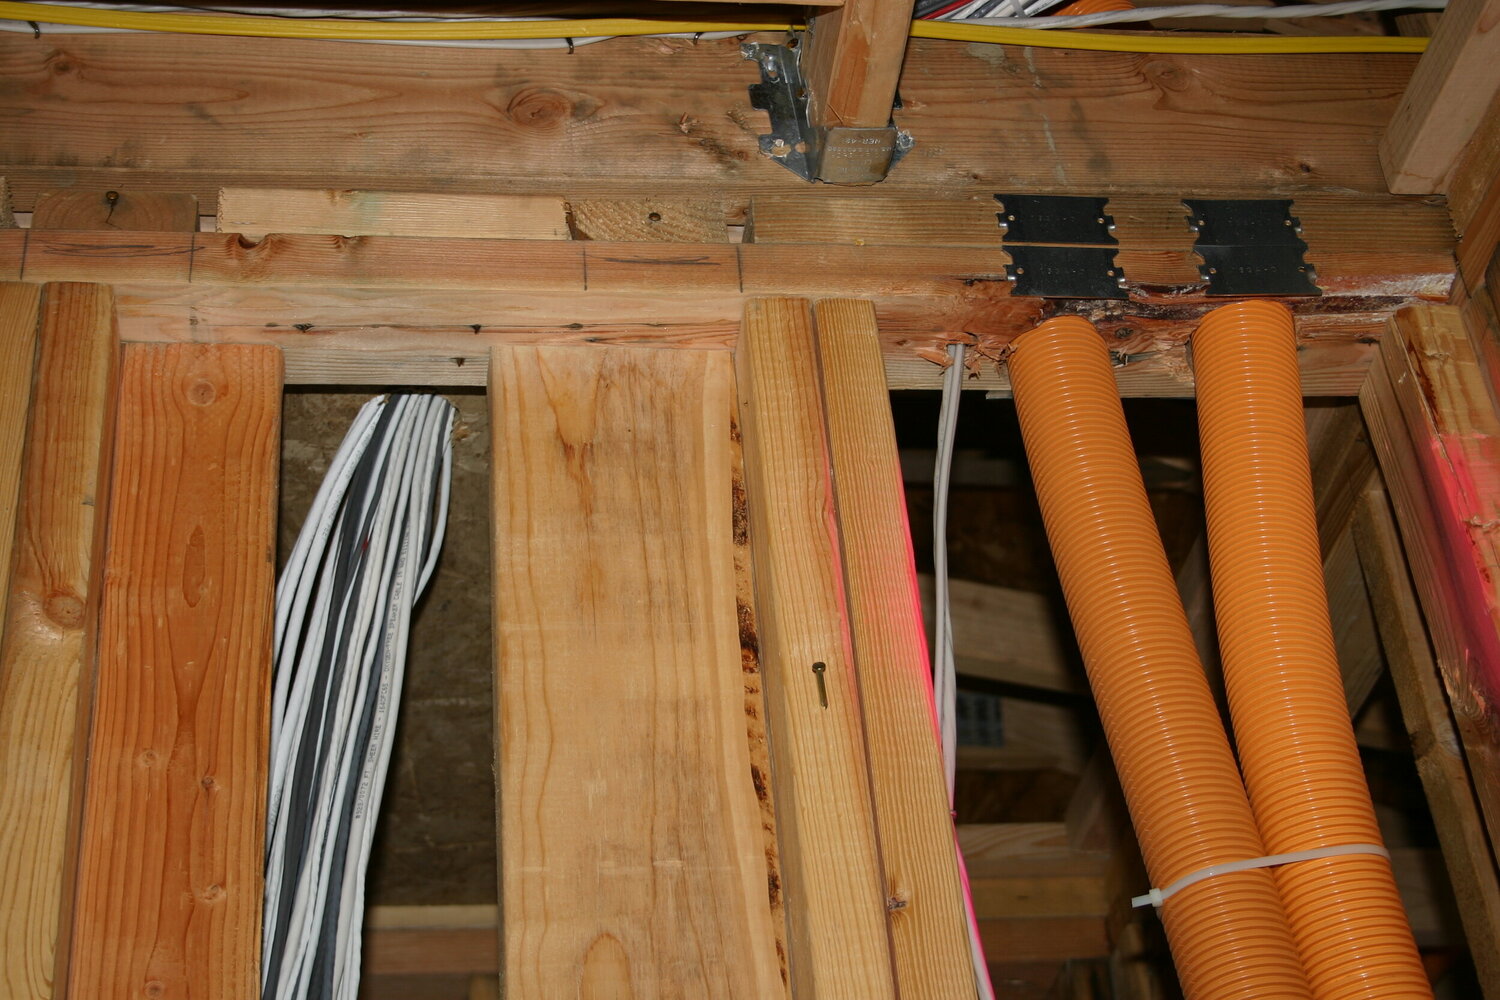
- Create a path: Assess the attic space and determine the best path for running the wire. Take into consideration the structure of the attic, such as the joists and rafters, to ensure proper support and to avoid any obstructions or hazards.
- Use a flexible drill bit: If there are walls or obstacles blocking a straight path, a flexible drill bit can be used to navigate through tight spaces. Carefully guide the flexible drill bit through the desired path, taking care not to damage any existing wires or structures.
- Run the wire: With the path created, gently run the electrical wire along the determined route. Be cautious of any sharp edges or abrasive surfaces that could damage the wire’s insulation.
- Secure the wire: Use wire staples to secure the wire to the attic joists or other structural elements. Space the staples at appropriate intervals to avoid sagging or any strain on the wire.
- Leave enough slack: Ensure that you leave enough slack in the wire for connections and adjustments. Avoid pulling the wire too tightly, as it could cause tension that may lead to future issues.
It is important to approach this step with care to prevent any damage to the wire or potential hazards in the attic. Take your time to run the wire along the designated path and secure it properly, ensuring that it is positioned safely and securely.
By extending the electrical wire in a methodical and organized manner, you are setting the foundation for a successful completion of the project.
When extending electrical wire in the attic, always use wire connectors and electrical tape to secure the connection. Make sure to follow local building codes and regulations.
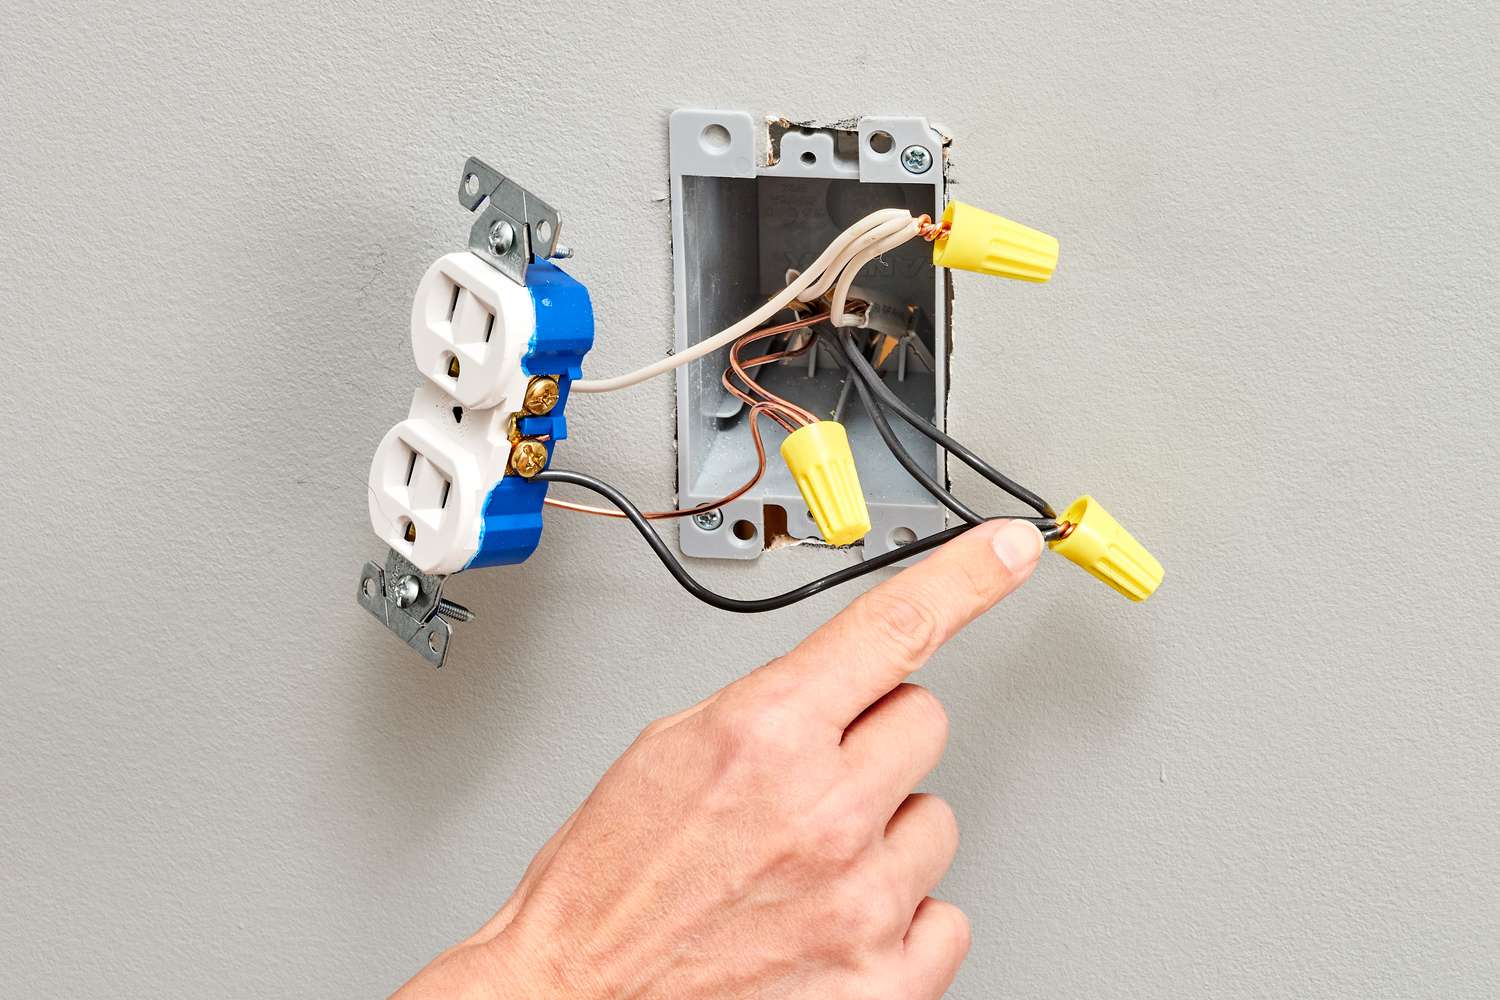
Step 6: Connecting the Wires
With the extended electrical wire in place, the next step is to connect the wires to establish a secure and reliable electrical connection. This step involves joining the existing wire and the extension wire using wire connectors.
Here’s how you can connect the wires:
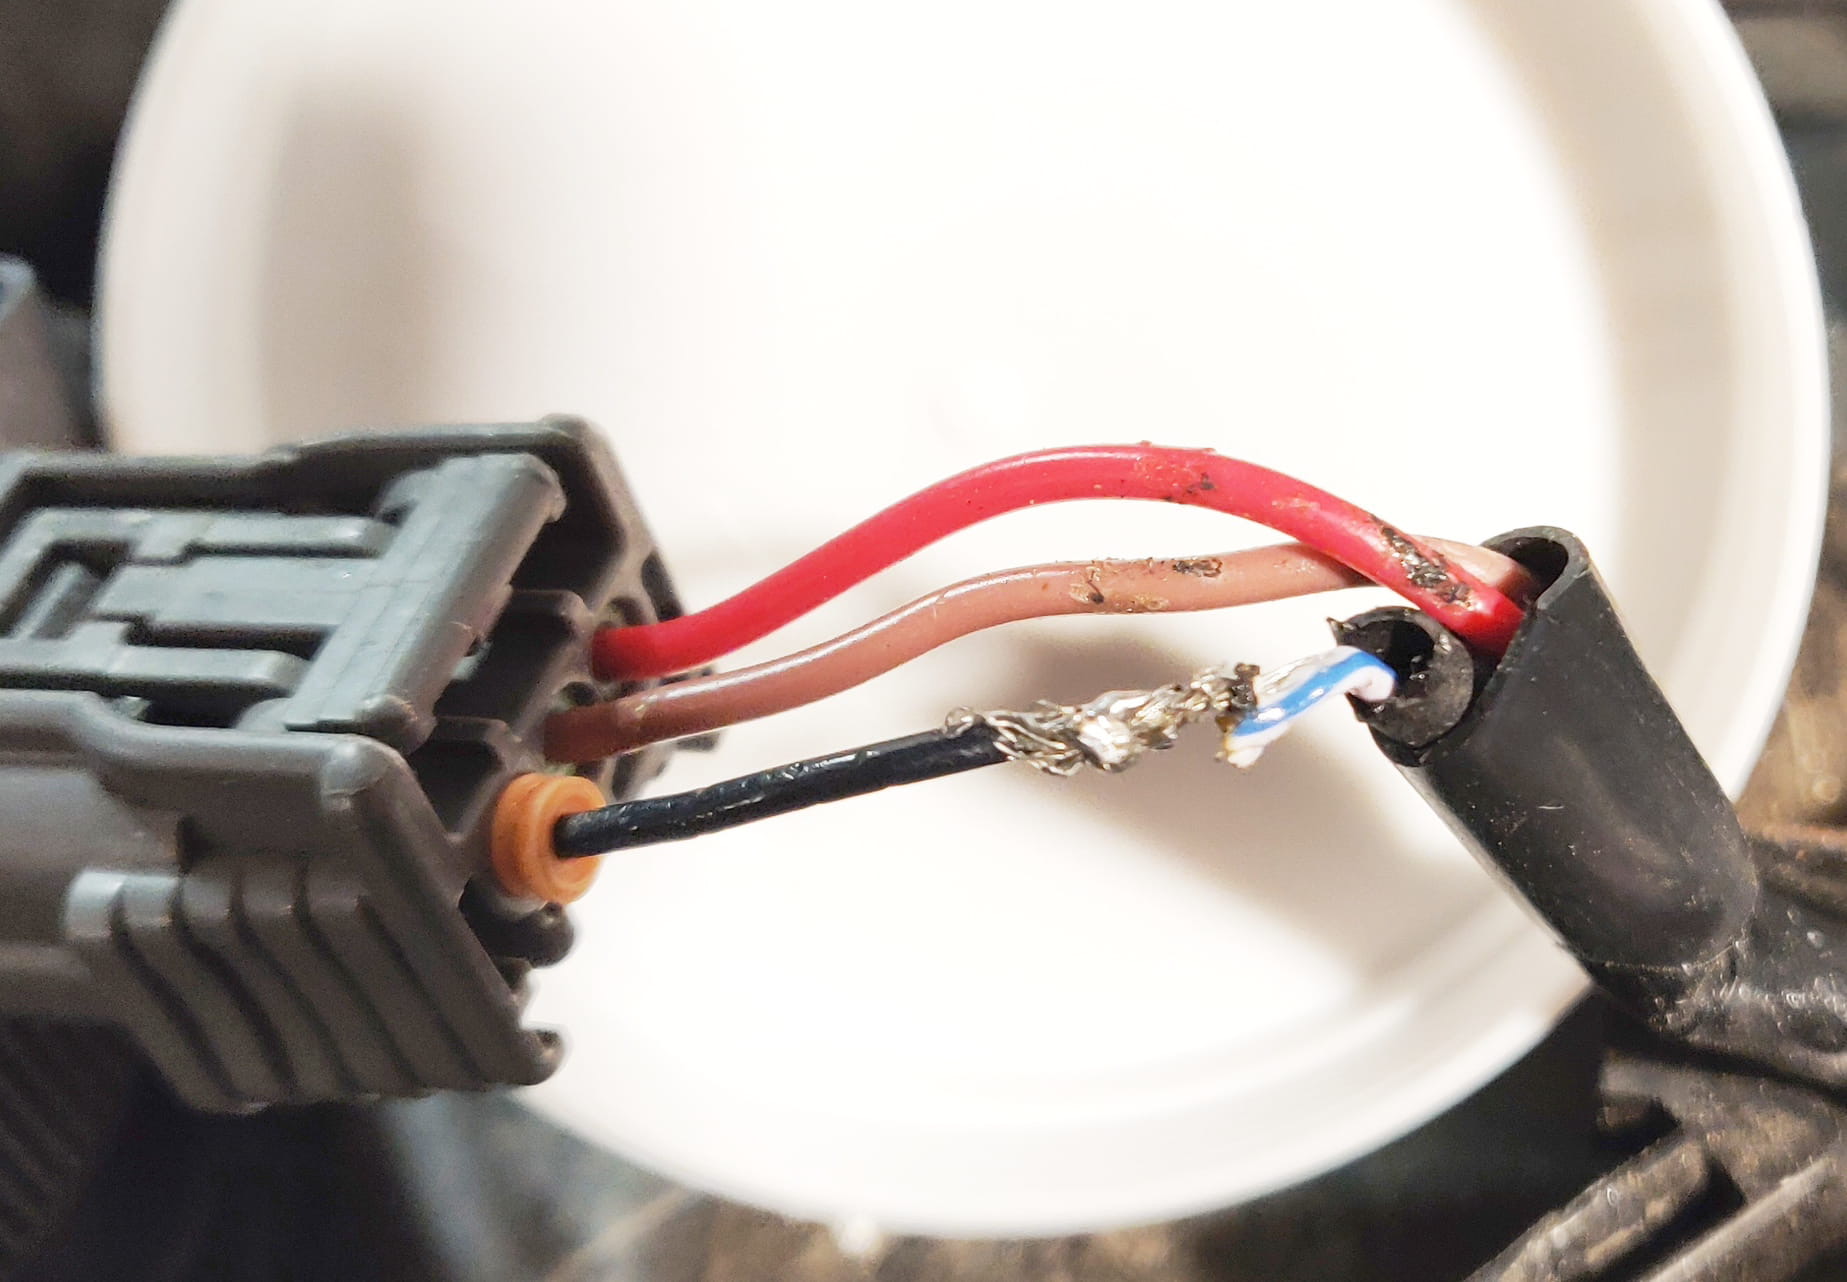
- Match the wire colors: Identify the corresponding wires from the existing wire and the extension wire. Match the wire colors, ensuring that the black wire is connected to the black wire, white to white, and green or bare copper to green or bare copper.
- Strip the wire ends: Using wire strippers, strip off a small portion of the insulation from the wire ends. The length of the stripped portion should be enough to fit securely inside the wire connector.
- Twist the wire ends: Once the wire ends are stripped, twist the exposed wire strands together tightly. This will create a solid connection point for the wire connectors.
- Insert the wires into the wire connector: Open the wire connector and insert the twisted wire ends into the appropriate slots. Ensure that each wire is fully inserted and making proper contact with the connector.
- Tighten the wire connector: With the wires inserted, screw or twist the wire connector clockwise until it is securely tightened. This will provide a firm and reliable connection.
- Inspect the connection: After tightening the wire connector, visually inspect the connection to ensure that there are no exposed wires or loose connections. The wire connector should completely cover the twisted wire ends and provide insulation for the connection.
It is essential to create solid and secure wire connections to prevent any electrical issues or hazards. Ensure that the wire ends are properly stripped, twisted tightly together, and securely connected using wire connectors. A well-executed wire connection will ensure the flow of electricity without interruptions or safety concerns.
By following these steps, you will have successfully connected the existing wire and the extension wire, creating a reliable electrical pathway in your attic.
Step 7: Insulating the Wire Connections
Insulating the wire connections is an essential step in extending electrical wire in the attic. Proper insulation helps protect the wires, prevent electrical hazards, and maintain the integrity of the electrical system.
Here’s how you can insulate the wire connections:
- Ensure the wire connections are secure: Before insulating the connections, make sure that they are securely tightened and properly connected. Inspect each wire connector to ensure a tight and reliable connection.
- Wrap the wire connectors with electrical tape: Take electrical tape and wrap it around the wire connectors, covering them completely. Start by wrapping a few turns of tape tightly around the base of the wire connector, then continue wrapping in a spiral motion, overlapping the tape slightly with each wrap.
- Extend the insulation beyond the wire connectors: When wrapping the electrical tape, extend the insulation beyond the wire connectors to cover a portion of the wire ends. This provides additional protection and reinforcement to the wire connections.
- Ensure the insulation is smooth and secure: As you wrap the tape, ensure that it is smooth and free from any wrinkles or gaps. Smooth out any excess tape to create a uniform and secure insulation layer.
- Inspect the insulation for any issues: Once the wire connections are insulated, visually inspect the insulation for any signs of damage, loose tape, or exposed wires. If there are any issues, rewrap the affected area with new electrical tape.
By properly insulating the wire connections, you are safeguarding the electrical system against potential shorts, electrical shocks, and damage. Insulation provides an additional layer of protection and helps maintain the integrity of the electrical wire connections.
Remember to always handle electrical components with care and ensure that the wire connections are properly insulated to maintain a safe and reliable electrical system in your attic.
Step 8: Testing the Connection
Testing the connection is a crucial step to ensure that the extended electrical wire in your attic is functioning properly and safely. Proper testing helps identify any potential issues or faults in the electrical system before restoring power.
Here’s how you can test the connection:
- Double-check the wire connections: Before proceeding with the testing, visually inspect the wire connections to ensure they are properly secured and insulated. Check that the wires are connected to the correct terminals and there are no loose connections.
- Turn on the circuit breaker: Restore power to the area where the extended wire is connected by flipping the corresponding circuit breaker to the “On” position in the electrical panel. Ensure that you are following proper safety protocols while working with electricity.
- Test the power source: Use a voltage tester to test the power source. Carefully place the voltage tester on the terminals of the electrical outlet, switch, or other device that the extended wire is connected to. Ensure that the tester indicates the presence of the appropriate voltage level.
- Verify functionality: If the extended wire is connected to a device such as a switch or outlet, test its functionality to ensure that it is working as expected. Plug in a device or flip the switch to confirm that power is successfully reaching the connected device.
- Check for any issues: During the testing process, check for any signs of overheating, unusual sounds, or visible sparks. Any abnormal behavior should be addressed immediately and may require professional assistance.
Properly testing the connections ensures that there are no electrical faults or issues that may pose a safety hazard or cause malfunctioning of the electrical system. By following these steps, you can confirm that the extended electrical wire is functioning correctly and ready for normal use.
Remember, if there are any concerns or if something doesn’t seem right during the testing process, it is important to consult a qualified electrician to address the issue.
Read more: How To Extend An Electrical Cord
Step 9: Restoring Power
After testing the connection and ensuring that everything is in order, it’s time to restore power to the extended electrical wire in your attic. This step involves turning on the circuit breaker to provide electricity to the newly extended wire and connected devices.
Here’s how you can restore power:
- Confirm that all wire connections are secure: Before proceeding, double-check that all wire connections are properly secured and insulated. Inspect each connection point to ensure there are no loose wires or exposed connections.
- Locate the circuit breaker: Identify the circuit breaker that corresponds to the area in which the extended wire is located. The circuit breaker should be in the “Off” position since you turned it off during the earlier steps.
- Flip the circuit breaker to the “On” position: With caution, flip the circuit breaker back to the “On” position to restore power. Listen for any clicking sounds or indications that the circuit has been energized.
- Test the power supply: Once the circuit breaker is on, use a voltage tester to confirm that there is power flowing through the extended wire. Test the power source at the connected device or outlet to ensure it is receiving the appropriate voltage.
- Test the functionality of connected devices: Plug in devices or operate switches connected to the extended wire to verify that they are functioning correctly. Check for proper power supply and ensure that the devices are working as expected.
Restoring power is the final step in extending the electrical wire in your attic. By following these steps, you can ensure that the extended wire is safely and properly energized.
If, during the testing process, you encounter any issues, such as flickering lights, tripped breakers, or unusual sounds, immediately turn off the power and seek the assistance of a qualified electrician to address the problem.
Remember, electrical work should always be approached with caution, and if you are uncertain or uncomfortable with any aspect of the process, it’s best to consult a professional to ensure safety and proper functionality.
Conclusion
Extending electrical wire in the attic is a useful skill to have, whether you’re making renovations, adding new fixtures, or expanding the electrical system in your home. By following the step-by-step process outlined in this article and adhering to the necessary safety precautions, you can successfully extend electrical wire in your attic while ensuring the safety and functionality of the electrical system.
Throughout the process, it’s important to prioritize safety by turning off the power, wearing protective gear, and working in a well-ventilated area. Use the appropriate tools and materials, including wire strippers, connectors, and electrical tape, to prepare and connect the wire ends securely.
Assess the wire length beforehand to ensure you have enough wire for the extension, and determine the appropriate wire gauge based on the existing wire and electrical load requirements. Run the wire along a suitable path in the attic, securing it with wire staples and leaving enough slack for adjustments.
Once the wire connections are prepared and joined, insulate them properly with electrical tape to prevent electrical hazards and maintain the integrity of the electrical system. Finally, test the connection and restore power, ensuring that everything is functioning correctly and safely.
Remember, if you encounter any issues or feel uncertain at any point during the process, it is always wise to seek the assistance of a qualified electrician. Electrical work can be complex and potentially dangerous, so it’s better to prioritize your safety and the well-being of your home.
By following these guidelines, you can extend electrical wire in your attic with confidence and expand the capabilities of your electrical system. With a properly extended wire, you can conveniently power additional devices and create a safer and more functional living space.
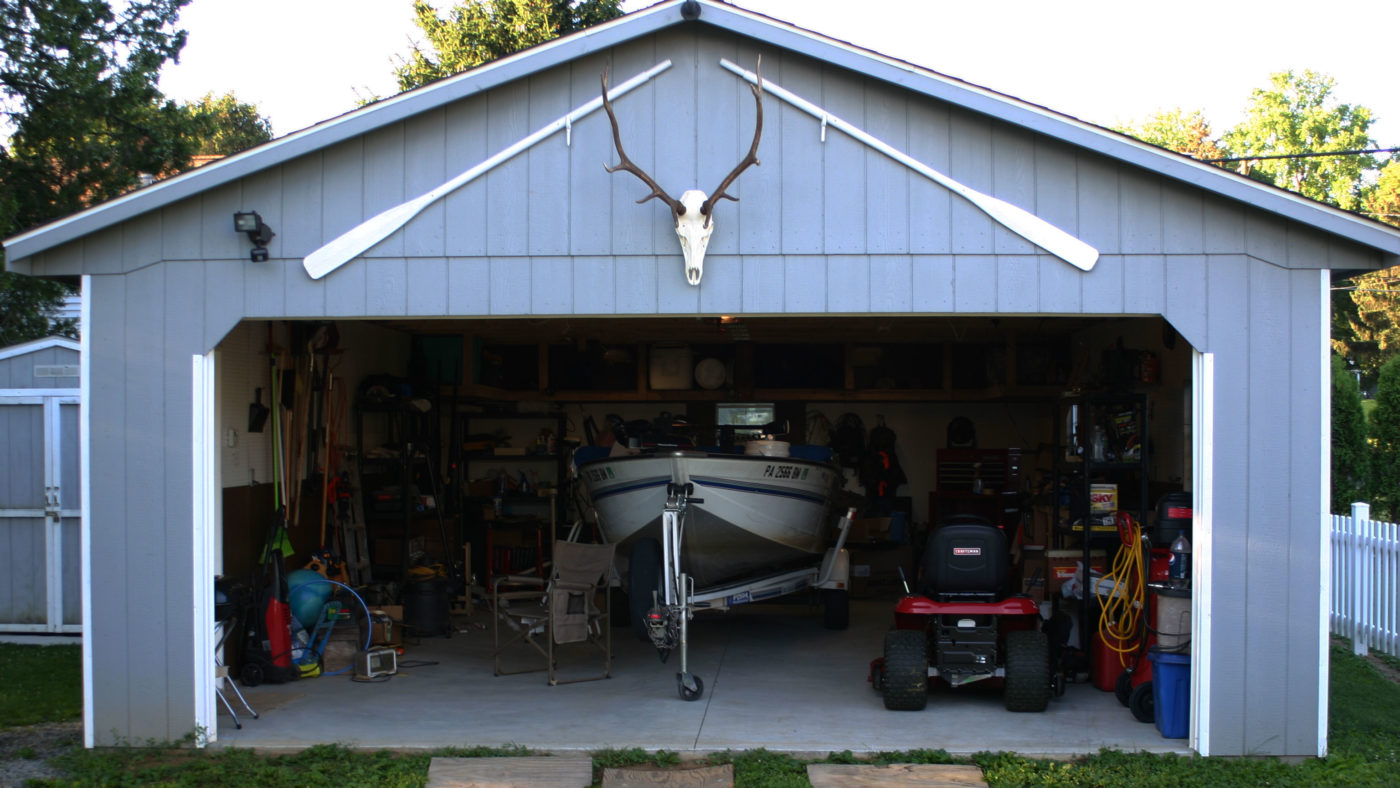
Now that you've mastered extending electrical wires in your attic, why not tackle another handy project? If you're planning on powering up your garage, our guide on how to run overhead electrical wire to your garage is perfect for you. This detailed tutorial not only simplifies the process but ensures you handle every step with confidence and safety. So, gear up for your next DIY challenge and make sure your garage has all the power it needs. Get ready to light up your workspace like a pro!
Frequently Asked Questions about How To Extend Electrical Wire In Attic
Was this page helpful?
At Storables.com, we guarantee accurate and reliable information. Our content, validated by Expert Board Contributors, is crafted following stringent Editorial Policies. We're committed to providing you with well-researched, expert-backed insights for all your informational needs.


0 thoughts on “How To Extend Electrical Wire In Attic”