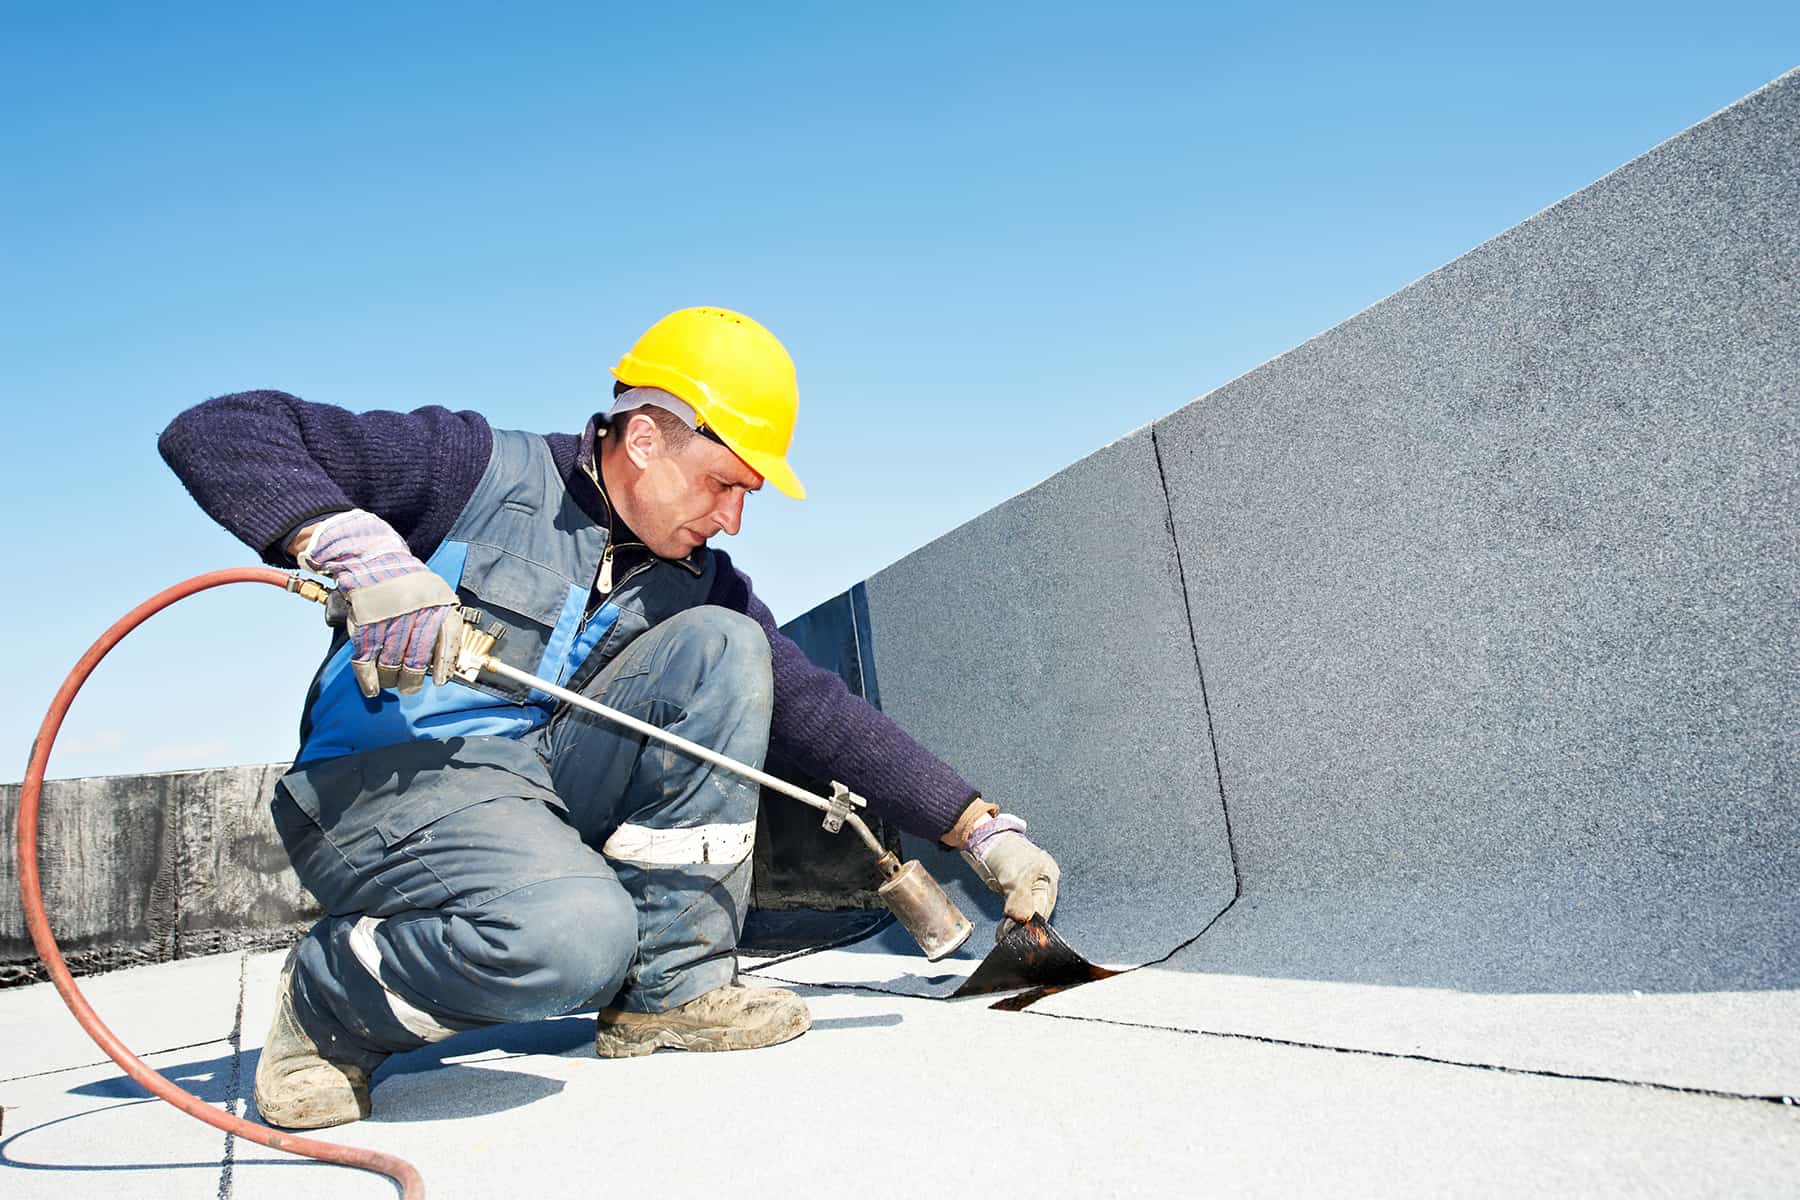

Articles
How To Repair Flat Roof
Modified: December 7, 2023
Learn how to repair a flat roof with our informative articles. Discover step-by-step instructions and expert tips to fix any issues efficiently and effectively.
(Many of the links in this article redirect to a specific reviewed product. Your purchase of these products through affiliate links helps to generate commission for Storables.com, at no extra cost. Learn more)
Introduction
Having a flat roof can be a great feature for any building, providing additional space, energy efficiency, and a sleek, modern appearance. However, flat roofs are not without their challenges, particularly when it comes to maintenance and repair. Over time, flat roofs may develop leaks, cracks, or other types of damage, which require immediate attention to prevent further issues.
In this article, we will guide you through the process of repairing a flat roof. Whether you are a homeowner or a commercial property owner, understanding how to repair a flat roof can save you time, money, and stress. We will walk you through assessing the damage, gathering the required materials, preparing the roof surface, applying the patching material, securing the patch, and inspecting the repair.
It’s important to note that while some minor flat roof repairs can be successfully done by a DIY enthusiast, significant damage or extensive repairs are best left to professional roofing contractors. They have the knowledge, experience, and proper equipment to handle complex repairs safely and effectively.
Before we dive into the specific steps, let’s first understand the common types of damage that can occur on a flat roof:
- Leakage: One of the most common issues with flat roofs is water leakage. This can be caused by aging materials, improper installation, or damage from severe weather conditions.
- Cracks: Over time, the constant exposure to the elements can cause cracks to form on the surface of the flat roof. These cracks can allow water to seep into the underlying layers, leading to further damage.
- Blistering and Bubbling: Excessive heat or moisture can cause the roofing material to blister or bubble, compromising its integrity and increasing the risk of leaks.
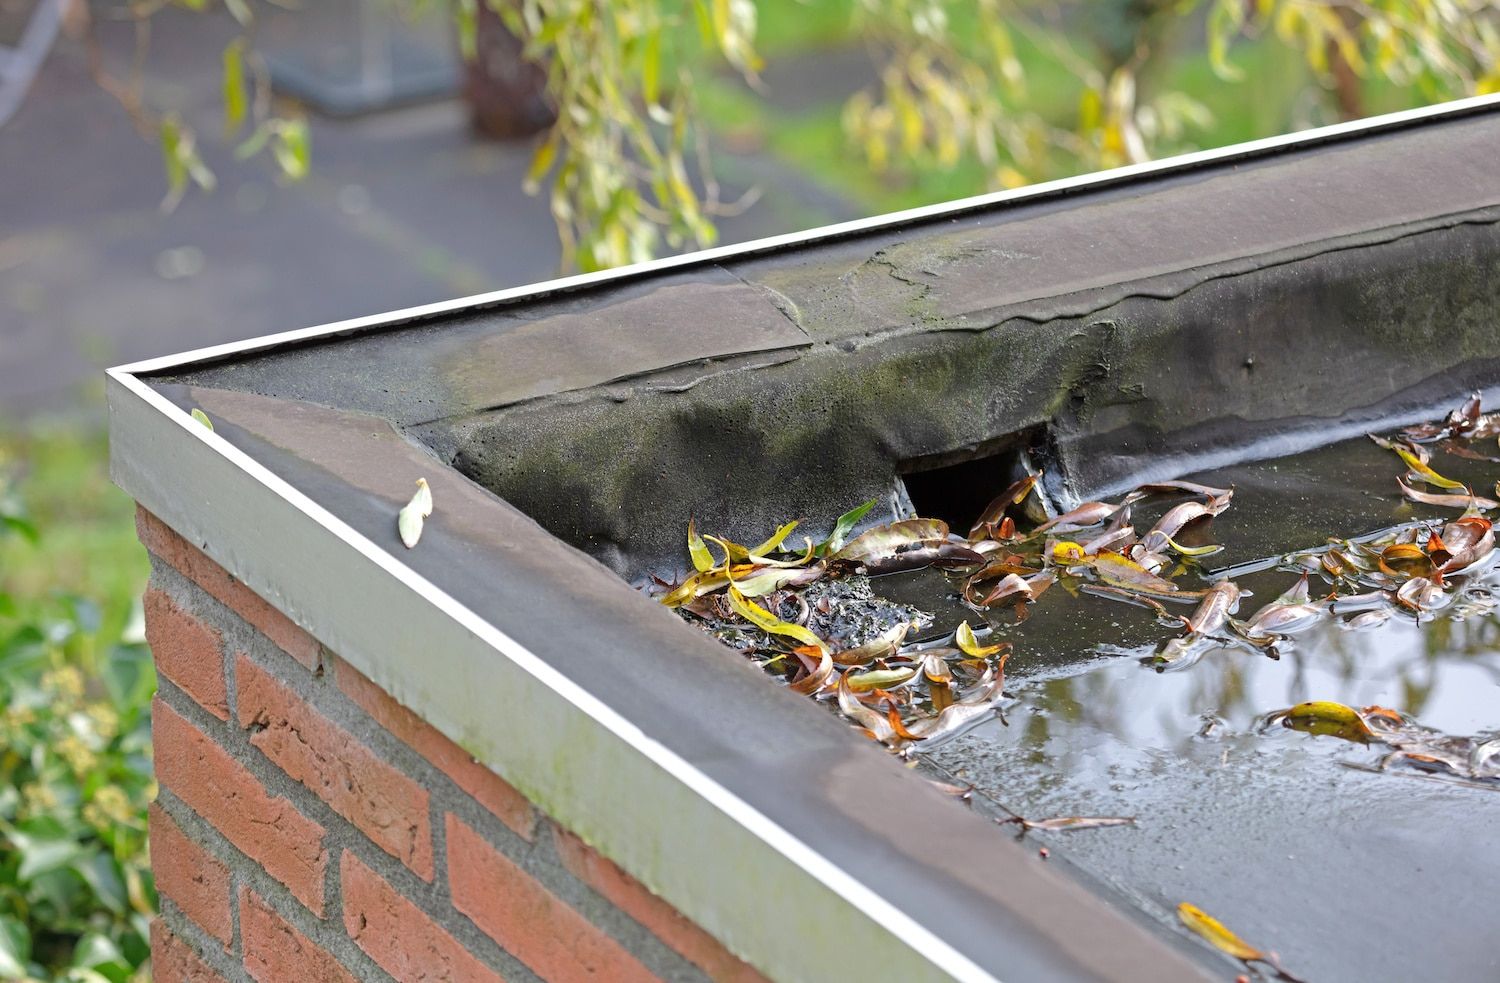
- Ponding Water: Flat roofs are prone to ponding water, especially if the drainage system is inadequate. Standing water can lead to accelerated deterioration of the roofing material.
Now that we have an understanding of the common problems, let’s proceed with assessing the damage on your flat roof.
Key Takeaways:
- Properly assessing the damage and gathering the necessary materials are crucial steps in successfully repairing a flat roof. By understanding the common types of damage and preparing the roof surface, you can ensure a smooth and efficient repair process.
- Securing the patch and conducting a thorough inspection are essential for the long-term stability and performance of a flat roof. By following the outlined steps and considering professional assistance when needed, you can maintain the durability and functionality of your flat roof.
Read more: How To Roof A Flat Roof Shed
Assessing the Damage
Before you can begin repairing your flat roof, it’s crucial to assess the extent of the damage. This will help you determine the appropriate course of action and the materials needed for the repair.
To assess the damage, start by conducting a thorough visual inspection. Look for any signs of water staining on the ceiling inside your home or building, as this may indicate a leak. Examine the roof’s surface for cracks, blisters, or areas where the roofing material appears to be deteriorating.
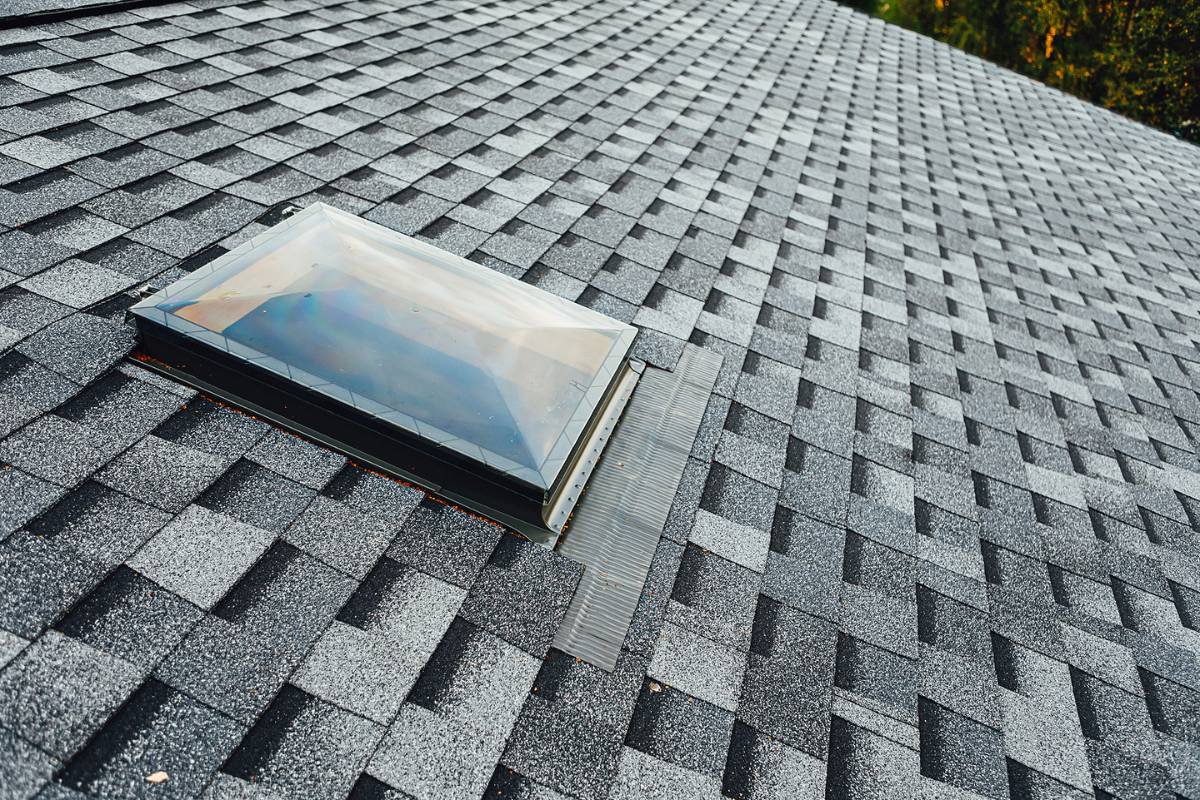
If you can access the roof safely, walk around and carefully inspect it. Pay close attention to areas around chimneys, vents, skylights, and any other roof penetrations, as these are common areas for leaks to occur. Additionally, check the seams and edges of the roof, as these are vulnerable areas that may require attention.
It’s important to note that if you are uncomfortable or unable to safely access your roof, it’s best to consult with a professional roofing contractor. They have the expertise and equipment needed to perform a thorough inspection and accurately identify the damage and necessary repairs.
Once you have identified the areas of damage, it’s time to determine the severity. Minor cracks or small areas of damage can often be repaired with simple patching, while more extensive damage may require a complete roof replacement or the assistance of a professional.
If you are unsure about the severity of the damage or need assistance in assessing the situation, it’s always a good idea to contact a reputable roofing contractor for an evaluation. They can provide expert advice and guidance tailored to your specific situation.
Now that you have assessed the damage and identified the areas that need repair, it’s time to gather the necessary materials.
Gathering the Required Materials
Before you can begin repairing your flat roof, it’s crucial to gather all the necessary materials. Having the right tools and supplies on hand will ensure a smooth and efficient repair process.
Here are some of the materials you may need:
- Roofing Patching Material: This can include roofing cement, roof sealant, or a roll of self-adhesive roofing membrane. The specific material you’ll need will depend on the type of damage and the roofing material used on your flat roof.
- Roofing Nails or Screws: These are used to secure the patching material in place.
- Roofing Tape: In some cases, using roofing tape can help reinforce the patch or seal any gaps.
- Roofing Membrane or EPDM Sheets: If the damage is more significant, you may need to replace a larger section of the flat roof. In this case, having additional roofing membrane or EPDM sheets on hand is crucial.
- Cleaning Solutions: Depending on the condition of your flat roof, you may need to clean the surface before applying the patching material. This can include a mild detergent, water, and a scrub brush.
- Roofing Brushes or Rollers: These are used to apply the patching material evenly and smoothly.
- Safety Equipment: Ensure you have all the necessary safety equipment, including gloves, safety goggles, and sturdy footwear.
It’s important to note that the specific materials you’ll need may vary depending on the type of flat roof you have and the extent of the damage. Additionally, it’s always a good idea to check with a professional or consult the manufacturer’s guidelines for your specific roofing material to ensure you have the appropriate materials.
Once you have gathered all the necessary materials, you’re ready to prepare the roof surface for repair.
Preparing the Roof Surface
Before you can proceed with repairing your flat roof, it’s crucial to properly prepare the roof surface. This will ensure that the patching material adheres securely and provides a long-lasting repair.
Here are the steps to prepare the roof surface:
- Clean the roof: Start by removing any debris, dirt, or loose roofing material from the damaged area. Use a brush or broom to sweep away any loose particles. If needed, you can also use a mild detergent mixed with water to clean the surface. Be sure to rinse thoroughly and allow the roof to dry completely before proceeding.
- Inspect for additional damage: While cleaning the roof, carefully inspect the surrounding areas for any additional damage. Look for any signs of deterioration, loose flashing, or compromised roofing material. It’s essential to address all damages to ensure a thorough repair.
- Remove old patching material: If there is existing patching material on the damaged area, remove it carefully. Use a scraper or putty knife to scrape away any loose or deteriorated material. Be gentle to avoid causing further damage to the roof.
- Repair any underlying issues: Before applying the patching material, it’s important to address any underlying issues that may have caused the damage. This could include repairing flashing, reinforcing weak areas with additional supports, or fixing any drainage issues.
By taking the time to properly prepare the roof surface, you’ll ensure that the repair is done effectively and that the patching material adheres securely. Once the surface is clean and ready, you can proceed to the next step of applying the patching material.
Regularly inspect your flat roof for any signs of damage such as cracks, tears, or pooling water. Address any issues promptly to prevent further damage and extend the lifespan of your roof.
Applying the Patching Material
Now that you have prepared the roof surface, it’s time to apply the patching material. The specific material and technique will depend on the type of damage and the roofing material used on your flat roof. Here’s a general overview of how to apply the patching material:
- Read the manufacturer’s instructions: Before applying any patching material, it’s important to read and follow the manufacturer’s instructions carefully. This will ensure that you apply the material correctly and maximize its effectiveness.
- Start with a small test section: If you’re using a new type of patching material or technique, it’s a good idea to start with a small test section before applying it to the entire damaged area. This will allow you to assess the adhesion and make any necessary adjustments.
- Apply the patching material: Using a roofing brush, roller, or trowel, begin applying the patching material to the damaged area. Ensure that you cover the entire damaged section and extend slightly beyond the edges to create a secure bond.
- Smooth and level the patch: After applying the patching material, use a roofing brush or roller to smooth and level the surface. This will ensure an even and seamless repair. If needed, you can also use a putty knife or trowel to shape the patch and remove any excess material.
- Allow proper curing time: Depending on the type of patching material used, it may require a specific curing time. Follow the manufacturer’s instructions to determine how long the patch should cure before subjecting it to any stress or additional work.
It’s important to note that for more significant damage or if you’re unsure about the appropriate patching material to use, it’s best to consult with a professional roofing contractor. They can provide expert guidance and ensure that the repair is done correctly.
Once you have applied the patching material and allowed it to properly cure, it’s time to secure the patch to ensure its longevity.
Read more: How To Replace A Flat Roof
Securing the Patch
After applying the patching material to your flat roof, it’s essential to secure the patch to ensure its durability and longevity. This step is crucial to prevent the patch from lifting or becoming displaced, which could lead to further damage or leakage. Here’s how to properly secure the patch:
- Use roofing nails or screws: Depending on the type of patching material used, you may need to use roofing nails or screws to secure the patch to the roof surface. Ensure that the fasteners are long enough to penetrate through the patching material and into the underlying roof structure.
- Space the fasteners appropriately: Space the nails or screws evenly along the edges of the patch, ensuring that they are securely fastened. Follow the manufacturer’s guidelines or consult with a professional to determine the recommended spacing for securing the patch.
- Apply roofing tape or sealant: To further reinforce the patch and create a watertight seal, consider applying roofing tape or sealant around the edges of the patch. This will help prevent water seepage and enhance the durability of the repair.
- Inspect for any loose areas: Once the patch is secured, carefully inspect the repaired area to ensure that there are no loose spots or gaps. Press down on the patch firmly to confirm that it is firmly adhered to the roof surface.
It’s important to note that the securing method may vary depending on the type of patching material used and the specific instructions provided by the manufacturer. Always refer to the product guidelines for the recommended securing technique.
After securing the patch, it’s crucial to conduct a thorough inspection to ensure that the repair is successful and there are no other areas of concern.
Inspecting the Repair
After completing the repair on your flat roof, it’s important to conduct a thorough inspection to ensure that the repair was successful and there are no other areas of concern. Here’s how to inspect the repair:
- Check for leaks: The first step in the inspection process is to check for any signs of leaks. Monitor the repaired area during and after rainfall to ensure that water is not penetrating through the patch. Additionally, inspect the interior of your home or building for any signs of water staining or moisture.
- Examine the patch: Carefully examine the patch itself. Look for any signs of lifting, cracking, or separation from the roof surface. The patch should be securely adhered and seamless with the surrounding roofing material.
- Inspect the surrounding areas: While inspecting the repaired area, also examine the surrounding sections of the roof. Look for any signs of new damage or additional areas that may require attention. It’s important to address any potential issues before they escalate.
- Check for proper drainage: Ensure that water is draining properly off your flat roof. Check the gutters, downspouts, and other drainage systems to ensure they are functioning effectively. Adequate drainage is crucial to prevent water pooling and potential damage to your roof.
- Consider a professional inspection: If you are uncertain about the effectiveness of the repair or notice any ongoing issues, it may be beneficial to have a professional roofing contractor inspect your flat roof. They can provide valuable insights and identify any underlying problems that may require further attention.
Regular roof maintenance is essential for preserving the longevity and functionality of your flat roof. It’s recommended to conduct periodic inspections, especially after severe weather events, to promptly identify and address any potential issues.
By thoroughly inspecting the repair and taking necessary preventive measures, you can ensure the long-term stability and performance of your flat roof.
Conclusion
Repairing a flat roof can seem like a daunting task, but with the right knowledge and preparation, it is a manageable project that can save you time and money in the long run. By following the steps outlined in this article, you can effectively assess the damage, gather the necessary materials, prepare the roof surface, apply the patching material, secure the patch, and inspect the repair.
Remember, safety should always be a top priority when working on your flat roof. If you are unsure or uncomfortable with any aspect of the repair process, it’s best to consult a professional roofing contractor. They have the expertise and experience to handle complex repairs safely and efficiently.
Regular maintenance and prompt repair of any damage are crucial for prolonging the lifespan of your flat roof. By addressing issues early on, you can prevent further damage and avoid costly repairs or even a complete roof replacement.
Finally, it’s important to note that while this article provides a general guide to flat roof repair, specific materials and techniques may vary based on the type of flat roof you have and the extent of the damage. Always refer to the manufacturer’s instructions and consult with professionals when needed.
By taking the time to repair your flat roof properly, you can ensure its durability, functionality, and protection for years to come. So, roll up your sleeves, gather your tools, and let’s get started on repairing your flat roof!
Frequently Asked Questions about How To Repair Flat Roof
Was this page helpful?
At Storables.com, we guarantee accurate and reliable information. Our content, validated by Expert Board Contributors, is crafted following stringent Editorial Policies. We're committed to providing you with well-researched, expert-backed insights for all your informational needs.




0 thoughts on “How To Repair Flat Roof”