Articles
How To Replace A Flat Roof
Modified: October 18, 2024
Discover expert articles on how to replace a flat roof and ensure a seamless process for your roofing project. View step-by-step instructions and tips from professionals.
(Many of the links in this article redirect to a specific reviewed product. Your purchase of these products through affiliate links helps to generate commission for Storables.com, at no extra cost. Learn more)
Introduction
Replacing a flat roof can be a daunting task, but with the right knowledge and approach, it can be a manageable project. Whether your flat roof is showing signs of wear and tear, has developed leaks, or simply needs an upgrade, this article will guide you through the process of replacing it. By following the steps outlined here, you’ll be able to give your home or building a fresh, leak-free, and long-lasting roof.
Before diving into the details, it’s important to note that flat roofs can be constructed using different materials, such as built-up roofing (BUR), modified bitumen (MB), or single-ply membranes like EPDM or TPO. The specific replacement process may vary depending on the type of roof you have, so it’s crucial to understand the requirements for your particular roofing system.
It’s also worth mentioning that replacing a flat roof requires careful planning, proper safety precautions, and the use of specialized tools and materials. If you’re not comfortable working at heights or handling heavy materials, it’s best to hire a professional roofing contractor to ensure the job is done safely and efficiently.
With that said, if you’re up for the challenge and confident in your DIY skills, let’s get started with the step-by-step process of replacing a flat roof.
Key Takeaways:
- Prioritize safety, gather materials, and follow step-by-step instructions to replace a flat roof successfully. Proper preparation, installation, and final inspection ensure a durable, leak-free, and long-lasting result.
- If unsure, consult a professional roofing contractor for a safe and efficient flat roof replacement. Proper ventilation, drainage, and sealing are crucial for a watertight and durable roofing system.
Read more: How To Roof A Flat Roof Shed
Step 1: Safety Precautions
Before you begin replacing your flat roof, it’s crucial to prioritize safety. Working at heights and with construction materials can be hazardous, so taking the necessary precautions is essential to prevent accidents or injuries. Here are some safety measures to keep in mind:
1. Use proper safety gear: Wear a hard hat, safety goggles, gloves, and non-slip footwear to protect yourself from falls, head injuries, eye hazards, and hand injuries. If you’re working with hot materials, such as tar or asphalt, consider using heat-resistant gloves.
2. Set up a stable work platform: Use sturdy ladders, scaffolding, or a roof harness system to provide a stable and secure platform to work on. Ensure that the equipment is properly set up, secured, and inspected before use.
3. Check weather conditions: Avoid working on the roof during adverse weather conditions like rain, strong winds, or extreme temperatures. Slippery surfaces and reduced visibility can increase the risk of accidents. Plan your roof replacement for a calm and dry day.
4. Follow ladder safety: Ensure that your ladder is in good condition and placed on stable ground. Use the “three-point rule” – always keep three points of contact with the ladder (e.g., two hands and one foot or two feet and one hand).
5. Secure loose objects: Clear the work area of any debris, tools, or loose materials that could pose a tripping or falling hazard. Secure roofing materials and tools to prevent them from sliding off the roof.
6. Consult professionals when needed: If you encounter structural issues, electrical wiring, or other complexities during the roof replacement process, consult a professional contractor or relevant experts who can provide guidance and assistance.
Remember, your safety should always be the top priority. If you’re unsure about any aspect of the roof replacement process, it’s best to seek professional help rather than risking injury or damage to your property.
Step 2: Gathering Materials and Tools
Before you can begin the process of replacing your flat roof, it’s important to gather all the necessary materials and tools. Having everything prepared and organized will save you time and ensure a smoother workflow. Here’s a list of the essential items you’ll need:
Materials:
- Roofing membrane or material (e.g., built-up roofing, modified bitumen, EPDM, TPO)
- Underlayment (if required by your roofing system)
- Roofing nails or screws
- Flashing material
- Roofing cement or adhesive
- Sealant for edges and joints
- Roof vents and drains (if necessary)
Tools:
- Roofing shovel or scraper
- Roofing hammer or nail gun
- Utility knife
- Chalk line
- Tape measure
- Roofing brush
- Safety harness and lanyard (if working at heights)
- Ladders or scaffolding
- Power saw or snips (for cutting materials)
- Roofing roller or brush (for applying adhesive)
- Roofing torch (if working with torch-applied membranes)
- Caulking gun
- Drill (if installing roof vents or drains)
Make sure all of your materials are of high quality and suitable for your specific roof type. If you’re unsure about any materials or tools required, consult the manufacturer’s instructions or seek guidance from a roofing professional.
Before starting the roof replacement process, it’s also a good idea to double-check your inventory and ensure that you have enough supplies to complete the job. Running out of materials midway can cause delays and inconvenience.
Remember to prioritize safety when handling tools and equipment. Follow the manufacturer’s instructions, wear protective gear, and use caution when using power tools or working at heights.
By having all the necessary materials and tools ready, you’ll be well-prepared to move on to the next steps of the roof replacement process.
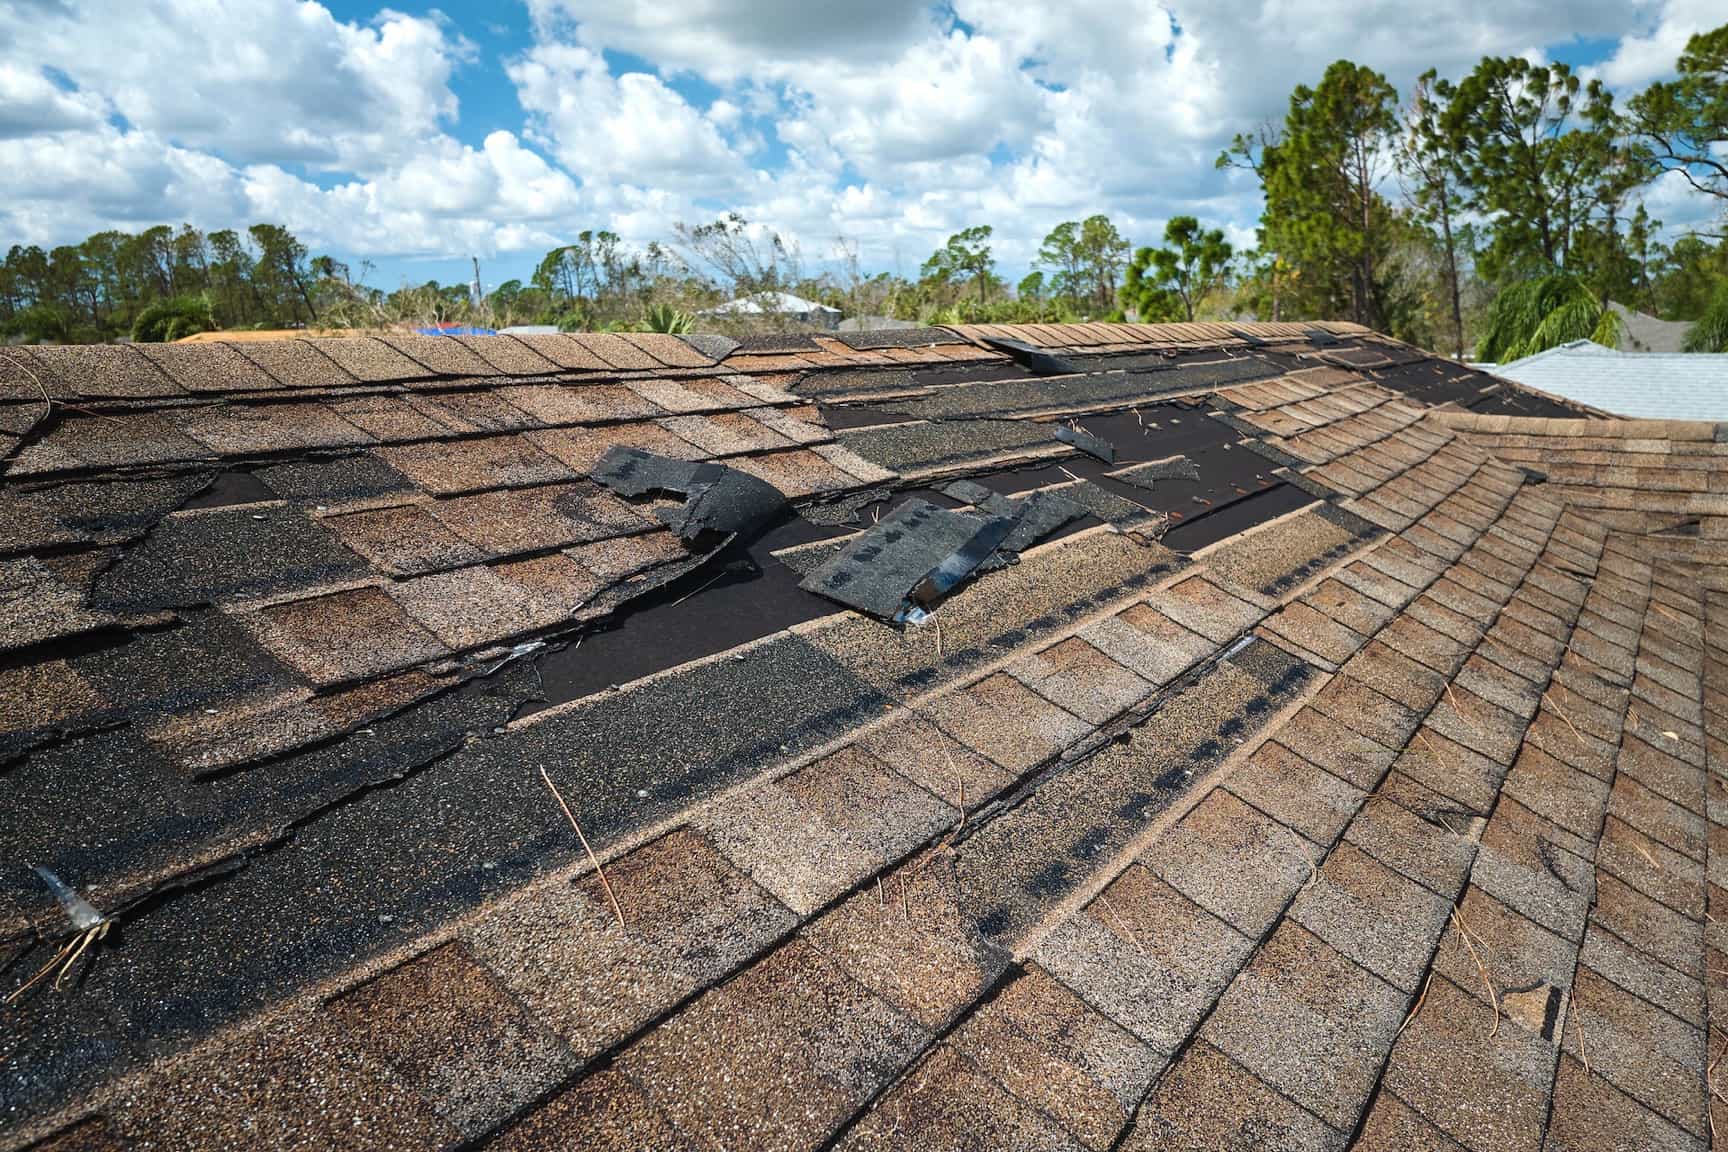
Step 3: Removing the Old Roofing Materials
Once you have gathered all the necessary materials and tools, it’s time to start removing the old roofing materials. This step is crucial as it provides a clean and stable base for the installation of the new roof. Here’s a guide on how to effectively remove the old roofing materials:
1. Start from the top: Begin by removing the top layer of the roofing materials, such as shingles or membranes. Use a roofing shovel or scraper to carefully lift and pry off the old materials, taking care not to damage the underlying structure.
2. Dispose of the debris: As you remove the old materials, place them in a designated area or directly into a dumpster to keep the work area clean and safe. Make sure to comply with local waste disposal regulations and consider hiring a professional service to handle the removal if the amount of debris is substantial.
3. Inspect the roof structure: Once you have removed the top layer, thoroughly inspect the roof deck for any signs of damage, rot, or structural issues. Replace any deteriorated decking to ensure the new roof has a solid foundation.
4. Remove any remaining roofing materials: After clearing the top layer, check for any remaining bits of roofing material or adhesive. Use a roofing brush or scraper to remove these remnants, ensuring a clean and smooth surface for the new roof to be installed.
5. Address any repair needs: Take the opportunity to assess and address any additional repairs that may be required. Replace damaged flashing, repair or seal any cracks, and fix any other issues identified during the inspection process. This will help prevent future leaks and ensure the longevity of your new roof.
Remember to exercise caution when removing old materials, especially if you encounter nails or other sharp objects. Use appropriate gloves and eye protection to minimize the risk of injury.
Properly removing the old roofing materials is a crucial step in the roof replacement process. It sets the stage for a successful installation of the new materials, ensuring a durable and long-lasting flat roof.
Step 4: Inspecting and Repairing the Roof Deck
After removing the old roofing materials, it’s important to thoroughly inspect and repair the roof deck before proceeding with the installation of the new roof. The roof deck serves as the foundation for your flat roof, and any issues with it can compromise the integrity of the entire roofing system. Follow these steps to properly inspect and repair the roof deck:
1. Check for water damage: Look for any signs of water damage on the roof deck, such as discoloration, soft spots, or mold and mildew growth. If you find any areas that are affected, it’s essential to identify the source of the water intrusion and fix it before proceeding.
2. Repair or replace damaged sections: If you come across any damaged or deteriorated sections of the roof deck, it’s important to address them promptly. Use appropriate materials and techniques to repair or replace the damaged sections, ensuring that the deck is solid and able to support the new roofing materials.
3. Address any structural issues: Inspect the roof deck for any structural issues, such as sagging or uneven areas. These issues can affect the overall stability of your roof and should be addressed before continuing with the installation. Consult a structural engineer or roofing professional if you encounter any significant concerns.
4. Ensure proper ventilation: Adequate ventilation is crucial in preventing moisture buildup and extending the lifespan of your roof. Check for proper ventilation and install or repair vents as necessary. Proper airflow helps to regulate temperature and moisture levels, reducing the risk of damage to the roof deck.
5. Apply a waterproofing barrier: Before installing the new roofing materials, consider applying a waterproofing barrier, such as a roof underlayment or a liquid applied membrane. This additional layer of protection can help prevent water infiltration, enhancing the longevity of your flat roof.
By conducting a thorough inspection and making any necessary repairs to the roof deck, you are ensuring that your new roof will have a solid foundation. This step is crucial in maintaining the structural integrity of your flat roof and avoiding potential issues down the line.
Read more: How To Put Gutters On A Flat Roof
Step 5: Installing Underlayment and Flashing
Once the roof deck is in good condition, the next step is to install the underlayment and flashing. These components provide an additional layer of protection against water intrusion and help to create a watertight seal. Follow these steps to properly install the underlayment and flashing:
1. Prepare the surface: Clean the roof deck of any debris, ensuring a smooth and clean surface for the installation. Remove any nails or other objects that may interfere with the underlayment or flashing installation.
2. Install the underlayment: Begin by laying down the underlayment material, such as a waterproofing membrane, following the manufacturer’s instructions. Overlap the seams according to the recommended specifications and secure the underlayment using roofing nails or adhesive as instructed.
3. Install the base flashing: The base flashing acts as a barrier between the roof and vertical surfaces, such as walls or chimneys. Cut the base flashing material to the required size and shape, ensuring a proper fit. Secure the flashing in place using nails or roofing adhesive, ensuring a secure and watertight seal.
4. Install the step flashing: Step flashing is used along the edges of roof-to-wall intersections. Cut the step flashing material into individual pieces and install them in a “step-like” fashion, overlapping each piece as you work your way up the wall. Secure the step flashing to the roof deck and wall using nails or roofing adhesive.
5. Install the counter flashing: The counter flashing is installed over the step flashing to provide an extra layer of protection. Cut the counter flashing to the required size and shape, ensuring it covers the step flashing and extends onto the wall. Secure the counter flashing using nails or roofing adhesive, ensuring a tight seal with the wall surface.
6. Seal all flashing joints: Apply roofing cement or sealant to all flashing joints and seams to create a watertight seal. Use a caulking gun for precise application and ensure that all areas are thoroughly covered.
It’s essential to follow the manufacturer’s instructions and best practices regarding the installation of underlayment and flashing for your specific roofing system. Properly installed underlayment and flashing play a crucial role in preventing water intrusion and maintaining the integrity of your flat roof.
When replacing a flat roof, make sure to properly prepare the surface by removing any old roofing material and repairing any damaged areas before installing the new roofing material. This will ensure a longer-lasting and more effective roof replacement.
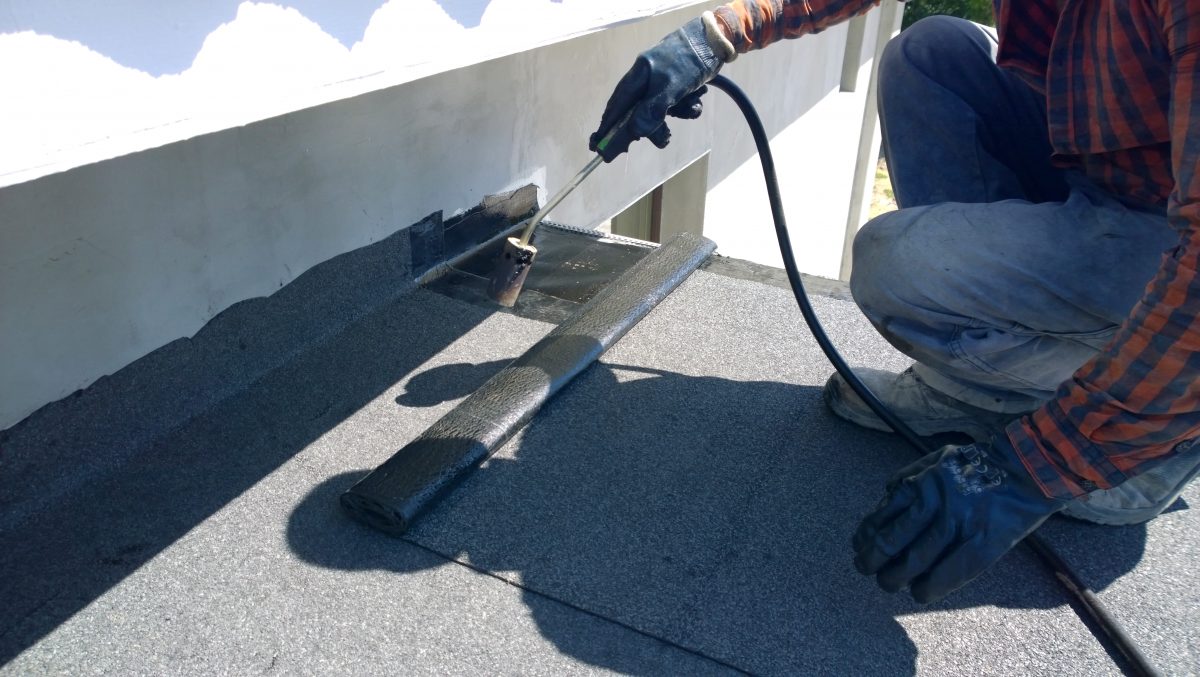
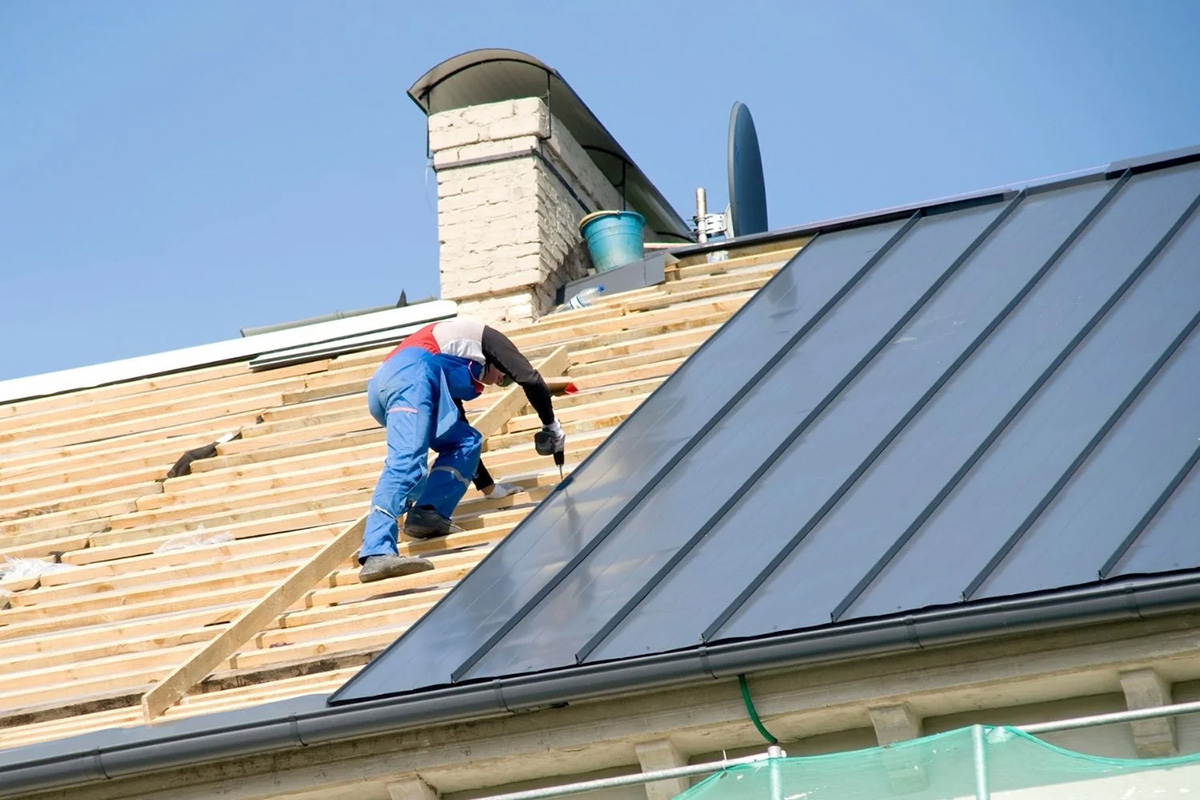
Step 6: Applying Roofing Membrane or Material
With the underlayment and flashing in place, it’s time to apply the roofing membrane or material to create a waterproof barrier and protect your flat roof. The specific type of roofing material will depend on your preference and the requirements of your roofing system. Follow these steps to properly apply the roofing membrane or material:
1. Measure and cut the roofing material: Start by measuring the dimensions of the roof and cutting the roofing material to the appropriate size. Use a tape measure and a utility knife to make clean and precise cuts.
2. Position the roofing material: Carefully position the roofing material over the surface of the roof, ensuring it is aligned and centered. Leave an overhang of a few inches on all sides to allow for proper sealing and trimming.
3. Secure the roofing material: Begin securing the roofing material to the roof deck. Depending on the type of material, you may use roofing nails or screws, adhesive, or a combination of both. Follow the manufacturer’s instructions for the recommended method of attachment.
4. Apply adhesive or sealant: If required by your roofing system, apply roofing adhesive or sealant along the seams and edges of the roofing material. This will create a watertight seal and prevent any potential leaks.
5. Roll or press down the roofing material: To ensure proper adhesion and seal, use a roofing roller or apply pressure to the roofing material, especially along the seams and edges. This will help to eliminate any air pockets and ensure a secure bond.
6. Trim excess material: Once the roofing material is secured, use a utility knife to carefully trim any excess material and create clean, straight edges. Take your time and work slowly to achieve precise cuts.
7. Inspect for any imperfections: After the roofing material is applied and trimmed, inspect the entire surface for any imperfections or areas that may need further attention. Address any issues promptly to ensure a properly installed and watertight roof.
When applying the roofing membrane or material, it’s crucial to follow the manufacturer’s instructions and guidelines for the specific product you are using. This will help to ensure proper installation and optimal performance of the roof.
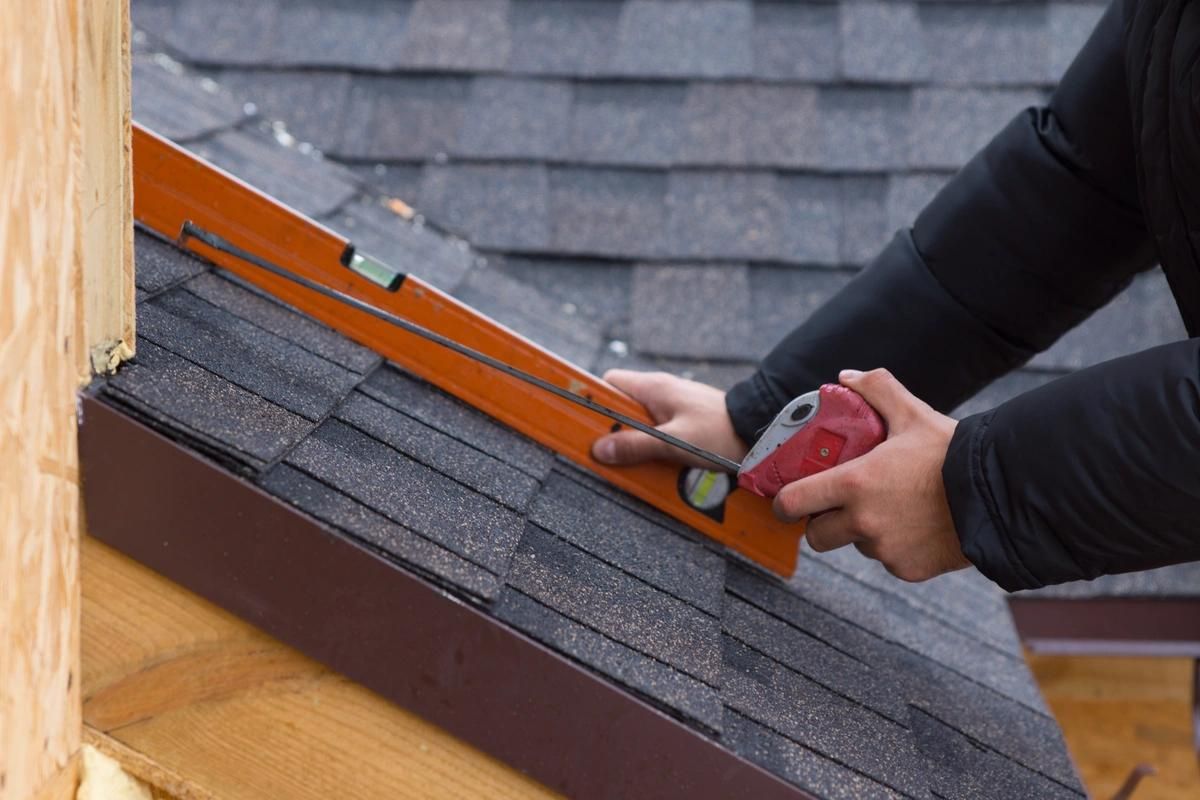
Step 7: Sealing Edges and Joints
Sealing the edges and joints of your flat roof is an important step in maintaining a watertight and durable roofing system. Properly sealed edges and joints prevent water intrusion, protect against leaks, and extend the lifespan of your roof. Follow these steps to effectively seal the edges and joints of your flat roof:
1. Clean the surface: Before applying any sealant, ensure that the edges and joints of the roof are clean and free from debris. Use a brush or cloth to remove any dirt, dust, or loose material.
2. Select the appropriate sealant: Choose a high-quality sealant that is compatible with the roofing material and suitable for the specific edges and joints of your roof. Consult the manufacturer’s instructions to ensure you’re using the right product.
3. Apply the sealant: Carefully apply the sealant along the edges and joints of the roof, using a caulking gun or a putty knife. Make sure to apply a consistent and even bead of sealant, ensuring complete coverage. Pay extra attention to areas that are prone to leaks, such as roof-to-wall intersections or around roof penetrations like vents or skylights.
4. Smooth and shape the sealant: As you apply the sealant, use a tool or your finger to smooth and shape it, ensuring a neat and uniform appearance. This will help to create a tight seal and enhance the overall aesthetics of your roof.
5. Allow the sealant to cure: Follow the manufacturer’s instructions regarding the curing time of the sealant. Allow sufficient time for the sealant to set and cure properly before exposing it to any moisture or inclement weather.
6. Inspect the sealed areas: Once the sealant has cured, carefully inspect the sealed edges and joints for any gaps or areas that may require touch-ups. Address any issues promptly to ensure a fully sealed and waterproof roof.
Remember to refer to the manufacturer’s instructions and recommendations for the specific sealant you’re using. Different roofing materials and conditions may require different sealants or application techniques.
By properly sealing the edges and joints of your flat roof, you can enhance its durability and protection against water damage, ensuring a long-lasting and reliable roofing system.
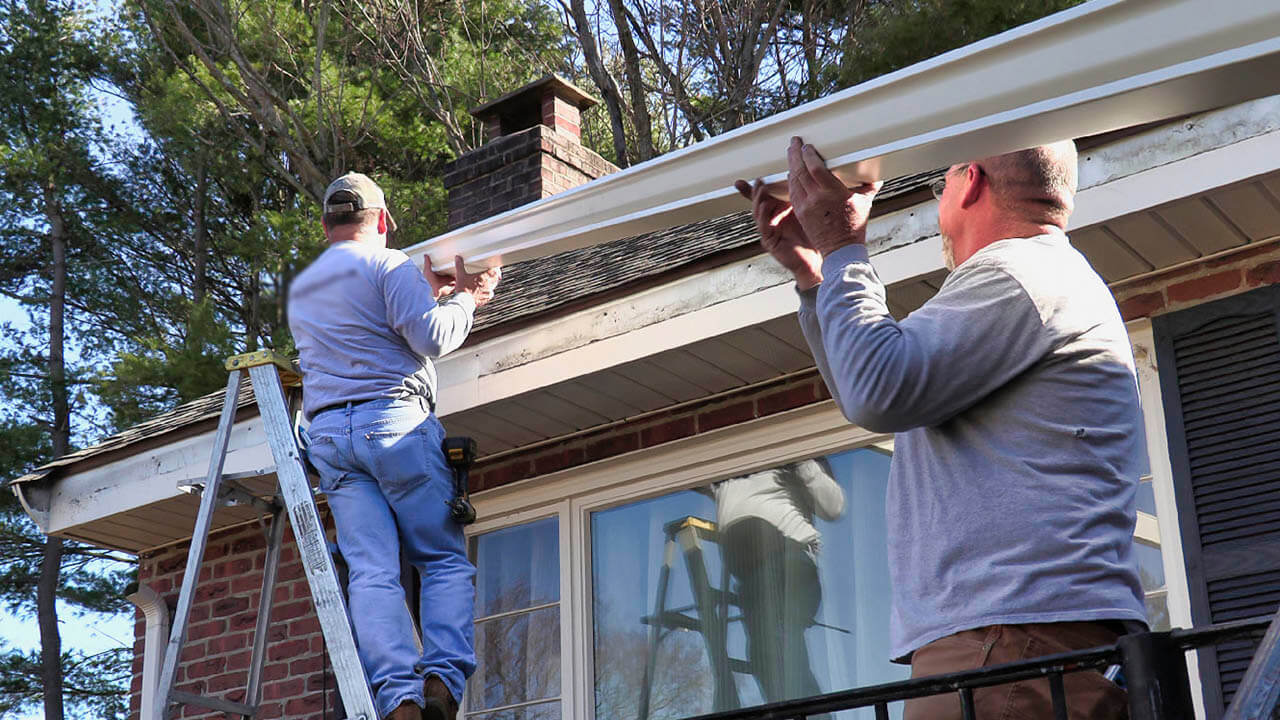
Step 8: Installing Roof Vents and Drains
Proper ventilation and drainage are crucial for maintaining the health and longevity of your flat roof. Installing roof vents and drains helps to prevent the buildup of moisture, improve airflow, and protect against potential damage. Here are the steps to follow when installing roof vents and drains:
1. Determine the location: Identify the optimal locations for roof vents and drains based on the design and layout of your flat roof. Consider factors such as the slope of the roof, areas prone to water pooling, and the overall ventilation requirements of your building.
2. Prepare the installation site: Clean the area where the vents and drains will be installed, removing any debris or roofing material that could interfere with the installation process or compromise the seal.
3. Measure and mark: Take accurate measurements to determine the precise placement of the vents and drains. Mark the locations on the roof using chalk or another suitable marking tool.
4. Cut the openings: Using a power saw or appropriate cutting tool, carefully cut the openings for the roof vents and drains according to the marked locations. Take care to follow the manufacturer’s specifications for size and shape, ensuring a proper fit.
5. Install the roof vents: Securely attach the roof vents in the designated openings, following the manufacturer’s instructions. Use roofing nails or screws to secure the vents, ensuring a tight and watertight seal. Apply roofing cement or sealant around the edges of the vents to further enhance the seal and prevent water intrusion.
6. Install the roof drains: Place the roof drains in the marked openings, ensuring they fit securely and align properly with the drainpipes. Connect the drains to the drainpipes, making sure they are properly sealed to prevent leaks. Apply roofing cement or sealant around the edges of the drains for added protection.
7. Test for proper drainage: Once the roof vents and drains are installed, test the drainage system to ensure it is functioning correctly. Pour water into the drains and monitor the flow to see if there are any blockages or issues. Make any necessary adjustments or repairs as needed.
Proper installation of roof vents and drains is essential for maintaining the integrity of your flat roof and preventing the accumulation of water or moisture. Follow the manufacturer’s instructions and guidelines to ensure a professional and effective installation.
Read more: How To Slope A Flat Roof For Drainage
Step 9: Cleaning up and Final Inspection
As you near the completion of your flat roof replacement project, it’s vital to dedicate time to clean up the work area and perform a final inspection. This step ensures that everything is in order, and your new roof is set for optimal performance. Here’s what you should do:
1. Clear the work area: Remove all tools, debris, and leftover materials from the roof and surrounding area. Dispose of the waste properly according to local regulations. Leaving a clean work area not only improves safety but also gives you the opportunity to inspect the roof more effectively.
2. Inspect the entire roof: Perform a thorough visual inspection of the roof to ensure that the installation is complete and meets your expectations. Check for any visible defects, uneven areas, or loose roofing materials. Address any issues promptly.
3. Test for leaks: Use a hose or water source to simulate rainfall and test for any leaks in the newly installed roof. Pay close attention to areas like seams, edges, and roof penetrations. If any leaks are detected, mark the location and take the necessary steps to rectify them.
4. Examine flashings and seals: Inspect all flashings, seals, and waterproofing elements to ensure they are secure and properly sealed. Look for signs of damage, gaps, or loose materials that may compromise the waterproofing integrity of the roof. Make any necessary repairs or improvements.
5. Confirm proper drainage: Verify that the roof drains, downspouts, and gutters are functioning correctly. Ensure that water is being channeled away from the building, preventing any pooling or water damage. Adjust or clean any clogged drains or downspouts as needed.
6. Document the completed project: Take photos or make notes of the completed roof replacement project. This documentation can serve as a reference for future maintenance or warranty claims.
7. Consider professional inspection: While a thorough self-inspection is important, it’s always beneficial to have a professional roofing inspector perform a final evaluation. Their trained eye can identify any potential issues or provide valuable feedback on the quality of the installation.
By dedicating time to clean up the work area and conduct a final inspection, you can ensure that your flat roof replacement project is completed to the highest standards. This step gives you peace of mind knowing that your new roof is in top condition and ready to withstand the elements for years to come.
Conclusion
Replacing a flat roof may seem like a complex and intimidating task, but with proper planning, preparation, and execution, it can be a manageable project. By following the step-by-step guide provided in this article, you can successfully replace your flat roof and ensure a durable, leak-free, and long-lasting result.
Throughout the process, it is crucial to prioritize safety and use the appropriate safety gear when working at heights or handling construction materials. If you’re not confident in your DIY skills or find the task too challenging, it’s always wise to consult or hire a professional roofing contractor who can complete the job efficiently and with expertise.
Remember to gather all the necessary materials and tools before starting the roof replacement project. Having everything organized and readily available will streamline the workflow and save you time and effort. Take the time to prepare the roof deck properly, inspecting for any damage and making necessary repairs to ensure a solid foundation for your new roof.
Installing the underlayment, flashing, roofing membrane, and sealants correctly is vital to prevent water intrusion and maintain the integrity of your flat roof. It’s crucial to follow the manufacturer’s instructions for each specific material and ensure a watertight seal at all edges and joints.
Don’t forget the importance of proper ventilation and drainage by installing roof vents and drains. These components help prevent moisture buildup and protect against potential damage.
Finally, cleaning up the work area and performing a final inspection are essential steps to confirm the quality and durability of your newly replaced flat roof. By ensuring that everything is in order and addressing any issues promptly, you can have confidence in the performance and longevity of your new roofing system.
Remember, if you face any challenges or are unsure about any aspect of the roof replacement process, it’s always advisable to seek professional help. A qualified roofing contractor can guide you through the process and ensure that your flat roof replacement is completed to the highest standard.
By following these guidelines and investing time and effort into your flat roof replacement project, you’ll be able to enjoy a safe, efficient, and successful roof replacement that provides years of protection for your home or building.
Frequently Asked Questions about How To Replace A Flat Roof
Was this page helpful?
At Storables.com, we guarantee accurate and reliable information. Our content, validated by Expert Board Contributors, is crafted following stringent Editorial Policies. We're committed to providing you with well-researched, expert-backed insights for all your informational needs.


0 thoughts on “How To Replace A Flat Roof”