Home>Articles>How To Easily Repair A Flat Roof That Has Bubbles Or Tears
Articles
How To Easily Repair A Flat Roof That Has Bubbles Or Tears
Modified: January 6, 2024
Learn how to repair a flat roof that has bubbles or tears with these helpful articles. Step-by-step instructions and expert tips to fix your roof easily.
(Many of the links in this article redirect to a specific reviewed product. Your purchase of these products through affiliate links helps to generate commission for Storables.com, at no extra cost. Learn more)
Introduction
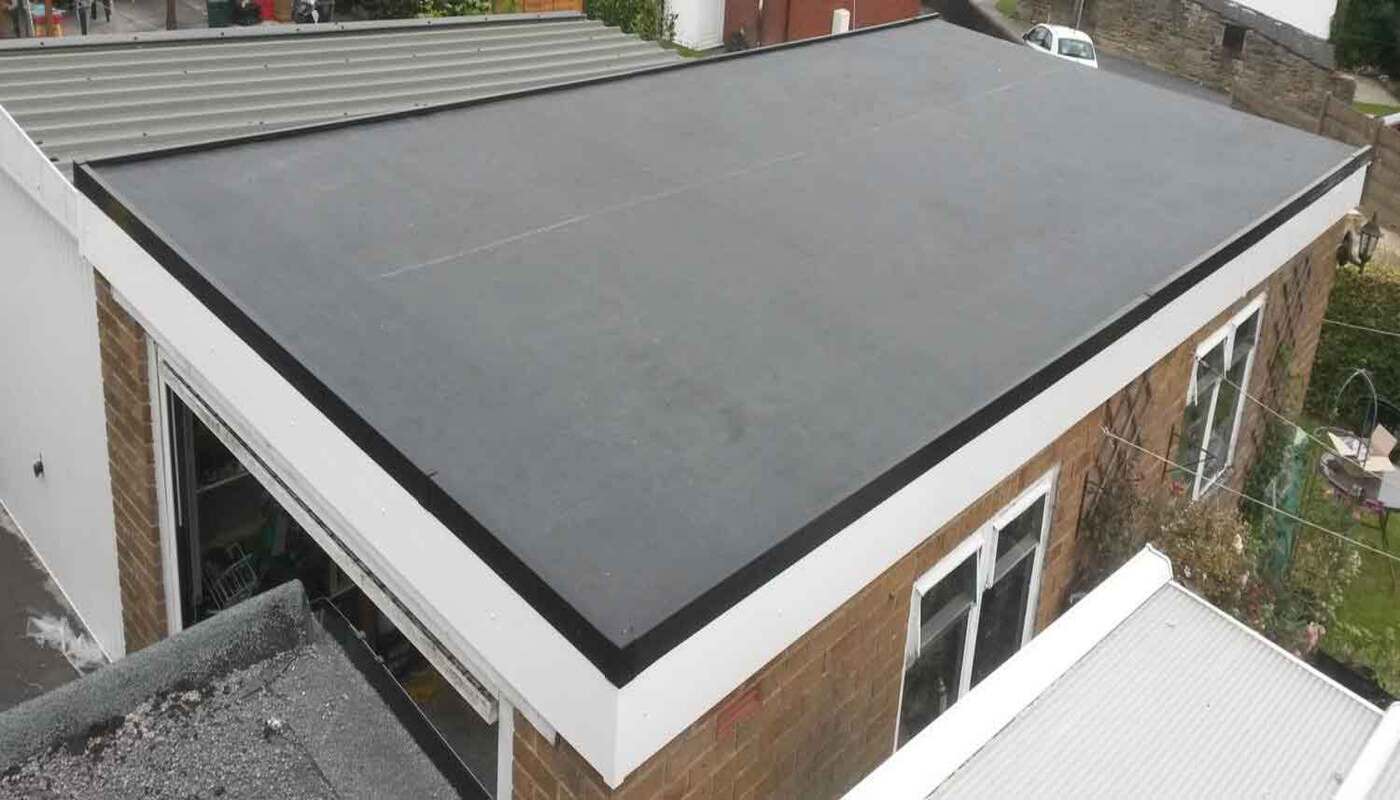
Flat roofs are a popular choice for commercial buildings, as they offer durability and cost-effectiveness. However, they are also prone to certain issues, such as the formation of bubbles and tears. These can occur due to various reasons, including poor installation, age of the roof, or extreme weather conditions.
Bubbles and tears on a flat roof can lead to significant damage if left untreated. They can cause leaks, compromise the structural integrity of the roof, and result in costly repairs or even roof replacement. Fortunately, repairing a flat roof with bubbles or tears is a relatively simple process, provided you have the right tools and materials.
In this article, we will guide you through the step-by-step process of repairing a flat roof that has bubbles or tears. By following these instructions, you can ensure that your roof remains in good condition and avoid any further complications.
Key Takeaways:
- Repairing a flat roof with bubbles or tears is a manageable task with the right tools and materials. Understanding the causes and following a step-by-step guide can help restore your roof’s integrity and prevent future damage.
- Prioritize safety, gather essential tools and materials, and follow the step-by-step guide to effectively repair your flat roof. Regular maintenance and timely repairs will extend your roof’s lifespan and prevent costly damages.
Read more: How To Roof A Flat Roof Shed
Common Causes of Bubbles and Tears on a Flat Roof
Understanding the common causes of bubbles and tears on a flat roof can help you prevent these issues in the future. Here are some of the most common causes:
- Poor Installation: One of the primary causes of bubbles and tears on a flat roof is improper installation. If the roof membrane is not installed correctly, it can result in air pockets or weak spots that can lead to the formation of bubbles or tears over time.
- Aging and Wear: Over time, flat roofs can deteriorate due to age and exposure to the elements. This can cause the roof membrane to weaken and become more susceptible to damage, including the formation of bubbles or tears.
- Extreme Weather Conditions: Harsh weather conditions, such as intense heat or freezing temperatures, can cause the materials on a flat roof to expand or contract. This expansion and contraction can create stress on the roof membrane, leading to the formation of bubbles or tears.
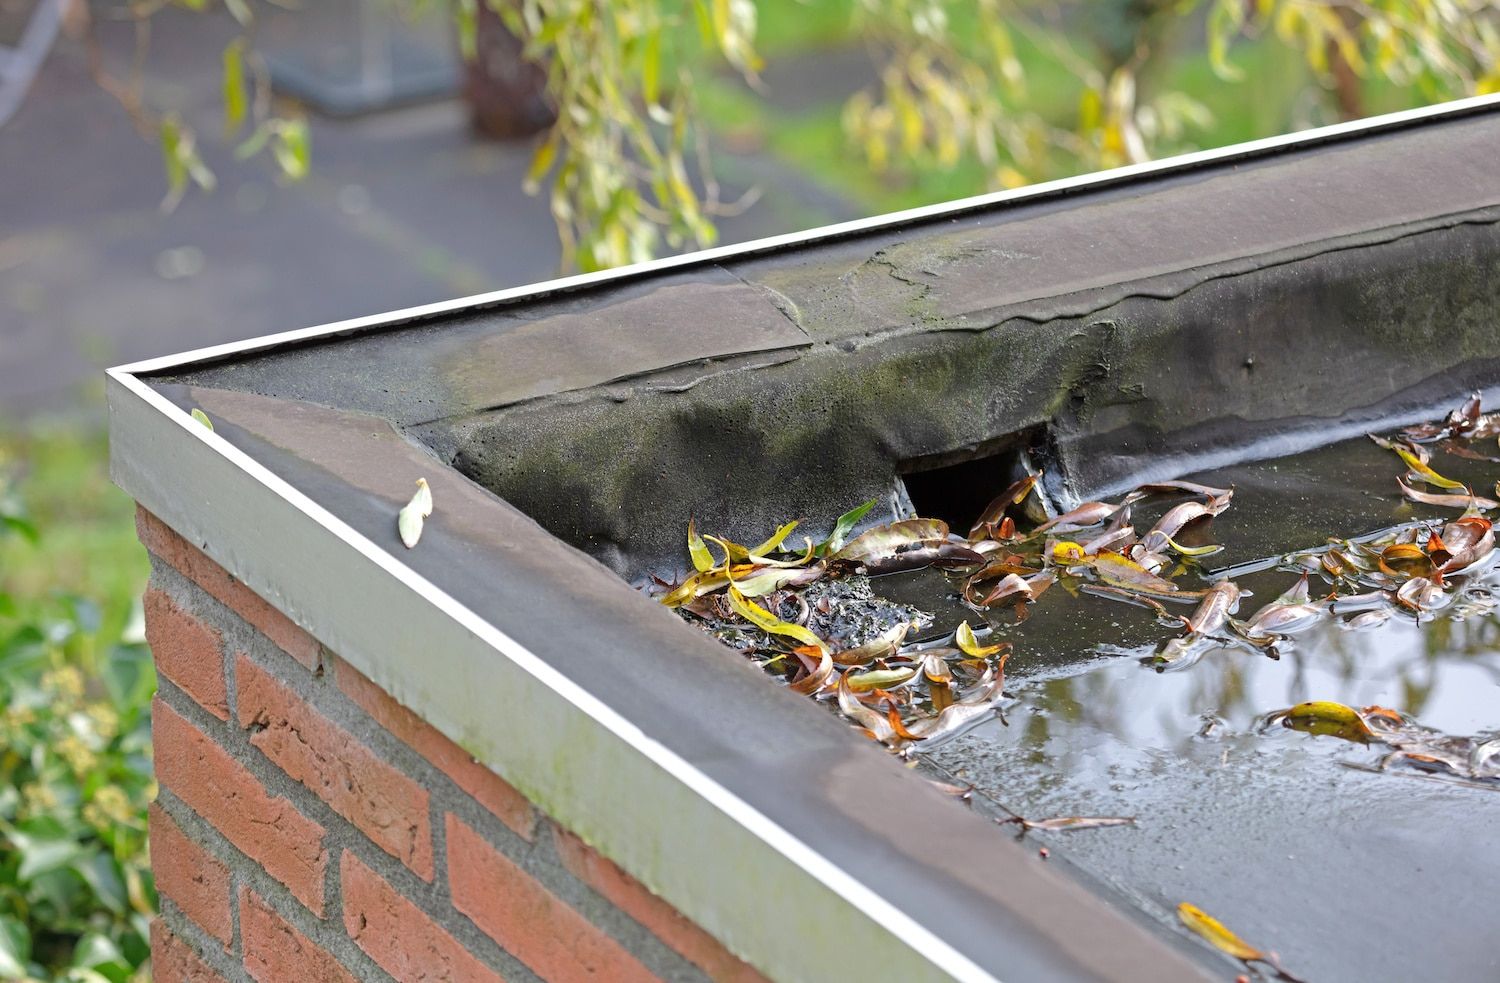
- Trapped Moisture: If moisture becomes trapped beneath the roof membrane, it can lead to the formation of bubbles. This can happen due to poor drainage or inadequate insulation, allowing water to accumulate and eventually bubble up.
- Improper Repairs: Previous repairs that were not done correctly can contribute to the formation of bubbles or tears on a flat roof. If patches or seams were not properly sealed, they can create weak spots that are prone to damage.
By understanding these common causes, you can take proactive steps to prevent bubble and tear formation on your flat roof. Regular maintenance, proper installation, and addressing any issues promptly can help ensure the longevity and durability of your flat roof.
Tools and Materials Needed
Before you embark on repairing a flat roof with bubbles or tears, it’s important to gather all the necessary tools and materials. Having everything you need at hand will make the repair process smoother and more efficient. Here’s a list of the essential tools and materials you will need:
Tools:
- Utility knife: A sharp utility knife will be essential for cutting through the damaged areas of the roof.
- Safety goggles and gloves: These will protect your eyes and hands during the repair process.
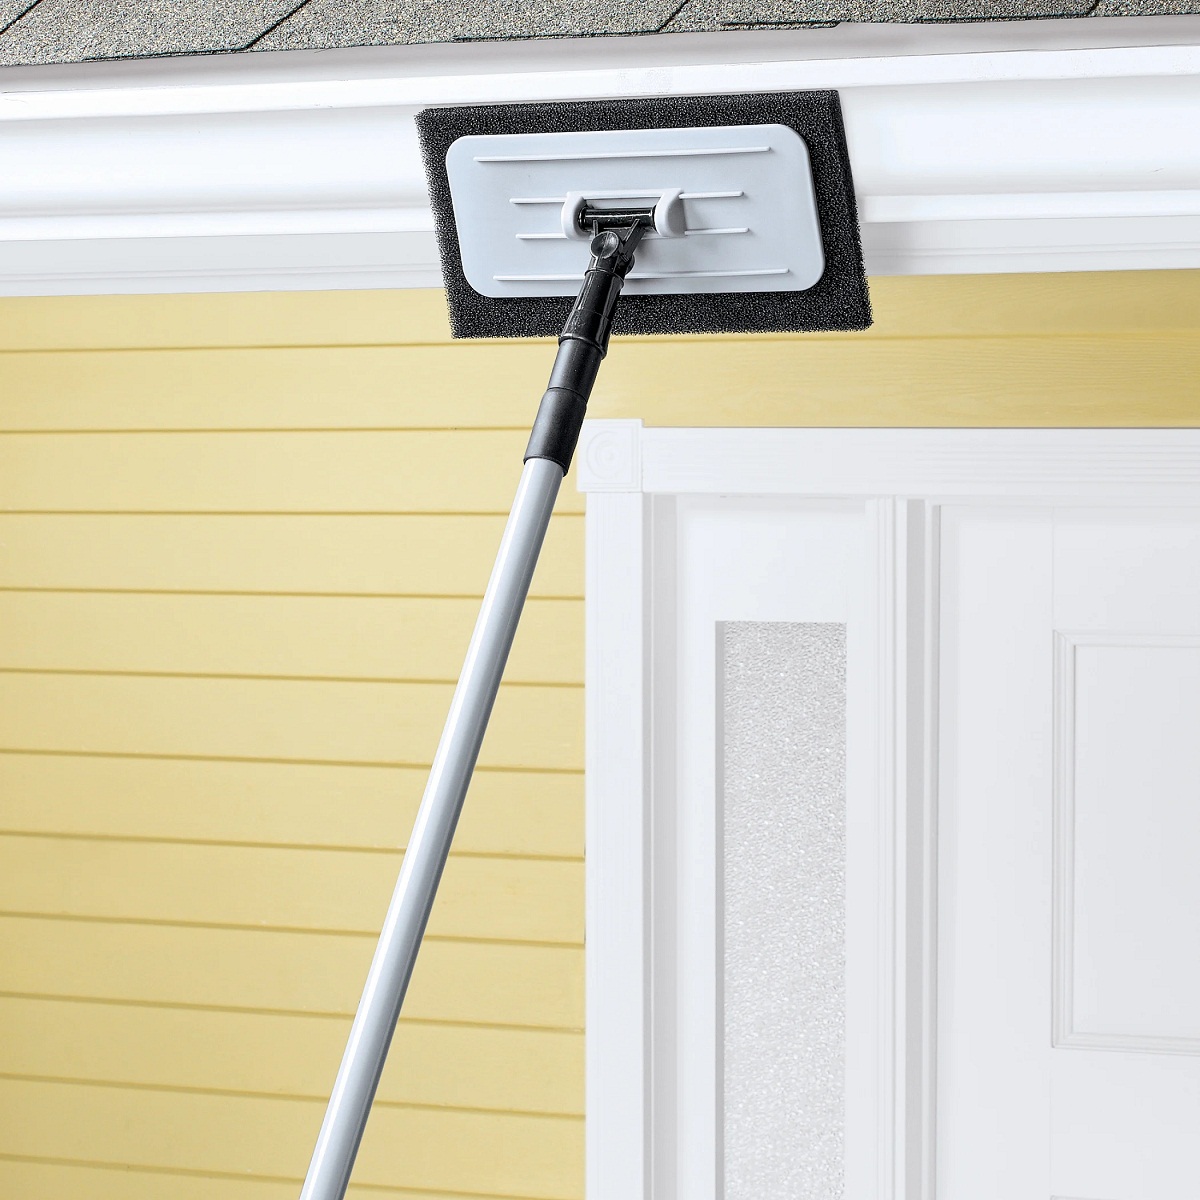
- Ladder or scaffolding: Depending on the height of your roof, you may need a ladder or scaffolding to safely access the damaged areas.
- Tape measure: You will need a tape measure to accurately measure the size of the damaged area that needs to be repaired.
- Chalk line: A chalk line will help you mark straight lines on the roof for precise cutting.
- Roofing adhesive or sealant: This will be used to secure and seal the repaired areas.
- Roller or brush: A roller or brush will be needed to apply the adhesive or sealant smoothly.
Materials:
- Plywood: If the damaged area is substantial, you may need to replace the plywood beneath the roof membrane.
- Roofing membrane: This is the main material used for flat roof repairs. Make sure to choose a high-quality membrane that is compatible with your existing roof.
- Patch material: If the damage is small, you can use a patch material specifically designed for flat roof repairs.
- Roofing nails or screws: These will be used to secure the new membrane or patch material in place.
- Primer: A primer may be required to ensure proper adhesion of the new membrane or patch material.
- Caulk: Caulk can be used to seal any gaps or seams in the repaired areas.
By ensuring that you have these tools and materials on hand, you will be well-prepared to carry out the flat roof repair with ease and efficiency.
Read more: How To Replace A Flat Roof
Step-by-Step Guide to Repairing a Flat Roof with Bubbles or Tears
Repairing a flat roof with bubbles or tears may seem daunting, but with the right guidance, it can be a straightforward process. Follow these step-by-step instructions to effectively repair your flat roof:
- Step 1: Safety First
Before you begin any roof repair work, ensure your safety by wearing protective goggles, gloves, and appropriate footwear. Use a ladder or scaffolding to access the damaged areas, and take necessary precautions to prevent accidental falls. - Step 2: Assess the Damage
Carefully examine the roof to identify the areas with bubbles or tears. Use a tape measure to measure the size of the damaged area. This will help you determine the amount of materials needed for the repair. - Step 3: Cut and Remove Damaged Sections
Use a sharp utility knife to cut a clean line around the damaged area. Remove the damaged section, ensuring that the cut is smooth and even. - Step 4: Replace Plywood (if necessary)
If the bubble or tear has caused significant damage to the underlying plywood, you will need to replace it. Cut a piece of matching plywood to fit the size of the opening and secure it in place with roofing nails or screws. - Step 5: Apply Primer (if required)
Some roofing materials may require the application of a primer to ensure proper adhesion. Follow the manufacturer’s instructions on how to apply the primer and allow it to dry completely. - Step 6: Install New Roofing Membrane or Patch Material
Cut a piece of roofing membrane or patch material slightly larger than the damaged area. Align it carefully and press it firmly onto the repaired area. Smooth out any wrinkles or air bubbles to ensure a secure and flat installation. - Step 7: Secure and Seal the Repair
Use roofing adhesive or sealant around the edges of the repaired section to provide extra reinforcement and prevent water leakage. Apply it with a roller or brush, ensuring a complete and even coverage. - Step 8: Allow for Proper Drying and Inspection
Give the repaired section ample time to dry and cure according to the manufacturer’s recommendations. Once dry, inspect the repaired area to ensure it is tightly secured, free of wrinkles, and properly sealed. - Step 9: Perform Regular Roof Maintenance
To prevent future damage and prolong the lifespan of your flat roof, it is essential to conduct regular maintenance. Keep an eye out for any signs of bubbles, tears, or other issues, and address them promptly to avoid further damage.
By following this step-by-step guide, you can successfully repair a flat roof with bubbles or tears. It’s important to take your time, follow proper safety measures, and use high-quality materials to ensure a durable and long-lasting repair.
When repairing a flat roof with bubbles or tears, start by cleaning the area thoroughly and then use a patching material specifically designed for flat roofs to cover the damaged area. Make sure to follow the manufacturer’s instructions for the best results.
Conclusion
Repairing a flat roof with bubbles or tears is a task that can be successfully accomplished with the right tools, materials, and knowledge. By understanding the common causes of these issues and following a step-by-step guide, you can effectively restore the integrity of your flat roof and prevent further damage.
Throughout this article, we have learned that poor installation, aging, extreme weather conditions, trapped moisture, and improper repairs are common causes of bubbles and tears on flat roofs. By addressing these causes and taking preventive measures, such as regular maintenance, you can minimize the risk of future damage.
When it comes to repairing a flat roof with bubbles or tears, gathering the necessary tools and materials is essential. Having a utility knife, safety goggles, gloves, ladder or scaffolding, tape measure, roofing adhesive or sealant, roller or brush, plywood, roofing membrane, patch material, roofing nails or screws, primer, and caulk will ensure a smooth repair process.
Following the step-by-step guide provided, you can effectively repair your flat roof. From assessing the damage to cutting and removing damaged sections, to replacing the plywood (if necessary), applying primer, installing new roofing membrane or patch material, securing and sealing the repair, and performing regular maintenance – each step plays a crucial role in restoring the integrity of your flat roof and ensuring its longevity.
Remember to prioritize safety throughout the repair process and consult professional help if needed. Proper maintenance and timely repairs will help you avoid costly damages and extend the lifespan of your flat roof.
In conclusion, by understanding the causes, gathering the necessary tools and materials, and following a detailed guide, you can confidently repair a flat roof with bubbles or tears. With proper care and attention, your flat roof will continue to provide reliable protection for years to come.
Frequently Asked Questions about How To Easily Repair A Flat Roof That Has Bubbles Or Tears
Was this page helpful?
At Storables.com, we guarantee accurate and reliable information. Our content, validated by Expert Board Contributors, is crafted following stringent Editorial Policies. We're committed to providing you with well-researched, expert-backed insights for all your informational needs.


0 thoughts on “How To Easily Repair A Flat Roof That Has Bubbles Or Tears”