Home>Articles>How To Install Wood Stove Chimney Through Roof

Articles
How To Install Wood Stove Chimney Through Roof
Modified: May 6, 2024
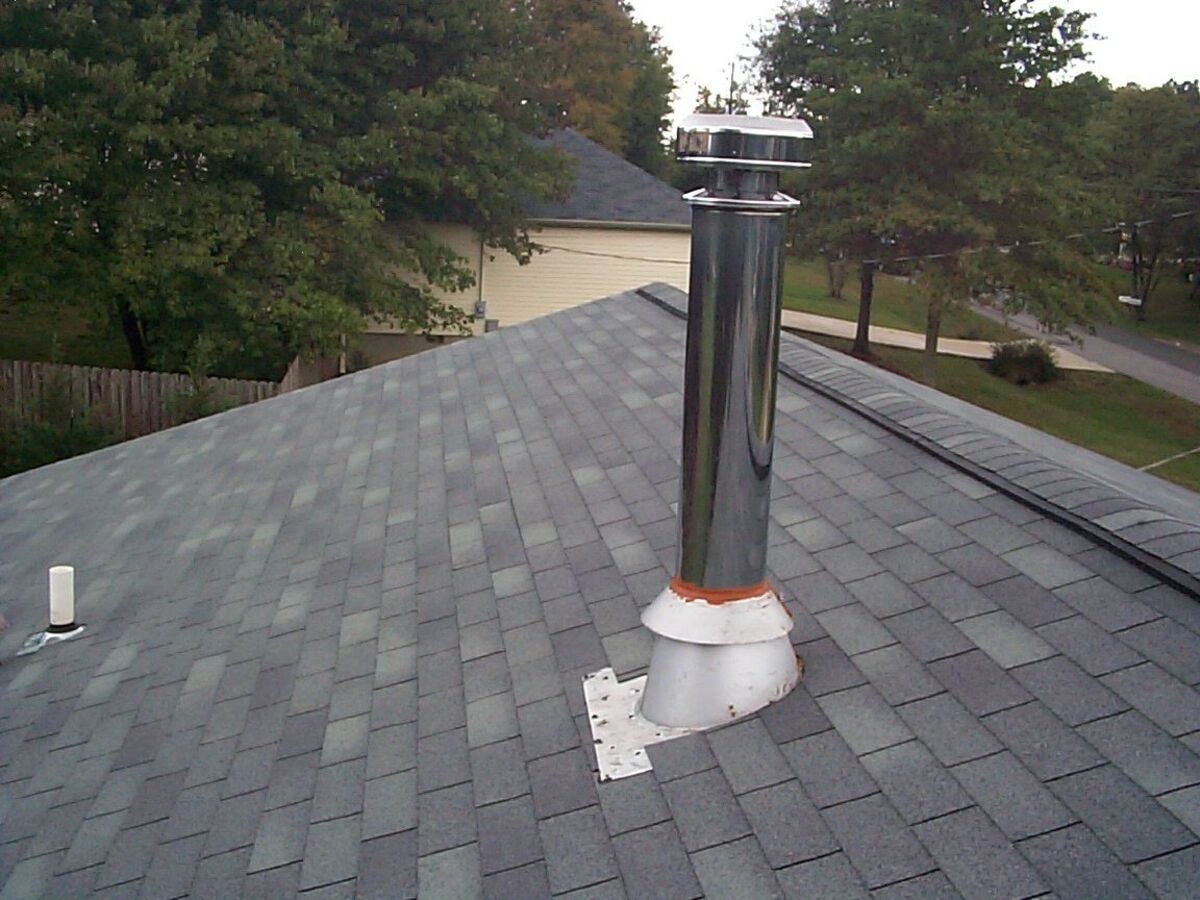
Learn how to install a wood stove chimney through the roof with this informative article. Find step-by-step instructions and tips to ensure a safe and efficient installation.
(Many of the links in this article redirect to a specific reviewed product. Your purchase of these products through affiliate links helps to generate commission for Storables.com, at no extra cost. Learn more)
Introduction
When it comes to heating your home, a wood stove can be an efficient and cost-effective option. However, installing a wood stove requires careful planning and proper setup, especially when it comes to the chimney. The chimney plays a crucial role in safely venting the smoke and gases generated by the wood stove out of your home. One common method for installing a wood stove chimney is to go through the roof. In this article, we will walk you through the steps to install a wood stove chimney through the roof, ensuring a safe and efficient heating system for your home.
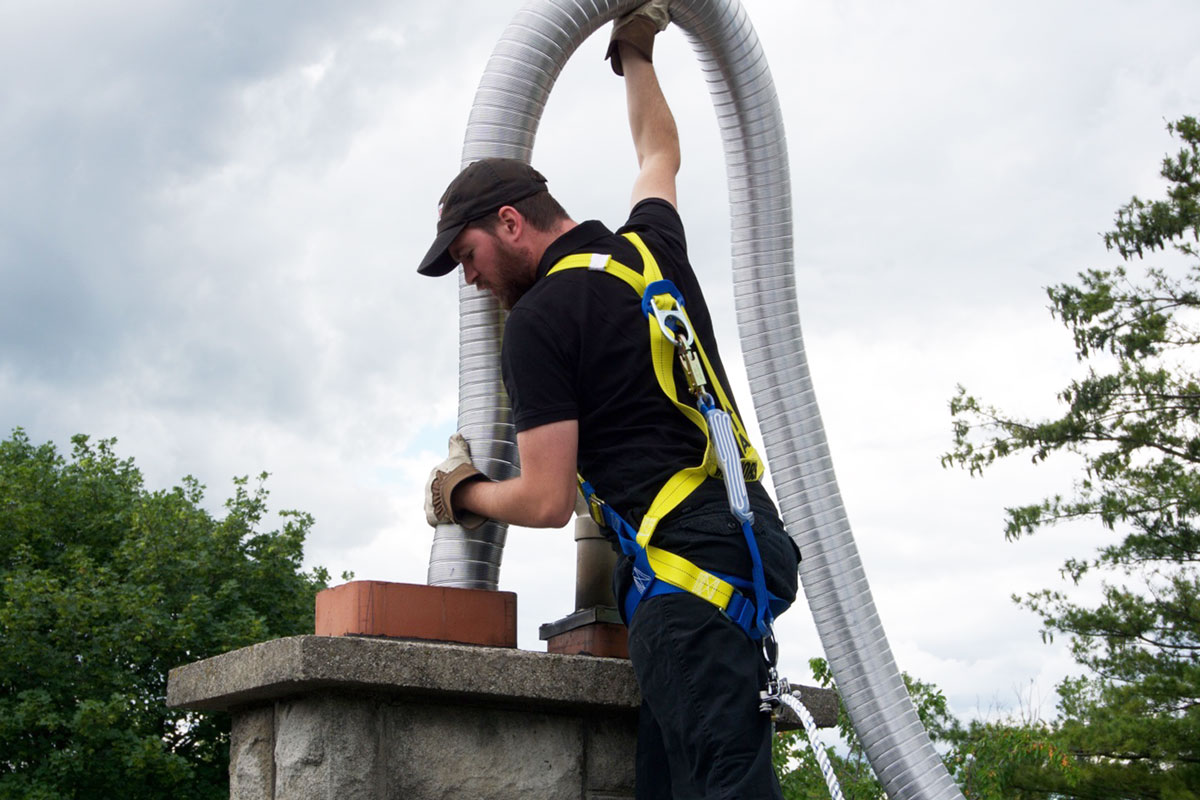
Before embarking on this project, it’s important to note that installing a wood stove chimney through the roof should be done by an experienced professional or with the supervision of one. Safety should always be the top priority, so if you’re not confident in your abilities, it’s best to consult a professional chimney installer.
Now, let’s dive into the steps required to install a wood stove chimney through the roof. We’ll guide you through each stage of the process, from gathering the necessary tools and materials to testing the chimney for proper ventilation.
Key Takeaways:
- Proper installation of a wood stove chimney through the roof requires careful planning, adherence to building codes, and attention to safety guidelines. It’s crucial to gather the right tools, select an ideal location, and follow each step meticulously to ensure a safe and efficient heating system for your home.
- Testing the wood stove chimney for proper ventilation is essential for ensuring the safe and efficient operation of your wood stove. By following the outlined steps and conducting thorough testing, you can enjoy the warmth and comfort of a well-installed wood stove while minimizing reliance on traditional heating methods.
Step 1: Gather the Necessary Tools and Materials
Before you begin installing a wood stove chimney through the roof, it’s important to gather all the necessary tools and materials to ensure a smooth and efficient installation process. Here is a comprehensive list of what you will need:
- Wood stove chimney kit: This will typically include chimney pipes, support brackets, flashing, and a chimney cap.
- Tape measure: A tape measure will help you accurately measure the dimensions for cutting the opening in the roof and positioning the chimney.
- Pencil or marker: You’ll need a pencil or marker to mark the measurements on the roof and chimney pipes.
- Saw: Depending on the type of roof and chimney pipe material, you may need a saw to cut the hole in the roof and trim the chimney pipes to the required length.
- Hammer: A hammer will come in handy for securing the support brackets and other hardware.
- Screwdriver or wrench: You’ll need a screwdriver or wrench to tighten screws and bolts during the installation process.
- Roofing materials: Depending on the type of roof you have, you may need roofing materials such as shingles, underlayment, and flashing to ensure a watertight seal around the chimney.
- Safety equipment: Safety goggles, gloves, and a dust mask are essential for protecting yourself during the installation process.
By having all the necessary tools and materials ready at hand, you can streamline the installation process and minimize any unnecessary delays or interruptions. With this crucial first step complete, you’re now ready to move on to selecting an ideal location for the wood stove chimney.
Step 2: Select an Ideal Location for the Chimney
Choosing the right location for your wood stove chimney is crucial for both safety and efficiency. A well-placed chimney will ensure proper ventilation and minimize the risk of fire hazards. Here are some factors to consider when selecting the location:
- Clearances: The chimney must comply with building codes, which often specify the minimum clearance required from combustible materials such as walls, ceilings, and other nearby structures. Refer to your local building codes to determine the required clearances for your specific installation.
- Straight and Short: It’s ideal to install the chimney in a straight and short path, with minimal twists and turns. This promotes better airflow and reduces the risk of creosote buildup, which can lead to chimney fires.
- Away from Windows and Doors: Place the chimney away from windows and doors to prevent smoke from entering your home when they are opened.
- Roof Considerations: Choose a location on the roof that allows for easy access for maintenance and cleaning. Avoid areas with complex roof features, such as valleys or dormers, as they can make installation more challenging.
Once you have carefully assessed these factors, mark the chosen location on the roof using a pencil or marker. This will serve as a reference point for the next steps in the installation process.
Remember, the location you select for the wood stove chimney is critical for ensuring both safety and efficiency. Take your time in choosing the right spot, and if you’re unsure, consult with a professional chimney installer for expert advice.
Step 3: Measure and Cut an Opening in the Roof
Now that you have determined the ideal location for your wood stove chimney, it’s time to measure and cut an opening in the roof. This opening will allow the chimney to pass through the roof and safely vent the smoke and gases from the wood stove. Here’s how to proceed:
- Measurements: Using your tape measure, carefully measure the diameter of the chimney pipe. This will determine the size of the opening you need to cut in the roof. Ensure you account for the required clearance specified by the chimney manufacturer and local building codes.
- Marking the Opening: Once you have measured the diameter, mark the outline of the opening on the roof. Use a pencil or marker to create an accurate guideline for cutting.
- Cutting the Opening: Use a saw appropriate for your roof type (such as a reciprocating saw or circular saw) to cut along the marked outline. Take caution when cutting, making sure you follow safety guidelines and wear appropriate safety equipment.
- Remove Roofing Materials: After cutting the opening, remove any roofing materials within the marked area, such as shingles or tiles. Be careful not to damage the surrounding roofing material.
- Underlayment: Install an appropriate underlayment over the exposed area of the roof to provide an added layer of protection against water infiltration. Follow the manufacturer’s instructions for the underlayment installation process.
It’s crucial to take accurate measurements and make precise cuts to ensure a proper fit for the chimney pipe. Adequate clearance around the pipe is essential to prevent heat transfer to combustible materials and to maintain proper ventilation.
With the opening cut and the underlayment installed, you are now ready to move on to the next step: installing the roof flashing to create a watertight seal around the chimney.
Step 4: Install the Roof Flashing
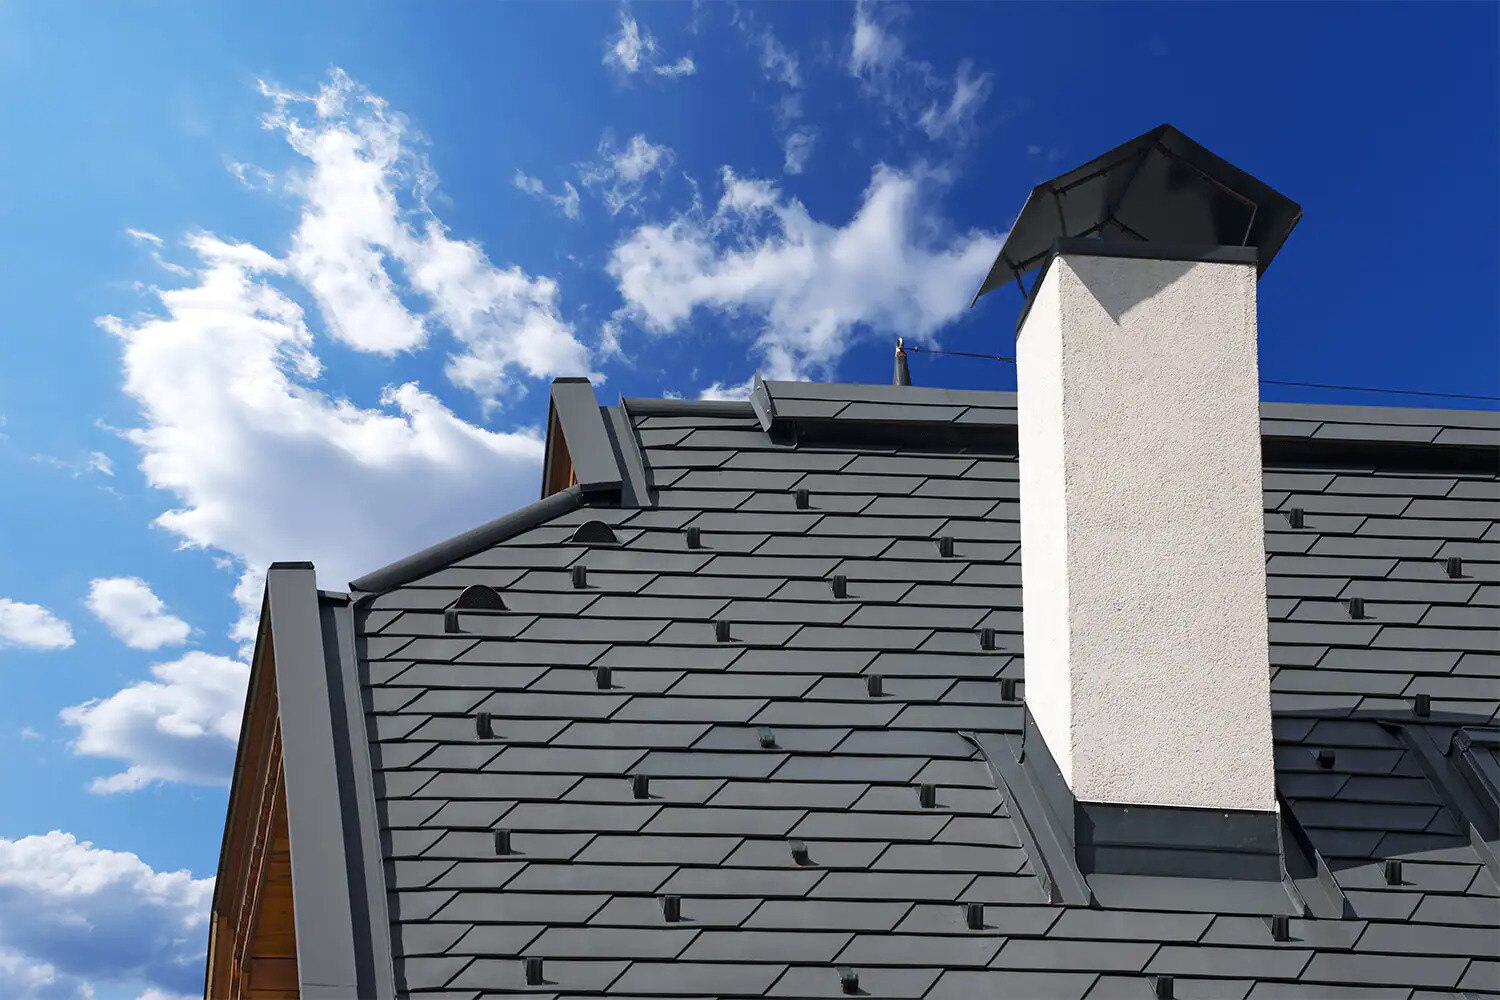
Properly installing roof flashing is essential for creating a watertight seal around the wood stove chimney and preventing water leakage into your home. The flashing acts as a barrier, ensuring that rainwater and melting snow don’t seep into the roof opening. Here’s how to install the roof flashing:
- Inspect the Roof: Before installing the flashing, carefully inspect the roof around the chimney opening. Repair any damaged or deteriorated roofing material to ensure a solid foundation for the flashing installation.
- Flashing Components: A typical roof flashing system includes several components: a base flashing, step flashing, and counter flashing. Familiarize yourself with the specific components and their installation process.
- Base Flashing: Start by installing the base flashing. This is a flat, waterproof membrane that is installed directly on the roof surface. Place it over the roof opening, making sure it’s centered and aligned with the chimney. Attach it securely to the roof using roofing nails or screws.
- Step Flashing: Step flashing is typically made of metal and is installed along the sides of the chimney. Each piece of step flashing should overlap the previous one, creating a stepped effect. Secure the step flashing to both the roof and the chimney with nails or screws.
- Counter Flashing: The counter flashing is installed on top of the step flashing and is designed to cover and protect the edges. It’s typically made of metal and is custom-fitted to the chimney. Attach the counter flashing securely to the chimney using screws or other appropriate fasteners.
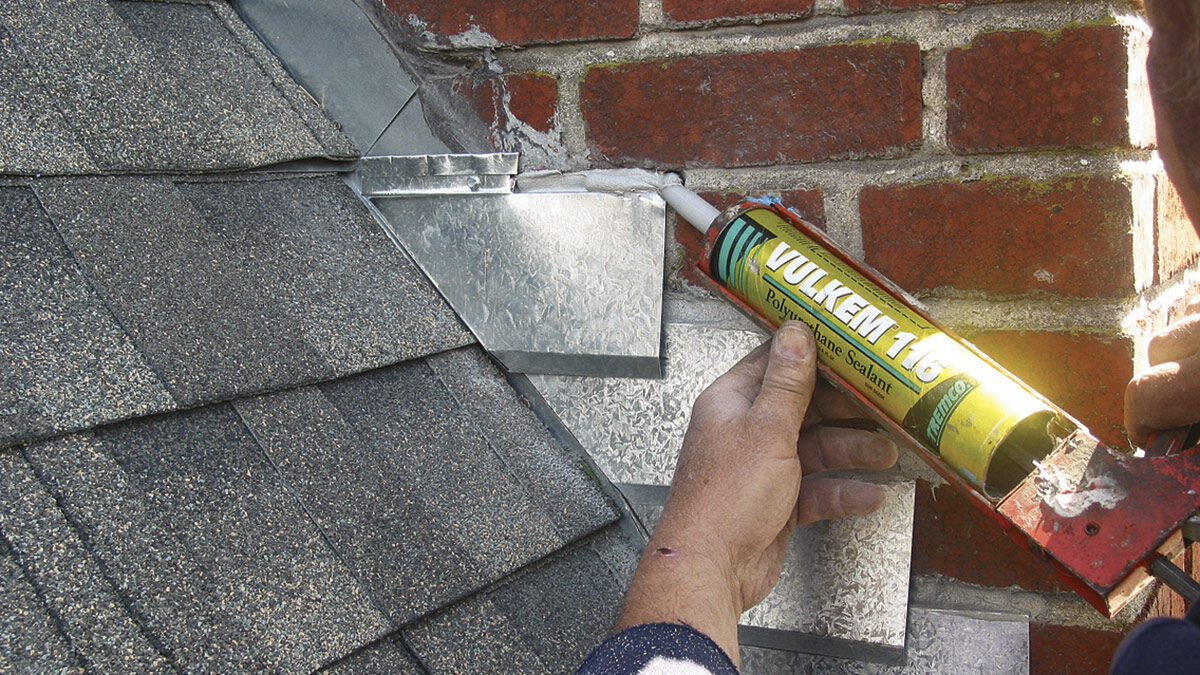
- Sealant: Apply a high-quality roofing sealant around the edges of the flashing to ensure a watertight seal. This will further prevent any water penetration around the chimney.
It’s important to follow the manufacturer’s instructions and local building codes when installing the roof flashing. Proper installation will help protect your home from potential water damage and extend the lifespan of your wood stove chimney system.
With the roof flashing in place, you can now proceed to the next step: setting up the support brackets for the chimney pipe.
Read more: How To Install A Wood Burner With A Chimney
Step 5: Set up the Support Brackets
Properly securing the chimney pipe is crucial for maintaining stability and safety. Support brackets are used to hold the chimney pipe in place and prevent it from shifting or falling. Here’s how to set up the support brackets:
- Determine the Number of Brackets: The number of support brackets needed depends on the height and configuration of the chimney. Check the manufacturer’s guidelines to determine the recommended spacing and number of support brackets required for your specific installation.
- Mark the Bracket Placement: Measure the height of the chimney pipe from the base to the roofline. Divide the height by the recommended bracket spacing and mark the locations where the brackets will be installed.
- Secure Brackets to the Wall: Attach the brackets securely to the wall using screws or other appropriate fasteners. Make sure they are level and properly aligned with the marked locations.
- Attach Brackets to the Chimney Pipe: Slide the chimney pipe into the brackets and secure it in place. The brackets should be positioned in a way that provides proper support and prevents any sagging or movement of the chimney pipe.
- Adjust and Tighten: Once the brackets are attached, adjust the position of the chimney pipe to ensure it is aligned and level. Then, tighten the brackets securely to hold the pipe in place.
Properly installed support brackets help maintain the structural integrity of the chimney system and minimize the risk of any accidental displacement or damage. Ensure that the brackets are securely anchored to both the wall and the chimney pipe for optimal stability.
With the support brackets in place, you’re now ready to move on to the next step: inserting and securing the chimney pipe sections.
Make sure to measure and plan the chimney’s path through the roof carefully. Use high-quality insulated chimney pipe and follow the manufacturer’s instructions for installation to ensure proper ventilation and safety.
Step 6: Insert and Secure the Chimney Pipe Sections
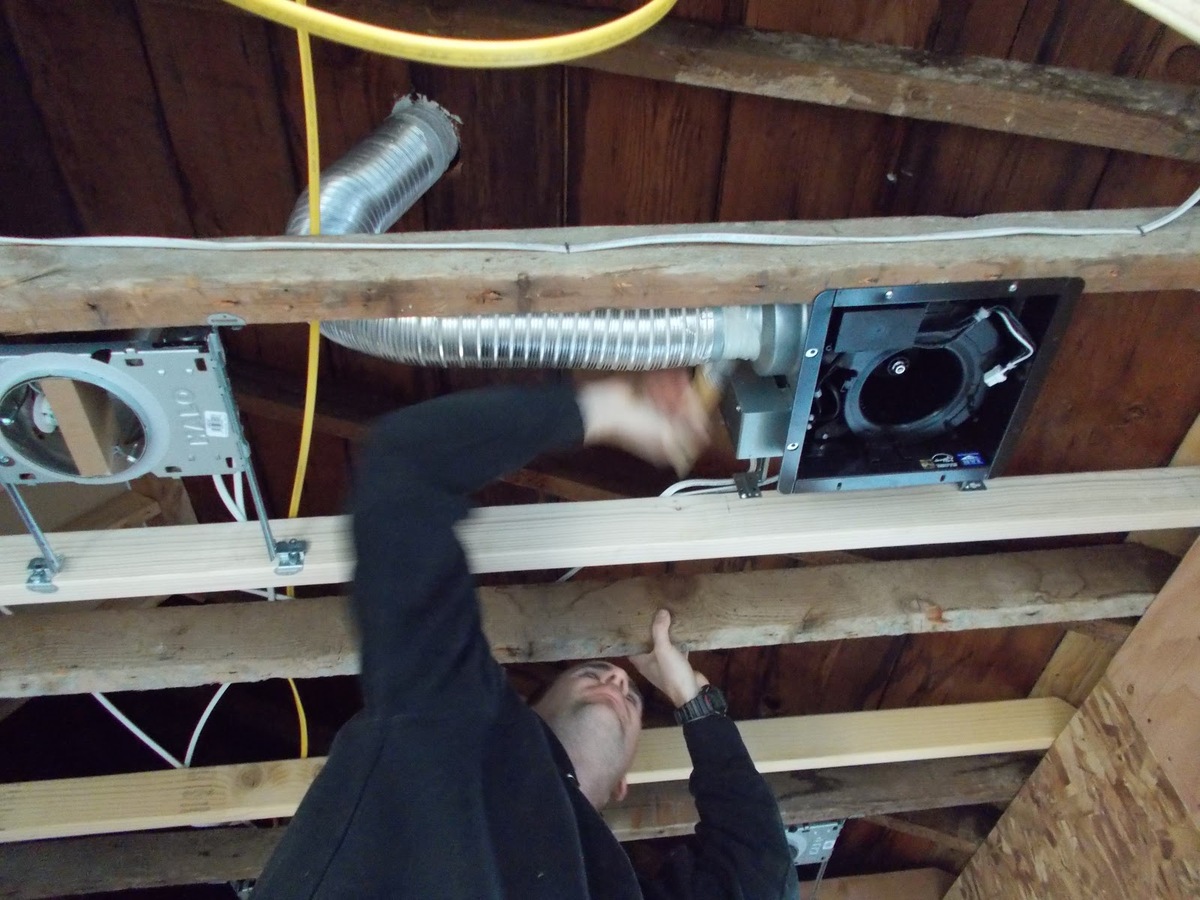
Now that the support brackets are in place, it’s time to insert and secure the chimney pipe sections. The chimney pipe will connect the wood stove to the chimney, allowing the vented smoke and gases to escape. Here’s how to proceed:
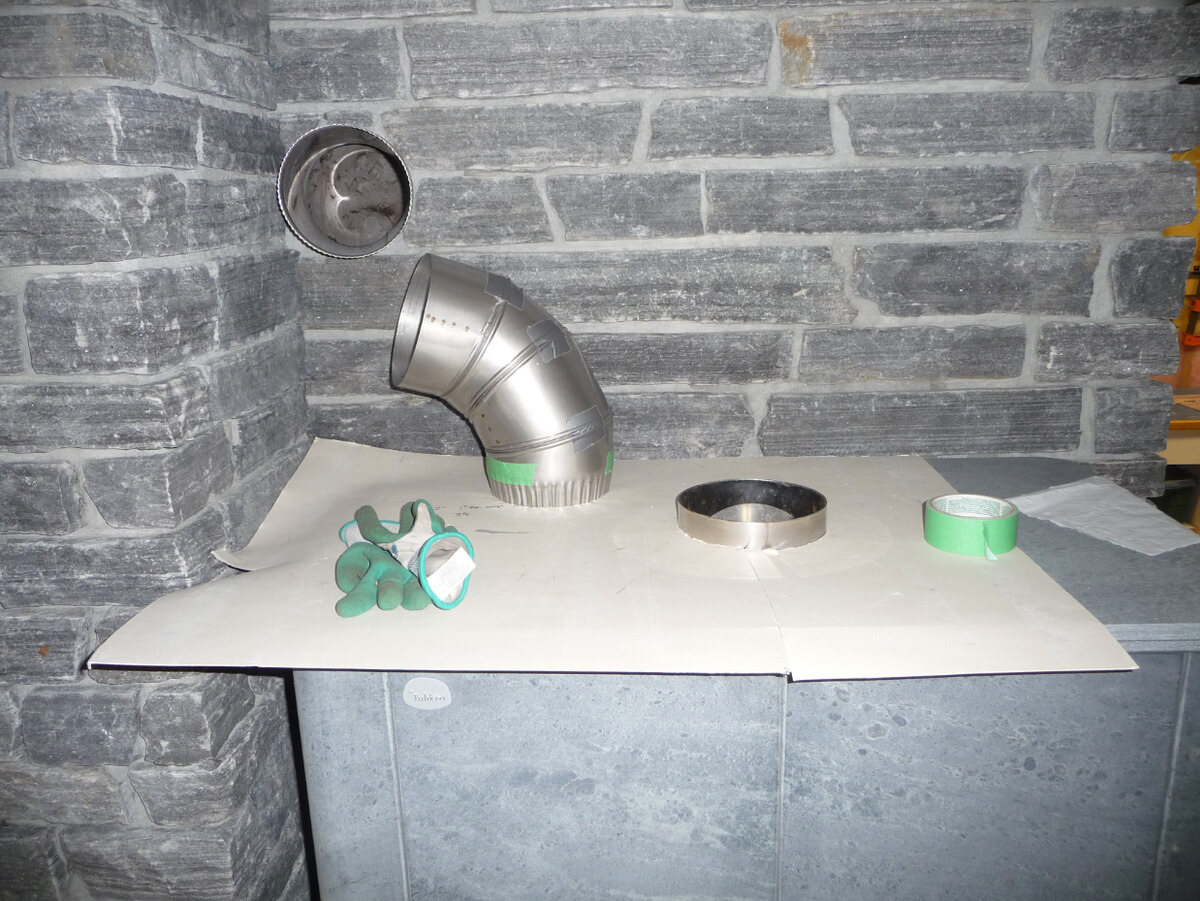
- Measure and Cut the Pipe: Measure the distance between the wood stove and the chimney opening to determine the length of chimney pipe needed. Use a saw appropriate for the type of chimney pipe material to make precise cuts.
- Connect the Pipe Sections: Connect the chimney pipe sections together, following the manufacturer’s instructions. Depending on the type of chimney pipe, this may involve twisting, locking, or using connectors and screws to secure the sections.
- Insert the Pipe: Carefully insert the chimney pipe into the support brackets. Make sure it is properly aligned and seated securely within the brackets. The pipe should fit snugly but still allow for thermal expansion.
- Secure the Pipe: Once the pipe is inserted, secure it in place by tightening the brackets. Ensure that the pipe is level and properly aligned with the wood stove and chimney.
- Seal the Joints: Seal the joints between the chimney pipe sections using high-temperature silicone sealant. This will prevent any leakage of smoke or gases through the connections.
Taking the time to accurately measure, cut, and connect the chimney pipe sections is crucial for a secure and efficient installation. Properly secured and sealed pipe sections will ensure that the wood stove operates effectively while minimizing the risk of smoke leakage into your home.
With the chimney pipe sections in place, you can now proceed to the next step: connecting the stove pipe to the chimney pipe.
Step 7: Connect the Stove Pipe to the Chimney Pipe
Connecting the stove pipe to the chimney pipe is an important step in completing the wood stove chimney installation. The stove pipe connects the wood stove to the chimney, allowing the smoke and gases to flow out. Here’s how to connect the stove pipe to the chimney pipe:
- Select the Right Stove Pipe: Choose a stove pipe that is compatible with your wood stove and chimney pipe. Ensure that the diameter and material of the stove pipe match the chimney pipe for a proper fit.
- Measure and Cut: Measure the distance between the wood stove and the chimney pipe to determine the length of stove pipe needed. Use a saw or pipe cutter to make precise cuts, if necessary, to ensure a proper fit.
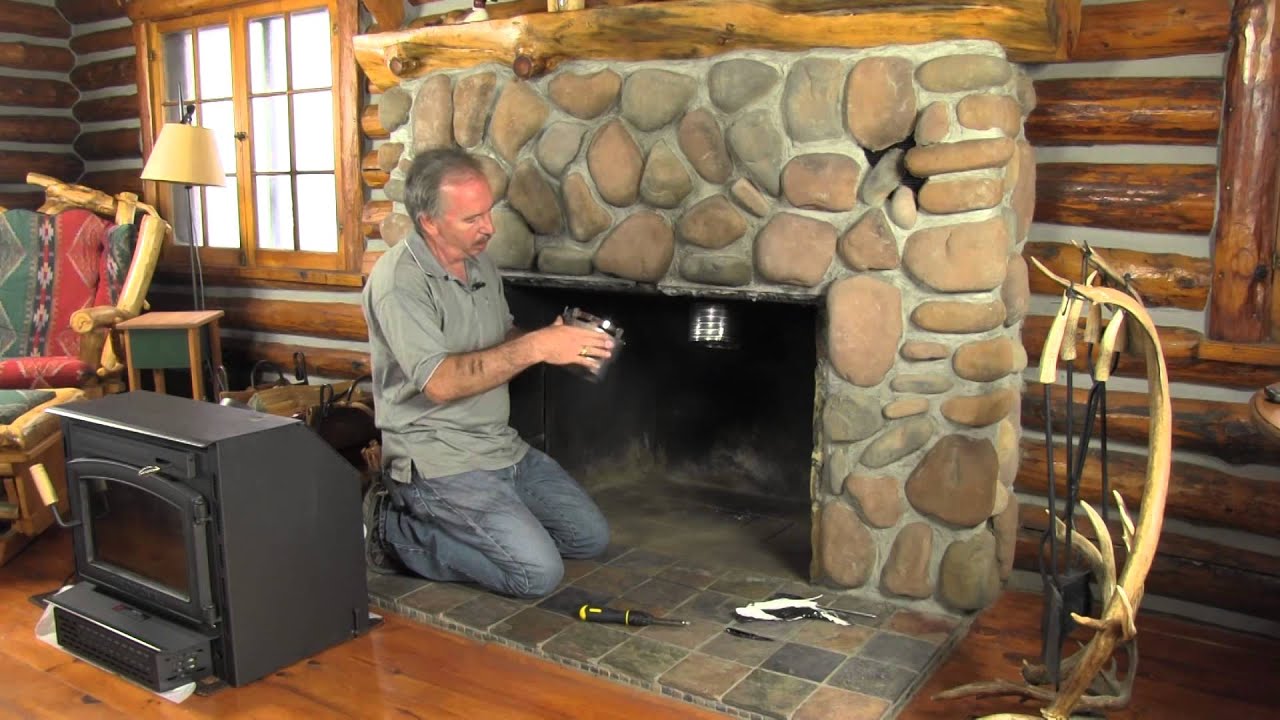
- Attach the Stove Pipe: Connect one end of the stove pipe to the outlet on the wood stove. Depending on the type of stove and pipe, this may involve twisting, locking, or using connectors and screws to secure the connection.
- Connect to the Chimney Pipe: Position the other end of the stove pipe to align with the chimney pipe. Slide the stove pipe onto the chimney pipe, ensuring a snug fit.
- Secure the Connection: Use clamps or screws, if provided, to secure the connection between the stove pipe and chimney pipe. Ensure a tight and secure fit to prevent any movement or disconnection.
- Seal the Joints: Apply high-temperature silicone sealant around the joints between the stove pipe and chimney pipe. This will create a tight seal and prevent any leakage of smoke or gases.
Properly connecting the stove pipe to the chimney pipe is essential for creating a sealed and efficient ventilation system. Make sure to follow the manufacturer’s instructions and take necessary precautions to ensure a safe and secure connection.
Now that the stove pipe is connected to the chimney pipe, we can move on to the next step: installing the chimney cap.
Step 8: Install the Chimney Cap
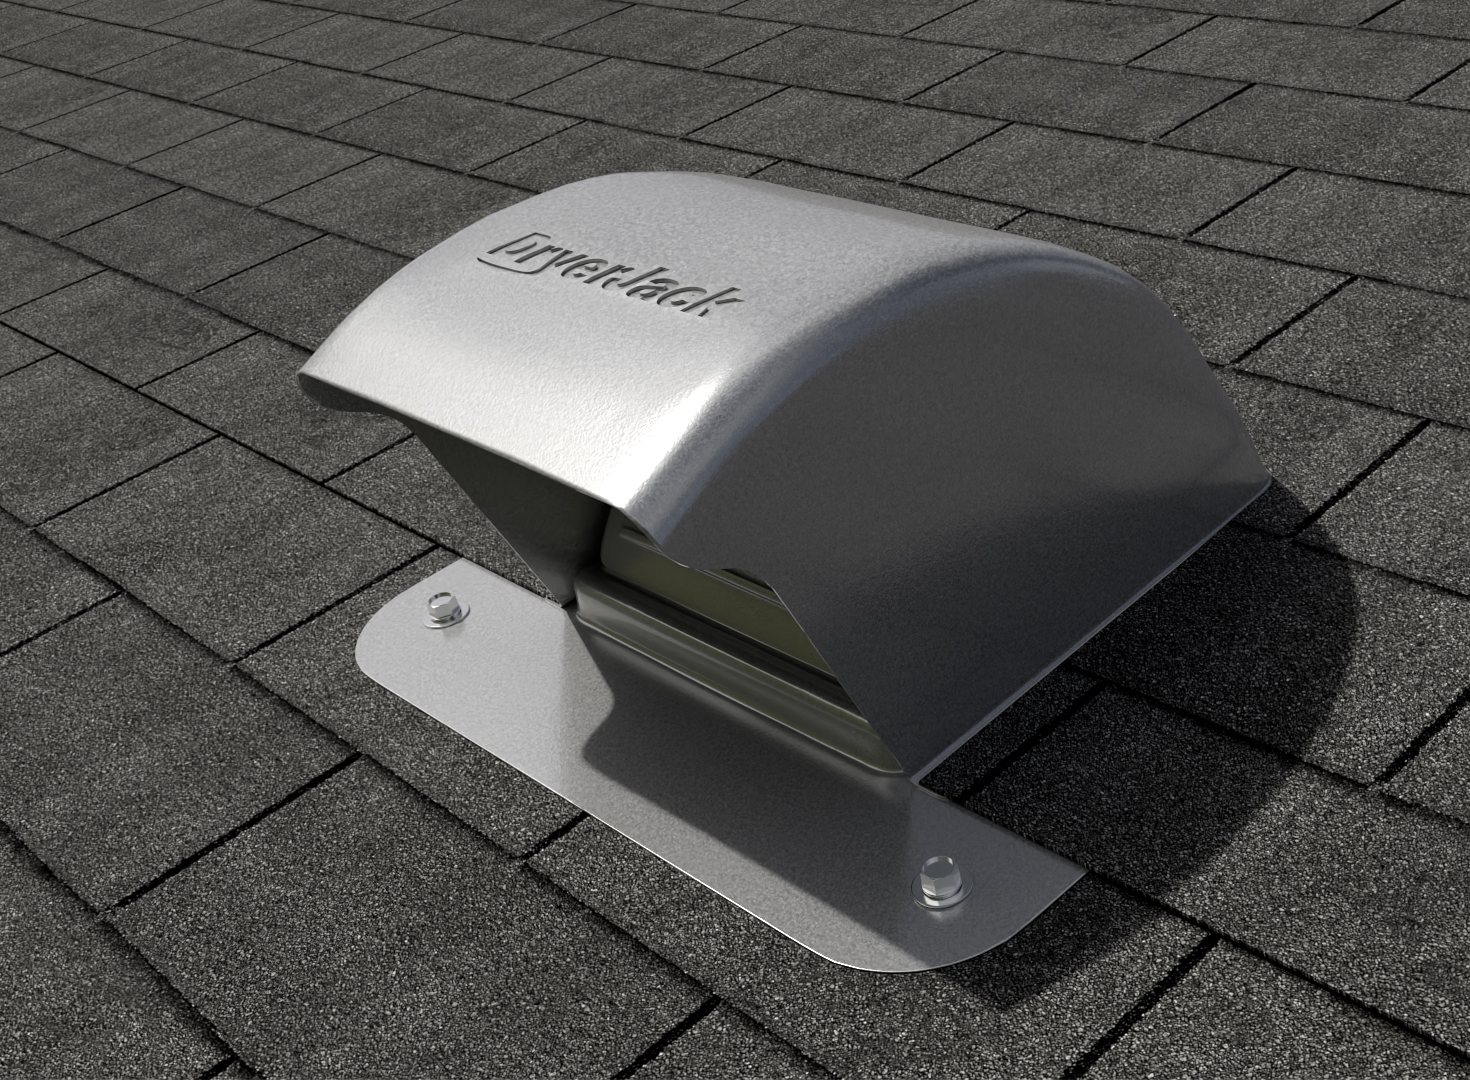
The chimney cap is a vital component of your wood stove chimney system. It helps protect the chimney from weather elements, debris, and animals while ensuring proper ventilation. Installing a chimney cap is relatively straightforward. Here’s how to do it:
- Select the Right Chimney Cap: Choose a chimney cap that is specifically designed for your wood stove chimney system. Consider factors such as the size, material, and design of the cap to ensure a proper fit and functionality.
- Prepare the Chimney: Before installing the chimney cap, clean and inspect the chimney to ensure it is free from any debris or obstructions. Remove any accumulated ash, soot, or creosote that may have built up over time.
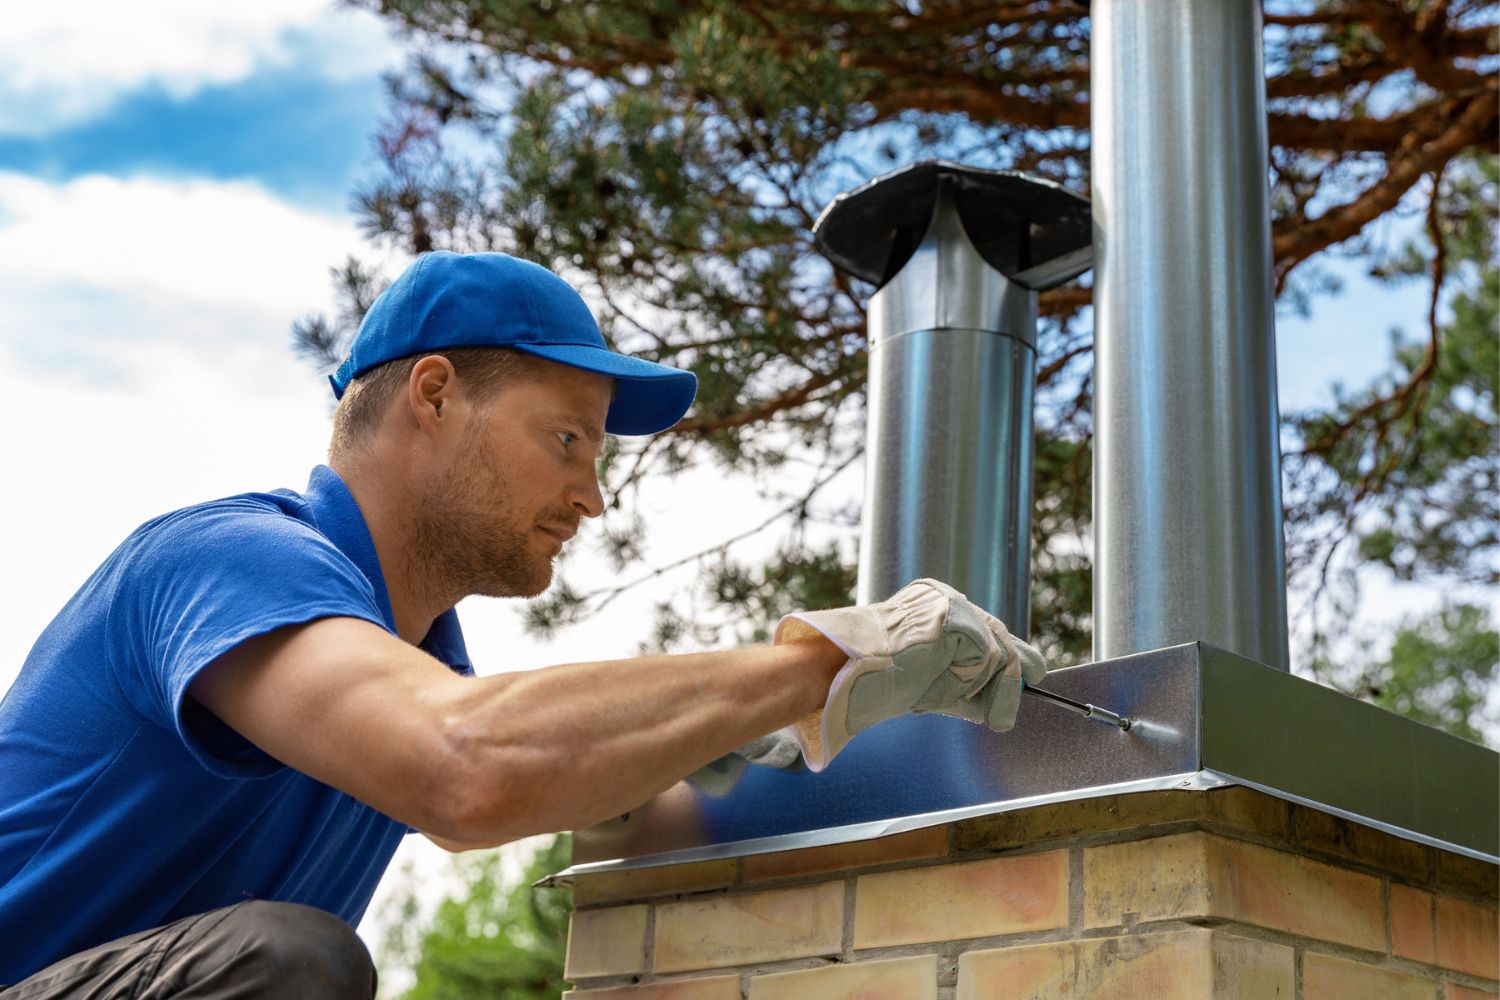
- Attach the Chimney Cap: Place the chimney cap over the top of the chimney. The cap should fit snugly, covering the chimney opening completely. Some chimney caps come with adjustable clamps or screws that allow for easy attachment. Secure the cap firmly in place, ensuring it is level and properly aligned.
- Check for Proper Ventilation: Ensure that the chimney cap does not obstruct the proper ventilation of the wood stove chimney. Verify that there is sufficient airflow and that the cap is not causing any backdraft or smoke backup into the home.
Installing a chimney cap provides numerous benefits, including protection against moisture damage, prevention of debris and animal entry, and increased efficiency of the wood stove chimney system. Follow the manufacturer’s instructions for a proper and secure installation.
Now that the chimney cap is in place, it’s time to move on to the final step: testing the wood stove chimney for proper ventilation.
Step 9: Test the Wood Stove Chimney for Proper Ventilation
After completing the installation of your wood stove chimney, it’s important to test it for proper ventilation. Proper ventilation ensures the efficient and safe operation of your wood stove while reducing the risk of smoke or gases entering your home. Here’s how you can test the wood stove chimney for proper ventilation:
- Prepare the Wood Stove: Start by lighting a small fire in your wood stove. Use dry and seasoned firewood to produce a clean and consistent burn.
- Observe the Smoke: Pay close attention to the smoke coming out of the chimney. It should flow upwards and disperse freely without any significant backdraft or smoke entering your home.
- Check the Draft: Place your hand near the wood stove’s door, draft controls, and chimney opening to feel for any drafts or cool air entering the room. The draft should be pulling the smoke upwards and out of the chimney.
- Monitor Carbon Monoxide Levels: Install a carbon monoxide detector near the wood stove to monitor the levels of this odorless and potentially dangerous gas. Ensure that the detector is functioning properly and alarm levels are set accordingly.
- Inspect Airflow: Check the air intake and exhaust vents of the wood stove to ensure they are unobstructed. Any obstruction can impede airflow and affect the ventilation of the chimney.
- Adjust Damper and Control Settings: If needed, adjust the damper or control settings of your wood stove to optimize the airflow and ensure proper combustion.
- Professional Inspection: Consider hiring a professional chimney sweep or inspector to perform a thorough inspection and cleaning of your wood stove chimney. They can assess the overall condition, cleanliness, and functionality of your chimney system.
By testing the wood stove chimney for proper ventilation, you can ensure that your wood stove operates efficiently and safely. If you notice any issues or concerns during the testing process, it’s important to address them promptly to prevent any potential hazards.
With the completion of this step, you have successfully installed and tested your wood stove chimney for proper ventilation. Congratulations! You can now sit back, relax, and enjoy the warmth and comfort of your wood stove.
Conclusion
Installing a wood stove chimney through the roof can be a rewarding and practical project that provides an efficient and cost-effective heating solution for your home. However, it’s crucial to approach the installation process with careful planning, adherence to local building codes, and attention to safety guidelines.
In this comprehensive guide, we have walked you through the step-by-step process of installing a wood stove chimney through the roof. By following the outlined steps, you can ensure a safe and effective installation while maximizing the performance of your wood stove.
We began by gathering the necessary tools and materials, selecting an ideal location for the chimney, and measuring and cutting an opening in the roof. We then moved on to installing the roof flashing, setting up the support brackets, inserting and securing the chimney pipe sections, connecting the stove pipe to the chimney pipe, installing the chimney cap, and, finally, testing the wood stove chimney for proper ventilation.
Throughout the installation process, we emphasized the importance of safety, adherence to local building codes, and attention to proper techniques. We also highlighted the significance of regular maintenance, inspections, and professional chimney cleaning to ensure the longevity and performance of your wood stove chimney system.
Remember, if you’re not confident in your abilities or lack experience, it’s always advisable to consult a professional chimney installer. They possess the expertise and knowledge to carry out the installation process safely and accurately.
By successfully installing a wood stove chimney through the roof, you can enjoy the warmth and ambiance of a wood-burning stove while minimizing your reliance on traditional heating methods. Stay cozy, stay safe, and enjoy the benefits of a well-installed wood stove chimney in your home.
Now that you've mastered installing a wood stove chimney, why not tackle more projects around your house? Our guide on DIY home improvement offers practical advice and creative ideas to transform any space with your own hands. Whether you're looking to update a room or undertake a full renovation, this article provides all the necessary steps to ensure your projects are successful and fulfilling. Dive into the world of do-it-yourself and see how easy and rewarding it can be to enhance your living environment.
Frequently Asked Questions about How To Install Wood Stove Chimney Through Roof
Was this page helpful?
At Storables.com, we guarantee accurate and reliable information. Our content, validated by Expert Board Contributors, is crafted following stringent Editorial Policies. We're committed to providing you with well-researched, expert-backed insights for all your informational needs.

0 thoughts on “How To Install Wood Stove Chimney Through Roof”